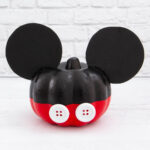
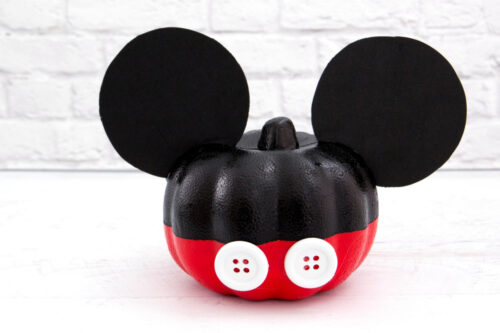
Mickey Mouse Painted Pumpkin
This Mickey Mouse painted pumpkin brings a little Disney magic to your Halloween decorations! Easy and budget friendly, it's the perfect fall craft for Disney fans!
Servings 1
Ingredients
- Template for bow and ears
- Styrofoam craft pumpkin
- Red craft paint
- Black craft paint
- Black craft foam
- Large white buttons mine were about 1.25 inches but these are close
Instructions
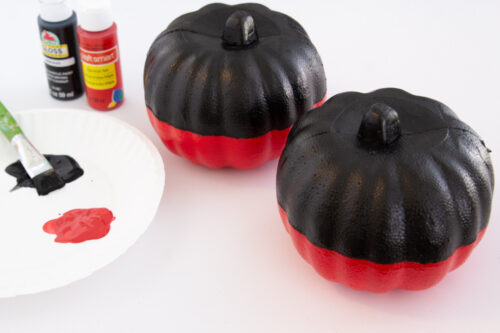
- Use a pencil to draw a horizontal line around the middle of the pumpkin. This will help you get clean lines when you're painting.
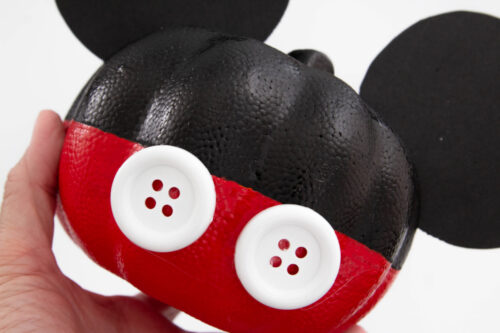
- Paint the top half with black paint and the bottom half with red paint. You may need to add a second coat. Set aside to dry.
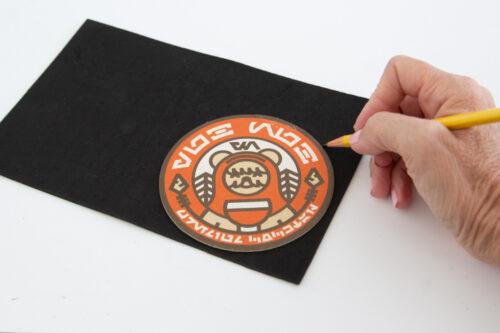
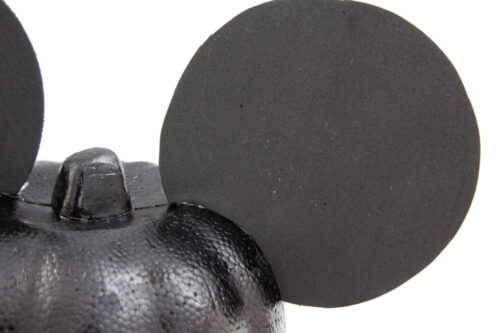
- Trace a circular shape for the foam ears. I used a 4" coaster but I've also made a template you can use instead. (The template also includes a bow for Minnie ears)
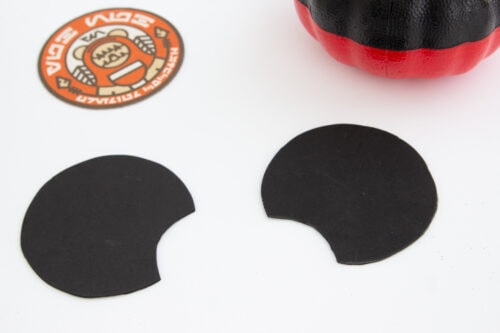
- Cut out the ears, then cut another small curved section so the the ears will fit the shape of the pumpkin.
- Once the painted pumpkin is dry, you can add the ears. First, hold them against the pumpkin to be sure they fit flush against it. You may need to trim them a little to get a perfect fit. Then, add glue along the inner curve of the first ear and attach it to the pumpkin, holding it in place until the glue dries.
- Add a little bit of glue on the bottom of each ear too, just to be sure it's firmly attached to the pumpkin. I add it behind the ear so it's not noticeable.
- Glue the buttons to the front of your Mickey Mouse pumpkin, just below where the black starts.
- That's it! Super easy and now you have a Halloween pumpkin that everyone will love...because who doesn't love Mickey Mouse!
Notes
- Making a Minnie Mouse pumpkin too? Save time by painting a second pumpkin red and black while making this one.
- If you're using a bigger pumpkin than this, you may need bigger Mickey Mouse ears. You can trace around a bowl, large round lid or any other circular shape that works.
- Don't have white buttons? Make two circles with white paints, then make four small red dots in the middle to look like holes.