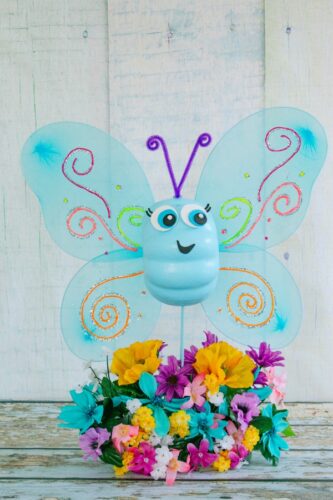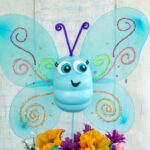
Butterfly Pumpkin
This adorable butterfly pumpkin is proof that Halloween pumpkins don't have to be spooky to be fun!
Servings 1
Equipment
- Cordless glue gun (this is my favorite!)
Ingredients
- Styrofoam pumpkin
- Blue acrylic paint
- Craft foam white, blue, black
- Chenille 1 stem
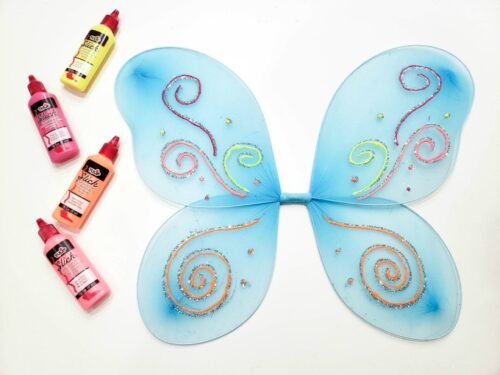
- Butterfly wings
- Fabric paint optional
- Flower foam
- Artificial flowers
- Wooden skewers 2-3
Instructions
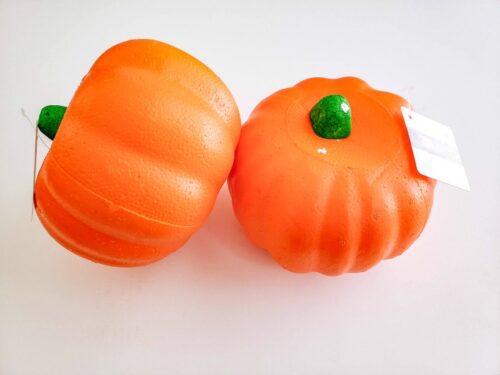
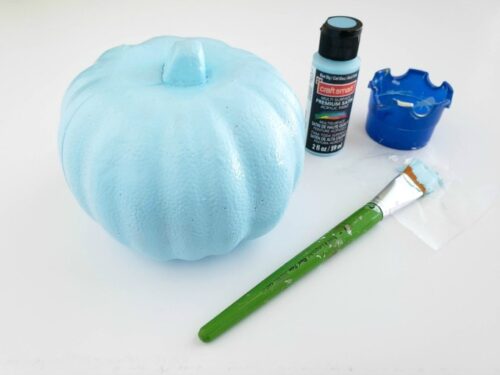
- First you'll need pumpkins and these styrofoam pumpkins are my favorites! I stock up every year at the local dolar store but you can find them on Amazon too. They're perfect for crafting and you can do so much with them.
- Next, twist out the stem (I found it leaves less damage behind if you twist it out rather than just pulling). It left a small hole so I hot glued a little craft foam over the top to close the hole.
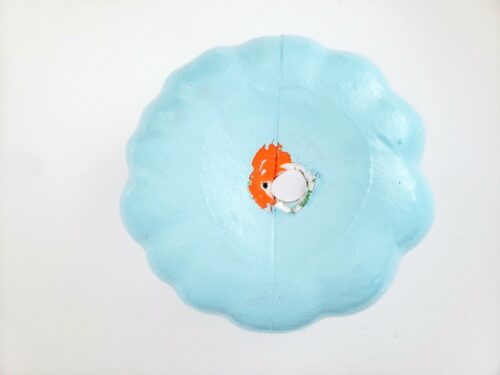
- (Pretend like I haven't already painted the pumpkin. Originally the butterfly was going to be horizontal but after painting, I realized it would look better vertical so I removed the stem) Still pretending? Paint the pumpkin and the foam covering the hole.
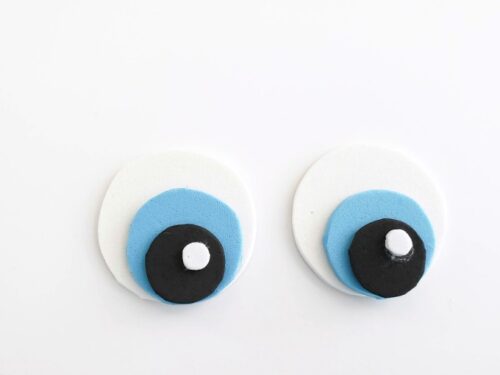
- Next, start working on the eyes. I used the bottom of the paint bottle to trace the large white circles, a quarter for the blue and a dime to trace the black foam.
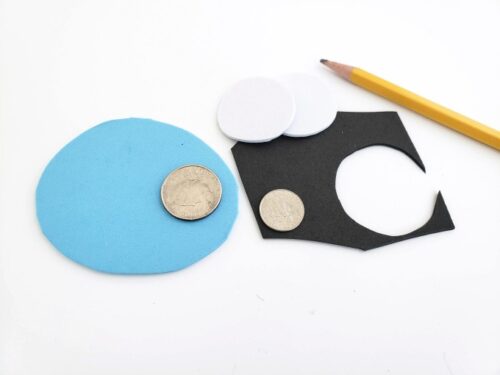
- Glue them together, then cut a tiny white circle to give the eyes a bit of sparkle.
- Turn the pumpkin vertically and hot glue the eyes to the front. Next, use your scraps of black craft foam to make two eyelashes for each eye.
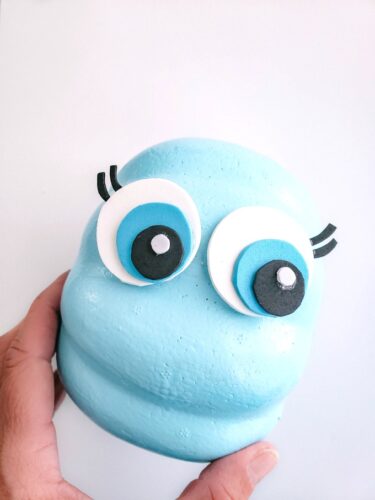
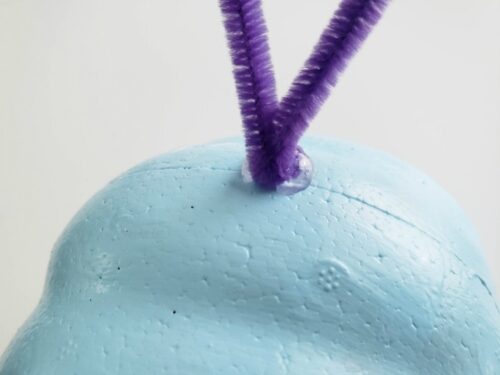
- Next, cut a mouth from the black foam scraps and glue it to the butterfly face. Bend the chenille stem in half, then curl the ends with a pencil.
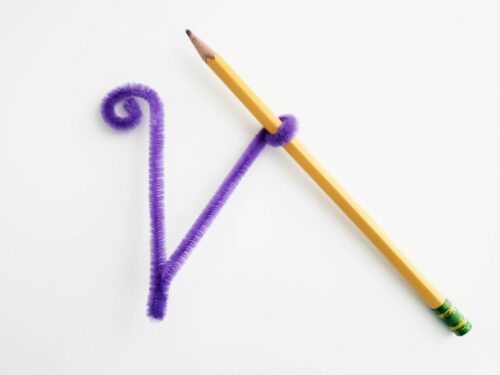
- Glue to the top of the pumpkin/butterfly head.
- This next part is totally optional. I wanted to add a little more color to the butterfly wings so I used fabric paint for accents.
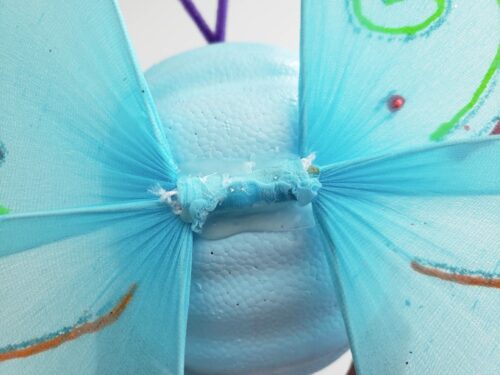
- Now hot glue the pumpkin to the butterfly wings. I used a lot, just to be safe, but the wings are pretty light so hot glue held them on really well.
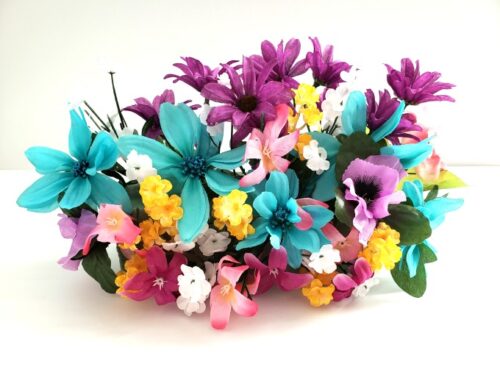
- Because butterflies need lots of flowers, I bought fake flowers and put them in flower foam.
- Take two wooden BBQ skewers and paint them blue. Once they dry, push the pointed end into the bottom of the butterfly pumpkin and the other ends into the flower foam. Now your butterfly pumpkin is flying over the flowers!