DIY Beach Bag
Planning to hit the beach this summer? Learn how you can use your Silhouette Cameo to make this cute DIY beach bag!
Servings 1
Equipment
- Artisprix Sublimation Markers
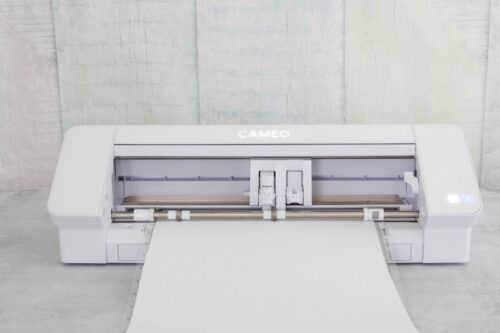
- Silhouette Cameo 4
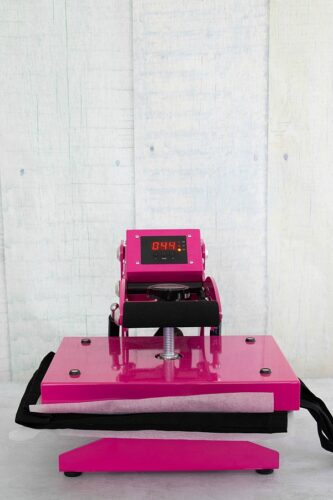
- Heat press, dry iron or home iron
- Weeding tools
- Silhouette pen adapter
Ingredients
Instructions
- Start by finding a design that you like in the Silhouette store. I chose this one.
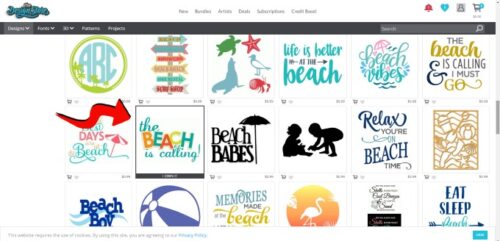
- I also added some extras like flip flops and waves. Once you've got the designs you want, arrange them in the Silhouette Studio.
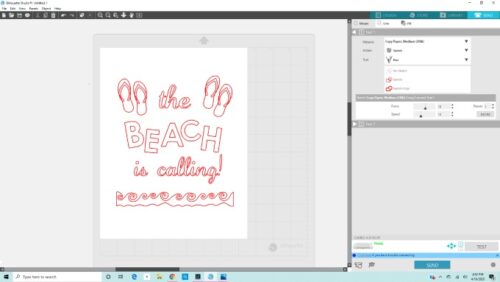
- Insert the heat transfer vinyl into your Cameo and cut your design. This image doesn't need to be mirrored.
- Use your weeding hook to peel away the extra vinyl (your actual design should remain attached to the plastic backing).
If you are creating a design that can be peeled in one piece, you can skip this next step and just peel and place your vinyl on the bag.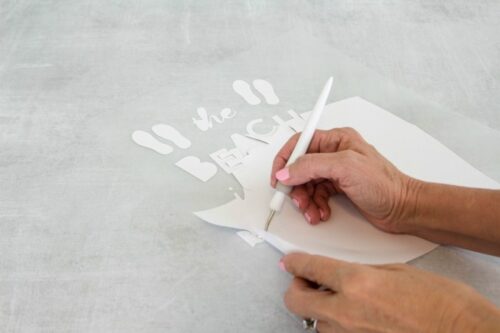
- Lay your design on a hard surface and place a transfer mask over the top. Use your scraper to apply firm pressure over the top of the mask.
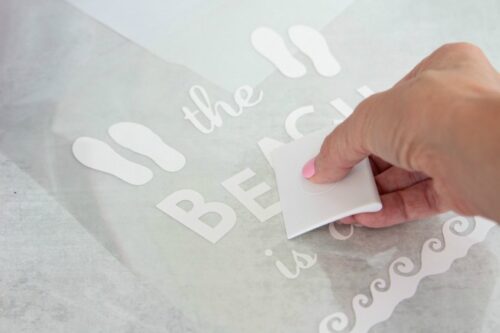
- Once the design is firmly attached to the mask, slowly peel it away and set aside.
NOTE: If you are using Easy Subli vinyl, you will have use the Siser easy mask. The Easy Subli design won't stick to other masks.
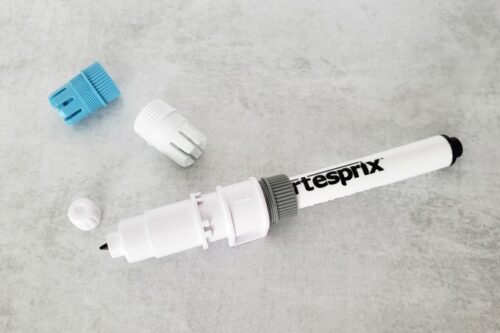
- Next, remove the cap from a black Artisprix marker (fine point works best) and insert the pen into the gray adapter. Slide the gray adapter into the larger white piece and twist firmly into place. Take the small white cap off the end to expose the tip.
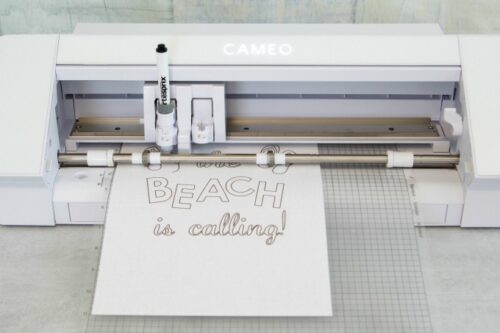
- Remove the cutting tool from the Cameo and insert the pen. Be sure to mirror your image first, then draw.
- Now comes the best part...coloring! If you think coloring is just for kids, you obviously haven't done it for awhile. It's really fun for grown-ups too! I used some of the colors from the Artisprix original 10 pack but also pulled the Seafoam marker from the pastel set.
Don't worry if the colors look a little dull. Because these are sublimation markers, the colors will really stand out after you apply the heat.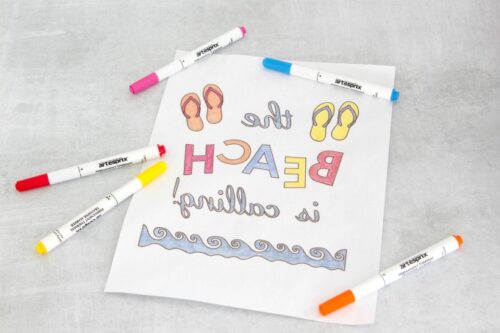
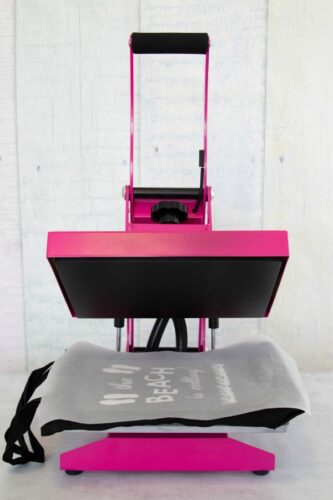
- Set your heat press to 310°. Once it's hot, place the tote bag in the heat press for 30 seconds on each side to wick out any moisture.
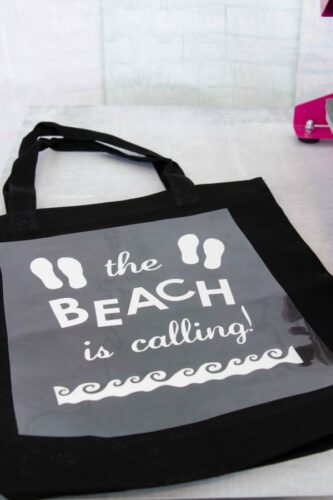
- Now add your design, with mask, to the tote bag (the mask is heat resistant).
- Place a sheet of protective paper on the heat press, the tote bag on top and another protective sheet on top of that. Basically you're creating a sublimation sandwich, with the protective paper being the bread and the tote bag being the cheese.
- Heat for 15 seconds. Remove from heat and peel the mask while it's still warm.
- Raise the temperature of the heat press to 400°
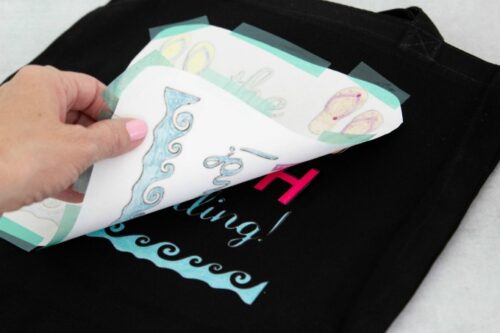
- Trim the colored design and very carefully line it up with the vinyl (colored side will be down). Tape firmly in place with heat tape.
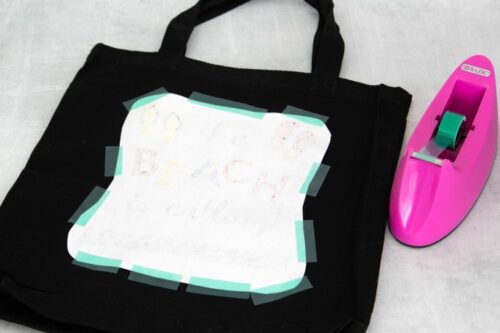
- Place the tote bag in between two sheets of protective paper (you can reuse the same ones) and heat at 400° for 60 seconds.
- Remove from heat and let cool for a few seconds. Pull the paper back to reveal the design underneath.