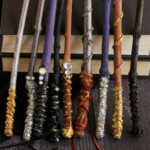
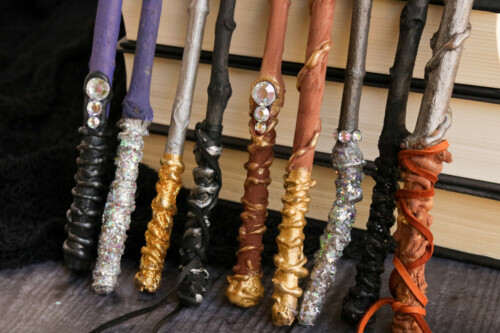
DIY Harry Potter Wand
This Harry Potter wand craft is the perfect craft for both younger and older kids. With just a few supplies and a little time, you've got a fun birthday party activity or a great way to entertain the kids on a rainy day.
Servings 6
Equipment
- Hot glue gun (cordless is easiest to work with)
- Mod Podge (for glitter)
Ingredients
- 6 sticks in desired length and width
- Acrylic paint your choice
- Metallic paint gold and silver
- Gems
- Glitter
- Ribbon rope or suede cord
Instructions
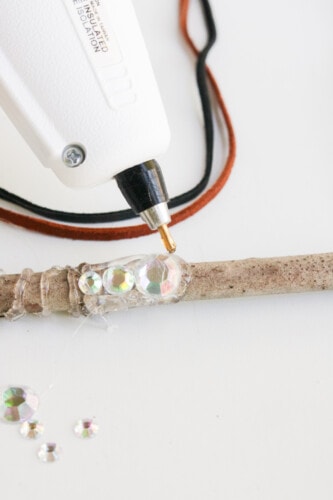
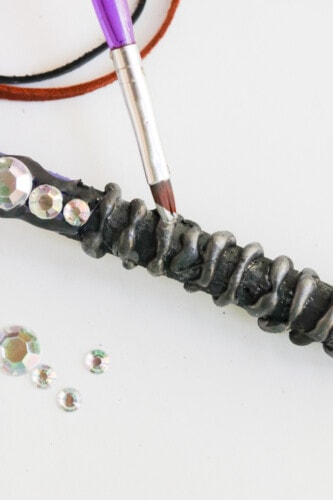
- Start by making the handle. Apply hot glue around the bottom third of your stick, adding extra for a better grip and more texture.
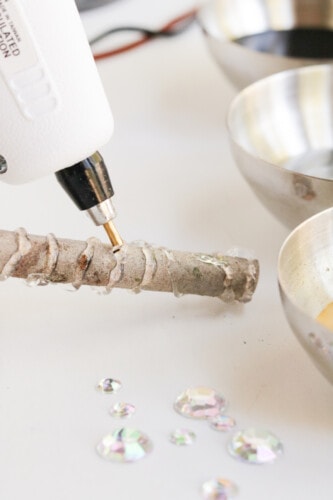
- Using the hot glue, apply gems and adjust the shape of the wand as needed.
- Paint the handle and top of the wand with whatever base coat color you choose. Set aside to dry for a few minutes.
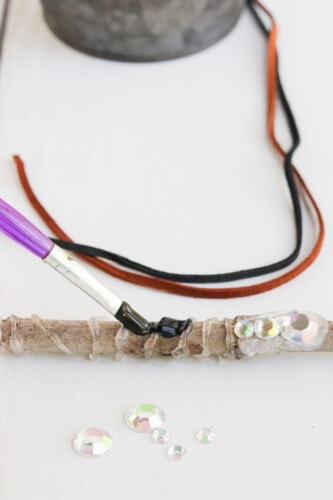
- Use metallic paint to lightly brush over the raised areas, giving the want an antique look. Give the wand a couple minutes more to dry.
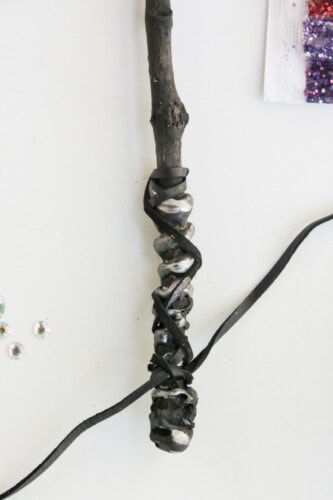
- If you want to add a little sparkle, use a little bit of hot glue or Mod Podge to attach glitter, gems, ribbon, rope and/or suede.
- Let your wands dry overnight (or if you need to make magic happen in a hurry, dry them with a hairdryer). Once dry, you're ready to start casting spells!
Notes
- If your stick has bark, make sure it's tightly attached. If it starts to flake off after you make your wand, it'll take the decorations with it. You can always smooth it down with a little sand paper.
- If you can't find sticks (or just don't have time to go foraging for them), you can substitute chopsticks or wooden dowels instead.