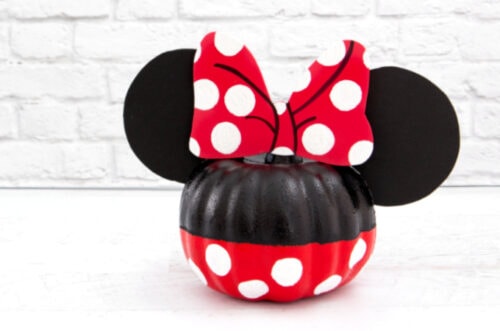
Minnie Mouse Pumpkin
This Minnie Mouse pumpkin makes a super fun Halloween craft for Disney fans of all ages!
Servings 1
Equipment
- Sponge stippler set
- Black marker
Ingredients
Instructions
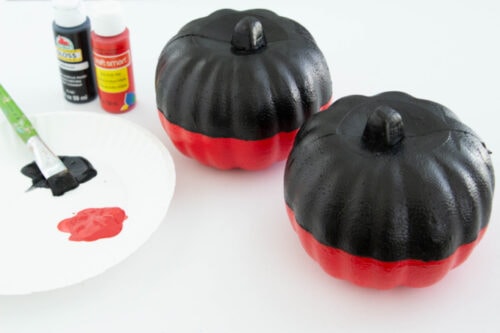
- Take a pencil and draw a horizontal line around the pumpkin. Paint the top half with black paint and the bottom half with red paint. (I made two because I was making a Mickey Mouse pumpkin too). Set aside to dry.
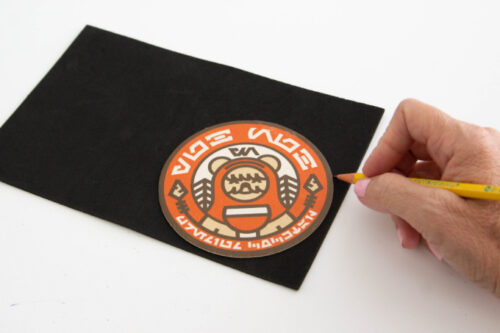
- Trace the mouse ears on black craft foam and cut it out. I traced a coaster for the ears but when I was done, I made a template of the ears and bow that you can easily cut out and trace. (Note: If you're using a bigger pumpkin, you may need to increase the template size)
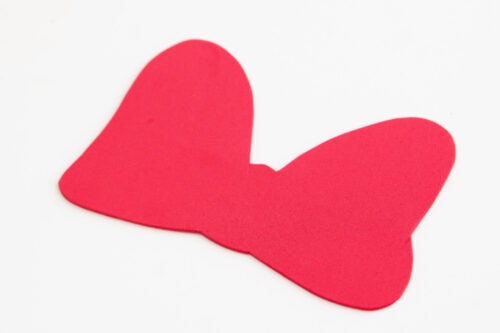
- Trace the bow on red craft foam and cut out.
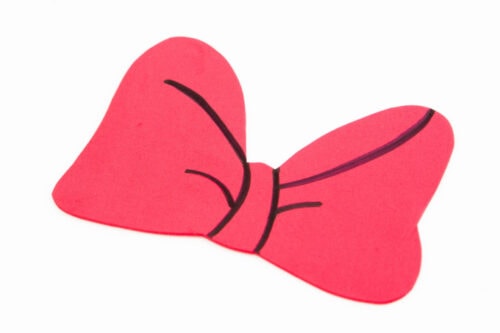
- Use a black marker to draw accents on the bow.
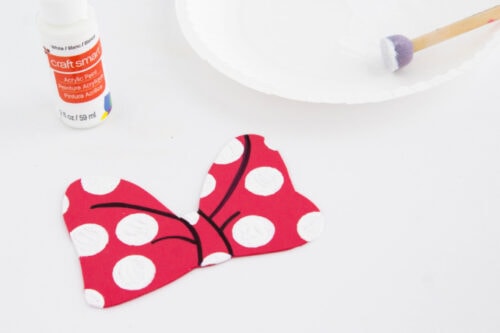
- Now use the stippler brush to decorate the bow with white dots. I usually just dip it in the paint, wipe off access paint, then give it a little twirl/spin in place as I hold it against the surface.
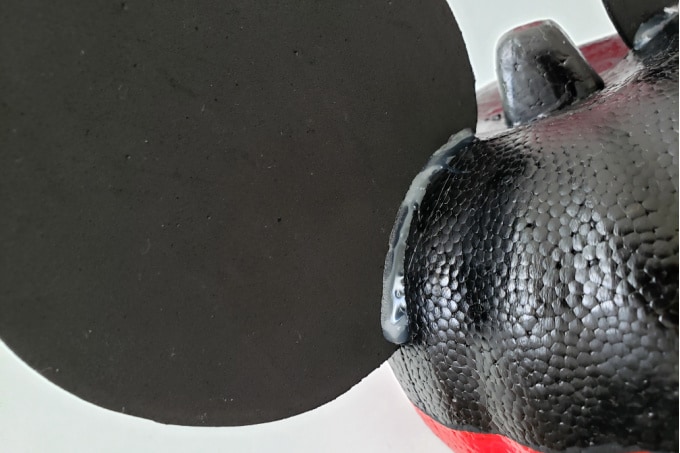
- Once the paint on the pumpkin dries, you're ready to add the ears. Before you add the glue, place the ears against the pumpkin. You may need to trim them so that they fit flush with the pumpkin. Once you have a good fit, place hot glue along the small curve of one ear and attach.
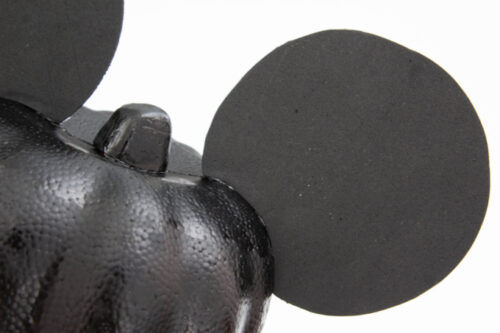
- After holding the first ear in place until the glue set, I added a little more hot glue to the back of the ear to secure it in place.
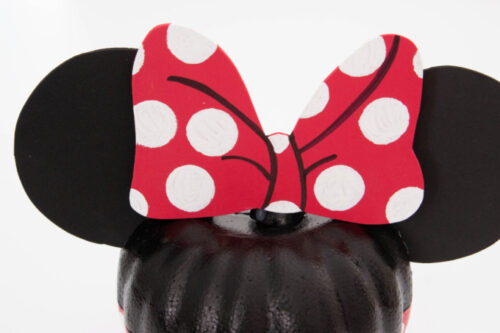
- Attach the other ear and once both ears are firmly attached, add the red bow. I added a few drops of glue to the pumpkin stem and attached it there.
- Finally, it's time to add the dots to Minnie's "dress". Use the stippler brush to add white dots around the red part of the pumpkin.
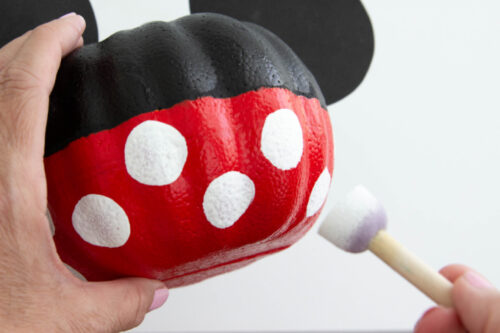
- Once the paint dries, your Minnie Mouse pumpkin is ready to display!