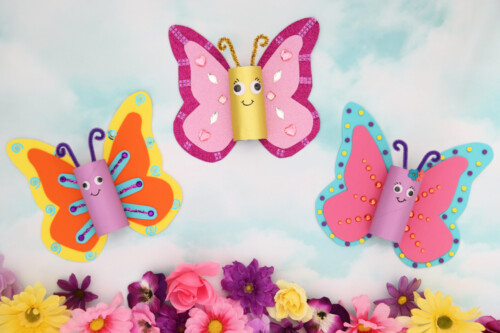
Butterfly Toilet Paper Roll Craft
The kids will love getting crafty with these adorable butterfly toilet paper roll crafts!
Servings 1
Equipment
- White craft glue (or hot glue gun)
- Thin black marker
- Hole puncher (optional)
Ingredients
- 1 Toilet paper roll
- Acrylic paint for the body of the butterfly
- 2 or more 8x12" sheets of craft foam in various colors
- 2 Wiggle googley eyes
- 1 6" or longer piece of chenille/pipe cleaner
- Decorations for butterfly: sequins glitter, gemstones etc.
- Printable butterfly templates
Instructions
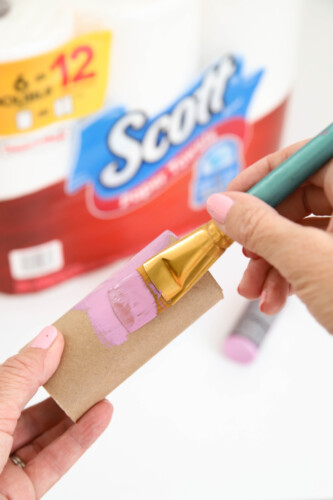
- Start by painting your toilet paper roll, then set aside to dry.
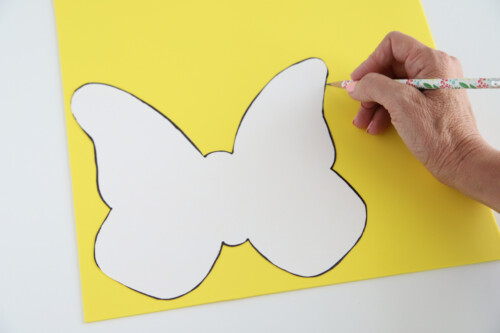
- Print the butterfly template.
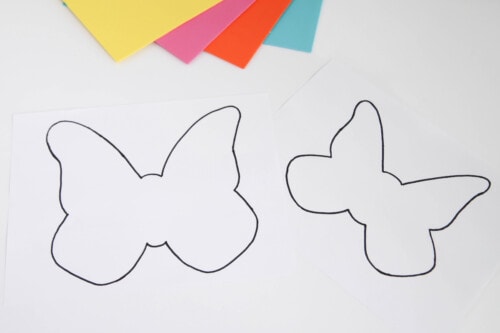
- Cut the butterflies out and trace on craft foam. The bigger one will be the "outline" color while the smaller one will be the main color.
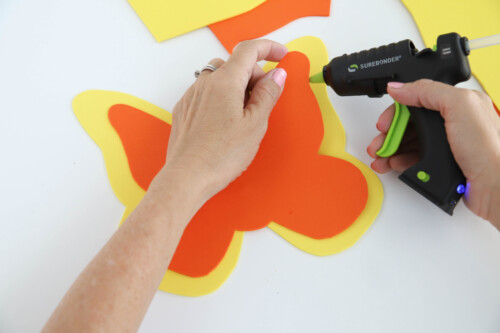
- Glue the smaller butterfly to the top of the larger one. I used a glue gun because it dries faster but for younger children, you'll want to go with white craft glue.
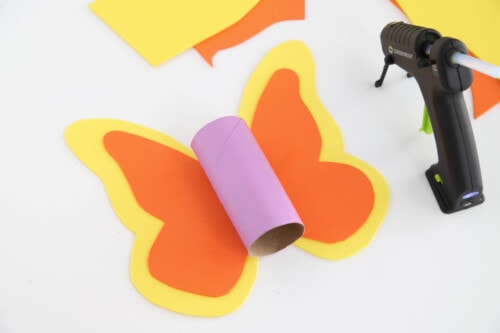
- Once the paint on your toilet paper roll has dried, glue it to the middle of your butterfly.
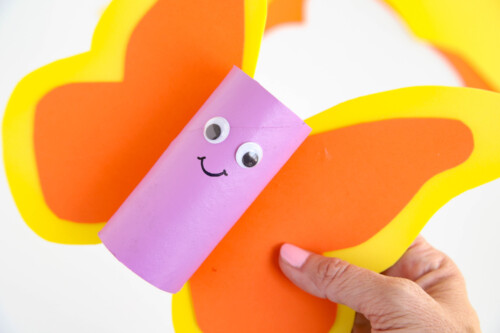
- Add wiggly eyes and use a thin marker to draw a smile (because butterflies are happy, right?)
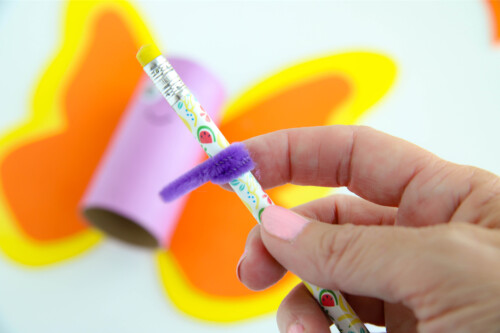
- Cut your chenille (a.k.a. pipe cleaner) into two 3" pieces. Twirl the top part of each piece around a pencil to give it that curl at the top of the antennae.
- Now use whatever craft supplies you like to decorate your butterfly (I made more than one to show some fun options). You can use sequins, gemstones, glitter and even scraps of leftover craft foam. I used a hole puncher and made foam circles for my second butterfly. Get as creative as you want.

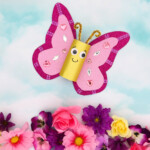
- You can switch up the material you use for the wings too. My daughter saw my glitter foam and suggested I use it to make another butterfly. These butterflies are so much fun to make, I couldn't help myself. This time I wrapped a thin glitter paper around the "body" instead of pulling the paints back out.

- How cute are these? I still have 17 rolls of Scott toilet paper left...what should I make next?