
DIY Clothespin Christmas Tree Craft
This adorable clothespin Christmas tree craft is the perfect way to keep the kids entertained over the holidays!
Servings 2
Equipment
- [LIquid glue with fine tip applicator]
Ingredients
Instructions
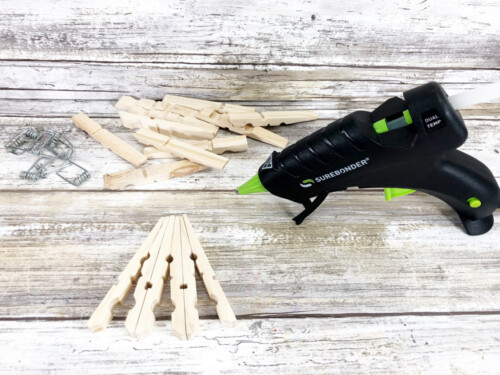
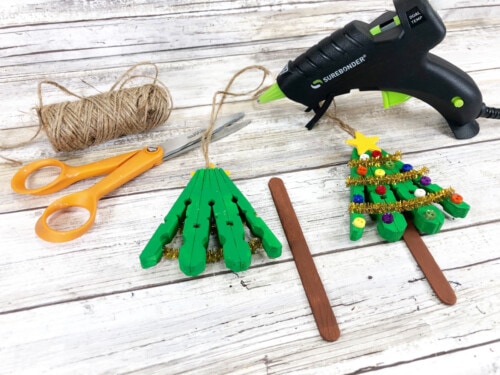
- First, assemble all of your supplies and remove the metal spring from your standard wooden clothespins.
- Take three full wooden clothespins and line them up to create a wedge shape. Use a hot glue gun to attach the wooden clothespin pieces together.
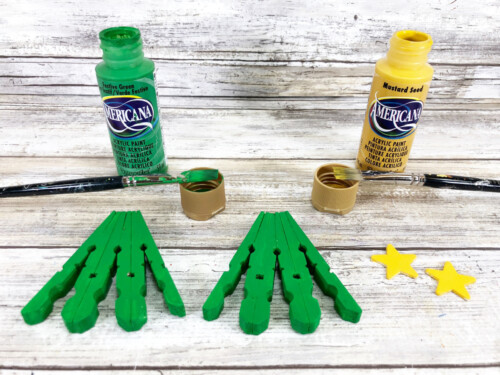
- Paint front, back and sides of the Christmas tree with the green paint, then set aside to dry.
- While waiting for the tree to dry, paint wooden stars with bright yellow craft paint. Set the stars aside to dry too. Add a second coat of paint, if necessary.
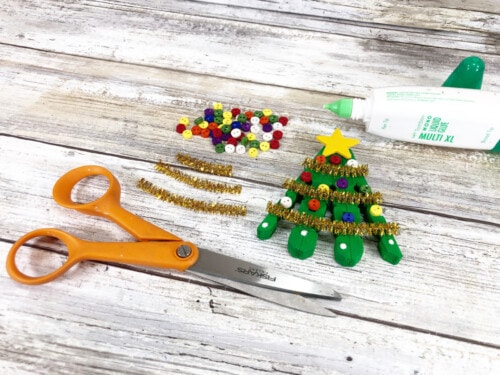
- Measure and cut the chenille stem into three sections. This will be the garland. Use the fine tip of the liquid glue to attach each piece across the tree. Add mini buttons as ornaments and glue a star securely to the top of the tree.
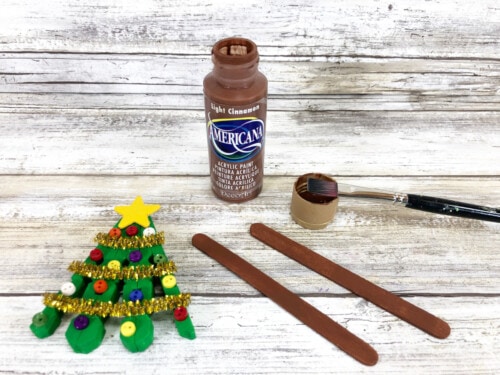
- Paint a wooden craft stick with dark brown acrylic craft paint. Let dry, then add a second coat if needed. Use the glue gun to attach the craft stick to the back of the tree.
- Finally, cut 12” of natural jute twine, tie it in a loop with a knot and use the glue gun to glue twine to the top of the tree. Be sure the loop is large enough to hang on a tree branch.
- Now your adorable clothespin Christmas ornament is ready for the tree!

Notes
- Hot Glue Alternative: If you don’t have a hot glue gun or you’ve run out of glue sticks, you can substitute liquid craft glue instead. However, it will take longer for your craft to dry if you go this route.
- If working with young kids, you can skip the hot glue gun and use liquid glue in it's place. Just be sure to set aside extra time to let the glue dry.
- If you don't have a wooden star, you can cut one out of construction paper or craft paper.