Go Back
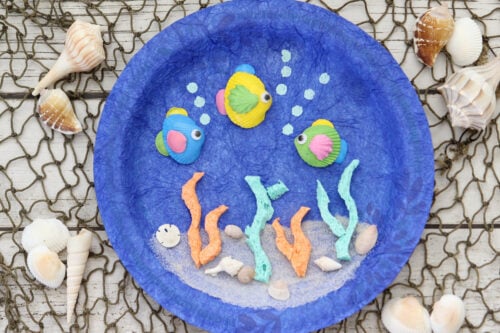
A paper plate decorated to resemble an underwater scene with three colorful fish, coral, and shells made from craft materials, set against a net-like background.
Print

Ocean Paper Plate Craft

Keyword ocean paper plate craft
Cook Time 45 minutes
Total Time 45 minutes

Ingredients

  • Paper plates
  • Blue tissue paper 1 sheet covers two plates
  • White craft glue
  • Sand
  • Seashells
  • Brightly colored acrylic paints
  • Small wiggly eyes
  • Colorful sponges

Instructions

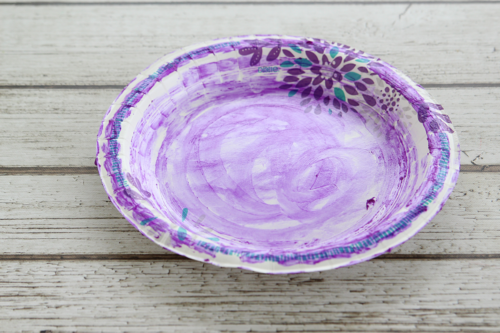
  • Cover the front side of your plate with glue.
    A paper plate with a floral design, partially painted with purple paint, sits on a light wooden surface.
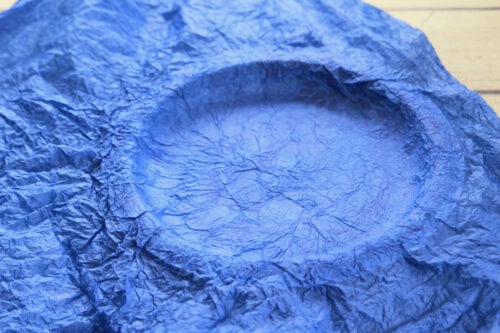
  • Crumble, then uncrumple the blue tissue paper (it adds texture). Lay the tissue paper over the top of the plate, then push down gently starting from the middle so that it sticks.
    A round plate is covered with a wrinkled sheet of blue tissue paper, set on a light wooden surface.
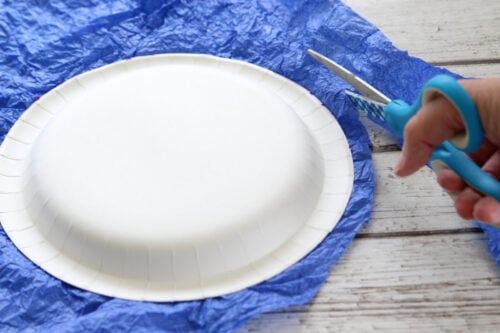
  • Flip the plate over, and cut the tissue paper, leaving about 1/2" extending out from the plate.
    A hand uses blue-handled scissors to cut slits around the edge of an upside-down white paper plate on a crumpled blue tissue paper background.
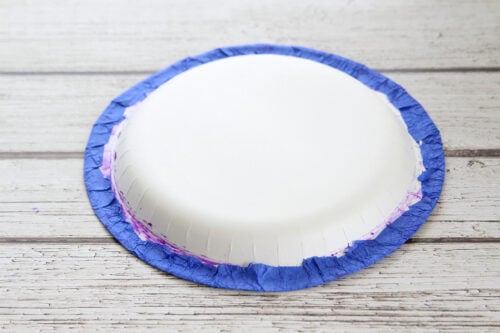
  • Fold the extra tissue paper around the bottom of the plate, pushing it into the glue.
    A white paper plate is placed upside down on a wooden surface, with its edges outlined in blue and purple tissue paper.
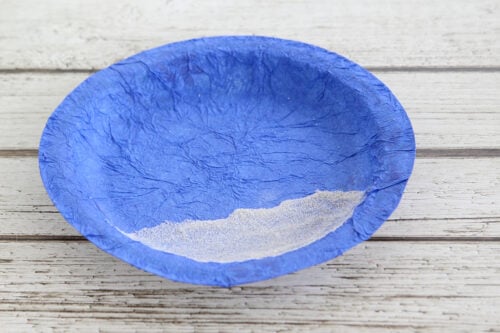
  • Flip the plate back over to the "ocean" side. Spread white glue over the bottom section where you'd like the sand to go. Sprinkle sand over the glue, press down so that it sticks, then shake off the excess.
    A blue paper plate with a small amount of white sand sits on a white wooden surface.
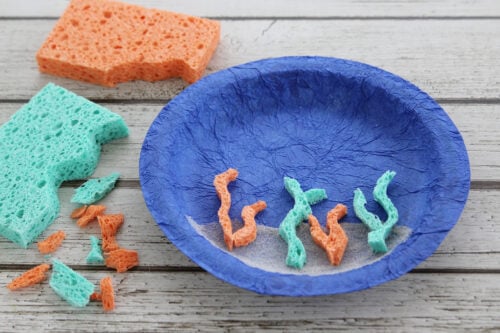
  • Cut sponges into short, curved shapes (little crafters may need some help with this part). Glue to the plate so that they are half in the sand and half in the water.
    A blue paper bowl with sand and pieces of orange and green sponges cut to resemble coral, with whole sponges and scraps nearby on a wooden surface.
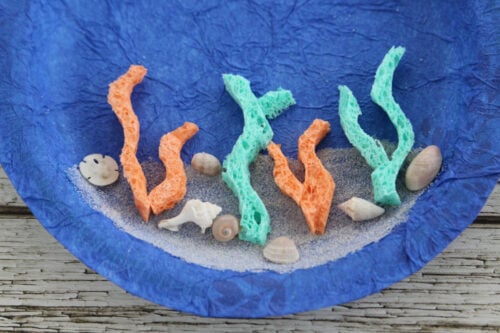
  • Add some small seashells around the sponges.
    A paper plate with blue tissue, orange and green sponge coral, sand, and assorted small seashells arranged to resemble an underwater scene.
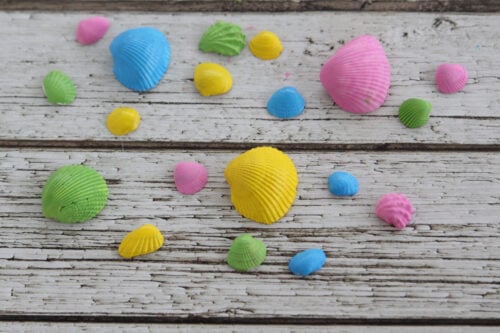
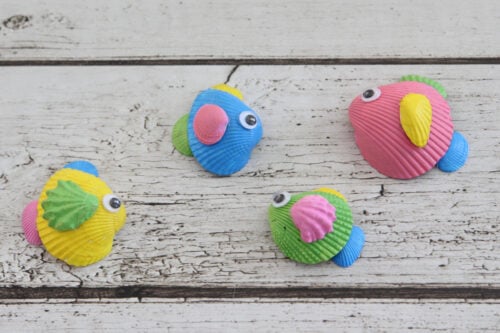
  • For each fish you make, you'll need one big shell and three smaller ones. Paint the shells whatever colors you like best.
    Assorted seashells painted in bright colors—blue, pink, yellow, and green—are scattered on a weathered white wooden surface.
  • Glue one of the small shells to the top of the large shell, then add two underneath, making a top fin and a tail. Add a wiggly eye. Repeat to make several more fish.
    Four colorful fish crafts made from painted seashells with googly eyes arranged on a white wooden surface.
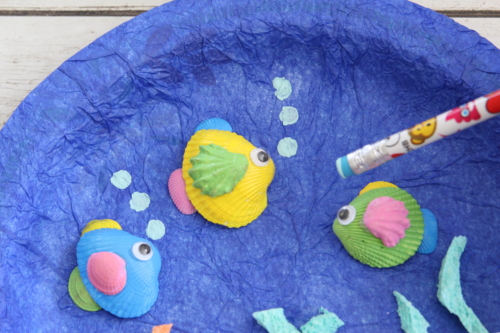
  • Once the glue is dry on your fish, glue them to the paper plate. Dip the eraser end of a pencil into light blue paint to make bubbles.
    Three painted seashells arranged as fish on a blue textured surface, with a pencil eraser creating bubble shapes near the fish.
  • Let the glue and paint dry, then your artwork is ready to show off to the world!
    A blue paper plate features painted seashell fish, colored pasta seaweed, small shells, and "bubbles," arranged to resemble an underwater ocean scene.

Notes

  • We used three kinds of glue to make these: glue sticks for gluing the tissue paper to the plate, white craft glue to add the sand and hot glue for making the fish and attaching them to the plate. You can complete the whole craft with just white craft glue though.
  • If you'd like to display your child's artwork, you can punch two holes in the top and add a ribbon. Now the craft is ready to hang.
  • If you don't have shells already, they are easy to find at most craft stores.
  • Don't have blue tissue paper on hand? You can paint the paper plate with blue paint instead.
  • I used plates with a print because I thought it would look a little like seaweed under the tissue paper. You can also use plain white paper plates.