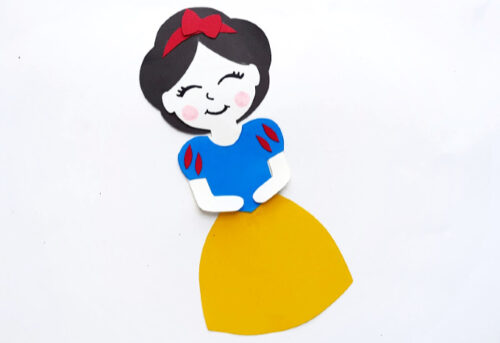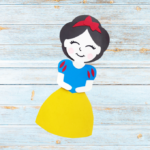
Snow White Paper Doll Craft
This Snow White paper doll craft is the perfect rainy day activity for little Disney princess lovers!
Servings 1
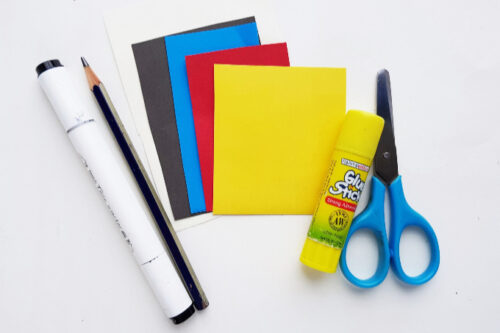
Equipment
- Light pink marker (optional)
Instructions
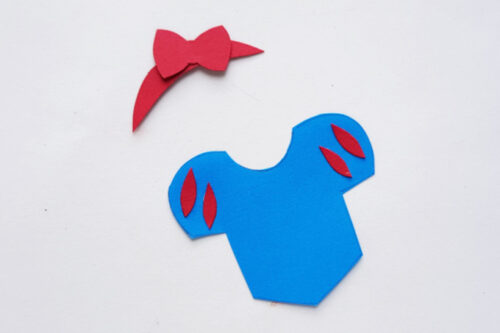
- Select craft paper for Snow White's skin, dress and accessories.
- Print the template and cut out the pieces. Trace patterns onto the craft paper (hair on black paper, top of dress on blue etc) and cut out.
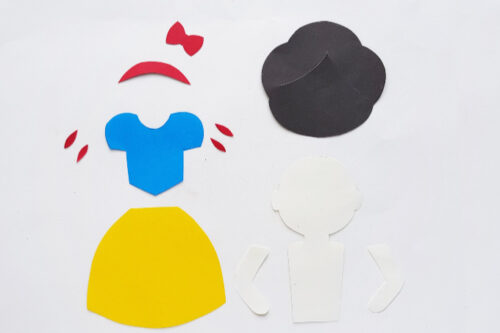
- Cut a slit along the line inside the hair pattern.
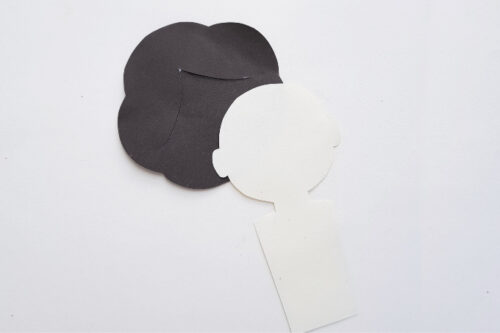
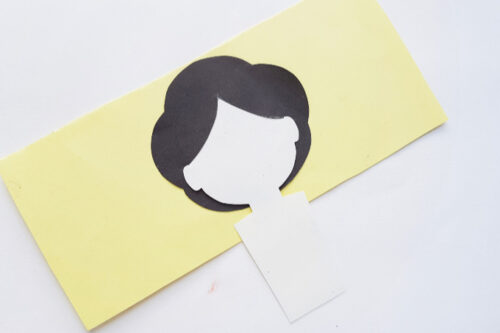
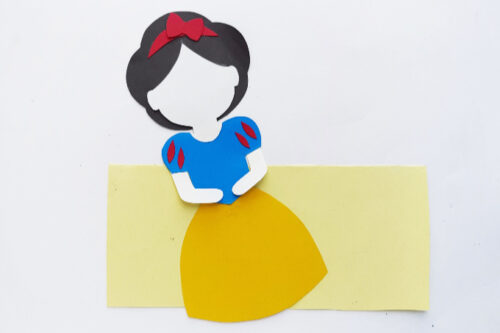
- Slide the top end of the head through the slit at the bottom of the hair. Glue.
- Attach the red cutouts to the dress sleeves. Then attach the bow pattern to the headband strip cutout.
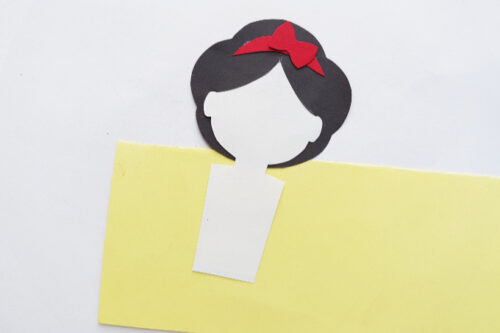
- Attach the bow/headband to the top of the hair.
- Glue the skirt to the bottom of the body and attach the arm cutouts to the dress sleeves.
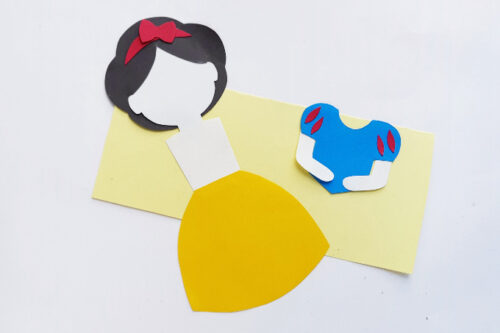
- Take the dress pattern and glue it to the body.
- Use markers to draw Snow White's eyes, nose and mouth. You can also use a pink marker to give her cheeks a rosy look.