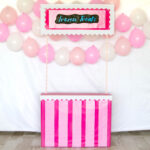
DIY Frozen Treat Stand
This frozen treat stand is the perfect craft for some summer fun!
Servings 1
Ingredients
- Chart storage box
- 3 rolls of hot pink wrapping paper
- 1 roll of light pink wrapping paper
- 2 wooden dowels I found these in the Walmart craft dept
- 1 foam board
- 1 piece of black posterboard
- 2 rolls pink ribbon
- 2 milk jug lids
- Small chalkboard
- Flavors Of The Day sign for chalkboard
Instructions
- Start by assembling the cardboard storage box
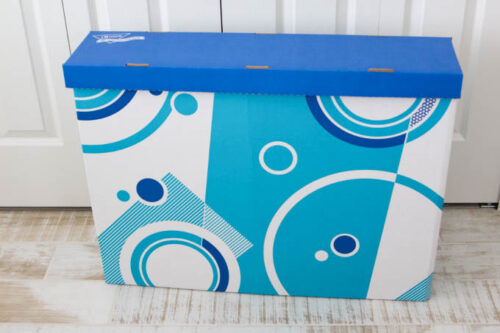
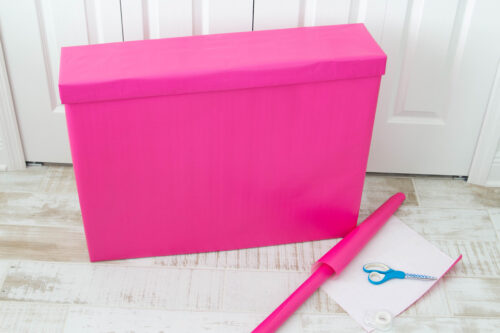
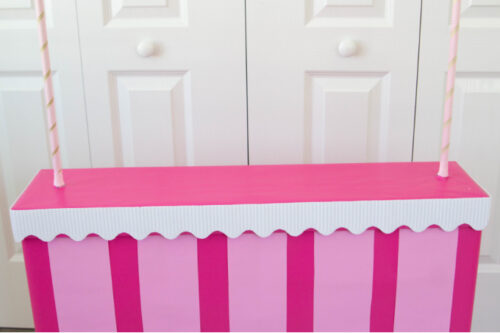
- Wrap the box and lid in hot pink wrapping paper. I used tape because I felt like it would stay in place better but a glue stick will work too.
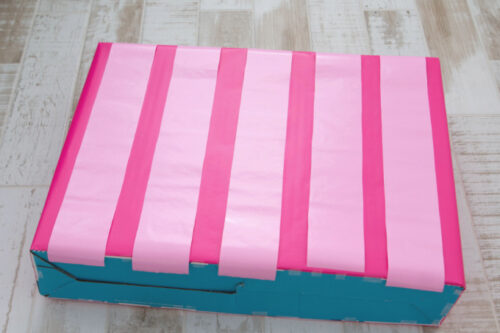
- Cut five strips of light pink wrapping paper, slightly taller than the box. I spaced them out first, then used a glue stick to glue each strip to the box.
- Take the foam board and measure it lengthwise at the 10" mark. Mark with a pencil, then cut.
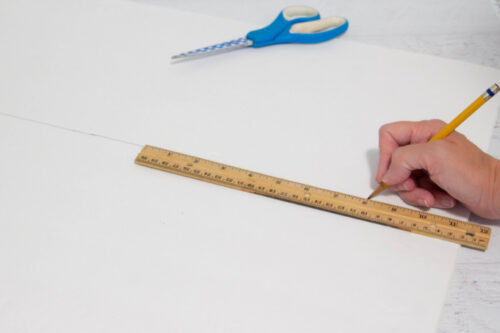
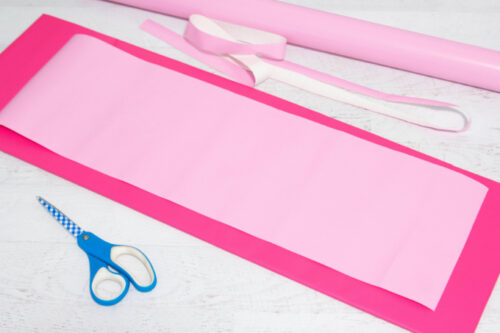
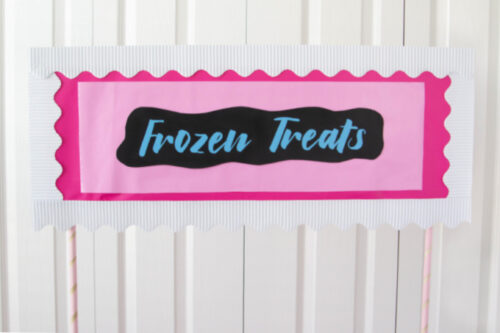
- Wrap the foam board in hot pink wrapping paper, then cut a light pink rectangle and place it in the middle.
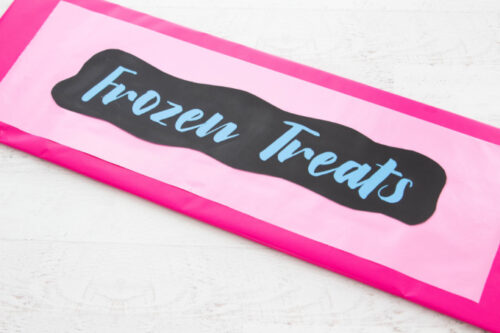
- Next, cut a piece of the black posterboard to go in the middle. You can cut it an a rectangle or cut a curvy shape to make it whimsical and fun. Originally I planned to add "Frozen Treats" with a white crayon for a chalkboard look. I ended up using my electric cutter for a more finished look but you can do it either way.
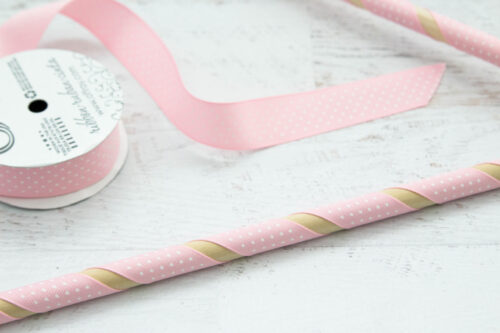
- Wrap the dowels with ribbon, securing it at each end with a drop or two of hot glue.
- Measure approximately 2 inches in on each side of the lid and use a craft knife or box cutter to cut a small "x".
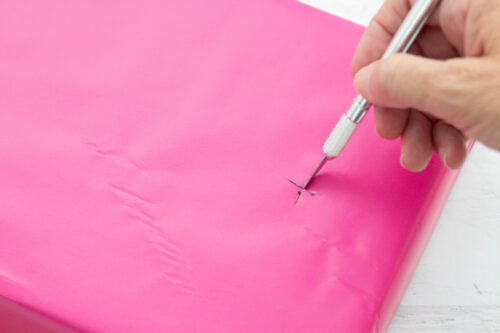
- Push a dowel through the first hole. Squeeze a generous amount of hot glue into one of the milk jug lids.
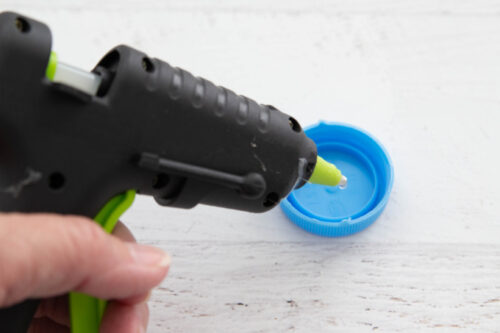
- Place the end of the dowel inside the milk jug lid and let set until the hot glue hardens. Add more glue around the edge of the lid and glue to the bottom of the box lid. I used plenty of glue so that the dowels would be sturdy when I added the frozen treat sign.
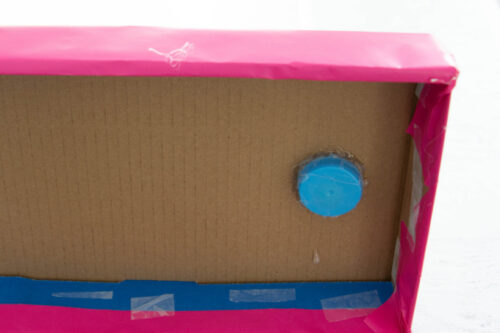
- Repeat with the second dowel and let the hot glue harden. Place the lid on the box and glue the sign to the top of the dowels.
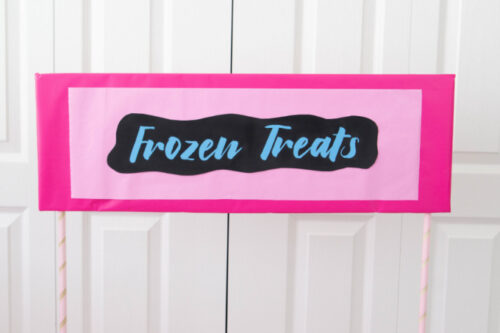
- Originally I was planning to stop here but I came across some scalloped border that added the perfect finishing touch. I used hot glue to attach it to the front and sides of the lid.
- I also added it around the edges of the frozen treat sign.
- For extra fun, you can make a sign listing the flavors of the day. I found an inexpensive chalkboard in the Walmart craft section that was the perfect size. It came with a small rope to hang it but I cut that off and made a pretty border by hot gluing ribbon around the edges. [mv_img id="39068"
- I used a cutting machine to add the flavors but you can easily use a piece of chalk instead. Then I created a "Flavors Of The Day" sign on card stock. I couldn't decide if I wanted pink or blue but ultimately chose blue because it matched the sign on top. Feel free to print these Flavors Of The Day labels to use for your own treat stand.