Serving Up Bomb Pop Middles® With A DIY Frozen Treat Stand
This post may contain affiliate links. As an Amazon Associate, I earn from qualifying purchases.

This is a sponsored post written in partnership with Bomb Pop Middles
This DIY Frozen Treat Stand proves that moms are not one thing and our desserts don’t have to be either! Find out about the awesome flavor combinations that make up Bomb Pop Middles® and bring out your crafty side at the same time!
Summer is in full swing and mom life is busier than ever! If you’re a mom, you get it because we’re not just one thing. From being cooks, teachers, nurses, chauffeurs and more, we have a million jobs all rolled up into one. Maybe that’s I was so excited when I came across the new Bomb Pop Middles® in Walmart. Just like moms, these new desserts aren’t just one thing either.
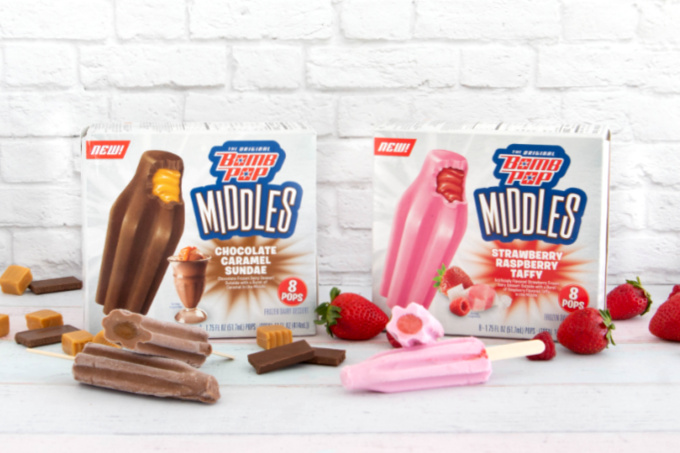
Bomb Pop Middles®
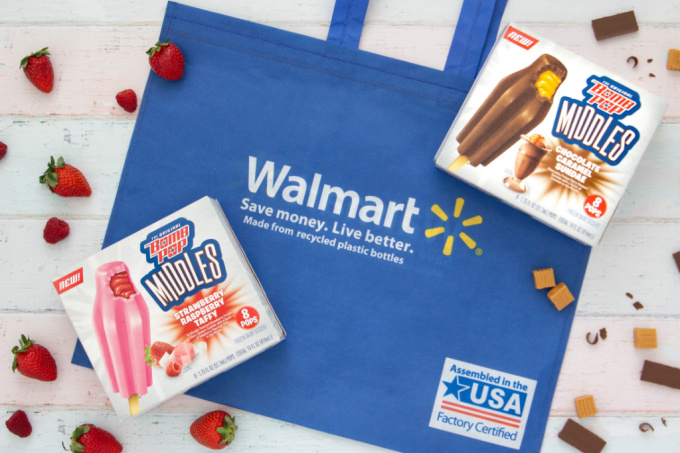
These fun new frozen treats deliciously different! Each one is a mashups of flavors we already love, from chocolate and caramel to strawberries and raspberry taffy. Bomb Pop Middles take these flavors and combine them into amazing desserts that are ice creamy on the outside and deliciously gooey in the middle.
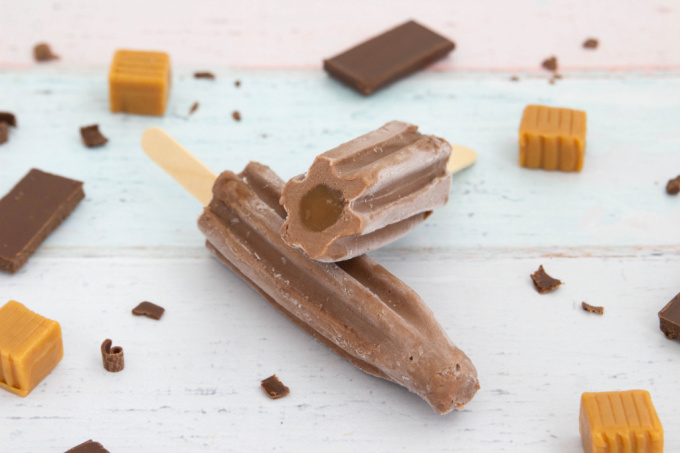
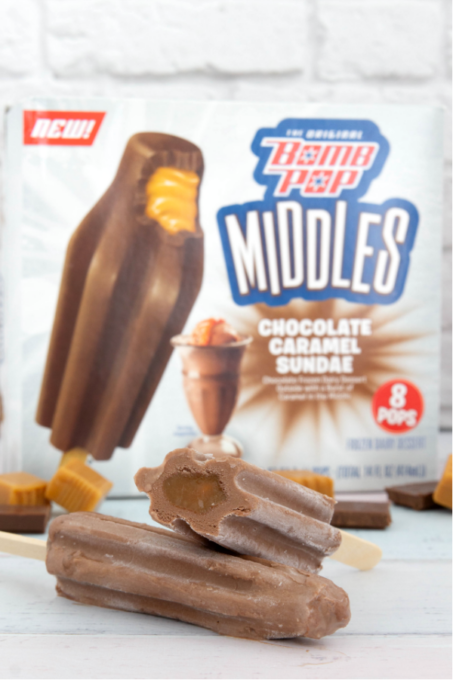
The Chocolate Caramel Sundae takes chocolate ice creamy like outside and stuffs it chock full of caramel. If chocolate and caramel aren’t a match made in heaven, I don’t know what is!
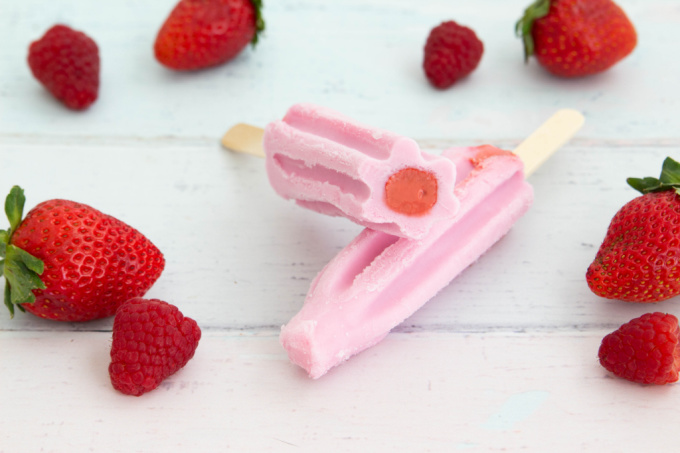
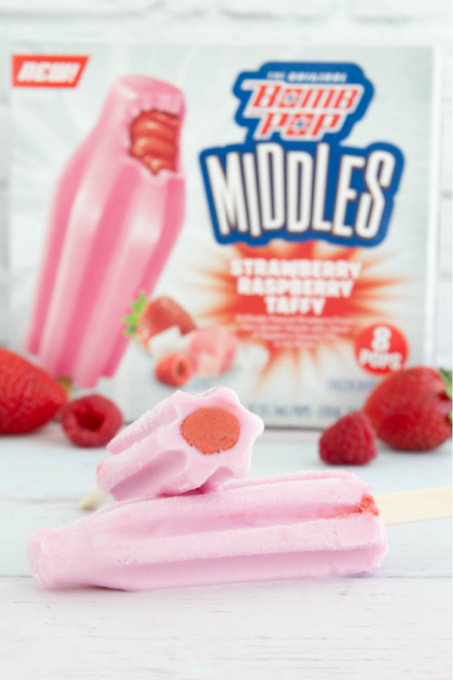
The Strawberry Raspberry Taffy flavor combines creamy strawberry ice creamy outside and gooey raspberry taffy in one delicious bite!
The only hard part is choosing which one of these frozen dairy desserts to try first. They’re especially perfect for this time of year. With summer in full force, they’re the perfect way to keep cool on hot summer days!
You can’t wait to try these now, right? Head to my Instagram page to enter to win a cool Bomb Pop Middles® prize pack. Five lucky winners will win a Walmart gift card, a beach ball and of course, Bomb Pop Middles®!
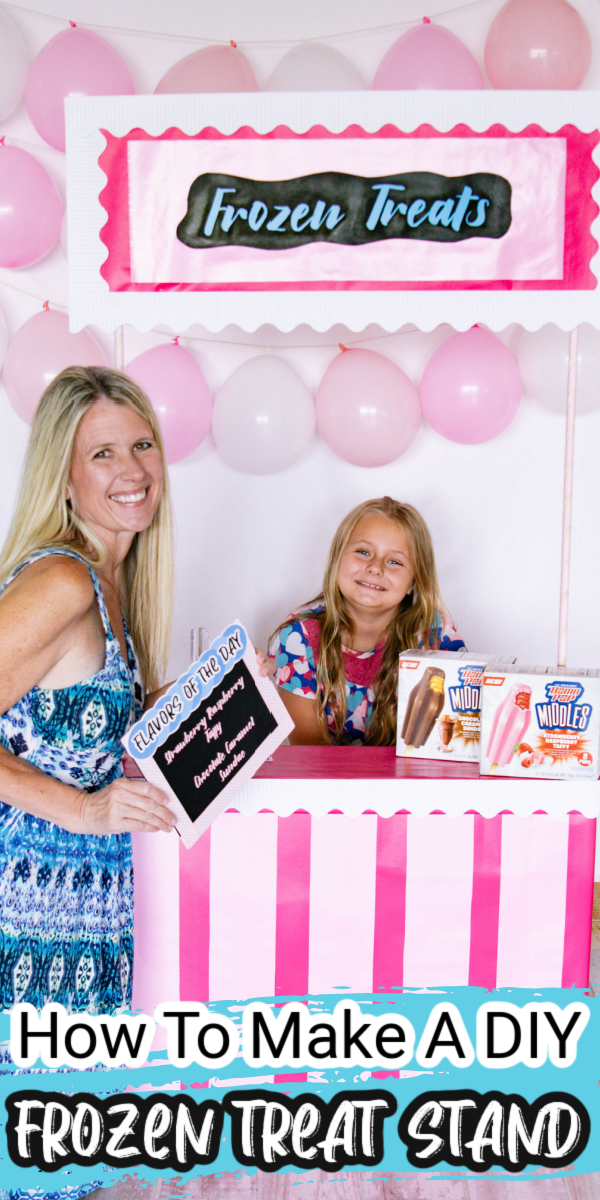
DIY Frozen Treat Stand
I knew my girls were going to be super excited to try these! My youngest is a serious chocolate lover and my oldest blows through strawberries as soon as I unpack the groceries. Since it still feels like summer out, I’m always looking for ways to keep them entertained so I decided to take things to a whole new level. I was going to make a cute frozen treat stand for them to play with. After all, in addition to everything else, I’m a crafty DIY mom too.

DIY Frozen Treat Stand
Materials
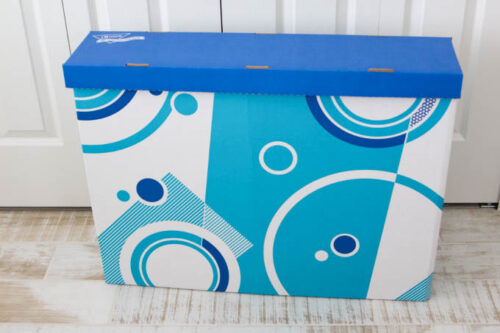
- Chart storage box
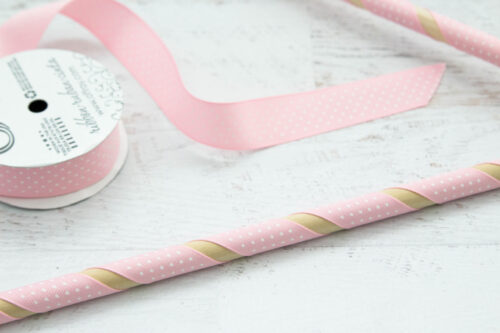
- 3 rolls of hot pink wrapping paper
- 1 roll of light pink wrapping paper
- 2 wooden dowels I found these in the Walmart craft dept
- 1 foam board
- 1 piece of black posterboard
- 2 rolls pink ribbon
- 2 milk jug lids
- Small chalkboard
- Flavors Of The Day sign for chalkboard
Instructions
- Start by assembling the cardboard storage box

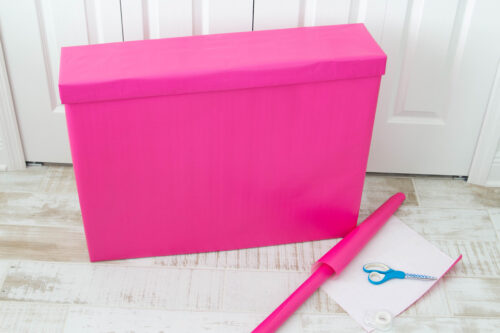
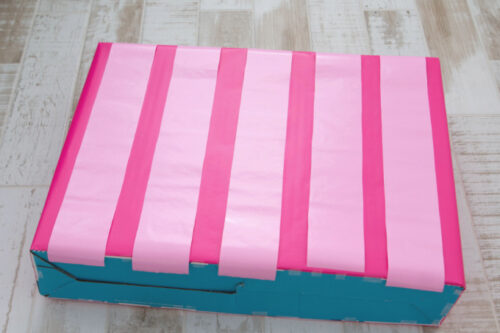
- Wrap the box and lid in hot pink wrapping paper. I used tape because I felt like it would stay in place better but a glue stick will work too.
- Cut five strips of light pink wrapping paper, slightly taller than the box. I spaced them out first, then used a glue stick to glue each strip to the box.
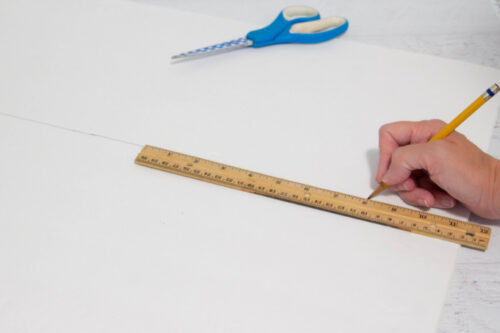
- Take the foam board and measure it lengthwise at the 10" mark. Mark with a pencil, then cut.
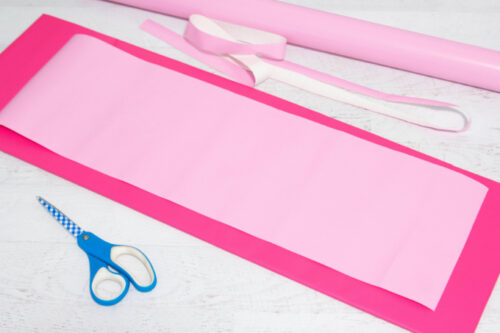
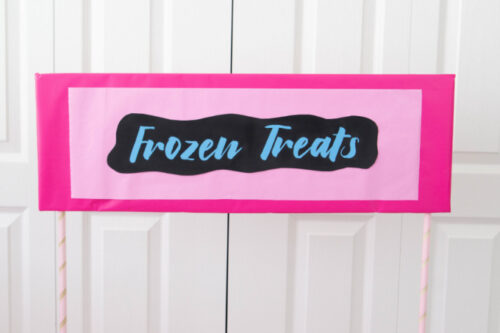
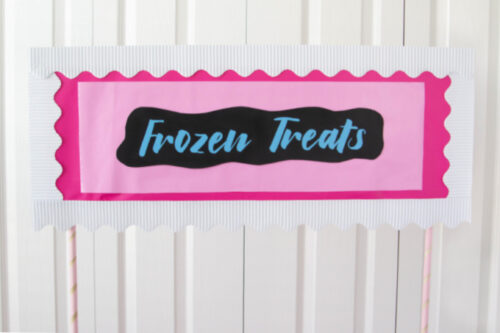
- Wrap the foam board in hot pink wrapping paper, then cut a light pink rectangle and place it in the middle.
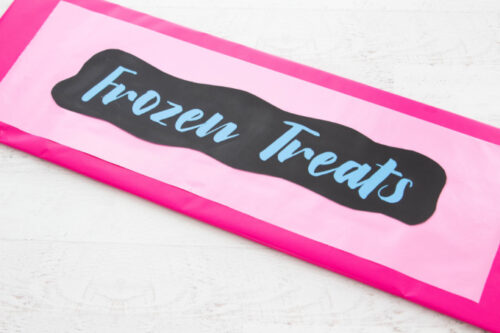
- Next, cut a piece of the black posterboard to go in the middle. You can cut it an a rectangle or cut a curvy shape to make it whimsical and fun. Originally I planned to add "Frozen Treats" with a white crayon for a chalkboard look. I ended up using my electric cutter for a more finished look but you can do it either way.
- Wrap the dowels with ribbon, securing it at each end with a drop or two of hot glue.
- Measure approximately 2 inches in on each side of the lid and use a craft knife or box cutter to cut a small "x".
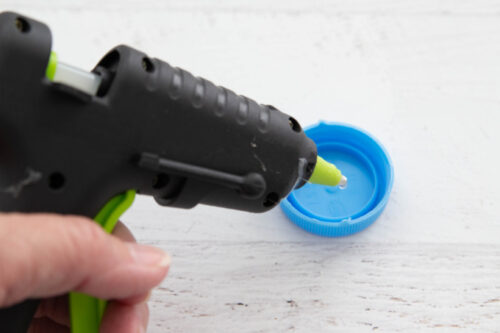
- Push a dowel through the first hole. Squeeze a generous amount of hot glue into one of the milk jug lids.
- Place the end of the dowel inside the milk jug lid and let set until the hot glue hardens. Add more glue around the edge of the lid and glue to the bottom of the box lid. I used plenty of glue so that the dowels would be sturdy when I added the frozen treat sign.
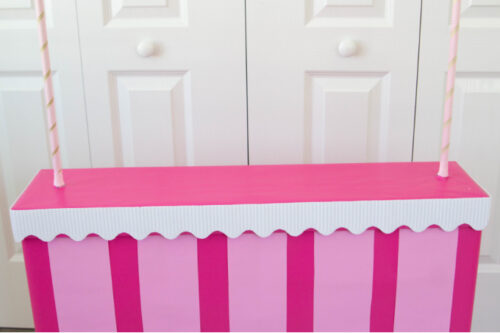
- Repeat with the second dowel and let the hot glue harden. Place the lid on the box and glue the sign to the top of the dowels.
- Originally I was planning to stop here but I came across some scalloped border that added the perfect finishing touch. I used hot glue to attach it to the front and sides of the lid.
- I also added it around the edges of the frozen treat sign.
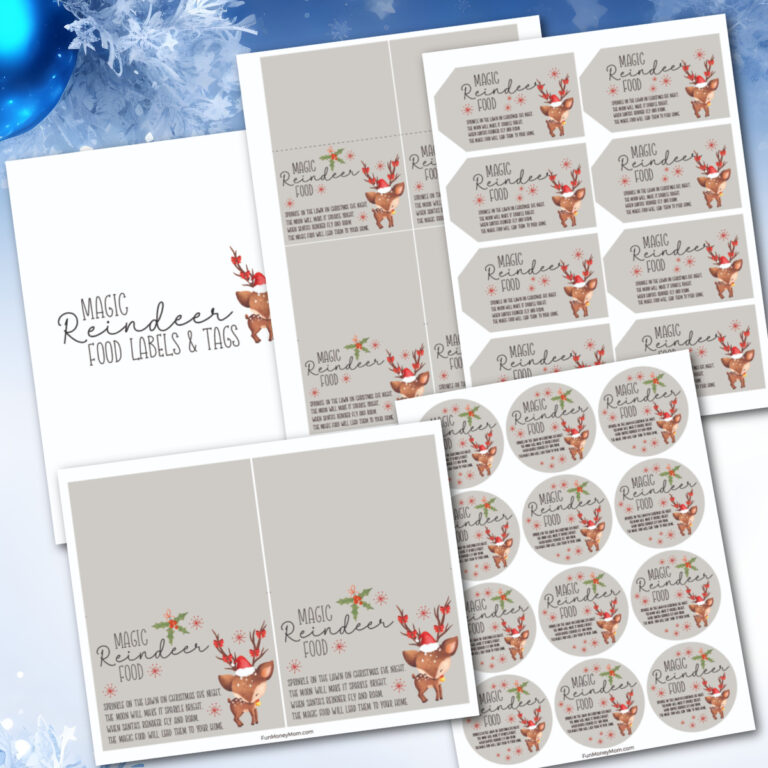
- For extra fun, you can make a sign listing the flavors of the day. I found an inexpensive chalkboard in the Walmart craft section that was the perfect size. It came with a small rope to hang it but I cut that off and made a pretty border by hot gluing ribbon around the edges. [mv_img id="39068"
- I used a cutting machine to add the flavors but you can easily use a piece of chalk instead. Then I created a "Flavors Of The Day" sign on card stock. I couldn’t decide if I wanted pink or blue but ultimately chose blue because it matched the sign on top. Feel free to print these Flavors Of The Day labels to use for your own treat stand.


Did You Make This Project?
Share it with me on Instagram @funmoneymom and follow on Pinterest @funmoneymom for more!
Serving Up Our Frozen Treats
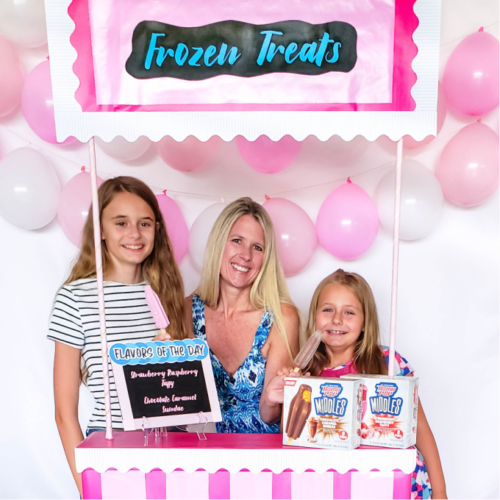
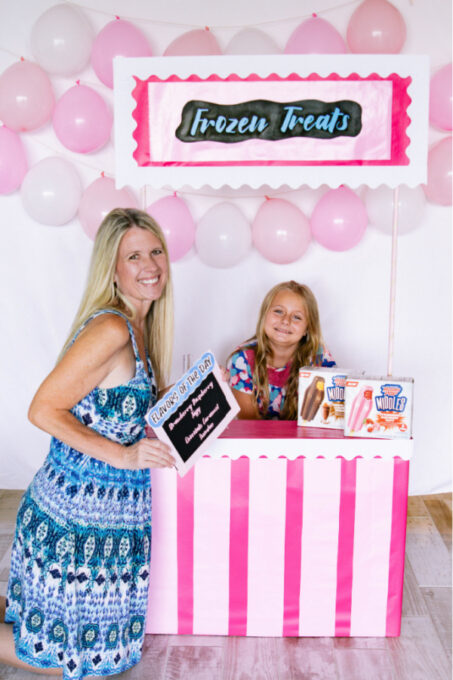
This was such a fun craft and I was so excited at how cute it turned out. I couldn’t wait to surprise my girls. I knew Keira, my youngest, would especially love it…and I was right!
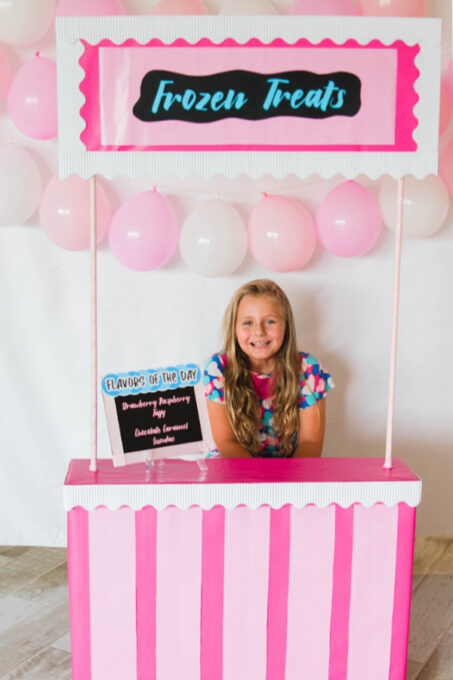
She couldn’t wait to start playing and I couldn’t wait to start eating! First I checked out the flavors of the day. Decisions, decisions…should I choose Strawberry Raspberry Taffy or Chocolate Caramel Sundae? Keira suggested I go with the fruity flavor (I’m guessing that’s because she wants all the Chocolate Caramel Sundae for herself!).
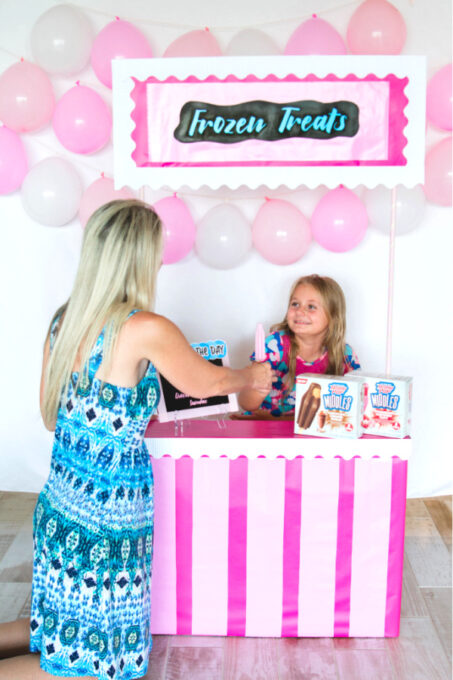
We were having so much fun that we may have gotten a little nutty! We discovered that our frozen treat stand makes a fun photo “booth” too!
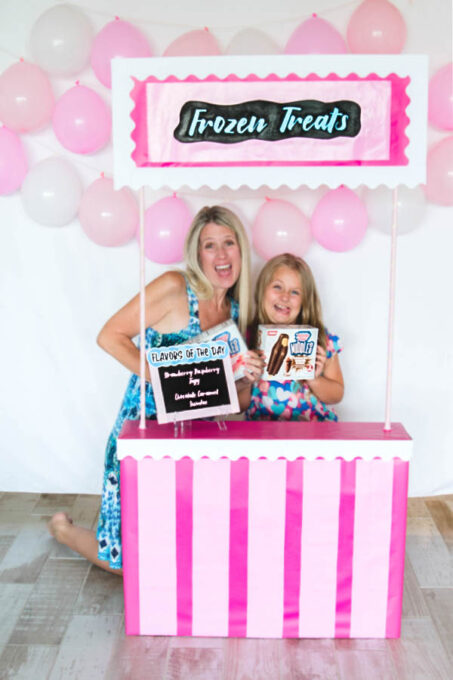
I’m not sure if Ashling didn’t want to miss out on the silliness or if she was just tempted by the Bomb Pop Middles®. Either way, she got off her computer to join us. That’s a pretty big deal for this soon-to-be teenager!).
More Bomb Pops Middles Flavors
We are all a little obsessed with Bomb Pop Middles now. The flavor combinations taste so perfect together and now we’re on a mission to try the other flavors. I mean, who doesn’t love S’mores and Chocolate Creme Sandwiches! Looks like I may need to make more room on our “flavors of the day” sign!
Which Bomb Pop Middles® flavor would you try first? Are you more of a chocolate lover…
…or is Strawberry Raspberry Taffy more your style?
Let’s be friends!
Did you love this post? Make sure to comment below and let me know your thoughts! And don’t forget to follow on your favorite social network below!

About Lisa O’Driscoll
Lisa O’Driscoll is a lifestyle and parenting expert, cookbook author, and the creative force behind Fun Money Mom, a popular blog she’s run since 2014. She’s the author of the children’s cookbook Roll It, Slice It, Mash It, Dice It, designed to get kids excited about cooking. With multiple TV appearances under her belt, she loves sharing her expertise on family-friendly recipes, creative DIYs, and party planning and is always on a mission to inspire and entertain!