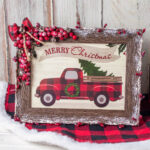
DIY Red Truck Christmas Picture Frame
This DIY Red Truck Christmas picture frame is a super cute holiday craft that lets you turn a simple Christmas card into a beautiful piece of holiday art!
Servings 1
Equipment
- Paintbrush (small)
Ingredients
Instructions
- Cut the Christmas card in half. Set the back half aside to use in another project.
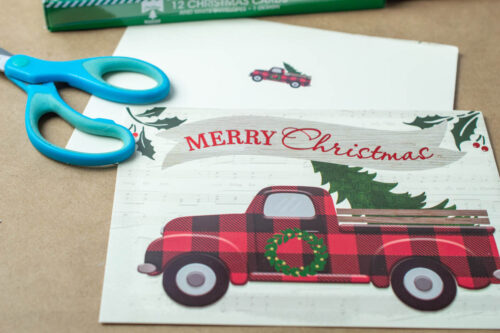
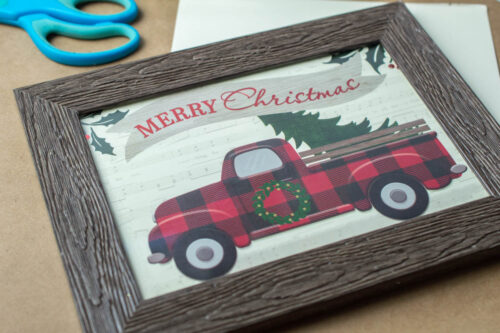
- Open the frame and remove the insert. Place the Christmas card in the frame and reassemble.
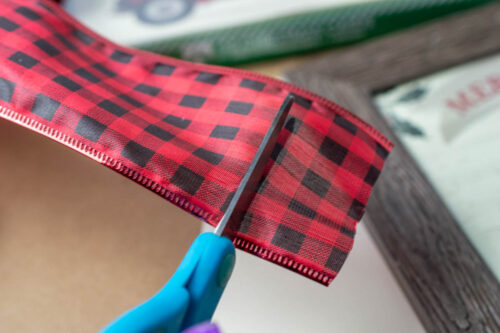
- Cut a piece of ribbon about 1 ½ inches long. (You can use the plaid squares as a guide. Cut from the middle of a black square, skip one, then cut again in the middle of the third black square.)
- Cut a piece of twine about 3 inches, then tie it around the middle of the ribbon to make a bow.

- Glue the berry garland all around the front edge of the photo frame. Go over the garland with glue to secure where needed.
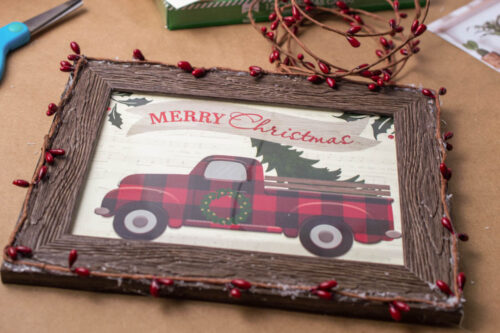
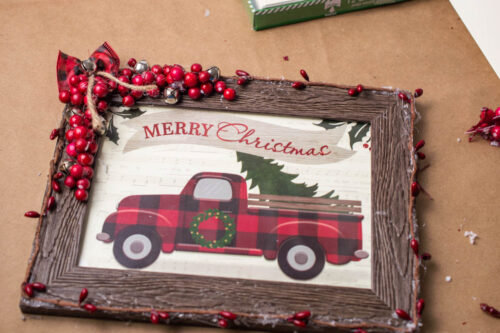
- Break the floral stem berries into a few small bunches. Starting in the top corner of the frame, glue the berries, bells, and bow about halfway to the middle of the top and side of the frame.
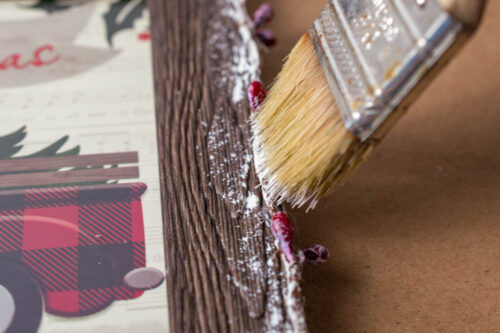
- Dip the tip of your paint brush in the paint. Lightly bounce the brush along the sides of the frame, over the berry garland.
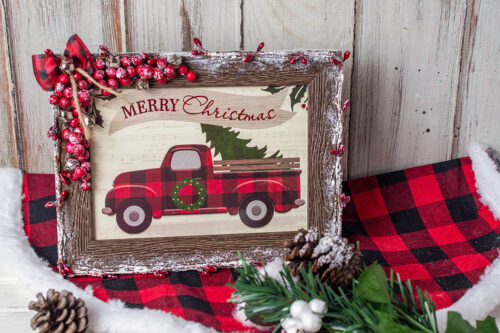
- Let paint dry and add your new Christmas truck frame to the rest of your holiday decor!
Notes
- Use the back of a paint brush to press the garland down while gluing.
- If too much paint gets on the berries, you can remove it with a damp paper towel.