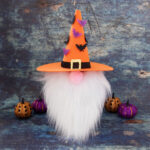
Gnome Pumpkin
This fun Gnome Pumpkin is the perfect craft for spooky season! The best part is that once you're done crafting, it doubles as cute Halloween decor too!
Servings 1
Ingredients
- Craft pumpkin
- Halloween colored craft paint optional
- 2 pieces 9x12 orange craft foam
- 1 piece Gold glitter cardstock
- Black ribbon
- Plastic bat rings optional
- 1 piece White craft fur 10x10
- 1 Pink pom pom
Instructions
- If you choose to paint your pumpkin, do this step first. That way you can work while the pumpkin dries.
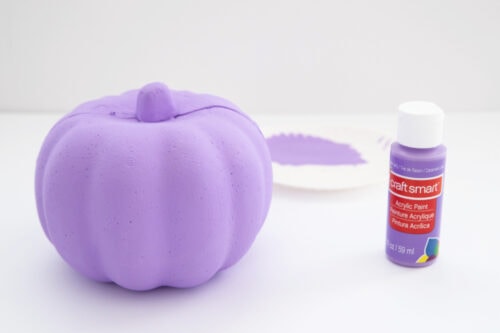
- Print the template for the hat and cut out the pieces. Trace onto orange craft foam and cut out.
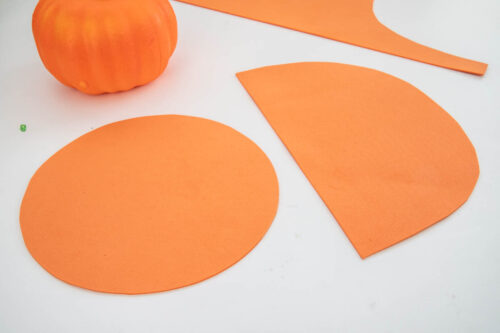
- Roll the half circle into a cone shape. The bottom will not be perfectly round.
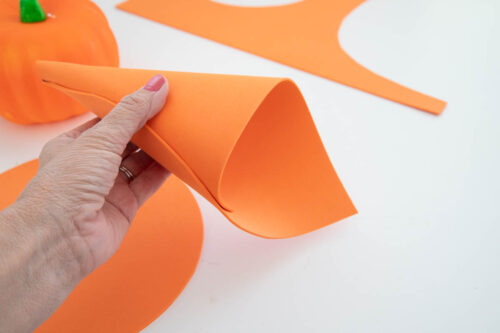
- Trim the bottom of the cone so that it's even all the way around.
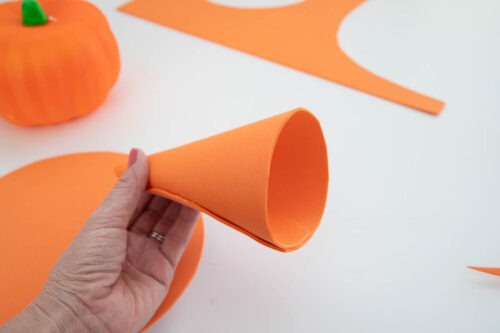
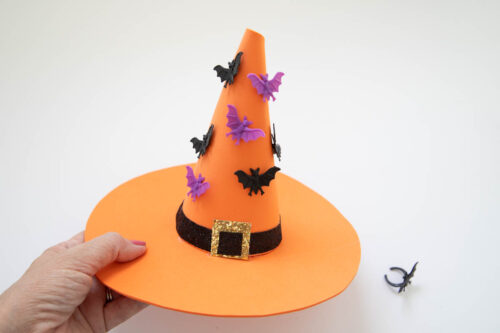
- Glue the cone piece to the top of the circular piece to create a witches hat. Wrap a piece of black ribbon around the base and secure with hot glue.
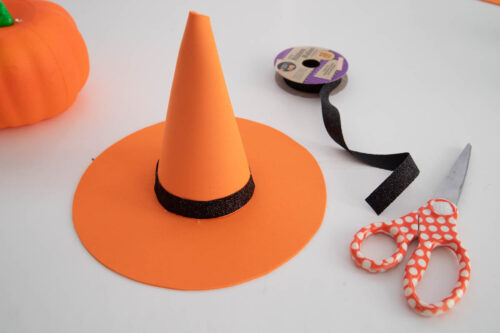
- Cut out a small square from the glitter cardstock and a smaller piece of black ribbon to fit in the middle.
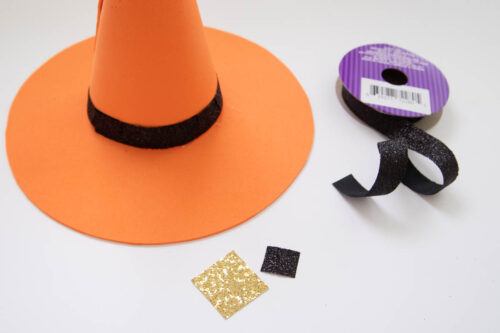
- Glue the glittery "buckle" to the black ribbon. Glue the smaller ribbon on top, making sure it's even with the rest of the black ribbon.
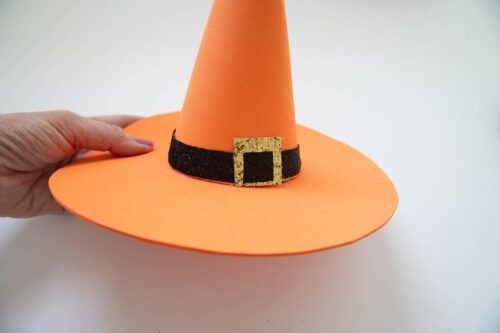
- Decorate however you like. We cut the back off of plastic rings and added bats but you can add stickers, wrap spiderwebs around it or anything else you think would be a fun addition.
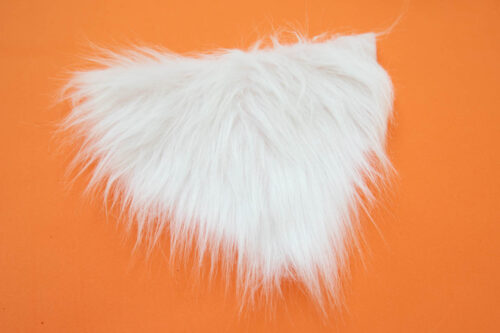
- Cut your craft fur into a beard shape. It will look a little like a wide triangle. As you're cutting, cut under the fur as much as you can so that the fur hangs over the sides a little.
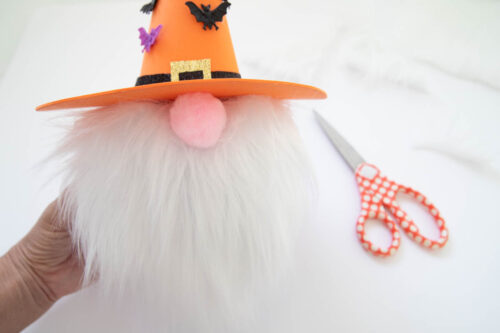
- Use a craft knife or box cutter to cut a small "x" in the bottom of the hat (parents should do this for younger children). Slide the hat over the stem of the pumpkin and glue into place. Glue the beard to the pumpkin just under the hat, then add the pom pom for a nose.
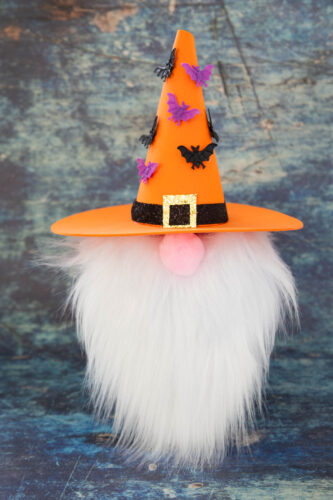
- Now you have a cute pumpkin gnome that's ready to display!
Notes
Add a little extra time if you're painting your pumpkin first.