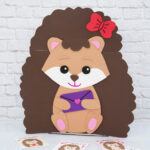
Hedgehog Valentine Box
This adorable Hedgehog Valentine Box, complete with free template, is the perfect way for kids to collect valentines from all their friends!
Servings 1
Equipment
- 1 Scissors
- 1 Pencil
- Craft knife or box cutter (for parents)
- Hole puncher optional
Ingredients
- 1 set Hedgehog Templates
- 1 Cereal box or any similar box...ours was 7 1/2" x 12"
- 2 pieces 12" x 18" white constructions paper
- Light brown craft foam
- Dark brown craft foam
- White craft foam
- Black craft foam
- Pink craft foam
- Craft foam for envelope and bow any color
Instructions
- Print the hedgehog templates and set aside
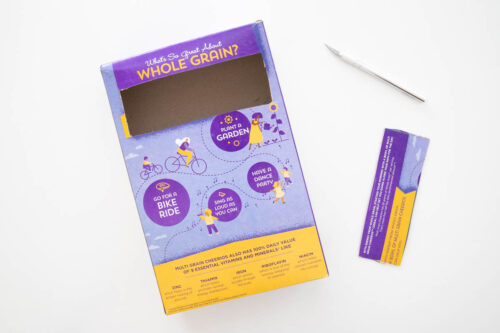
- Glue the top of the cereal box closed. Use the craft knife or box cutter to make a long rectangular hole in the top or the back (this will be where the kids insert valentine cards). Parents will want to do this step for younger children.
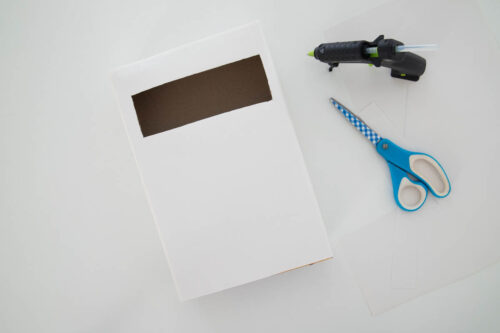
- Wrap the box in white construction paper. Cut a slit where the rectangular hole is. Add glue to the back of the construction paper and fold it into the box. You could also use tape for this part.
- Cut out the templates and trace onto the craft foam (templates will indicate what color each piece should be). For the eyes, it may be easier to trace quarters, but I included the eyes in the template just in case you don't have quarters handy.
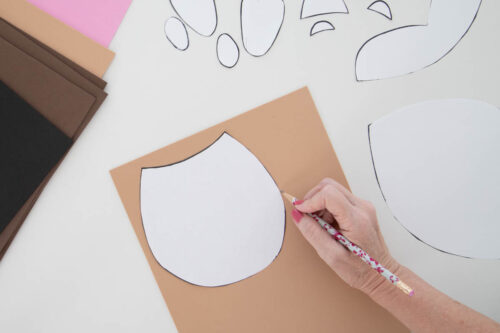
- Cut out each of the foam pieces. For the top part of the fur, you'll also want to cut on the dotted line, while still leaving the piece attached (it will be kind of like a "flap")
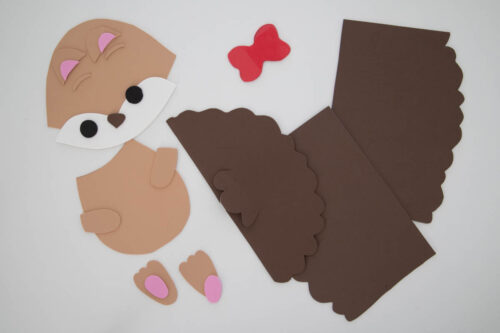
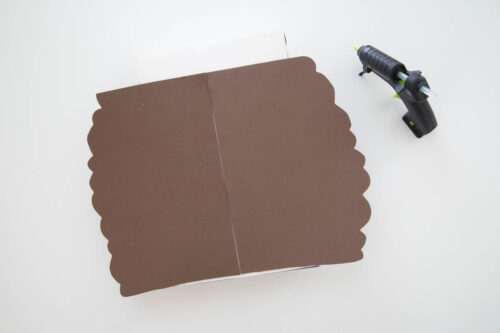
- Glue the two large piece of dark brown craft foam (the fur for the right and left sides) to the cereal box. You'll see the line in the middle where the pieces come together, but don't worry because that'll get covered up.
- Glue the white piece to the lower part of the hedgehog's face.
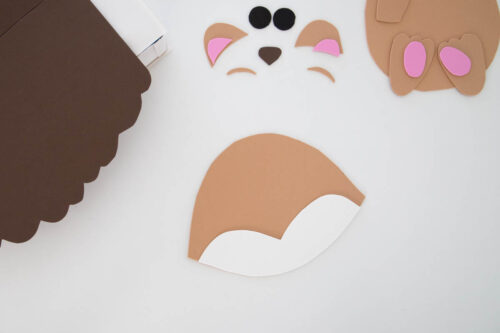
- Add the eyes, eyebrows and nose. Use the marker to draw a mouth under nose (you can use pencil first then trace over it if you'd like). Do NOT add the ears yet...you'll do that after adding the top fur piece.You can also hole punch two small white circles to add a "glimmer" to the eyes.
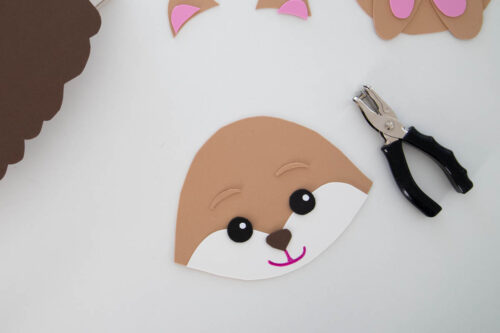
- Slide the head just under the "fur" flap and glue it to the head. Now add the ears on either side.
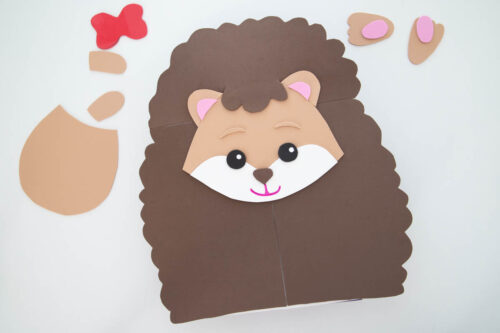
- Add the body just under the head, then add the feet.
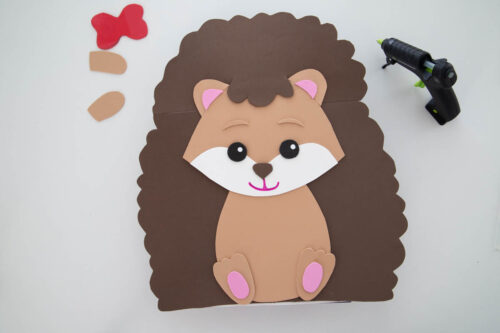
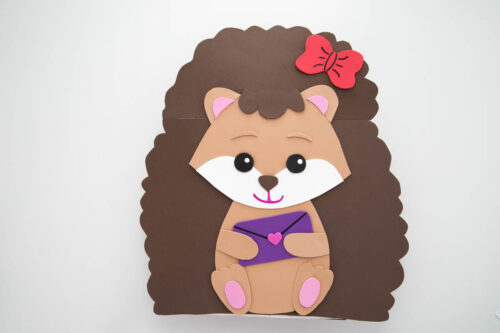
- Finally, add the card and glue the hands as if holding it. If you're making a girl hedgehog, you can add the bow now too. That's all there is too it...now you have an adorable Hedgehog Valentine Box to collect all those cards.
Notes
- If you don't have craft foam, you could also use construction paper. You just won't want the fur to hang out so far on the sides, since it won't be as sturdy.
- I used a 7 1/2" by 12" cereal box. If you use a different size box, you may need to adjust the size of the templates.
- Feel free to get more colorful. You can make the hedgehog red (fur) and pink (body), or use any other colors you'd like. You can also have your hedgehog holding a heart of a flower instead of an envelope.