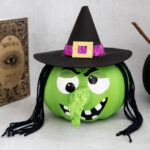
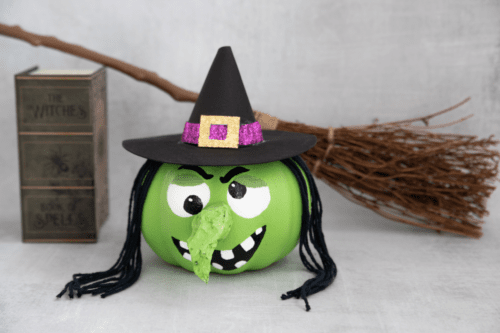
Witch Pumpkin
This fun Witch Pumpkin painting activity is the perfect way to get crafty this Halloween with a cute pumpkin that doubles as Halloween decor!
Servings 1
Equipment
- Scissors or x-acto knife
Ingredients
Instructions
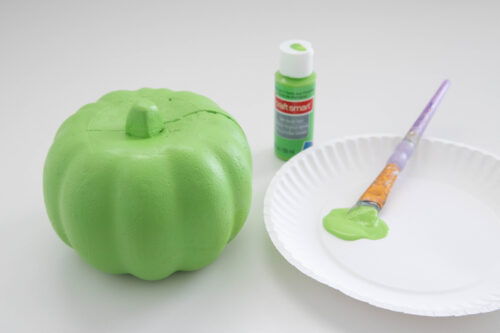
- Paint pumpkin with green paint. Let dry (should take about 1/2 hour).1 styrofoam pumpkin, green paint
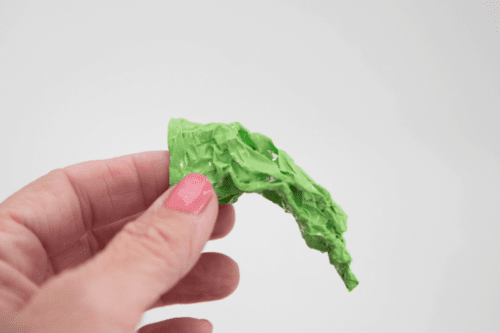
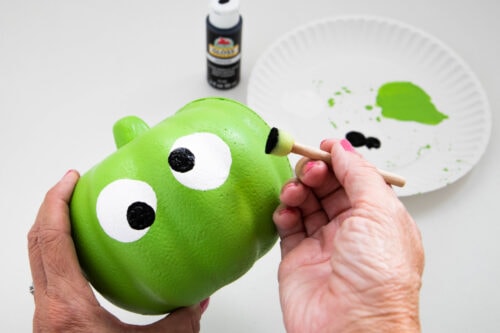
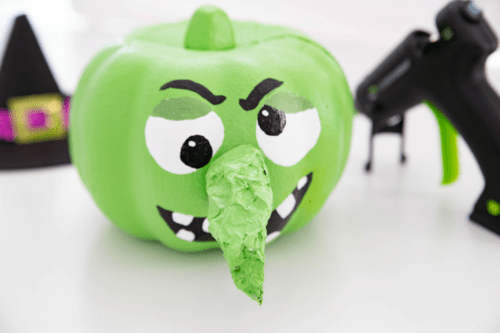
- Crumble a piece of aluminum foil into the shape of a witch's nose. Paint with green paint and set aside.aluminum foil
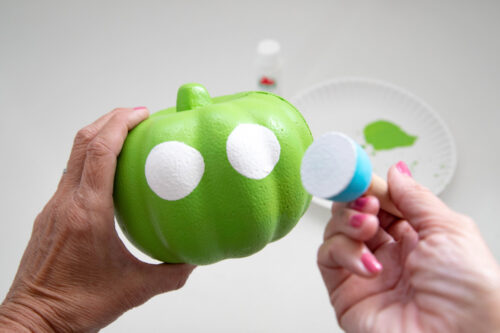
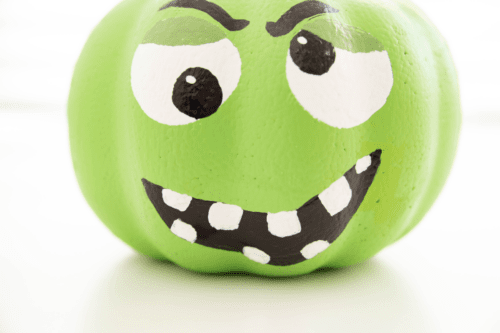
- Once pumpkin is dry, use a large foam brush to paint the eyes.white paint
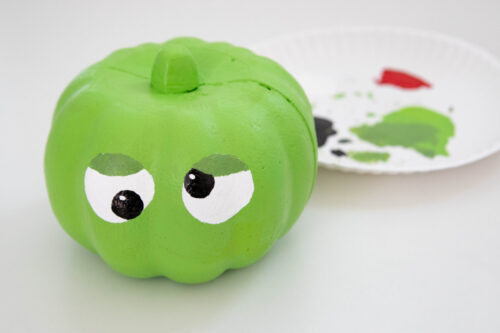
- Let the white eyes dry for a couple of minutes, then use a smaller sponge brush to add black eyeballs. You can make them even or you can give your witch silly eyes (I always love silly eyes).black paint
- Mix a few drops of black paint with some green paint to make the eyelids. You want them to be slightly darker than the pumpkin.
- Use black paint to make curvy eyebrows.
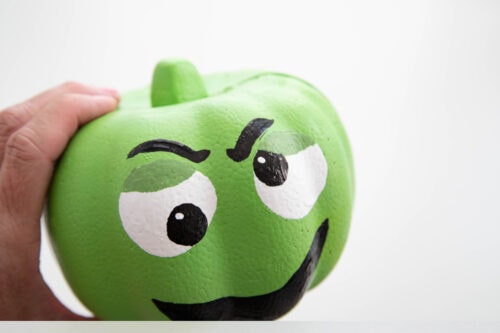
- Now use the black paint to make the mouth. Let dry.

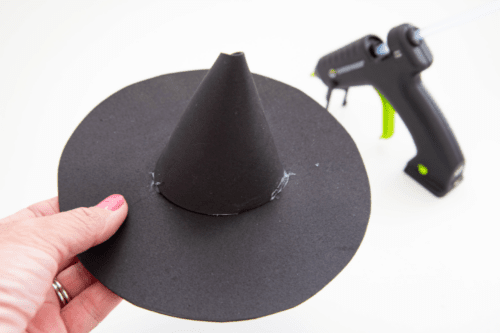
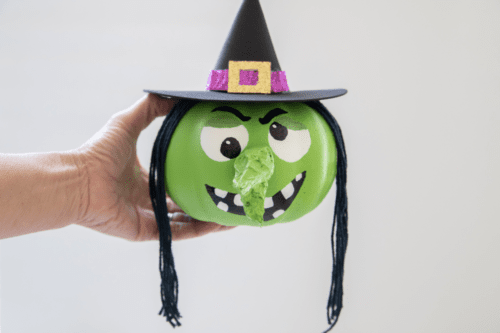
- Print the hat template and cut out the tracers. Trace the shapes onto black craft foam and cut out.black craft foam
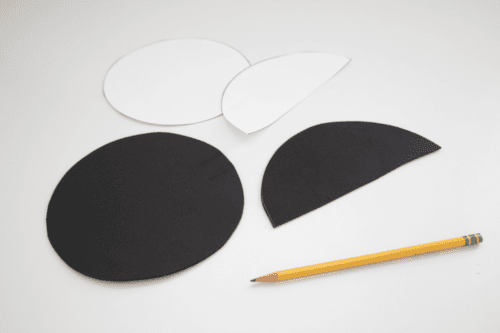
- Shape the half circle into a cone and use hot glue to attach to the top of the circular piece.
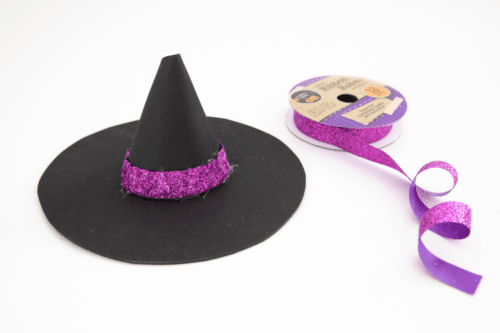
- Glue ribbon around the bottom of the cone.purple ribbon
- Take the gold glitter card stock and cut a square. Cut a smaller square on the inside with scissors or an x-acto knife. Glue to the front of the hat.gold sparkle card stock

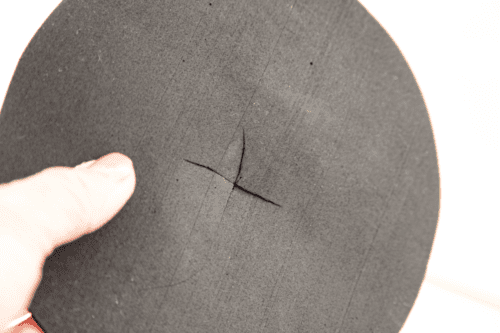
- Cut slits in the bottom of the hat so that it will sit snugly over the pumpkin stem.
- Now that the mouth is dry, give your witch some teeth.
- Use hot glue to attach the nose.
- Glue hair to the top of the pumpkin, then add the hat and secure with more hot glue.black yarn
- Now your witch is ready to celebrate Halloween!
Notes
- If you don't have green paint, you can make your witch purple instead.
- Want to make this a fun party activity? Make it easier for the kids by painting all the pumpkins green ahead of time. Then you won't have to wait for the pumpkins to dry and the kids will still have a blast adding all the features.