Easy Witch Pumpkin (No Carve)
This post may contain affiliate links. As an Amazon Associate, I earn from qualifying purchases.

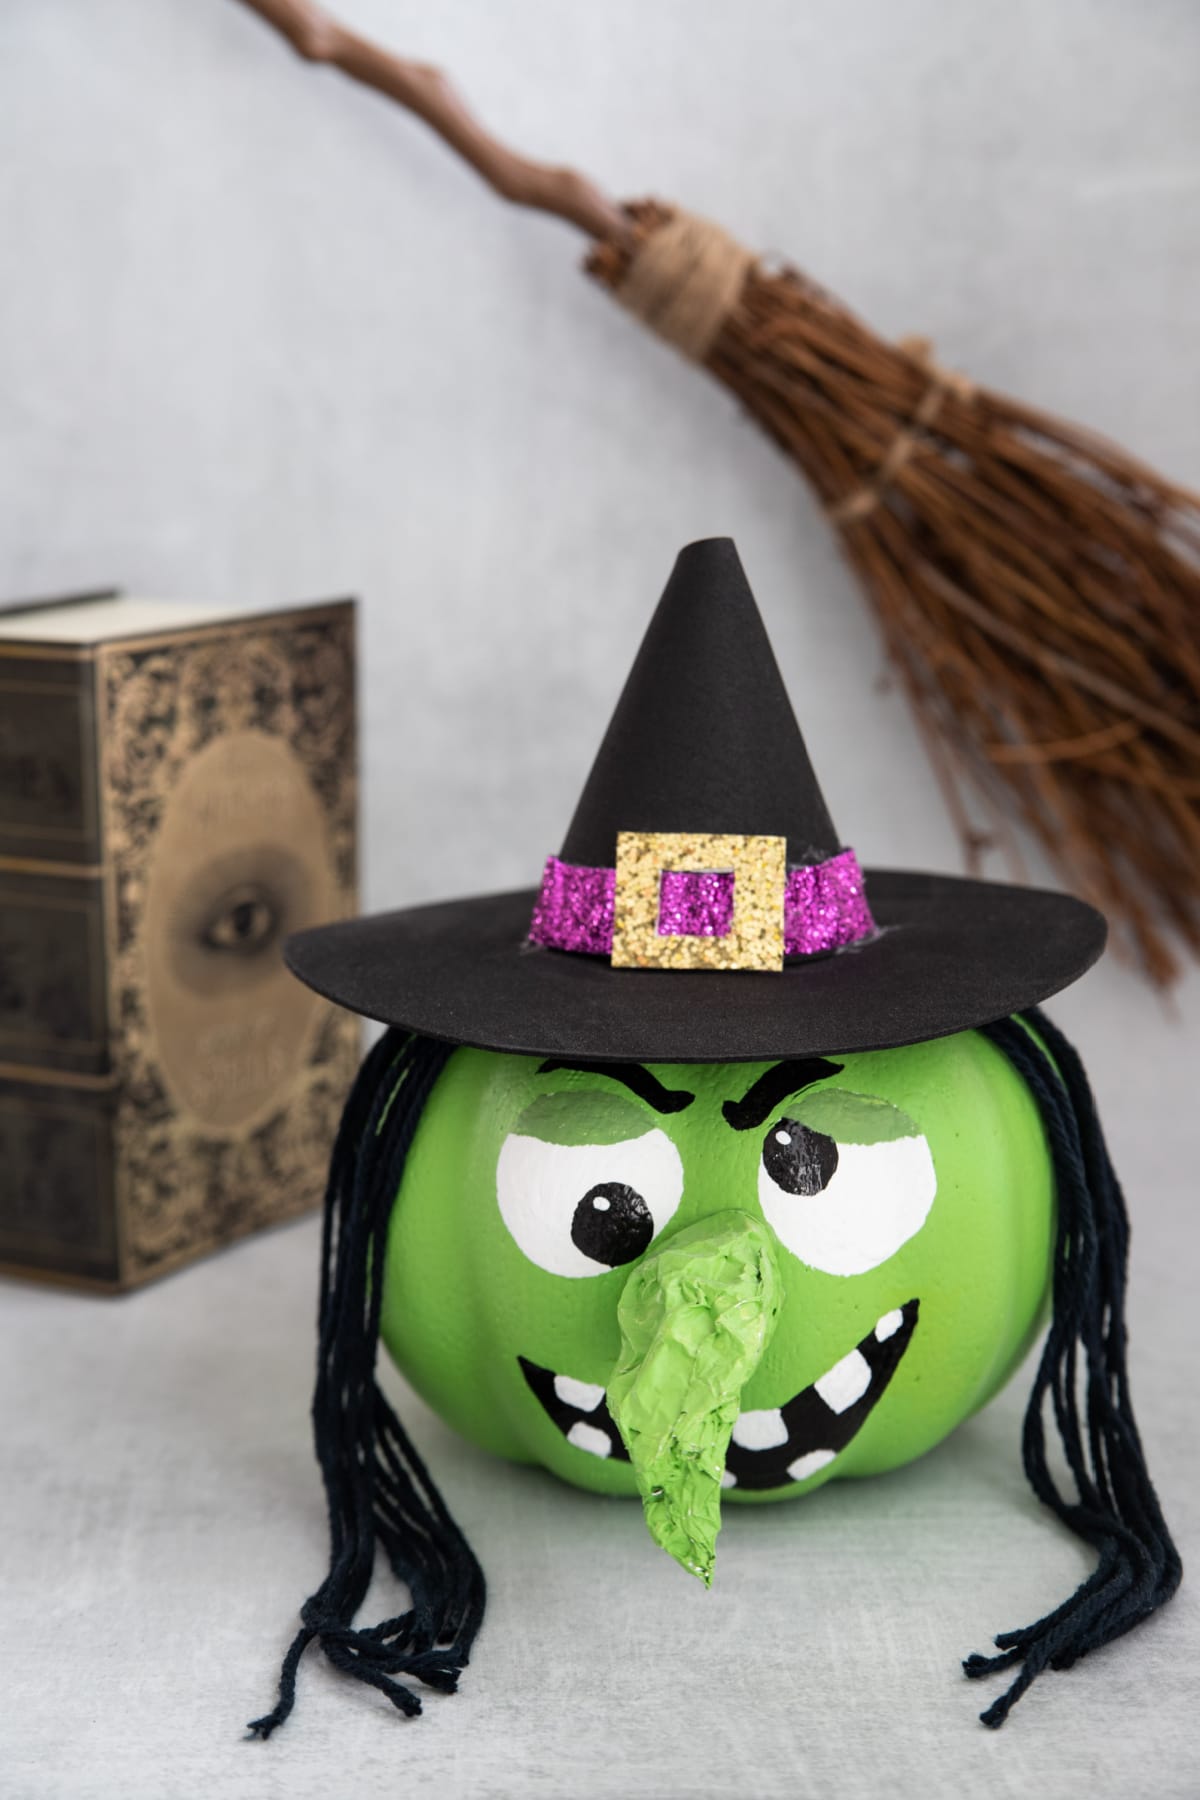
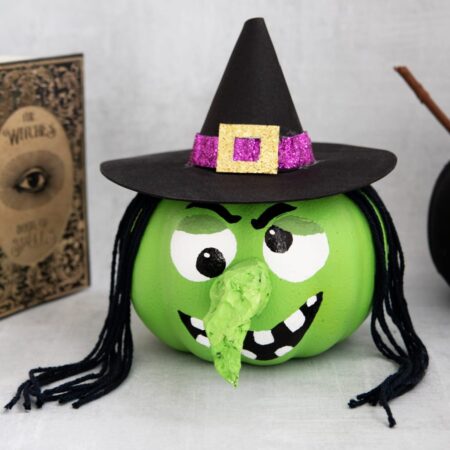
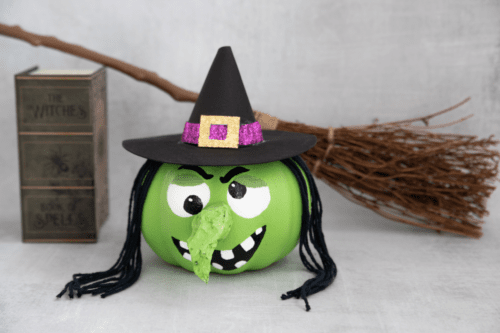
This fun Witch Pumpkin craft is the perfect way to get creative this Halloween! Kids will have a great time creating their very own witch pumpkins, complete with a funny green face and sparkly witch hat.
We’ve made tons of fun pumpkin creations over the years, from traditional Halloween designs like black cat pumpkins, to superheroes and movie characters like Spiderman pumpkins and Minions pumpkins. I can’t believe it took us so long to make wicked witch pumpkins though…it seems like such a no-brainer!
Equal parts cute and creepy, you don’t need much to make your own no-carve pumpkin witch. All it takes is some white, green, and black paint and a few simple supplies to turn these pumpkins into a festive Halloween decoration that your kids can proudly display in the house. And like unlike real pumpkin carvings, these won’t rot, so you can save them and enjoy them as part of your Halloween decor year after year.
Witch pumpkin painting makes a great group activity too! It’s perfect for a kids’ Halloween party or classroom event or a great family activity. The kids will love creating their very own witch mini pumpkins as a new Halloween tradition!
What We Love About This Activity
Less Mess – We love an craft that uses a fake Halloween pumpkin. You get perfectly shaped and uniform size pumpkins every time, with no carving and no pumpkin guts to clean up!
Safe – And speaking of no-carve, any pumpkin craft that doesn’t require sharp knifes is a win in my book. This activity is safe even for the young kids.
Inexpensive – You can find Styrofoam craft pumpkins at Dollar Tree, and I always stock up when I find them. There are endless cute crafts you can make with these budget- friendly supplies.
Easy – With sponge brushes, templates, and tracers to help you make the perfect Halloween witch face, it doesn’t take any special artistic talent to create these cute crafts – they come out great every time.
DIY Craft Supplies
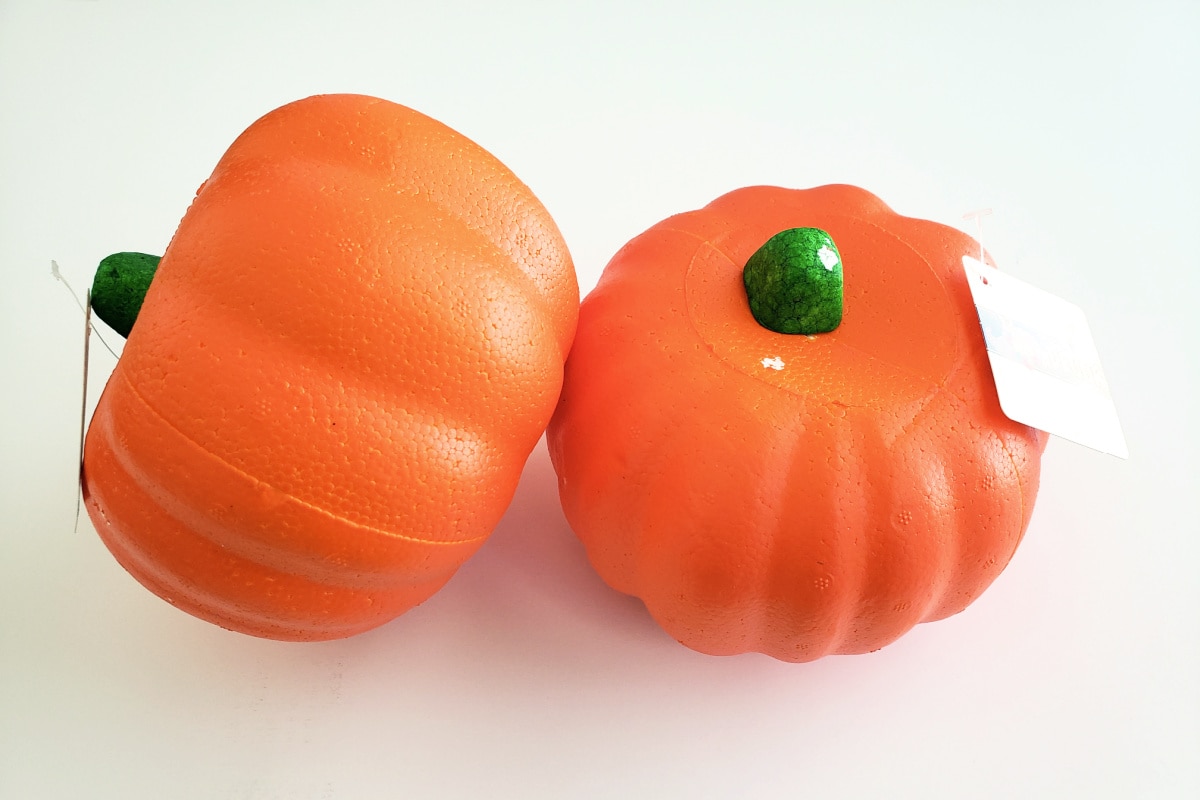
- Styrofoam pumpkins (or any type of faux pumpkin)
- Green, black, and white paint
- Black craft foam
- Purple ribbon
- Gold sparkle card stock
- Black yarn
- Aluminum foil
- Hot glue gun
- Glue sticks
Tips for Making the Perfect Witch Pumpkin
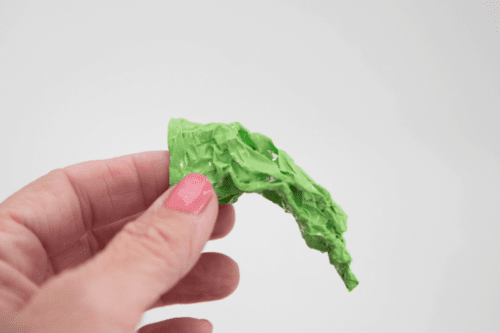
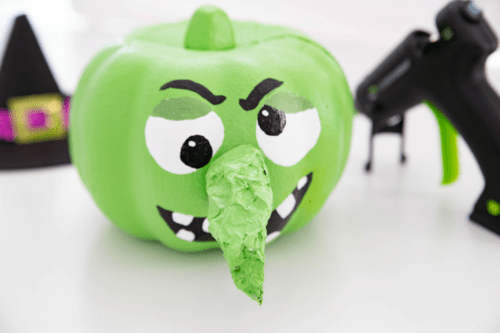
- It can be tricky to paint the nooks and crannies of the crumbled-up foil for the witch’s nose. If you prefer, you can paint a square of the foil green and let it dry before crumbling it into the nose shape.
- You don’t have to start with a white pumpkin. If your Styrofoam pumpkin is orange or another color, the green base coat of paint should cover it nicely. If not, simply add a second coat.
- Don’t have green paint? No problem – purple works great too! You can even use both green and purple and make your witches in two different colors.
- If you’re making this for a party activity, or if you just want to cut down on the mess, you can paint all the pumpkins green (with regular or spray paint) and let them dry ahead of time. The kids will still have a great time adding the witch hats and faces.
More Foam Pumpkin Ideas
Want more fun pumpkin decorating ideas? There are just a few of the pumpkins you’ll find:
- Frankenstein Pumpkin (a great way to use up that extra green paint)
- Jack Skellington Pumpkin (and a Sally Pumpkin too)
- Unicorn Pumpkin
- Spider Pumpkin
- Vampire Pumpkin
Witch Pumpkin
Equipment
- Scissors or x-acto knife
Materials
Instructions
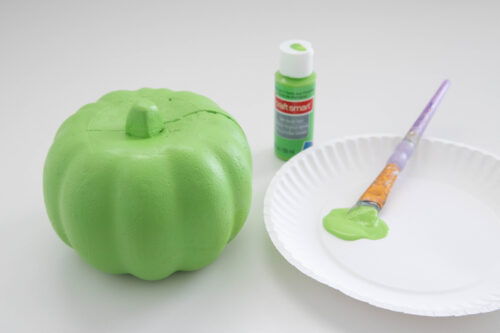
- Paint pumpkin with green paint. Let dry (should take about 1/2 hour).1 styrofoam pumpkin, green paint

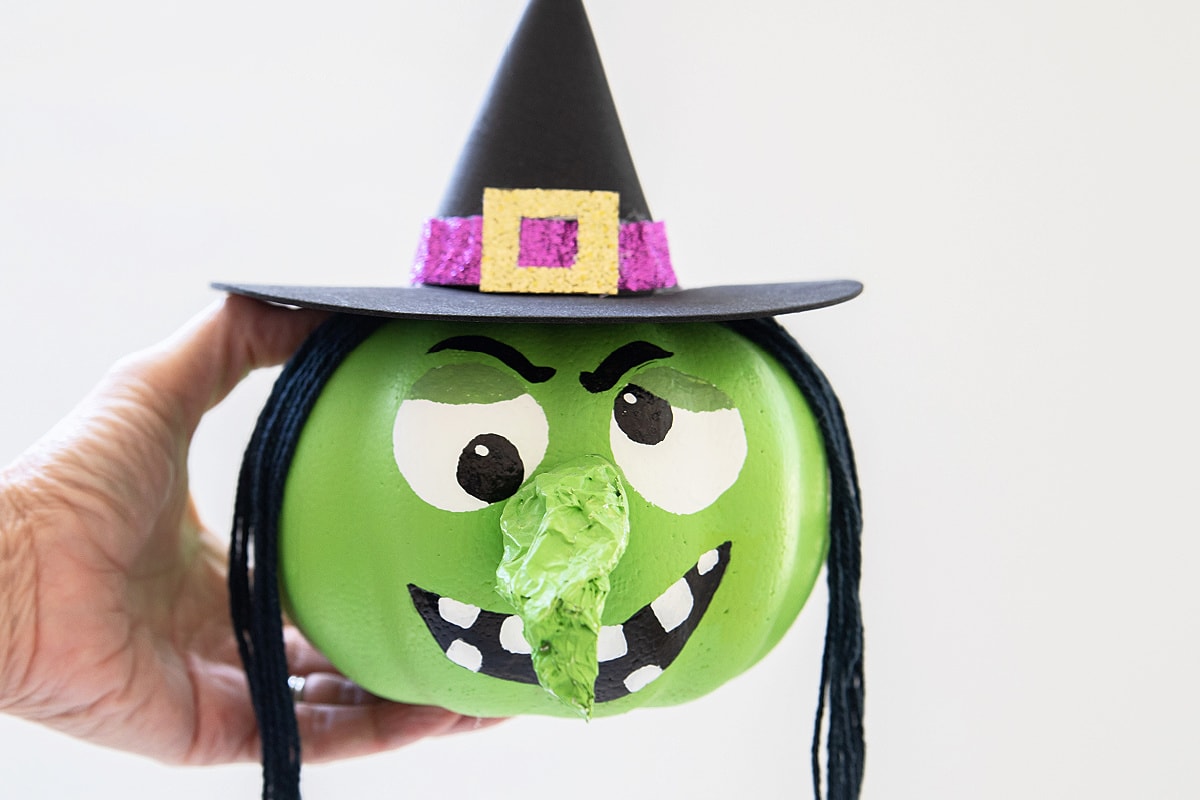
- Crumble a piece of aluminum foil into the shape of a witch's nose. Paint with green paint and set aside.aluminum foil
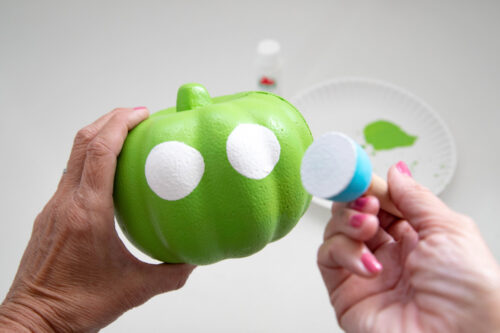
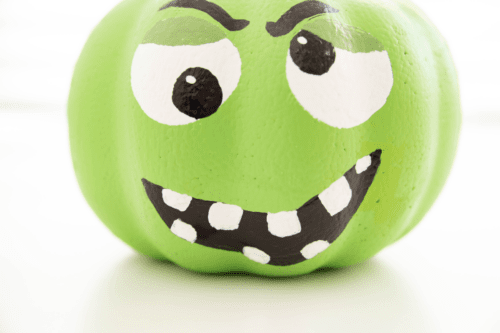
- Once pumpkin is dry, use a large foam brush to paint the eyes.white paint
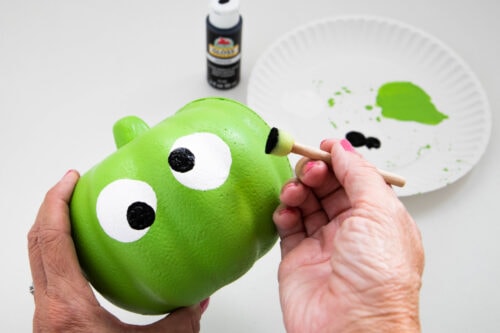
- Let the white eyes dry for a couple of minutes, then use a smaller sponge brush to add black eyeballs. You can make them even or you can give your witch silly eyes (I always love silly eyes).black paint
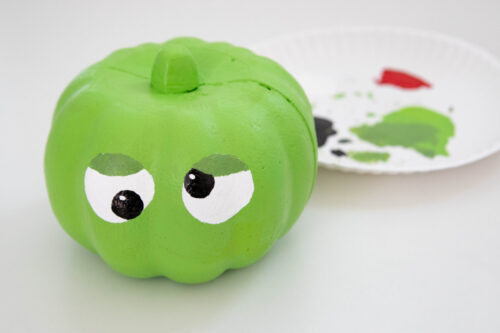
- Mix a few drops of black paint with some green paint to make the eyelids. You want them to be slightly darker than the pumpkin.
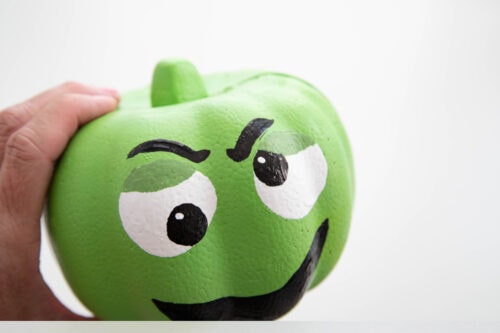
- Use black paint to make curvy eyebrows.
- Now use the black paint to make the mouth. Let dry.
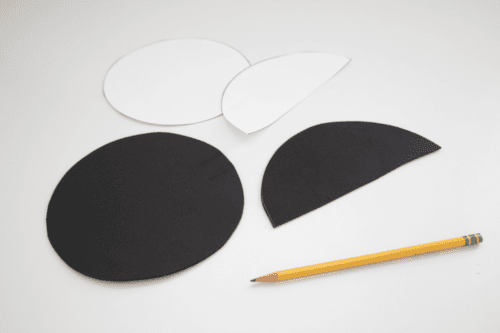
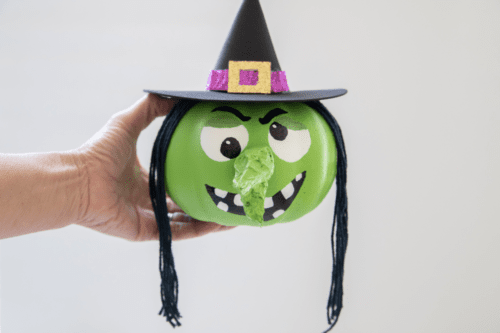
- Print the hat template and cut out the tracers. Trace the shapes onto black craft foam and cut out.black craft foam
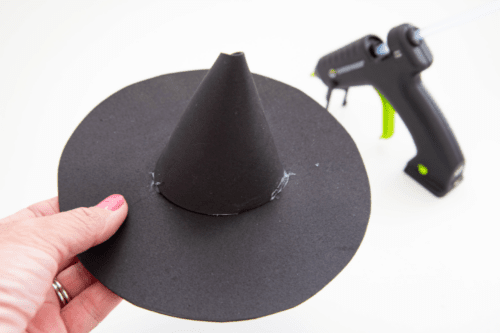
- Shape the half circle into a cone and use hot glue to attach to the top of the circular piece.
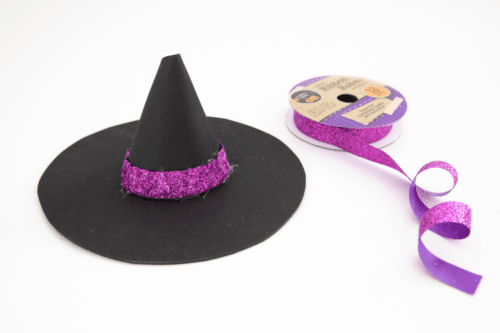
- Glue ribbon around the bottom of the cone.purple ribbon
- Take the gold glitter card stock and cut a square. Cut a smaller square on the inside with scissors or an x-acto knife. Glue to the front of the hat.gold sparkle card stock
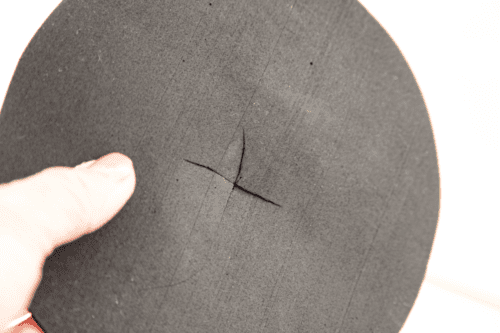
- Cut slits in the bottom of the hat so that it will sit snugly over the pumpkin stem.
- Now that the mouth is dry, give your witch some teeth.
- Use hot glue to attach the nose.
- Glue hair to the top of the pumpkin, then add the hat and secure with more hot glue.black yarn
- Now your witch is ready to celebrate Halloween!


Notes
- If you don’t have green paint, you can make your witch purple instead.
- Want to make this a fun party activity? Make it easier for the kids by painting all the pumpkins green ahead of time. Then you won’t have to wait for the pumpkins to dry and the kids will still have a blast adding all the features.
Did You Make This Project?
Share it with me on Instagram @funmoneymom and follow on Pinterest @funmoneymom for more!
Let’s be friends!
Did you love this post? Make sure to comment below and let me know your thoughts! And don’t forget to follow on your favorite social network below!

About Lisa O’Driscoll
Lisa O’Driscoll is a lifestyle and parenting expert, cookbook author, and the creative force behind Fun Money Mom, a popular blog she’s run since 2014. She’s the author of the children’s cookbook Roll It, Slice It, Mash It, Dice It, designed to get kids excited about cooking. With multiple TV appearances under her belt, she loves sharing her expertise on family-friendly recipes, creative DIYs, and party planning and is always on a mission to inspire and entertain!