
DIY Mugs: The Perfect Gift For Any Occasion
This post may contain affiliate links. As an Amazon Associate, I earn from qualifying purchases.
These DIY mugs make a great gift for any occasion! The best part is that they’re so easy, they make a fantastic kid’s craft too.

There’s nothing kids love more than making crafts to give mom and dad for special occasions. It used to be one of my favorite things to do with my class when I taught Kindergarten and it’s cute how proud they always were of their creations.
That’s why I love these easy DIY mugs for Mother’s Day. They’re so simple to make and there’s no right or wrong way to do it. Younger kids can use their thumbprints to make painted mugs with no real rhyme or reason. Older kids can use different brushes to make all kinds of fun patterns. Either way, the result will be a Mother’s Day coffee mug gift that mom will not only treasure but one she’ll actually be able to use too. Fill it with candy or a gift card and it’s even better!
What You’ll Need:
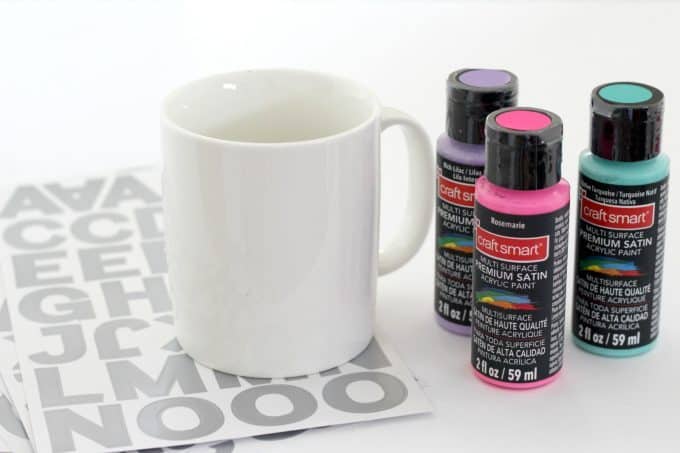
Stick on letters
How To Make DIY Mugs
There are lots of different ways to decorate these DIY mugs. I’d bought a few extras so that I could make a couple too. After all, it’s not fair for kids to have all the fun! The plan was to have Keira make a painted mug for Grandma but since she was at school, I started one of my own.
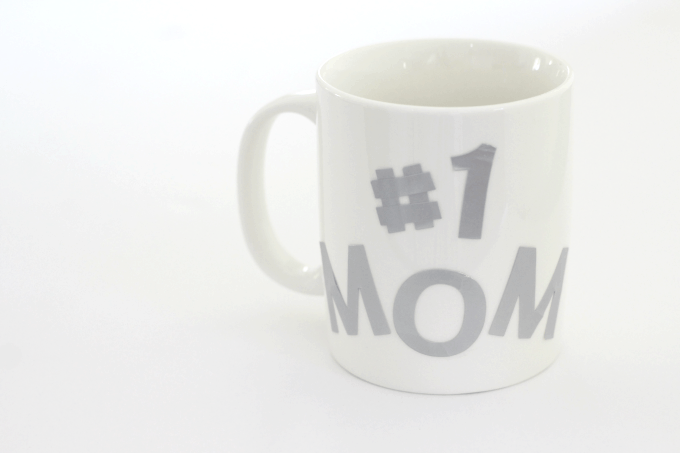
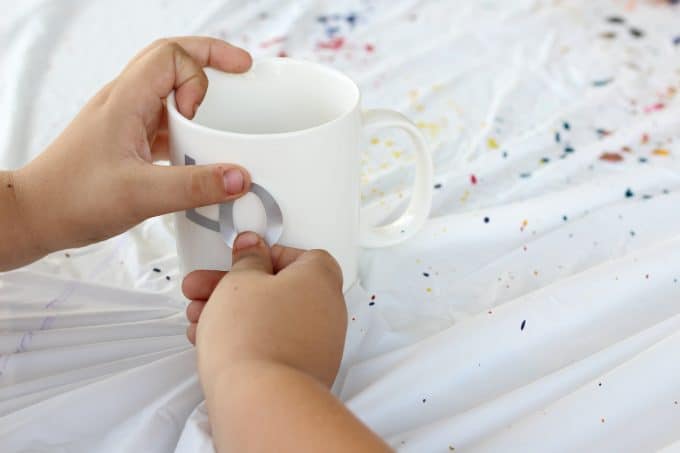
The first step was to add letters to the mug. I didn’t actually have a hastag sticker but I made some by using the three small “i” stickers that came with letter packet. Then I cut a fourth letter to match. Whatever works, right? The stickers should be pushed just hard enough that paint won’t get under them but not so hard that they’ll be difficult to peel off.
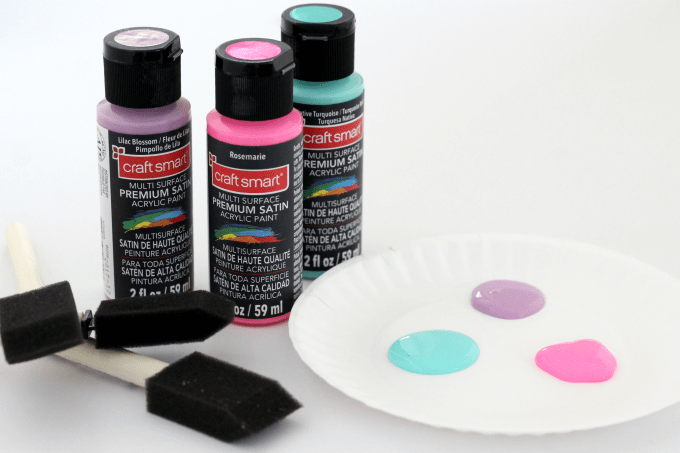
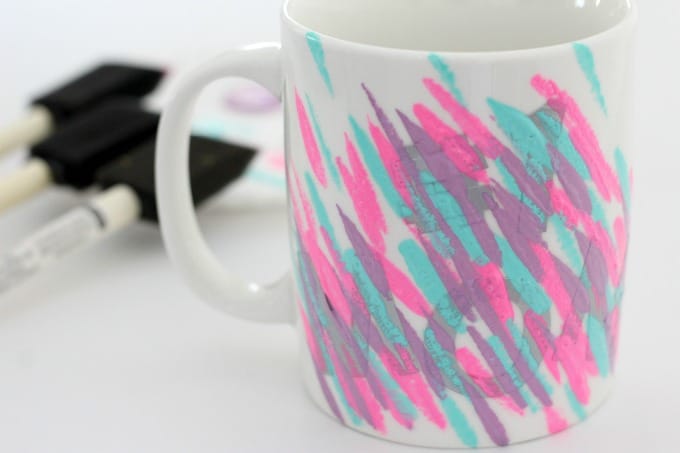
Next, I picked my paint colors and brushes. I’ve found that the best paint for ceramic mugs is a multi-surface acrylic paint. I chose bevel tipped brushes because I had a fun pattern in mind.
Using just the tip of the brush, I made lines over the letters. You’ll want to paint the area around the letters first, so that you can peel them off before the paint dries. If the paint dries first, you may have some come off while you’re peeling the letters. If you peel when it’s wet, you shouldn’t have that problem.
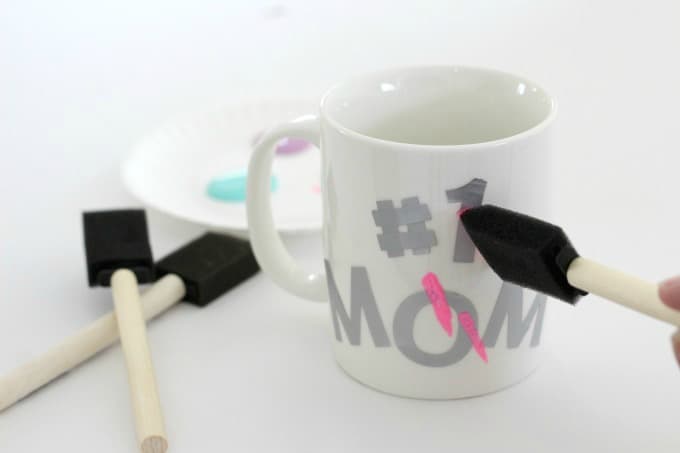
Be sure the letters are almost completely covered. A little white here and there is fine but if there’s too much white and not enough paint, the white letters on your painted mug won’t stand out.
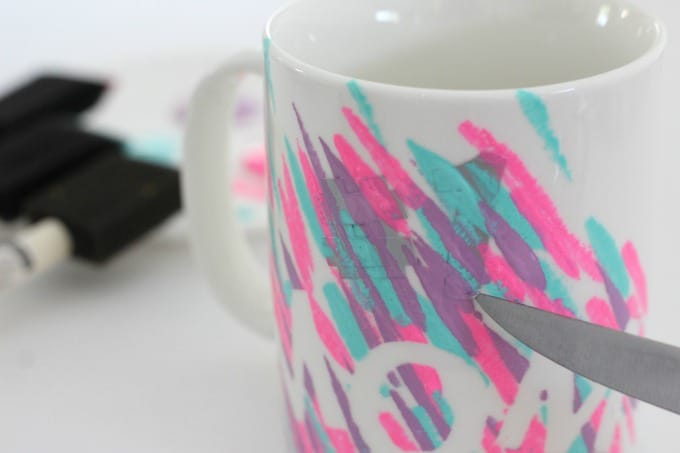
When you’re making coffee mug gifts with the kids, you’ll probably want to peel off the letters for them. I found the best way is to take the corner a knife and stick it under the edge of the sticker. Then you can grab that corner to pull it off without smudging the paint.
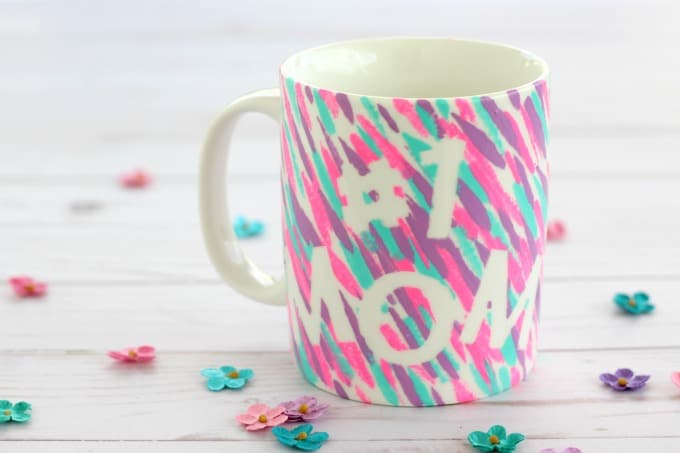
After pulling off the letters, you can continue do decorate the rest of the mug. Once the mug is covered, set it aside to dry.
When the mug is dry, you’ll want to bake it to cure the paint. Put it in the oven and turn the heat to 350. Be sure to put the mug in before the oven heats up so that the sudden change in temperature doesn’t effect it. Set the timer to 30 minutes. When time is up, turn off the oven, leaving the mug inside to cool. Once it’s cool, it can be safely removed.
DIY Mugs: The Perfect Craft For Kids
When Keira got home from school, I gave her an old t-shirt that I didn’t mind ruining. The acrylic paint is almost impossible to get off if it gets on your clothing. Then we started brainstorming about what she wanted her painted mug to say.
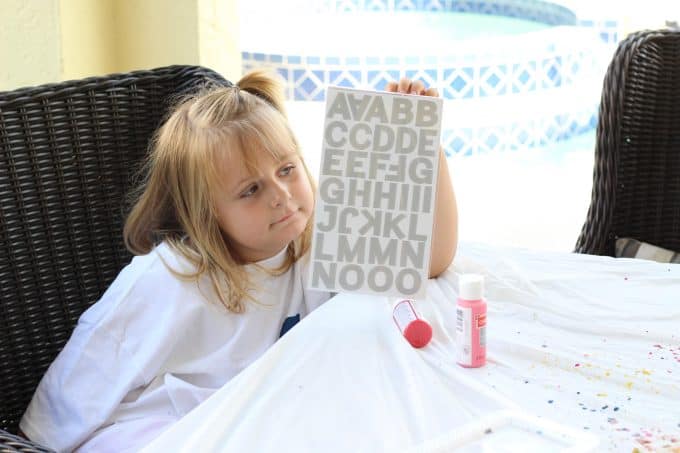
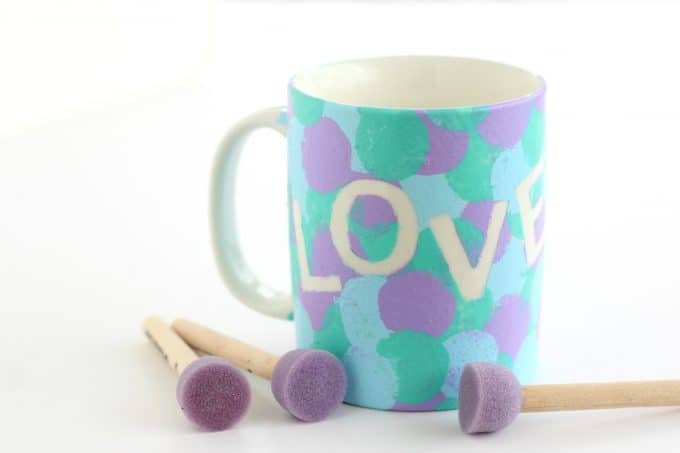
Since we were making this DIY mug for Grandma, Keira wanted it to say “love”. I peeled off the letters and she added them to the mug.
She couldn’t wait to get started with the paints. I had her choose the colors, then made a painters palette (okay, I really just squirted some paint onto a plastic plate…but it works just the same). She was very focused when it came to adding her fingerprints to Grandma’s mug!
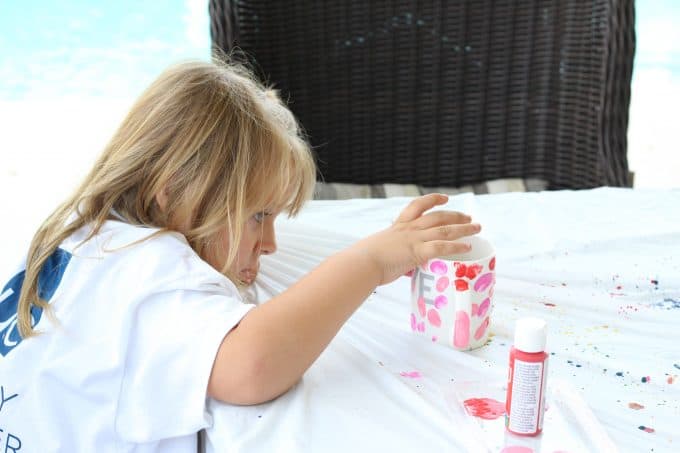
Don’t forget to remind your child to paint over the letters as much as possible.
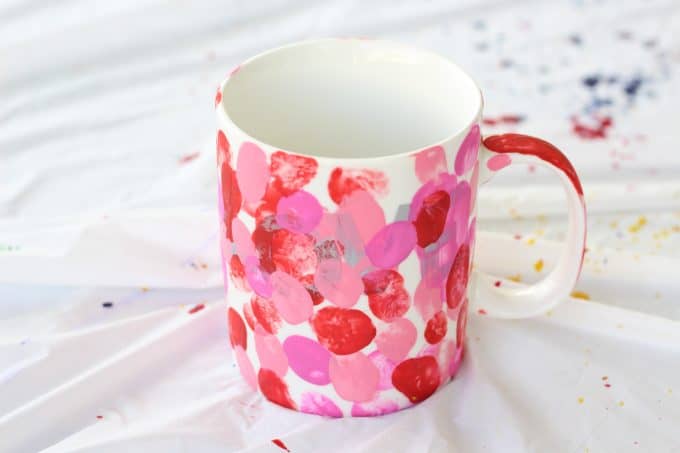
We actually forgot to take the stickers off before she painted the entire thing. It did make it a little hard to peel them without pulling the paint off. However, I used my fingernail around the edges of the letters before we peeled and that made it easier. However, it’s even better if you remember to peel them right away.
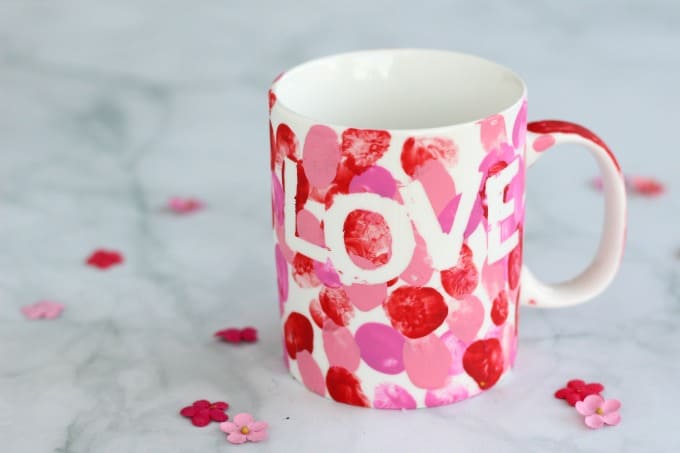
Keira’s painted mug turned out super cute and she couldn’t have been more proud.
Since I still had all the craft supplies out, I decided to make one more mug. This time I wanted to try using round foam brushes. I used the same technique with different colors and brushes to create an entirely different look.
These are just a few mug painting ideas but you can get as creative as you want. Kids will love making these painted mugs for Mother’s Day, teacher appreciation or any other occasion that they want to give a homemade gift. Don’t forget to fill them up with something good!
Who would you share these fun DIY mugs with?
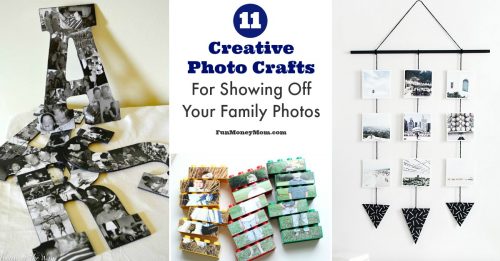
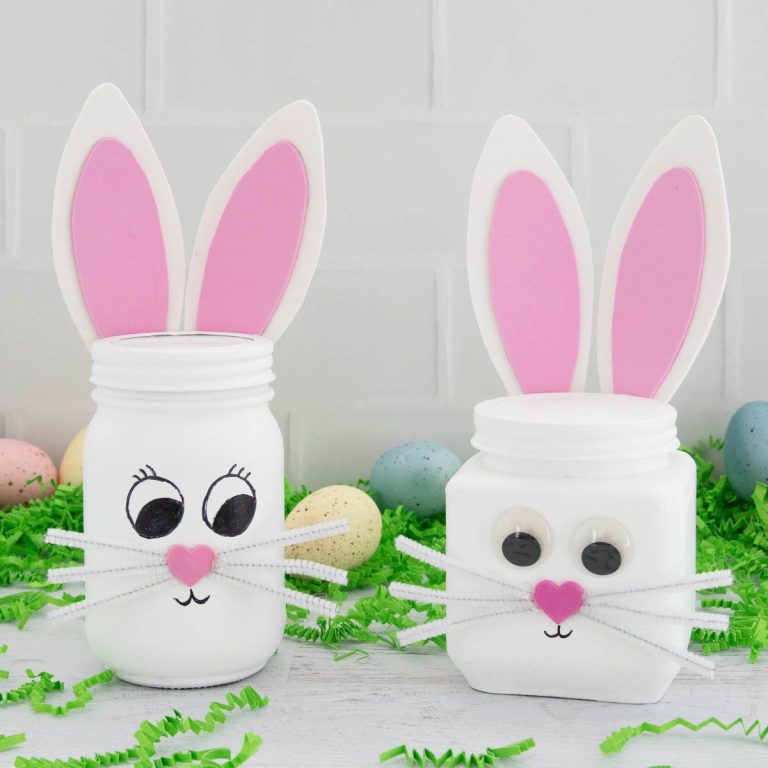
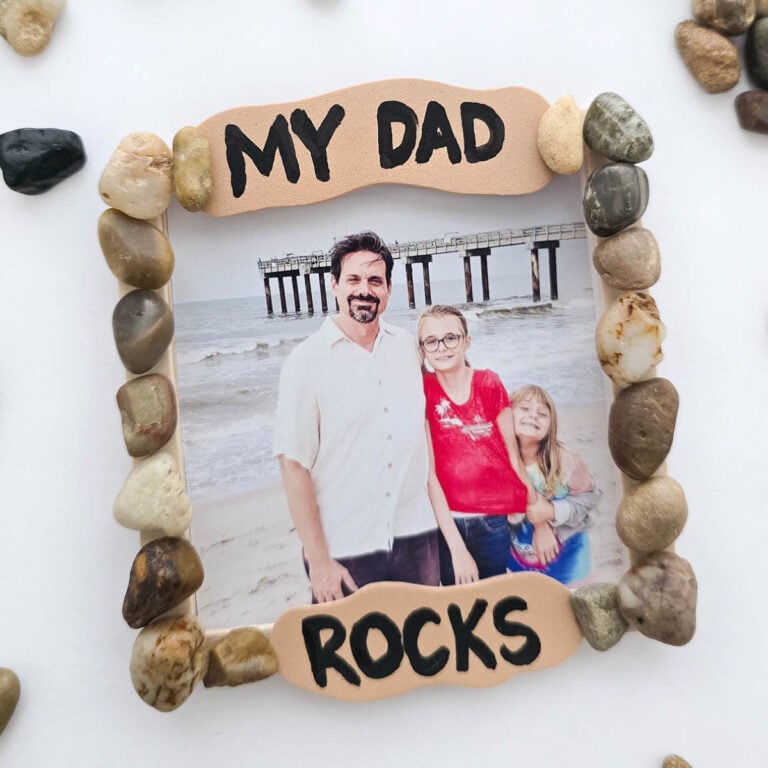
Looking for more easy crafts that the kids can make for Mother’s Day gifts? You may want to check these out…


Let’s be friends!
Did you love this post? Make sure to comment below and let me know your thoughts! And don’t forget to follow on your favorite social network below!

About Lisa O’Driscoll
Lisa O’Driscoll is a lifestyle and parenting expert, cookbook author, and the creative force behind Fun Money Mom, a popular blog she’s run since 2014. She’s the author of the children’s cookbook Roll It, Slice It, Mash It, Dice It, designed to get kids excited about cooking. With multiple TV appearances under her belt, she loves sharing her expertise on family-friendly recipes, creative DIYs, and party planning and is always on a mission to inspire and entertain!


Love this idea! I think these DIY decorating Mugs are super easy to make and they can be a perfect gift for mother’s day! Love it!
Thanks so much! We may even make one for Father’s Day 🙂
I’m assuming these are hand wash only as they are acrylic paint, but how long does the paint really stay on there and does the cup hold the paint longer if the shiny finish is scuffed up first? How many washes can you reasonable expect from these before they start to chip?
Hi Mackenzie,
Yes, you are right about these being hand wash only. We’ve had ours for a couple years and the paint still hasn’t chipped off, though to be fair, we have a ton of mugs so these don’t get used on a daily basis. We’ve probably washed them 15-20 times and the paint is going strong. 🙂
I just tried making these with the craft smart matte acrylic paint. Let the mugs come to temp with oven and Baked in the oven at 350 for 30 minutes and let cool over night. I got them out and tried scraping a small amount off the handle and it was easily scratched off! Will these be able to be used or will the paint come off with one wash?
Oh my gosh, it’s been years since we made them but if you hand wash them they should be okay. I think we lost ours in our last move but they lasted awhile for us. 😊