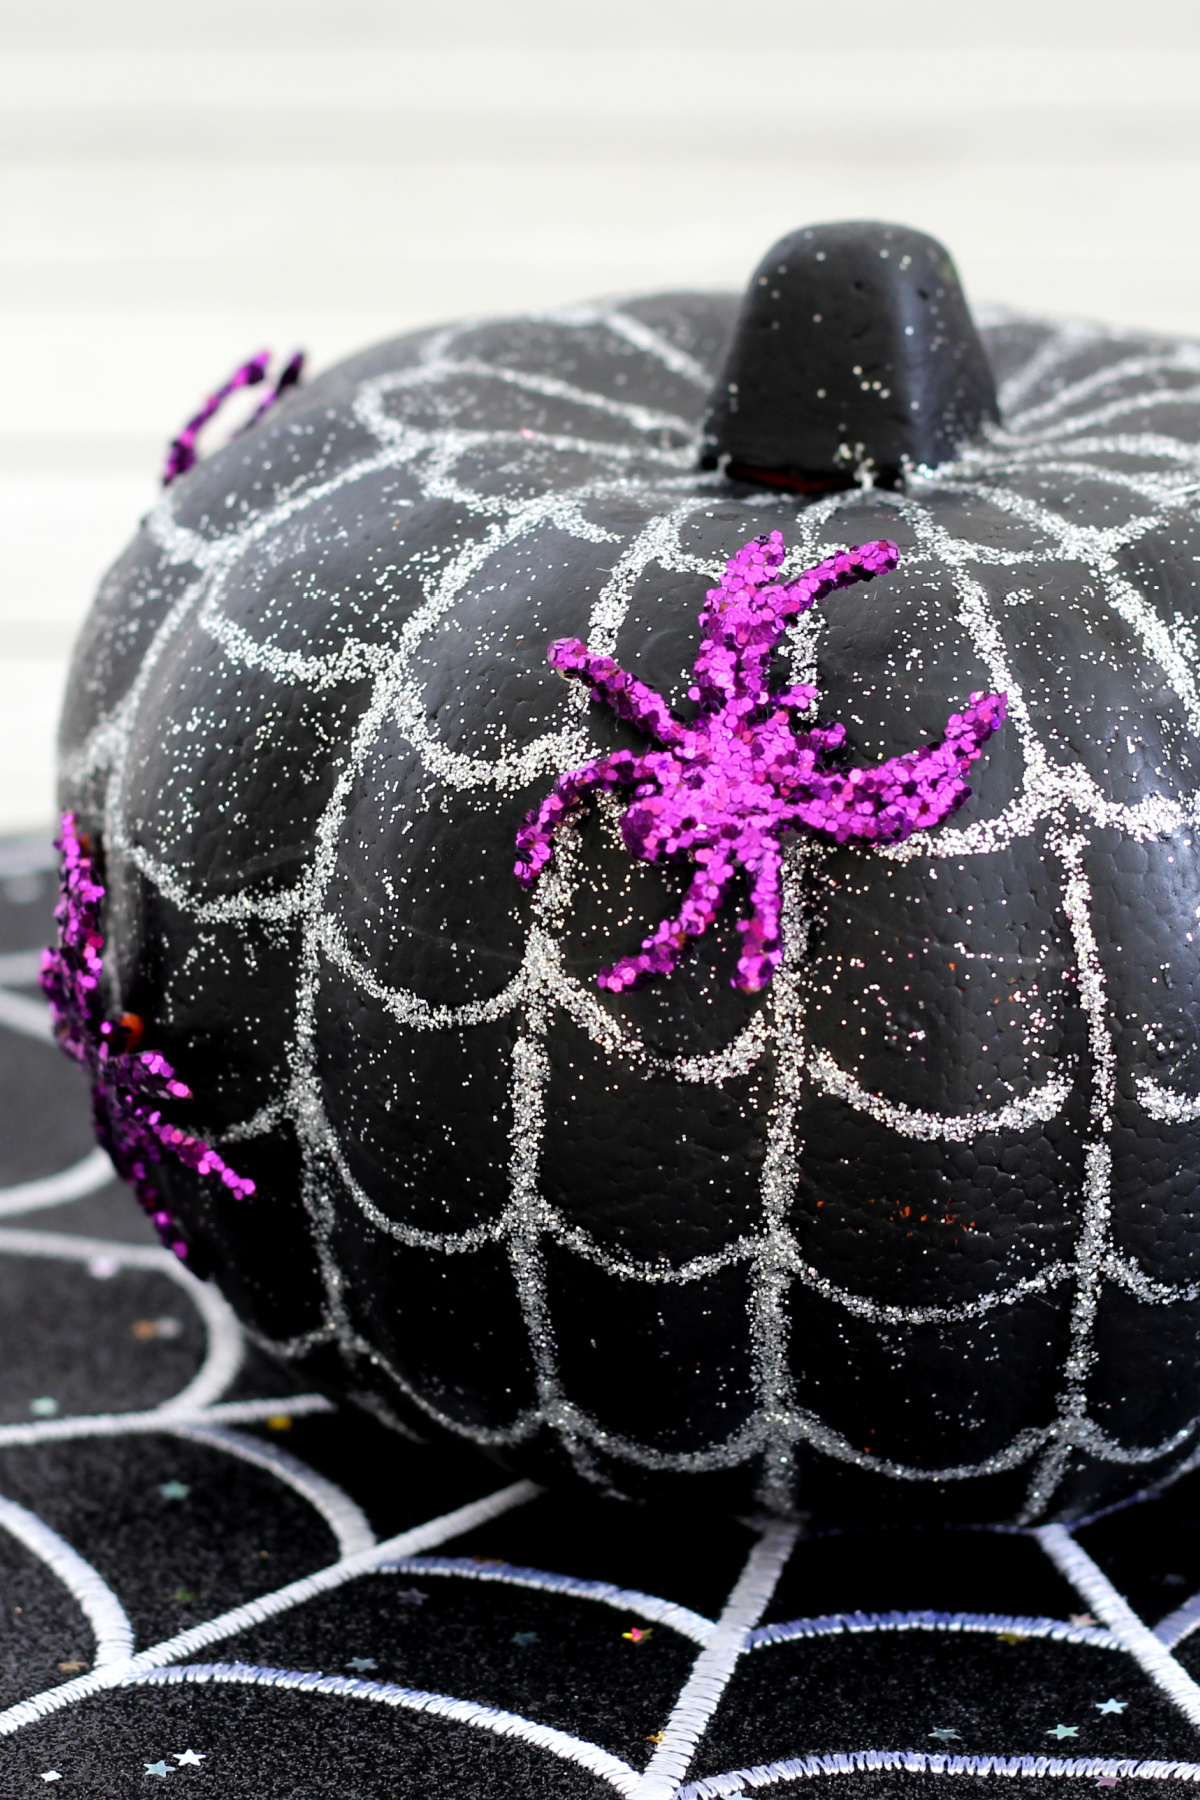
No Carve Spiderweb Pumpkin
This post may contain affiliate links. As an Amazon Associate, I earn from qualifying purchases.
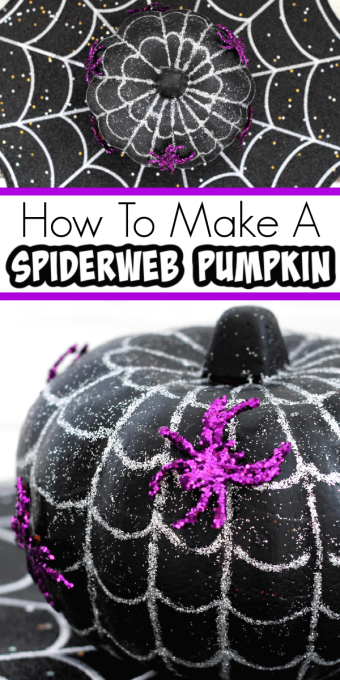
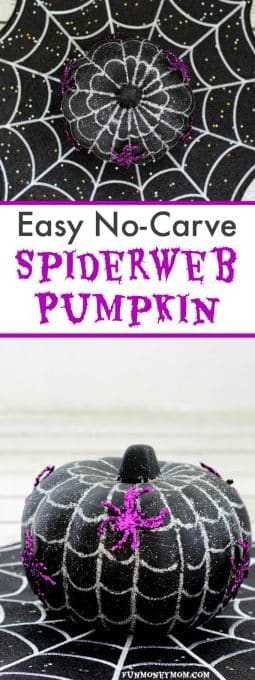
This spiderweb pumpkin makes the perfect Halloween craft for kids! Plus, it’s not only a fun kid’s activity but it doubles as fun Halloween decor too!
If you’ve been following along on my blog, you’ll know I’m all about the no carve pumpkin crafts! It’s kind of hard to miss them, I’ve got so many.
Don’t get me wrong, I love all the other fun Halloween stuff too (especially the Halloween cocktails!) but I just go a little over the top with pumpkin decorating! When styrofoam pumpkins are only $1, you really can’t go wrong.
I’ve made everything from a unicorn pumpkin to a Frankenstein pumpkin but because spiders fit so perfectly with Halloween, I thought it was time to make a spiderweb pumpkin.
What you’ll need:
- Amazon) (you can also get them for $1 at Dollar Tree)
- Black paint
- Silver glitter glue
- Purple glitter
- Plastic spider rings
- Mod Podge
- Hot glue gun
- Hot glue sticks
Spiderweb Pumpkin
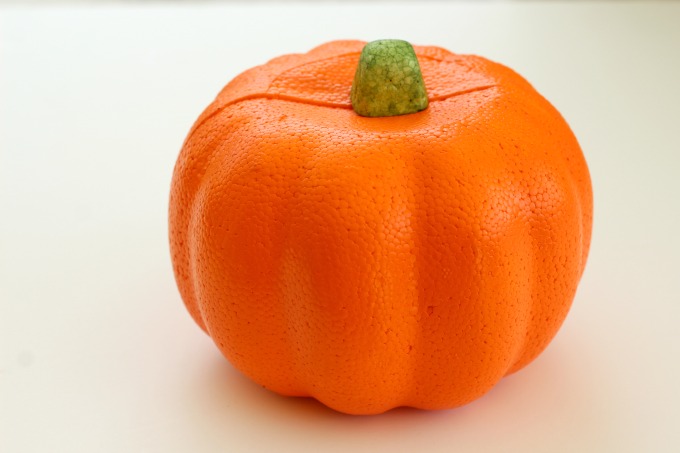
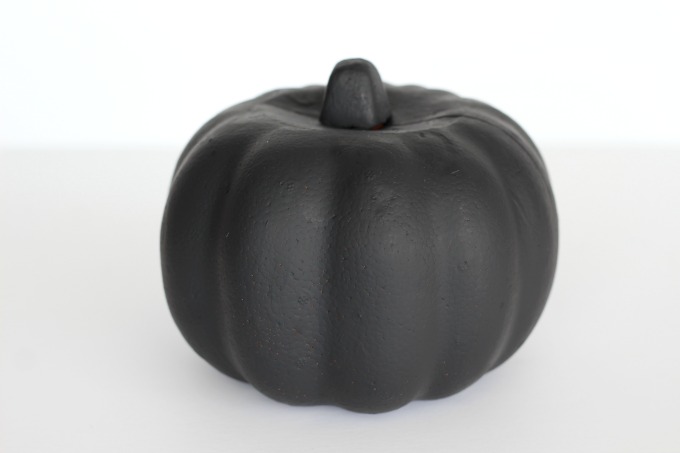
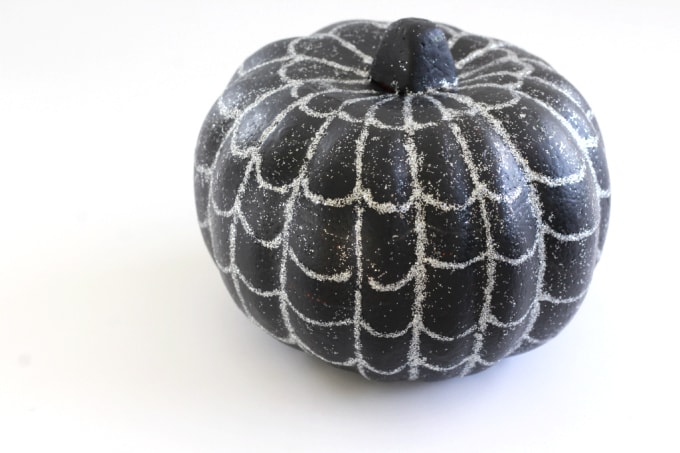
Started by painting your pumpkin black. I painted about three layers before all the orange was covered. Set it aside until paint is dry.
Once the black paint is dry, you can start on your spiderweb. Here’s the fun part…I totally screwed this up but in the end it turned out better than I’d originally planned!
I’d tried to make the spiderweb with glitter glue, got impatient (a recurring problem with me) and went too fast. It looked terrible so I immediately wiped it off so I could start over.
However, when I tried to wipe off the glitter glue, it just smeared all over the pumpkin. It was a huge mistake but I LOVED this new look!
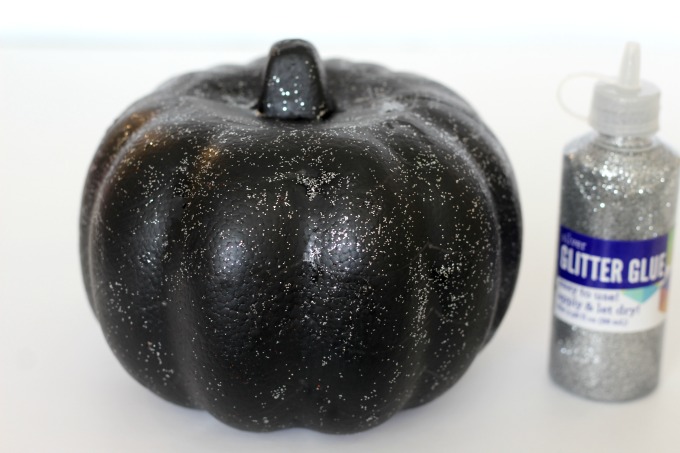
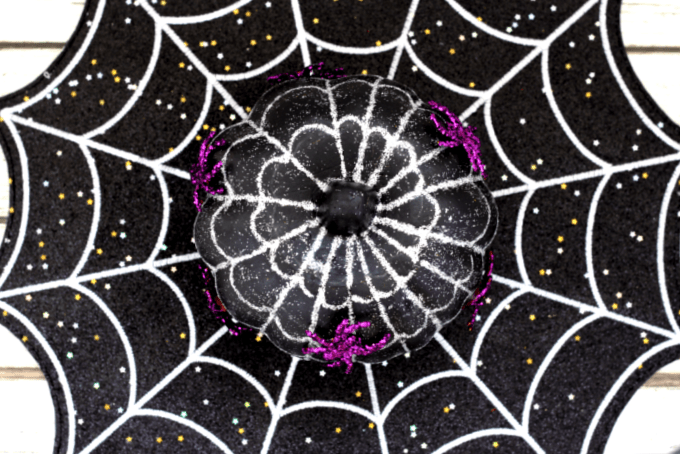
The second attempt went more smoothly (probably because I took my time). Start by taking the glitter glue and drawing lines down the sides of the pumpkin. I just followed the grooves.
After letting that dry, link the vertical lines with curved ones all the way around, until you get the desired spider web effect.
Now it’s time to pull out the spiders! These cheap, plastic spider rings were perfect for this project.
Start by dipping the spiders in Mod Podge.
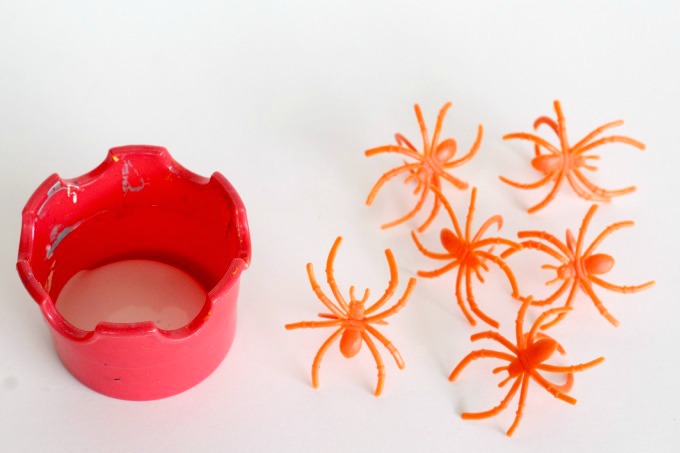
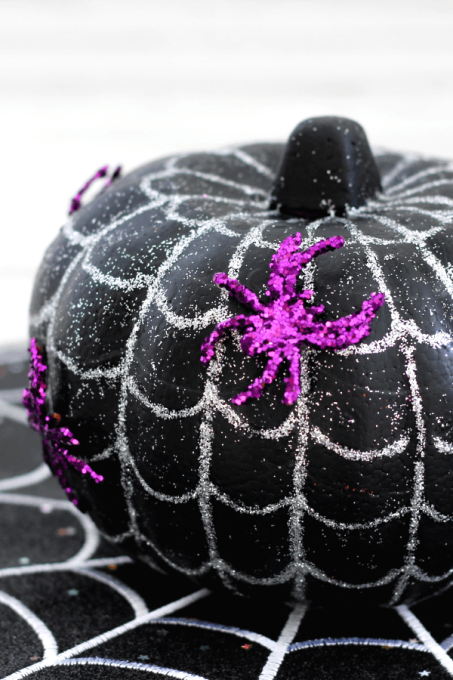
Sprinkle purple glitter over them and set them aside to dry. Once they’re completely dry, use scissors to cut the ring off the back, then use hot glue to attach them to the pumpkin.
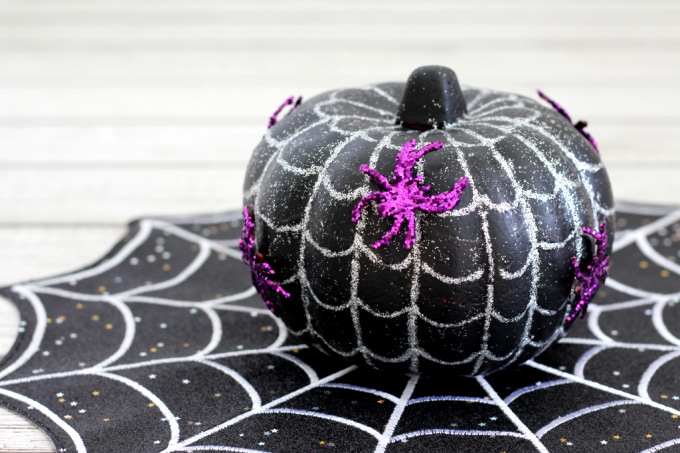
How cute is this?! It was so much fun to make, despite my “oops” along the way.
I think next time I’ll make some orange glitter spiders to go with the purple ones!
I still have plenty of orange pumpkins left! What do you think I should make next?
Want more easy pumpkin painting ideas? Get all the tutorials here:
- Grinch Pumpkin
- Witch Pumpkin
- Minion Pumpkin
- Gnome Pumpkin
- Pikachu Pumpkin
- Mike Wazowski Pumpkin
- Sully Pumpkin
- Taylor Swift Pumpkin
- Shark Pumpkin
- Baby Yoda Pumpkin
- Vampire Pumpkin
- Harry Potter Pumpkin
- Golden Snitch Pumpkin
- Pumpkin Diorama
- Unicorn Pumpkin
- Jack Skellington Pumpkin
- Sally Skellington Pumpkin
- Hello Kitty Pumpkin
- Frankenstein Pumpkin
- Mummy Pumpkin
- Black Cat Pumpkin
- Emoji Pumpkins
- Bat Pumpkin
- Spider Pumpkin
- Melted Crayon Pumpkin
- Cinderella Inspired Pumpkin
- Teal Pumpkin
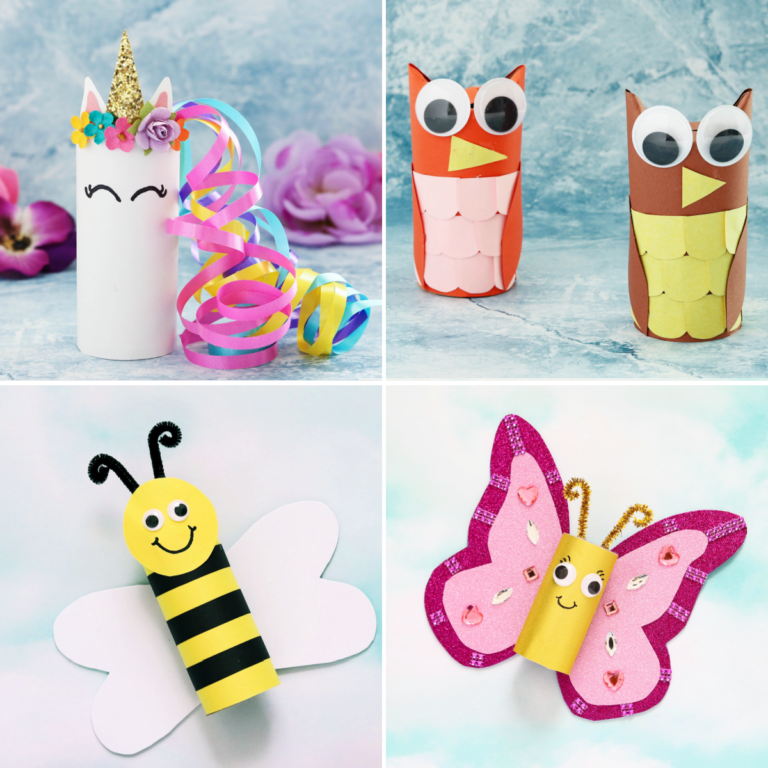
- Butterfly Pumpkin
- Bumblebee Pumpkin
- Metallic Polka Dot Pumpkin
- Caramel Apple Pumpkin
- Spiderweb Pumpkin
- Glitter Pumpkin
- Dollar Tree Pumpkin
- Minnie Mouse Pumpkin
- Mickey Mouse Pumpkin
- Spiderman Pumpkin
Looking for more Halloween fun? Check these out…
Let’s be friends!
Did you love this post? Make sure to comment below and let me know your thoughts! And don’t forget to follow on your favorite social network below!

About Lisa O’Driscoll
Lisa O’Driscoll is a lifestyle and parenting expert, cookbook author, and the creative force behind Fun Money Mom, a popular blog she’s run since 2014. She’s the author of the children’s cookbook Roll It, Slice It, Mash It, Dice It, designed to get kids excited about cooking. With multiple TV appearances under her belt, she loves sharing her expertise on family-friendly recipes, creative DIYs, and party planning and is always on a mission to inspire and entertain!