Mermaid Ice Cream (No Churn)
This post may contain affiliate links. As an Amazon Associate, I earn from qualifying purchases.
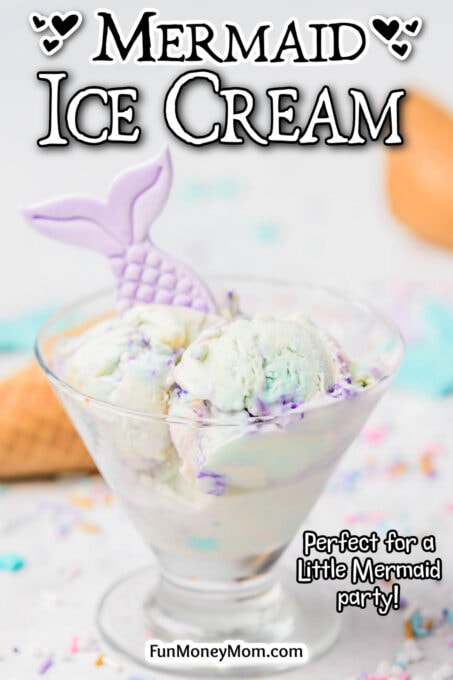
This no-churn Mermaid Ice Cream will transport you to an underwater world of beautiful colors and magical flavor. It’s a super easy dessert that’s a must-try for anyone looking for a fun, whimsical, and oh-so-refreshing sweet treat.
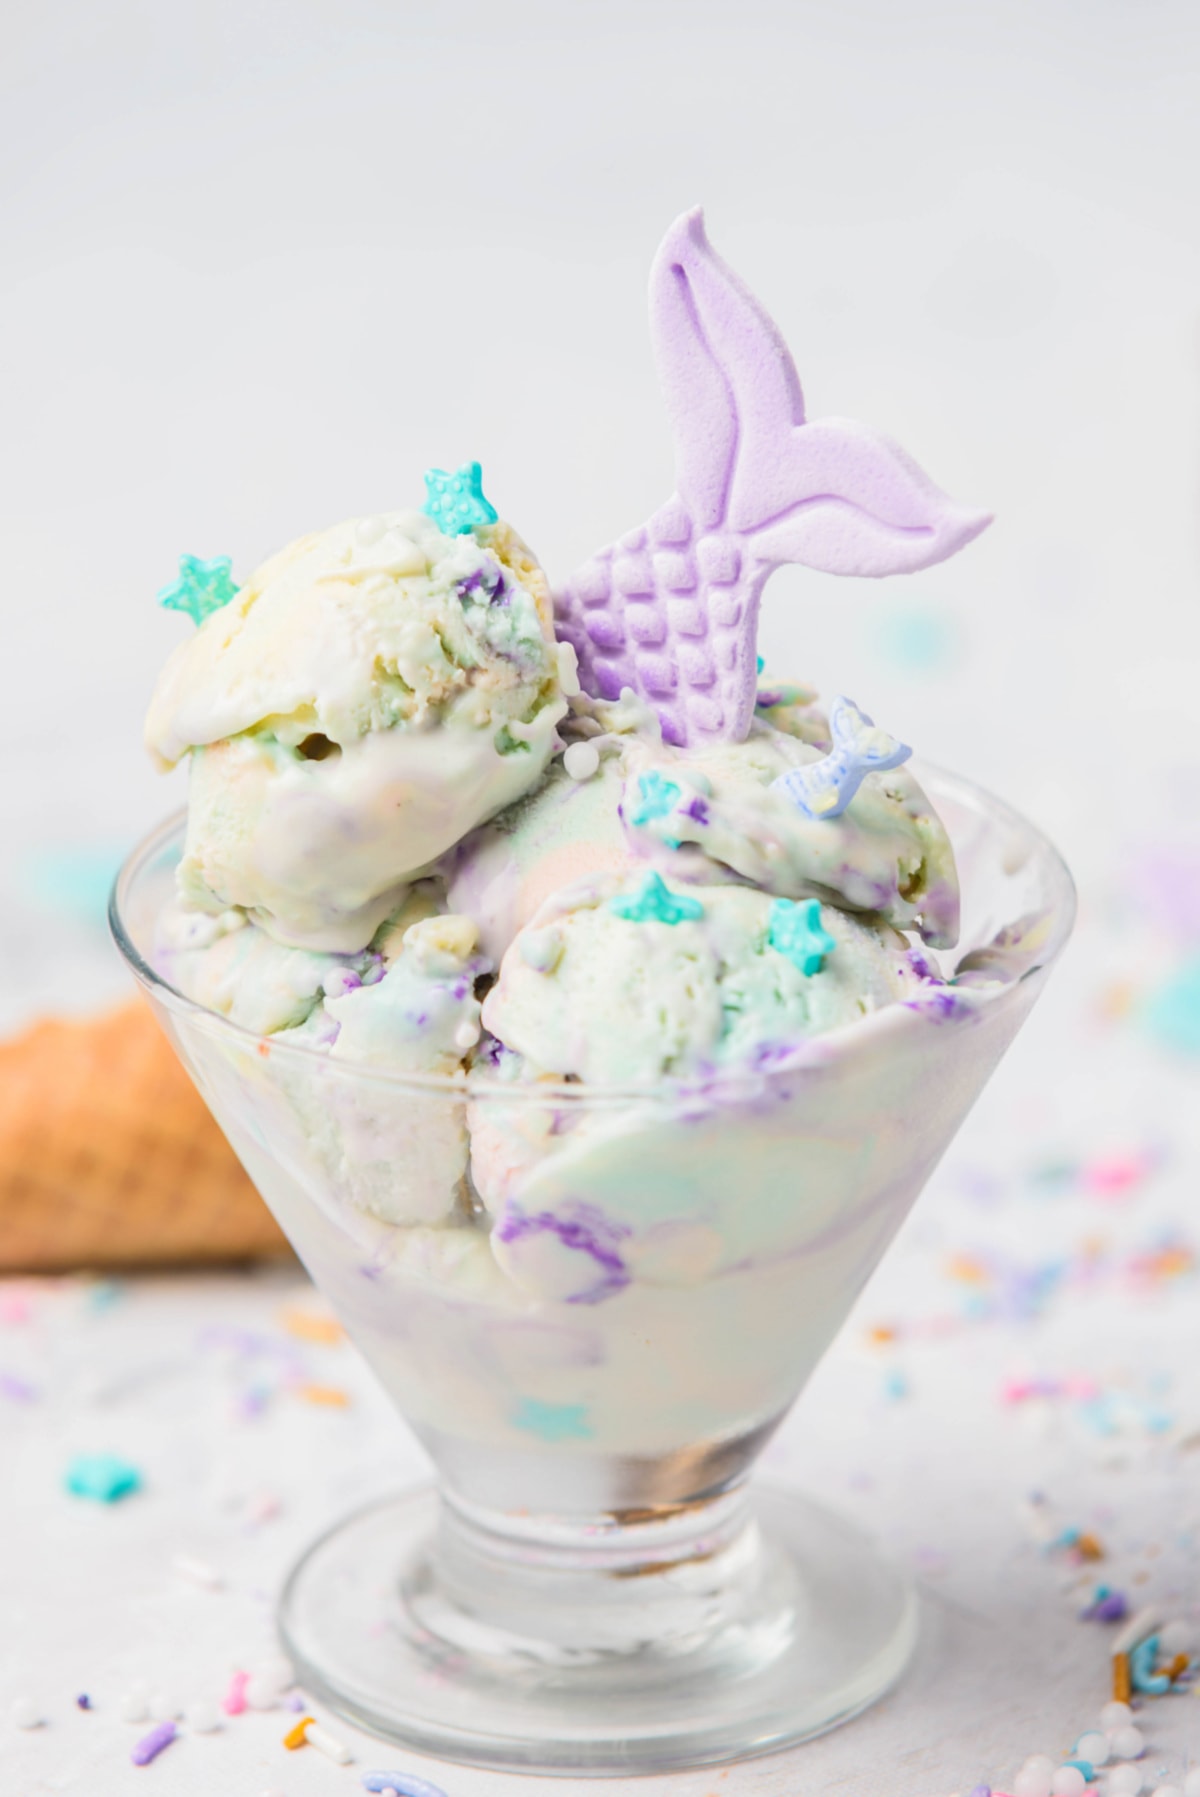
What better way to celebrate the release of the new Little Mermaid movie than with a batch of this easy, no-churn vanilla ice cream? With its cool and creamy texture and gorgeous ocean colors, it’s the perfect way to get into the spirit!
Whether you’re hosting a mermaid party or just looking for a fun way to cool off on a hot day, this recipe is sure to be a hit. It’s incredibly easy to make, with no fancy equipment or special skills required. Just a few simple ingredients and some festive sprinkles are all you need to create a dessert that’s as beautiful as it is delicious.
If you love this underwater-inspired treat, you’ll also want to check out this colorful Mermaid Milkshake.
Why We Love This Recipe
- Easy recipe: This recipe is incredibly easy to make with only a hand mixer. No ice cream maker required, which makes this a great recipe for the kids to help with.
- Whimsical: The colors and sprinkles make this ice cream recipe so playful and fun. It’s perfect for a mermaid birthday party, pool parties or other summer gatherings.
- Delicious: Not only does this ice cream have a fun mermaid theme, but it’s also an incredibly creamy and completely irresistible sweet treat.
Ingredients
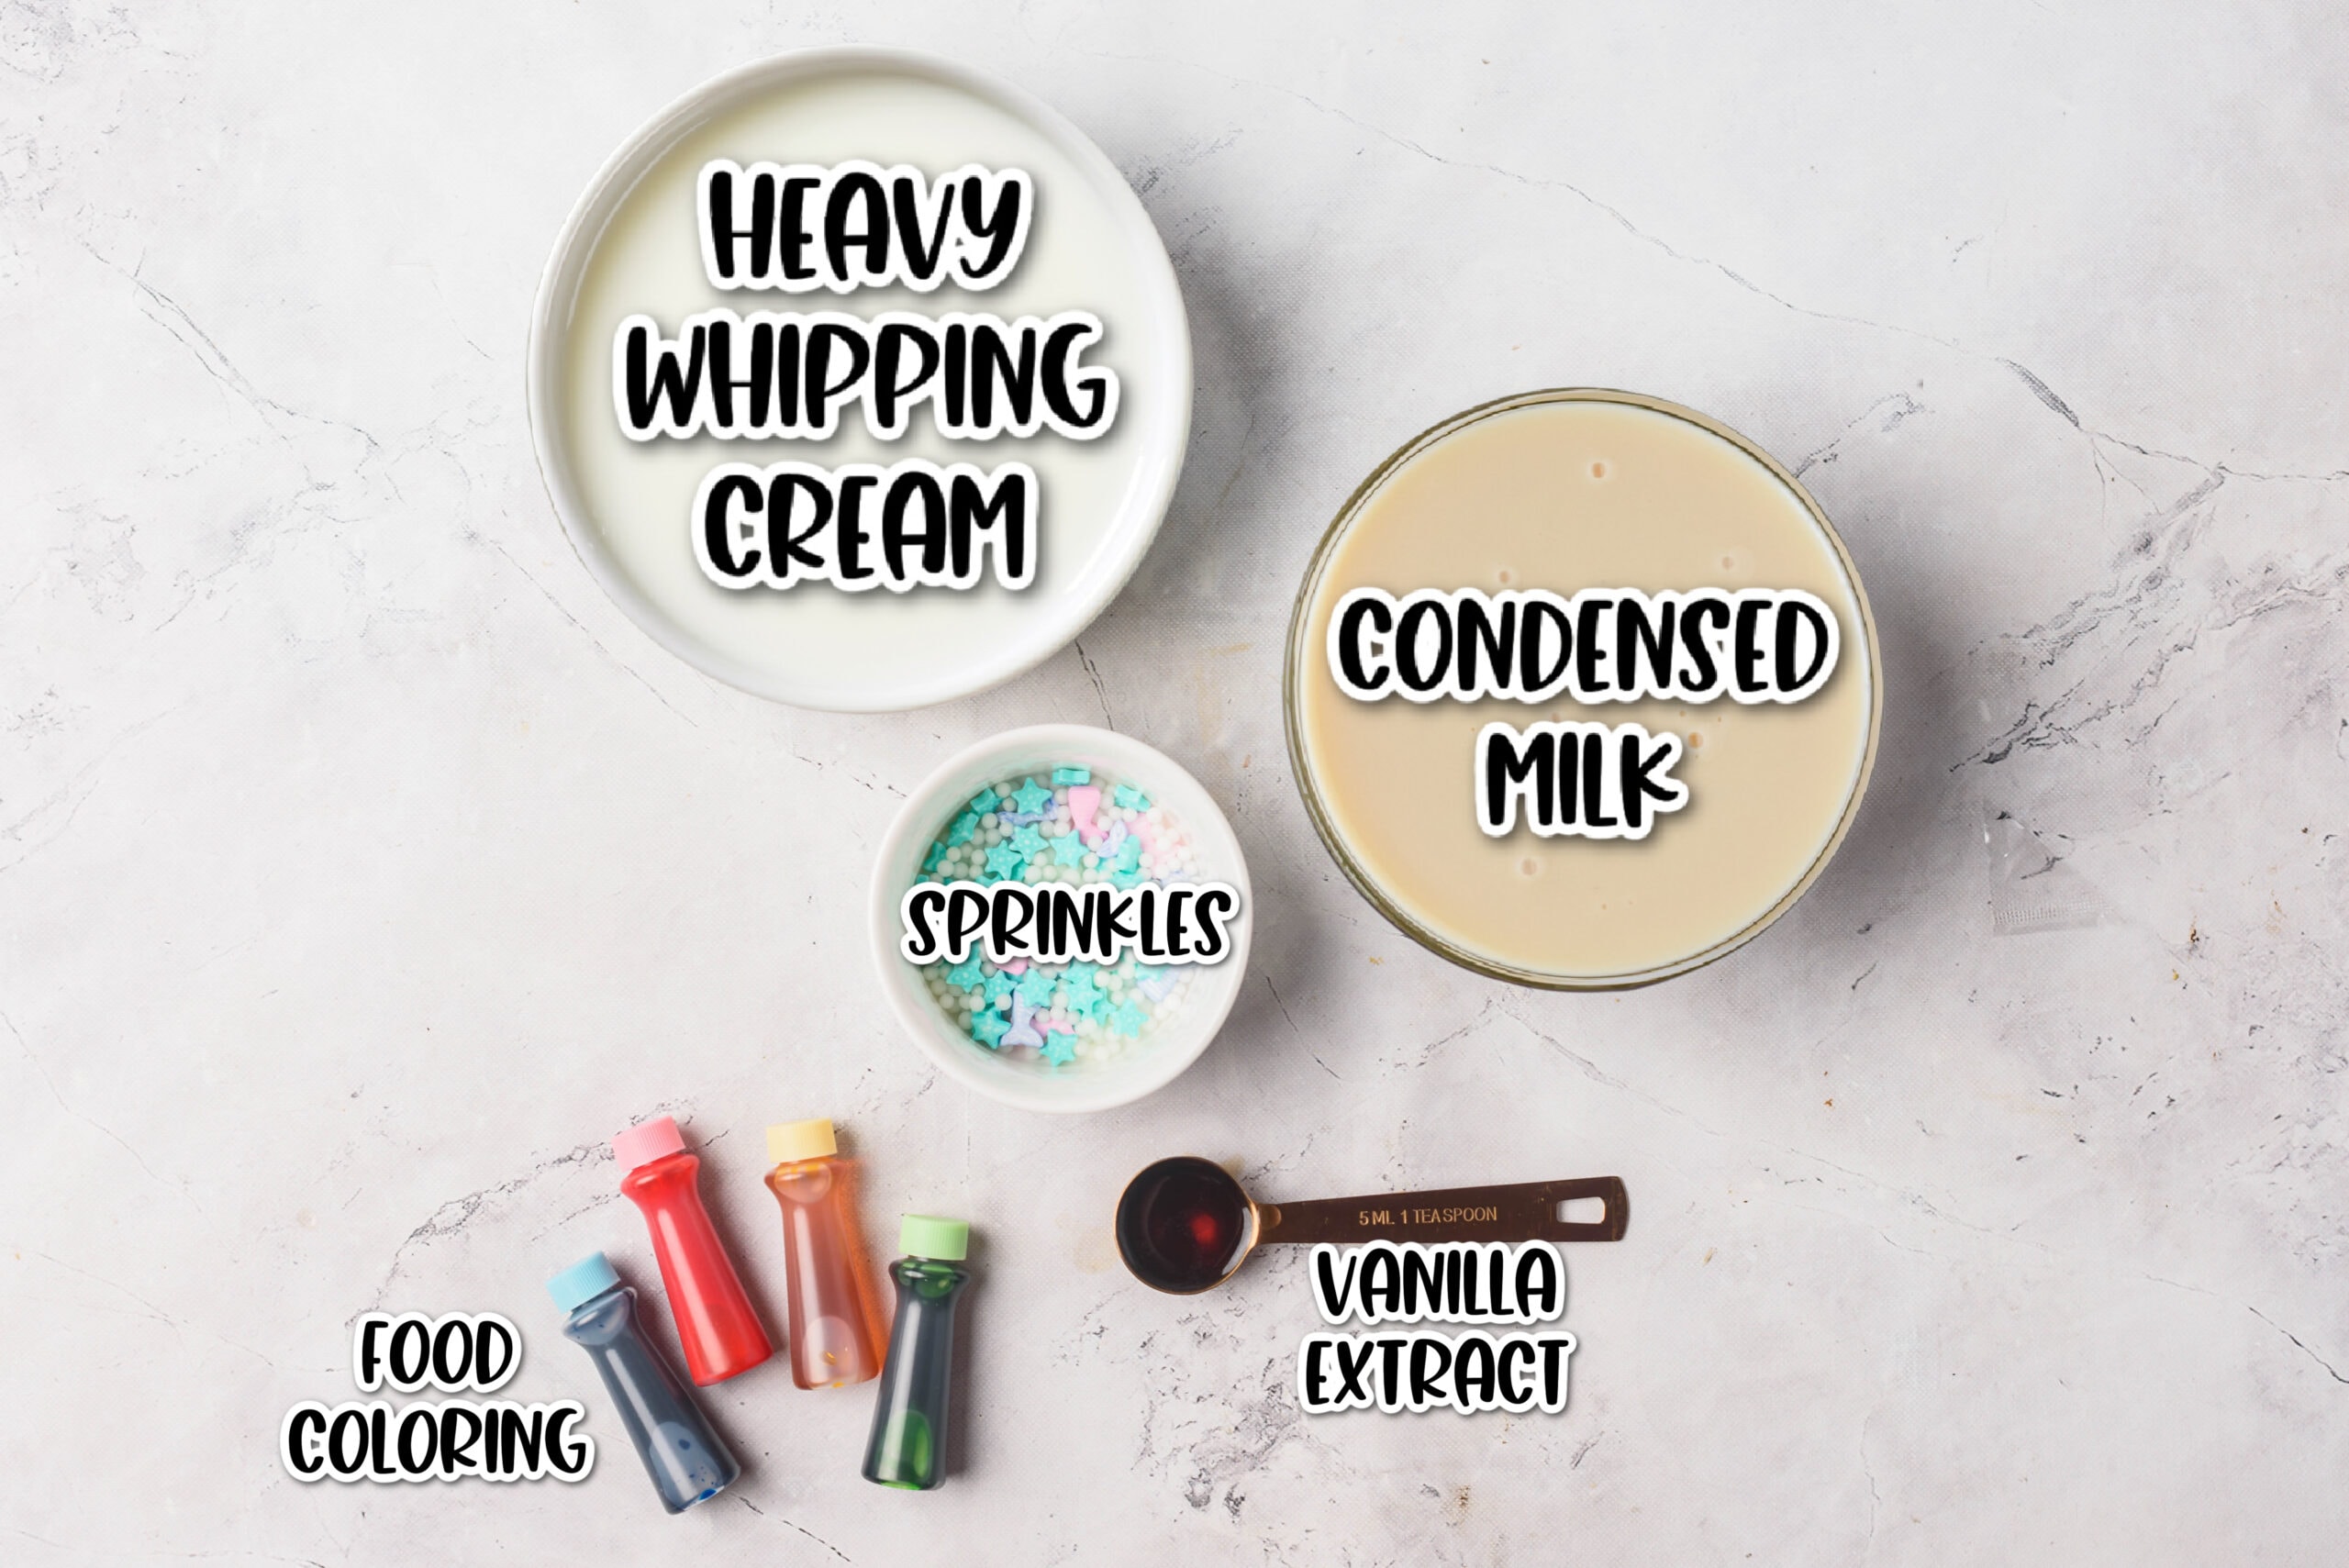
- Heavy whipping cream
- Sweetened condensed milk
- Vanilla extract
- Mermaid sprinkles
- Pastel food coloring gels
Recommended Tools
- 9×5 loaf pan
- Parchment paper
- Mixing bowls
- Stand mixer or electric mixer (optional)
- Rubber spatula
- Long skewer or butter knife
How To Make No Churn Mermaid Ice Cream
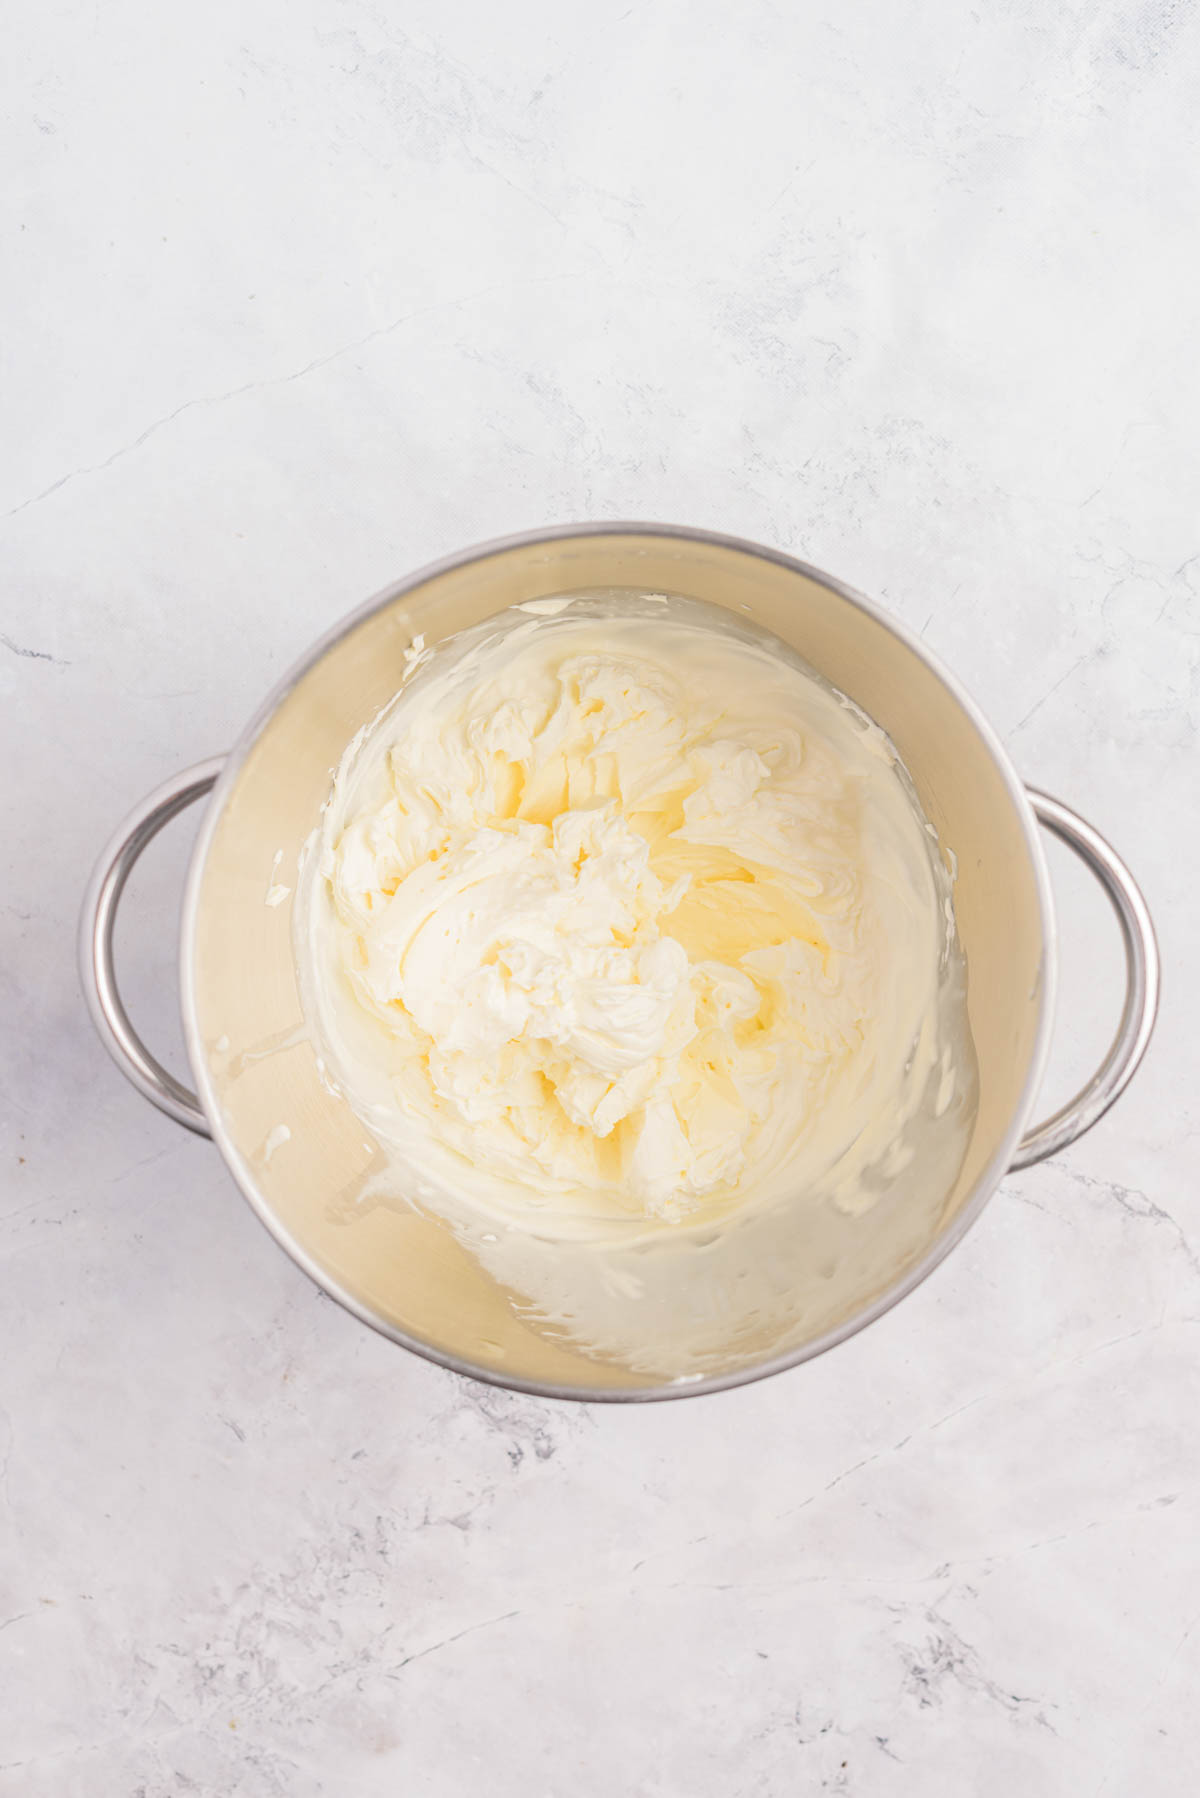
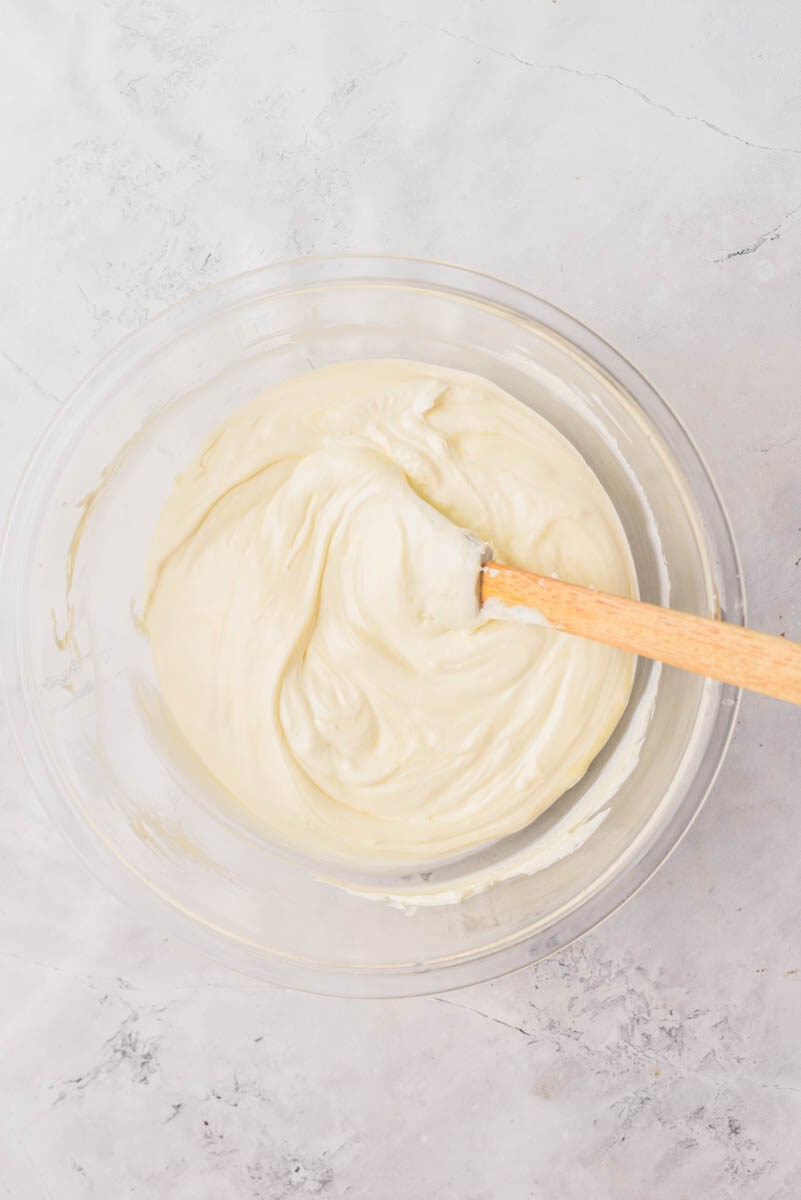
Step 1. Add the heavy cream to a large mixing bowl. Using a hand or stand mixer with the whisk attachment, whip it until stiff peaks form.
Step 2. In a separate large bowl, blend the sweetened condensed milk and vanilla extract, then fold it into the whipped cream until well combined.
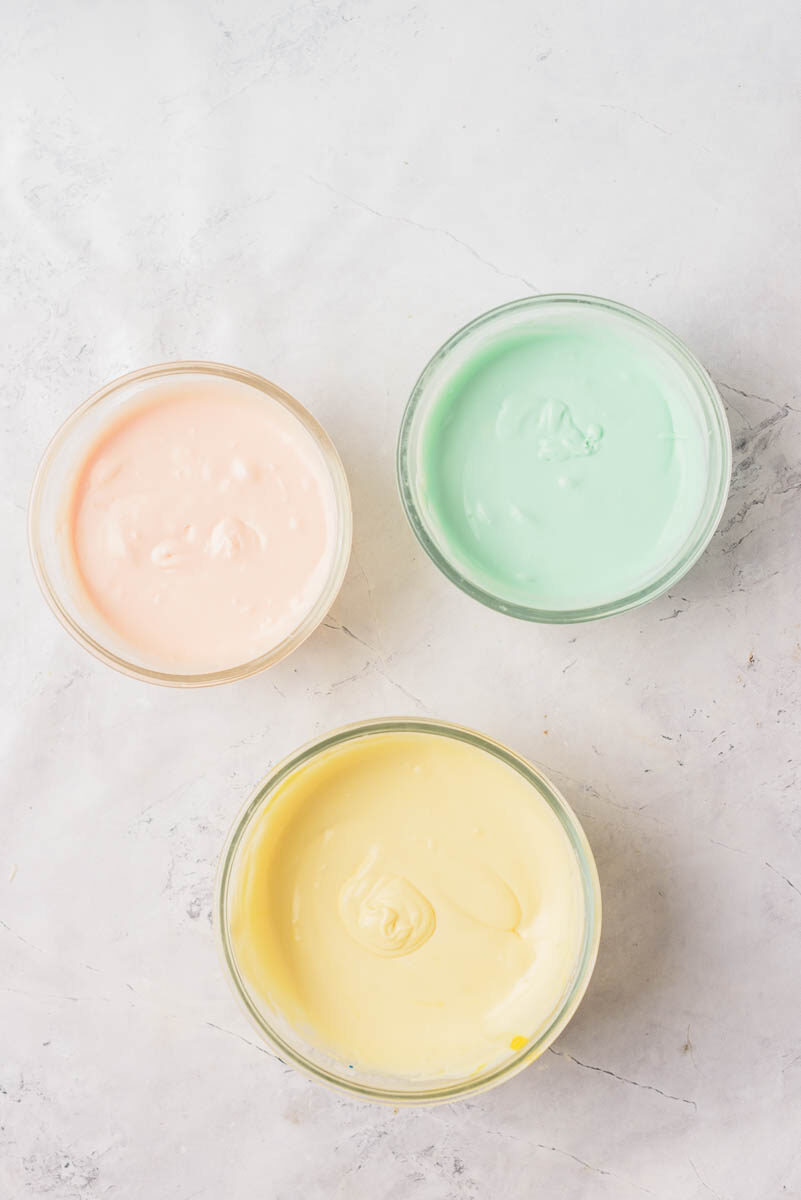
Step 3. Divide mixture equally amongst three separate bowls.
Step 4. Add two drops of food coloring to each bowl to make three separate ice cream colors.
Tip: Add extra food coloring if you want brighter colors.
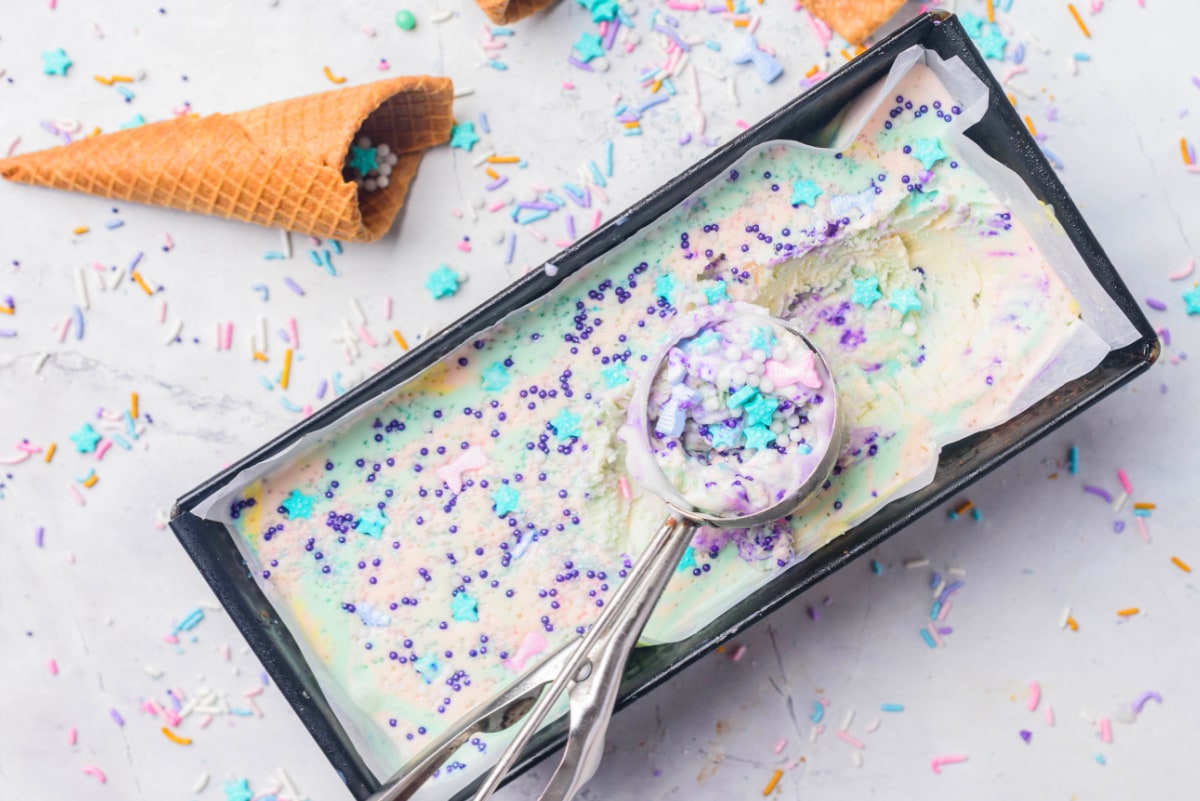
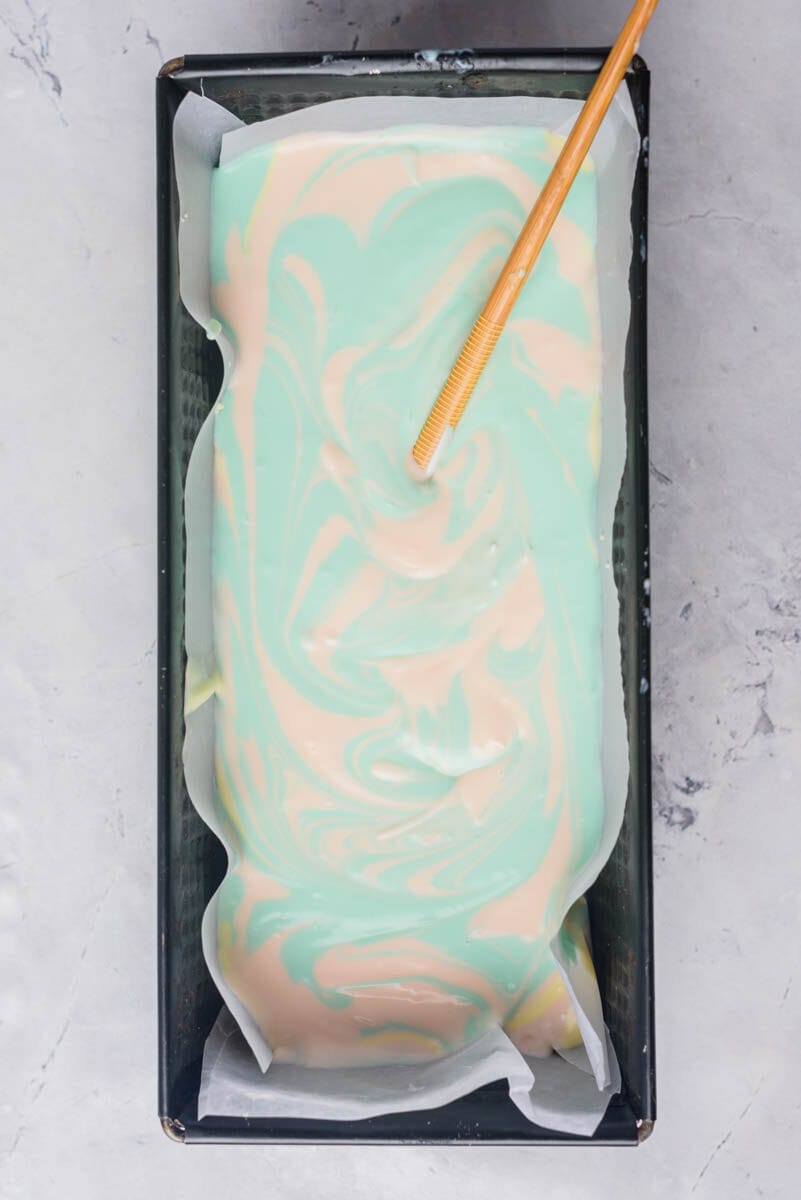
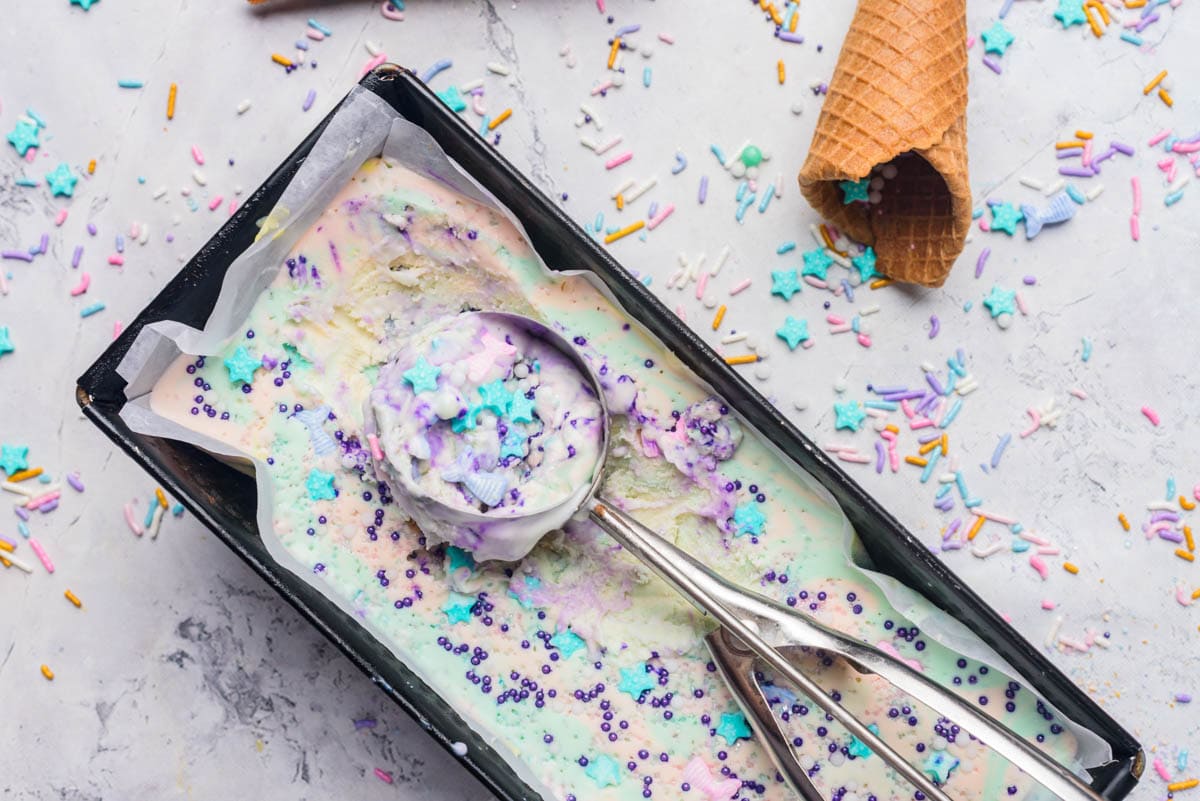
Step 5. Pour the ice cream into a prepared 9-inch loaf pan, layering the colors.

Step 6. Use a toothpick, butter knife or even the end of a wooden spoon to swirl the ice cream until the colors are evenly distributed and the top is smooth.
Step 7. Sprinkle a generous amount of mermaid sprinkles on top of the ice cream, then cover the container with plastic wrap or a lid.
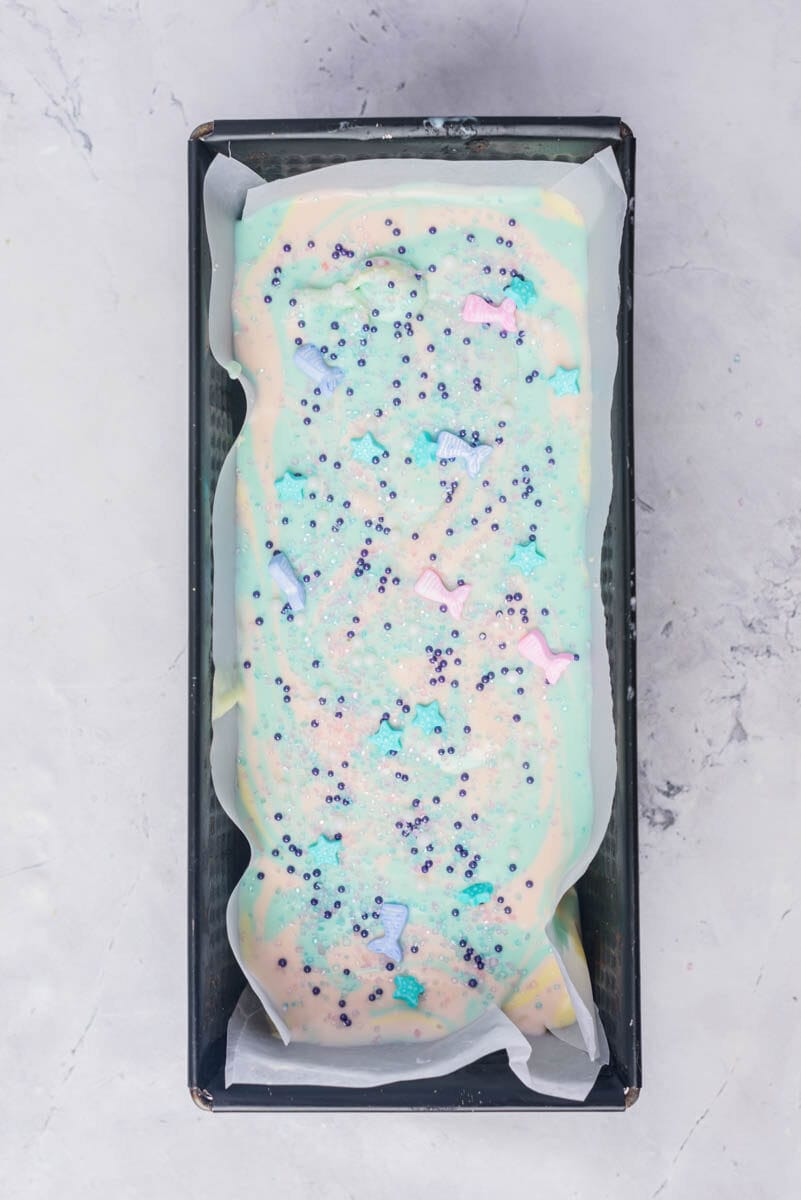
Step 9. Freeze the ice cream for at least 6 hours or overnight, until it is firm enough to scoop.
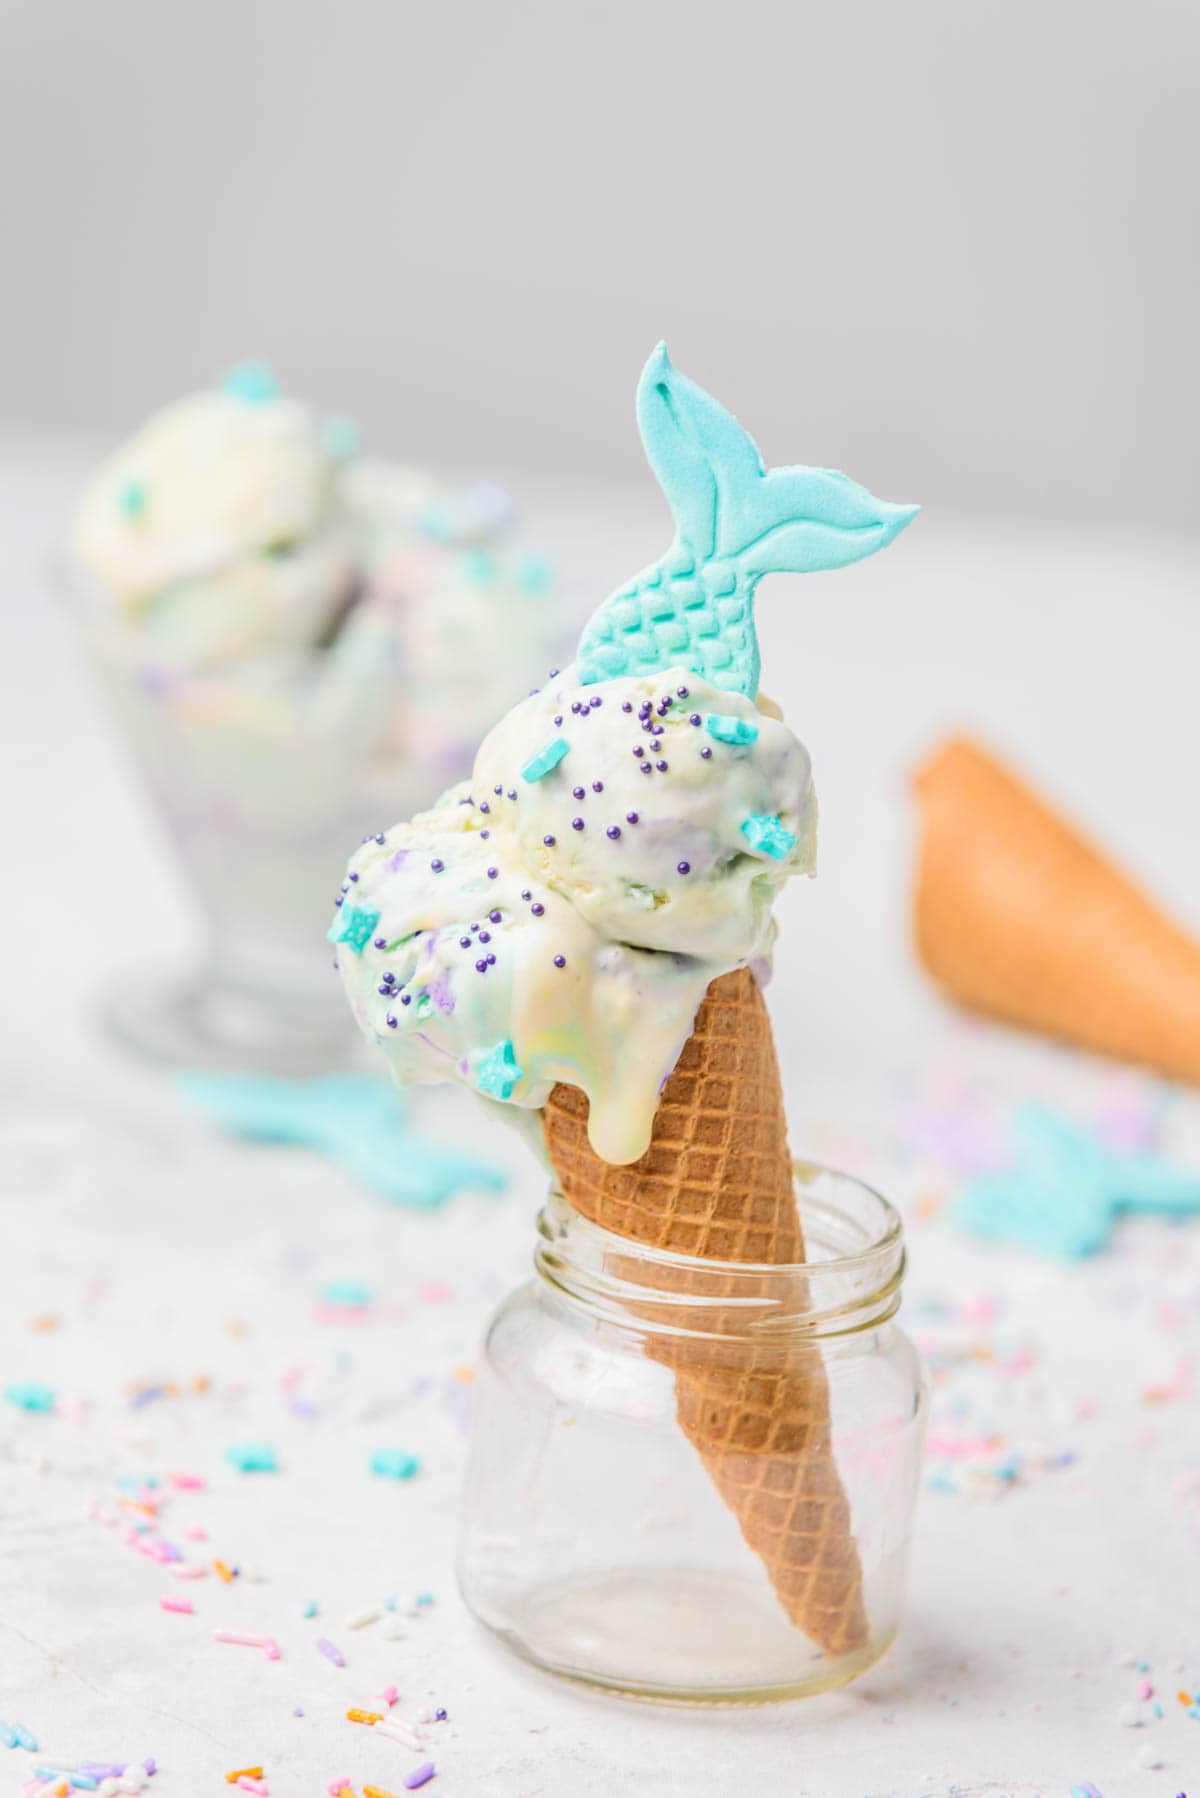
If you want to make mermaid tails, just fill a mermaid tail-shaped mold with melted candy melts and place in the refrigerator for about 20 minutes (until candy hardens).

To prevent freezer burn, be sure to store leftovers in an air-tight, freezer-safe container. As added protection, place a sheet of plastic wrap directly on the surface of the ice cream.Though leftovers should stay fresh for up to a couple of months, this ice cream is best when eaten within a week or two of making it.
Other Color Combinations to Consider
There are lots of different color options you can choose from. These are more great choices for your ocean themed colors:
- Light blue, lavender, and pale pink
- Teal, purple, and blue
- Bright blue, hot pink, and yellow
This recipe can easy be customized with other themes too! Whether it’s for a baby shower, Halloween or game day colors, just swap out the sprinkles and food coloring and you’re all set. Kids will have a lot of fun creating their own unique combination of colors too.
Little Mermaid Ice Cream Variations
- Flavors: This may be a vanilla ice cream recipe, but you can easily add other extracts to the mixture to give it a totally different flavor. Cotton candy, cake batter, coconut and orange extract are all fun flavor options that’ll taste great with this recipe.
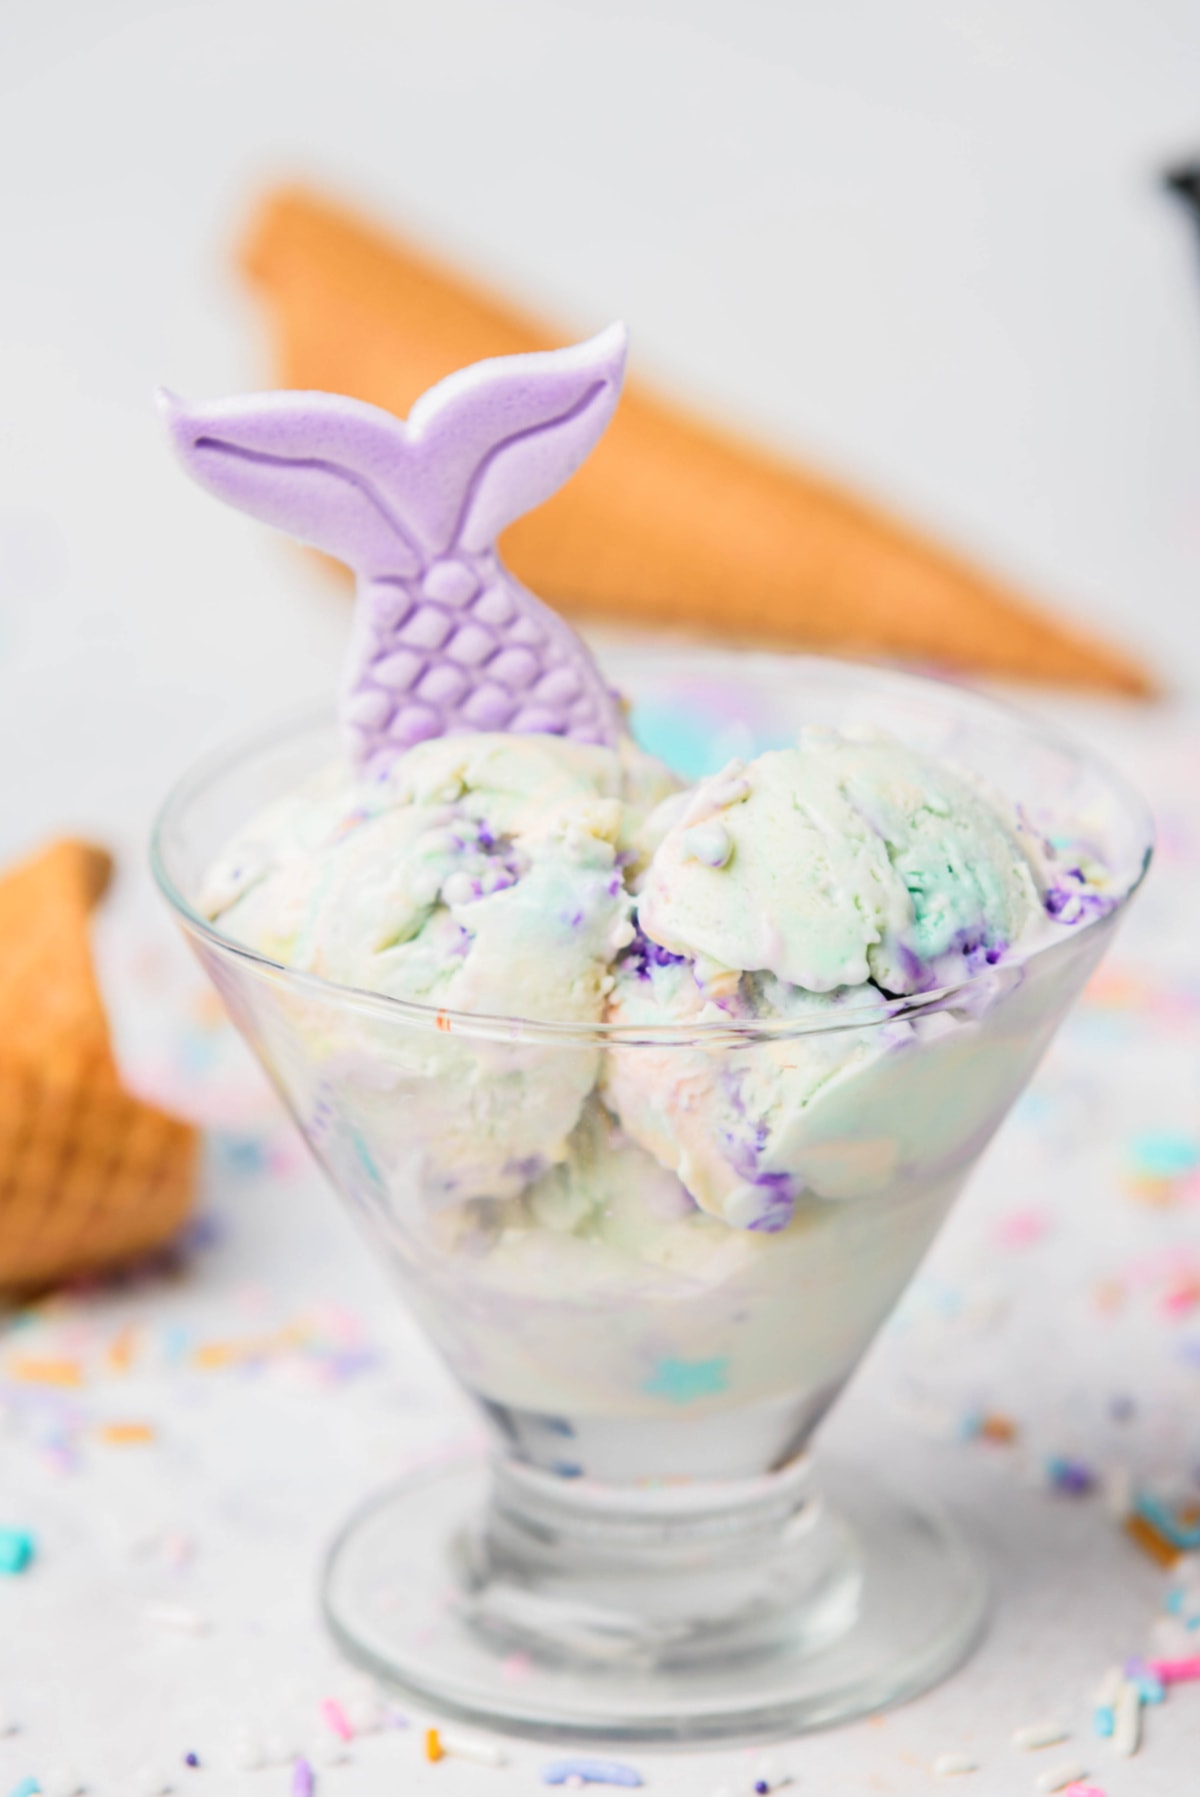
- Garnishes: We love to add candy mermaid tails to this ice cream but a simple dollop of cool whip with extra sprinkles is always a hit too. You can get a little more creative with toasted coconut, gummy sea creatures, or edible glitter.
- Mix-ins: To add more texture to this creamy ice cream, mix in some white chocolate chips, crushed vanilla wafers, or Golden Oreos. Coconut flakes with chopped macadamia nuts will give it a tropical twist or add fresh fruit like blueberries or chopped strawberries for a pop of fresh color and flavor.
The main reason homemade ice cream turns out icy is because the heavy cream wasn’t whipped into stiff peaks. The thick texture of the whipped cream is what gives the finished ice cream a smooth and creamy texture.
No-churn ice cream typically needs to be frozen for at least 4 hours, in a loaf pan. But, if you use other sized pans, the exact time it takes will vary.
Want More Ice Cream Recipes?
- No Churn Oreo Ice Cream
- Harry Potter Butterbeer Ice Cream
- No Churn Mint Chocolate Chip Ice Cream
- Cotton Candy Ice Cream
- Galaxy Ice Cream
- Peppermint White Chocolate Ice Cream
Mermaid Ice Cream
Equipment
- Stand mixer optional
- electric mixer optional
- mermaid tail candy mold optional
Ingredients
- 2 cups heavy whipping cream
- 14 oz sweetened condensed milk 1 can
- 1 teaspoon vanilla extract
- Pastel food coloring gel
- Mermaid sprinkles
Instructions
- Add the heavy cream to a large mixing bowl. Using a hand or stand mixer with the whisk attachment, whip it until stiff peaks form.2 cups heavy whipping cream
- In a separate large bowl, mix the sweetened condensed milk and vanilla extract, then fold into the whipped cream until well combined.14 oz sweetened condensed milk, 1 teaspoon vanilla extract
- Divide the ice cream mixture equally amongst three separate bowls.
- Add two drops of food coloring to each bowl to make three separate ice cream colors. You can add more food coloring to get brighter colors.Pastel food coloring gel
- Pour the ice cream into a prepared 9-inch loaf pan, layering the colors.
- Use a toothpick, butter knife or even the end of a wooden spoon to swirl the ice cream until the colors are evenly distributed and the top is smooth.
- Sprinkle a generous amount of mermaid sprinkles on top of the ice cream, then cover the container with plastic wrap or a lid.Mermaid sprinkles
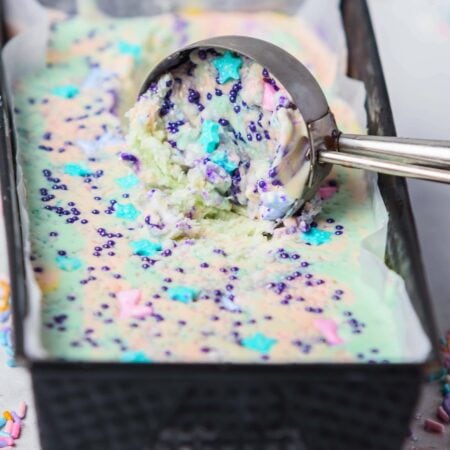
- Freeze the ice cream for at least 6 hours or overnight, until it is firm enough to scoop.
Notes
Nutrition
Did You Make This Recipe?
Share it with me on Instagram @funmoneymom and follow on Pinterest @funmoneymom for more!
Let’s be friends!
Did you love this post? Make sure to comment below and let me know your thoughts! And don’t forget to follow on your favorite social network below!

About Lisa O’Driscoll
Lisa O’Driscoll is a lifestyle and parenting expert, cookbook author, and the creative force behind Fun Money Mom, a popular blog she’s run since 2014. She’s the author of the children’s cookbook Roll It, Slice It, Mash It, Dice It, designed to get kids excited about cooking. With multiple TV appearances under her belt, she loves sharing her expertise on family-friendly recipes, creative DIYs, and party planning and is always on a mission to inspire and entertain!