Adorable Easter Oreos Recipe
This post may contain affiliate links. As an Amazon Associate, I earn from qualifying purchases.

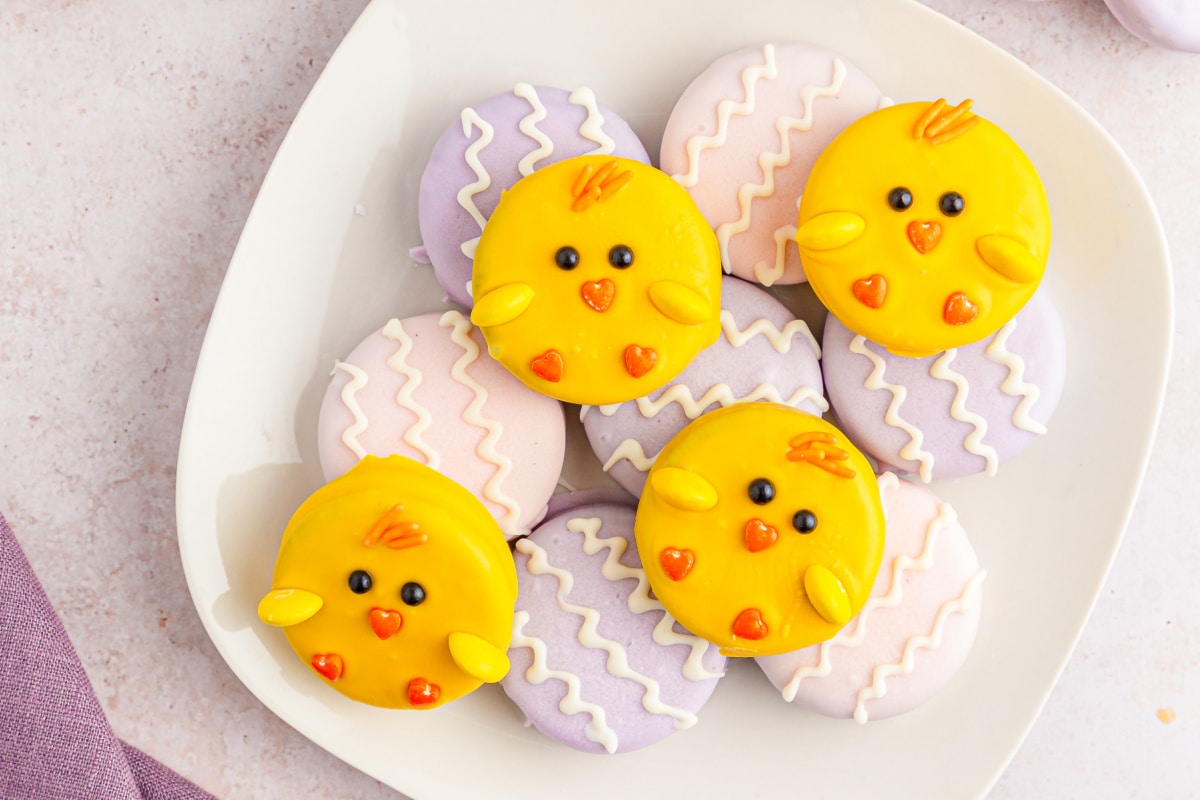
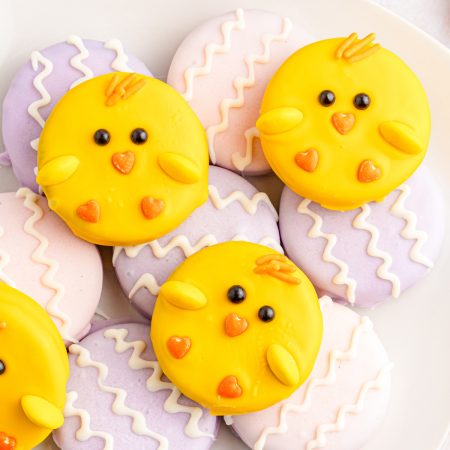
These chocolate covered Easter Oreos may just be the cutest Easter dessert ever! Festive and fun, they’re perfect for your holiday celebration!

Chocolate Easter Oreos
If these Easter Oreos aren’t the cutest treat ever, I don’t know what is! Who knew it was so easy to transform the classic cookies into these bright yellow Easter chicks and colorful Easter eggs. And not only do they look adorable but they taste great too (I mean, you can never go wrong with Oreos, right?).
Candy melting wafers, sprinkles, and M&Ms are just about all you need to make your own. Just dip Oreos in different colors of candy coating and decorate. The kids can even help and your family will have a super cute and delicious new Easter tradition!
Why We Love This Recipe
It’s Adorable – These Oreo Easter cookies are so cute and festive and look like they came from a fancy bakery or candy shop. They’ll be the star of the dessert table!
Great for Kids – Children will go nuts for these. They’d be perfect to share at a kids’ party, classroom event or even a fun gift for an Easter basket.
No Oven Required – You don’t even need to turn on the oven to make these. Plus, you can make them ahead of time so that’s one less thing you have to do later.
Ingredients
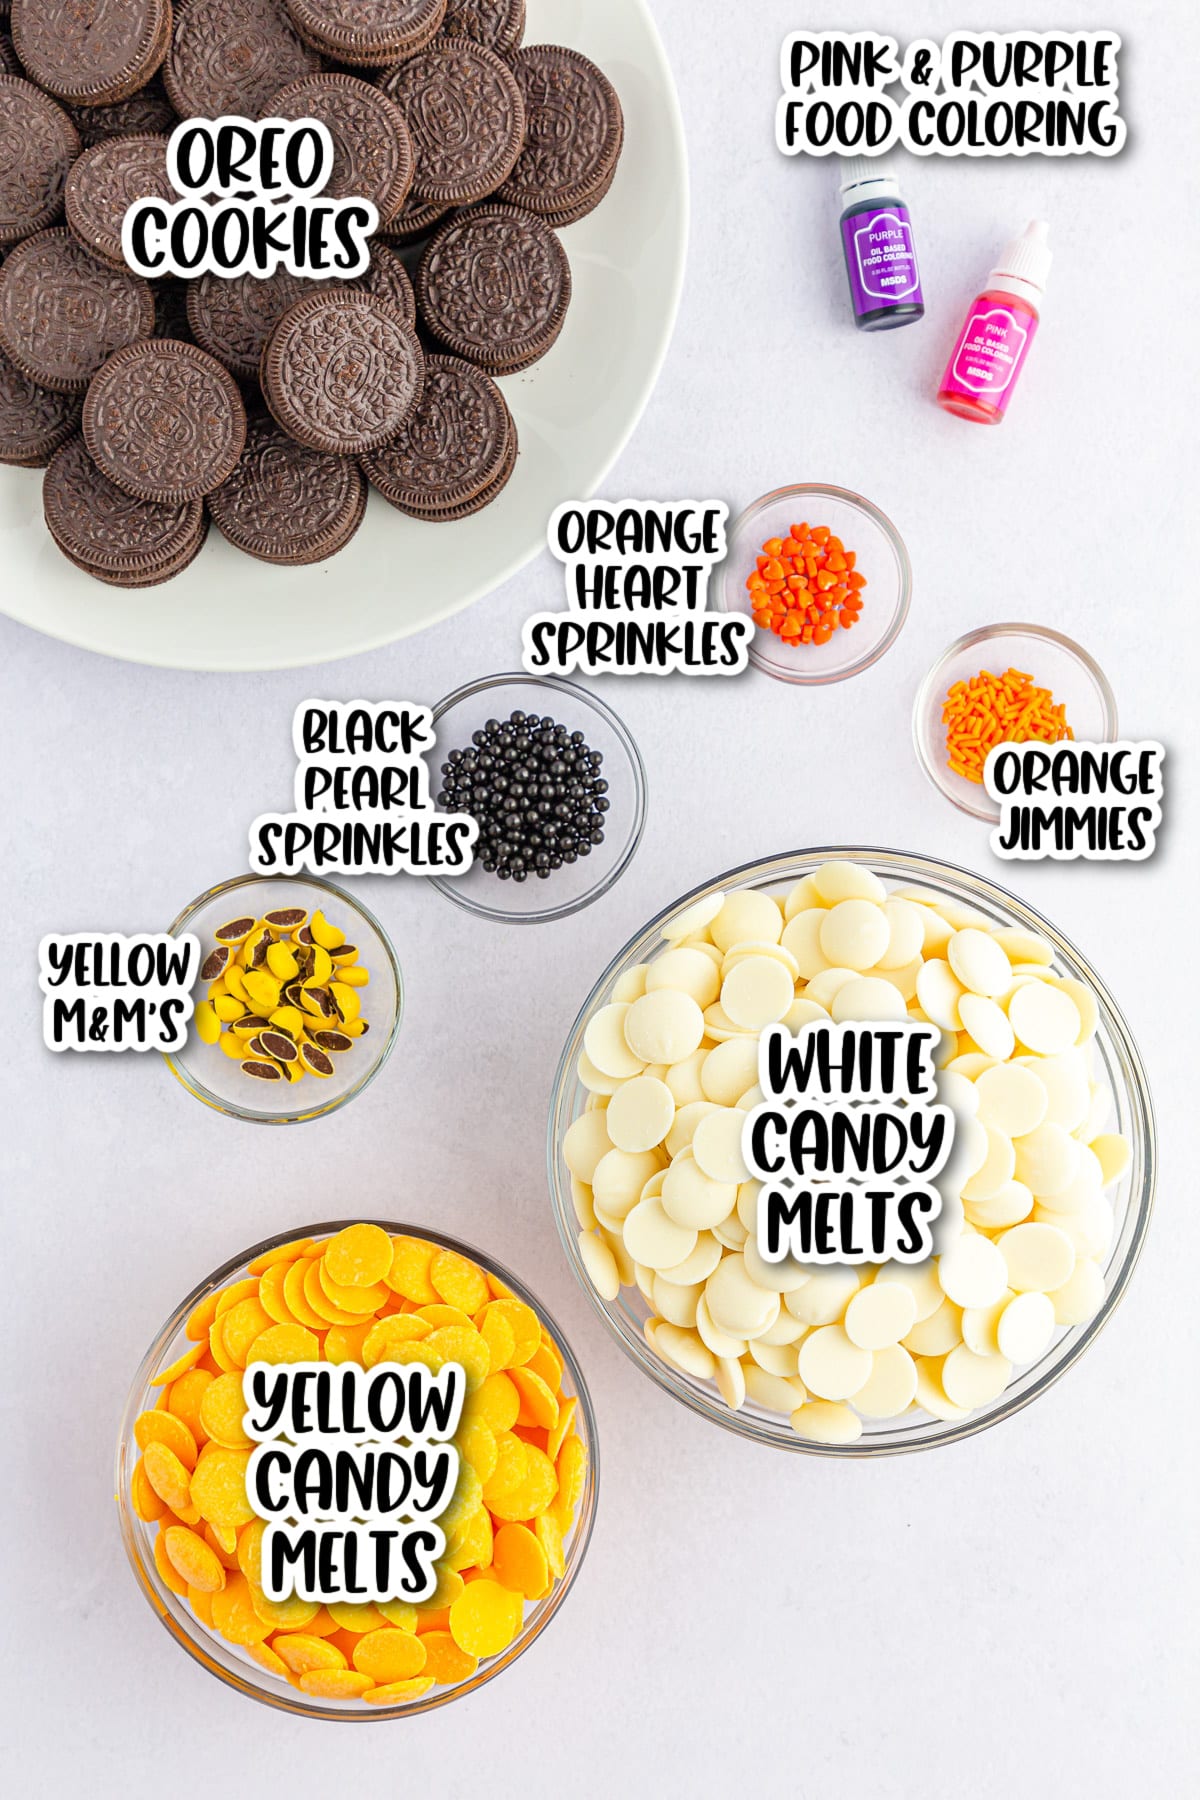
- Oreo cookies
- Ghirardelli vanilla melting wafers (or you can use colored melts and skip the food coloring)
- Oil based food coloring in yellow, pink, and purple
- Small black sugar pearls for the chick’s eyes
- Small orange candy hearts for the chick’s beak and feet
- Orange jimmies for the chick’s hair
- Yellow M&M’s cut in half for the chick’s wings
How to Make Easter Oreos
For The Chicks
Step 1: Line a large baking sheet with parchment or wax paper and set aside.
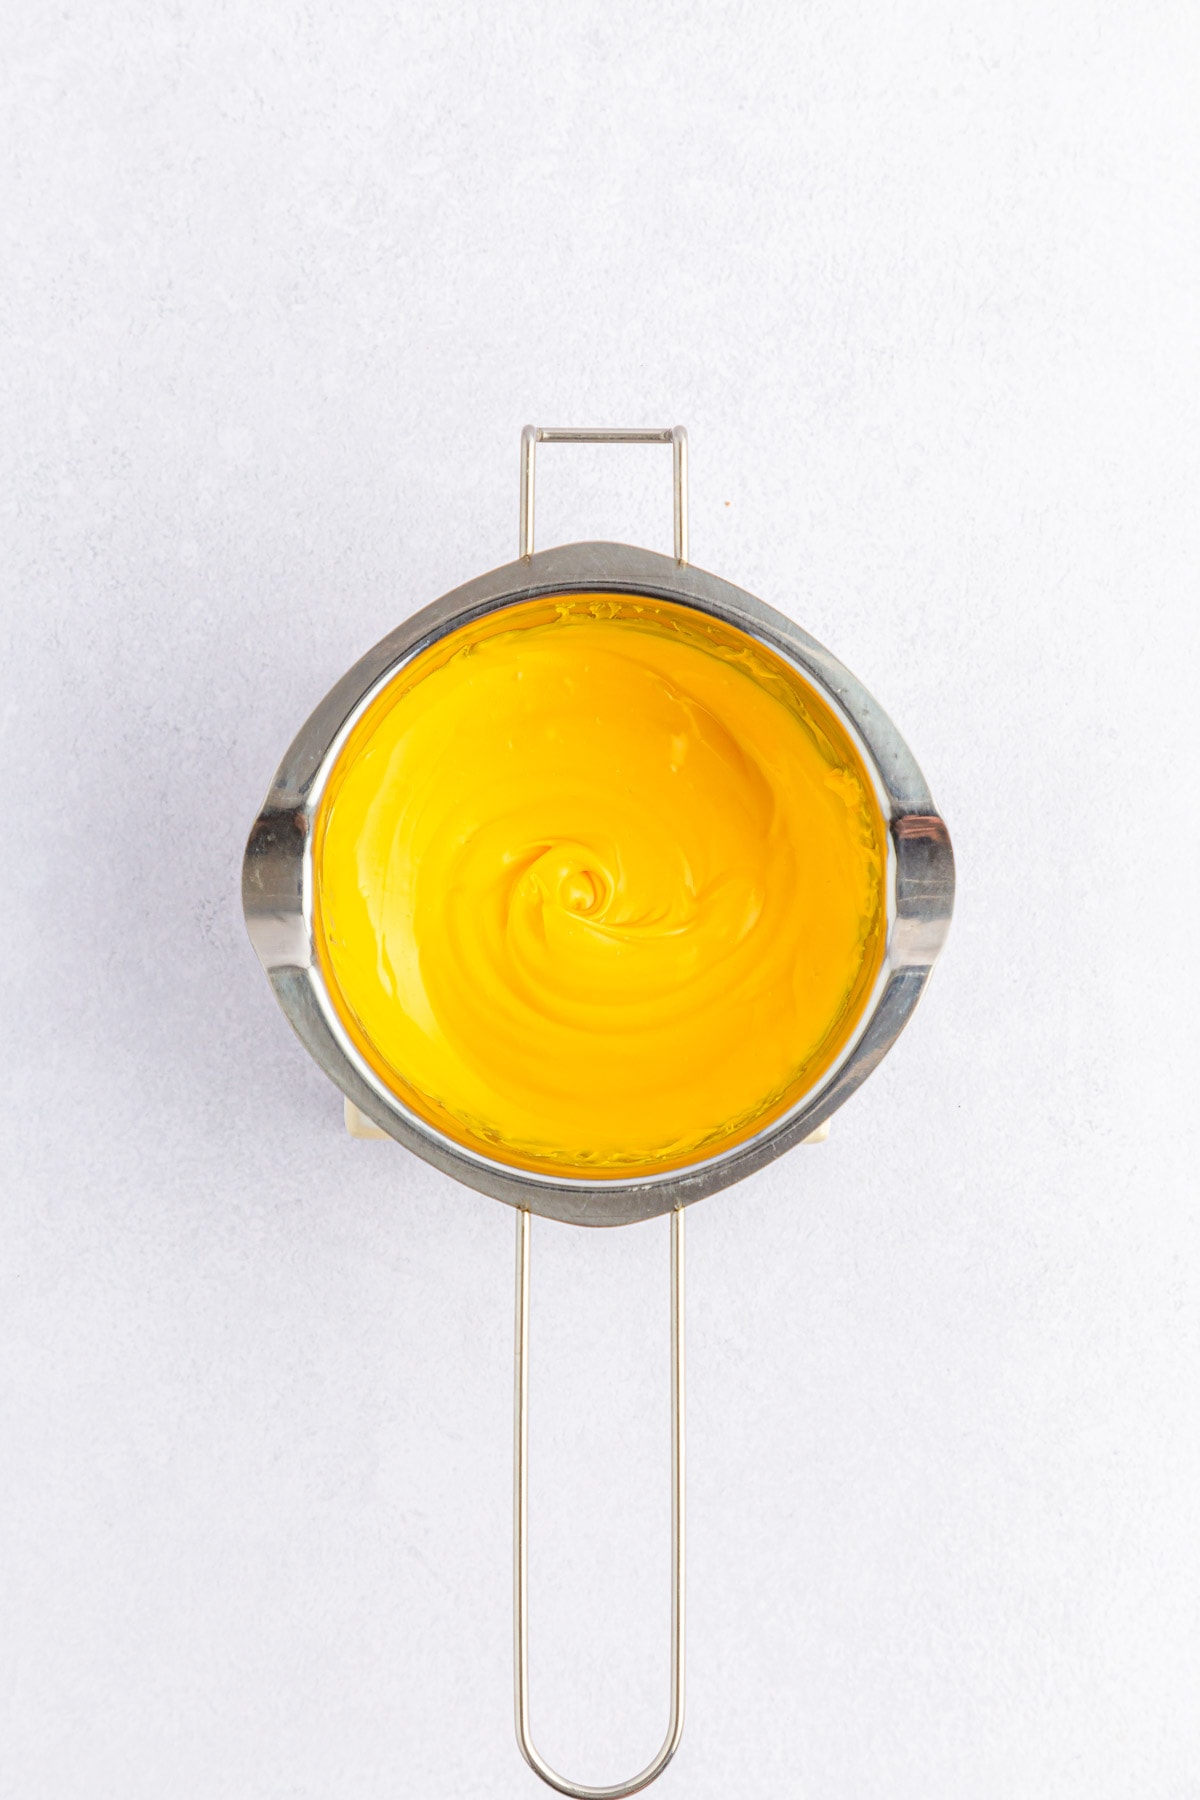
Step 2: Melt 1 cup of vanilla melting wafers in a double boiler over low heat,
stirring occasionally until smooth. (You can also melt the wafers in the microwave
heating in 30 second increments and stirring after each interval until smooth.)
Step 3: Add a few drops of yellow food coloring and stir slowly until the color is evenly distributed. Add more food coloring as needed until you reach the desired shade.
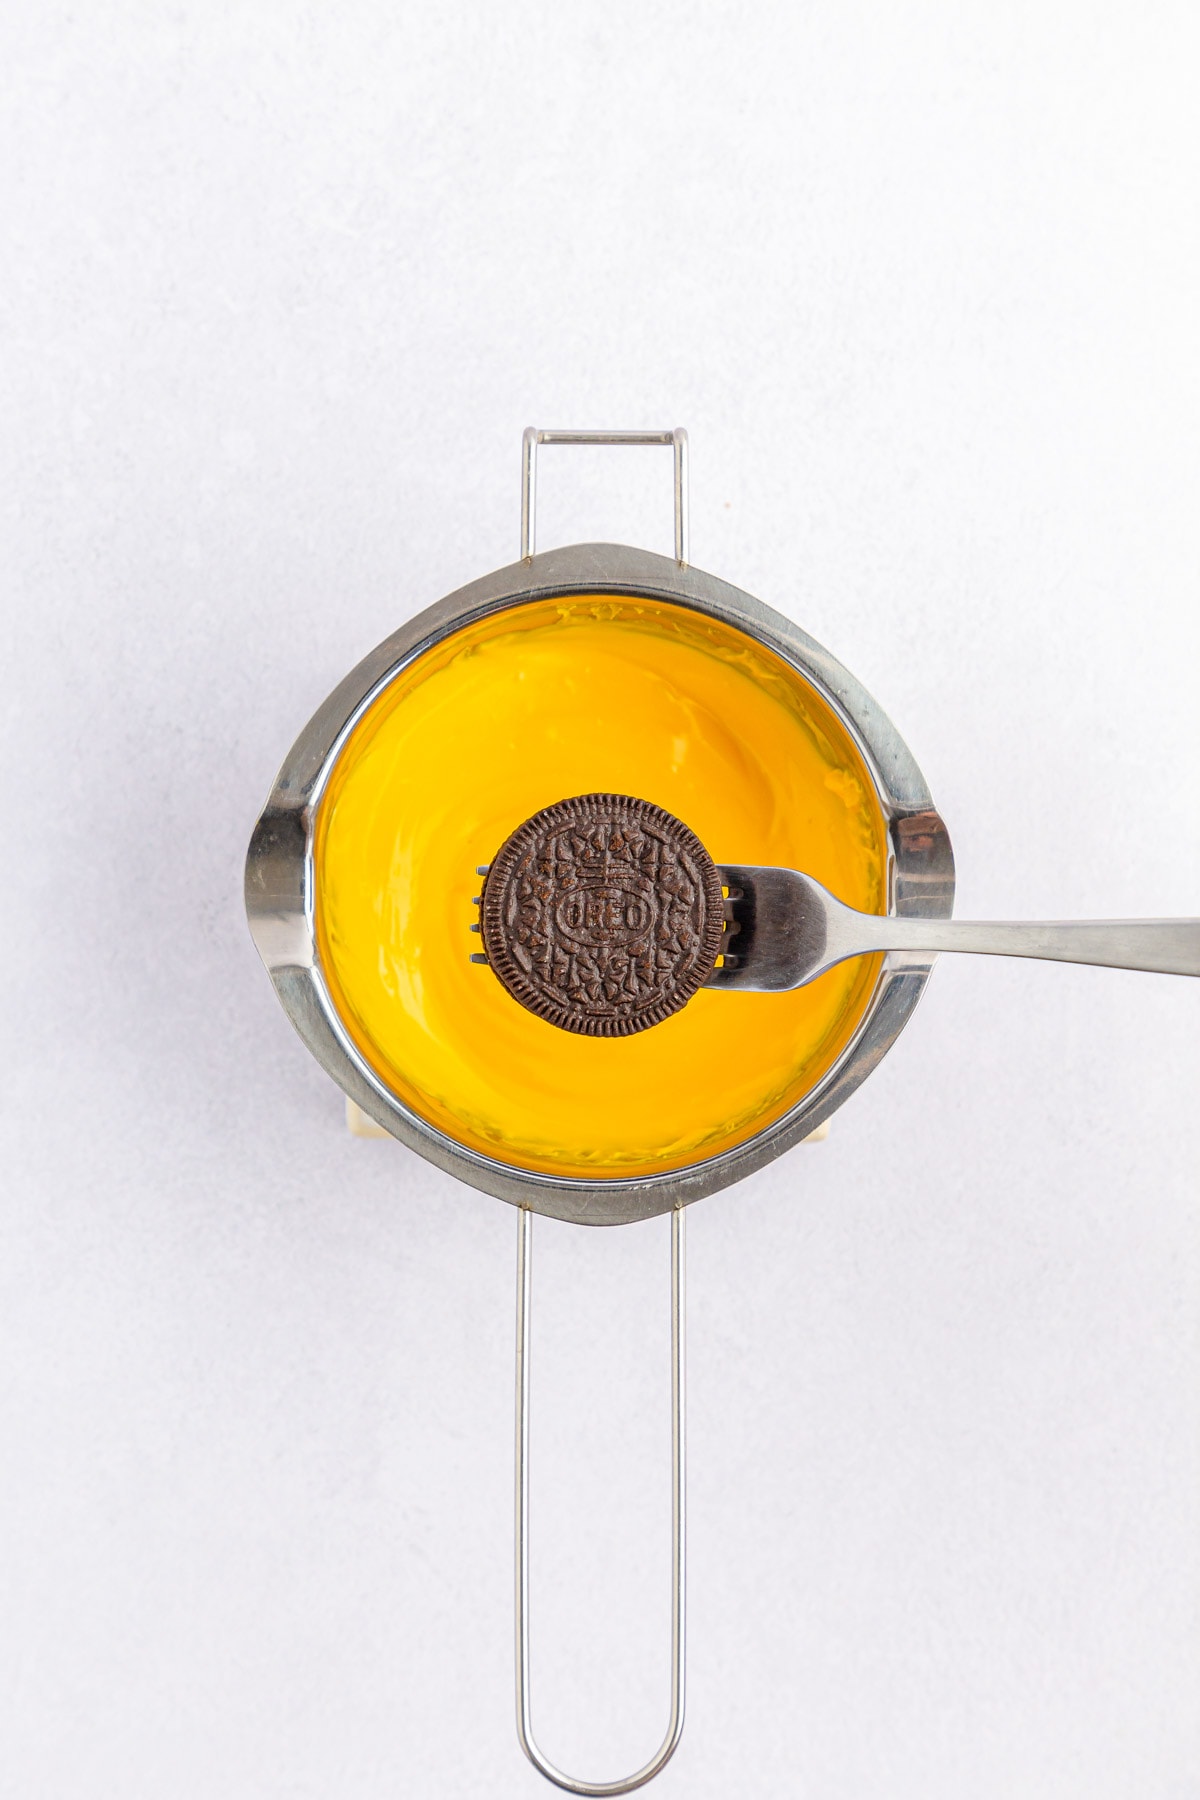
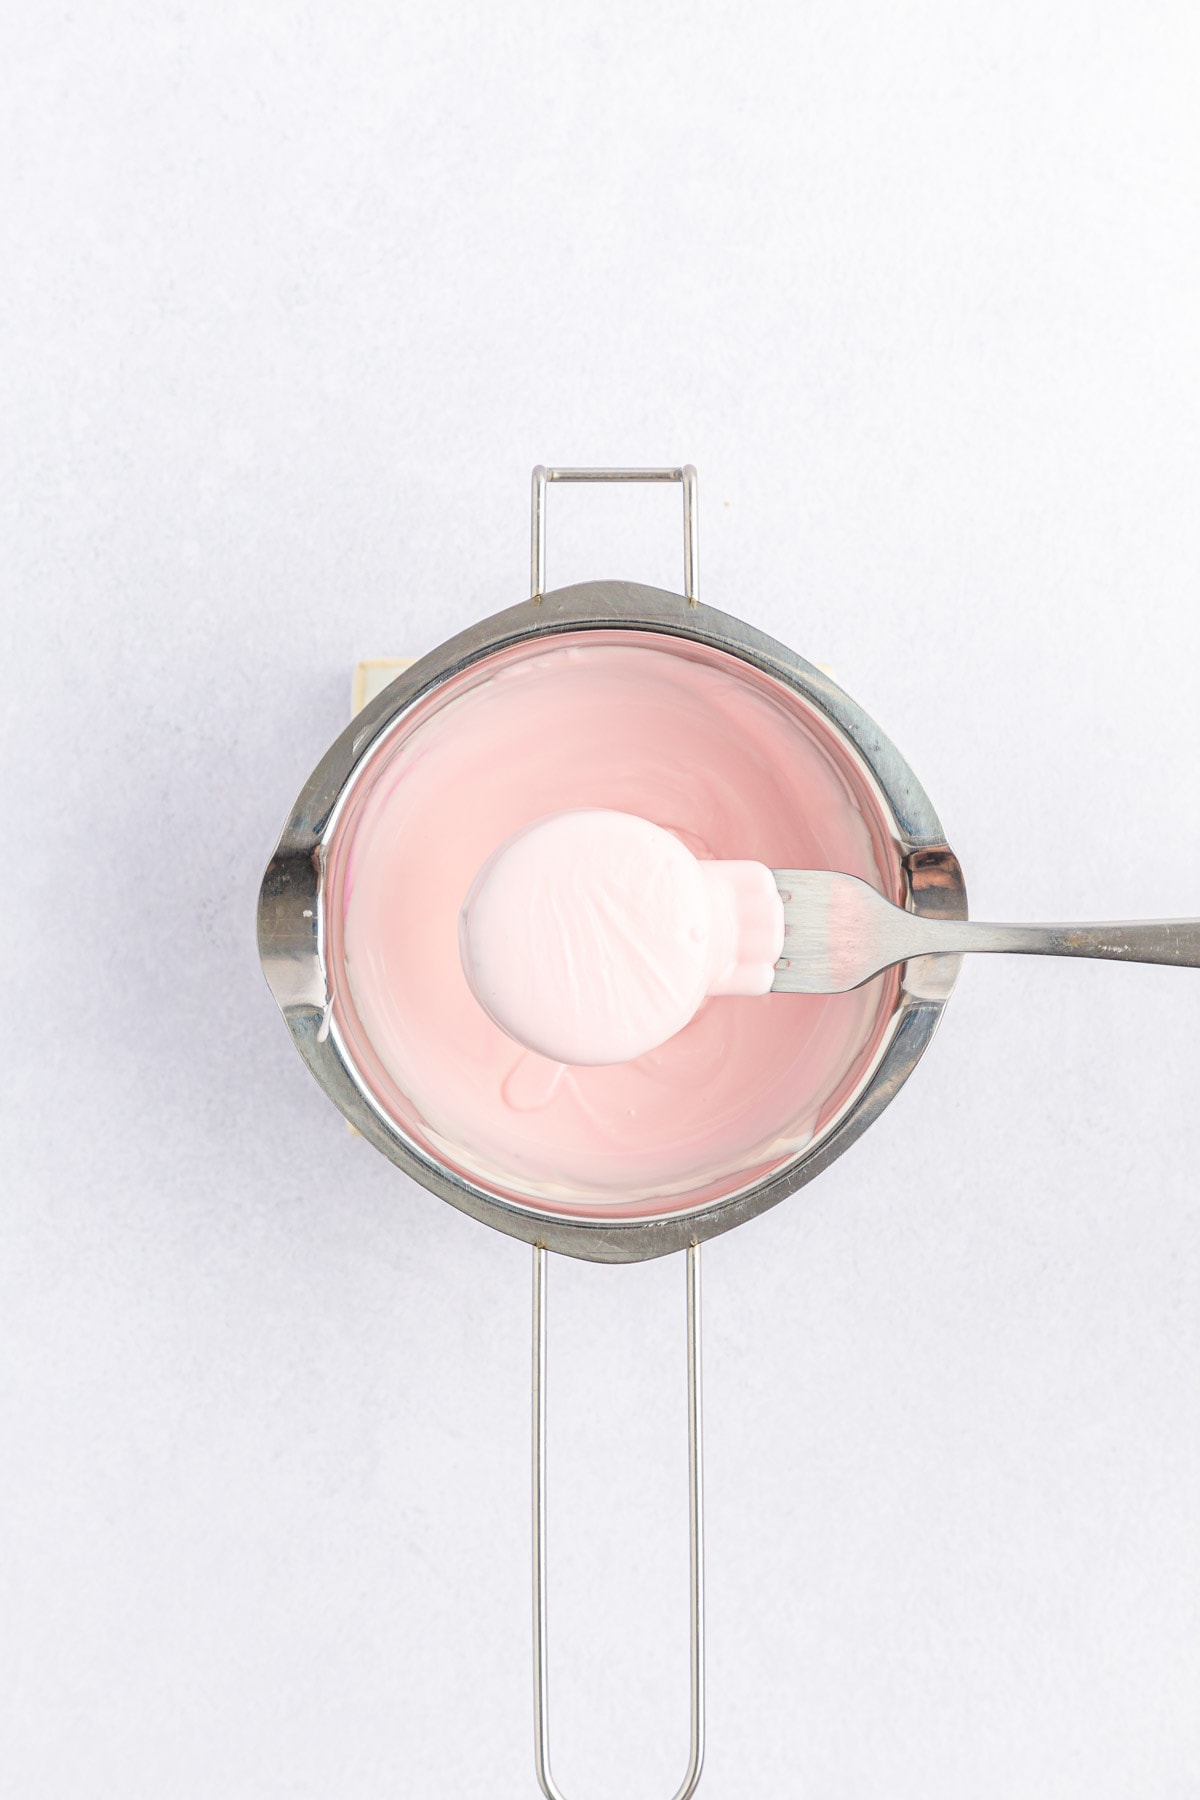
Step 4: Place an Oreo cookie on a fork and dip it into the chocolate. Be sure that it’s submerged fully and that the entire cookie is covered.
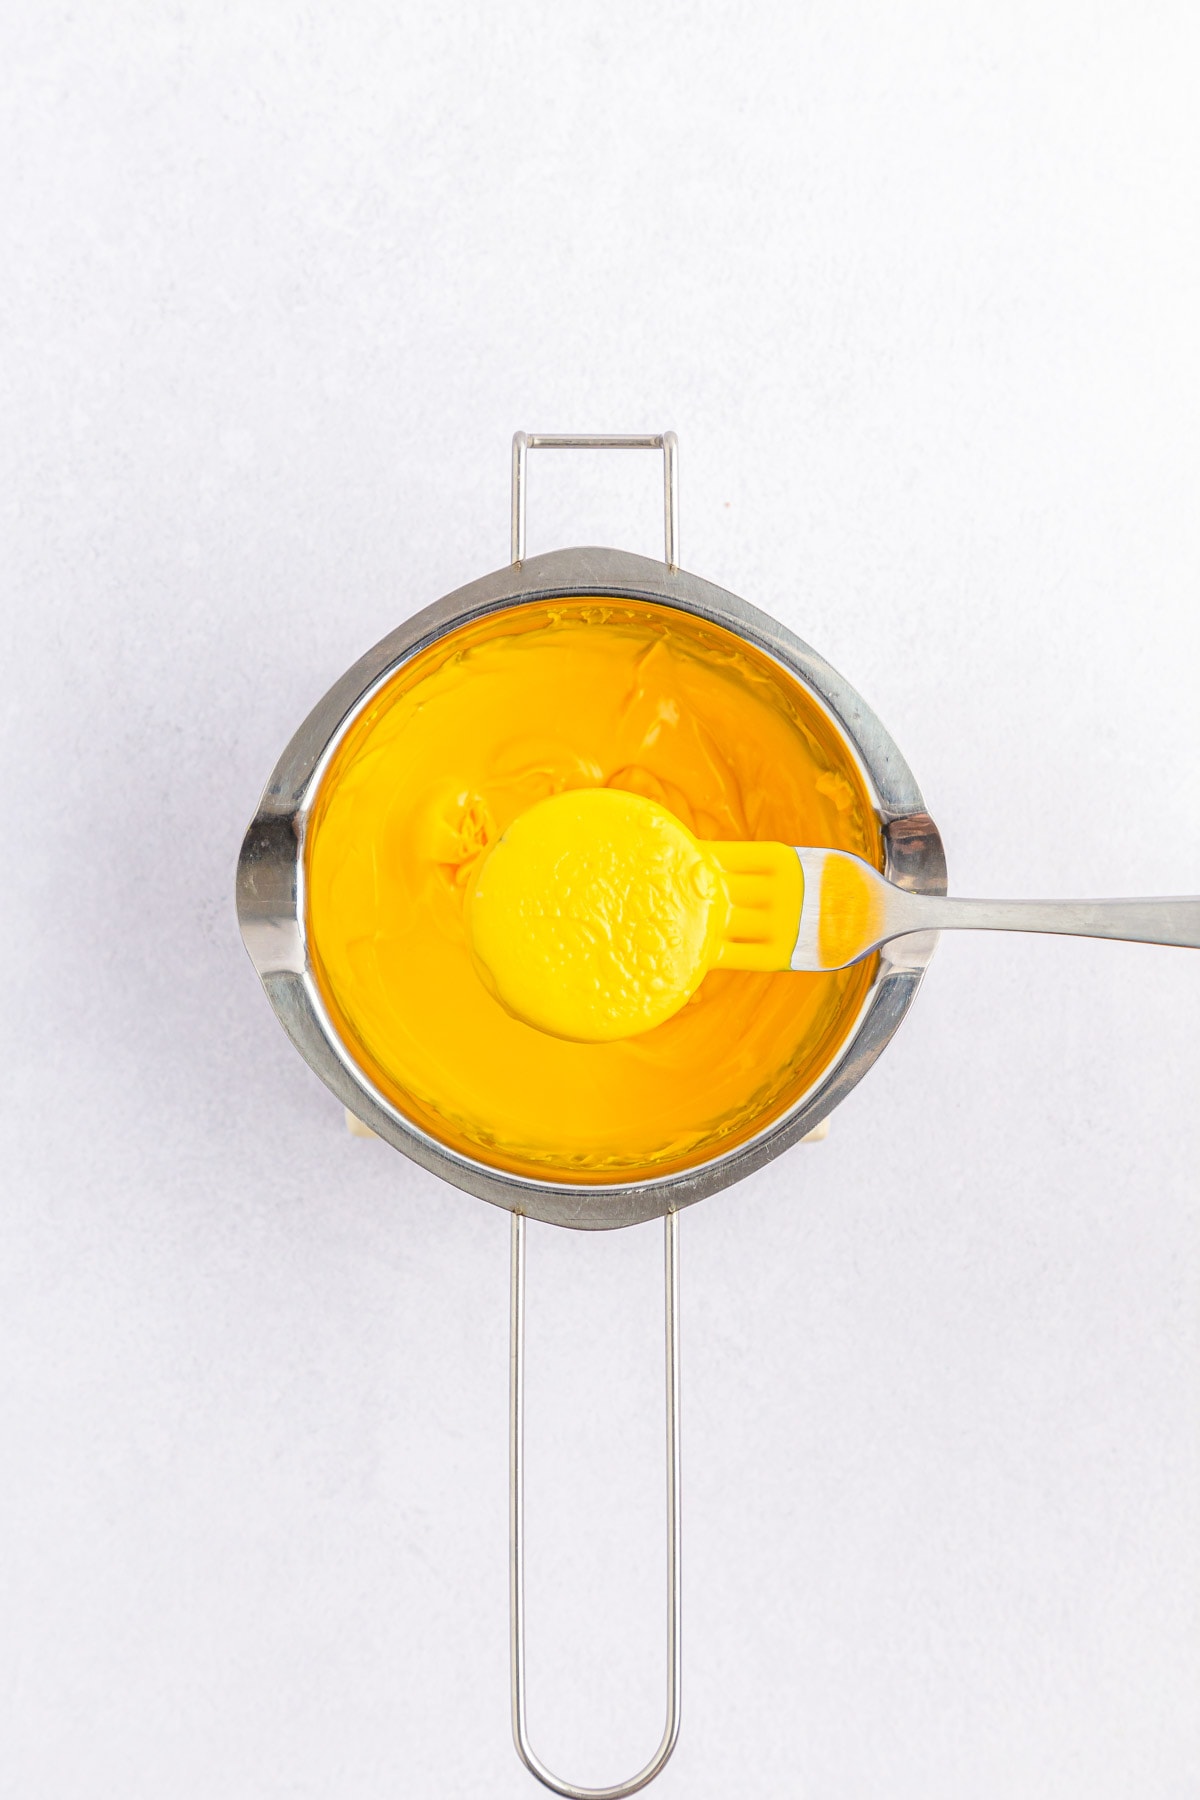
Step 5: Remove the cookie with the fork and tap off any of the excess coating. Place on the prepared baking sheet and repeat with 3 more Oreos. You’ll need to work quickly in small batches before it sets.
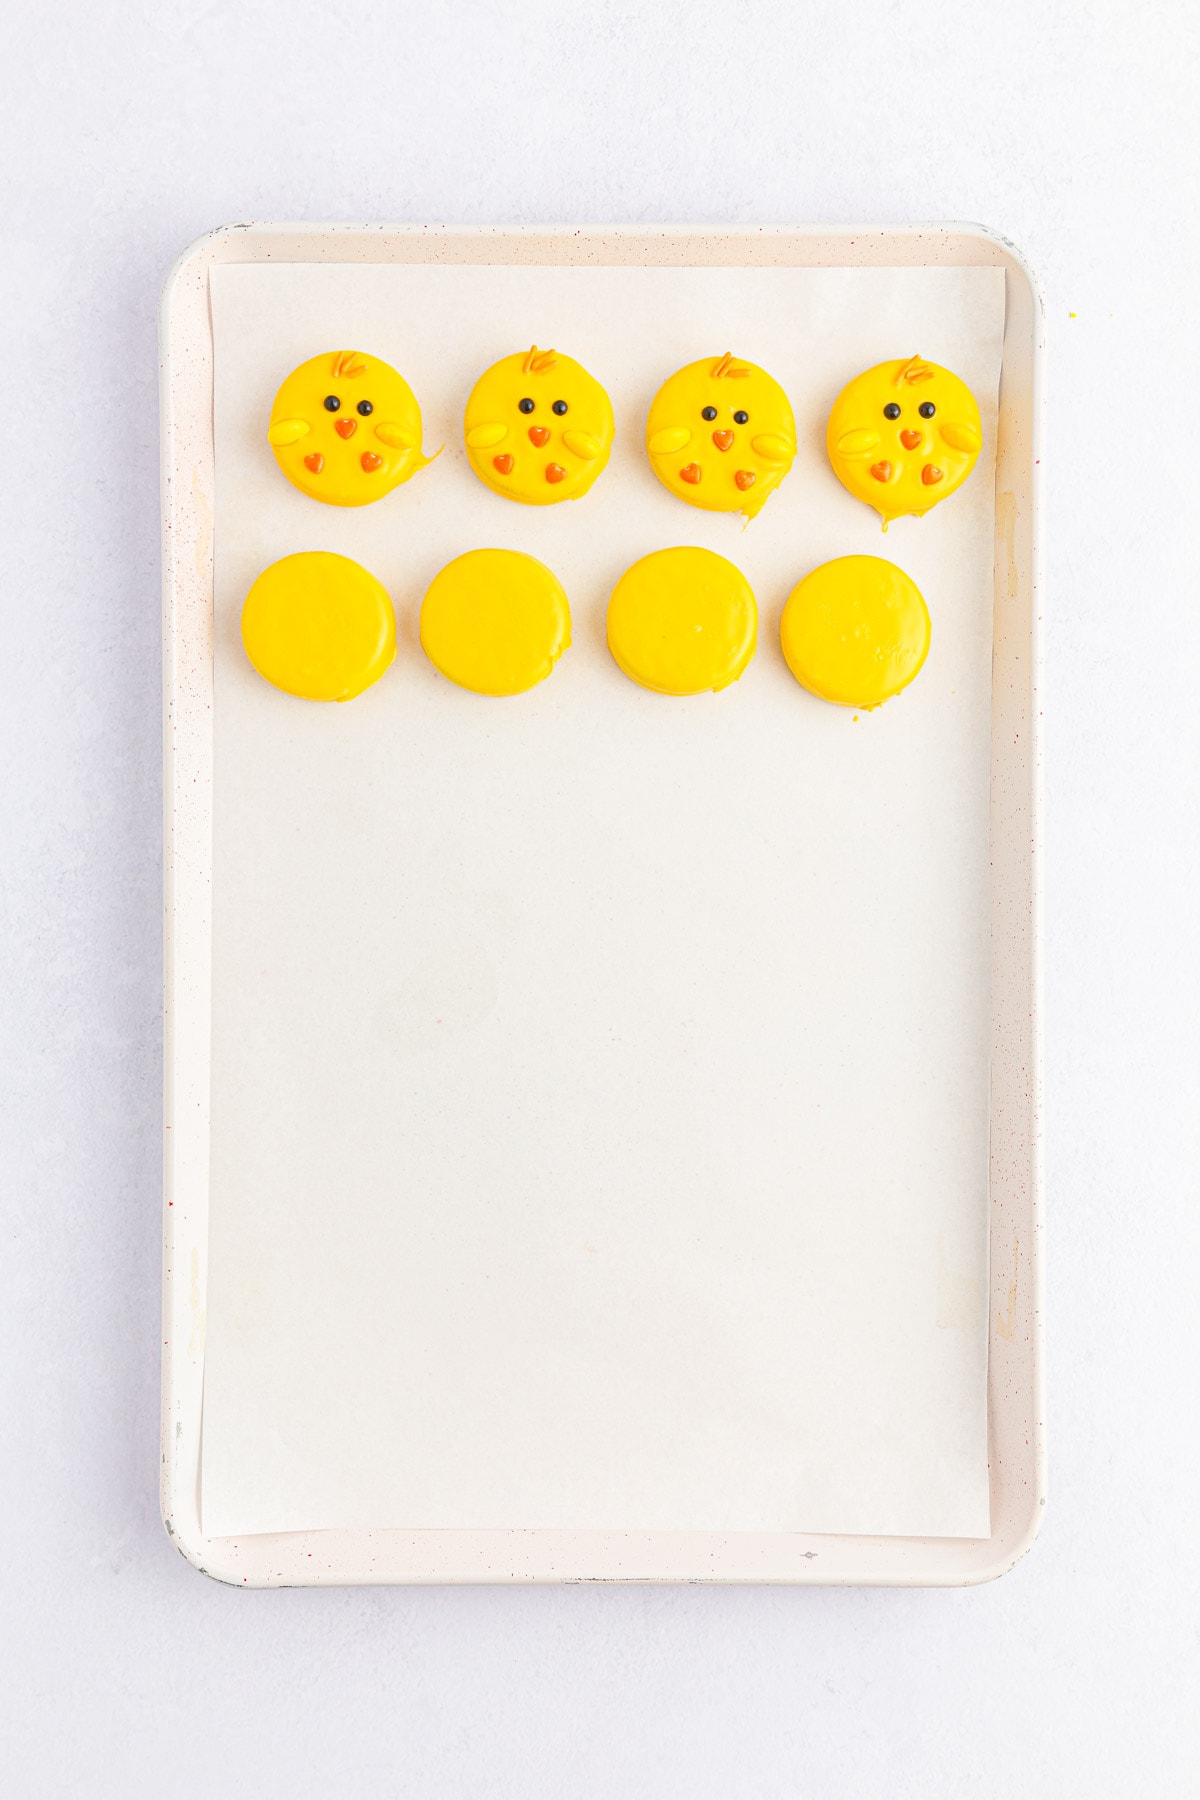
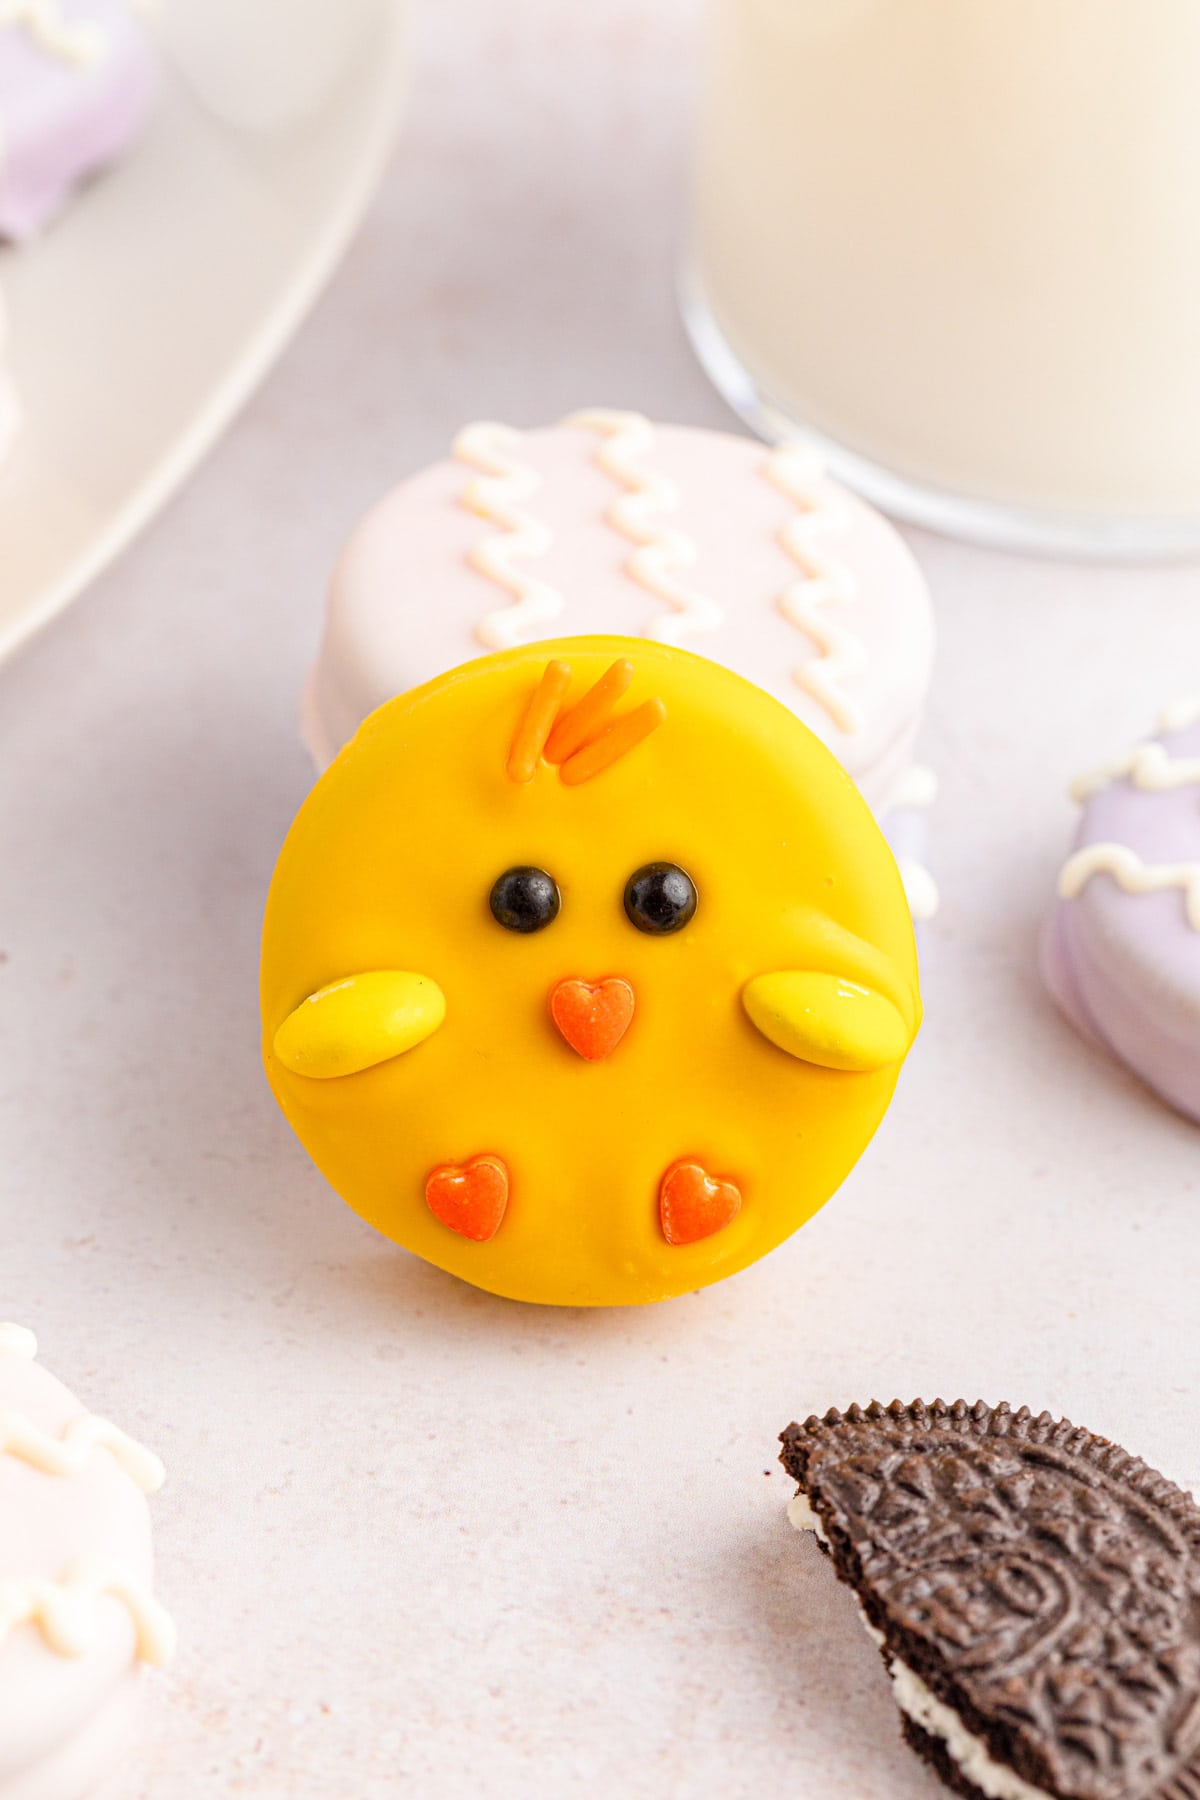
Step 6: When you have 4 chocolate covered Oreos, add the black pearls to make the eyes. Then place an orange heart in the center below the eyes to make the beak.
Step 7: Add two orange hearts towards the bottom edge for feet and just a few orange jimmies for the hair. Finally, place M&M halves on both sides for the
wings.
Step 8: Stir the melts in the double boiler and then repeat with another 4 Oreos, dipping them in the chocolate and then adding the decorations to make the chicks. Set aside.
For The Oreo Easter Eggs
Step 1: To make the eggs, clean the double boiler and then melt another cup of the vanilla melting wafers, stirring occasionally until smooth.
Step 2: Stir in a few drops of pink food coloring. Add additional drops as needed until you reach your desired pink color.
Step 3: Place an Oreo on a fork and submerge it fully into the pink coating. Remove and tap off any excess coating, then place the cookie on the prepared baking
sheet. Repeat with 7 more, then set aside.
Step 4: Melt 1 cup of the vanilla melting wafers on low heat, stirring occasionally until smooth. Stir in a few drops of purple food coloring until the color is evenly distributed. Add more coloring as needed.
Step 5: Place an Oreo on a fork and submerge it fully into the purple coating. Remove and tap off any of the excess, then place the cookie on the prepared baking sheet. Repeat with 7 more, then set aside.
Step 6: Place ½ cup of melting wafers (you could also use white chocolate, milk chocolate or dark chocolate) in a microwave safe piping bag. Twist the bag shut and microwave in 20-second increments, massaging the bag after each interval, until the wafers are completely melted.
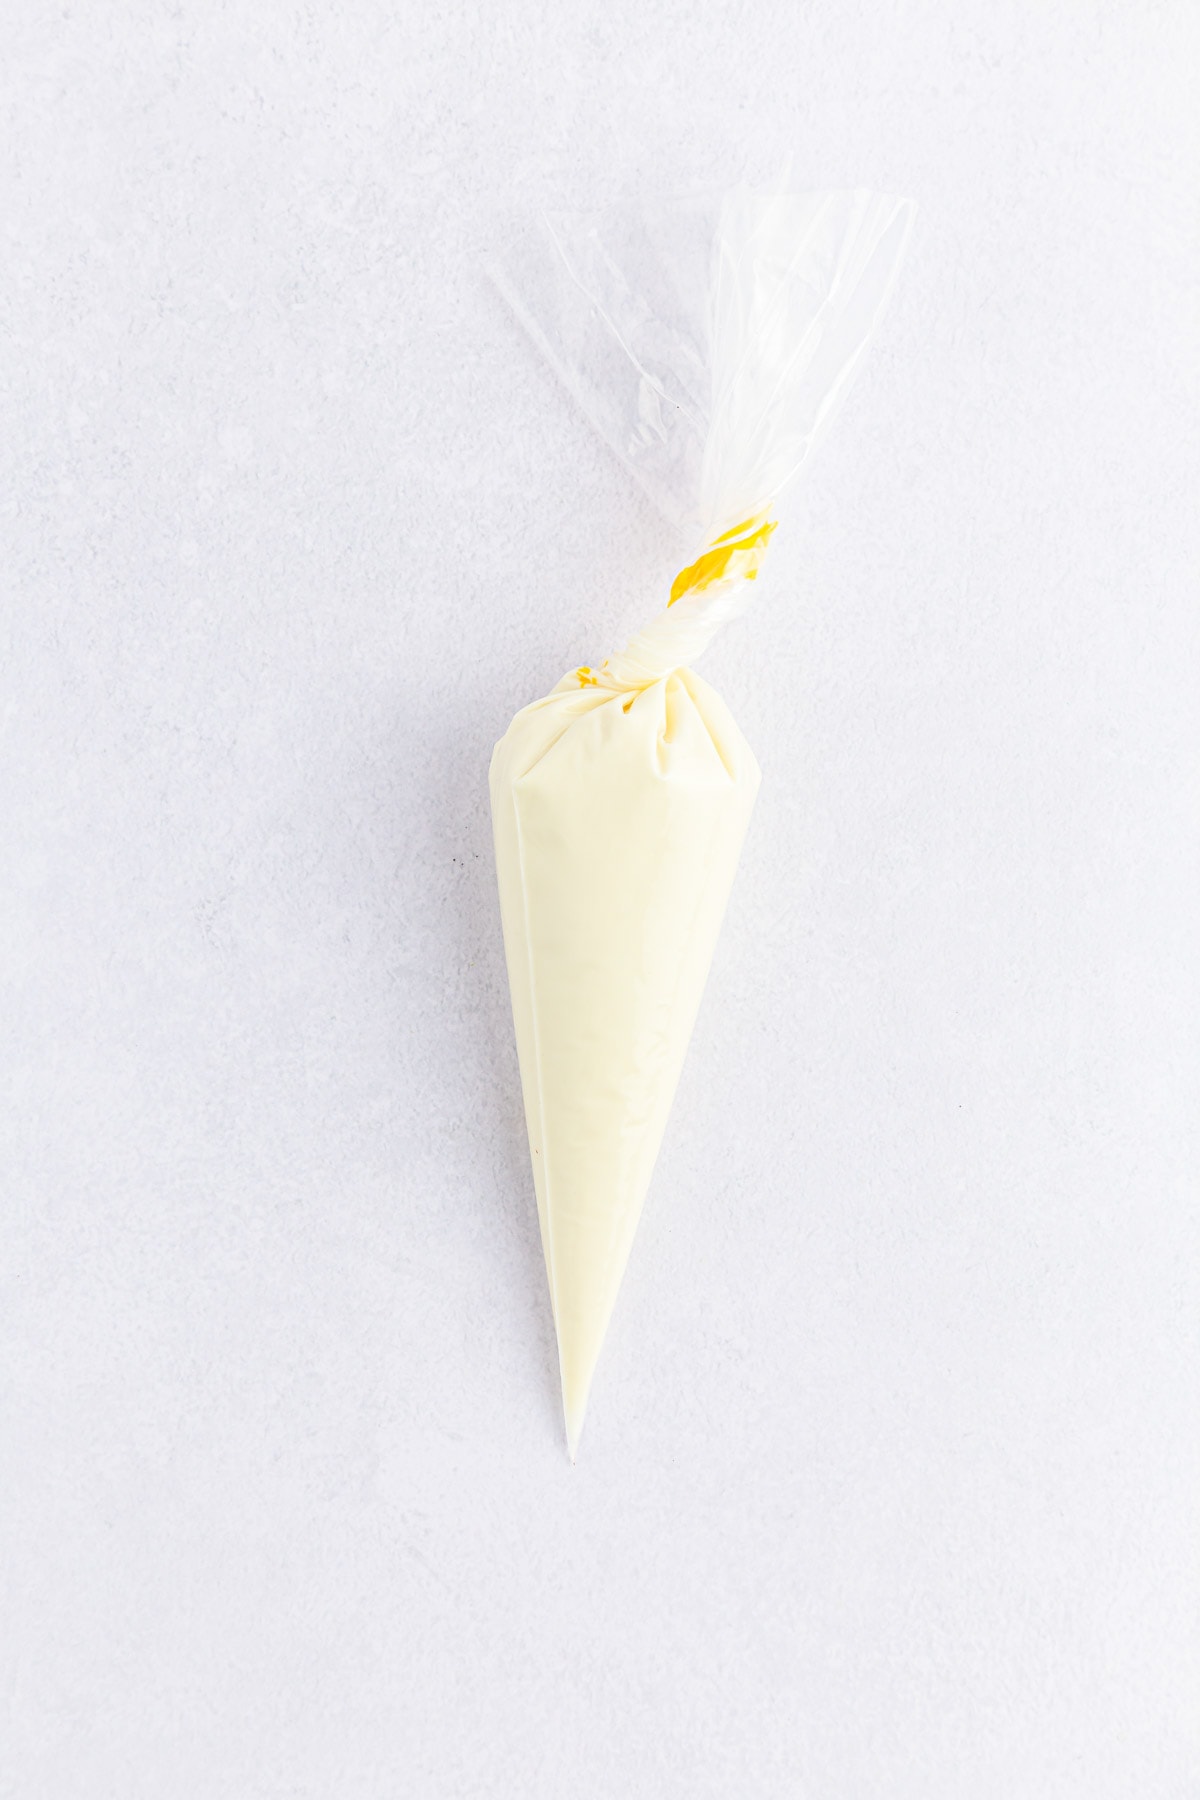
Step 7: Snip off the tip of the bag and drizzle the white coating onto the pink and purple Oreos in a zig-zag pattern.
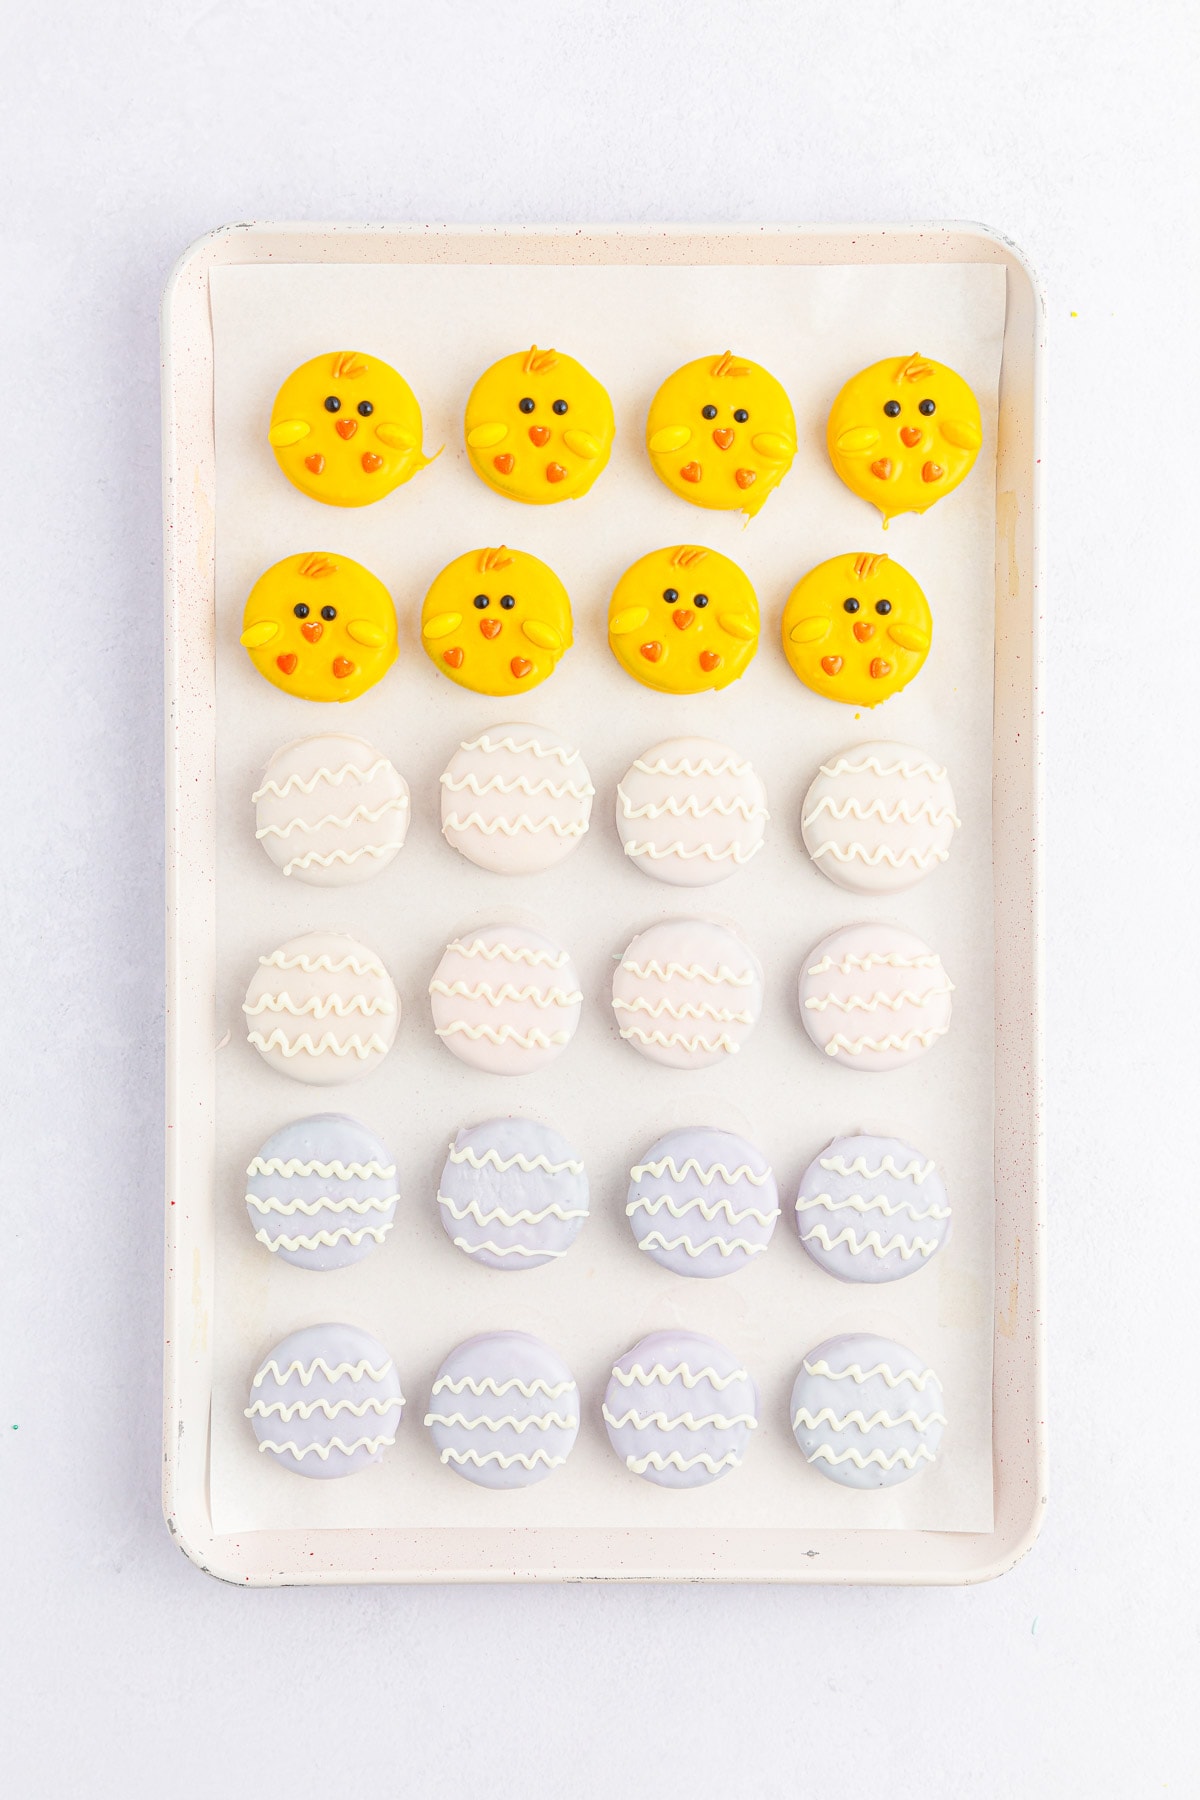
Step 8: Place the baking sheet in the refrigerator and let the coating set for 10-15 minutes before serving.

Tips & Tricks
- You can use any color you like for the eggs, as long as it’s an oil-based food coloring. Other types may cause the melting wafers to seize.
- Be sure to melt the wafers on low heat. Heating them on high heat can cause the coating to seize and thicken, making it difficult to get an even layer of coating on your cookies.
- Instead of using food coloring, you can buy pre-colored candy melts for the coating. I like using Wilton’s brand.
- Using long tweezers can help you place the small sprinkles onto the chick. Be careful not to squeeze too tight because the sprinkles can break easily.

How Do I Store these?
These can be made ahead of time and stored at room temperature or in the refrigerator. They should last 7-10 days in an airtight container at room temperature or up to 2 weeks in the fridge.
Can I Use a Different Type of Cookie
Sure – you can definitely select any variety of Oreo instead of the original ones. You could also use any other sturdy round cookie as well.

More Holiday Snack Ideas
If you loved this fun Easter Oreo idea, you’ll want to check out these cute desserts too!
Easter Oreos Recipe
Equipment
- Double boiler or microwave
Ingredients
- 24 Oreo cookies
- 30 ounces Ghirardelli vanilla melting wafers 3 bags
- Oil based food coloring yellow, pink, and purple
- 24 Small black sugar pearl sprinkles for the eyes
- 36 Small orange heart sprinkles for the beak and feet
- Orange jimmies for the hair
- 12 Yellow M&M’s cut in half for the chick's wings
Instructions
For The Chicks
- Line a large baking sheet with parchment or wax paper and set aside.
- Melt 1 cup of vanilla melting wafers in a double boiler over low heat, stirring occasionally until smooth. (You can also melt the wafers in the microwave, heating in 30 second increments and stirring after each interval until smooth.)30 ounces Ghirardelli vanilla melting wafers
- Add a few drops of yellow food coloring and stir slowly until the color is evenly distributed. Add more food coloring as needed until you reach the desired shade.Oil based food coloring
- Place an Oreo cookie on a fork and dip it into the chocolate. Be sure that it’s submerged fully and that the entire cookie is covered.24 Oreo cookies
- Remove the cookie with the fork and tap off any of the excess coating. Place on the prepared baking sheet and repeat with 3 more Oreos. You’ll need to work quickly in small batches before it sets.
- When you have 4 chocolate covered Oreos, add the black pearls to make the eyes. Then place an orange heart in the center below the eyes to make the beak.24 Small black sugar pearl sprinkles , 36 Small orange heart sprinkles
- Add two orange hearts towards the bottom edge for feet and just a few orange jimmies for the hair. Finally, place M&M halves on both sides for the wings.36 Small orange heart sprinkles , Orange jimmies , 12 Yellow M&M’s
- Stir the melts in the double boiler and then repeat with another 4 Oreos, dipping them in the chocolate and then adding the decorations to make the chicks. Set aside.
For The Oreo Easter Eggs
- To make the eggs, clean the double boiler and then melt another cup of the vanilla melting wafers, stirring occasionally until smooth.30 ounces Ghirardelli vanilla melting wafers
- Stir in a few drops of pink food coloring. Add additional drops as needed until you reach your desired pink color.Oil based food coloring
- Place an Oreo on a fork and submerge it fully into the pink coating. Remove and tap off any excess coating, then place the cookie on the prepared baking sheet. Repeat with 7 more, then set aside.24 Oreo cookies
- Melt 1 cup of the vanilla melting wafers on low heat, stirring occasionally until smooth. Stir in a few drops of purple food coloring until the color is evenly distributed. Add more coloring as needed.30 ounces Ghirardelli vanilla melting wafers, Oil based food coloring
- Place an Oreo on a fork and submerge it fully into the purple coating. Remove and tap off any of the excess, then place the cookie on the prepared baking sheet. Repeat with 7 more, then set aside.24 Oreo cookies
- Place ½ cup of melting wafers (you could also use white chocolate, milk chocolate or dark chocolate) in a microwave safe piping bag. Twist the bag shut and microwave in 20-second increments, massaging the bag after each interval, until the wafers are completely melted.30 ounces Ghirardelli vanilla melting wafers
- Snip off the tip of the bag and drizzle the white coating onto the pink and purple Oreos in a zig-zag pattern.
- Place the baking sheet in the refrigerator and let the coating set for 10-15 minutes before serving.
Notes
- While we used Oreos, you an use any thick, round cookie to make these.
- Be sure to make the chicks in batches. If you dip them all at once, the chocolate may start to harden and the sprinkles won’t stay on.
Nutrition
Did You Make This Recipe?
Share it with me on Instagram @funmoneymom and follow on Pinterest @funmoneymom for more!
Let’s be friends!
Did you love this post? Make sure to comment below and let me know your thoughts! And don’t forget to follow on your favorite social network below!

About Lisa O’Driscoll
Lisa O’Driscoll is a lifestyle and parenting expert, cookbook author, and the creative force behind Fun Money Mom, a popular blog she’s run since 2014. She’s the author of the children’s cookbook Roll It, Slice It, Mash It, Dice It, designed to get kids excited about cooking. With multiple TV appearances under her belt, she loves sharing her expertise on family-friendly recipes, creative DIYs, and party planning and is always on a mission to inspire and entertain!