Easter Bunny Oreo Balls
This post may contain affiliate links. As an Amazon Associate, I earn from qualifying purchases.
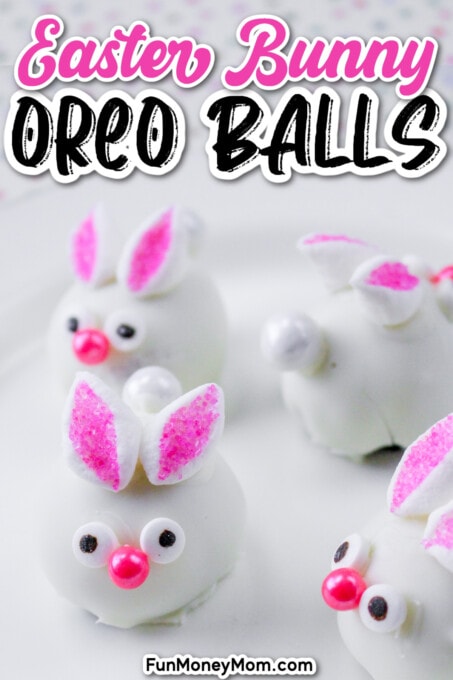
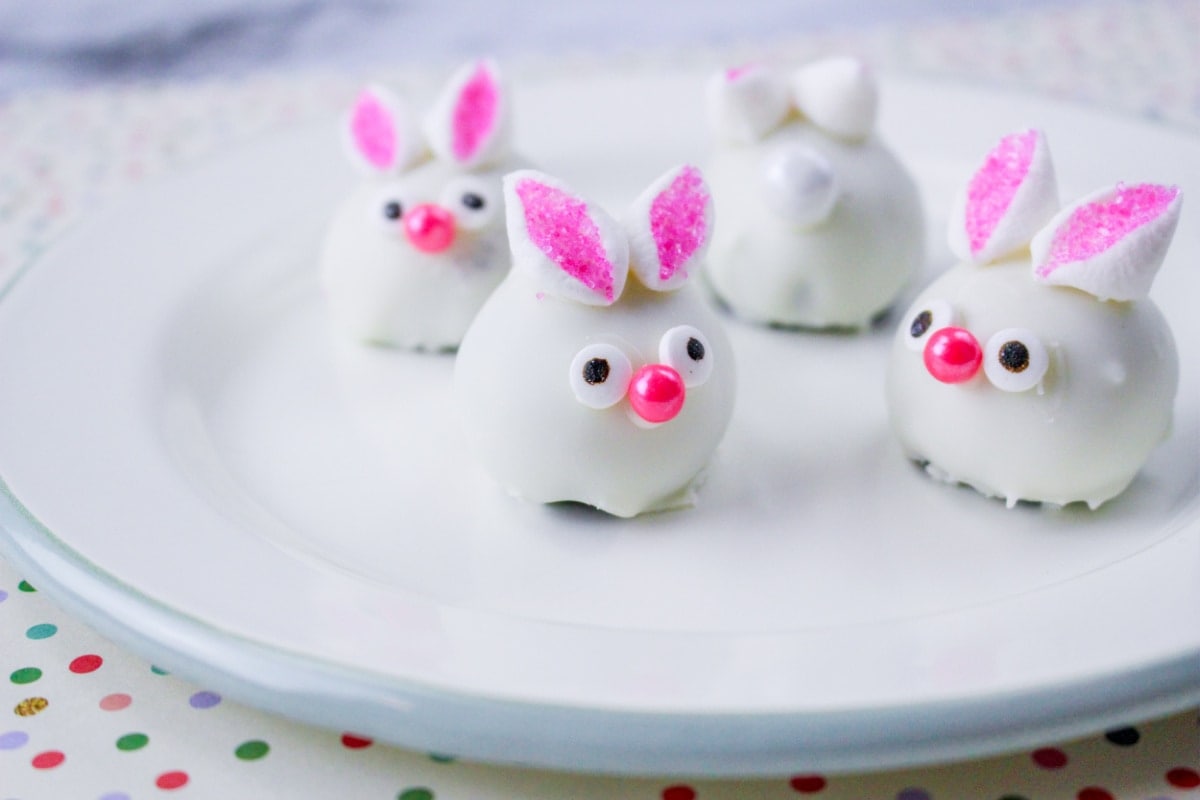
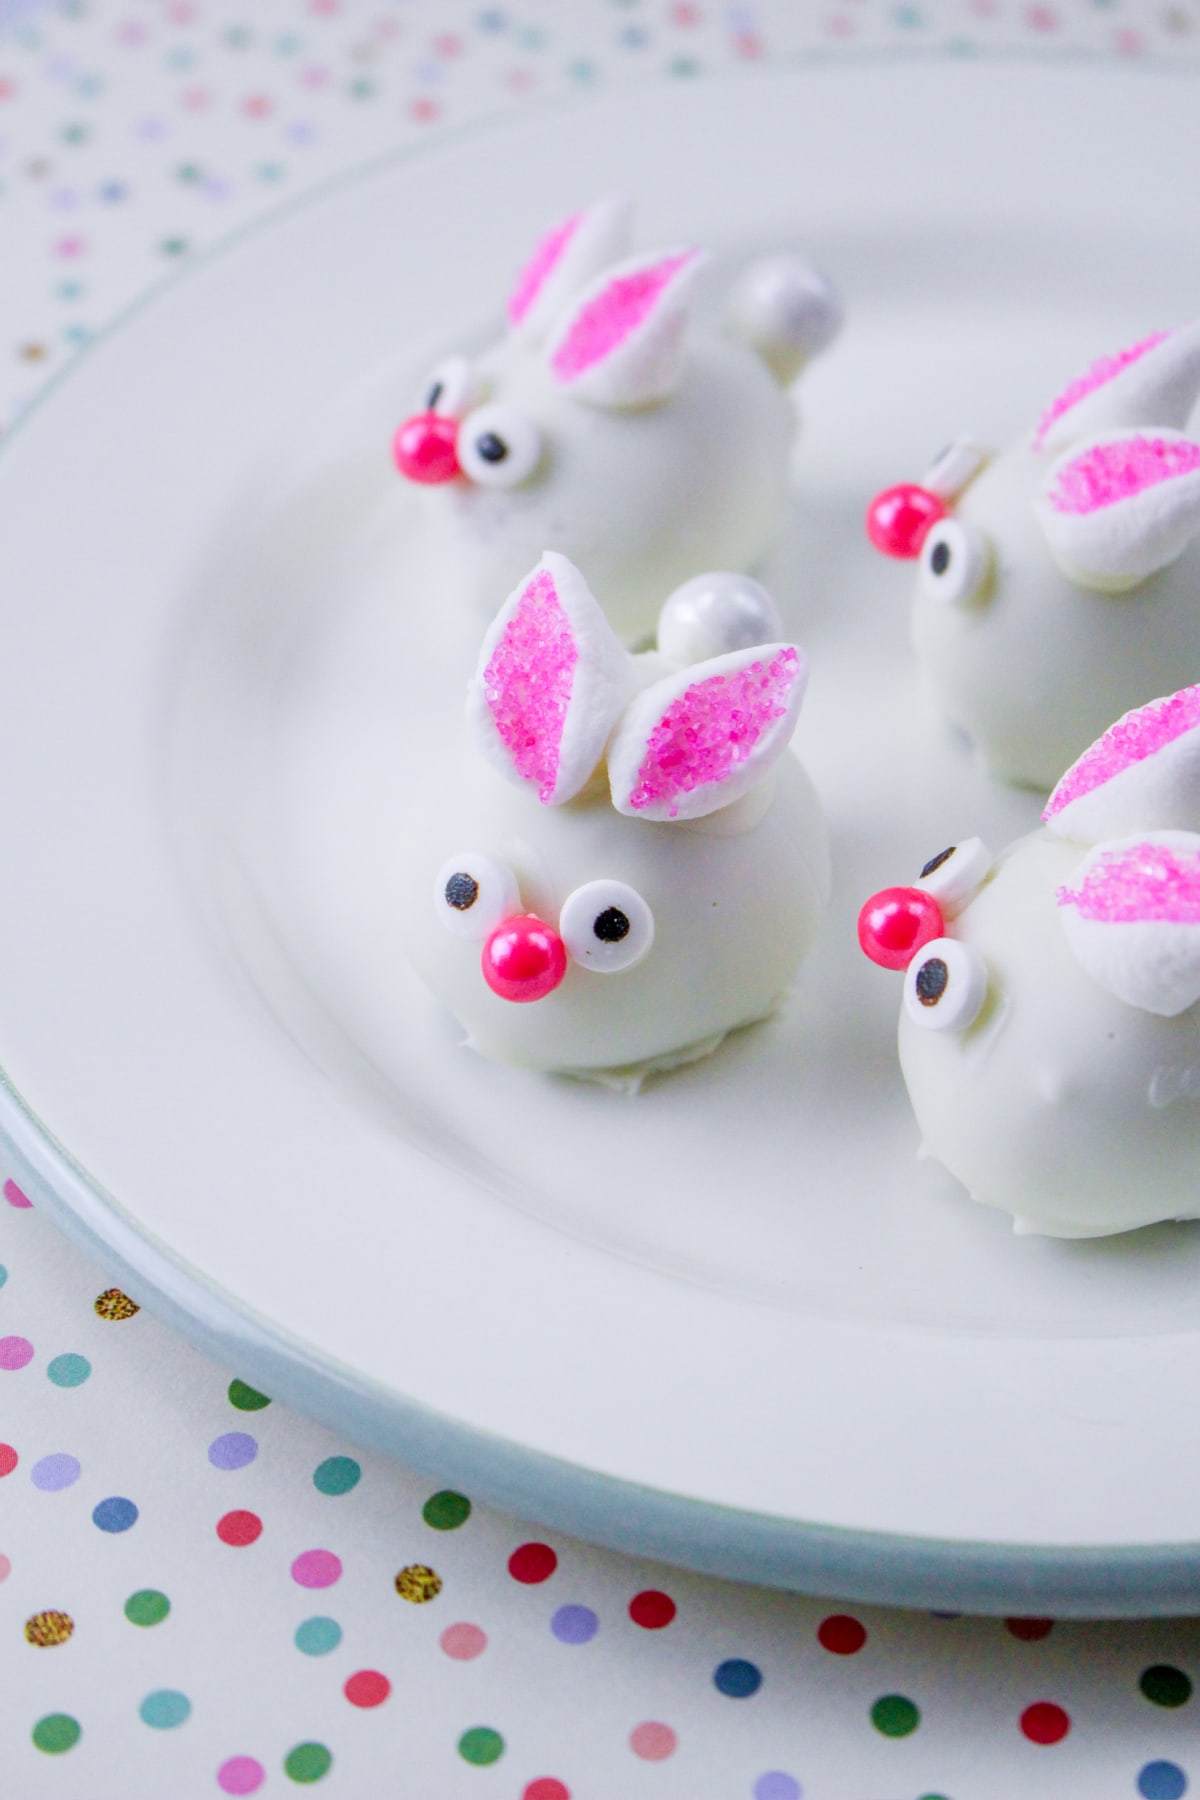
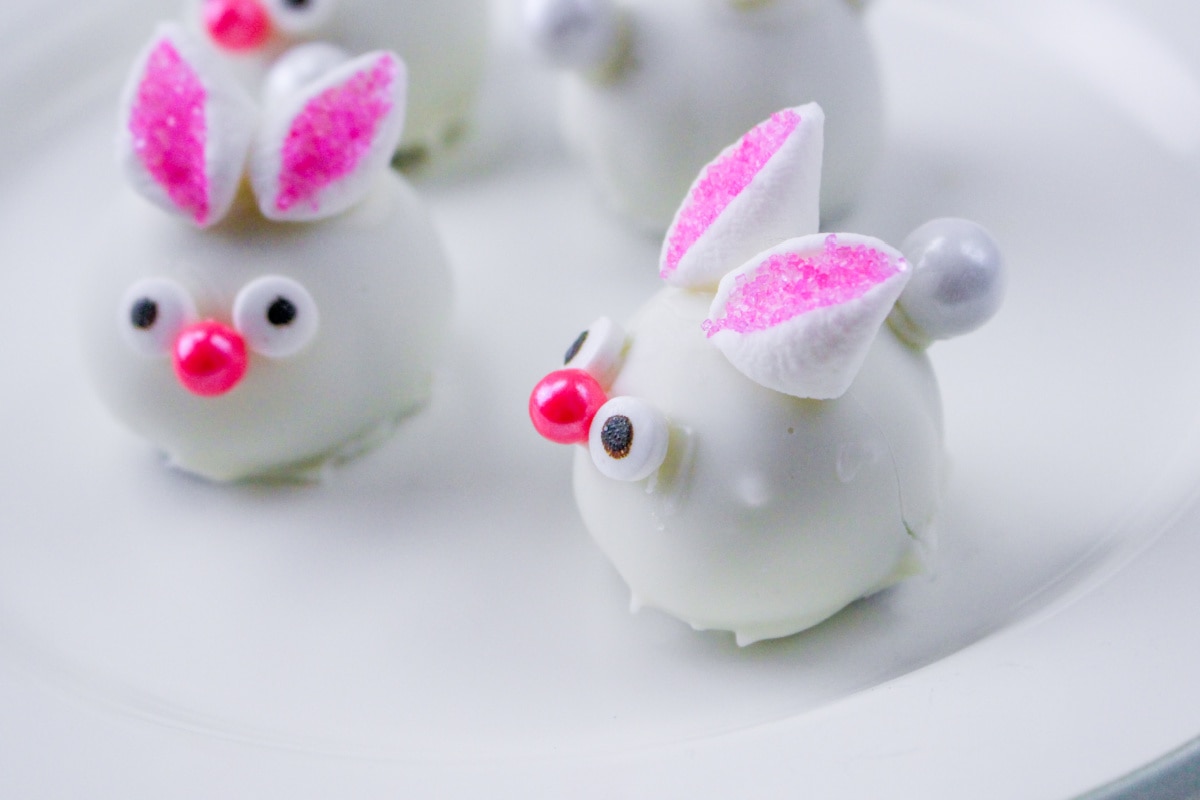
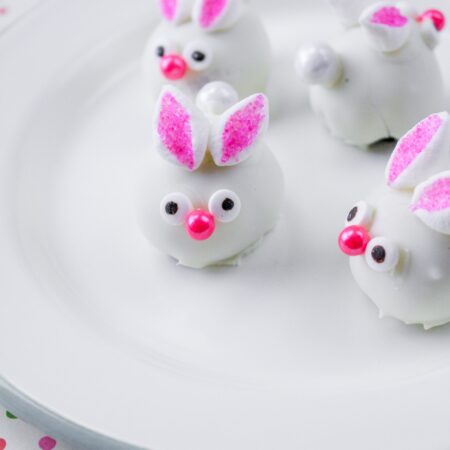
These Easter Bunny Oreo Balls are an easy Easter treat that are as delicious as they are adorable! With their cute bunny shape and sparkly pink ears, they’re one of the most fun and crafty Easter recipes we’ve found, but so easy that the kids can help decorate them.

Oreo cookies, cream cheese, mini marshmallows, and decorative candy come together to create this fun Easter dessert that’s almost too cute to eat. The best part is that it’s so much easier than you’d think!
Crushed Oreo cookies and cream cheese are mixed together, then dipped in chocolate, to form a delicious cookie ball. Add mini marshmallows and candy pieces to create cute ears and a tail and you’ve an adorable, edible Easter bunny that’ll be the star of your Easter dessert table.
Get a free printable letter from the Easter bunny here.
Why We Love This Recipe
It’s Kid-Friendly – The little ones may want to get involved in creating these cute bunny balls, and there are plenty of opportunities for them to assist. From rolling the balls and helping with the chocolate dipping, to adding the candy decorations, there are fun jobs for kids of all ages.
It Makes a Perfect Gift – Any treat that’s this cute was made for gift-giving. It’s not only a great holiday treat, but also a perfect way to show some appreciation for a special teacher, a good neighbor, or a friend.
No Baking Required – These easy bunny balls are a no bake treat, so you don’t need to worry about preheating the oven or waiting for them to finish baking. The food processor does most of the work for you!
Ingredients
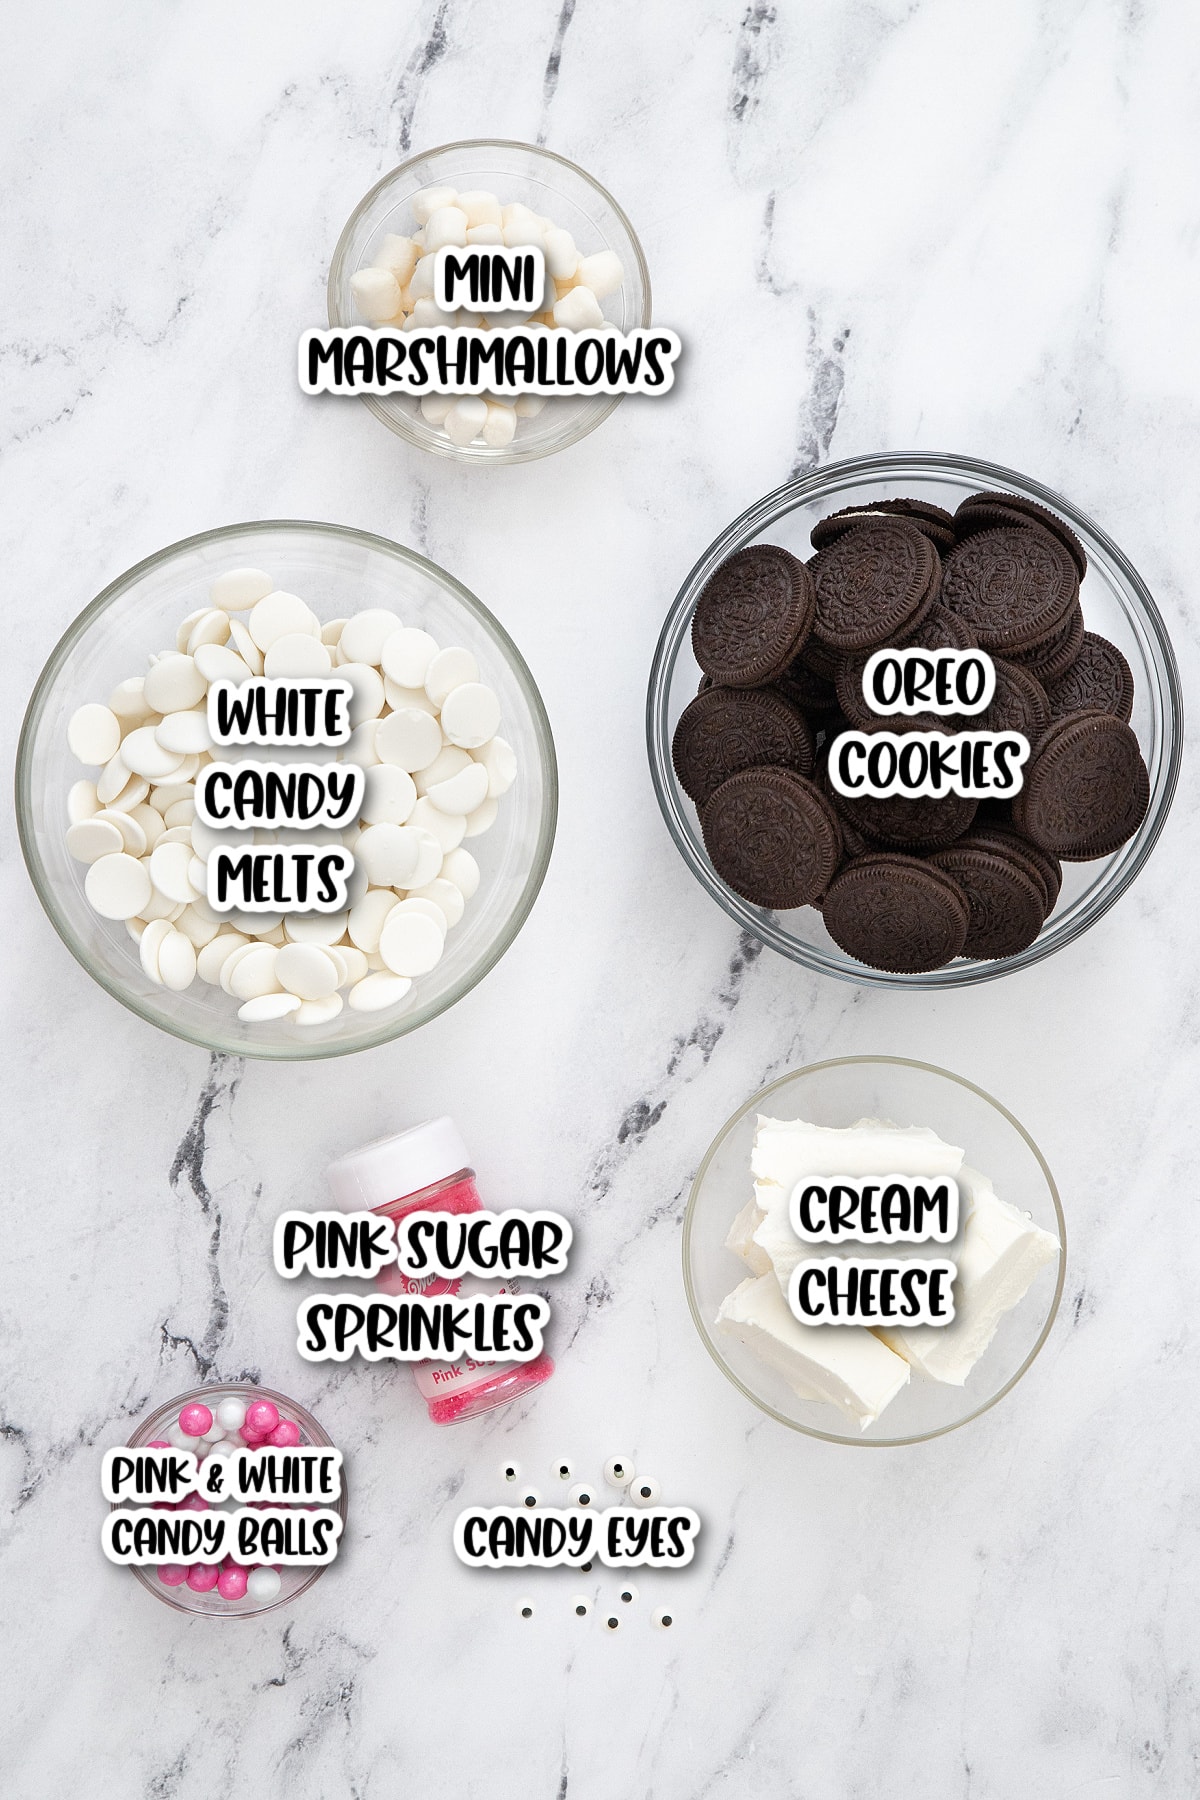
- 1 (16 ounce) package of Oreo sandwich cookies (we used regular chocolate Oreos, but golden Oreos would also work for this recipe)
- 1 (8 ounce) package cream cheese, softened
- 16 ounces white chocolate chips or white candy melts, melted
For Decorating:
- Miniature marshmallows (ears)
- Pink sanding sugar (ears)
- Pink candy-coated chocolate pearls (nose)
- White candy-coated chocolate pearls (tail)
- Small candy eyes (eyes)
How to Make Easter Bunny Oreo Balls
Step 1: Line a baking sheet with wax paper or parchment paper.
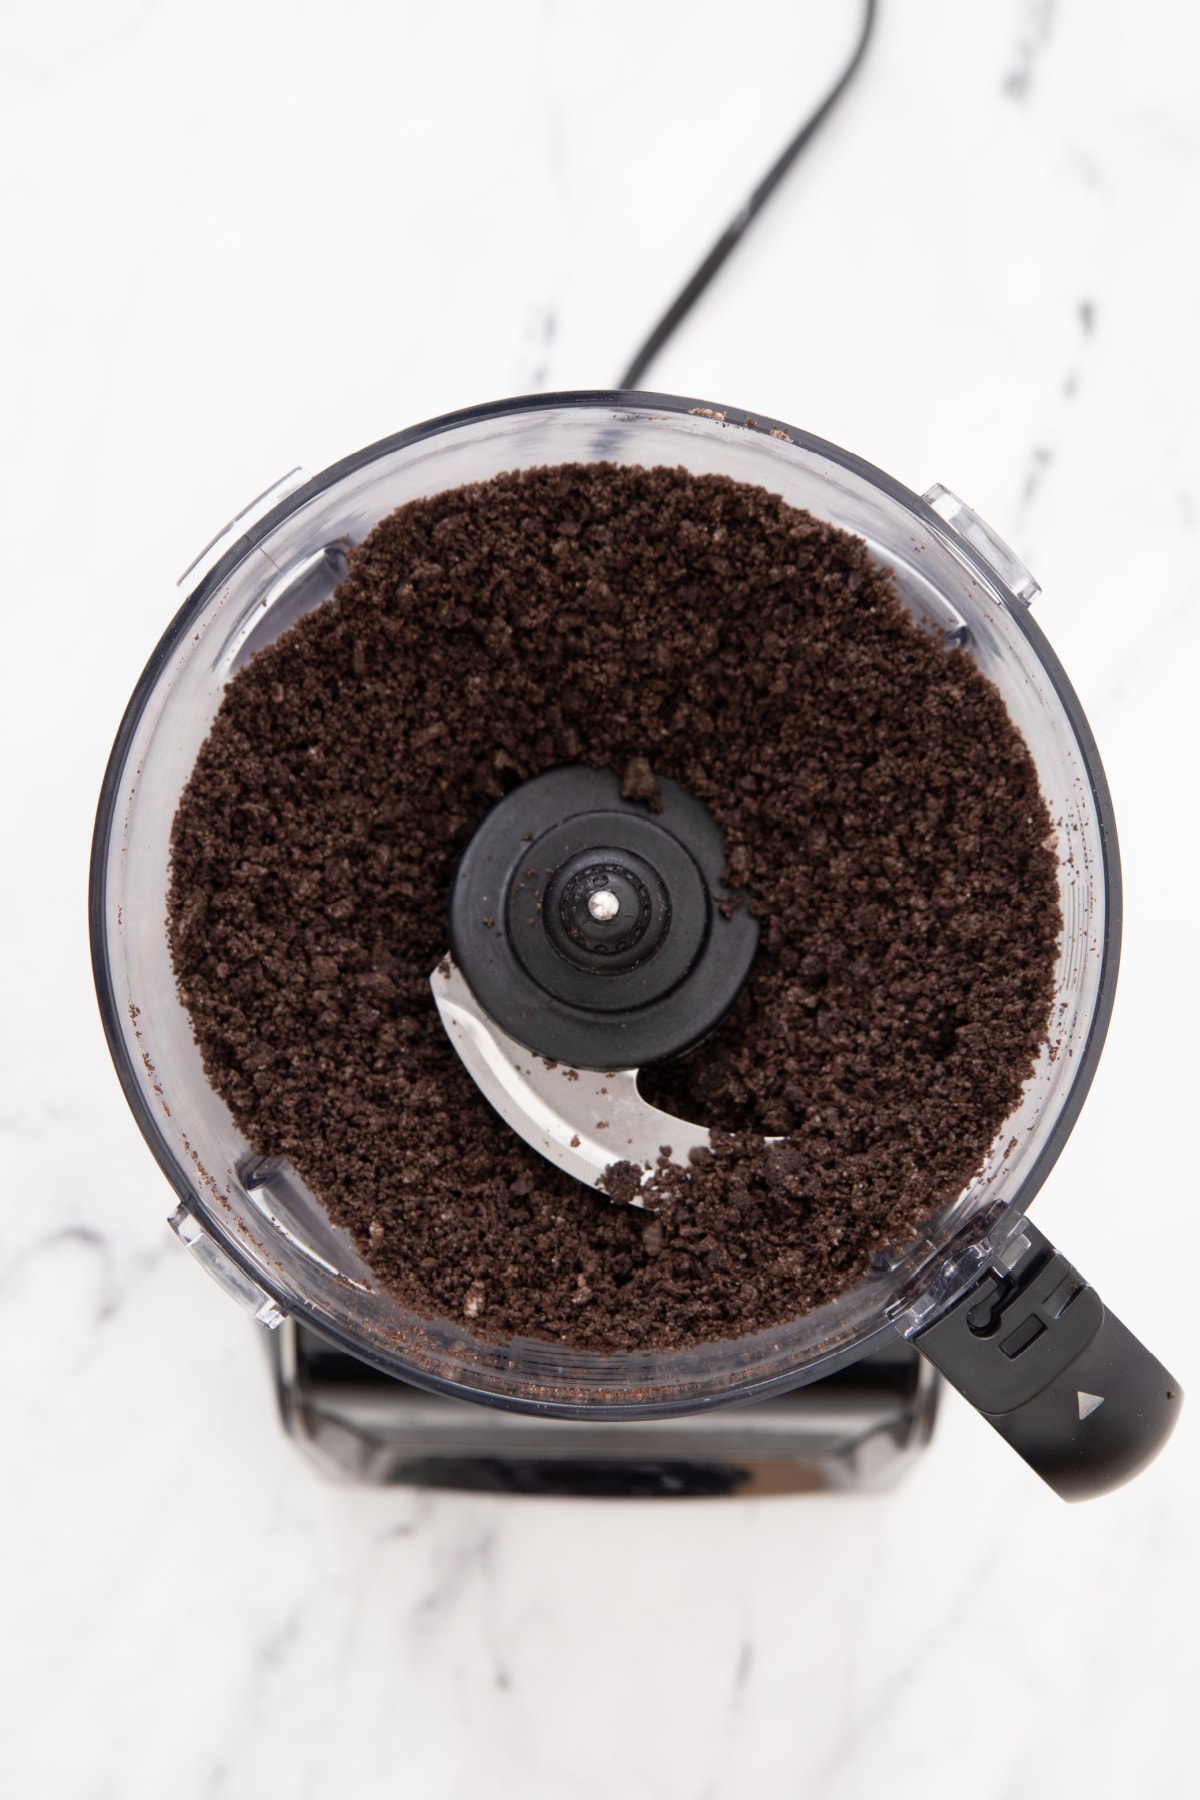
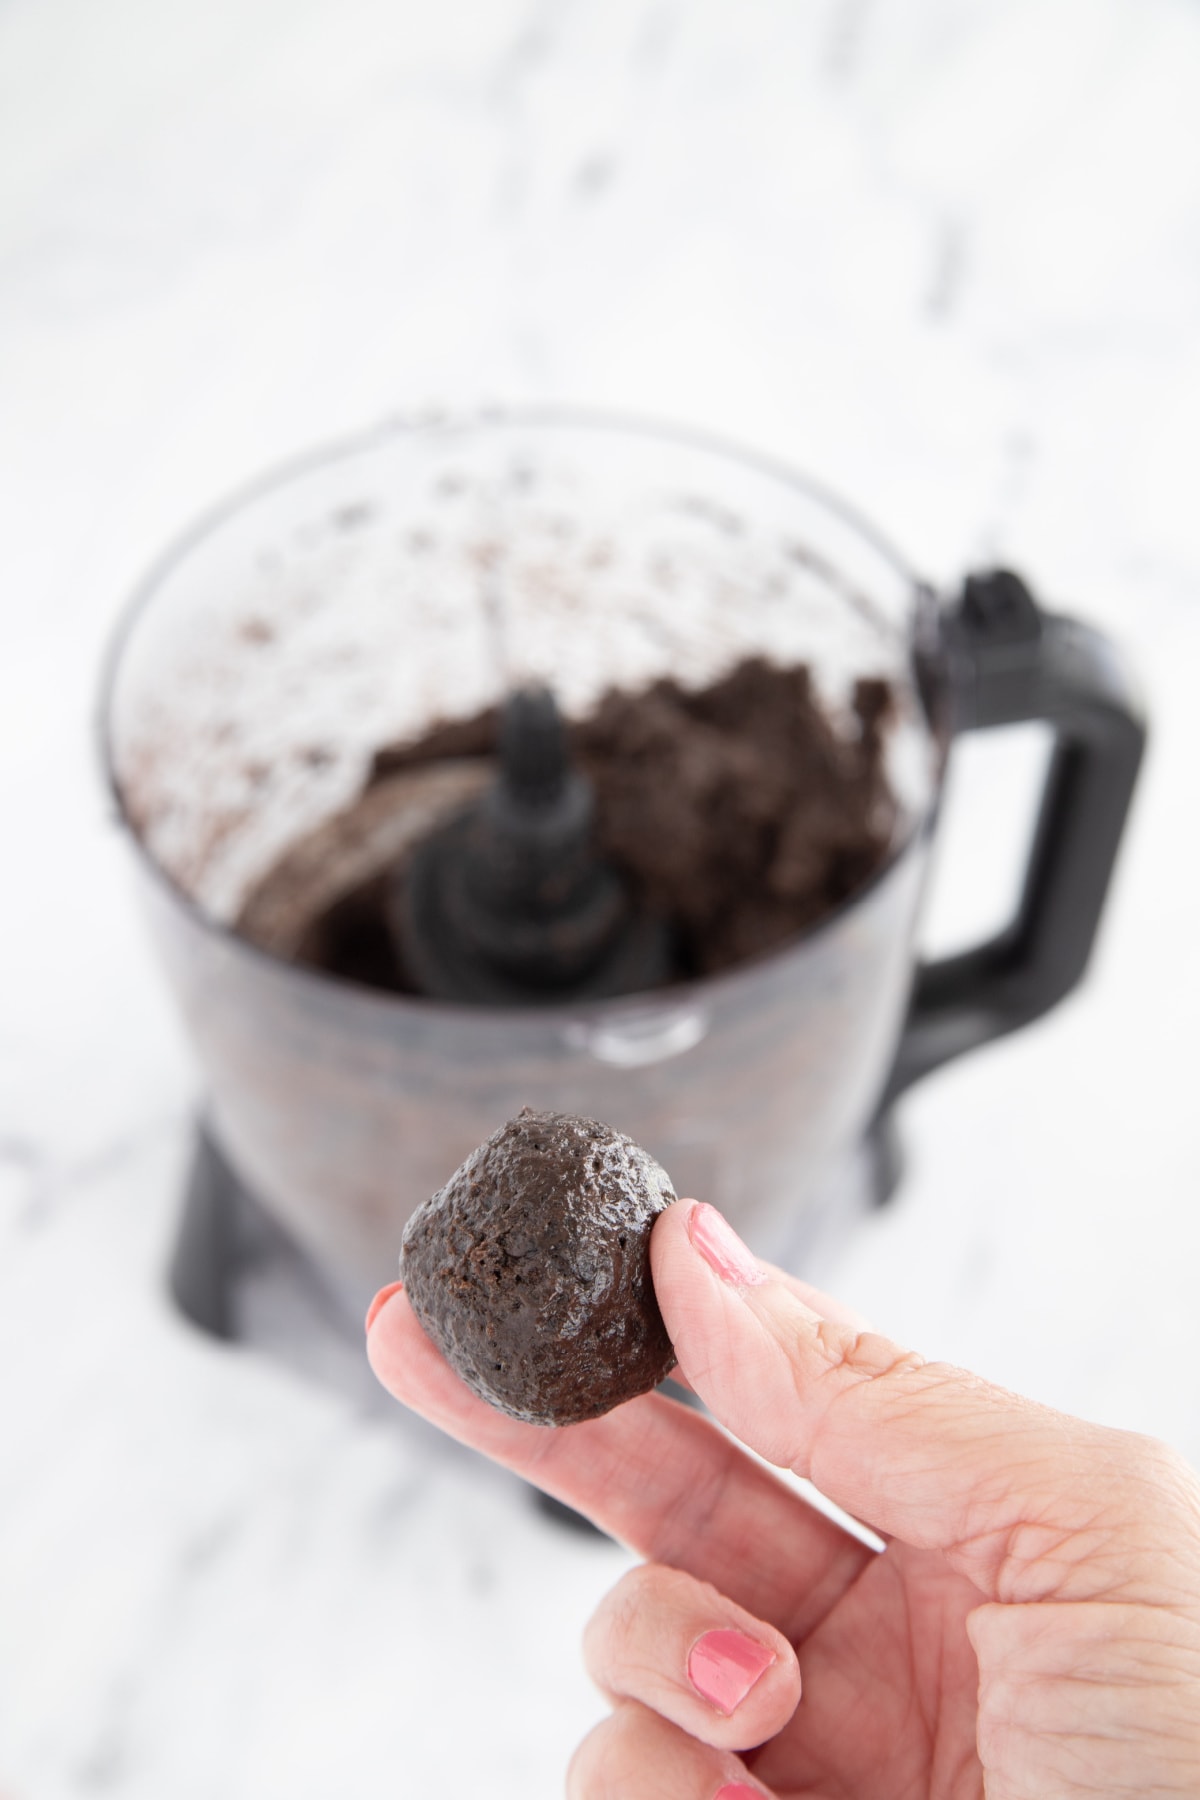
Step 2: Put the cookies into your food processor and pulse until you get a crumb-like texture.
Step 3: Cut the cream cheese into chunks and add it to the cookie crumbs.
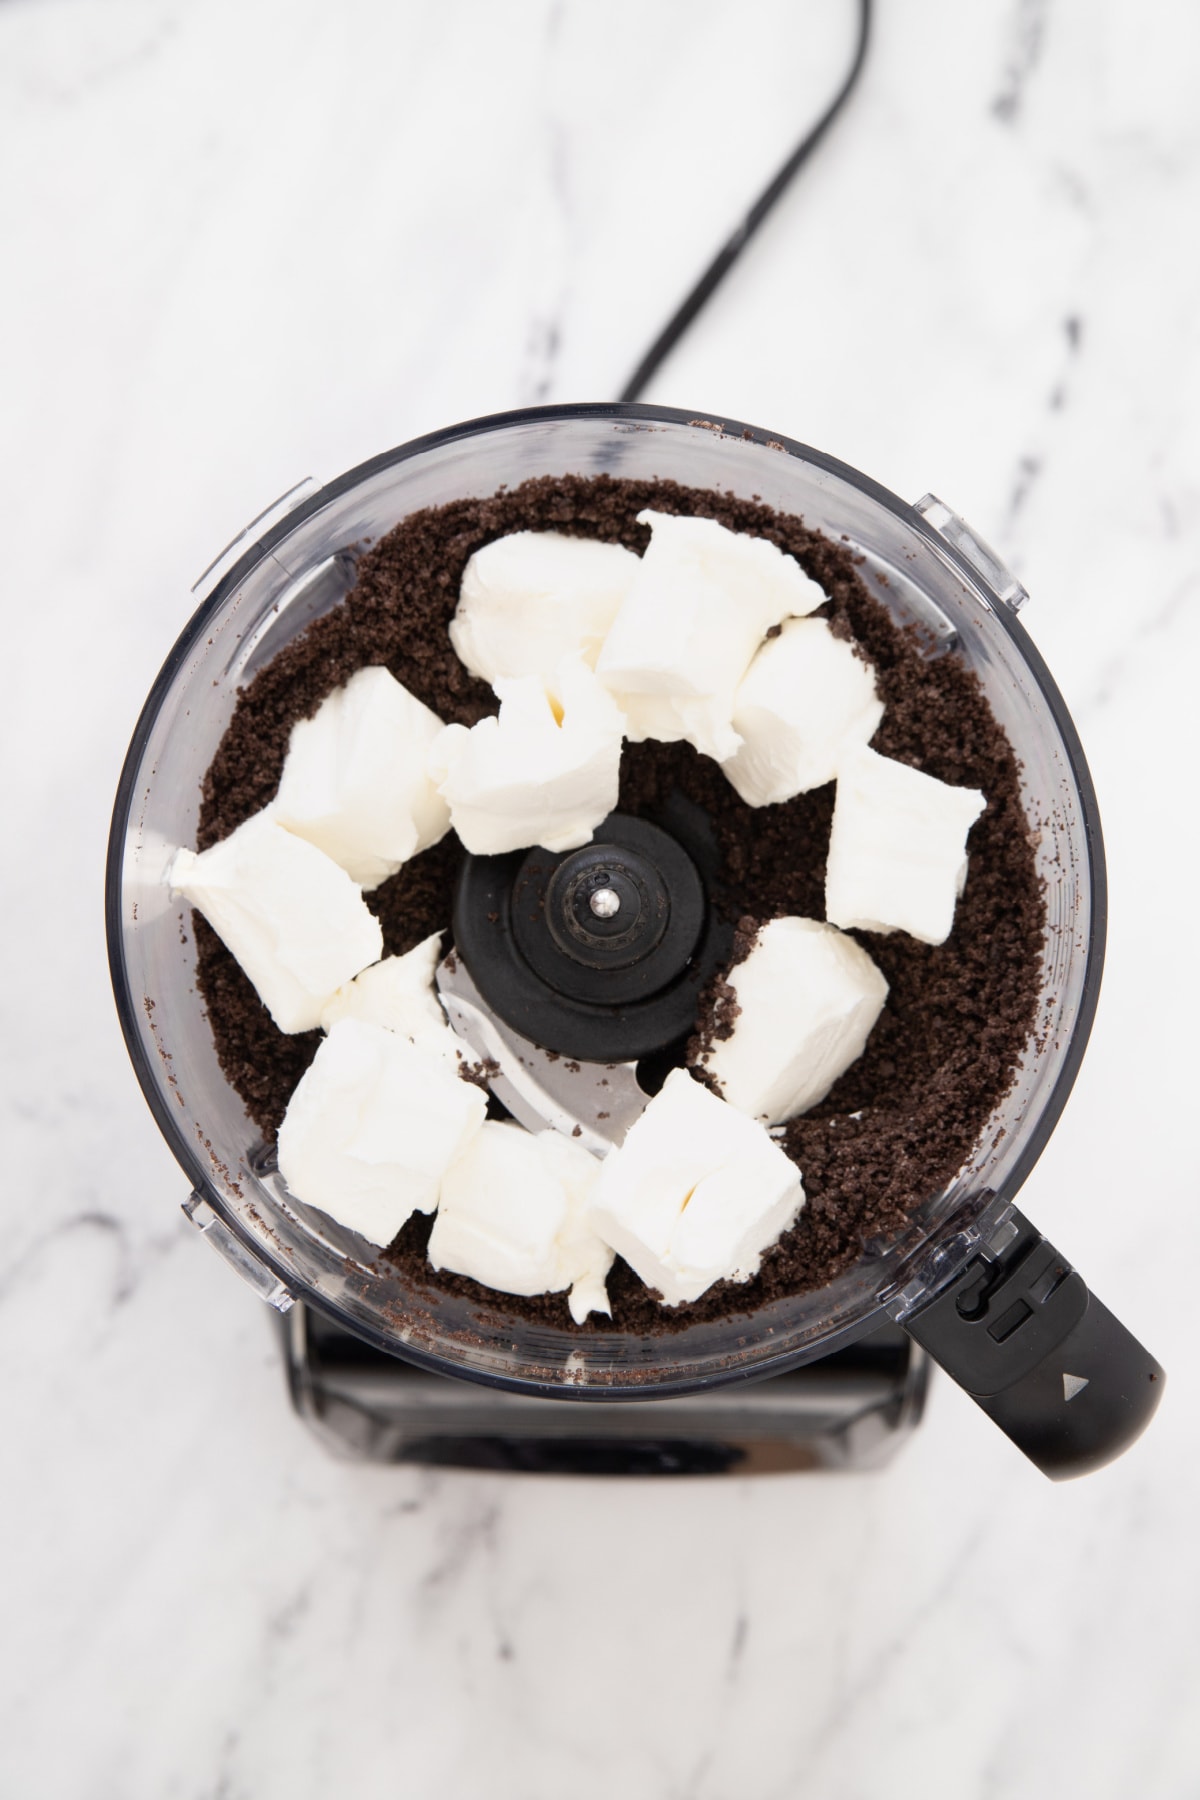
Step 4: Pulse the mixture until ingredients are well blended.

Step 5: Use a small cookie scoop to make cookie balls (about 1-inch diameter). Roll each one in the palms of your hands to form a smooth, round ball.
Step 6: Place balls on cookie sheet. For best results, place the cookie tray in the freezer for about 30 minutes before decorating. (optional).

Step 7: Place candy melts into a large bowl and microwave for 30 seconds. Continue to microwave in 15 second intervals, stirring in between, until chocolate is melted and smooth.
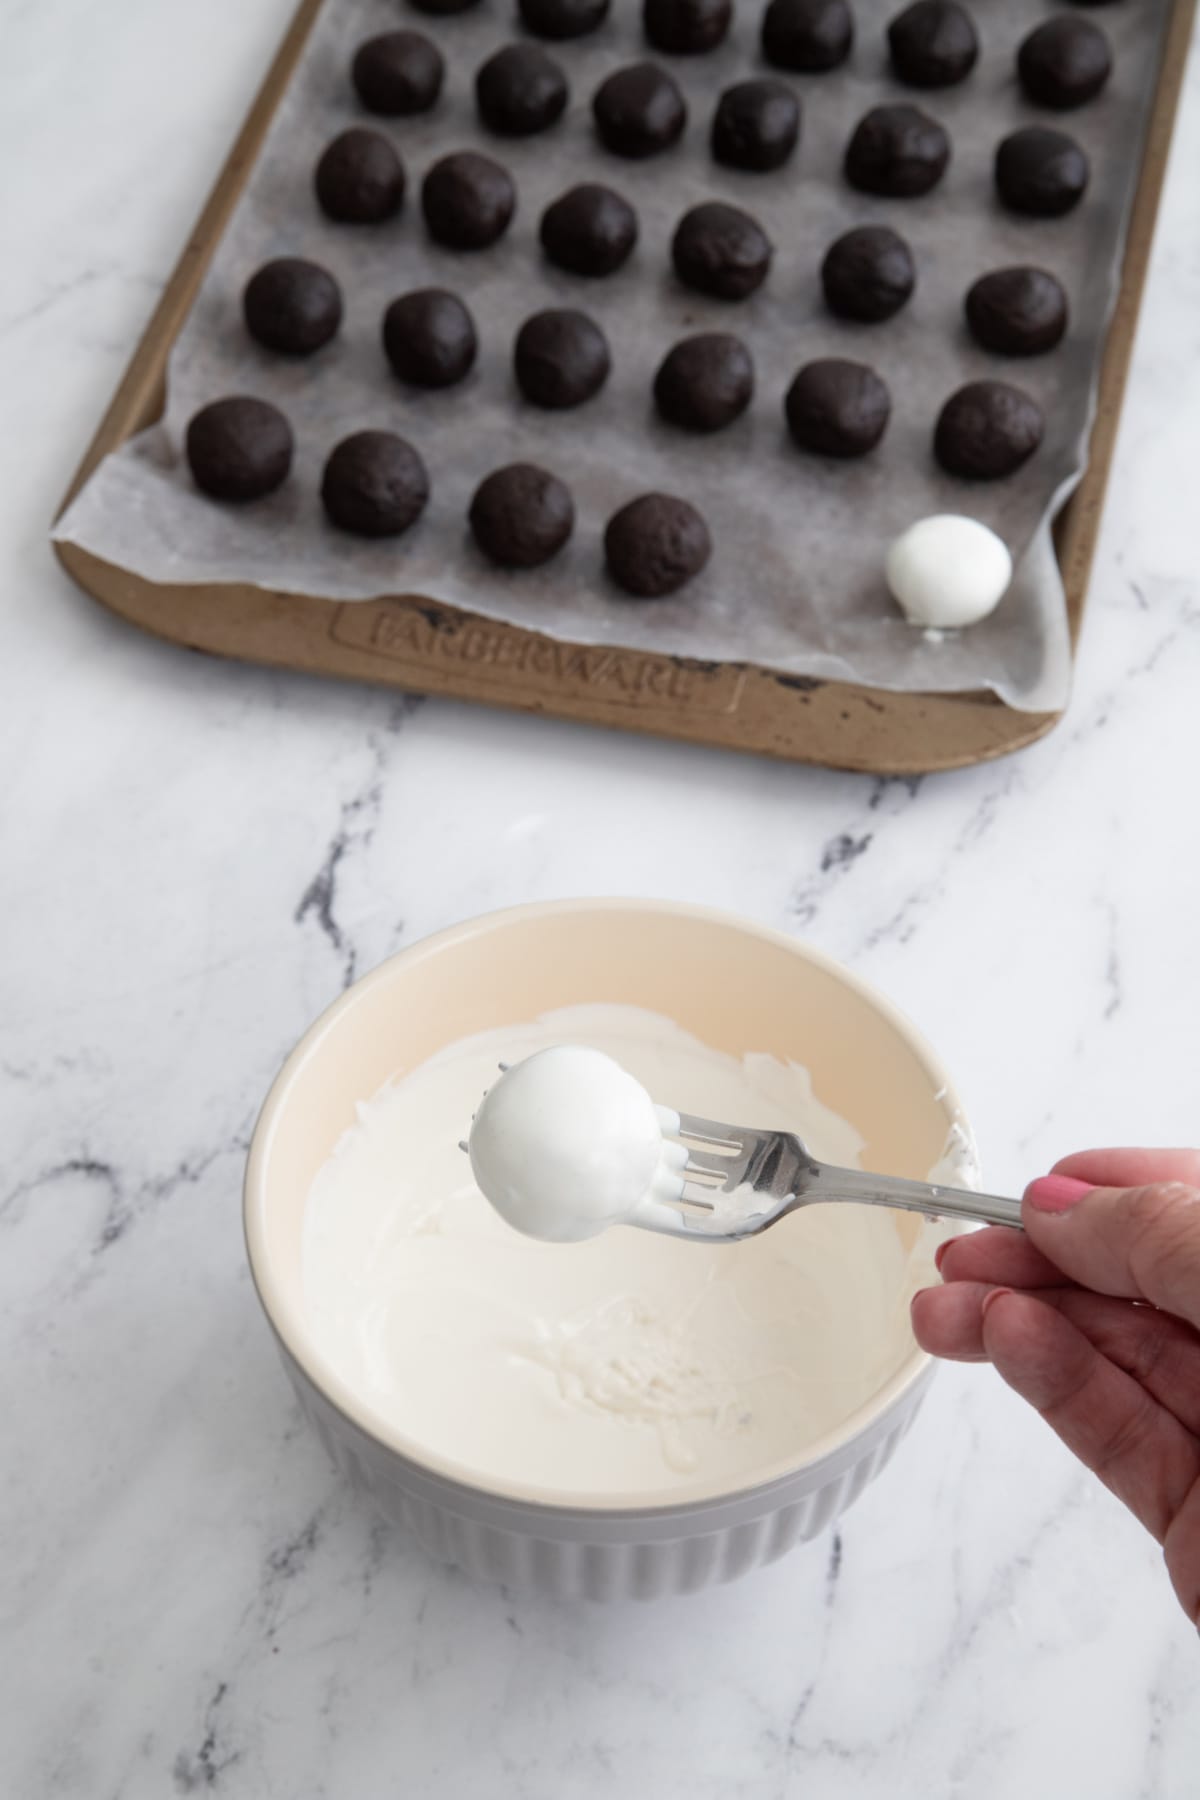
Step 8: Drop balls one or two at a time into the melted white chocolate.
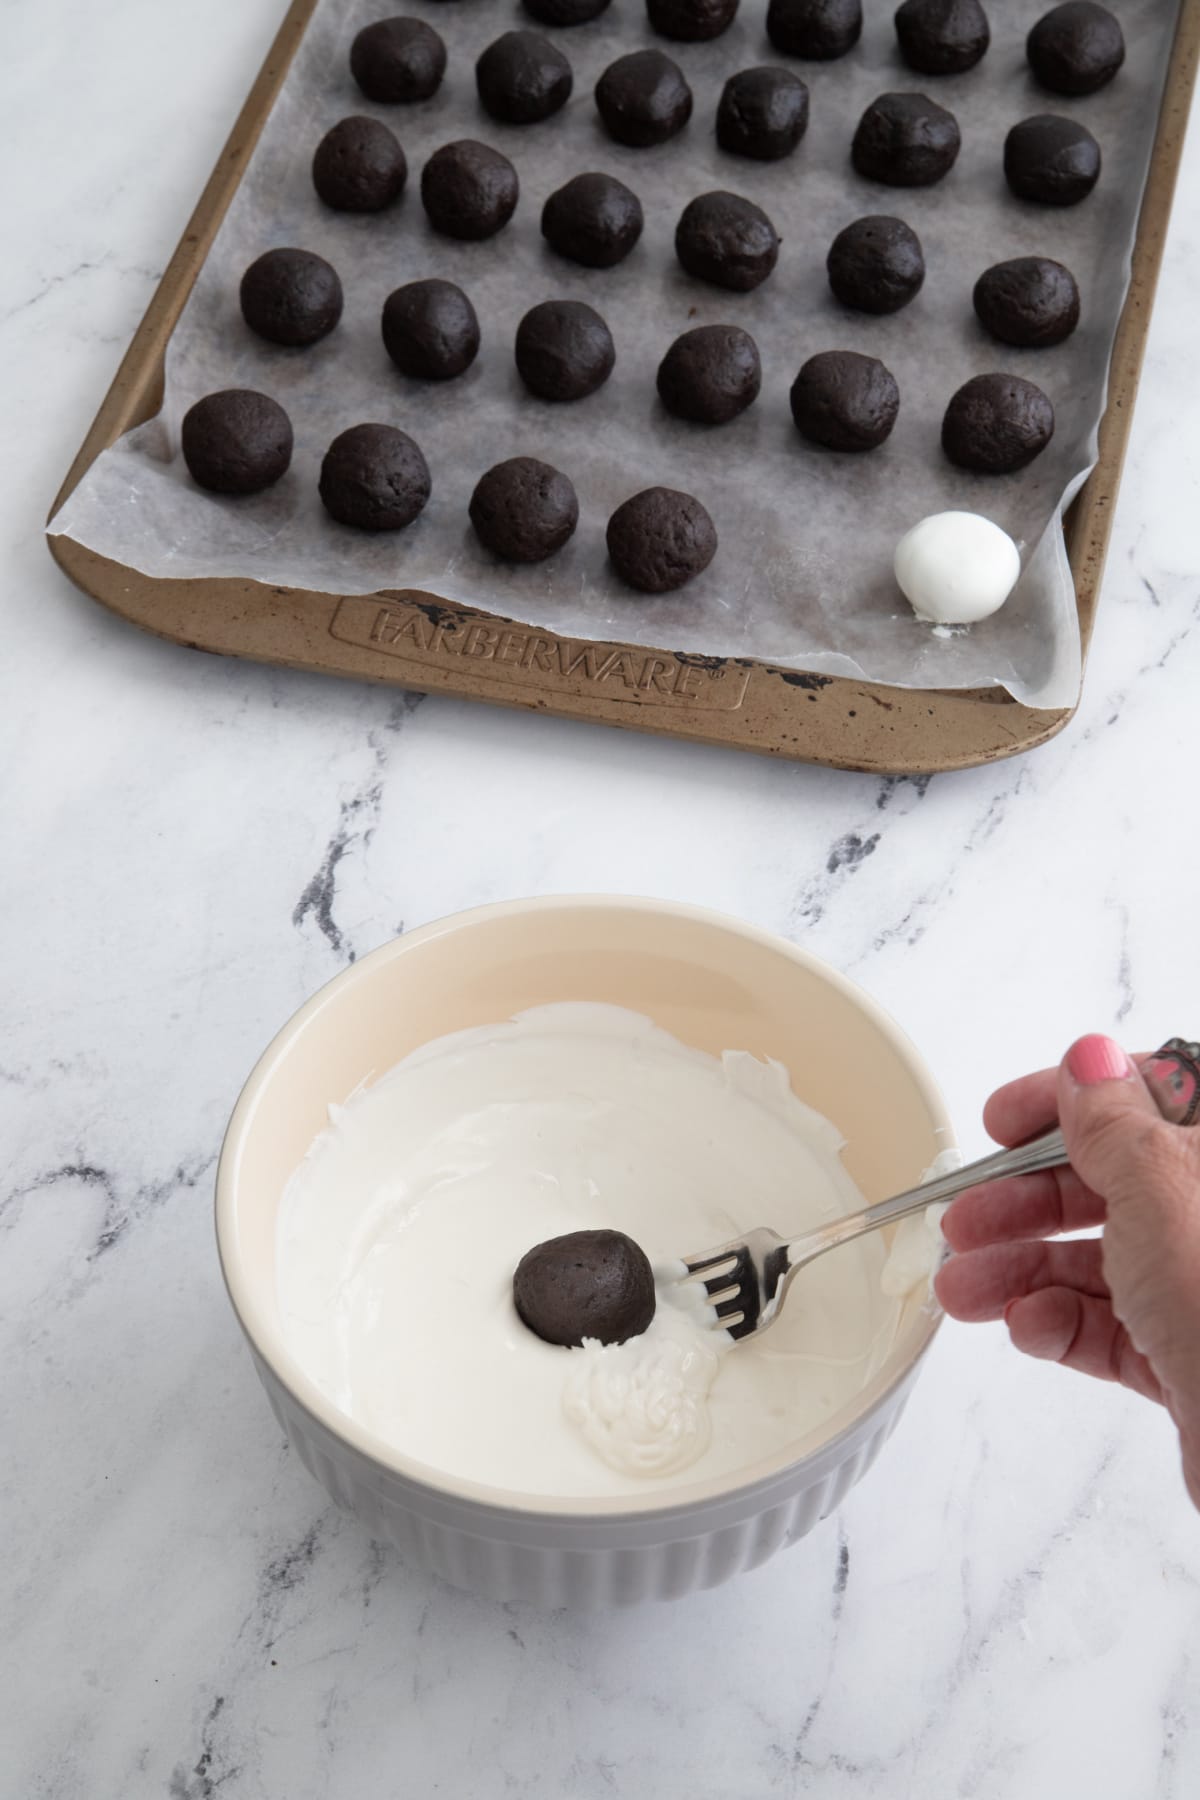
Step 9: Once the ball is entirely coated, remove it from the chocolate. I like to use a fork for this but you can also use a candy dipping scoop. Tap fork against the edge of the bowl to remove any excess chocolate, then place cookie ball on the prepared baking sheet.
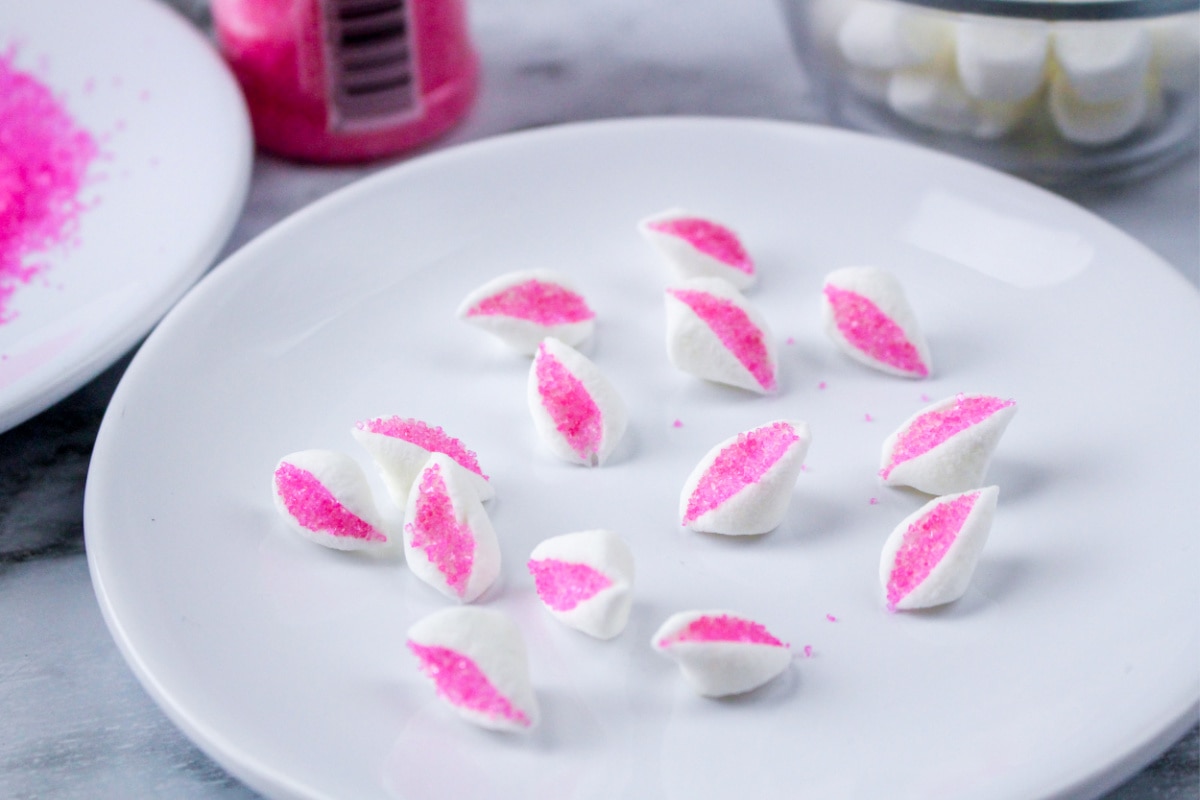
Step 10: Cut the miniature marshmallows in half diagonally to make the bunny ears.
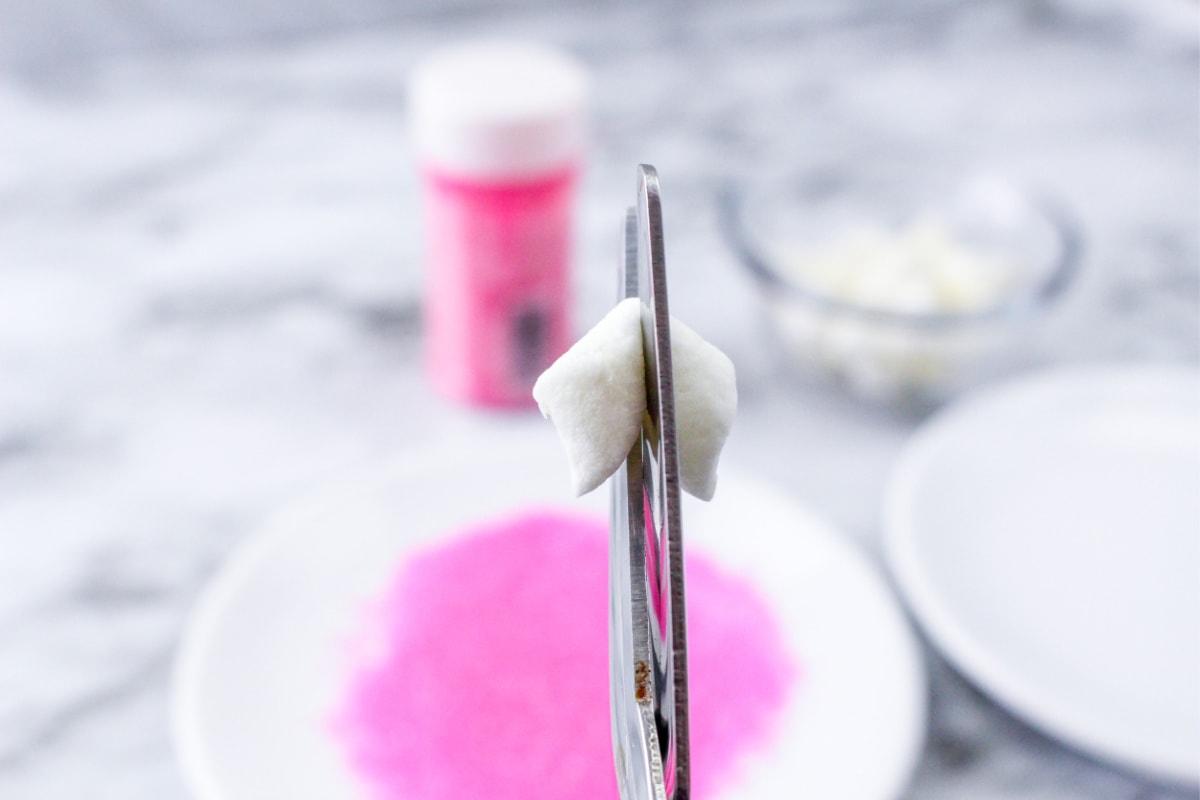
Step 11: Immediately press the cut side of the mini marshmallow into the sanding sugar.

Step 12: Repeat with the remaining marshmallows.
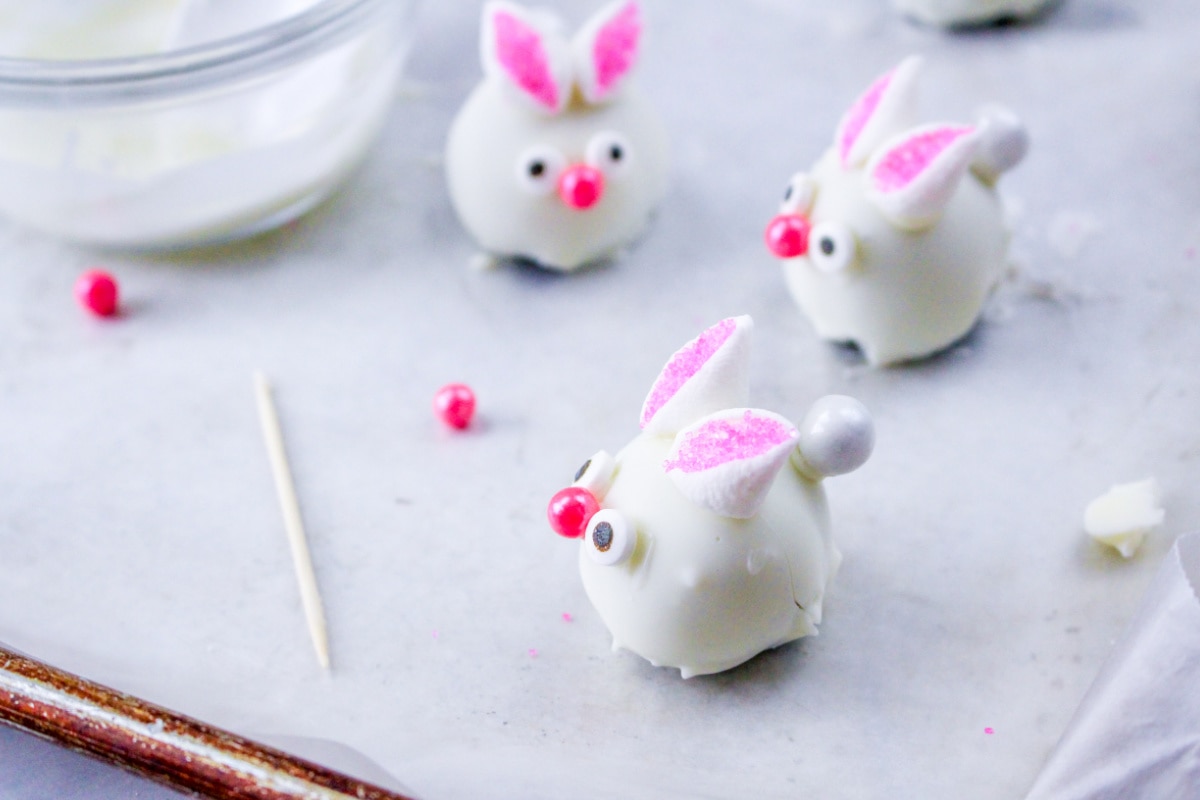
Step 13: Once the chocolate has set, add the bunny features to the cookie balls. Use the remainder of the melted chocolate and a toothpick to attach the decorations to the body of the bunny.
Step 14: Place the cookie sheet in the refrigerator and chill for about 1 hour or until firm.
Tips & Tricks
- If you’re using candy melts for the chocolate coating, you can add a little vegetable shortening, coconut oil or Wilton EZ Thin Dipping Aid to the candy as it melts. This will help the candy to spread more evenly and will create a smoother shell around the cookie ball.
- You can use a lollipop stick or chopstick rather than a toothpick if you need to get more melted chocolate onto the cookie balls when decorating. This can be helpful for attaching the larger candy pieces like the candy pearl bunny tails.
- Want to make these again after Easter has passed? You can easily leave off the bunny feature decorations and turn these into simple little truffles. You can even change up the chocolate you use and dip the cookie balls in dark chocolate or milk chocolate. Finish them off by adding chopped nuts or sprinkles on top.
- Change up the flavor by using different types of Oreo cookies. Try it with mint, peanut butter or birthday cake for something different. Carrot cake Oreos would be another fun option for Easter!
Yes – these will freeze well. After preparing the cookie balls as directed, place them on the baking sheet and place the sheet into the freezer until frozen. Once they’re frozen, transfer the cookie balls to an airtight container and store in the freezer for up to 6 months.
More Delicious Recipes for Easter
Easter Bunny Oreo Balls
Ingredients
- 1 package 14.3 ounce OREO cookies
- 8 ounces cream cheese
- 16 ounces white candy melts
- 36 mini marshmallows
- Pink sugar sprinkles
- 36 pink chocolate balls
- 36 white chocolate balls
- 72 small candy eyes
Instructions
- Line a baking sheet with wax paper or parchment paper.
- Put the cookies into your food processor and pulse until you get a crumb-like texture.1 package
- Cut cream cheese into chunks and add it to the cookie crumbs.8 ounces cream cheese
- Pulse the mixture until ingredients are well blended.
- Use a small cookie scoop to make cookie balls (about 1-inch diameter). Roll each one in the palms of your hands to form a smooth, round ball.
- Place balls on cookie sheet. For best results, place the cookie tray in the freezer for about 30 minutes before decorating. (optional).
- Place candy melts into a large bowl and microwave for 30 seconds. Continue to microwave in 15 second intervals, stirring in between, until chocolate is melted and smooth.16 ounces white candy melts
- Drop balls one or two at a time into the melted white chocolate.
- Once the ball is entirely coated, remove it from the chocolate. I like to use a fork for this. Tap fork against the edge of the bowl to remove any excess chocolate, then place cookie ball on the prepared baking sheet.
- Cut the miniature marshmallows in half diagonally to make the bunny ears.36 mini marshmallows
- Immediately press the cut side of the mini marshmallow into the sanding sugar. Repeat with the remaining marshmallows.Pink sugar sprinkles
- Once the chocolate has set, add the bunny features to the cookie balls. Use the remainder of the melted chocolate and a toothpick to attach the decorations to the body of the bunny.36 pink chocolate balls, 36 white chocolate balls, 72 small candy eyes
- Place the cookie sheet in the refrigerator and chill for about 1 hour or until firm.
Notes
- If you’re using candy melts for the chocolate coating and the consistency isn't as thin as you like, try adding a little vegetable shortening or coconut oil to the candy as you're melting it. You can also use Wilton EZ Thin Dipping Aid. It's specially designed to give your chocolate a smoother texture.
Nutrition
Did You Make This Recipe?
Share it with me on Instagram @funmoneymom and follow on Pinterest @funmoneymom for more!
Let’s be friends!
Did you love this post? Make sure to comment below and let me know your thoughts! And don’t forget to follow on your favorite social network below!

About Lisa O’Driscoll
Lisa O’Driscoll is a lifestyle and parenting expert, cookbook author, and the creative force behind Fun Money Mom, a popular blog she’s run since 2014. She’s the author of the children’s cookbook Roll It, Slice It, Mash It, Dice It, designed to get kids excited about cooking. With multiple TV appearances under her belt, she loves sharing her expertise on family-friendly recipes, creative DIYs, and party planning and is always on a mission to inspire and entertain!