
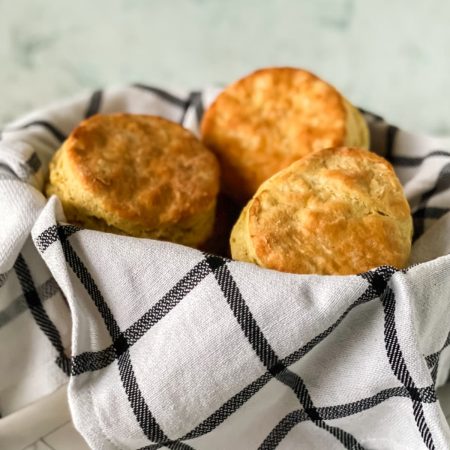
Homemade Buttermilk Biscuits
This post may contain affiliate links. As an Amazon Associate, I earn from qualifying purchases.
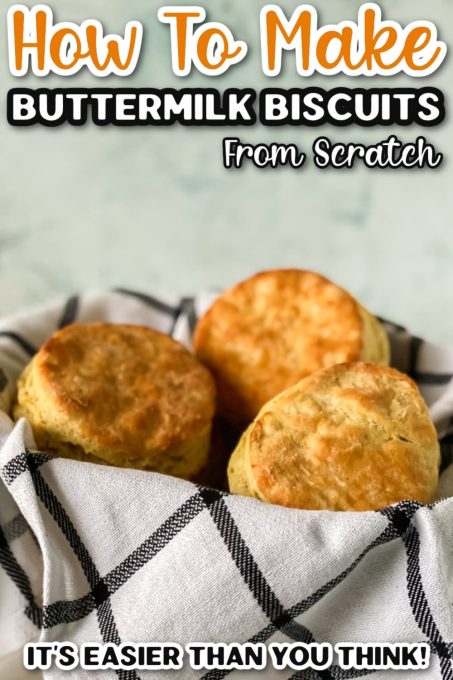
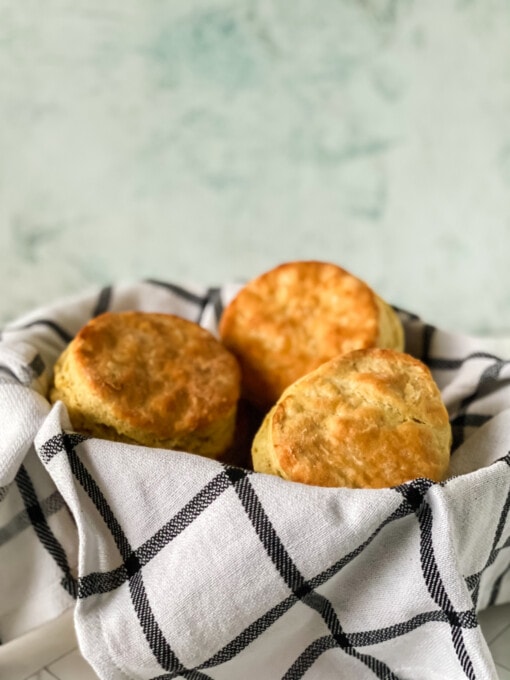
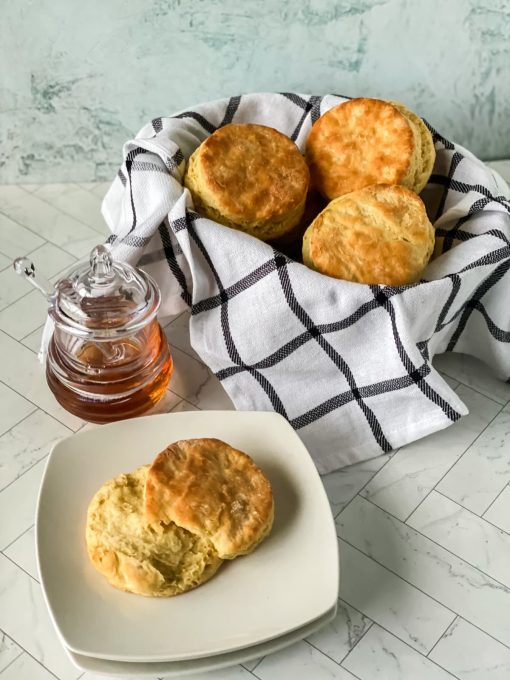
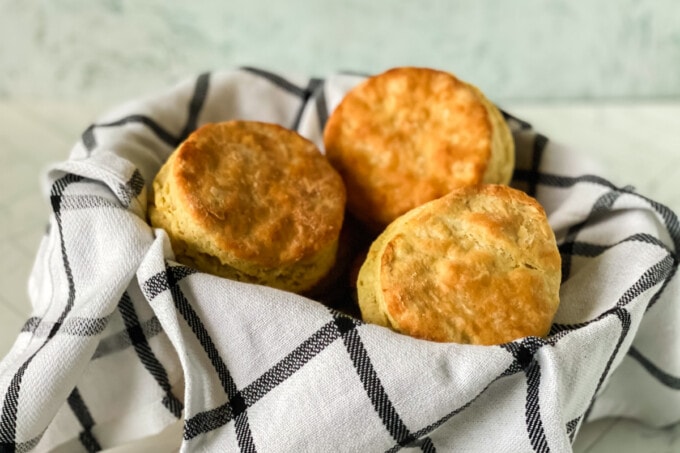
Homemade buttermilk biscuits are easier than you think and these are so fluffy and light that they’ll melt in your mouth! Totally worth waking up for, these flaky biscuits will for sure be a family favorite!
Okay, I have to admit, I totally dig those fluffy and flaky buttermilk biscuits that I get at my favorite breakfast restaurant but never thought I’d be able to replicate them in my own kitchen. I’d always thought that breakfast biscuits this incredibly light and flaky would be way too much work!
I mean, I’m pretty good when it comes to baking things like Berry Stuffed Crescent Rolls or an easy Strawberry Poke Cake, but biscuits from scratch?
Well, I’m happy to admit that I was very wrong and baking biscuits isn’t nearly as difficult as I’d made it out to be. If I can do it, you can too!
This quick guide to help you whip up a batch (or two) of delicious homemade buttermilk biscuits and totally nail it! Read on…
How To Make Buttermilk Biscuits
Step 1: Line a baking sheet with parchment paper. Use room temperature butter or a butter spray to coat it so that your biscuits don’t stick.
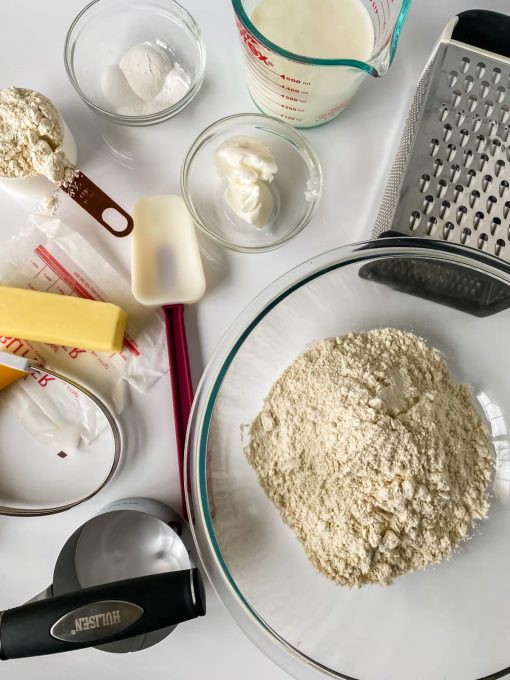
Step 2: In a large bowl, combine all purpose flour, salt, sugar, baking powder and baking soda. Stir or whisk until well mixed.

Step 3: Find the largest hole on the grater and use it to grate your frozen butter.

Step 4: Add the shortening and pinch shortening into the flour with your fingers or a pastry cutter. Continue until the mixture resembles course crumbs.
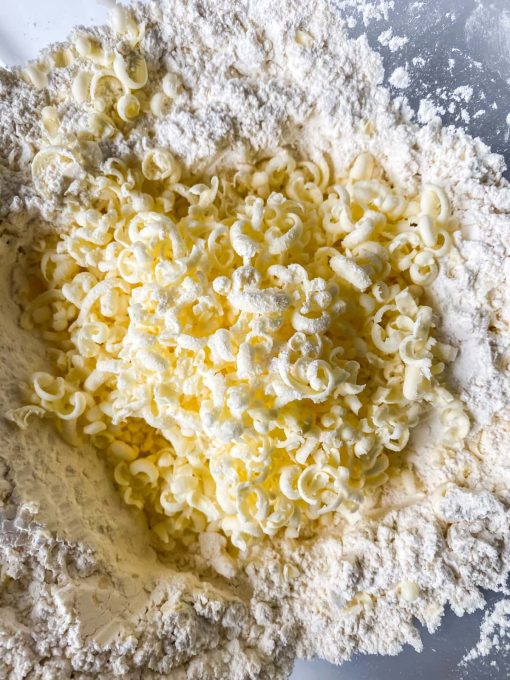
Step 5: Toss in the frozen butter and mix until all pieces are coated.
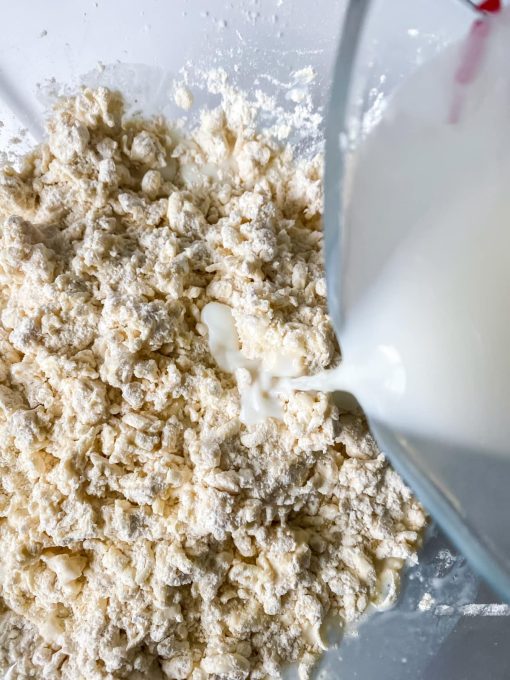
Step 6: Pour cold buttermilk into the flour mixture and mix until no dry flour is left. The dough should be sticky.

Step 7: Use flour to lightly coat your work surface.
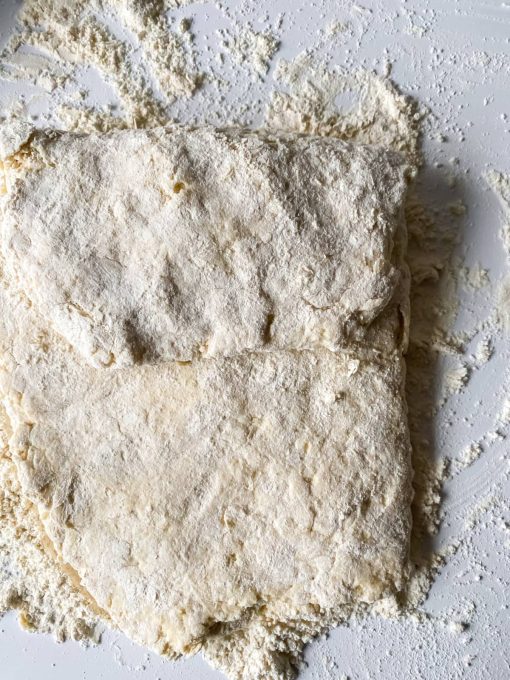
Step 8: Place dough on the prepared surface and gently pat it into a half inch thick rectangle Sprinkle the dough with flour and fold in thirds.
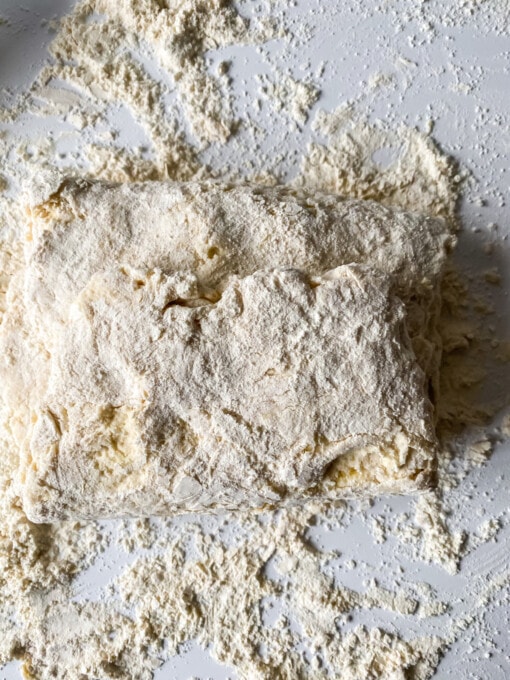
Step 9: Repeat, folding twice and rotating the dough 90 degrees each time. Folding the dough is what gives it those flaky layers. Roll the dough to about a 3/4 inch thickness. It should no longer be sticky at this point.
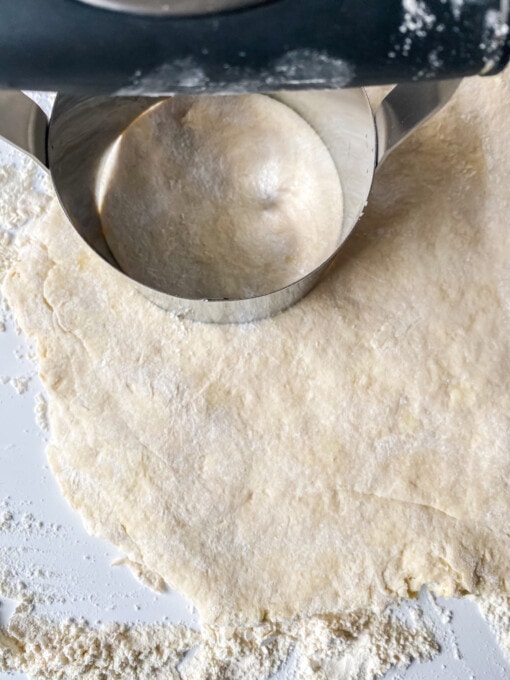
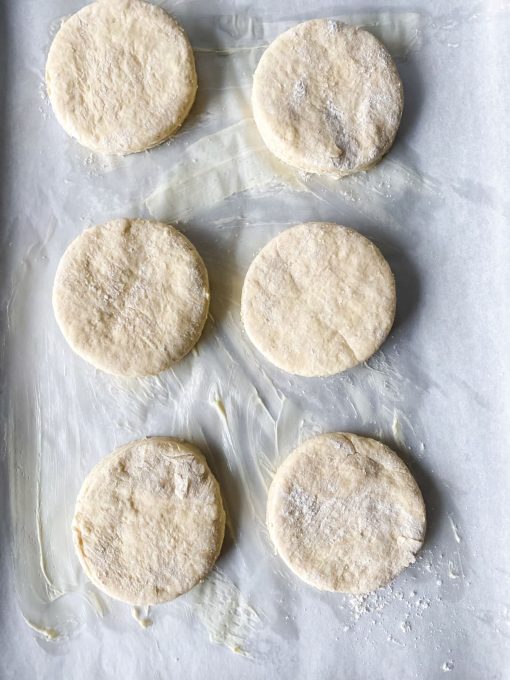
Step 10: Gently dip the biscuit cutter in flour and cut the dough. Be sure to push the biscuit cutter straight down and don’t twist it. Twisting it could seal the edges together and keep the biscuits from rising as much as they would otherwise. Transfer biscuits to the baking sheet.
Step 11: Collect the scraps and roll them into 3/4 inch thickness to cut more biscuits. Chill biscuits for 15 minutes.
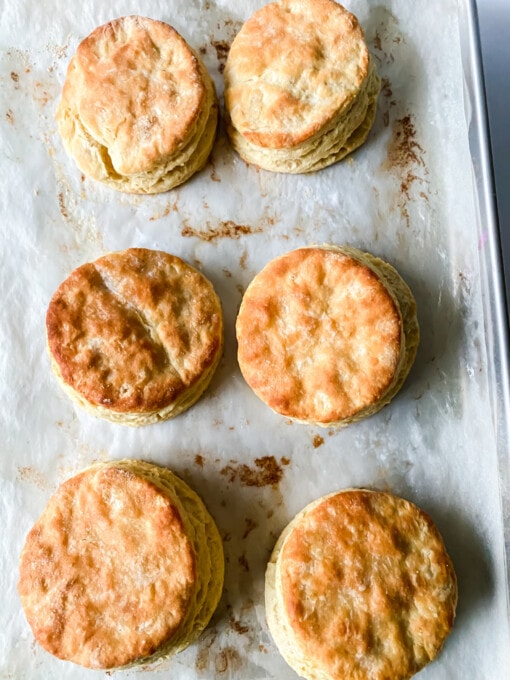
Step 12: Preheat your oven to 450
Step 13: Bake until the top of the biscuits are golden and crisp, about 15- 16 minutes Cool for five minutes on the baking pan before serving.
Why Did my Buttermilk Biscuits Turn Crumbly?
One common mistake that people make when making biscuits for the first time is not incorporating the butter thoroughly into the mixture. This can make your biscuits turn out crumbly and dry.
That’s why it’s best to keep the pieces of butter small, making them easier to distribute throughout the mixture. Now instead of dense, dry biscuits, you’ll have melt in your mouth flaky biscuits that’ll have your family begging for seconds!
Why Did my Biscuits Turn Hard?
If your biscuits become hard, it could be that you overworked the dough. For the fluffiest, flakiest biscuits, use gentle movements when mixing.
How Do I Make Fluffy Biscuits?
One quick and easy way to be sure that your biscuits turn out fluffy and flaky is to pinch the butter and flour together between your fingers, just like you’re snapping your fingers.
This helps to create thin sheets of butter, similar to what you would find in a puff pastry, creating flakier biscuits.
Can You Make Buttermilk Biscuits Ahead Of Time?
Yes! That’s the beauty of these homemade biscuits is that they can be saved for later! Make them in batches and freeze for up to two months. Just let them cool, store them in an airtight container and freeze. Once they’re fully frozen, you can transfer them to a freezer bag to save space if you’d like.
Next time you’re craving biscuits, just pull them out of the freezer, thaw completely, then bake at 350° until toasty and warm.
Serving Ideas & Suggestions
If you made a big batch of biscuits and are wondering how to use them, check out some of these insanely delicious recipe ideas (you’ll totally be thanking me!):
- Whip up a comforting chicken skillet topped with biscuits.
- Turn them into breakfast cups by stuffing them with sausage, cheese and a sprinkle of garlic salt before baking them.
- Have just a few biscuits leftover? Why not use them to make a delicious and fruity pull apart bread. Break biscuits into small, bite-sized pieces, then add them to a skillet with fresh berries and cream cheese and bake in the oven!
Loved how these biscuits turned out? Looking for some more awesome breakfast recipes to try? Here are a few of my personal favorites!
Homemade Flaky Buttermilk Biscuits
Ingredients
- 8 tbsp unsalted butter frozen
- 2 1/2 cups all purpose flour scooped and leveled (add additional flour to coat your work surface)
- 1 tbsp baking powder
- 1 tsp sugar
- 1 tsp salt
- 1/2 tsp baking soda
- 2 tbsp vegetable shortening
- 1 1/2 cup cold buttermilk
Instructions
- Line a baking sheet with parchment paper, coating it with room temperature butter or a light coating of butter spray.
- Combine all purpose flour, salt, sugar, baking powder and baking soda in a large bowl and stir, either by hand or with a whisk.
- Use the largest holes of a hand grater to grate your frozen butter. If you don’t have a grater, you can just cut the butter into very small pieces.
- Add shortening and use your fingers or a pastry cutter to pinch the shortening into the flour until the mixture is the consistency of course crumbs.
- Add frozen butter to the mixture and toss until pieces are completely coated.
- Pour in buttermilk and gently mix until no dry flour is left. Your dough will be sticky.
- Lightly coat your working space with flour and place the dough on your prepared surface, patting it until a 1/2 inch thick rectangle.
- Sprinkle the dough with flour and fold in thirds, as if you’re folding a letter.
- Repeat sprinkling the dough with flour and fold twice more, rotating the dough 90 degrees each time.
- Roll the dough until the thickness is about 3/4 of an inch. It should no longer by sticky by now.
- Gently dip the biscuit cutter in flour and into the dough. Push straight down without twisting so that you don’t seal the edges. Combine scraps, rolling them into dough 3/4 inches thick and cut more biscuits.
- Transfer biscuits to baking sheet and chill for 15 minutes in the refrigerator (this is a good time to preheat the oven)
- Bake your biscuits at 450° until the tops are golden and crisp, about 15-16 minutes.
- Let cool on the pan for about five minutes, then serve warm. For extra goodness, add a pat of butter to the top as they’re cooling.
Notes
Nutrition
Did You Make This Recipe?
Share it with me on Instagram @funmoneymom and follow on Pinterest @funmoneymom for more!
Let’s be friends!
Did you love this post? Make sure to comment below and let me know your thoughts! And don’t forget to follow on your favorite social network below!

About Lisa O’Driscoll
Lisa O’Driscoll is a lifestyle and parenting expert, cookbook author, and the creative force behind Fun Money Mom, a popular blog she’s run since 2014. She’s the author of the children’s cookbook Roll It, Slice It, Mash It, Dice It, designed to get kids excited about cooking. With multiple TV appearances under her belt, she loves sharing her expertise on family-friendly recipes, creative DIYs, and party planning and is always on a mission to inspire and entertain!


Terrible. No quantities were given for the ingredients. How much flour, shortening,etc.
Hi Dave,
You can either click on the Jump To Recipe button at the top of the post or scroll to the end and you’ll find a printable recipe card with all the quantities and instructions. Hope that helps 🙂