4th Of July Fudge Recipe
This post may contain affiliate links. As an Amazon Associate, I earn from qualifying purchases.
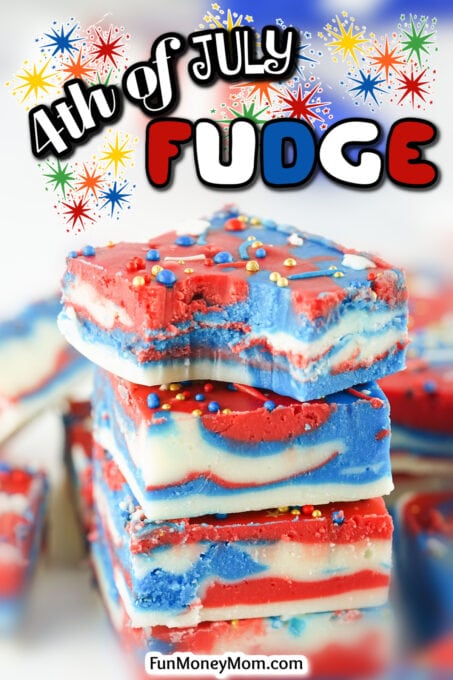
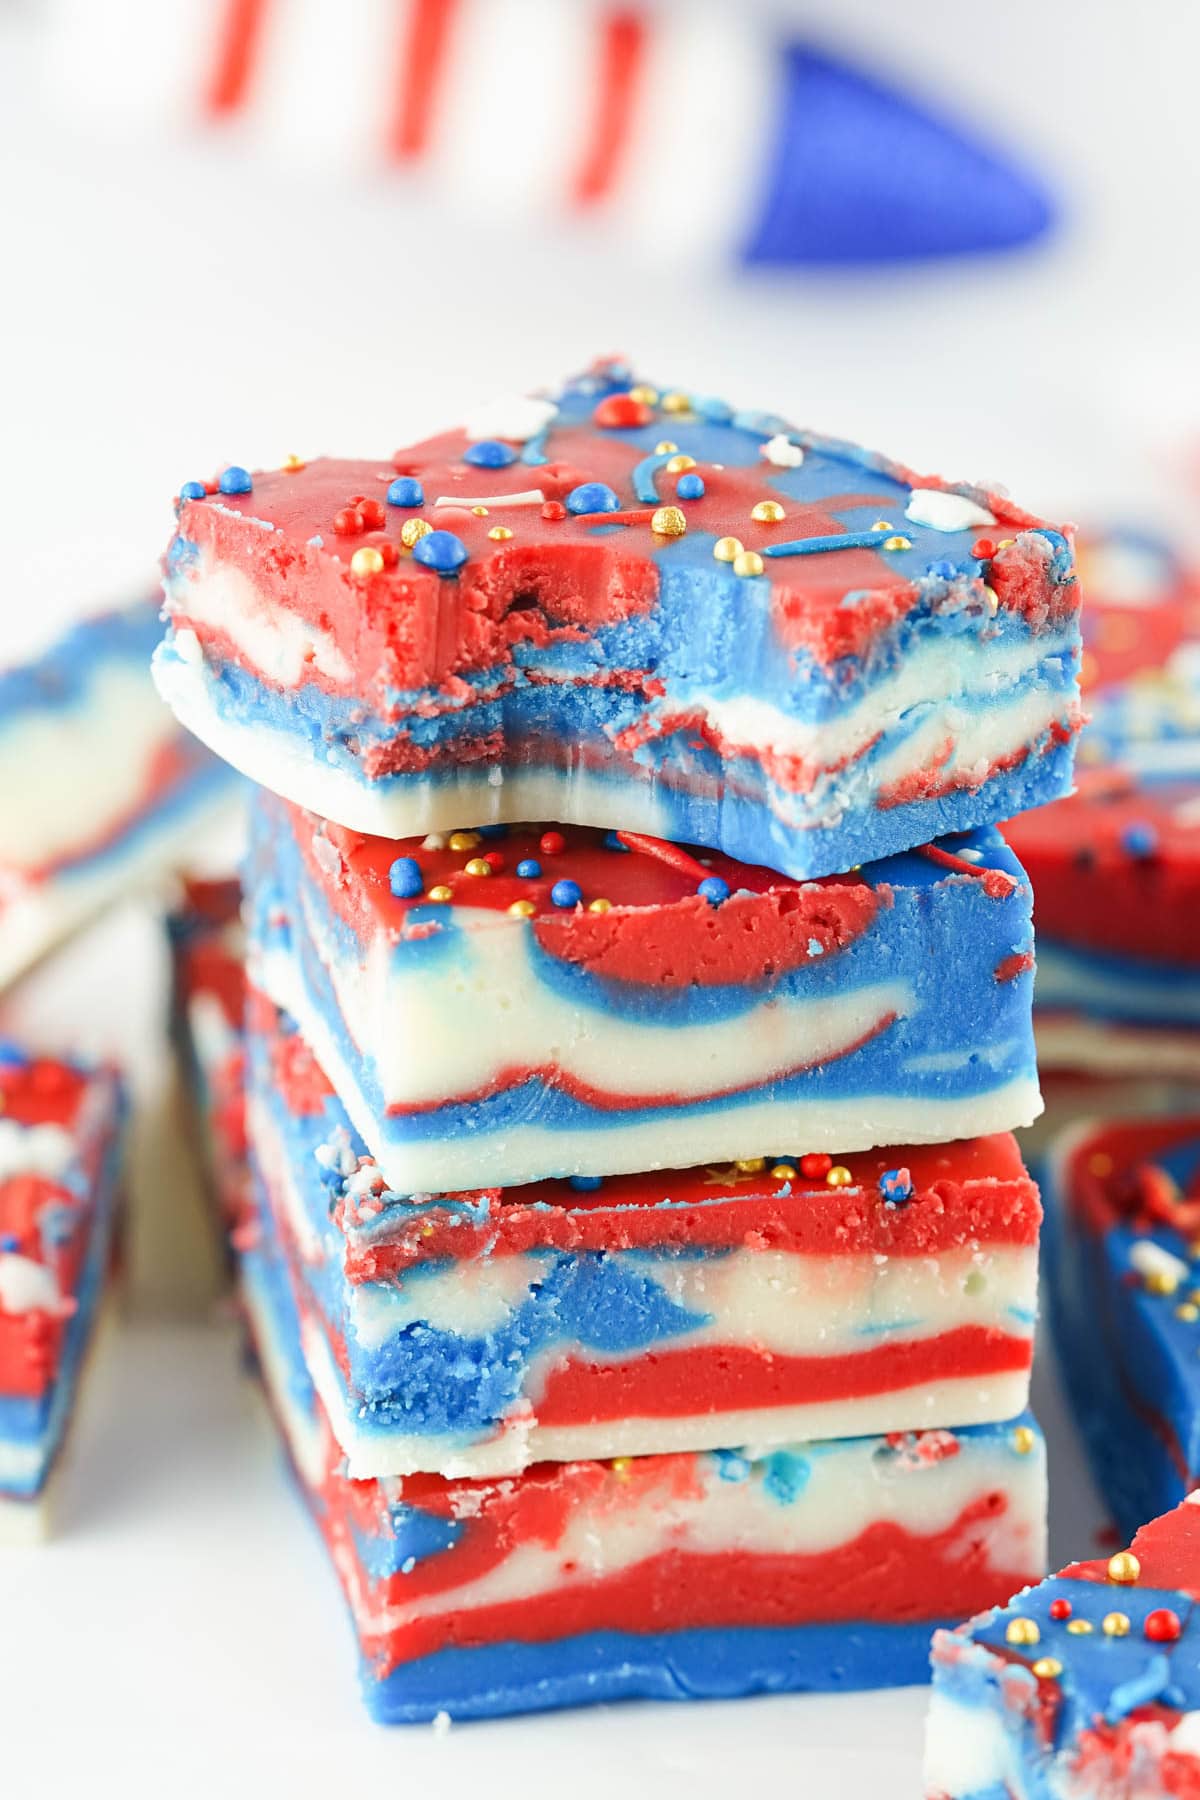
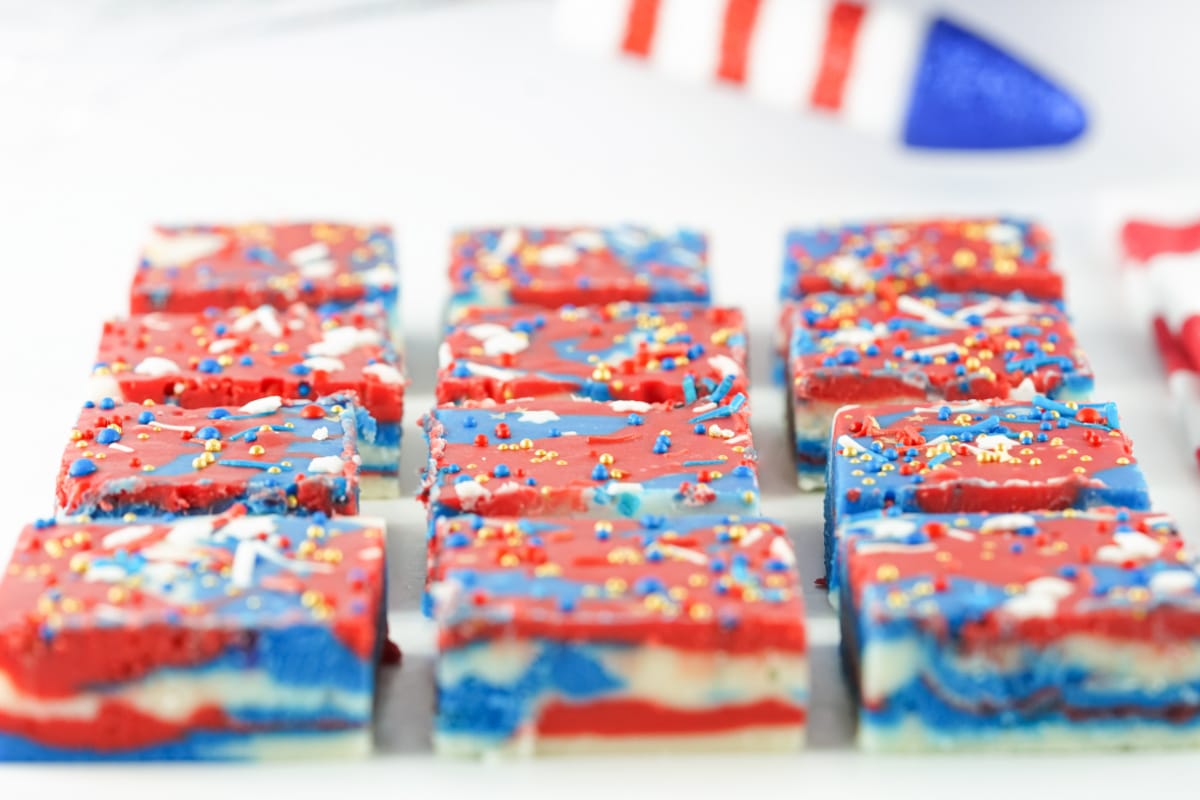
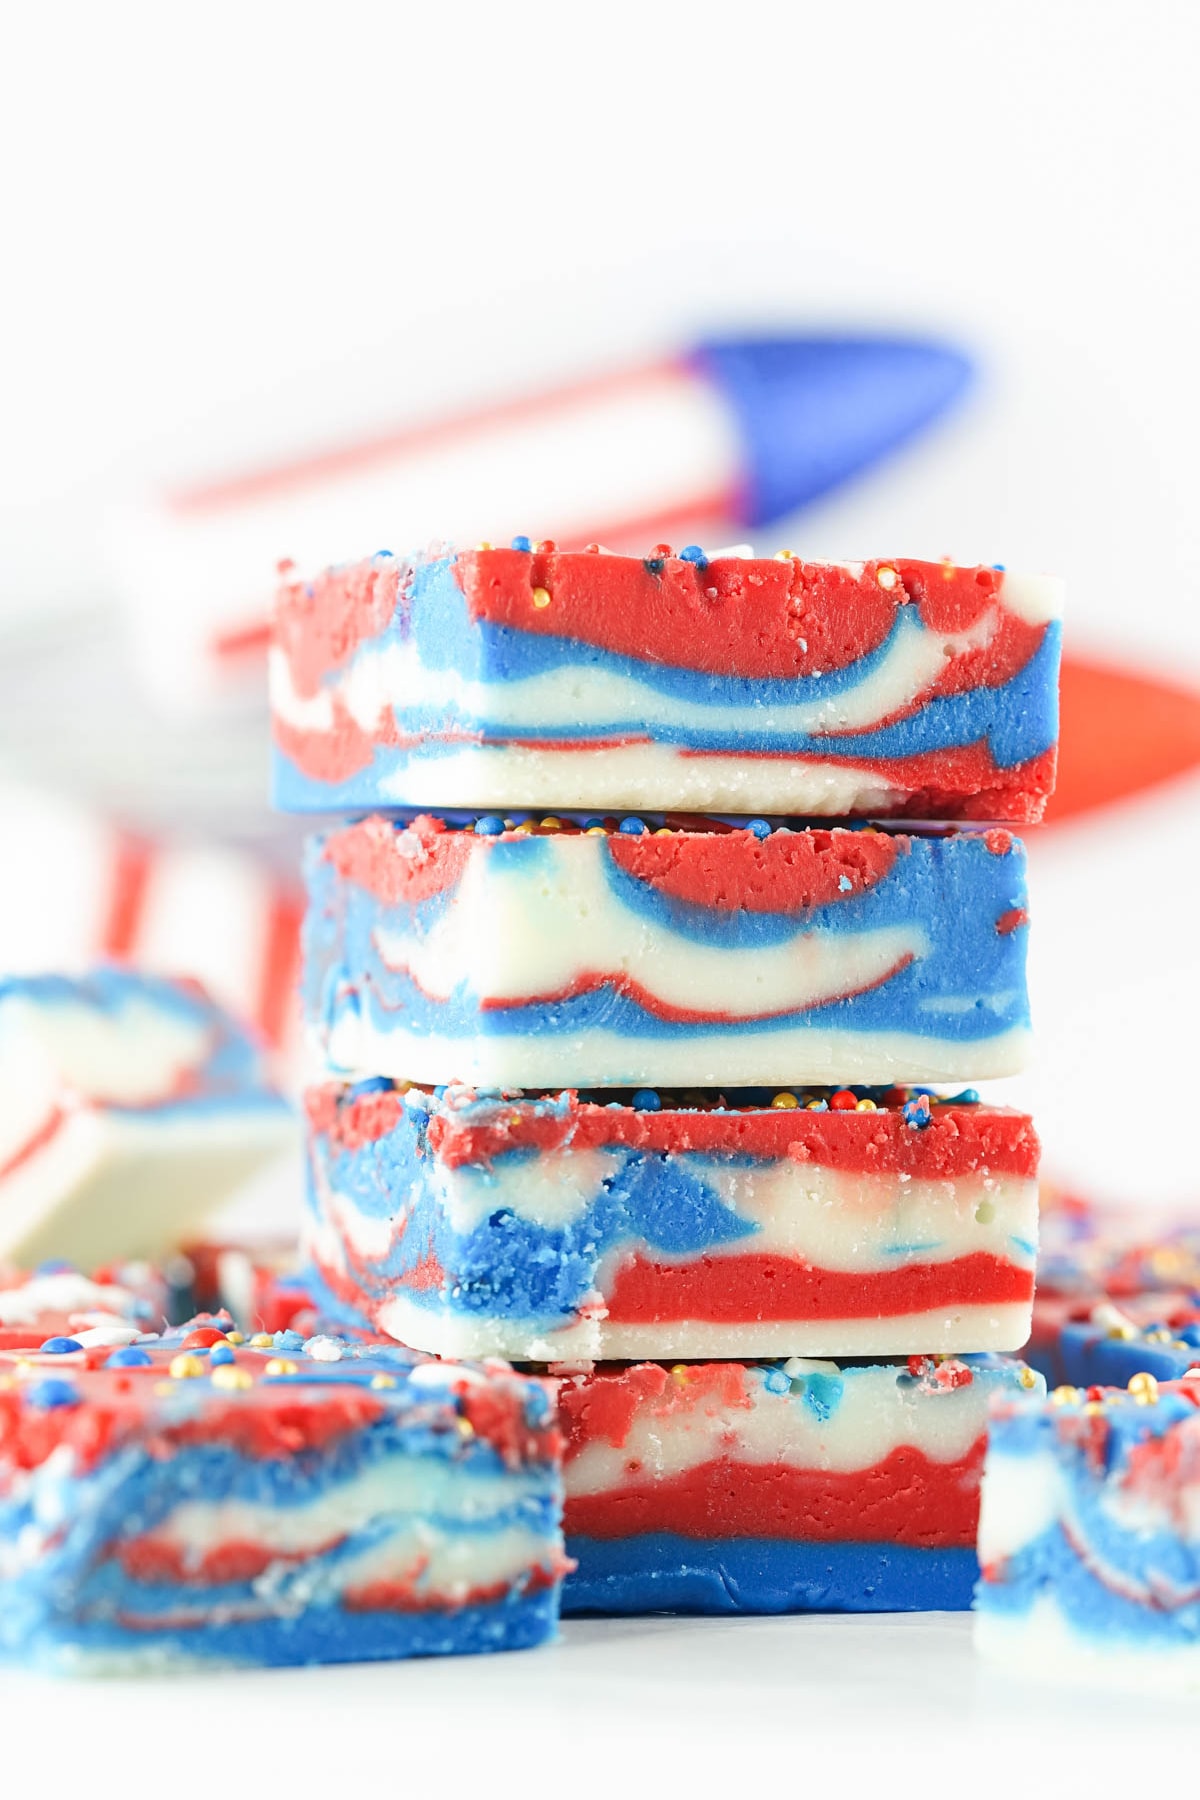
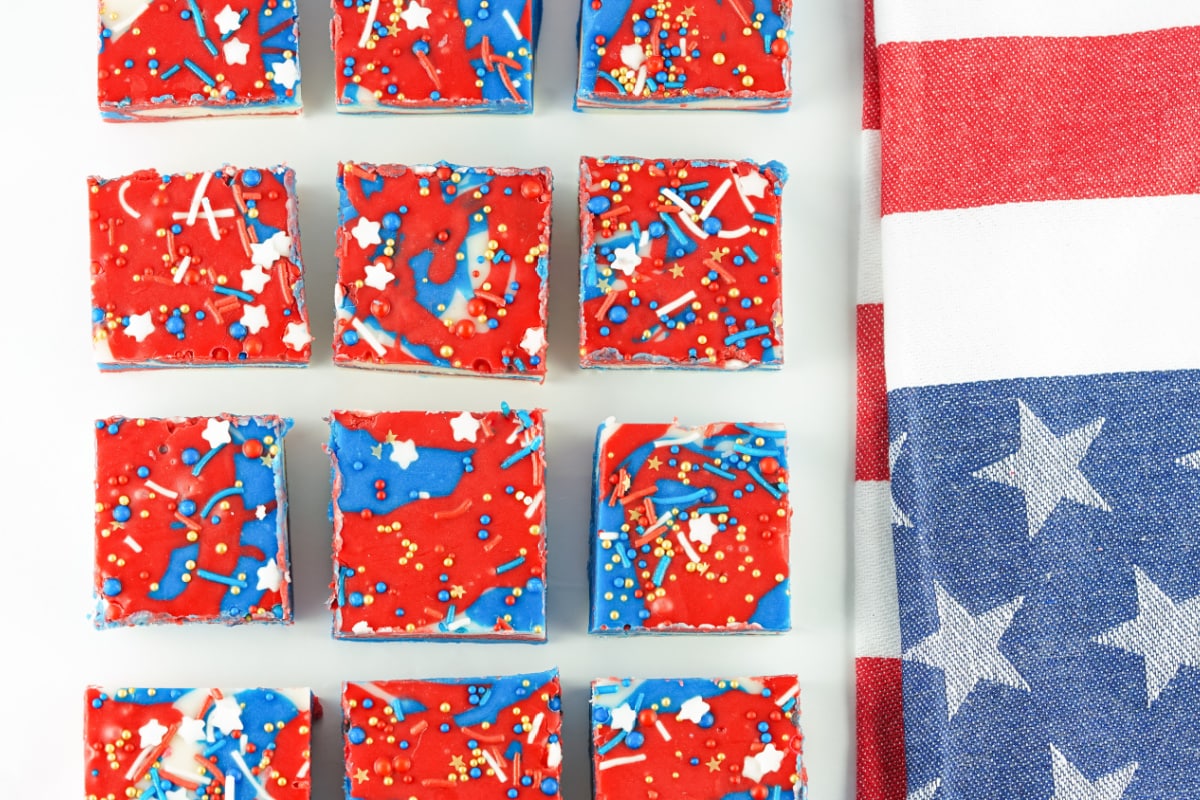
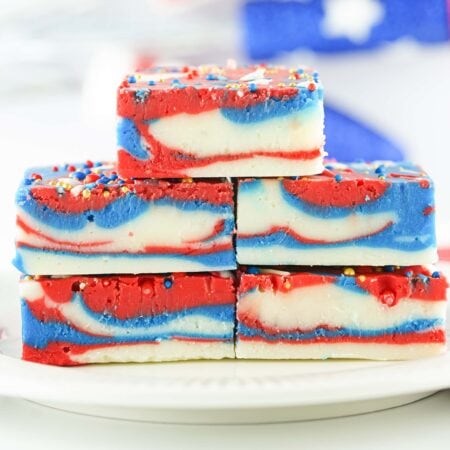
This 4th Of July Fudge is a creamy and delicious summer treat that features all the colors of Independence Day. It’s a great way to bring some patriotic cheer to any holiday party!
4th Of July Fudge
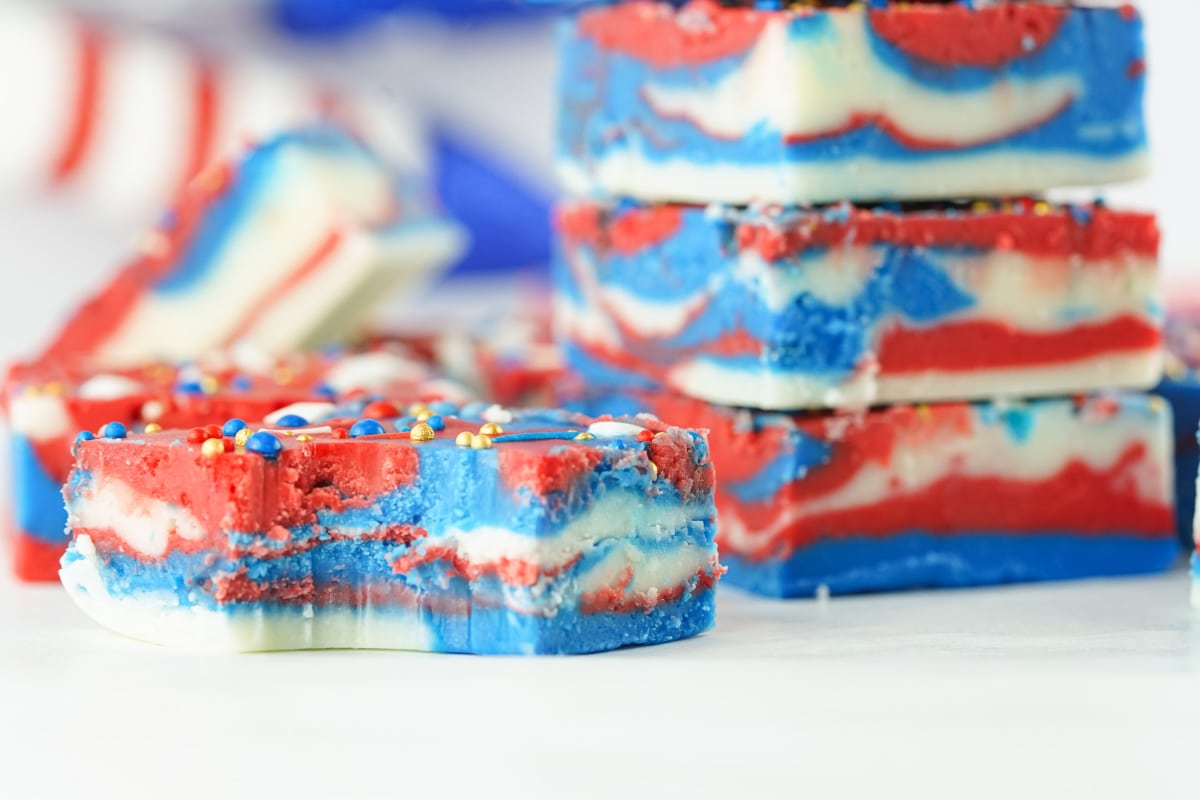
Looking for Fourth of July desserts that are easy, impressive, and incredibly delicious? If so, you’re going to love this 4th of July fudge. A rich vanilla fudge base is swirled with vibrant streaks of festive red and blue. Then it’s topped with patriotic sprinkles for a treat that will steal the spotlight on any dessert table.
Although this is a perfect dessert for a patriotic holiday like July 4th or Memorial Day, you can easily change the colors and the sprinkles to create different versions for other holidays or party themes. It’s a great party recipe, but also a terrific gift or just an easy dessert your family will love.
Give this decadent and creamy fudge a try this summer and prepare to impress your party guests. The fun, patriotic colors and incredible taste will have everyone asking for your recipe!
Why We Love This Recipe
Festive – The vibrant red, white, and blue swirls of color make this an eye-catching and fun treat that’ll be a big hit at any 4th of July or Memorial Day celebration.
Versatile – Change up the colors and sprinkles to adapt this no-bake recipe for any holiday or special occasion. You could even do the complete opposite by leaving out the food coloring, replacing the red candy melts with white chocolate, and make white chocolate fudge.
Rich and Delicious – With its rich and creamy texture and sweet vanilla flavor, this homemade fudge is the perfect treat to satisfy any sweet tooth in a hurry.
Easy – There are just a few simple ingredients in this easy fudge recipe. You don’t need to mess with a candy thermometer, and even better, you don’t even need to turn on the oven!
Ingredients
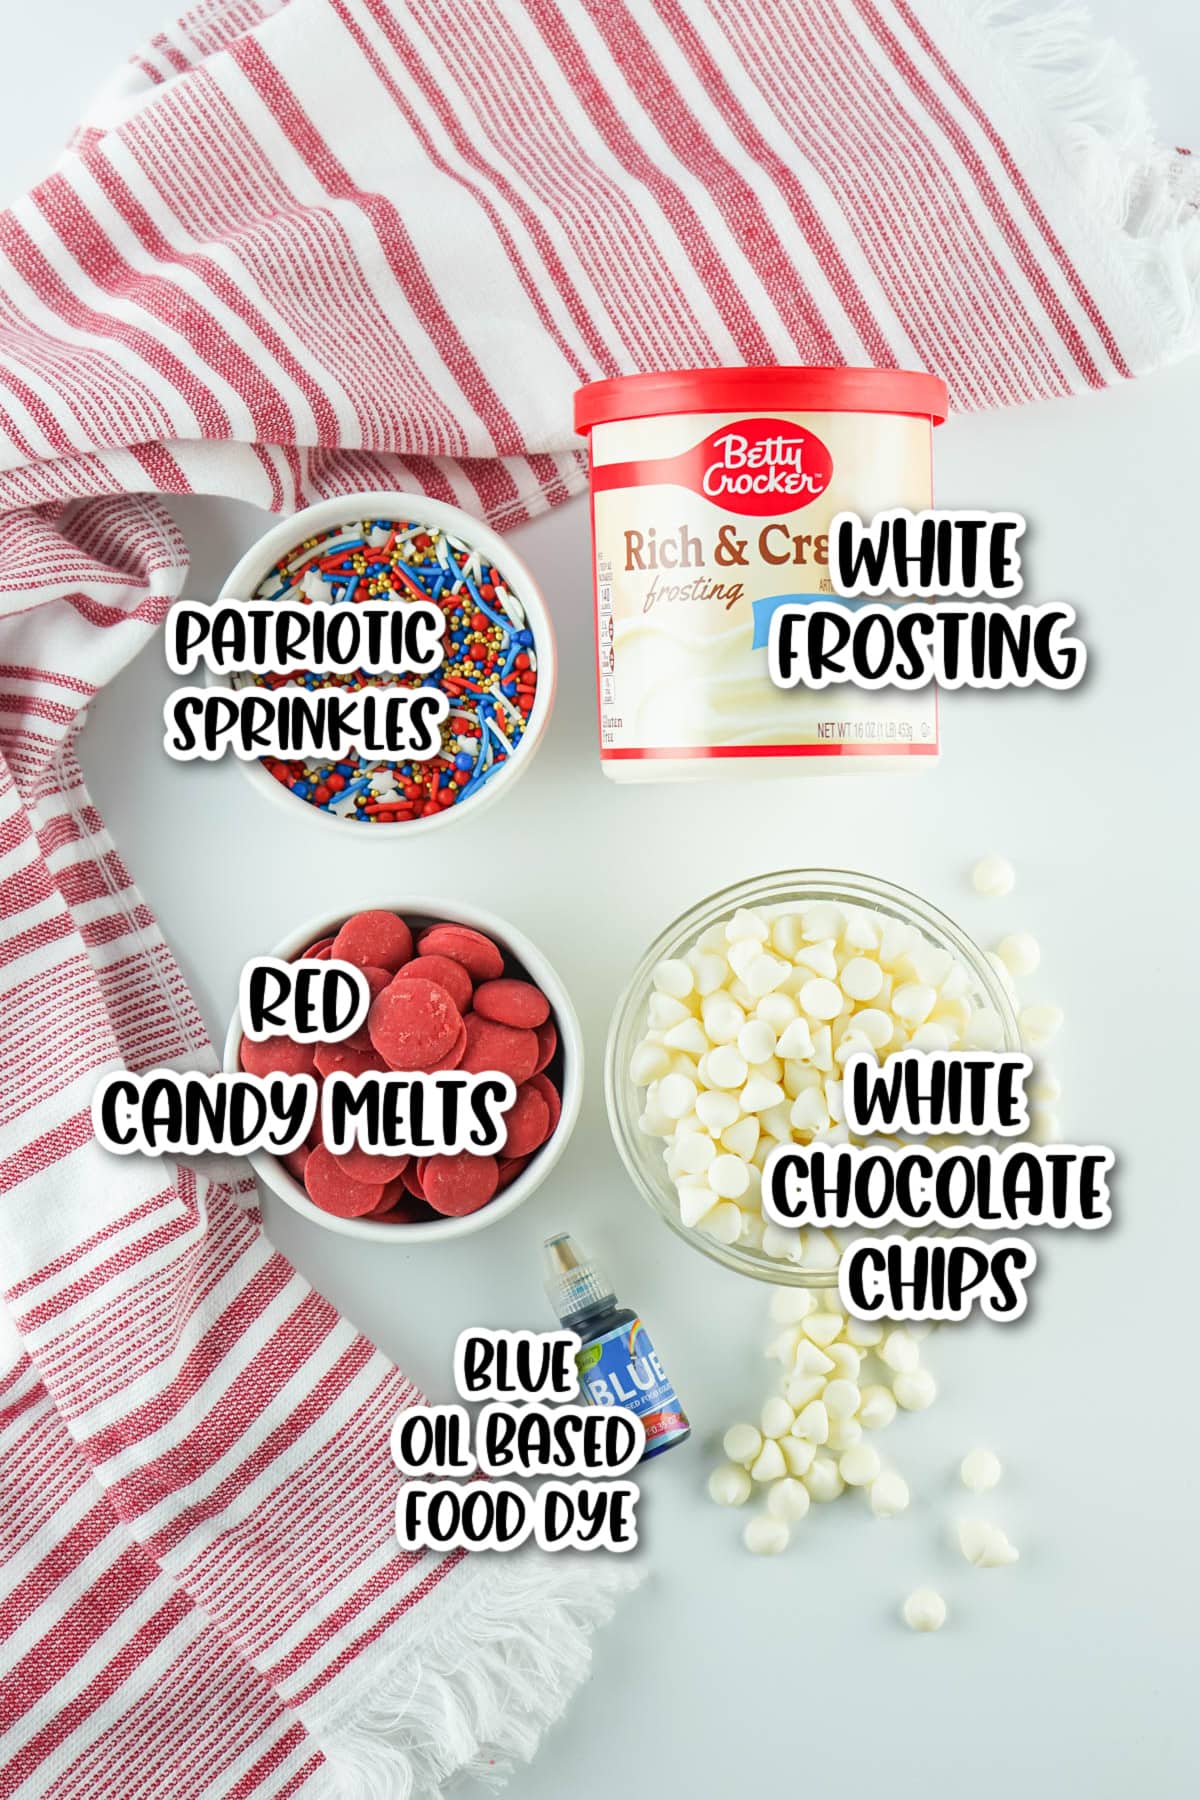
- White frosting (16 ounces each)
- White chocolate chips (or white candy melts)
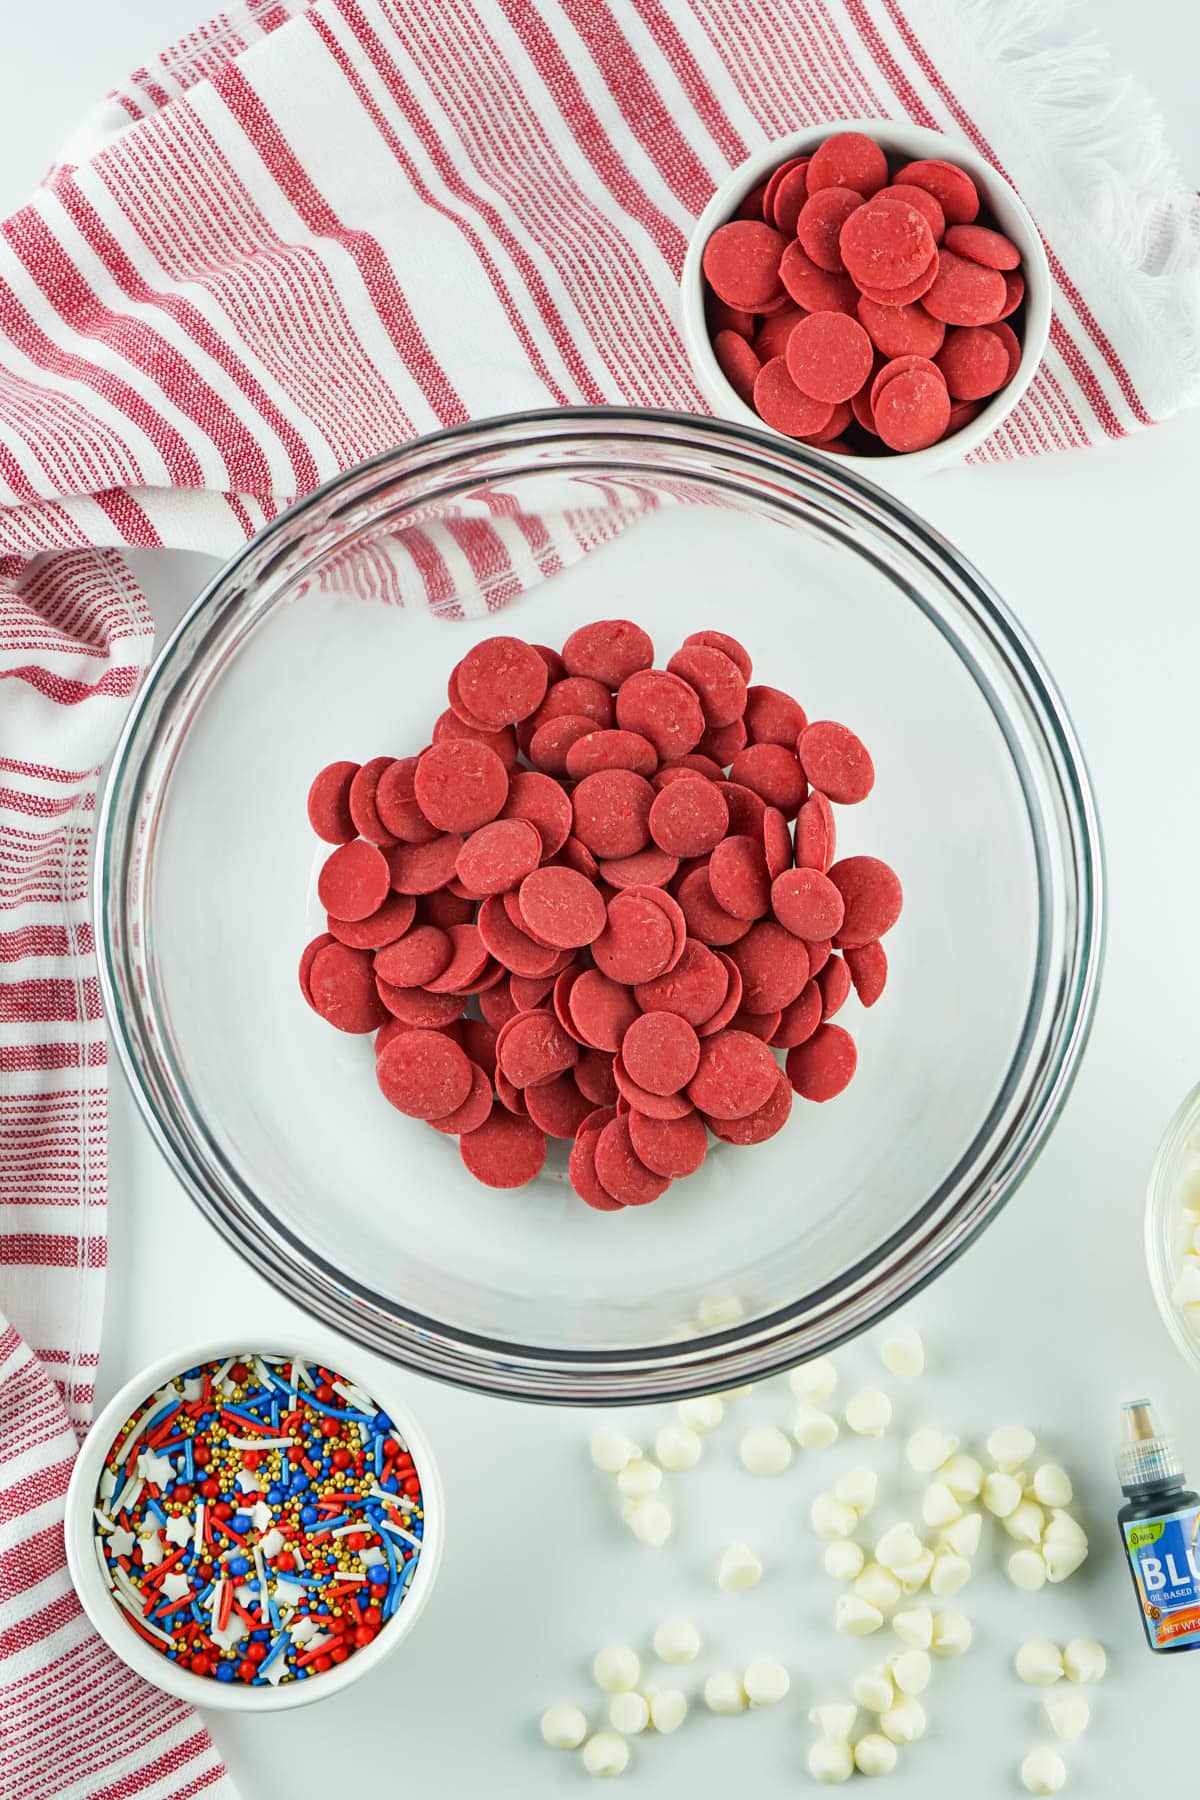
- Red candy melts
- Blue food coloring (oil-based is best but you can also use gel food coloring)
- Red, white and blue sprinkles
How To Make 4th of July Fudge
For The White Layer
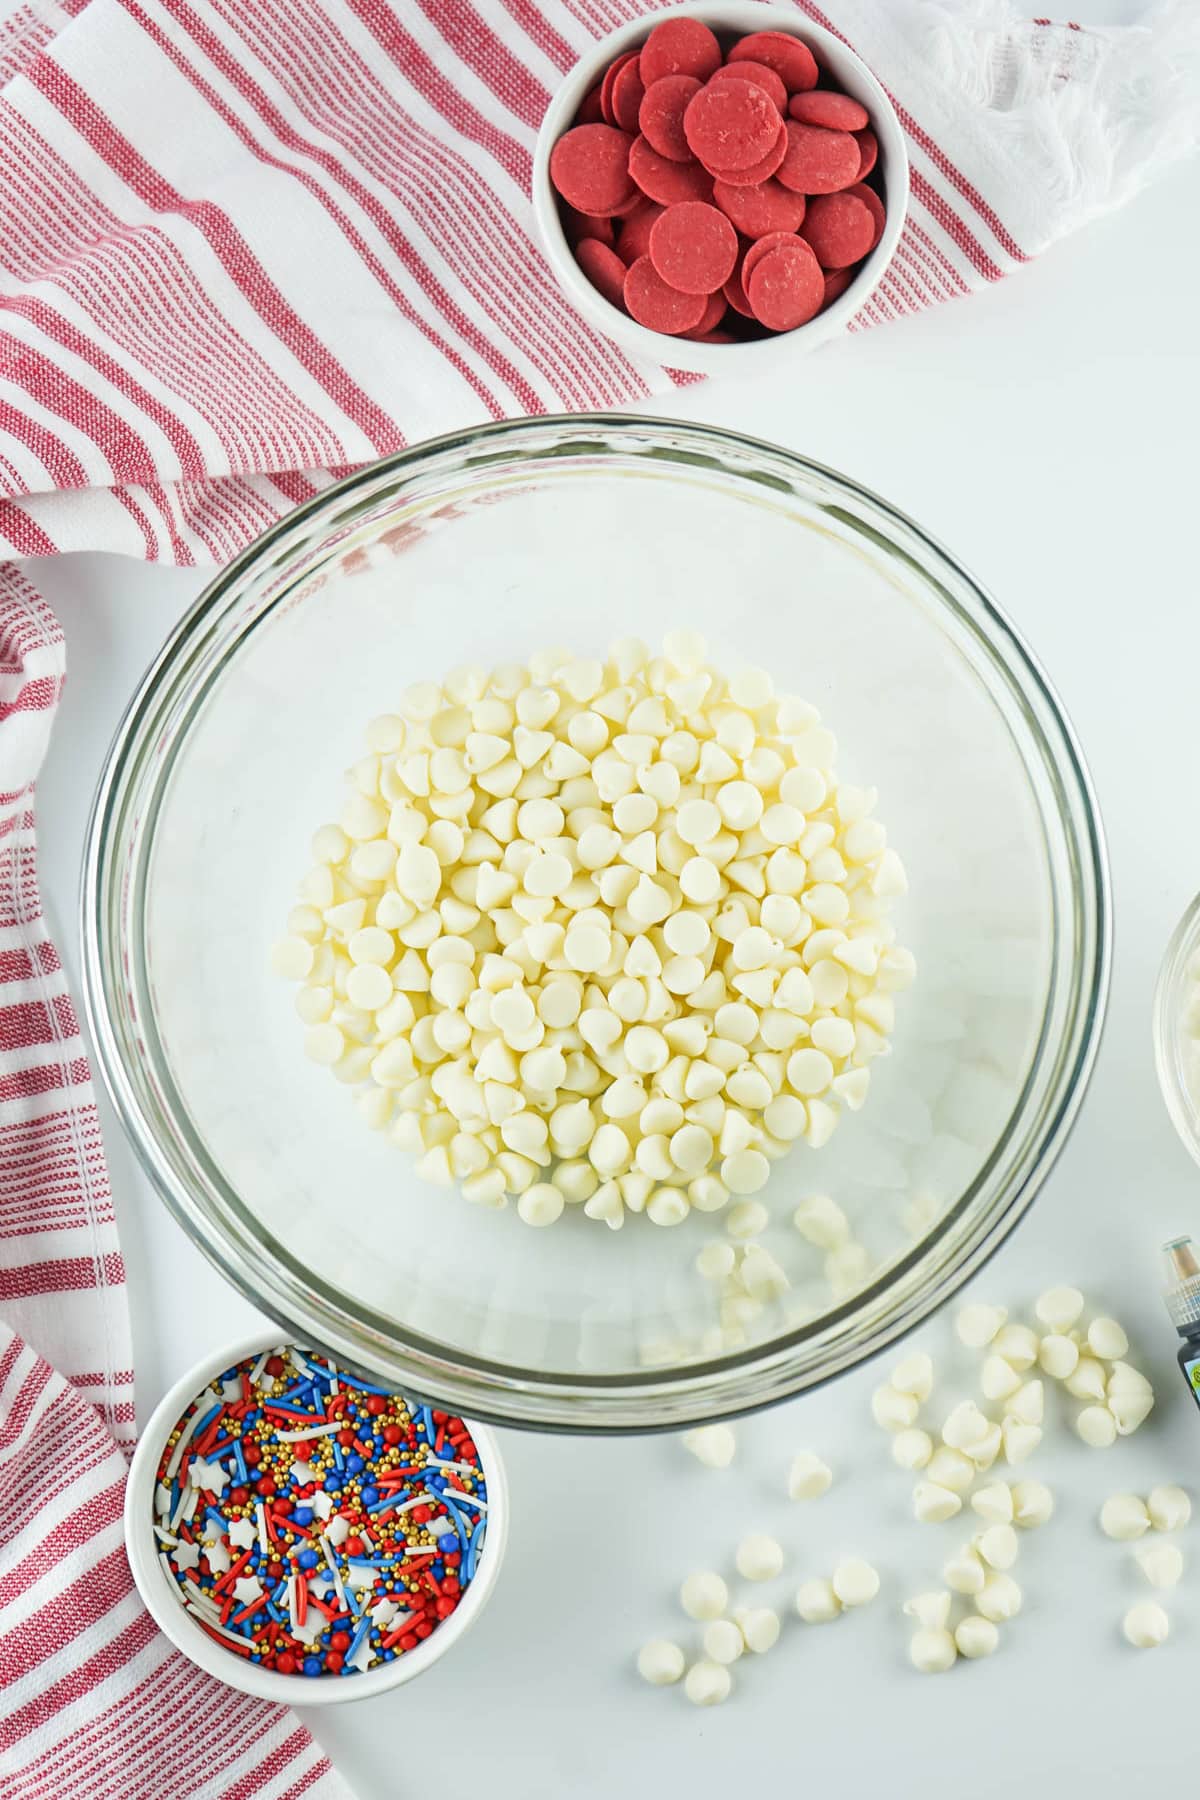
Step 1: Line an 8×8 baking dish with parchment paper or spray with non-stick cooking spray and set aside.
Step 2: Place half of the white chocolate chips in a microwave-safe bowl and microwave at 50% power in 30 second intervals. Continue for 2-3 minutes, stirring with a spatula in between each interval until the chocolate is creamy and smooth.
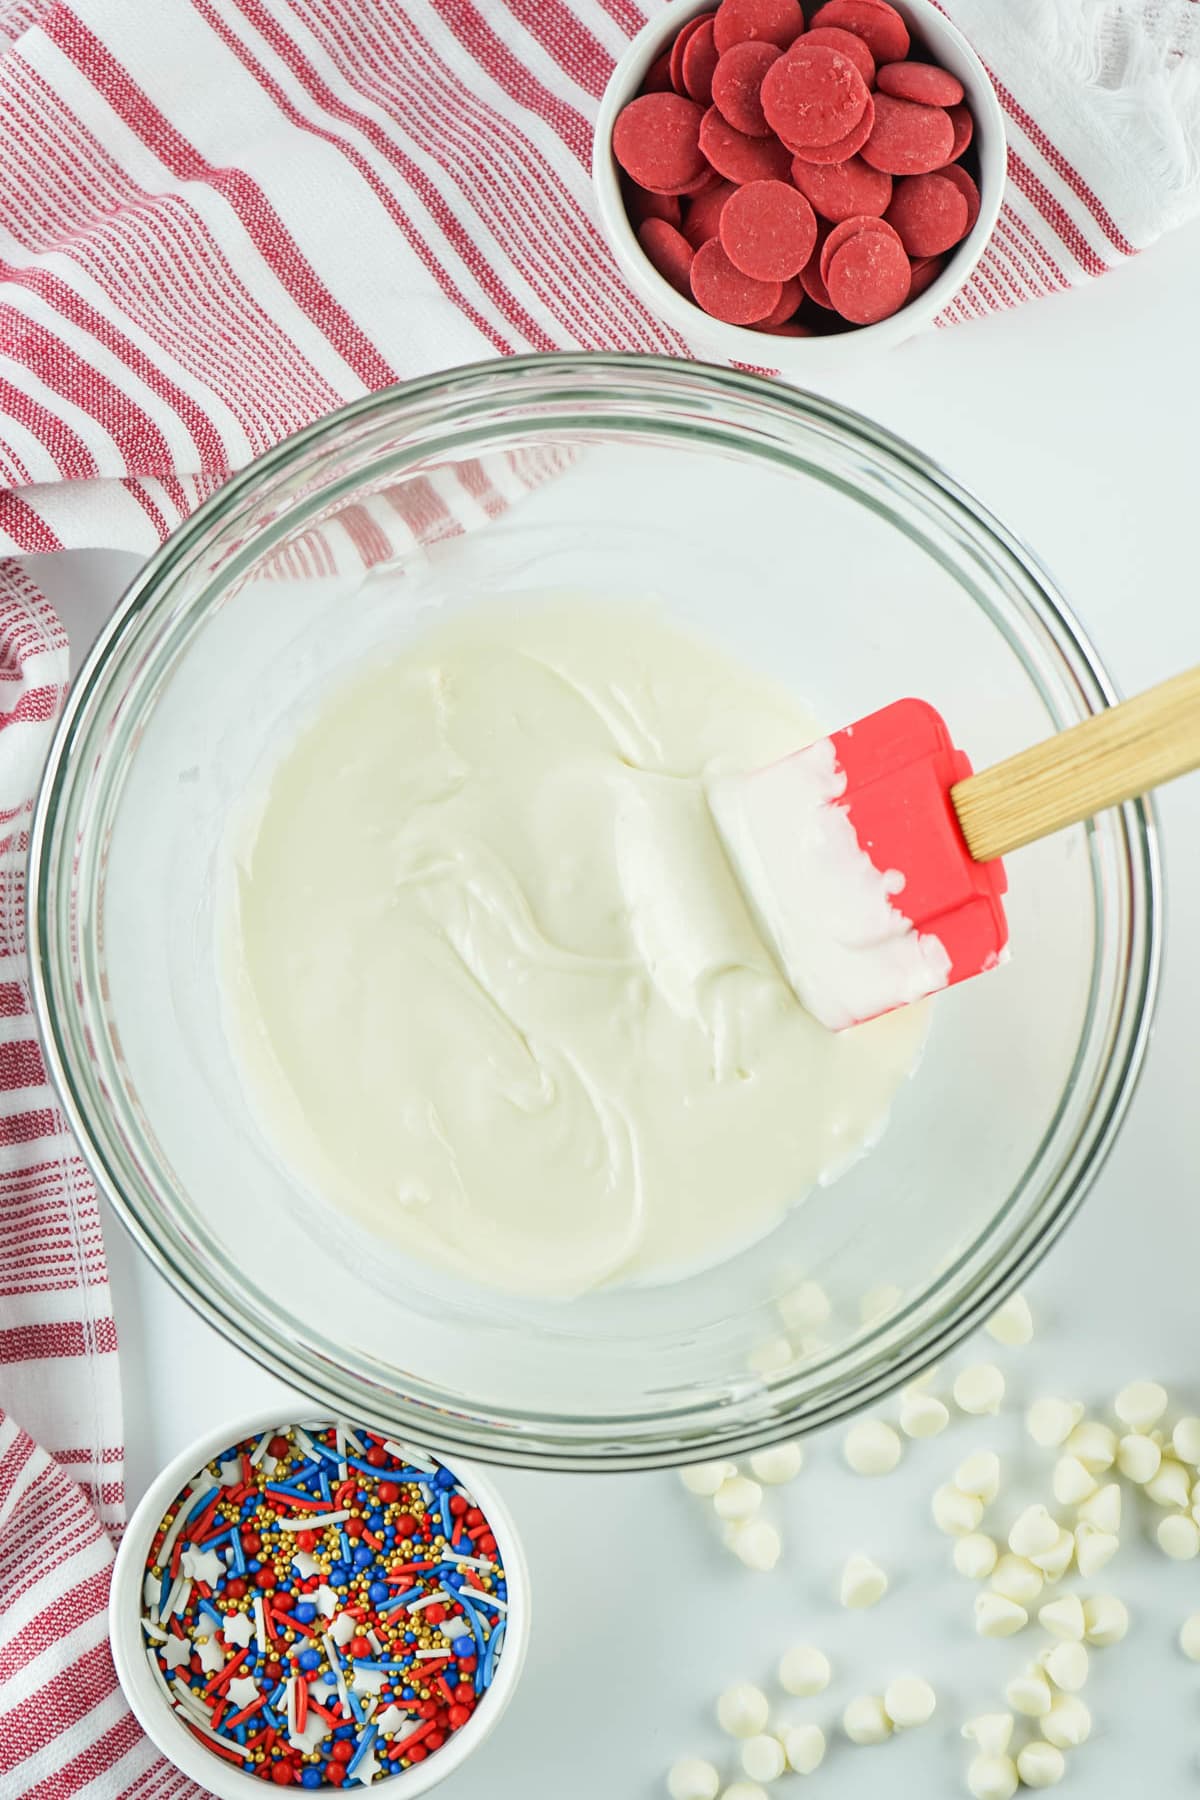
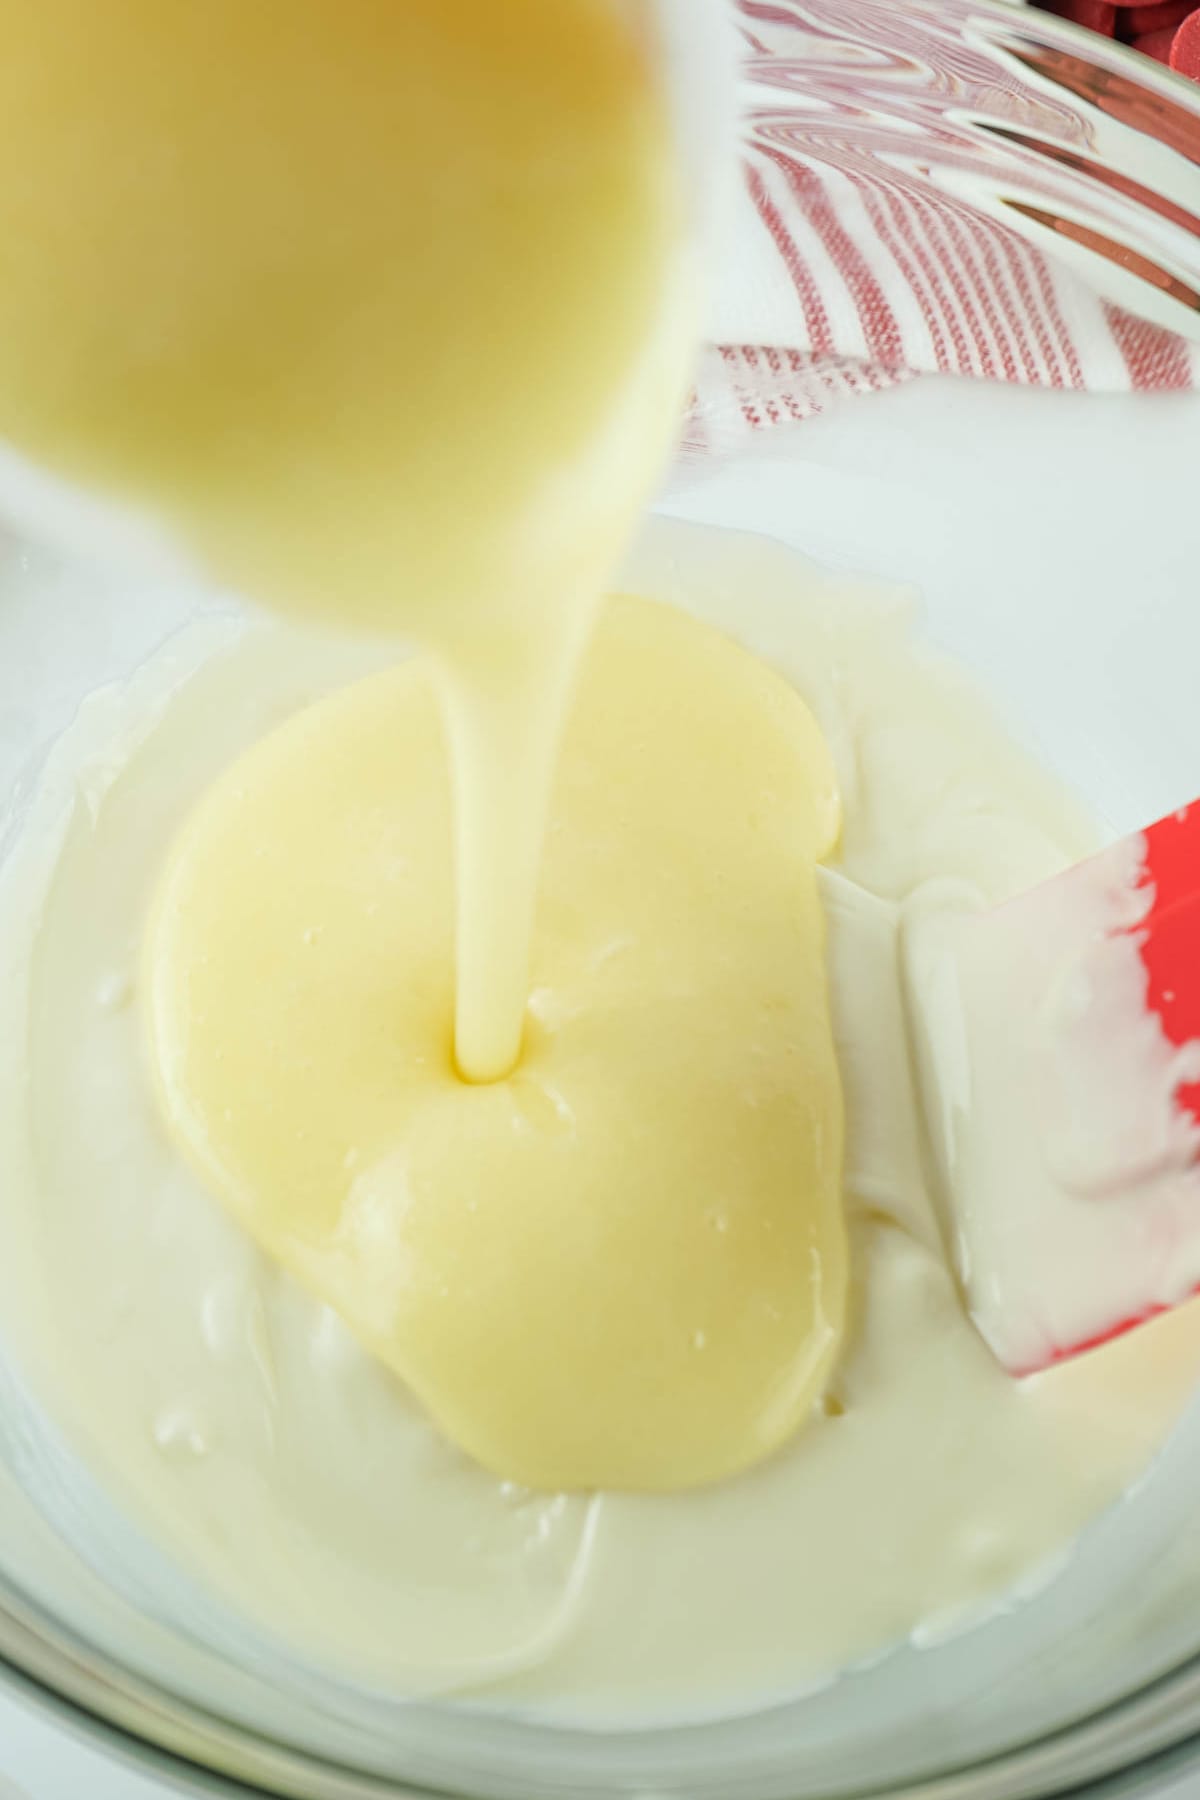
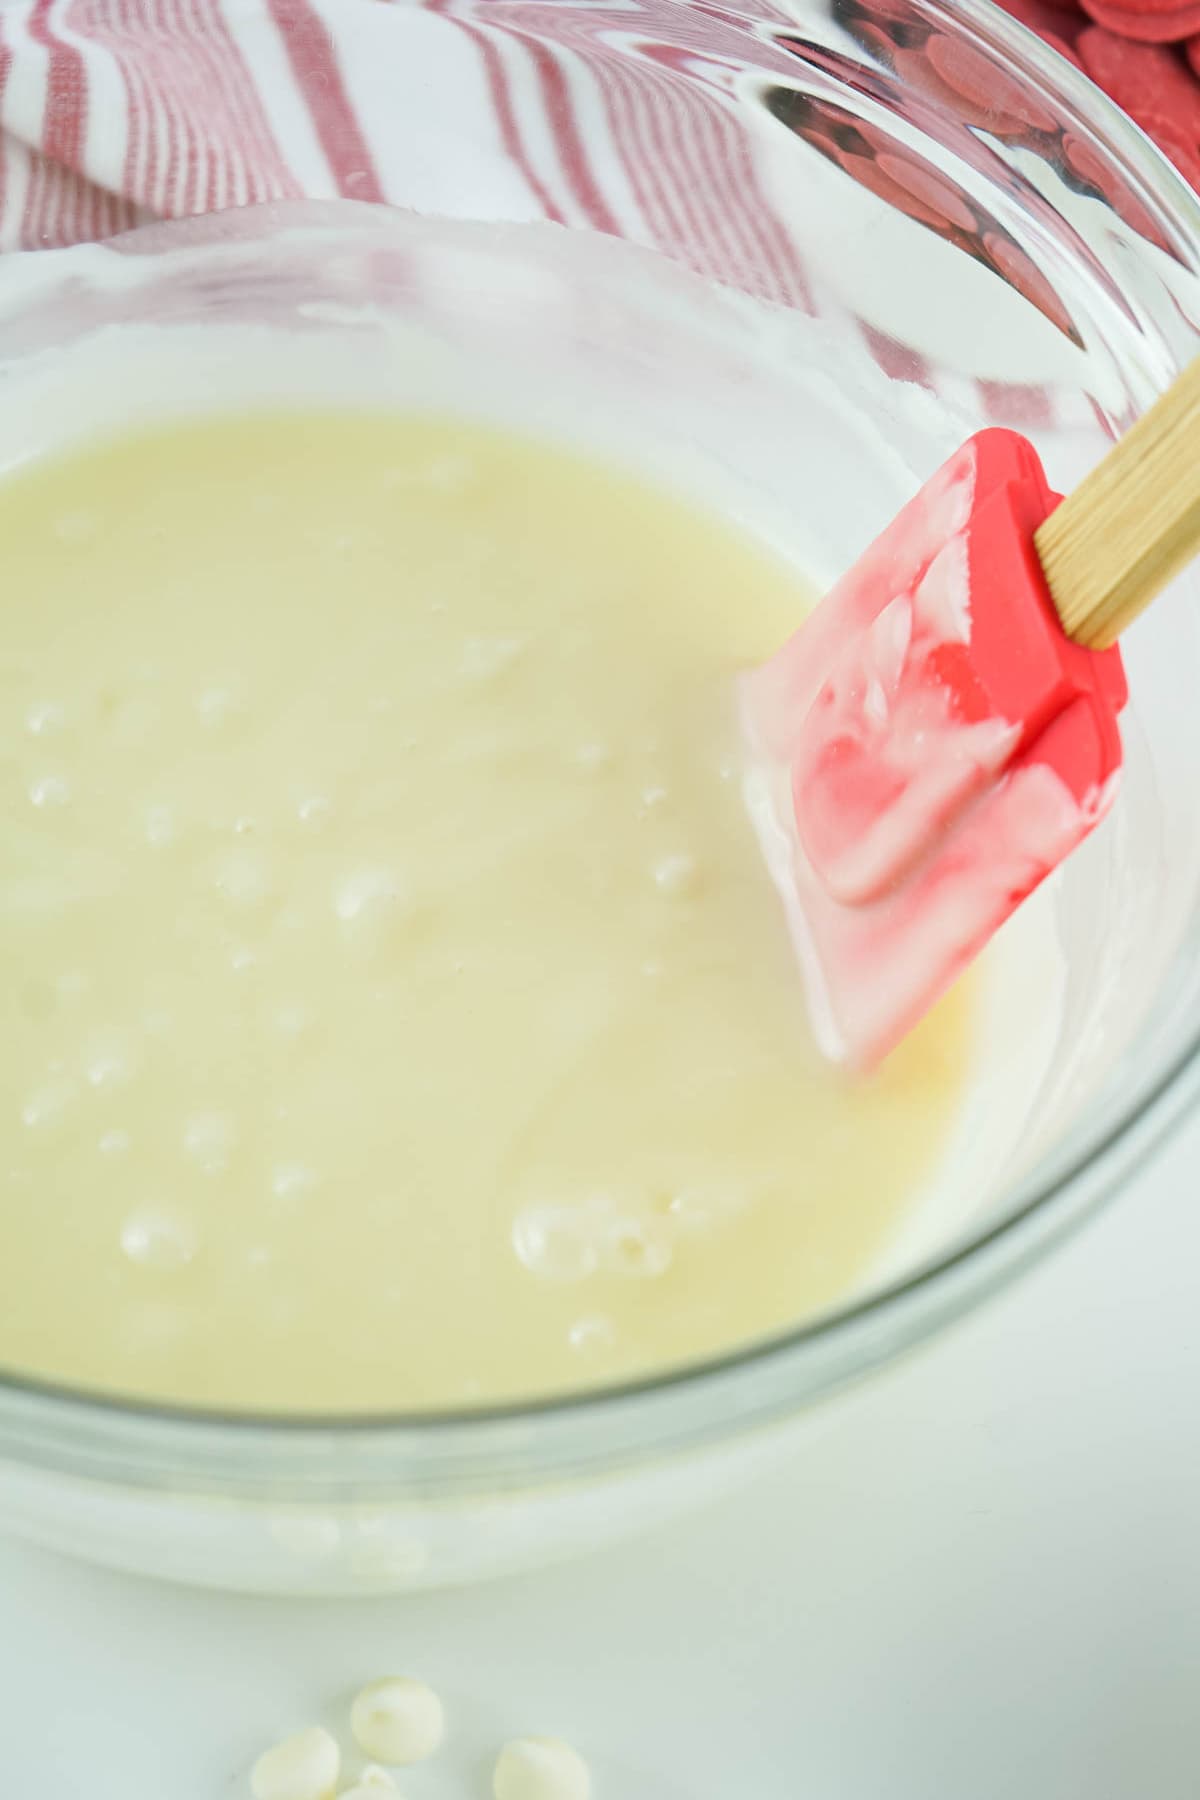
Step 3: Remove the lid and foil from one of the frosting containers. Place it in the microwave and heat on high for 1 minute.
Step 4: Pour ⅔ of the melted frosting into the bowl of melted white chocolate chips. Mix white fudge until fully combined, then set aside.
For The Blue Layer
Step 1: Place the other half of the white chocolate chips in a separate mixing bowl. Repeat the melting process in the microwave.
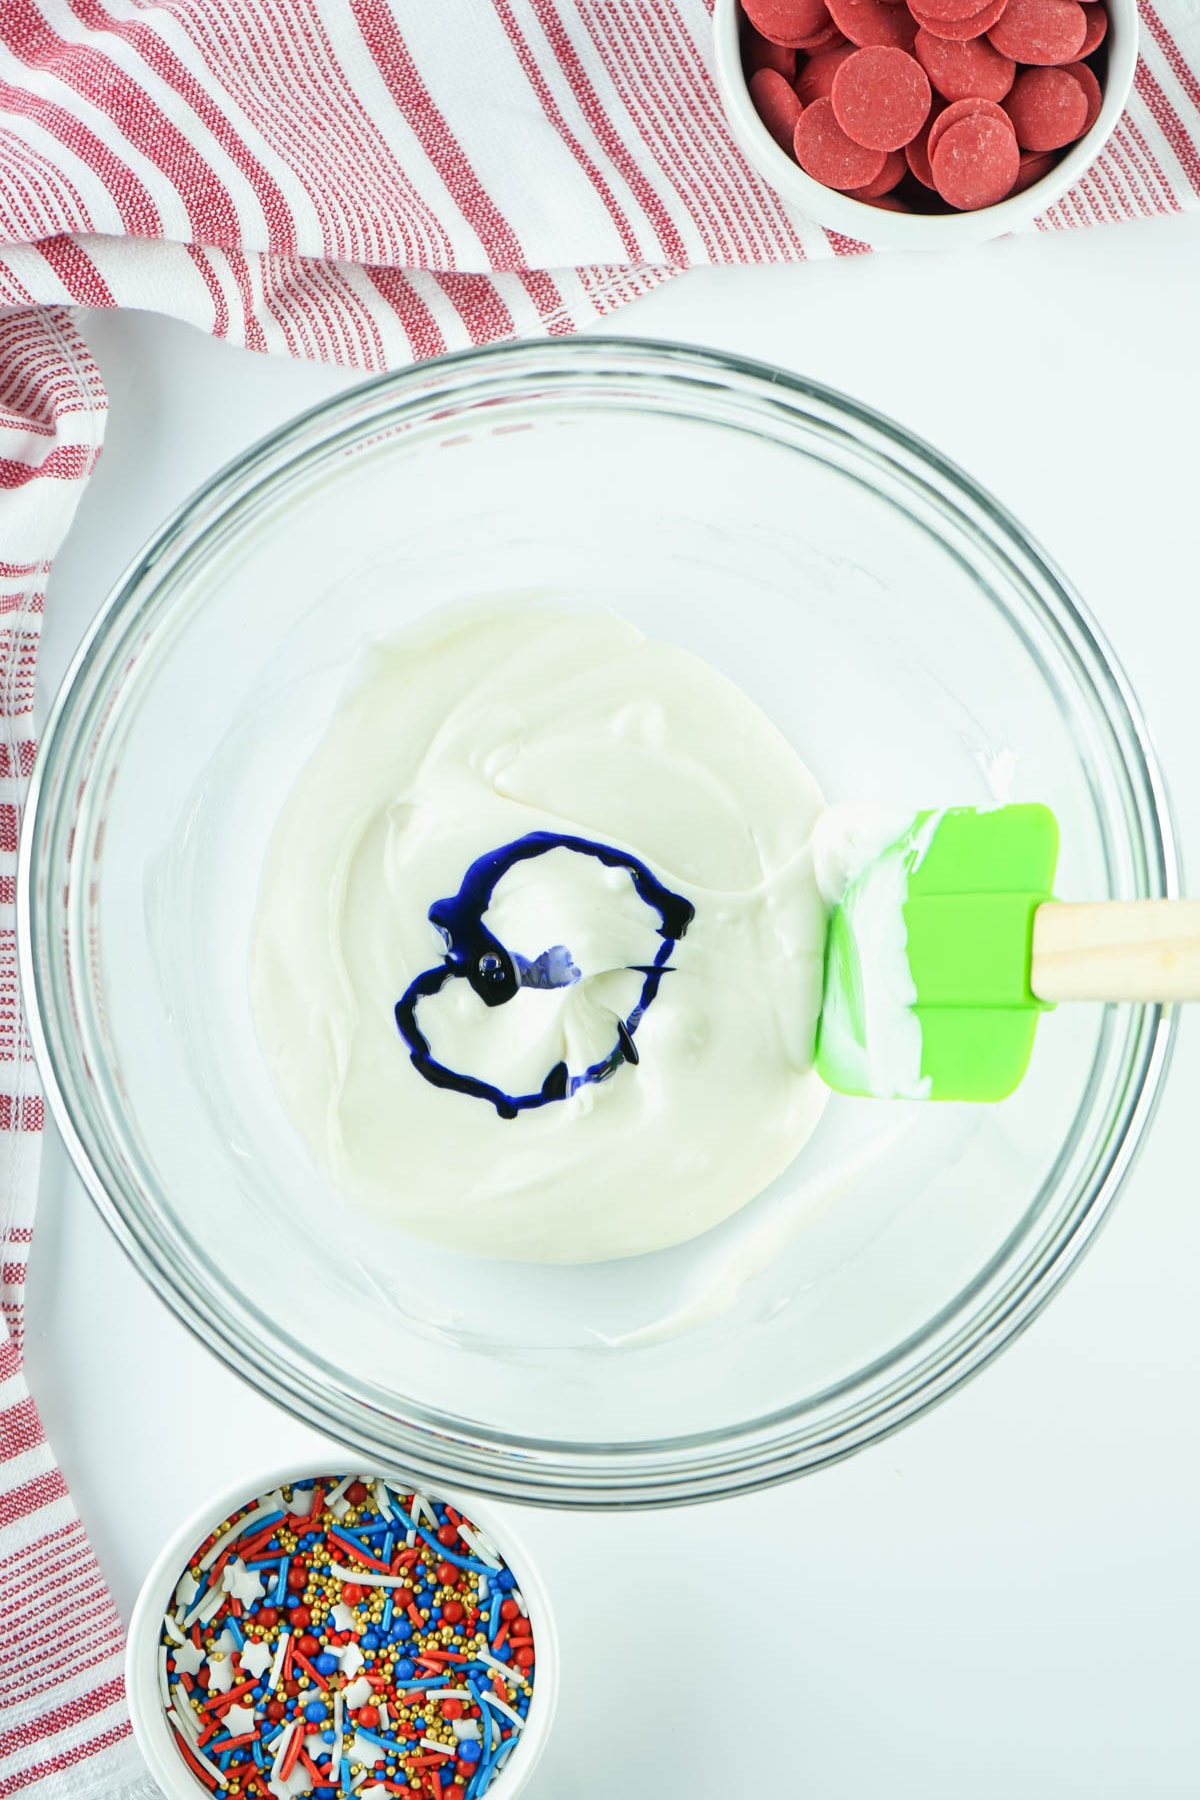
Step 2: Add a few drops of the blue food coloring to the white chocolate mixture, stirring until no more streaks of white appear. For a darker color, add a bit more dye, a little at a time until you have your desired shade of blue.
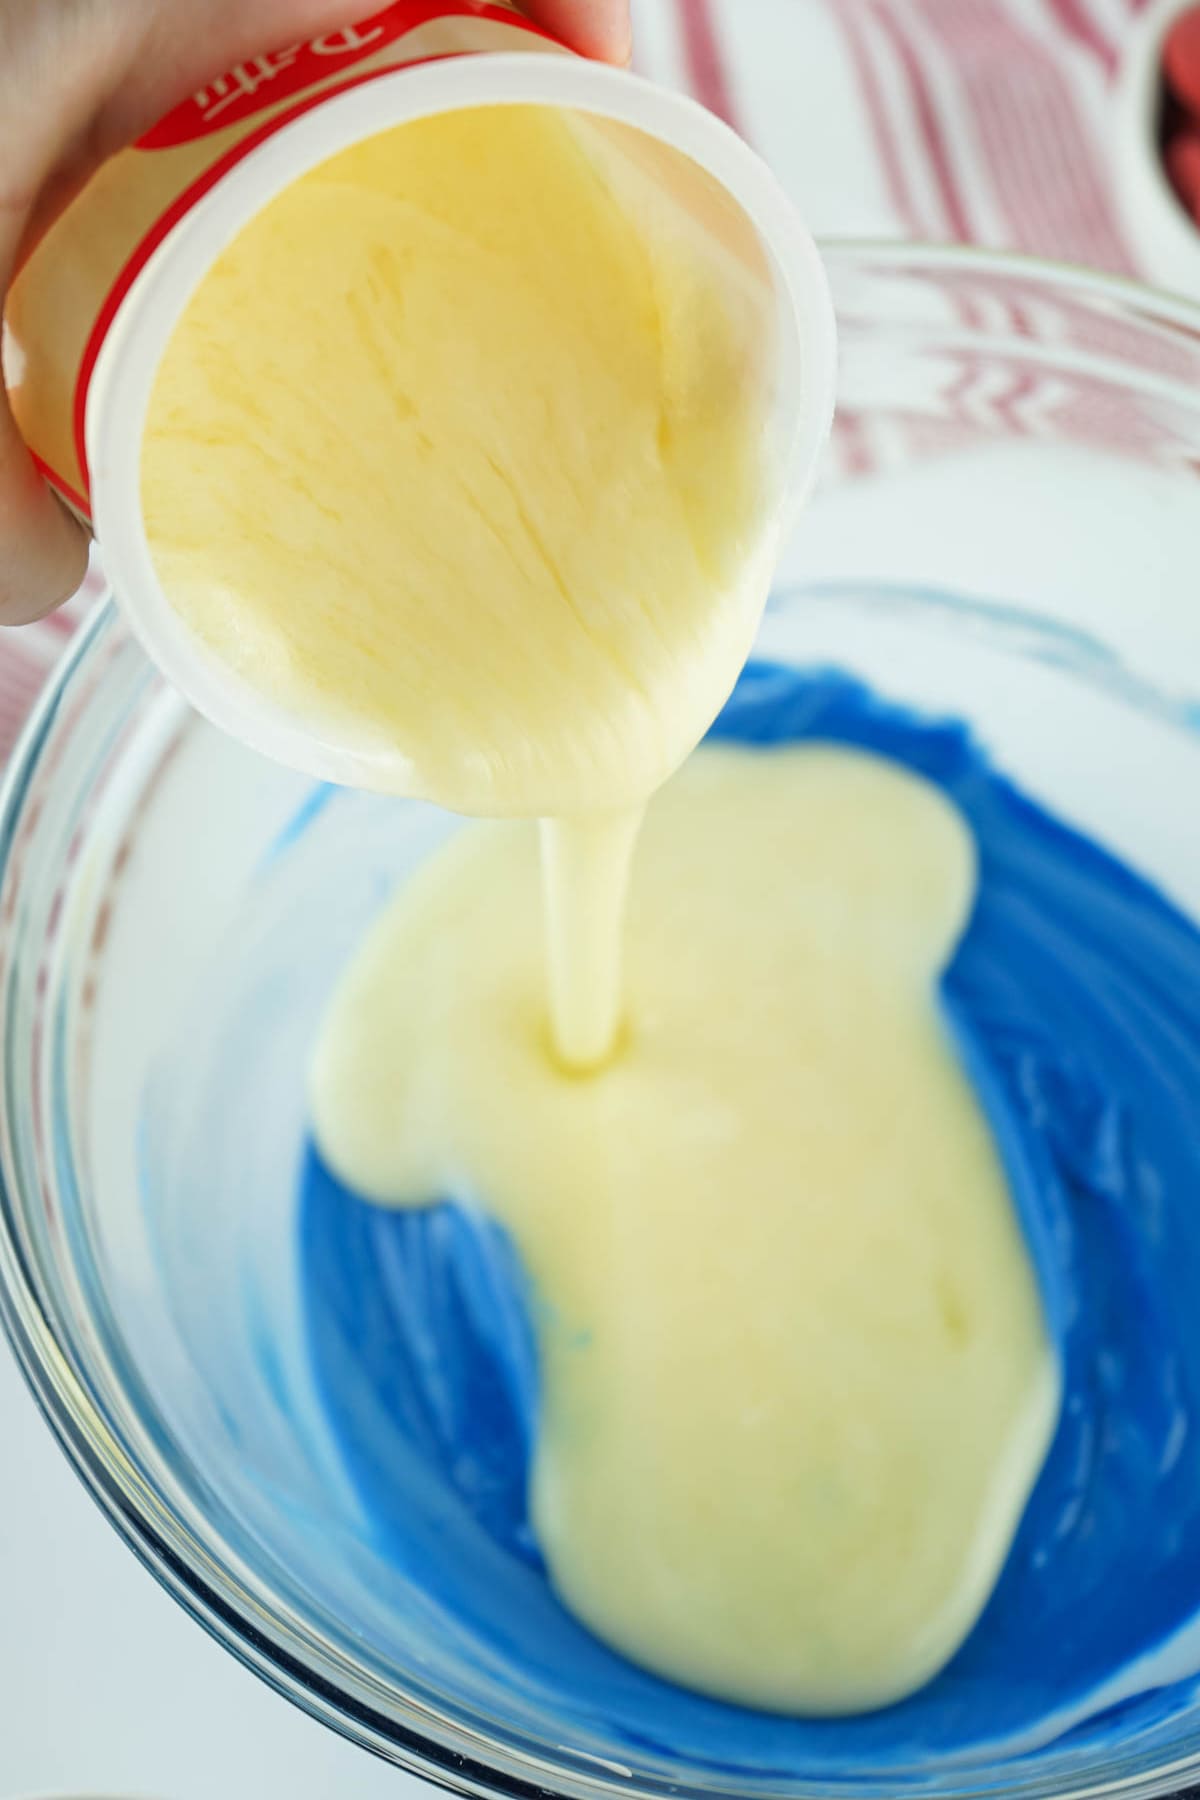
Step 3: Remove the lid and foil from the second can of frosting and microwave on high for one minute. Immediately add ⅔ of the frosting to the blue chocolate mixture and stir until well combined. Set aside.
For The Red Layer
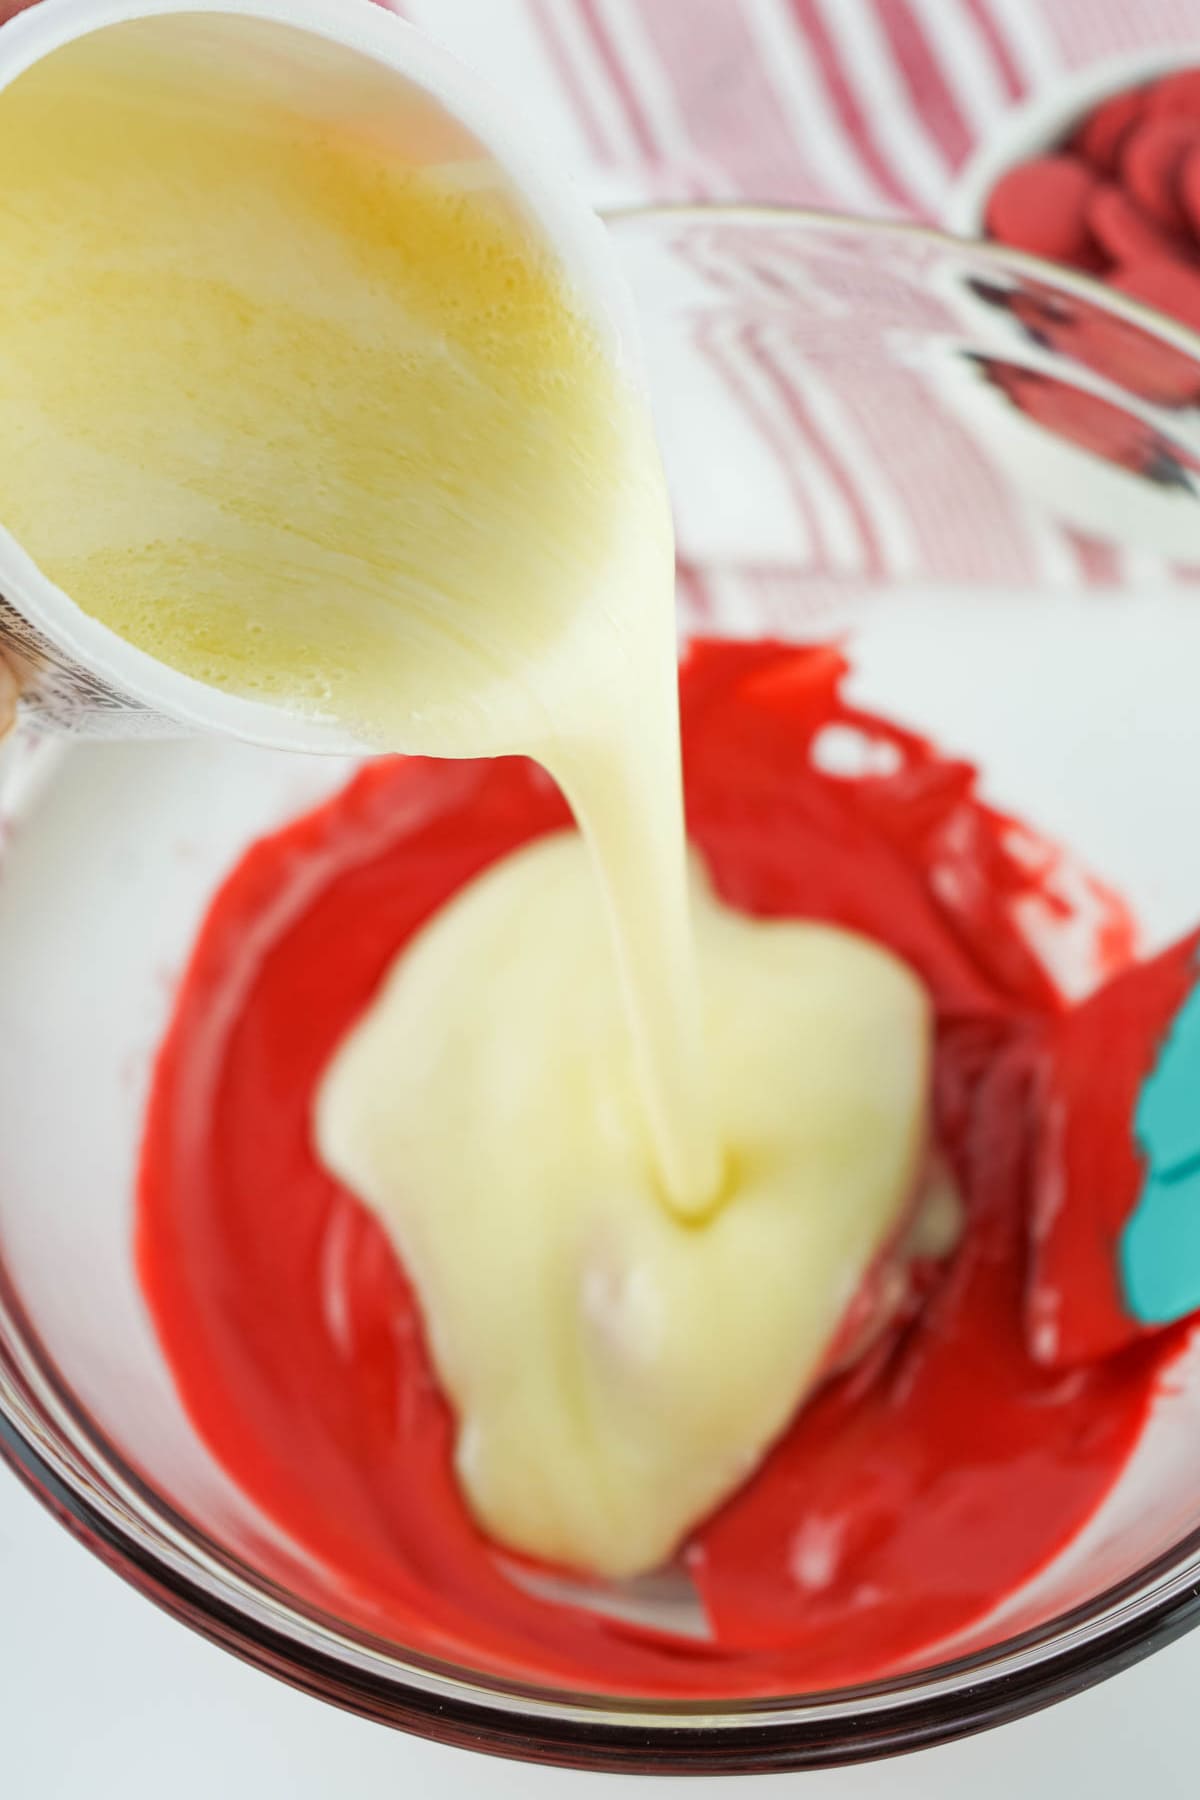
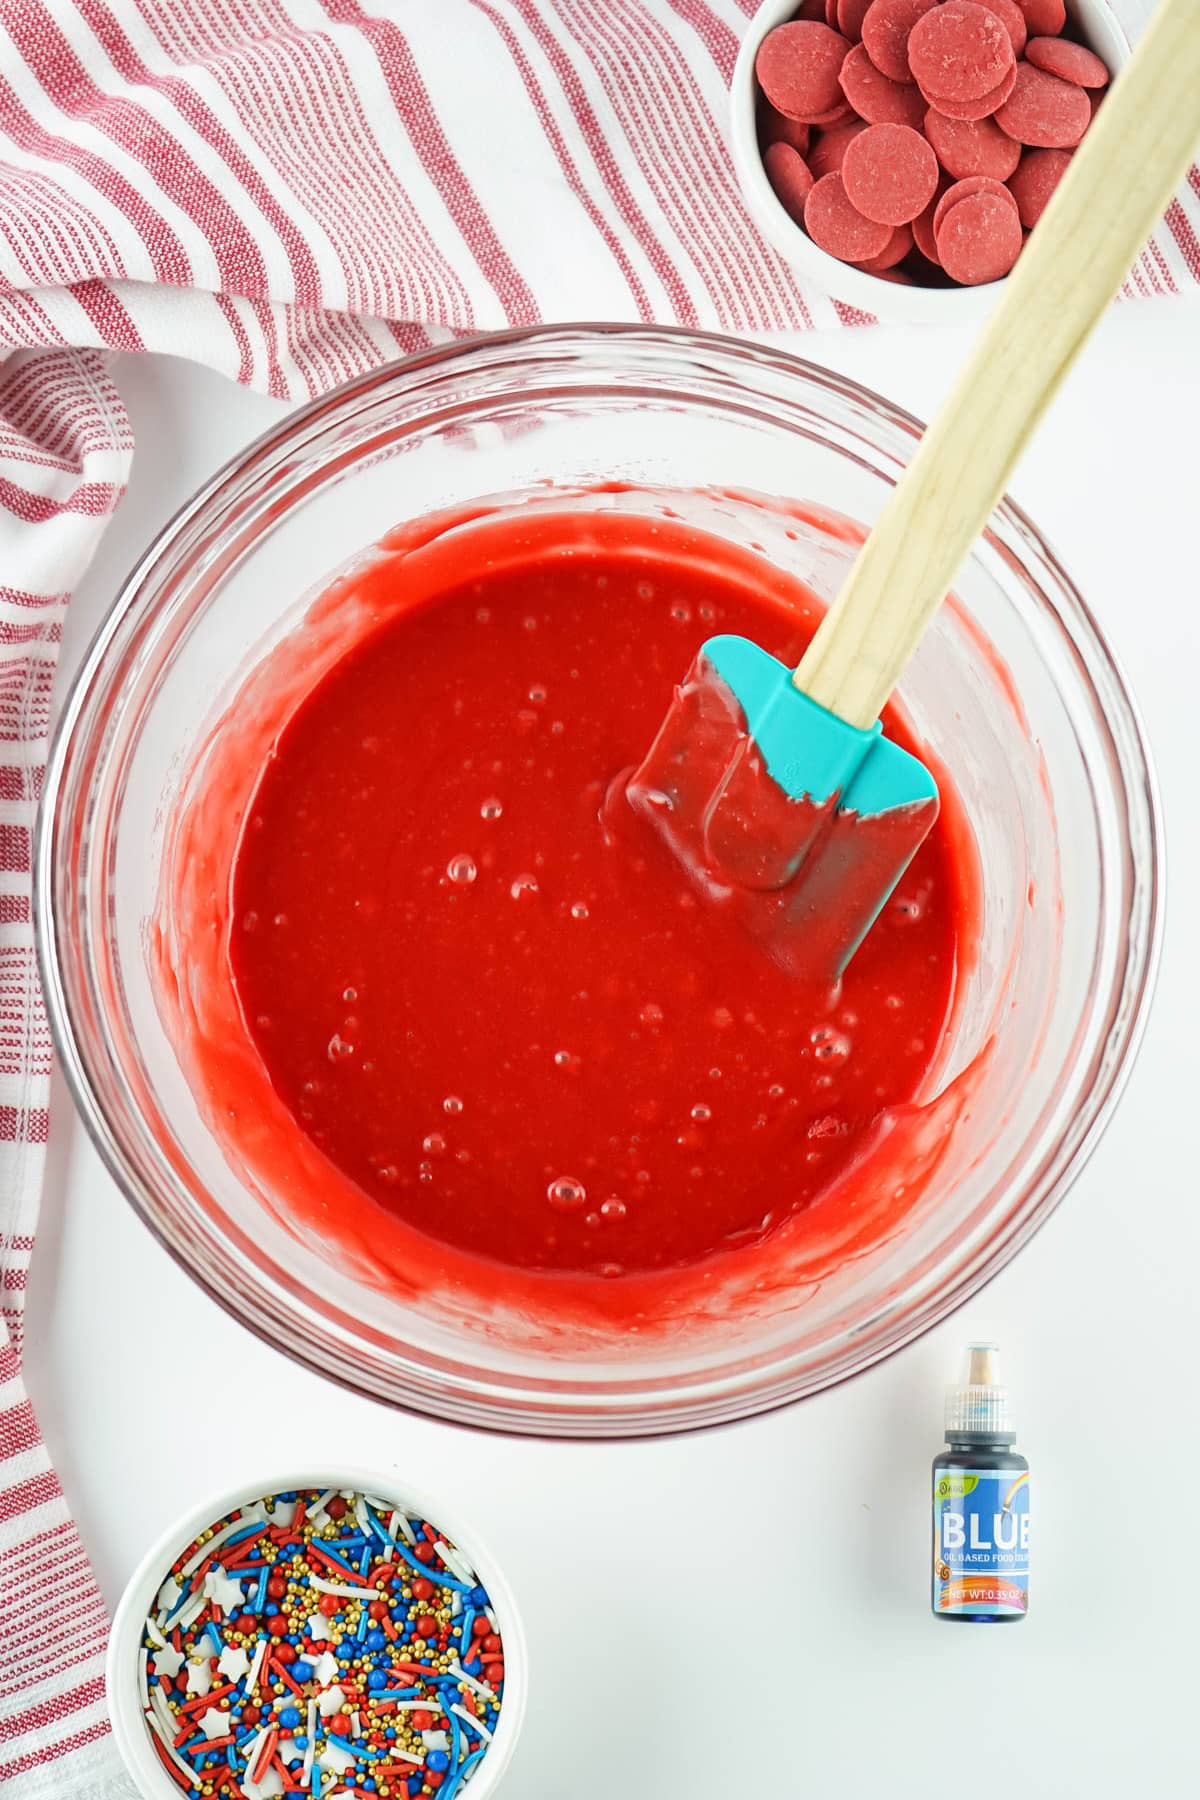
Step 1: Place the red candy melts in another mixing bowl. Melt them in the microwave, just as you did the chocolate chips.
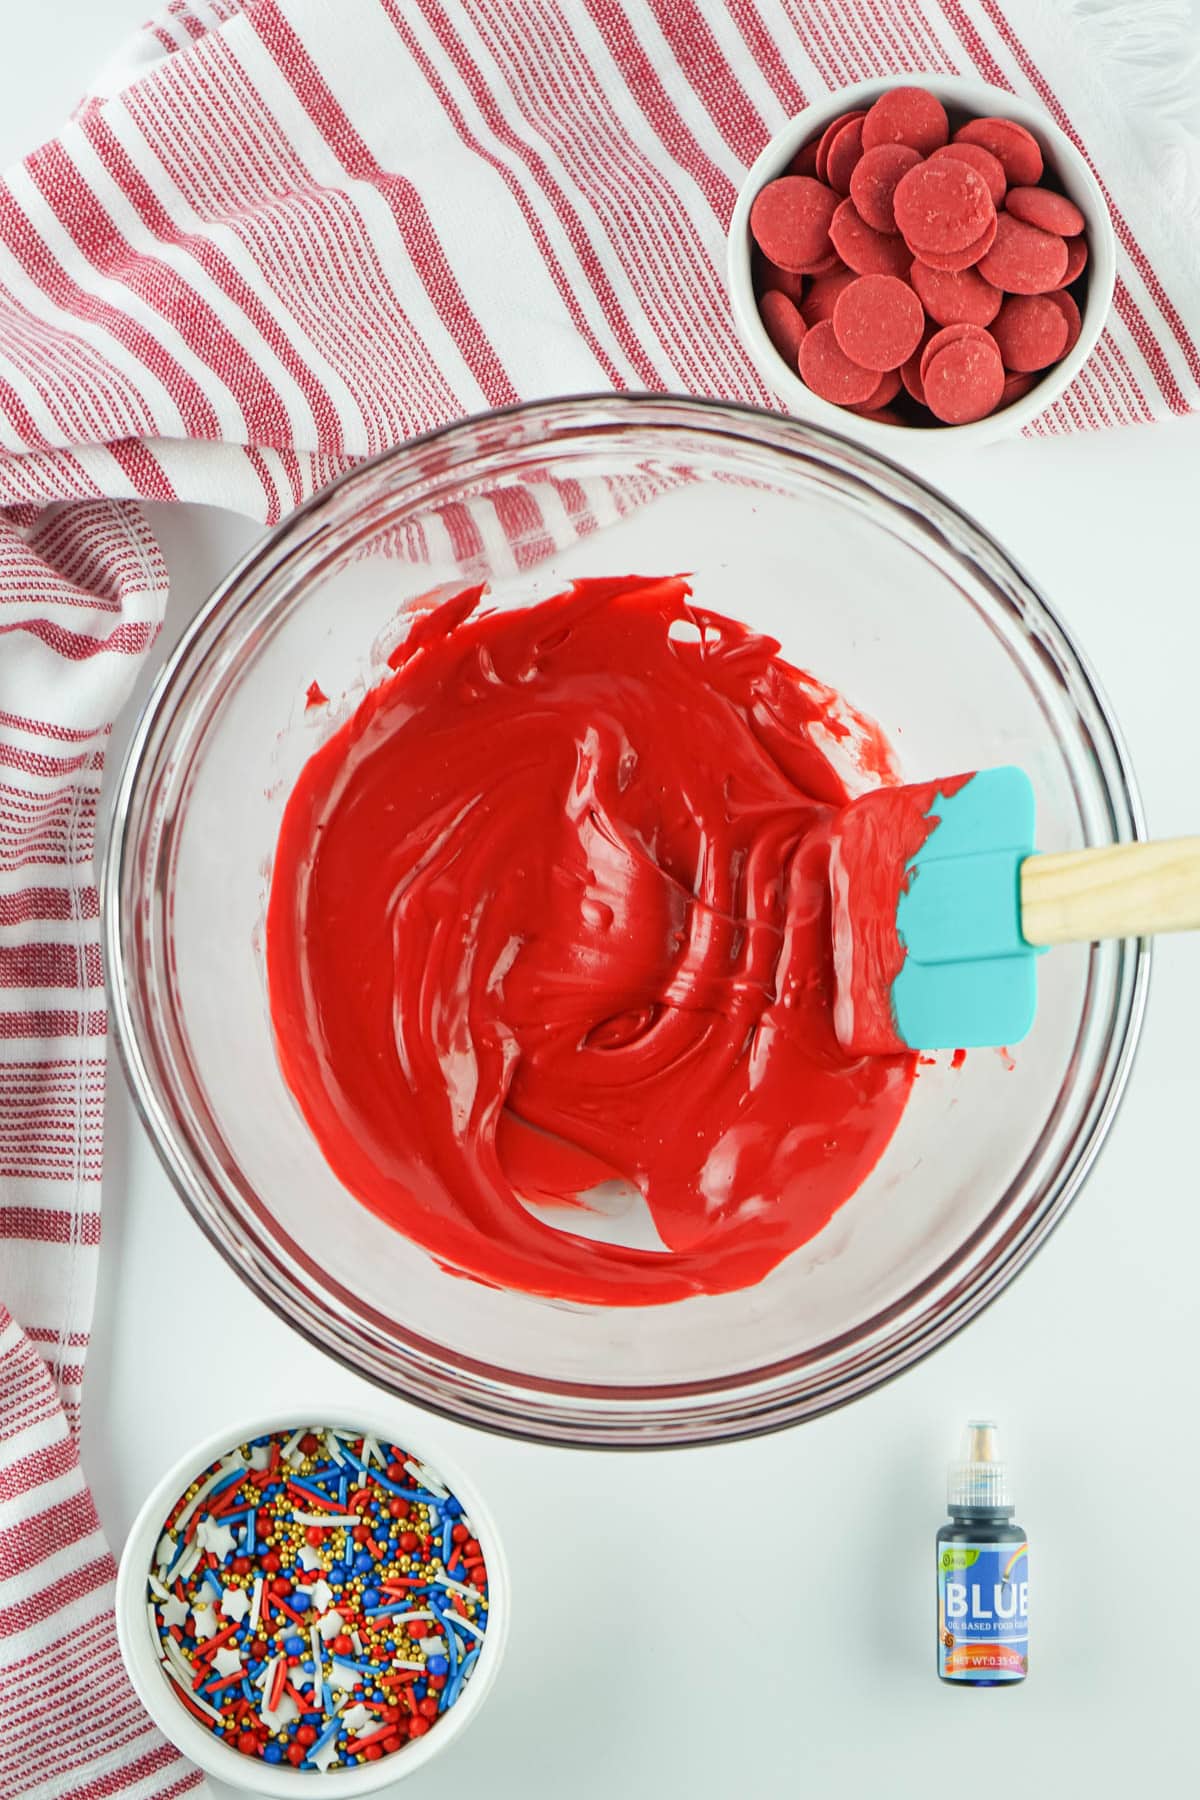
Step 2: Once the mixture is creamy and smooth, add the remaining frosting from both containers. Stir vigorously until combined.
Combining The Red White And Blue Fudge
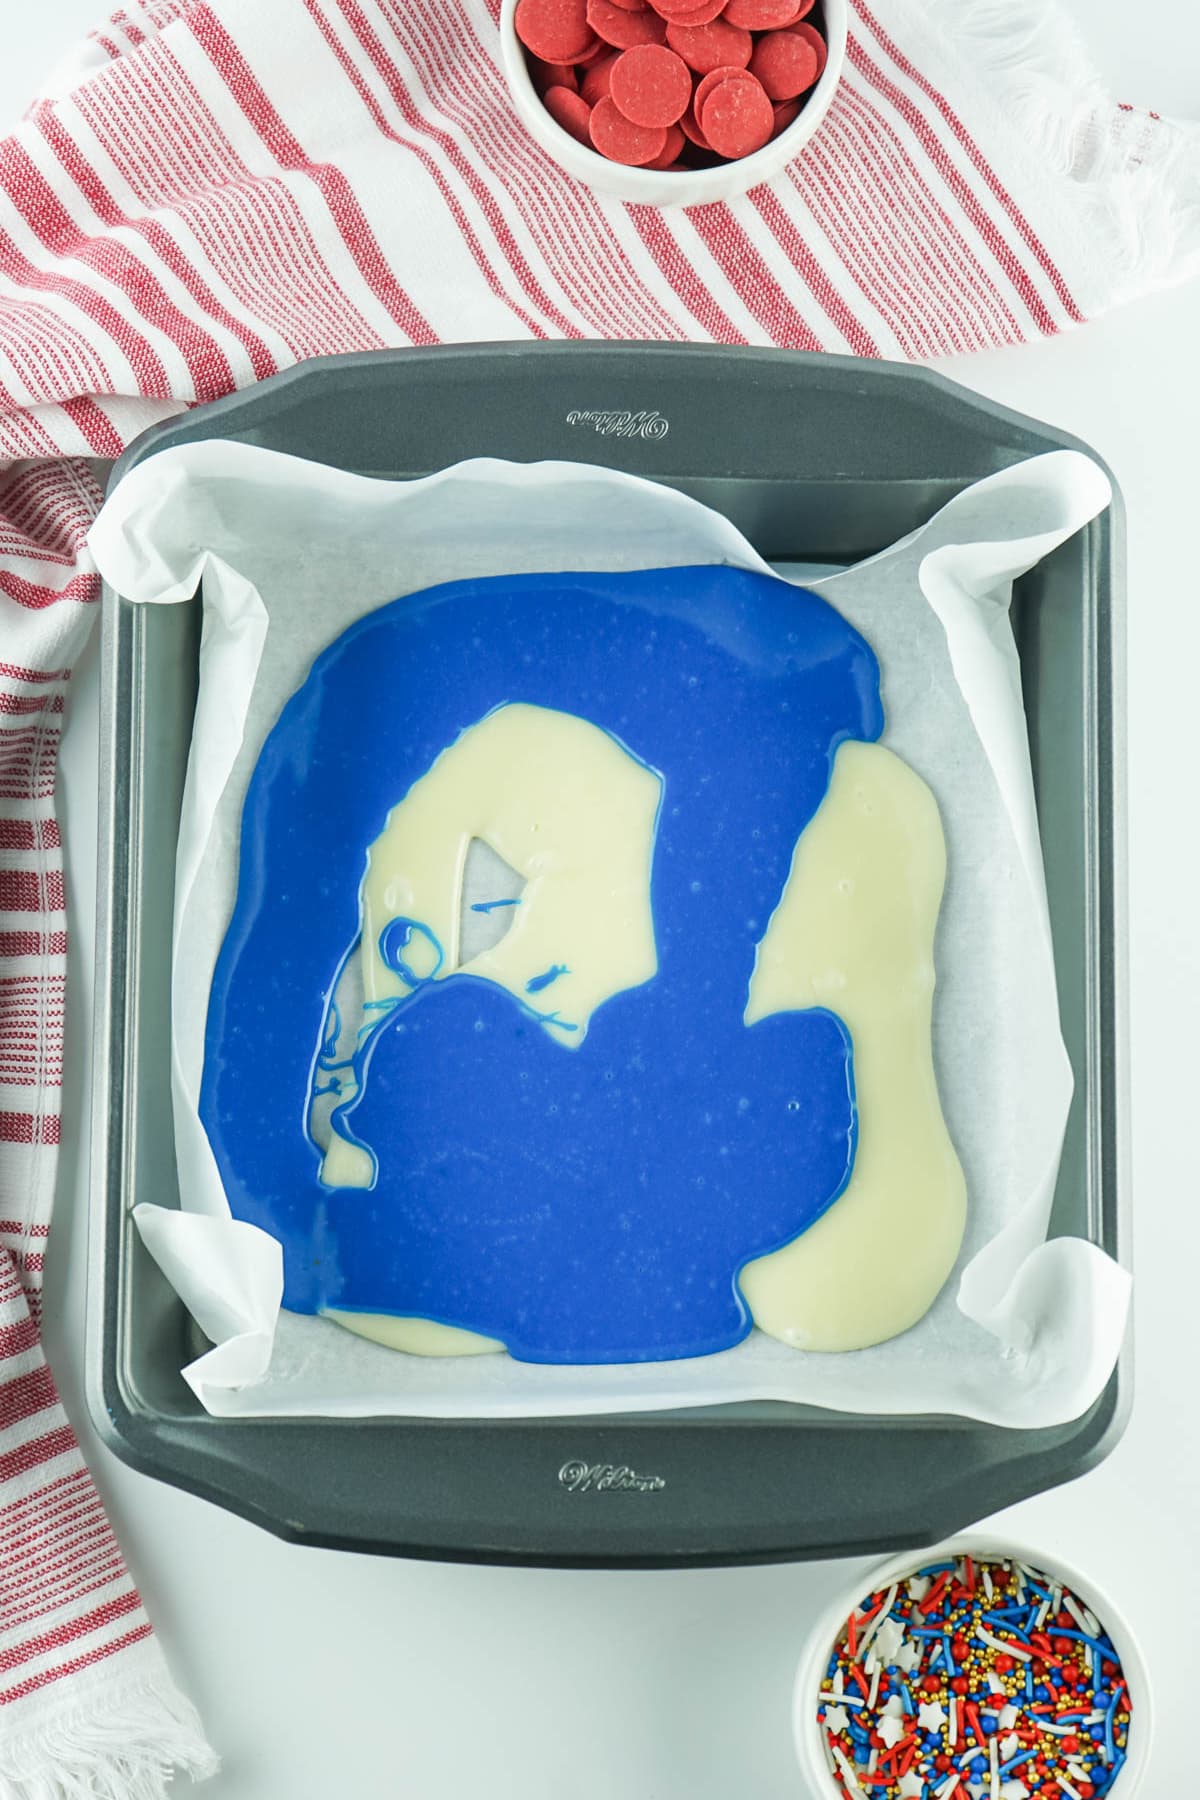
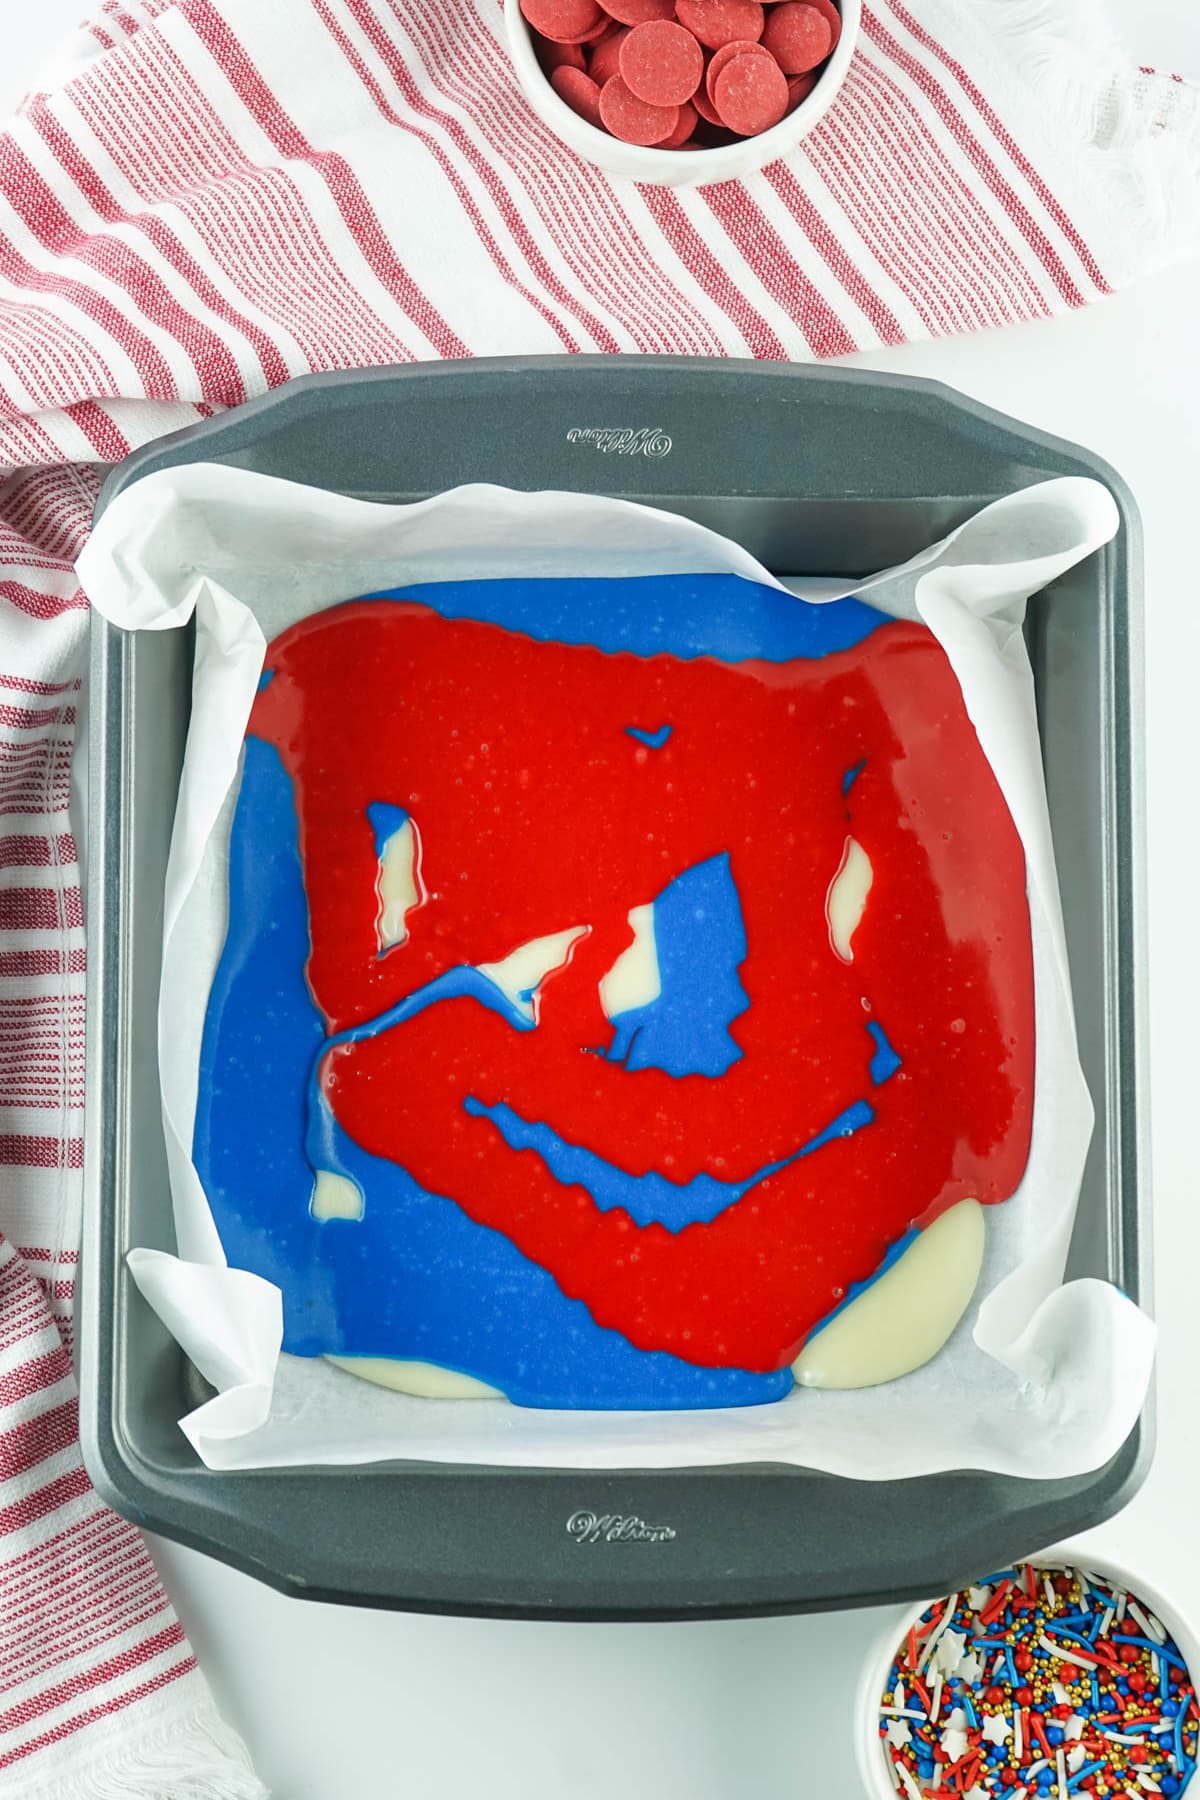
Step 1: Alternate pouring the three colors of fudge into the prepared pan. I like to do this in three separate batches so the colors mix well and create a pretty, marbled effect.
Step 2: Once all the colors have been added to the pan, tap the pan on the counter to ensure that the fudge is even.
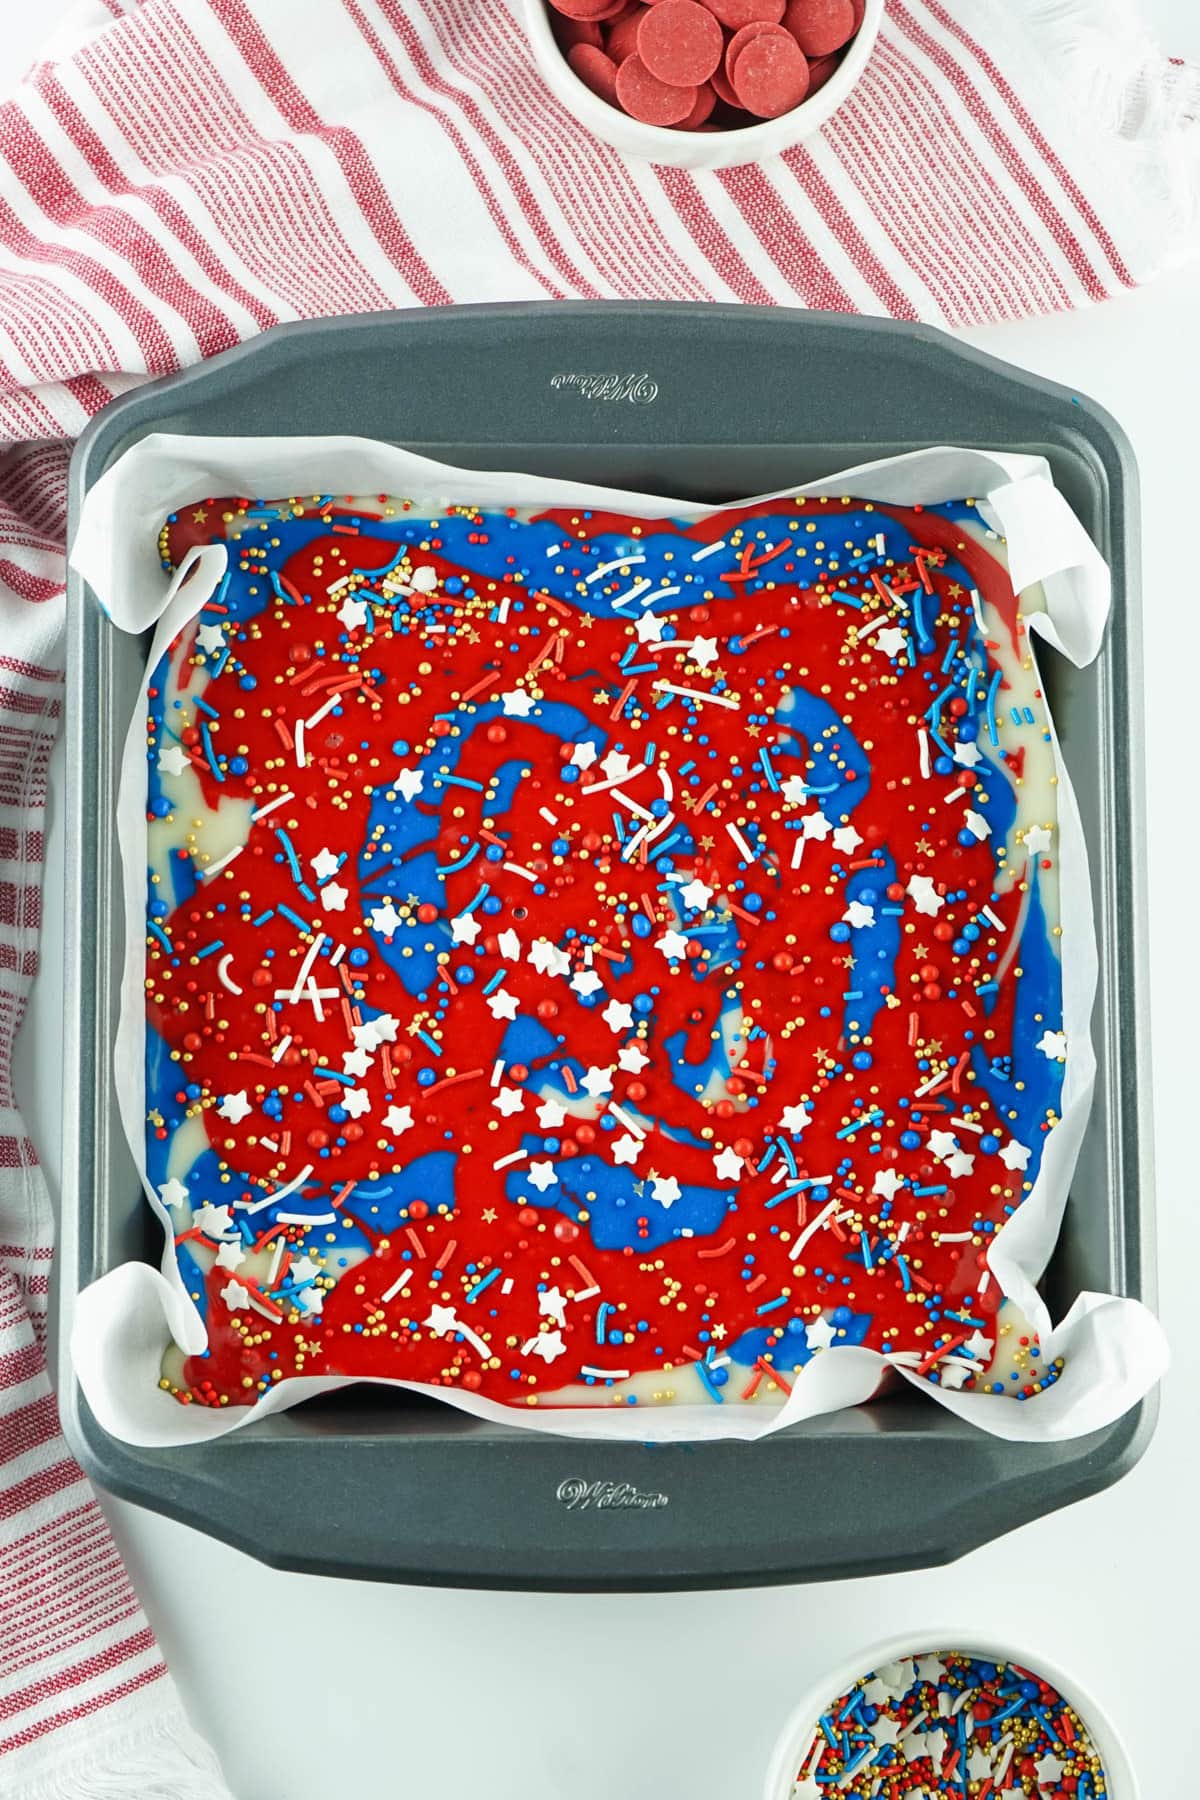
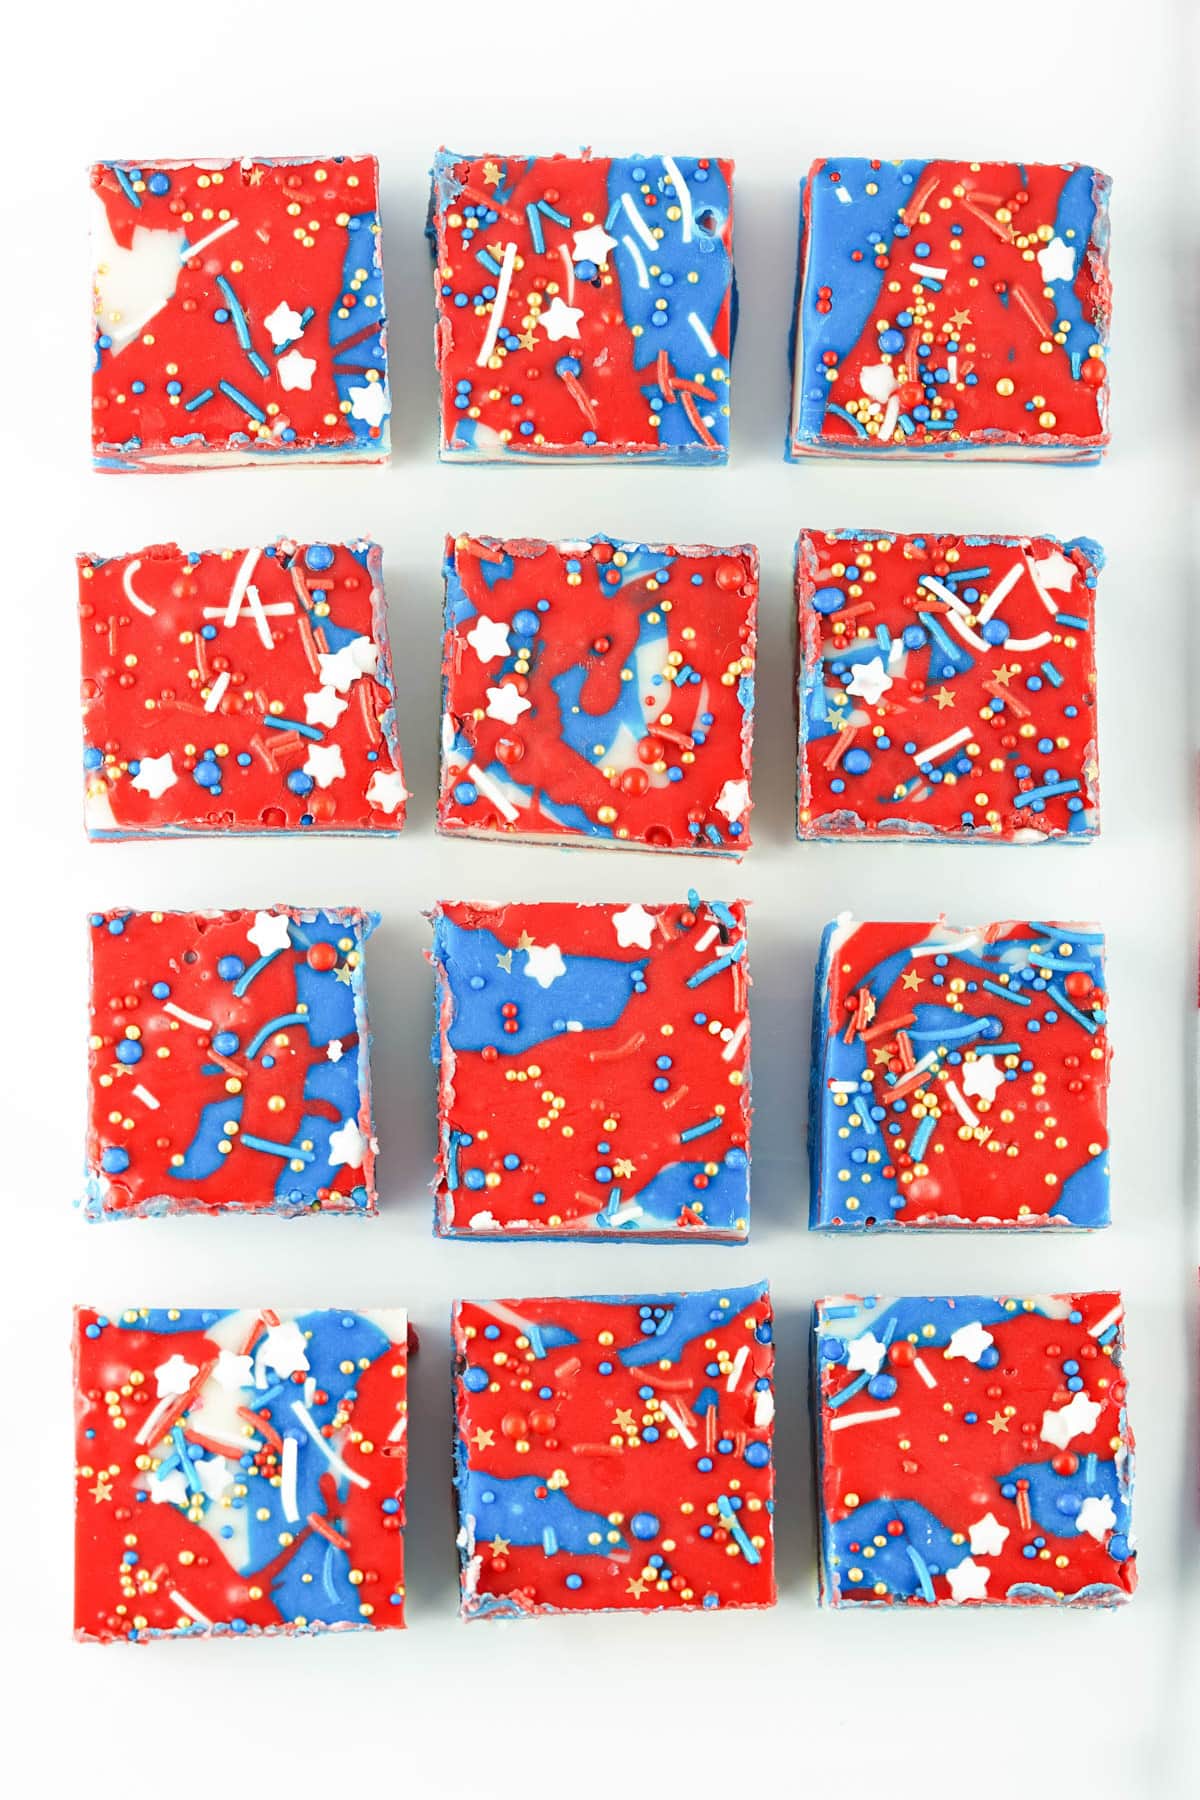
Step 3: Cover the top of the fudge with the sprinkles and then set it aside for about 8 hours or until hardened. Use a sharp knife to cut into squares and serve.
Tips & Tricks
- Once you’ve poured all the colors into the pan, do not stir or attempt to swirl them anymore. This will mix the colors and you’ll get more purple than red, white, and blue.
- For best results, be sure to keep the fudge in a flat spot as it sets. Otherwise it’ll shift and cause the fudge to be thicker in some areas than others. It may also cause wrinkles in the top of the fudge.
- If your fudge starts to get too thick to pour easily into the pan, simply put it back in the microwave for 15 seconds, then stir and keep pouring.
- Feel free to use blue candy melts in place of the white chocolate and blue coloring. Simply replace both of those ingredients with 1 cup of blue candy melts.
- Alternately, if you can’t find red candy melts, you can make the red fudge the same way you did the blue, using red food coloring instead.
You can store this fudge in the fridge for up to 2 weeks or at room temperature for up to 5 days. Just be sure you place it in an airtight container.
Yes – you can freeze it for up to 3 months. Just be sure to keep it in an airtight container.
This fudge is rich and sweet, so a little goes a long way. I usually cut them in 1-2-inch square pieces.
More Patriotic Dessert Ideas
If you liked this patriotic fudge recipe, you’ll want to check these easy recipes too:
- Patriotic 4th of July Berry Trifle
- 4th of July Oreo Balls
- Red, White, and Blue Cupcakes
- 4th of July Marshmallow Treats
- Red, White, and Blue Poke Cake
4th Of July Fudge
Equipment
Ingredients
- 2 Cups White Chocolate Chips
- 32 Ounces White Frosting 2 containers
- ½ Teaspoon Blue Oil Based Food Dye
- 1 Cup Red Candy Melts
- Patriotic Sprinkles
Instructions
For The White Layer
- Line an 8×8 baking dish with parchment paper or spray with non-stick cooking spray and set aside.
- Place half of the white chocolate chips in a microwave-safe bowl and microwave at 50% power in 30-second intervals. Continue for 2-3 minutes, stirring in between each interval until the chocolate is creamy and smooth.2 Cups White Chocolate Chips
- Remove the lid and foil from one of the frosting containers. Place it in the microwave and heat on high for 1 minute.32 Ounces White Frosting
- Pour ⅔ of the melted frosting into the bowl of melted white chocolate chips and stir well until fully combined. Set aside.
For The Blue Layer
- Place the other half of the white chocolate chips in a separate mixing bowl and repeat the melting process in the microwave.2 Cups White Chocolate Chips
- Add the blue food coloring to the white chocolate mixture and stir until no more streaks of white appear. If you’d like a darker color, you can add a bit more dye, a little at a time until the desired color is reached.½ Teaspoon Blue Oil Based Food Dye
- Remove the lid and foil from the second can of frosting and microwave on high for one minute. Immediately add ⅔ of the frosting to the blue chocolate mixture and stir until fully combined. Set aside.32 Ounces White Frosting
For The Red Layer
- Place the red candy melts in another mixing bowl and melt them in the microwave, just as you did the chocolate chips.1 Cup Red Candy Melts
- Once the mixture is creamy and smooth, add the remaining frosting from both containers and stir vigorously until combined.32 Ounces White Frosting
Making The Fudge
- Alternate pouring the three colors of fudge into the prepared pan. I like to do
- this in three separate batches so the colors mix well and create a pretty, marbled effect.
- Once all the colors have been added to the pan, tap the pan on the counter to ensure that it’s even.
- Cover the top of the fudge with the sprinkles and then set it aside for about 8 hours or until hardened. Use a sharp knife to cut the fudge into squares and serve.Patriotic Sprinkles
Notes
- If your chocolate mixture starts to get too thick to pour easily into the pan, simply put it back in the microwave for 15 seconds, then stir and keep pouring.
- Don’t try to swirl the colors after pouring them into the pan. If you mix them together, you’ll get more purple than red, white and blue.
Nutrition
Did You Make This Recipe?
Share it with me on Instagram @funmoneymom and follow on Pinterest @funmoneymom for more!
Let’s be friends!
Did you love this post? Make sure to comment below and let me know your thoughts! And don’t forget to follow on your favorite social network below!

About Lisa O’Driscoll
Lisa O’Driscoll is a lifestyle and parenting expert, cookbook author, and the creative force behind Fun Money Mom, a popular blog she’s run since 2014. She’s the author of the children’s cookbook Roll It, Slice It, Mash It, Dice It, designed to get kids excited about cooking. With multiple TV appearances under her belt, she loves sharing her expertise on family-friendly recipes, creative DIYs, and party planning and is always on a mission to inspire and entertain!