No Bake Biscoff Cheesecake Recipe
This post may contain affiliate links. As an Amazon Associate, I earn from qualifying purchases.
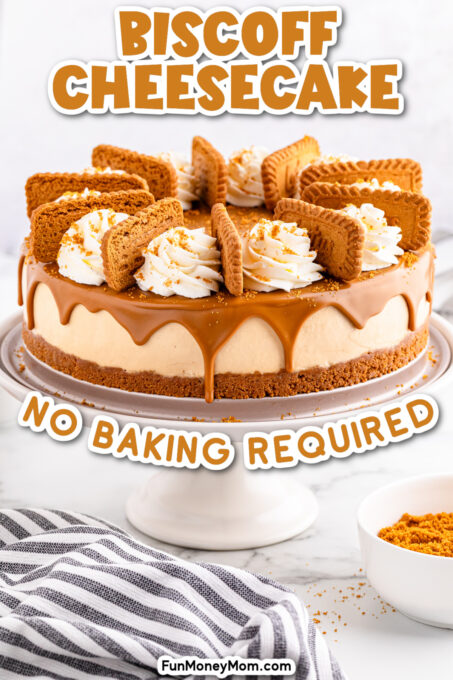
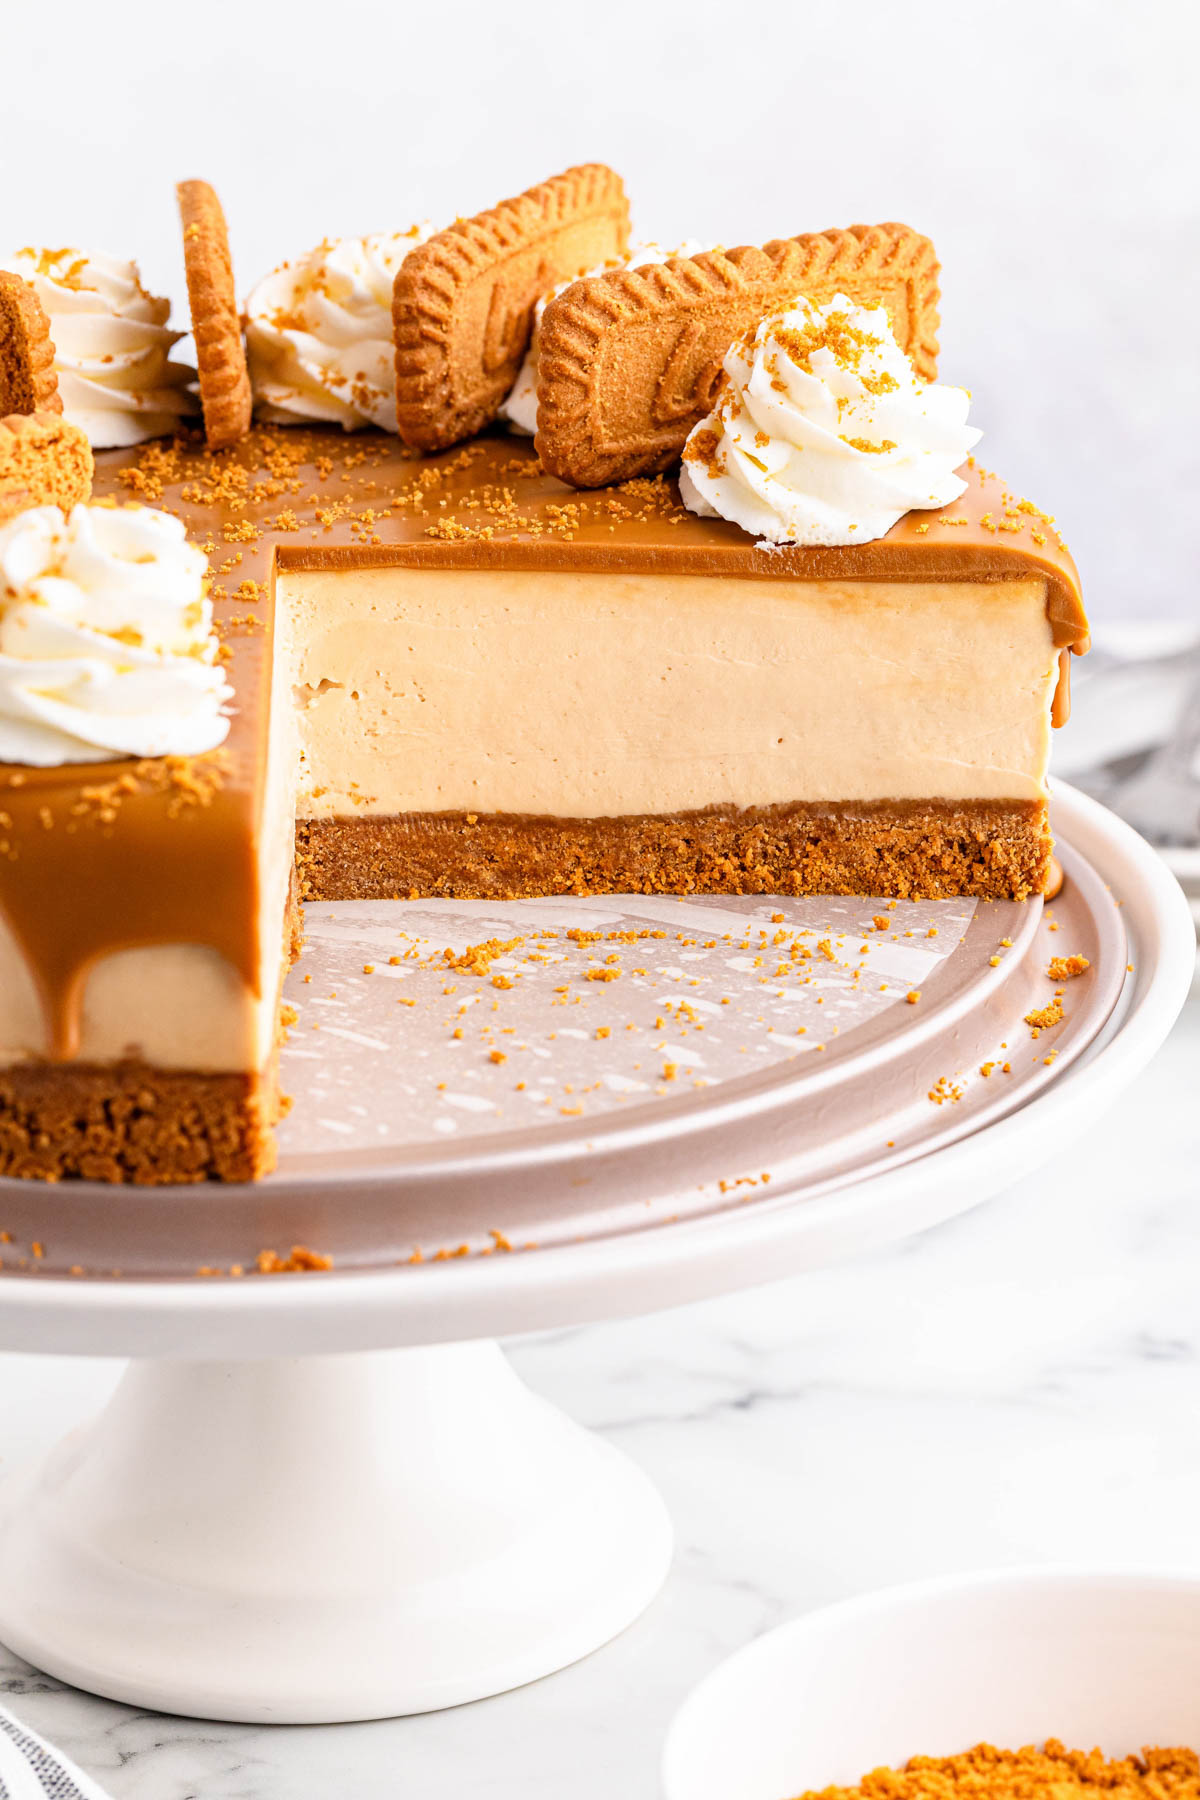
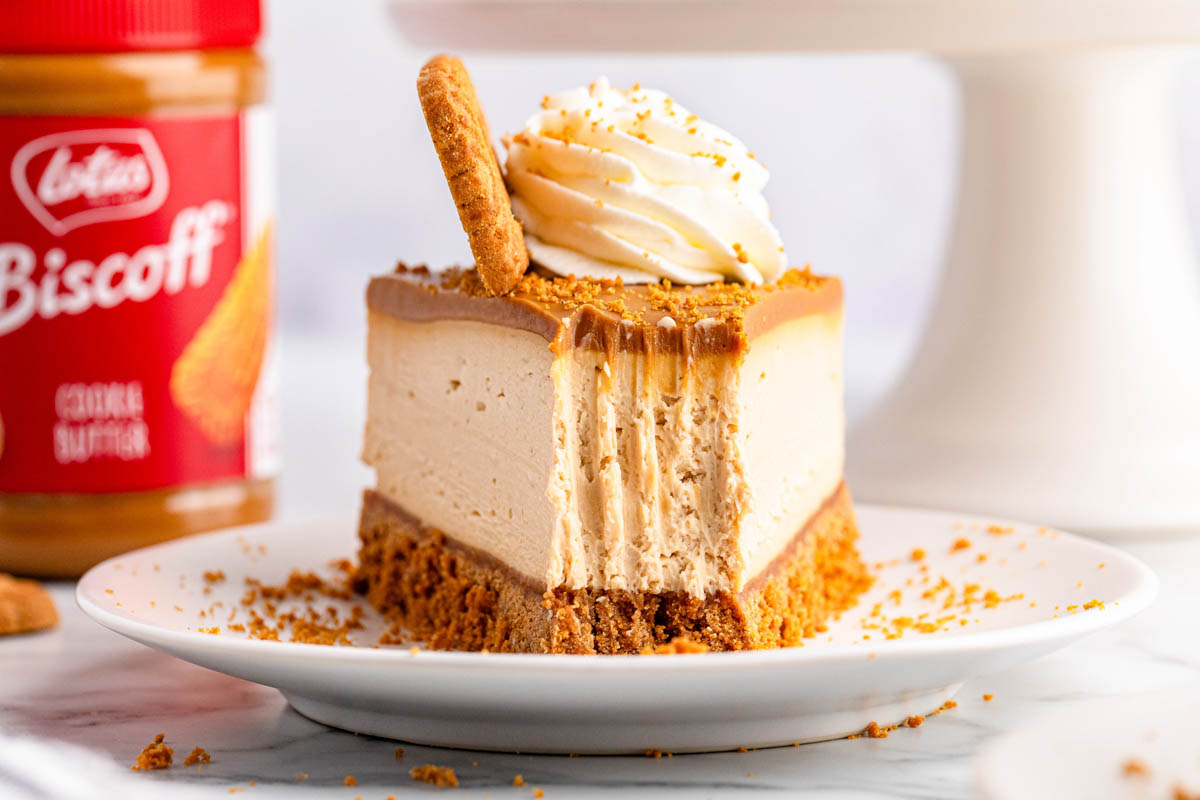
This no-bake Biscoff Cheesecake is rich, creamy, and packed with the sweet, buttery, and spiced flavors of Biscoff cookies. It’s a delicious and decadent treat that’s perfect for any occasion.
Biscoff Cheesecake Recipe
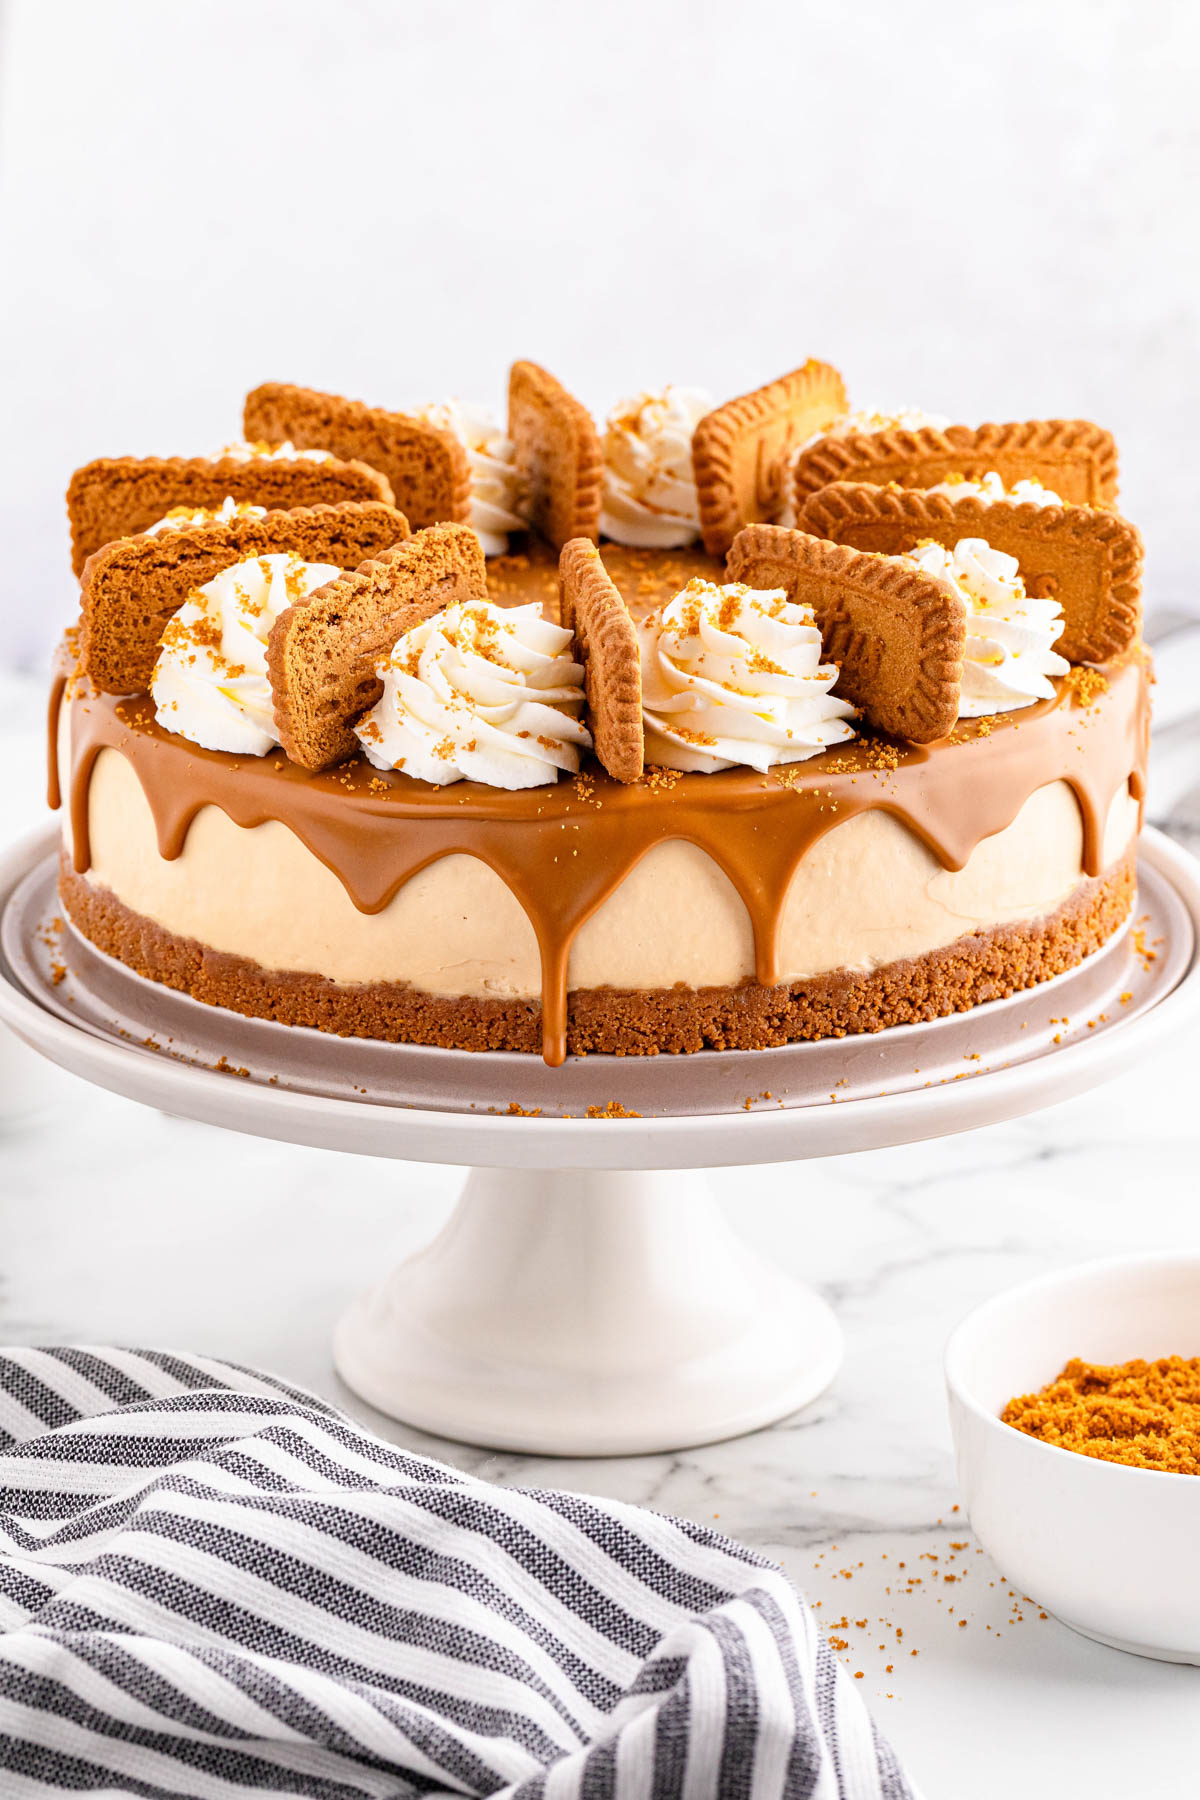
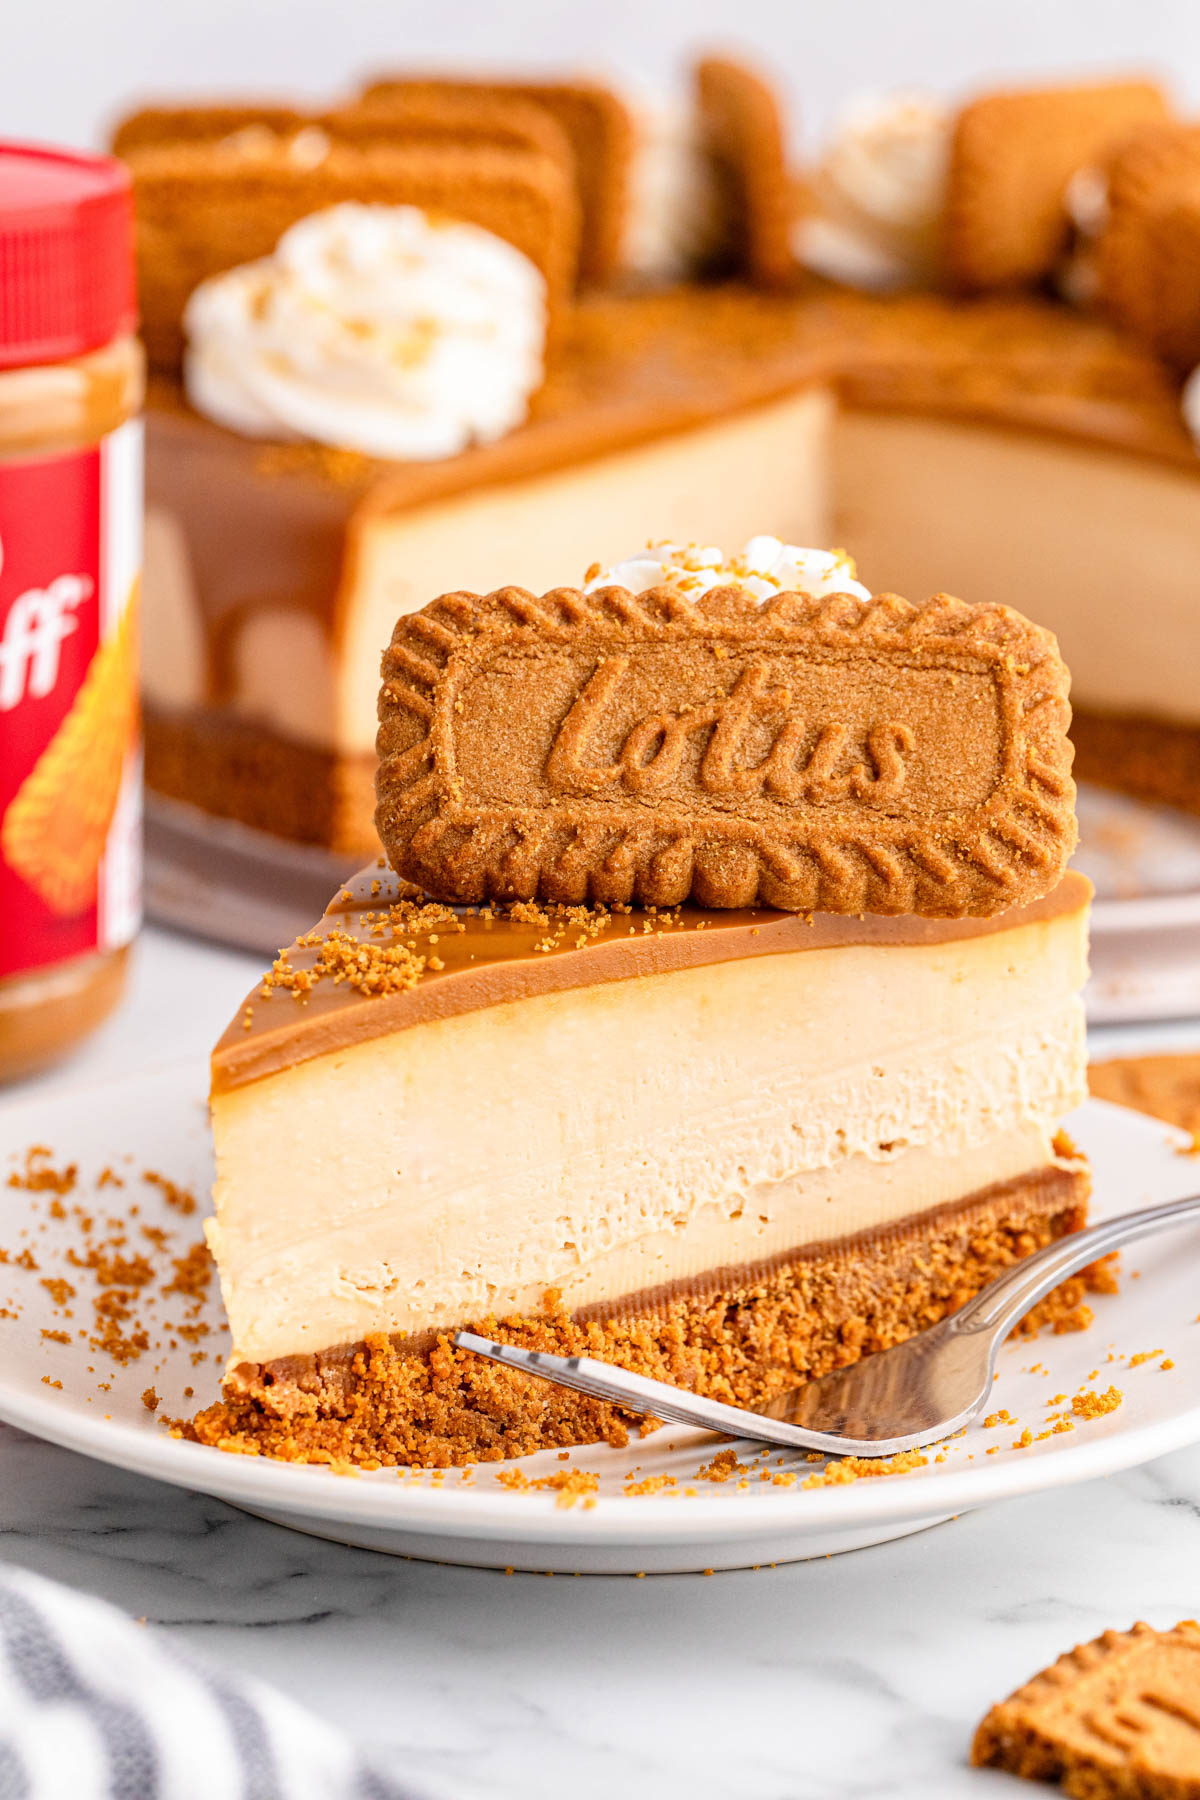
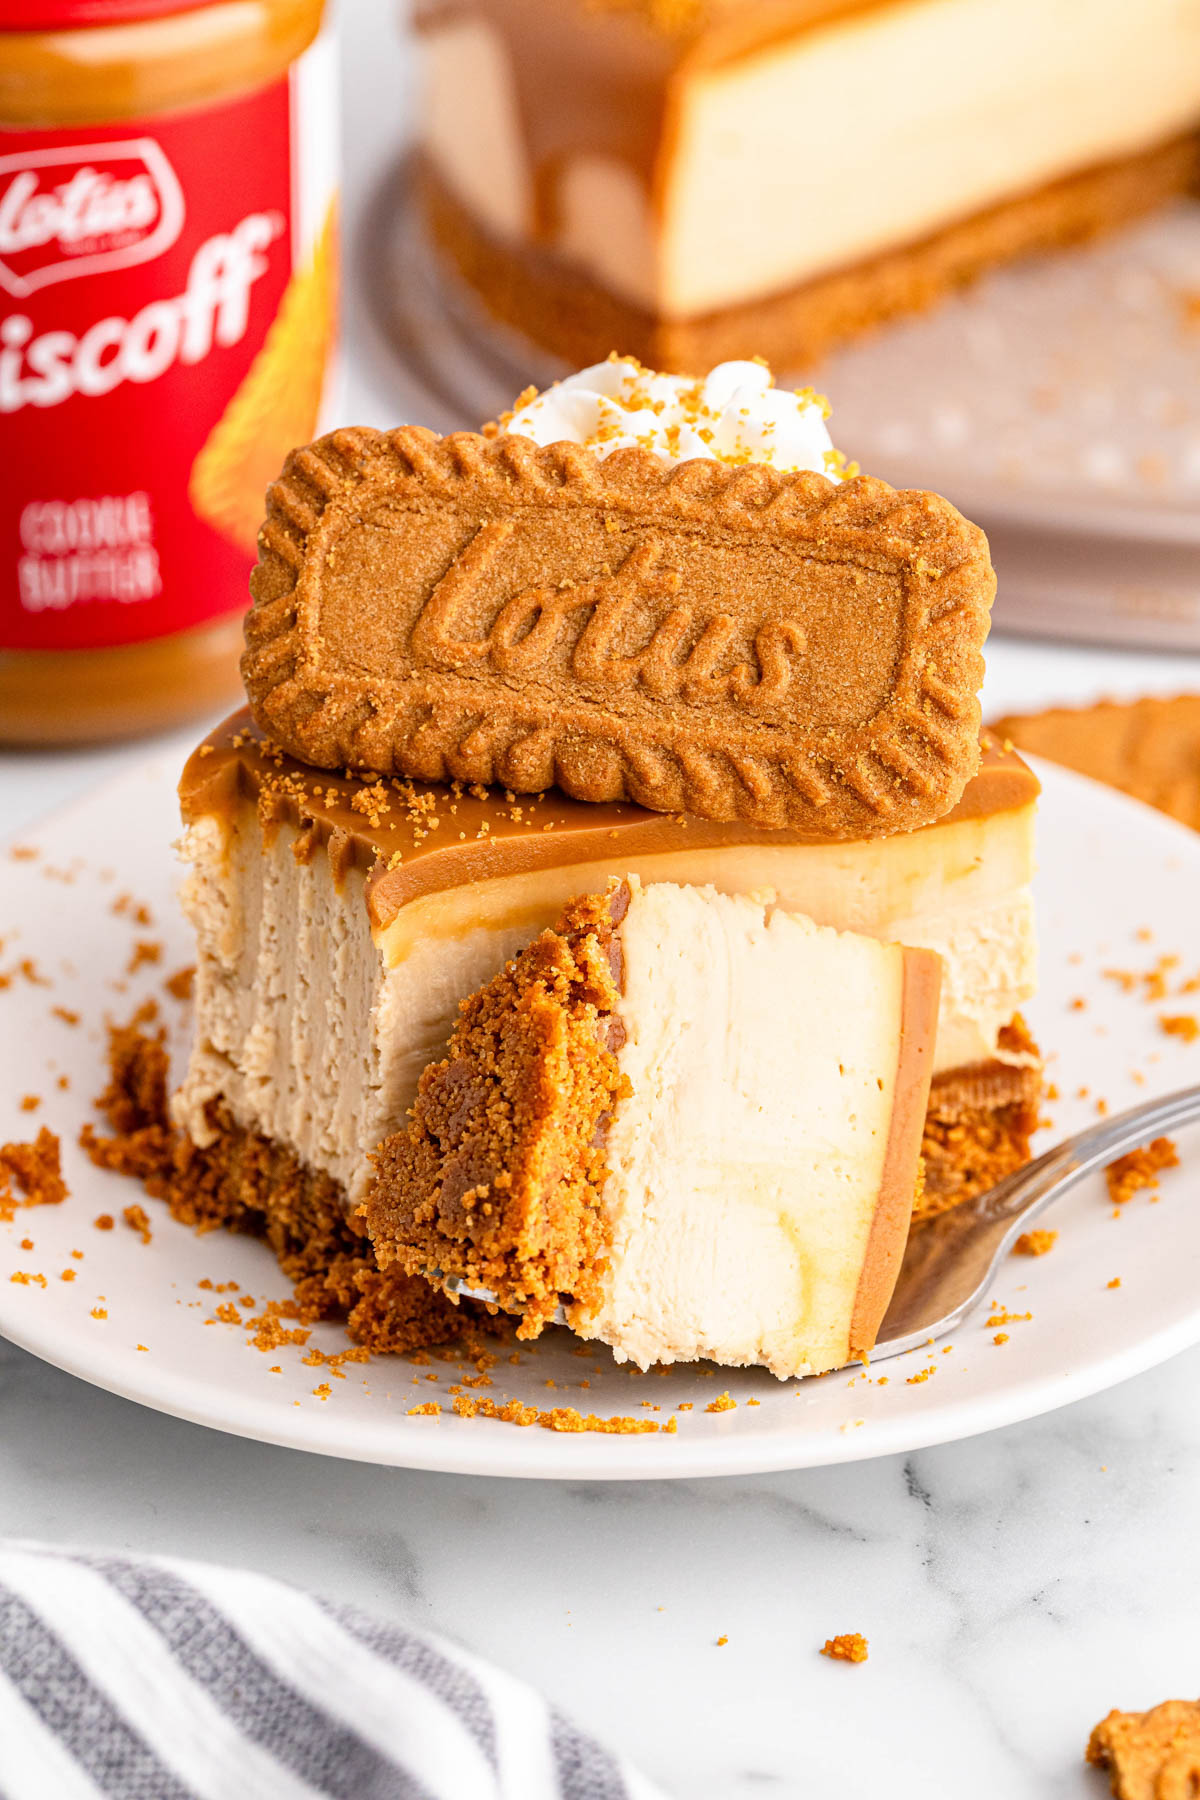
This easy, no-bake cheesecake is a must-try for any Biscoff lover. It starts with crust made from a blend of finely crushed Biscoff cookies and butter. Then it’s filled with a velvety, smooth, and creamy filling infused with sweet cookie butter.
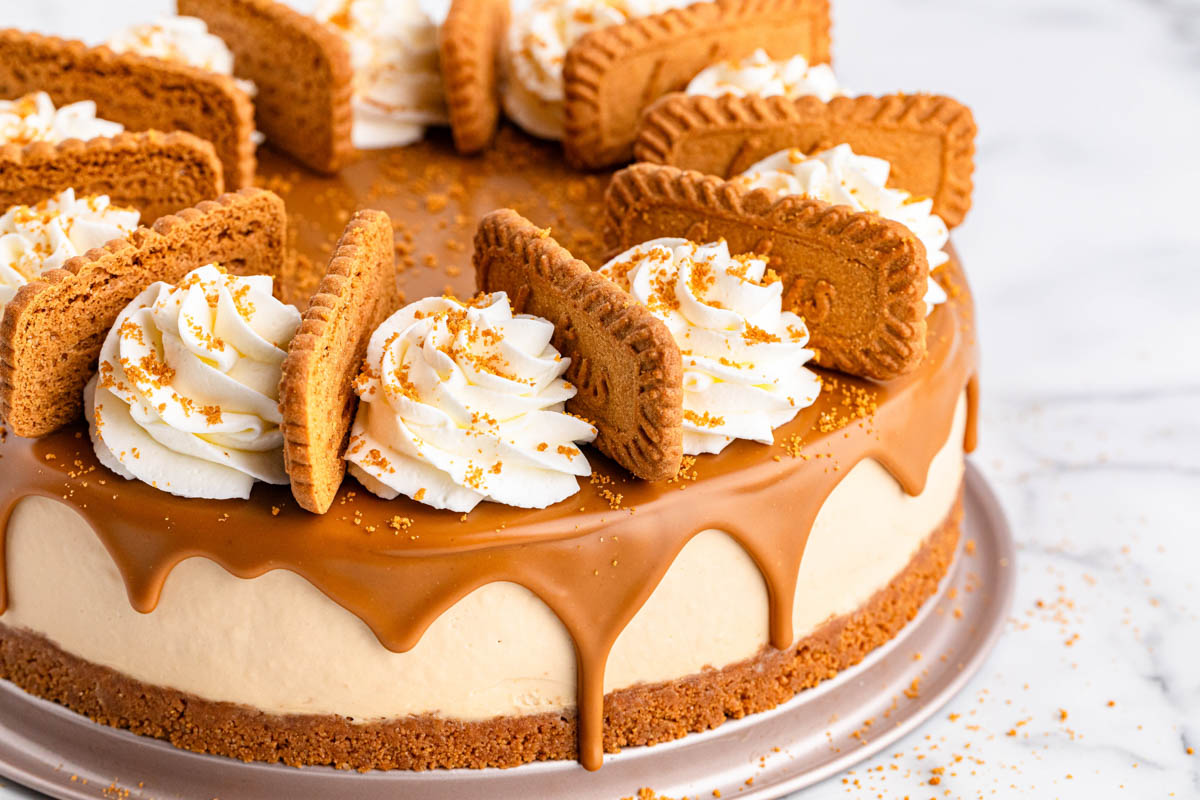
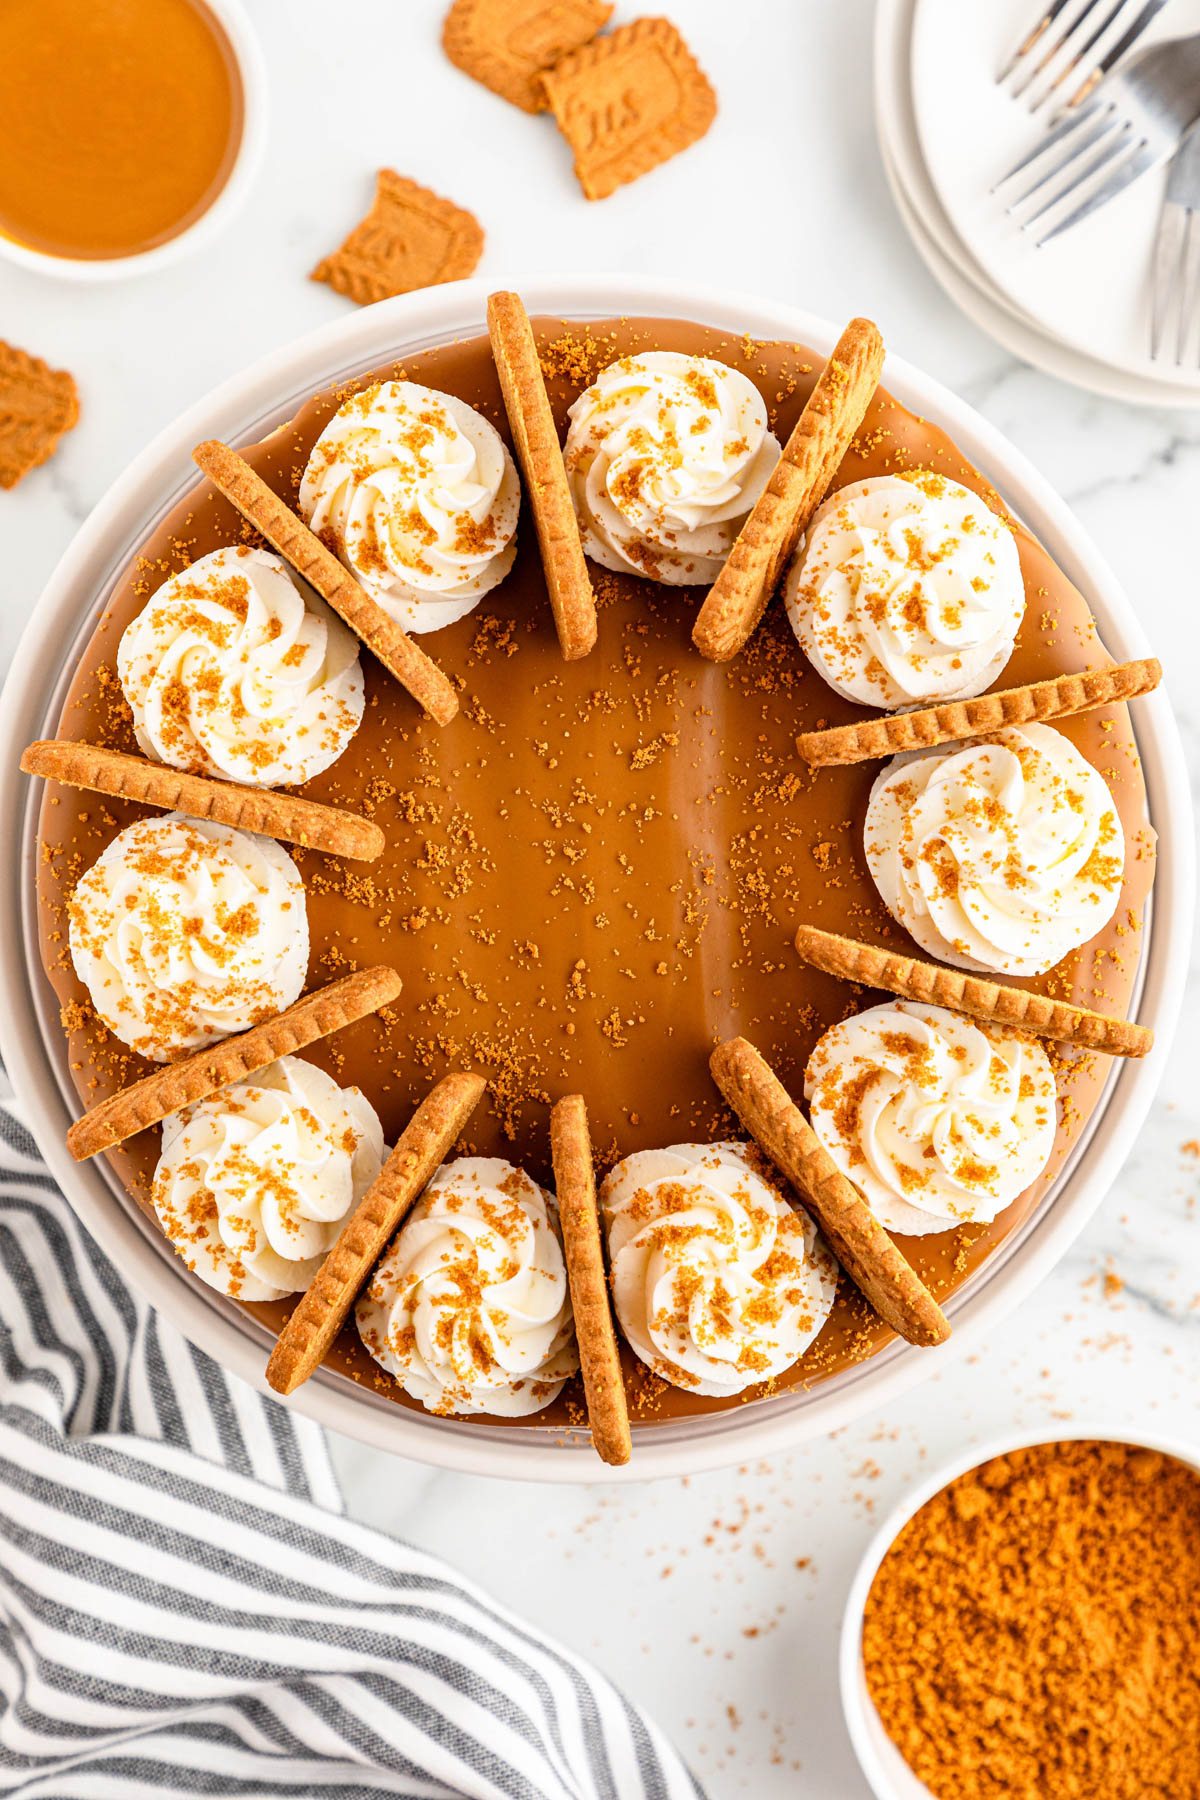
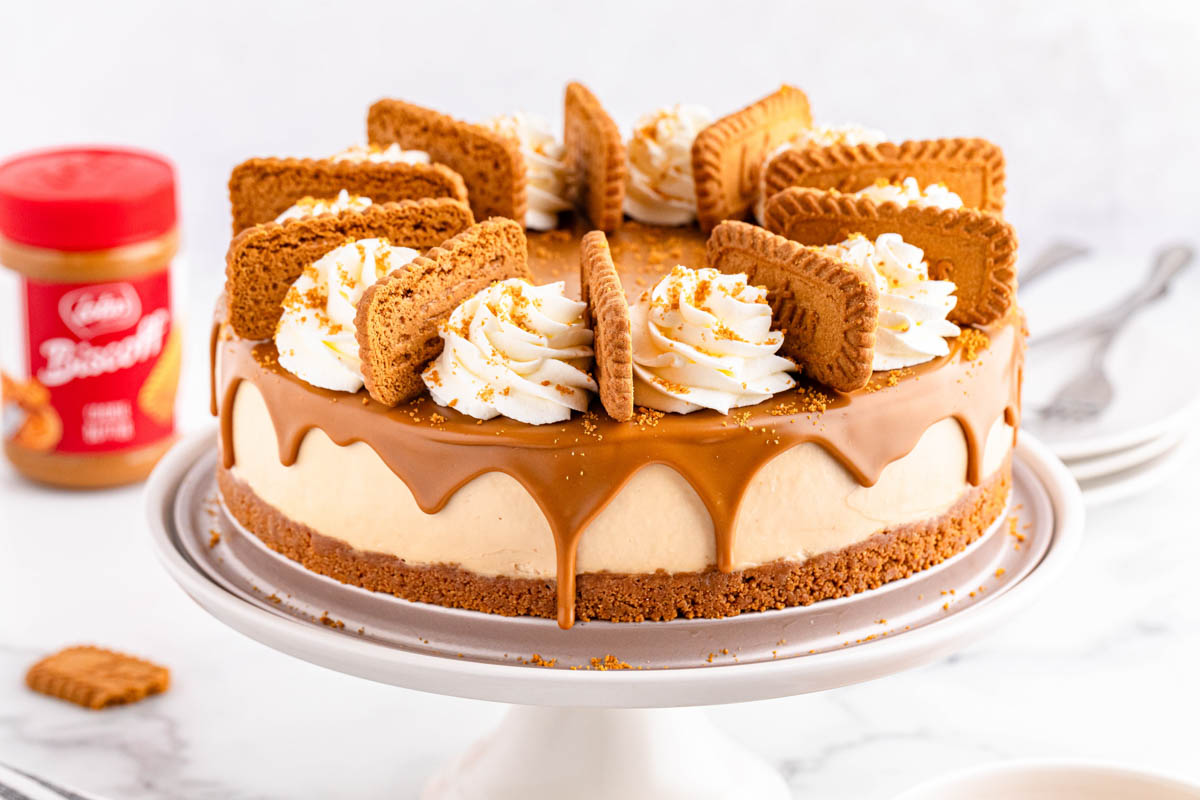
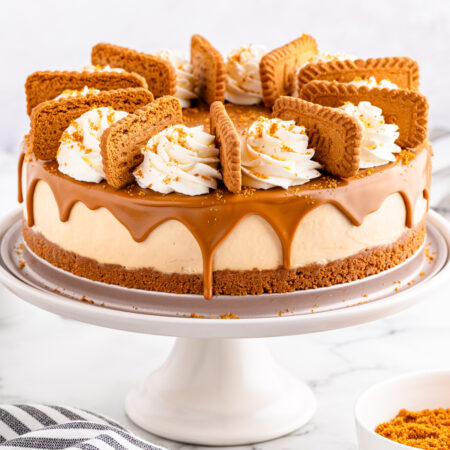
Then, for an extra, irresistible layer of bliss, a decadent layer of melted Biscoff spread coats the top. As the perfect finishing touch, it’s topped with stabilized whipped cream frosting and whole cookies, transforming this cheesecake into a drool-worthy dessert.
If you love the subtle cinnamon and brown sugar flavors of Biscoff recipes, you should also check out these no-bake Biscoff Truffles.
Why We Love This Biscoff Cheesecake
- Delicious cheesecake: With Biscoff added to the crust, filling and topping, this recipe is absolutely incredible.
- No bake recipe: No baking means there’s no guessing when the cheesecake is done or waiting around for it to cool. Just mix, chill and serve.
- Beautiful presentation: This delicious Biscoff cheesecake looks like it came from a professional bakery. It’s perfect for holidays or other special occasions but also easy enough to make for casual gatherings as well!
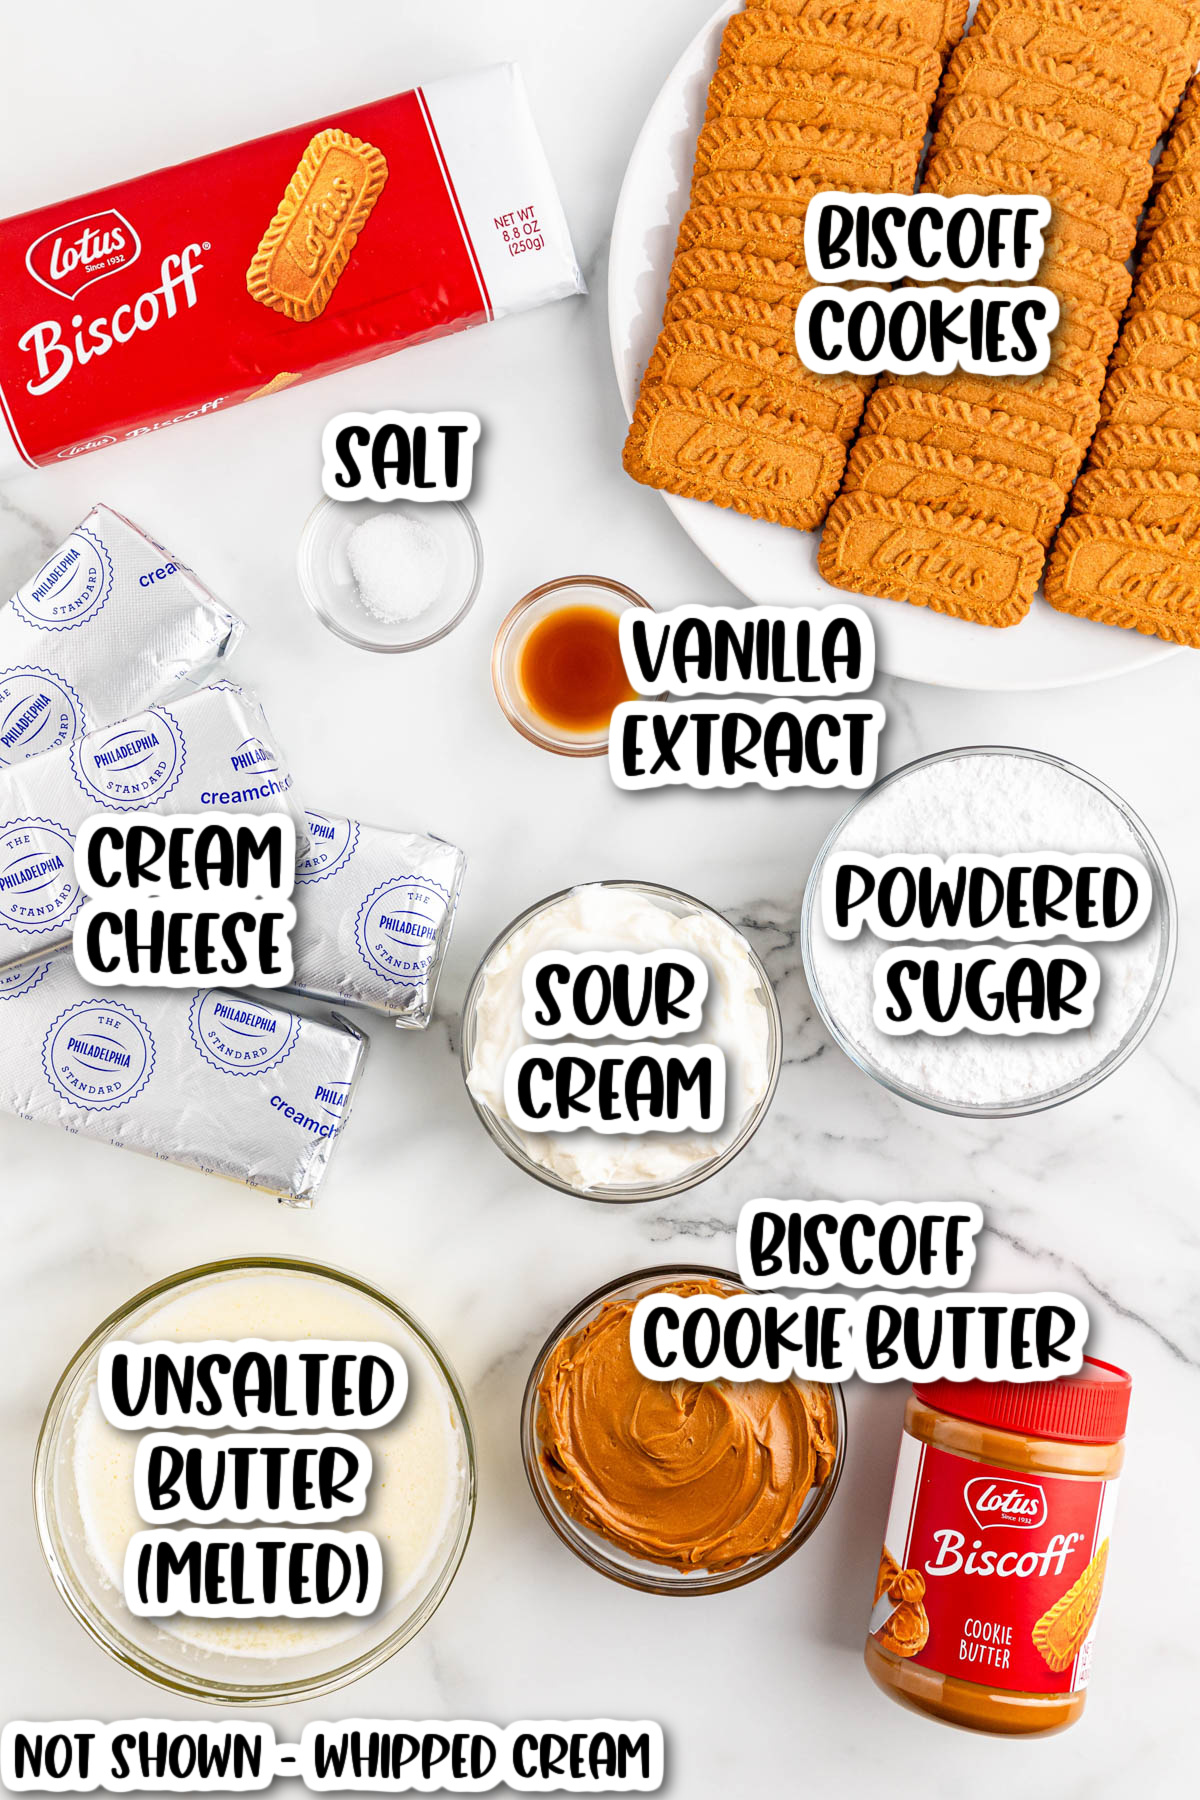
Ingredients Needed
Biscoff Cookie Crust:
- Lotus Biscoff biscuit cookies, fine crumbs
- Unsalted butter, melted and cooled
- Salt (optional to balance out sweetness)
Biscoff Cookie Butter Cheesecake Filling:
- Full fat cream cheese, softened to room temperature
- Biscoff cookie butter (creamy)
- Powdered sugar
- Sour cream
- Pure vanilla extract
Toppings:
- Biscoff cookie butter spread (creamy), melted
- Stabilized whipped cream, optional
- Additional cookies for topping, optional
Recommended Tools
- Food processor
- Electric mixer (hand mixer or stand mixer)
- 9 inch springform pan
How Make No Bake Biscoff Cheesecake
For The Crust
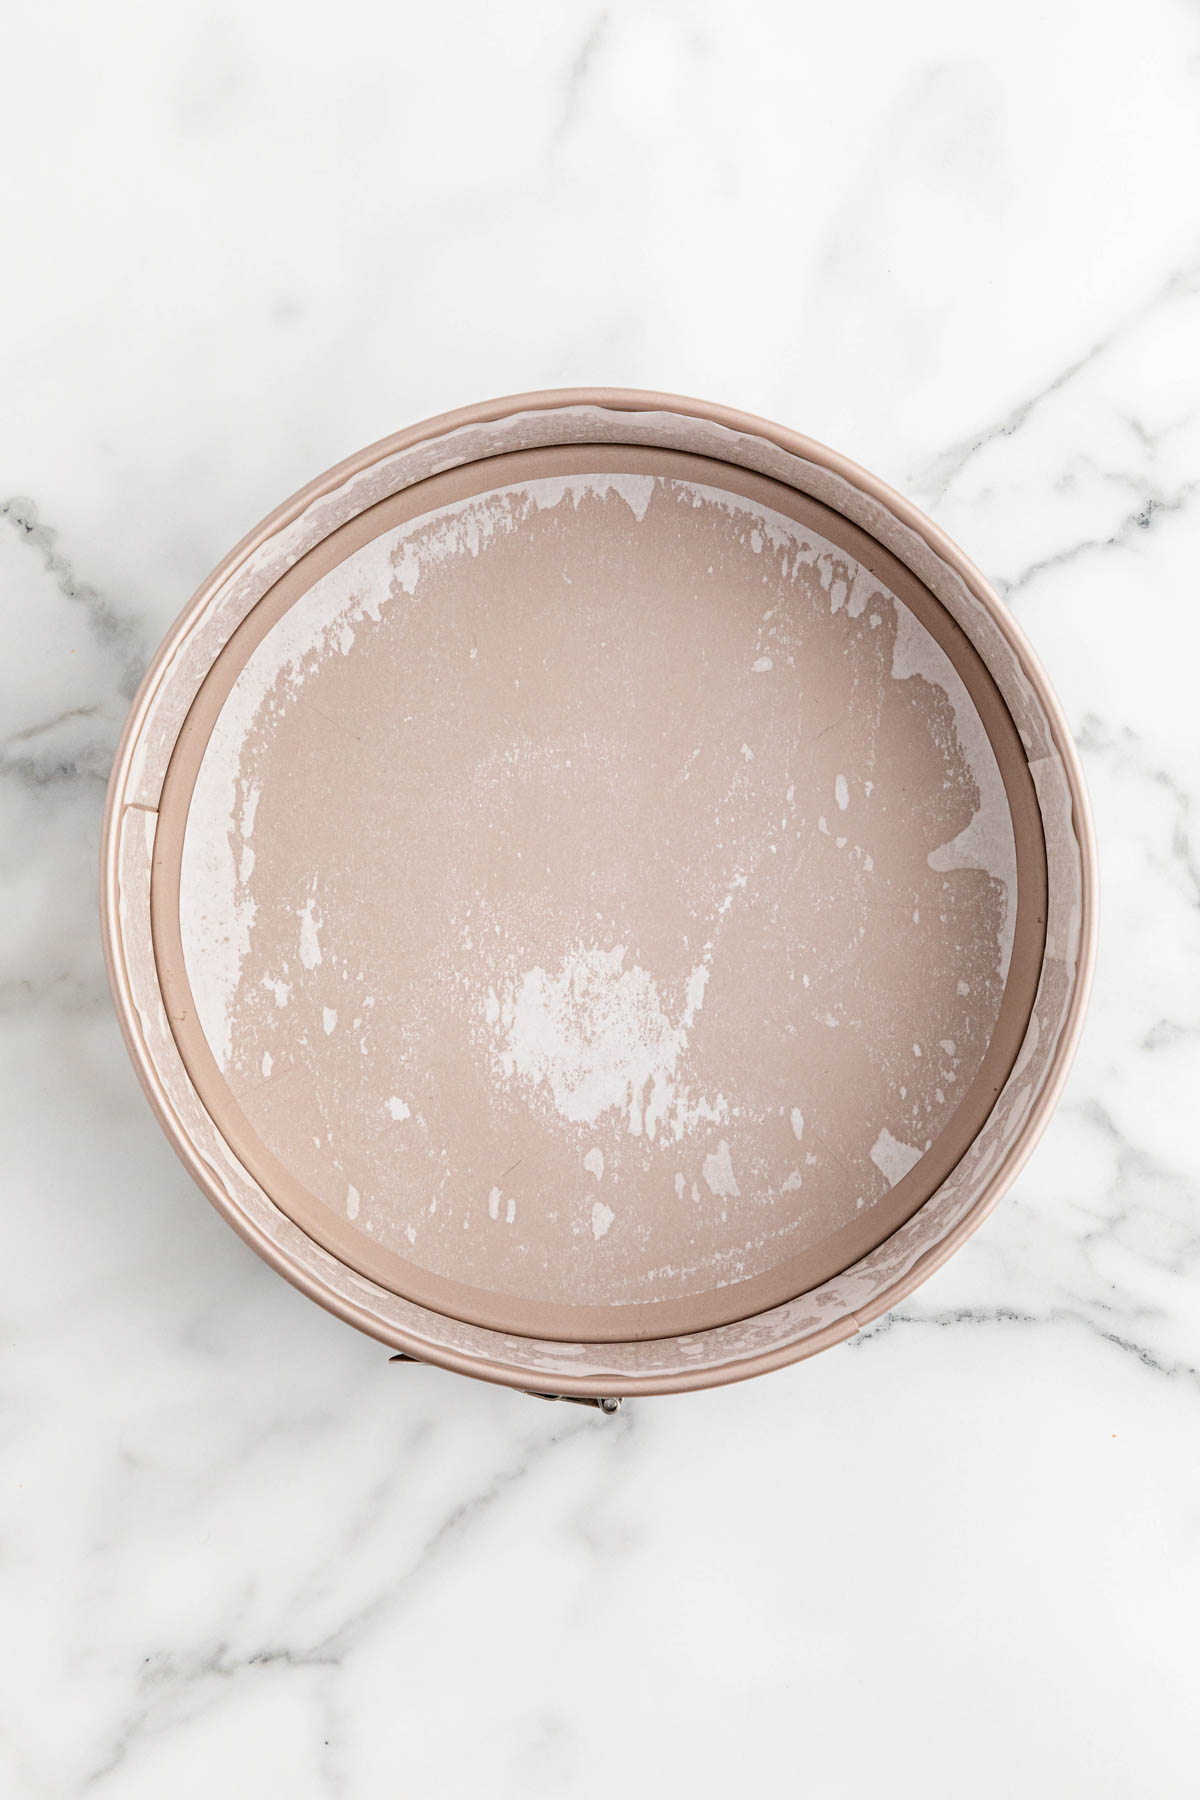
Step 1. Lightly spray your springform pan with cooking spray and line the bottom with a parchment paper round. Line the paper around the edge of the pan as well.
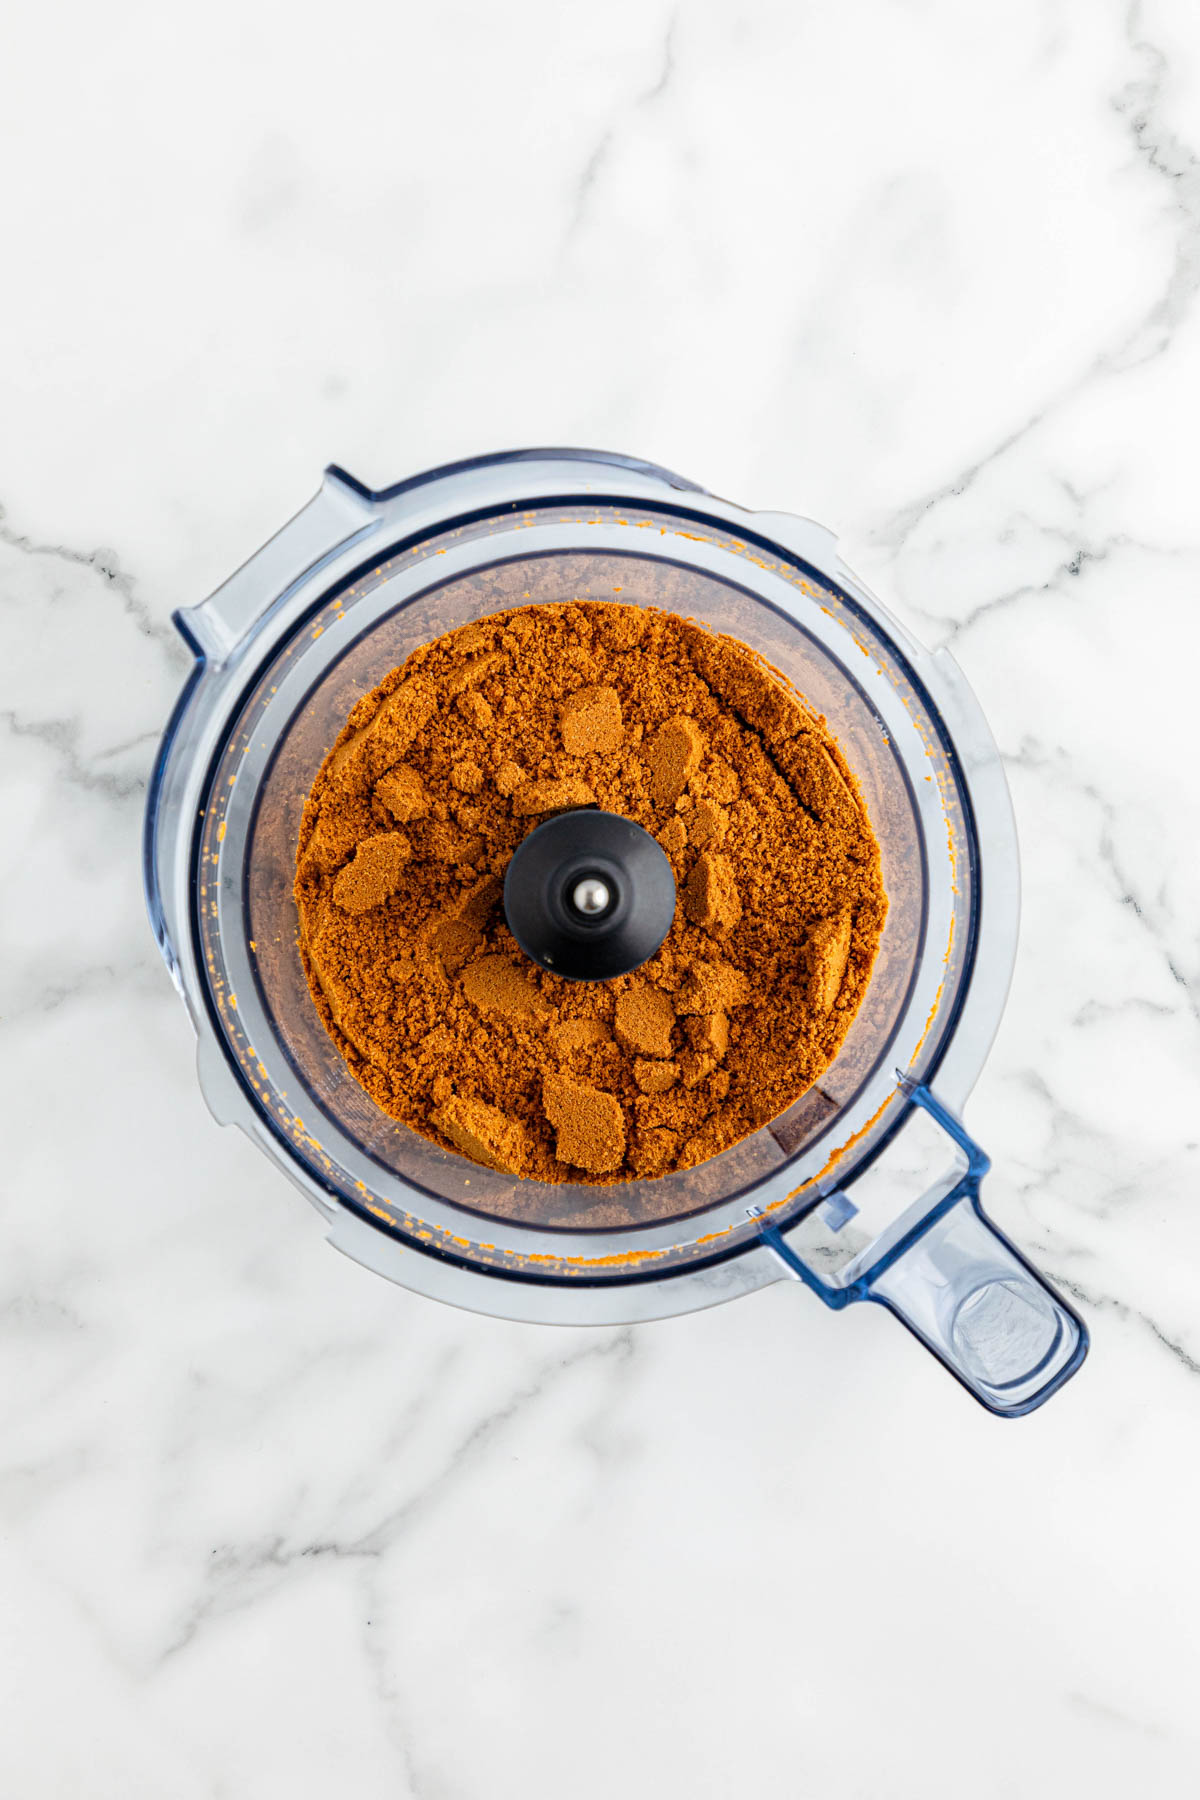
Step 2. Use a food processor or a high speed blender to crush the cookies into fine crumbs.
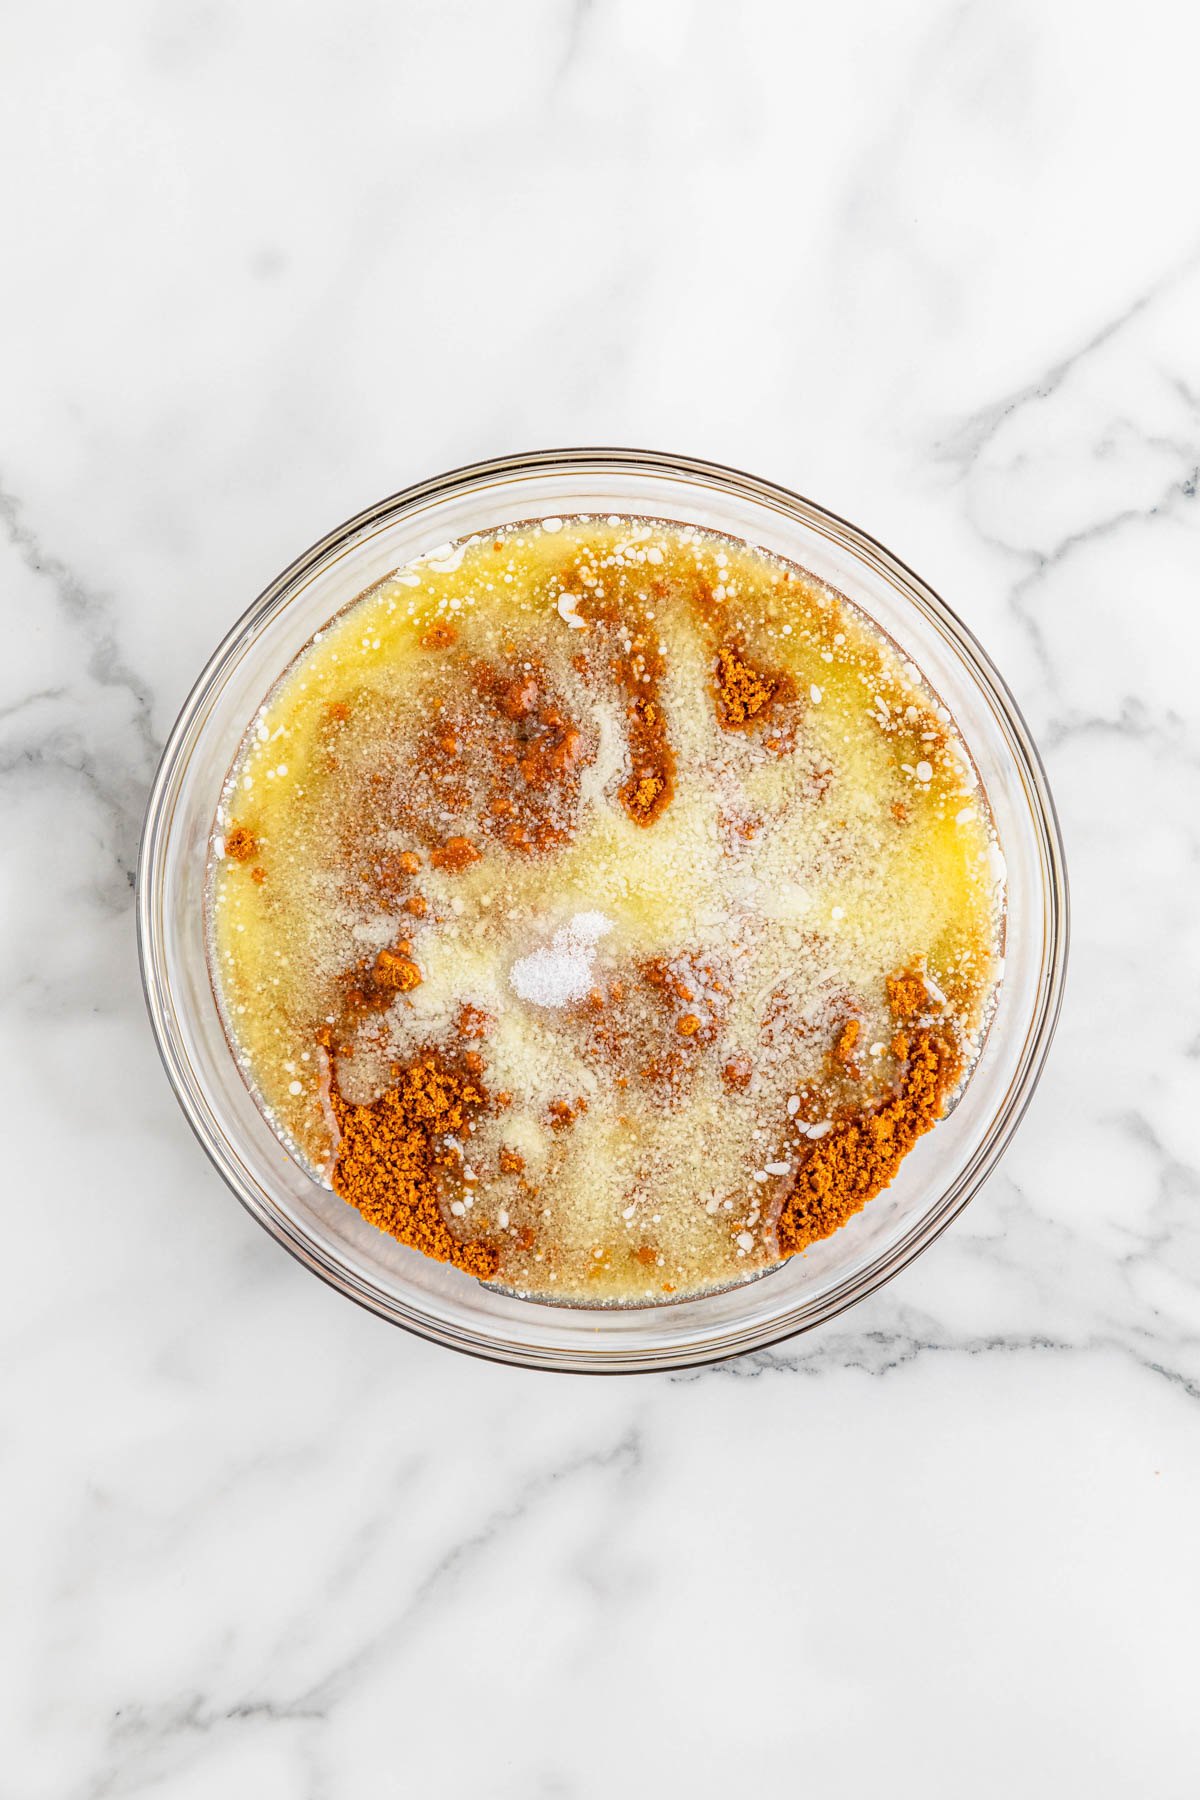
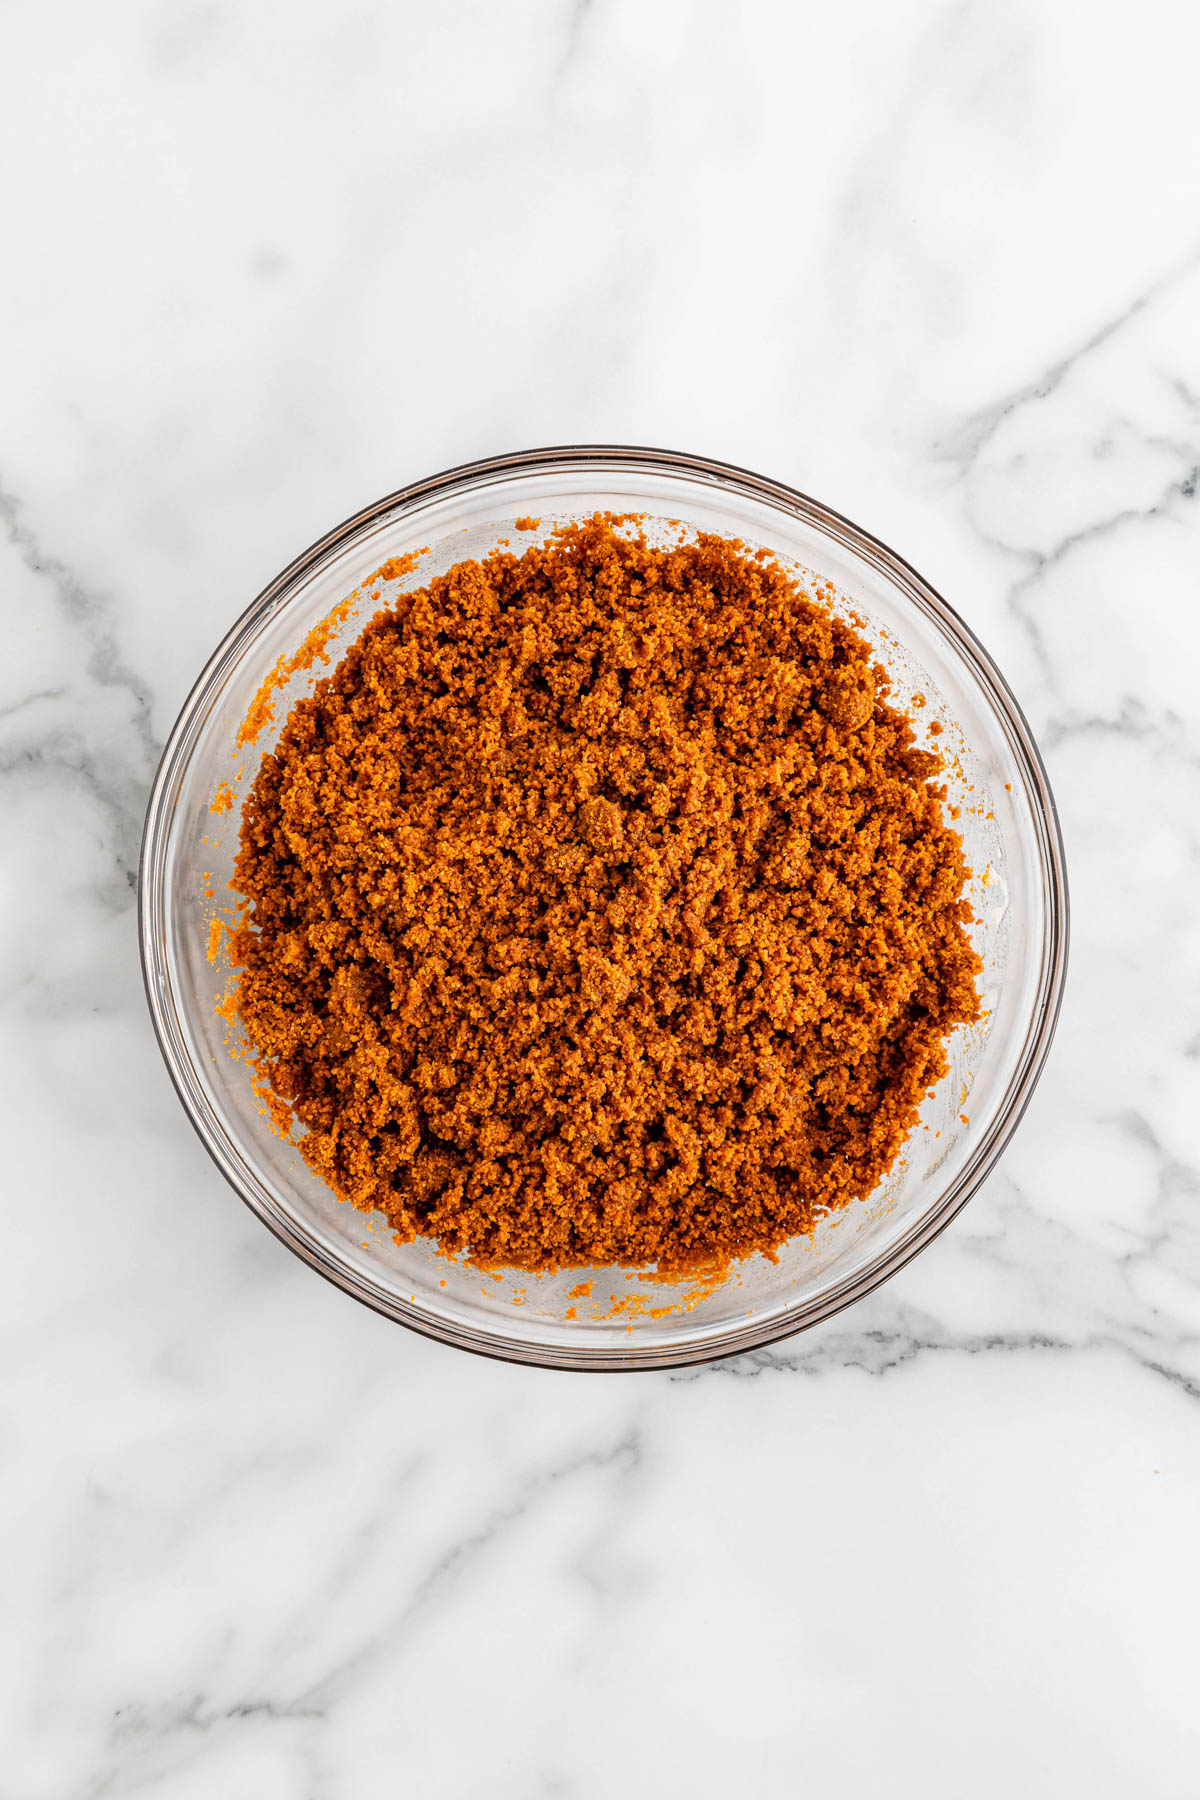
Step 3. Pour the crushed Biscoff crumbs into a medium mixing bowl and then combine with the melted butter and salt. Mix together until well combined.
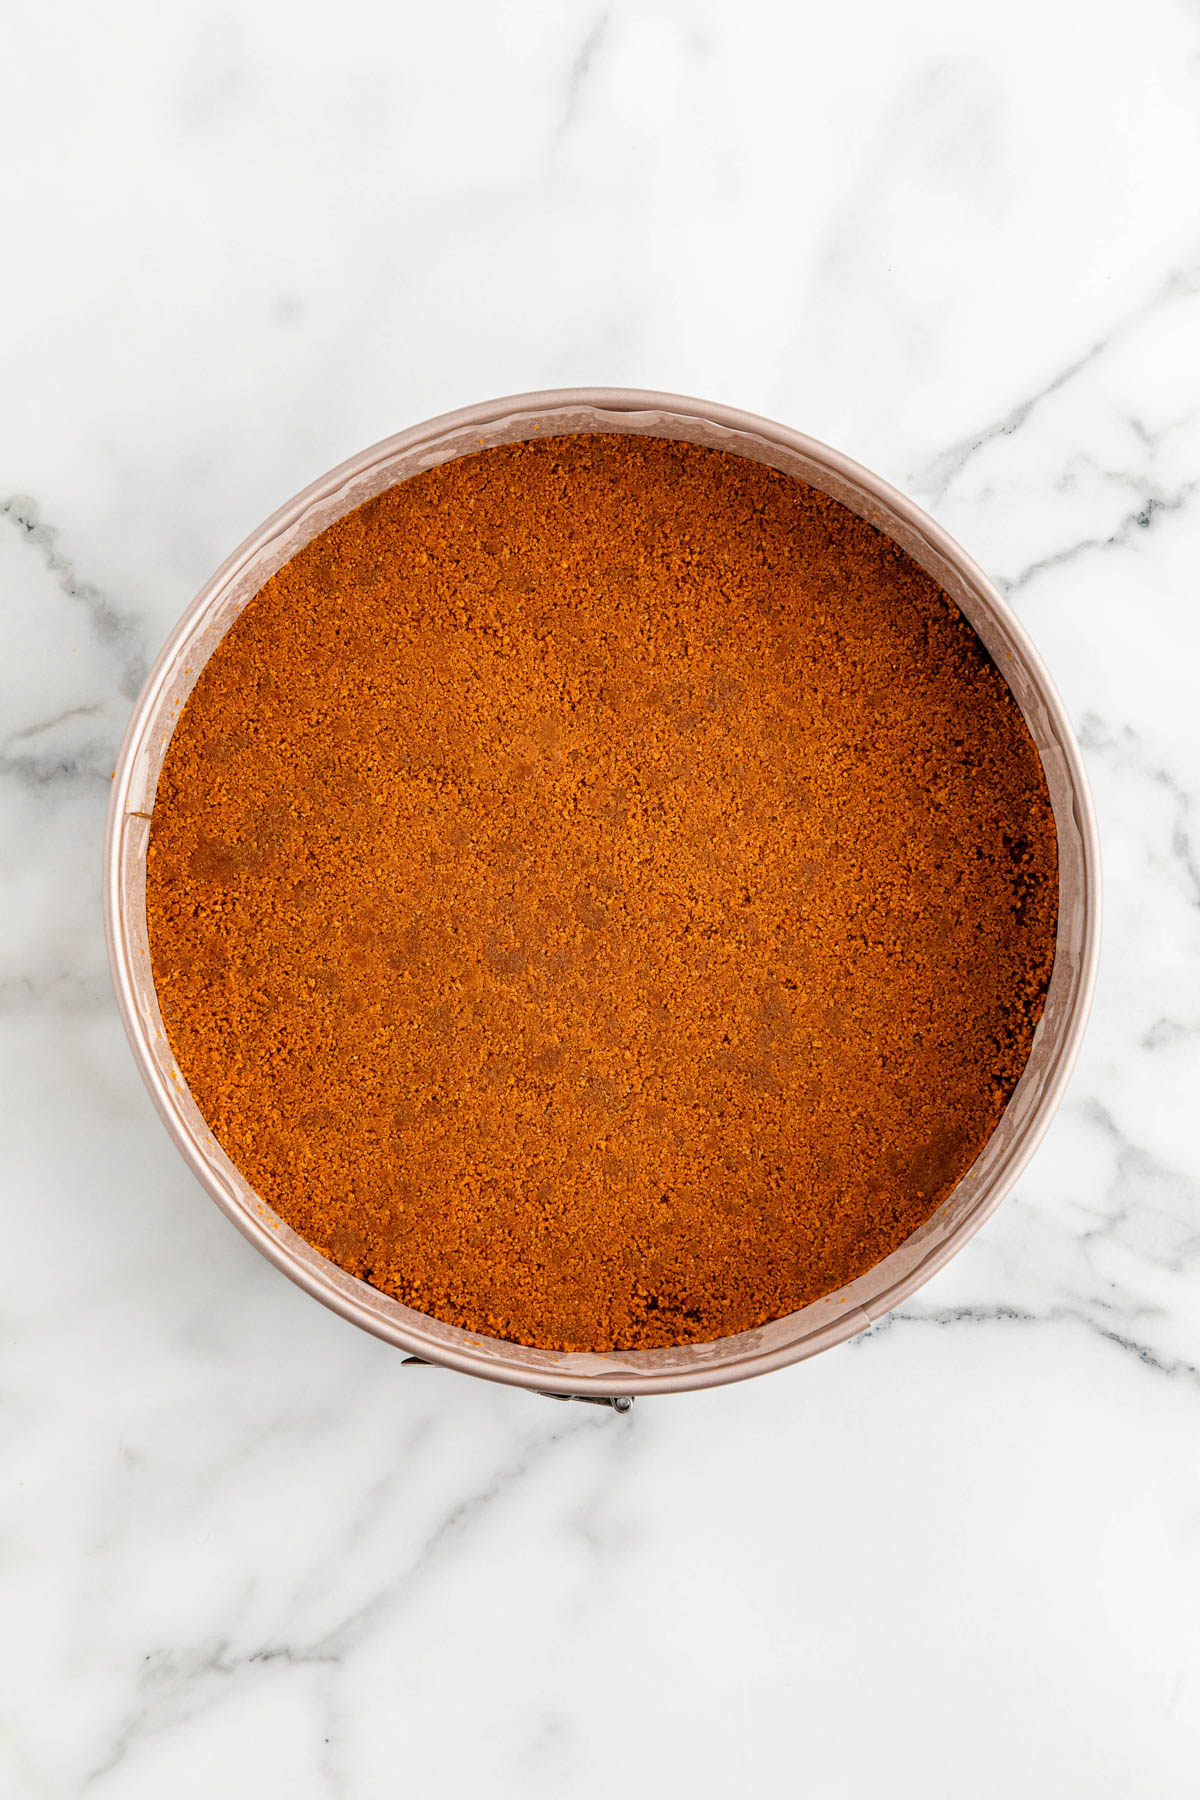
Step 4. Press the crumb mixture firmly into the bottom of the prepared springform pan.
Tip: You can use the bottom of a glass or measuring cup to help you press it down in an even layer.
Step 5. Place the prepared crust into the freezer for about 10 minutes. This helps it hold its shape when you add the cheesecake batter.
To Prepare The Cheesecake Filling
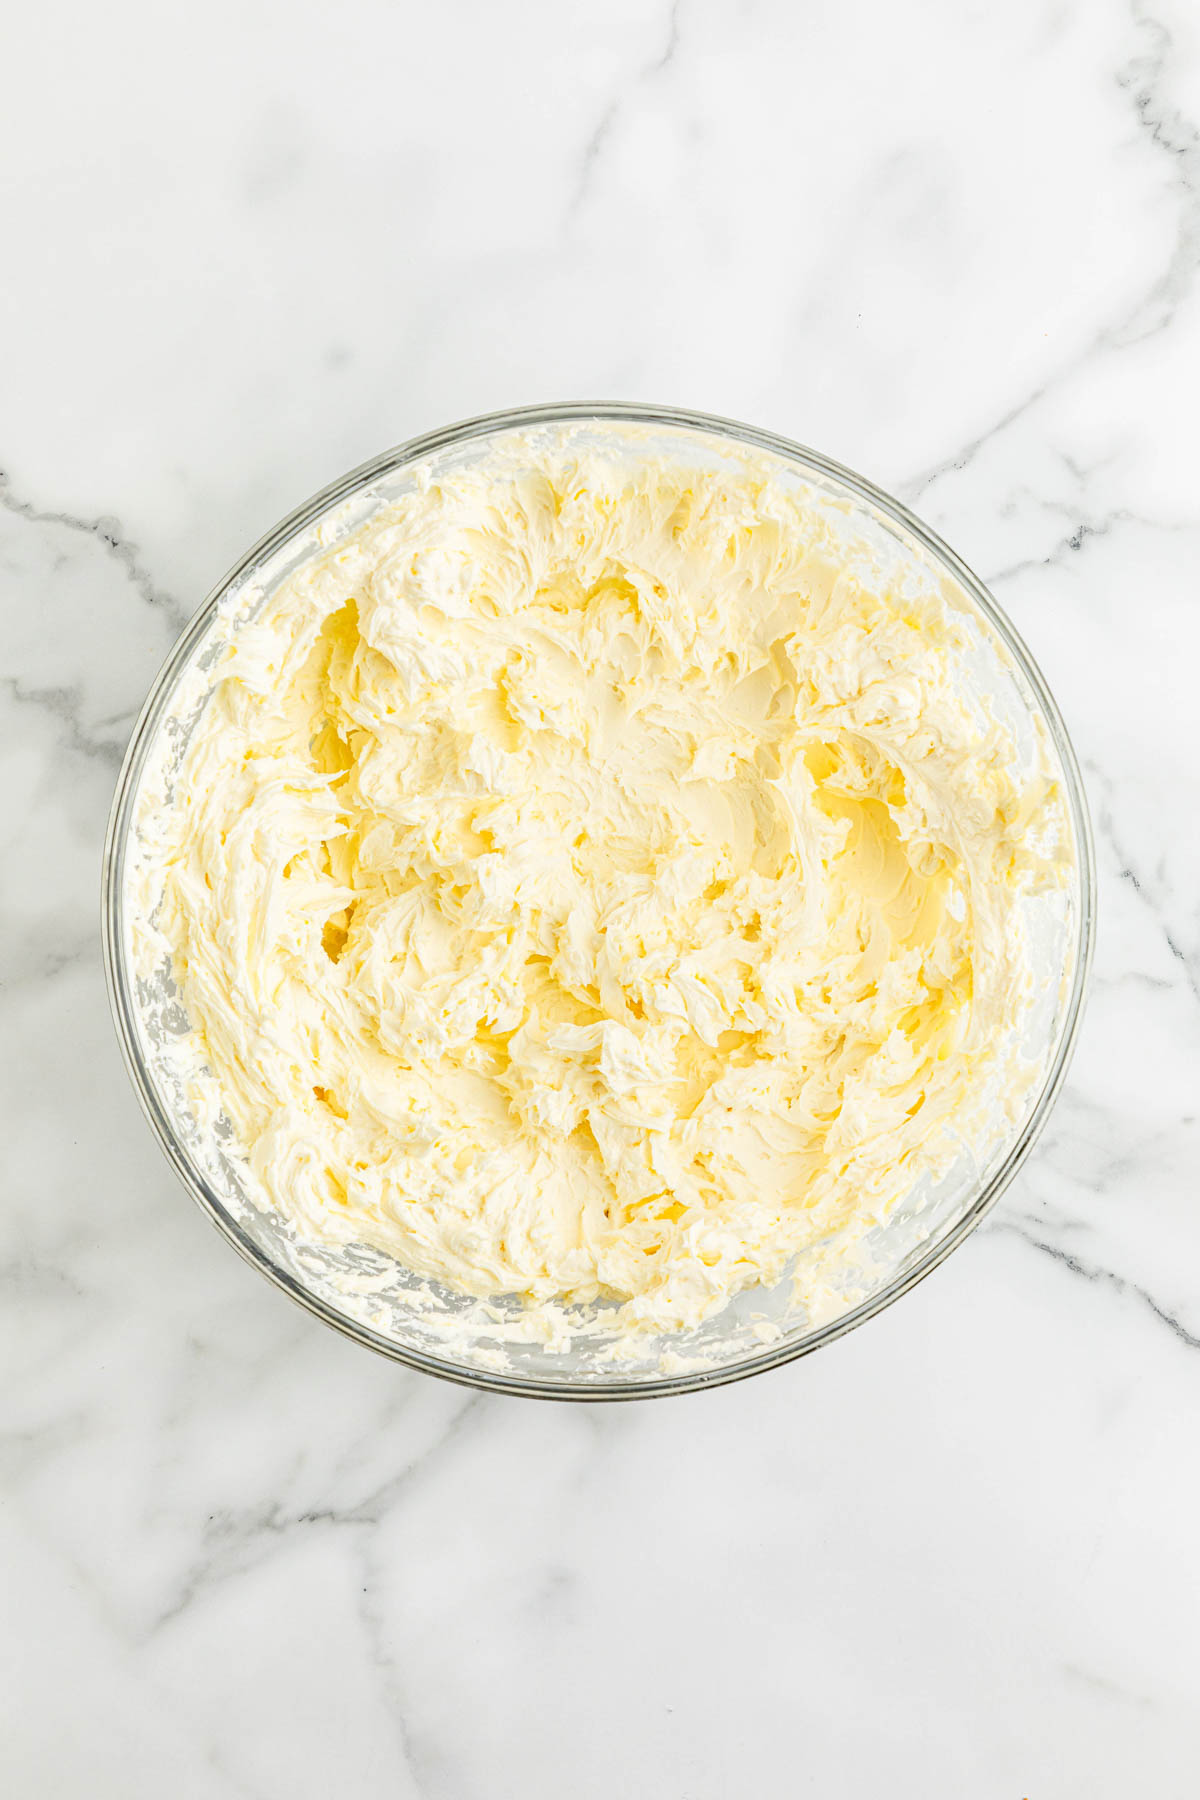
Step 1. In a large mixing bowl, using a hand mixer on medium-high speed, beat the cream cheese until smooth and creamy.
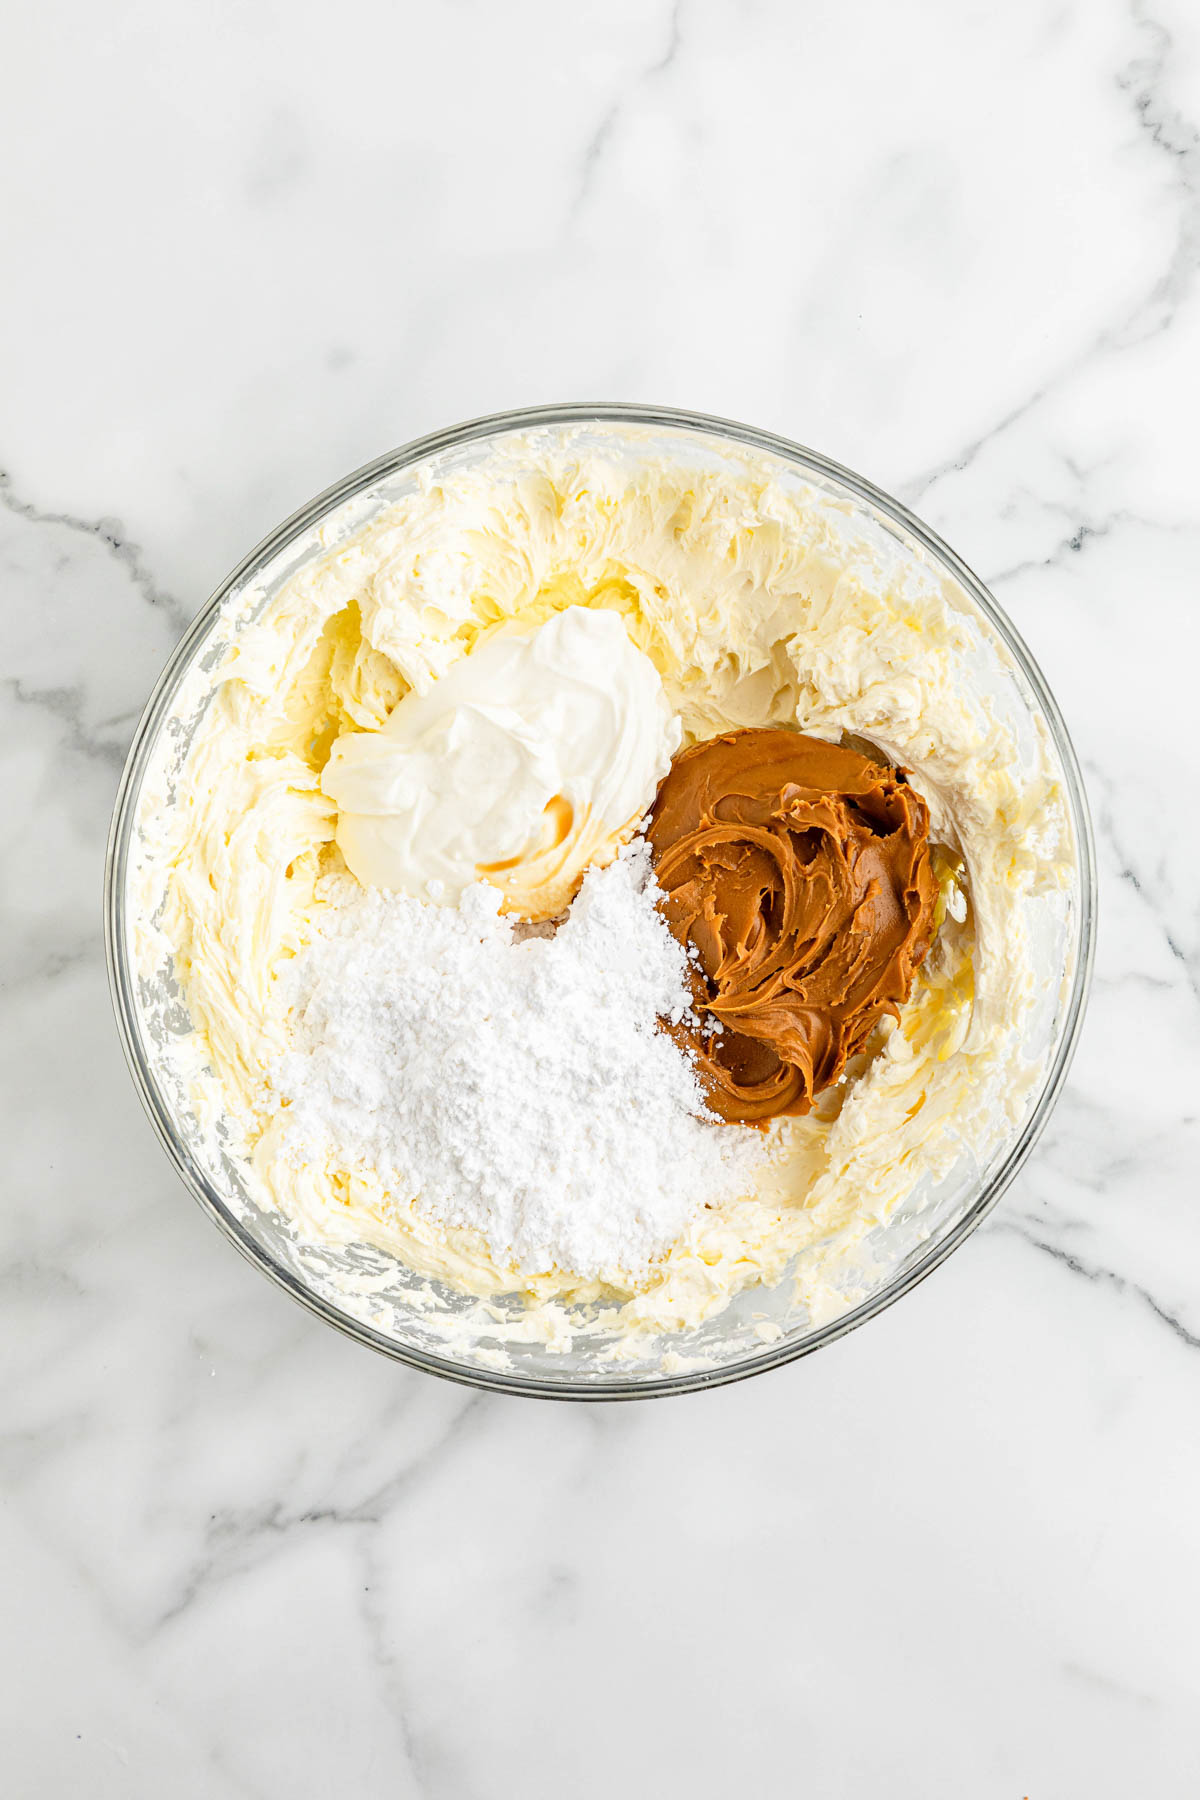
Step 2. Add the cookie butter, powdered sugar, sour cream, and vanilla extract. Beat until well combined. Make sure to use a rubber spatula to scrape the sides of the bowl as you go.
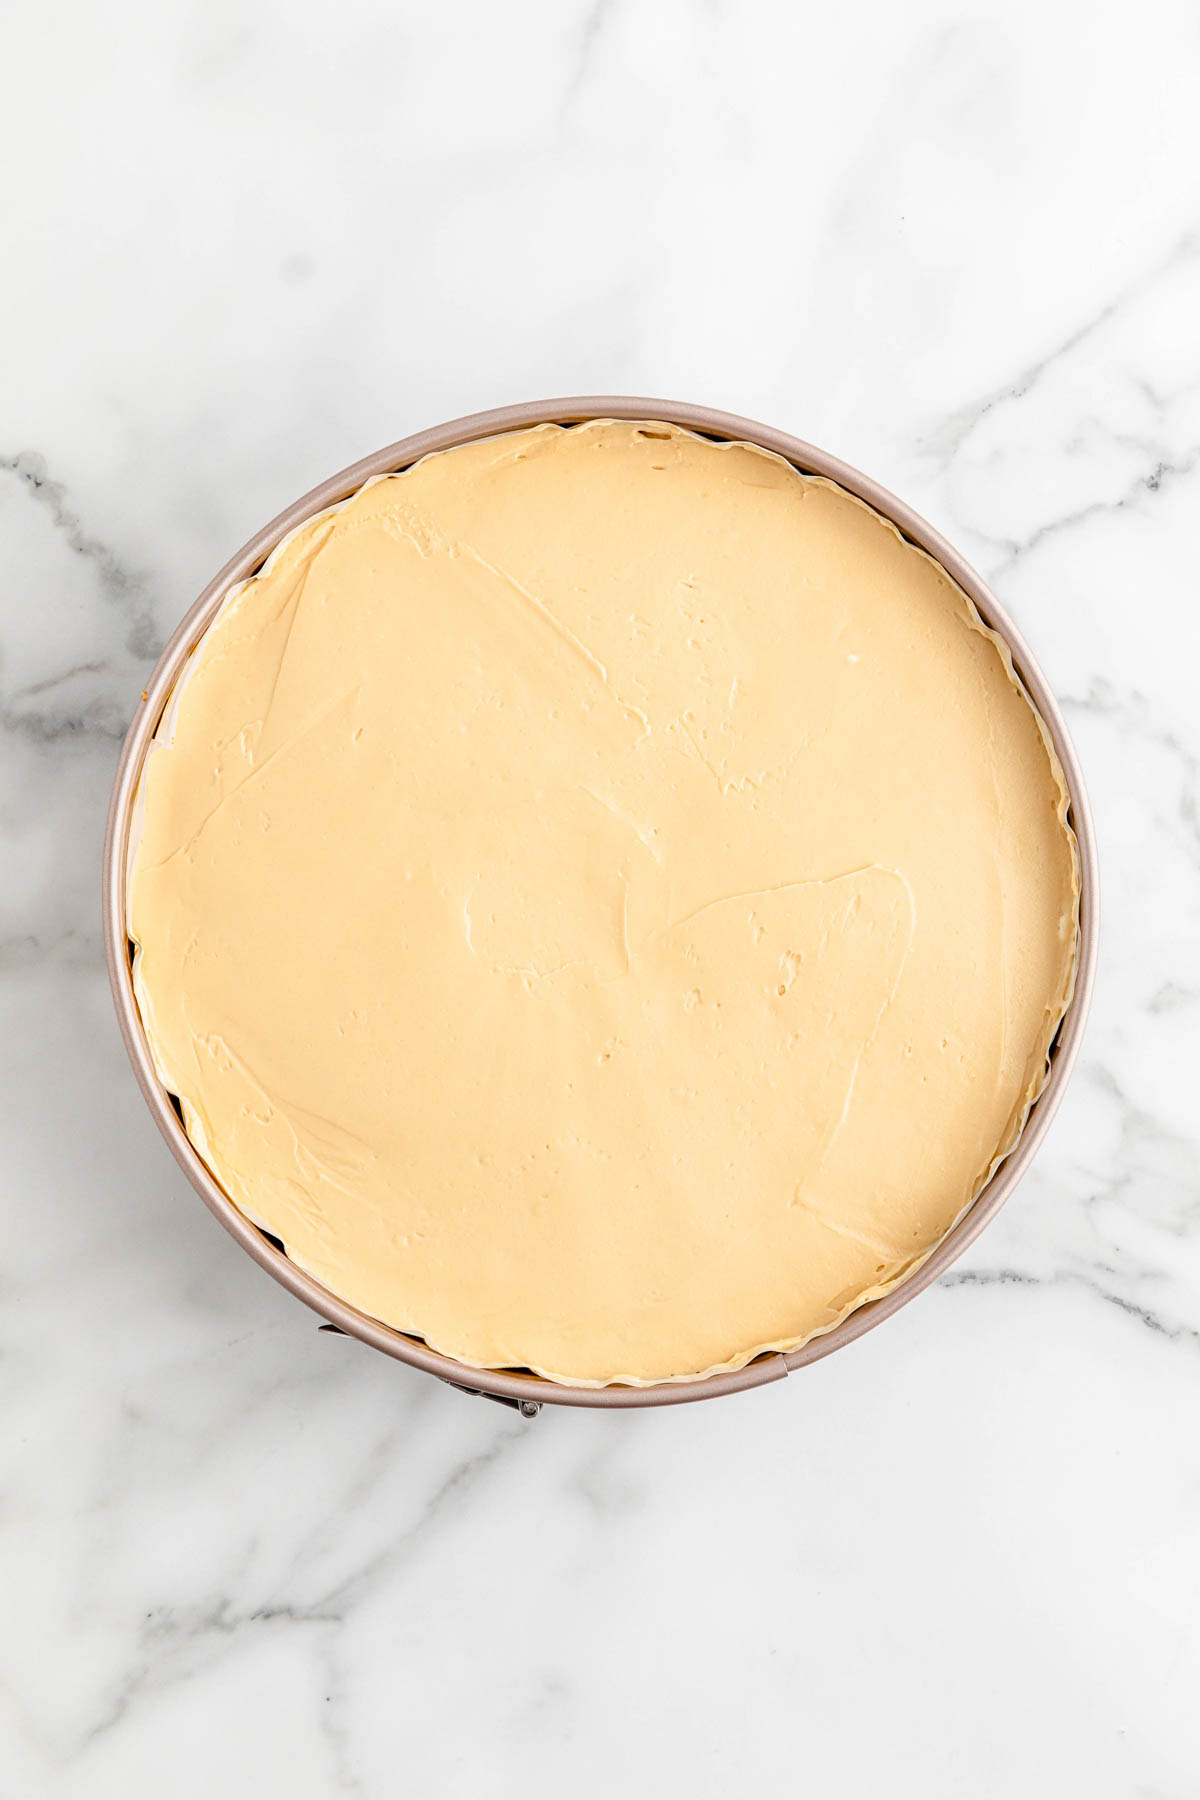
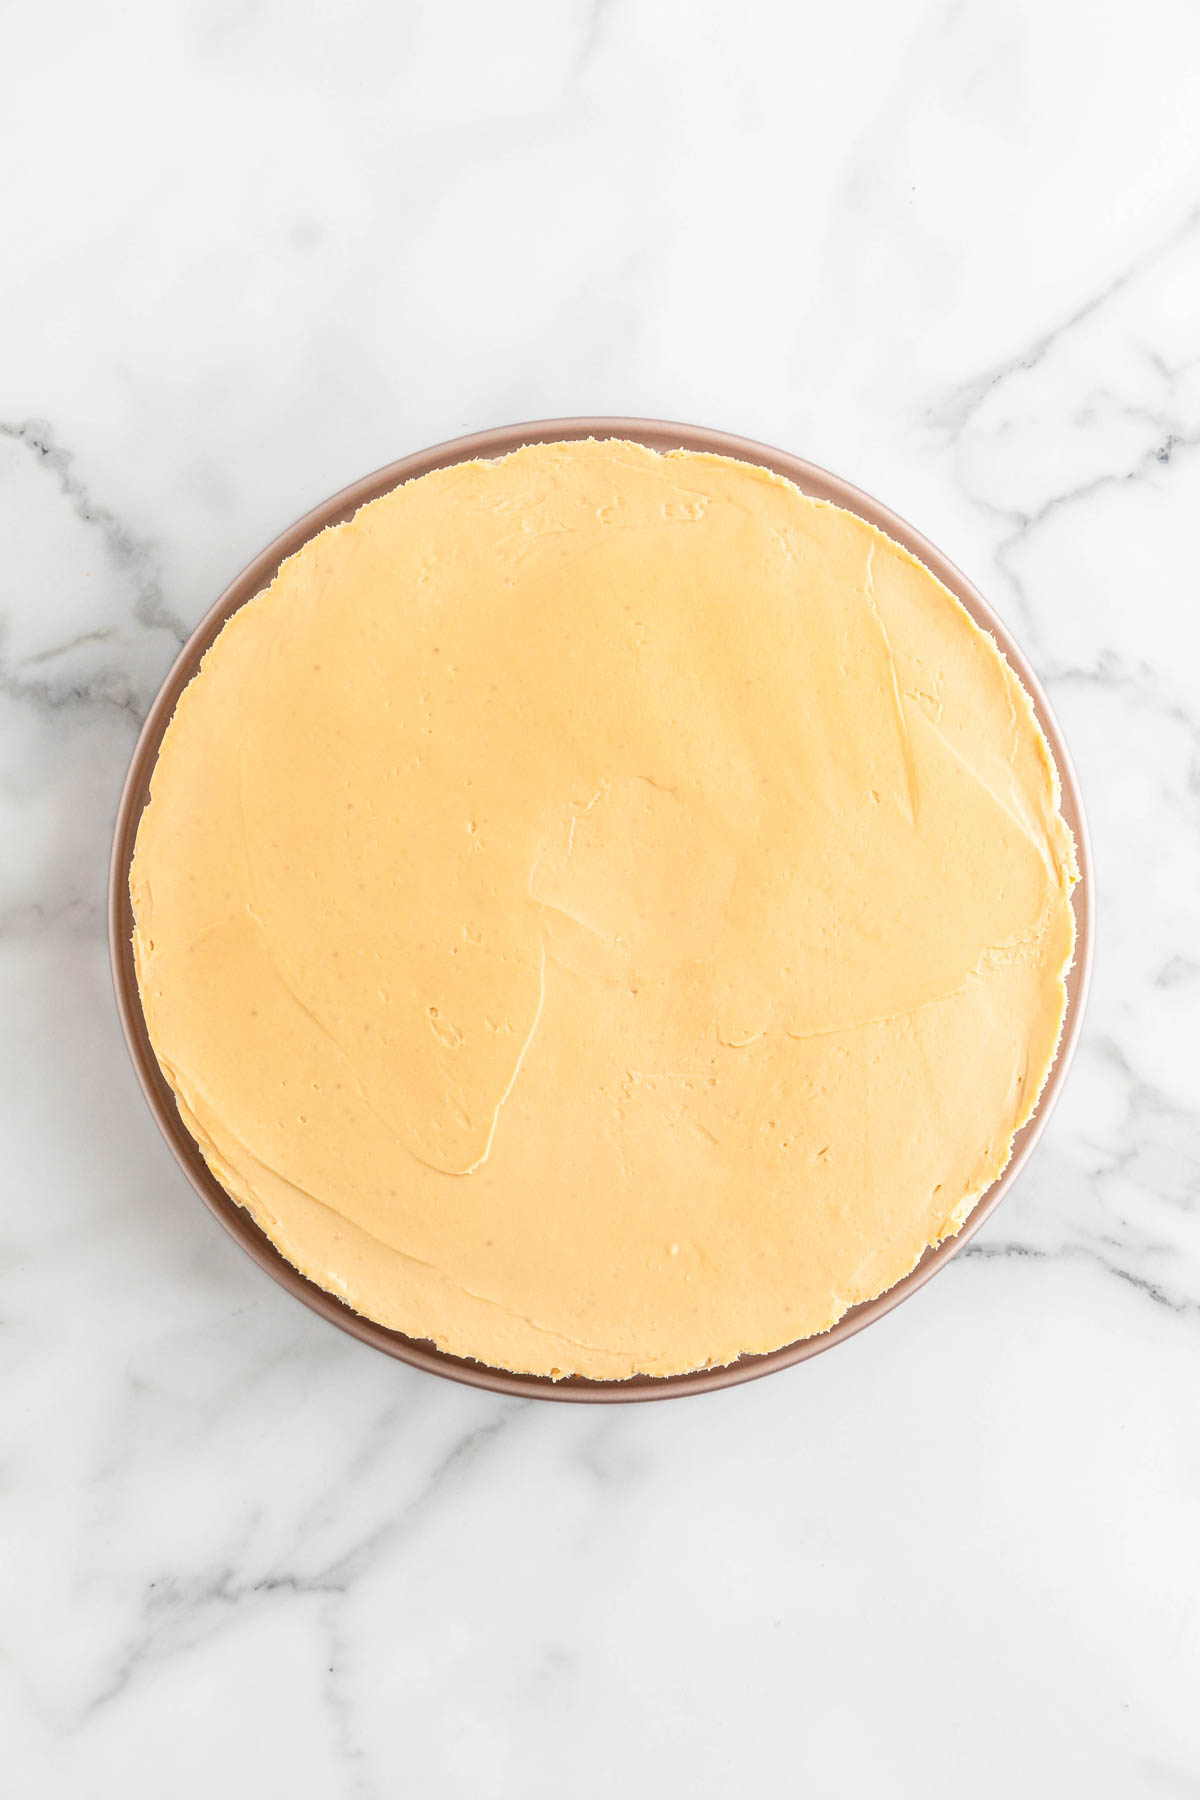
Step 3. Remove the prepared crust from the freezer and pour the cheesecake mixture on top. Spread it in a nice, even layer using the back of a spoon or offset spatula. Lightly press it into the crust to help remove any air pockets.
Step 4. Place the cheesecake into the refrigerator. Let it chill for at least 4 hours, or overnight, to allow the filling to set and hold its shape.
Step 5. Once set, remove the cheesecake from the fridge and carefully remove the sides of the springform pan. You can run a thin knife around the edges of the cheesecake if it appears it is going to stick.
To Make The Topping
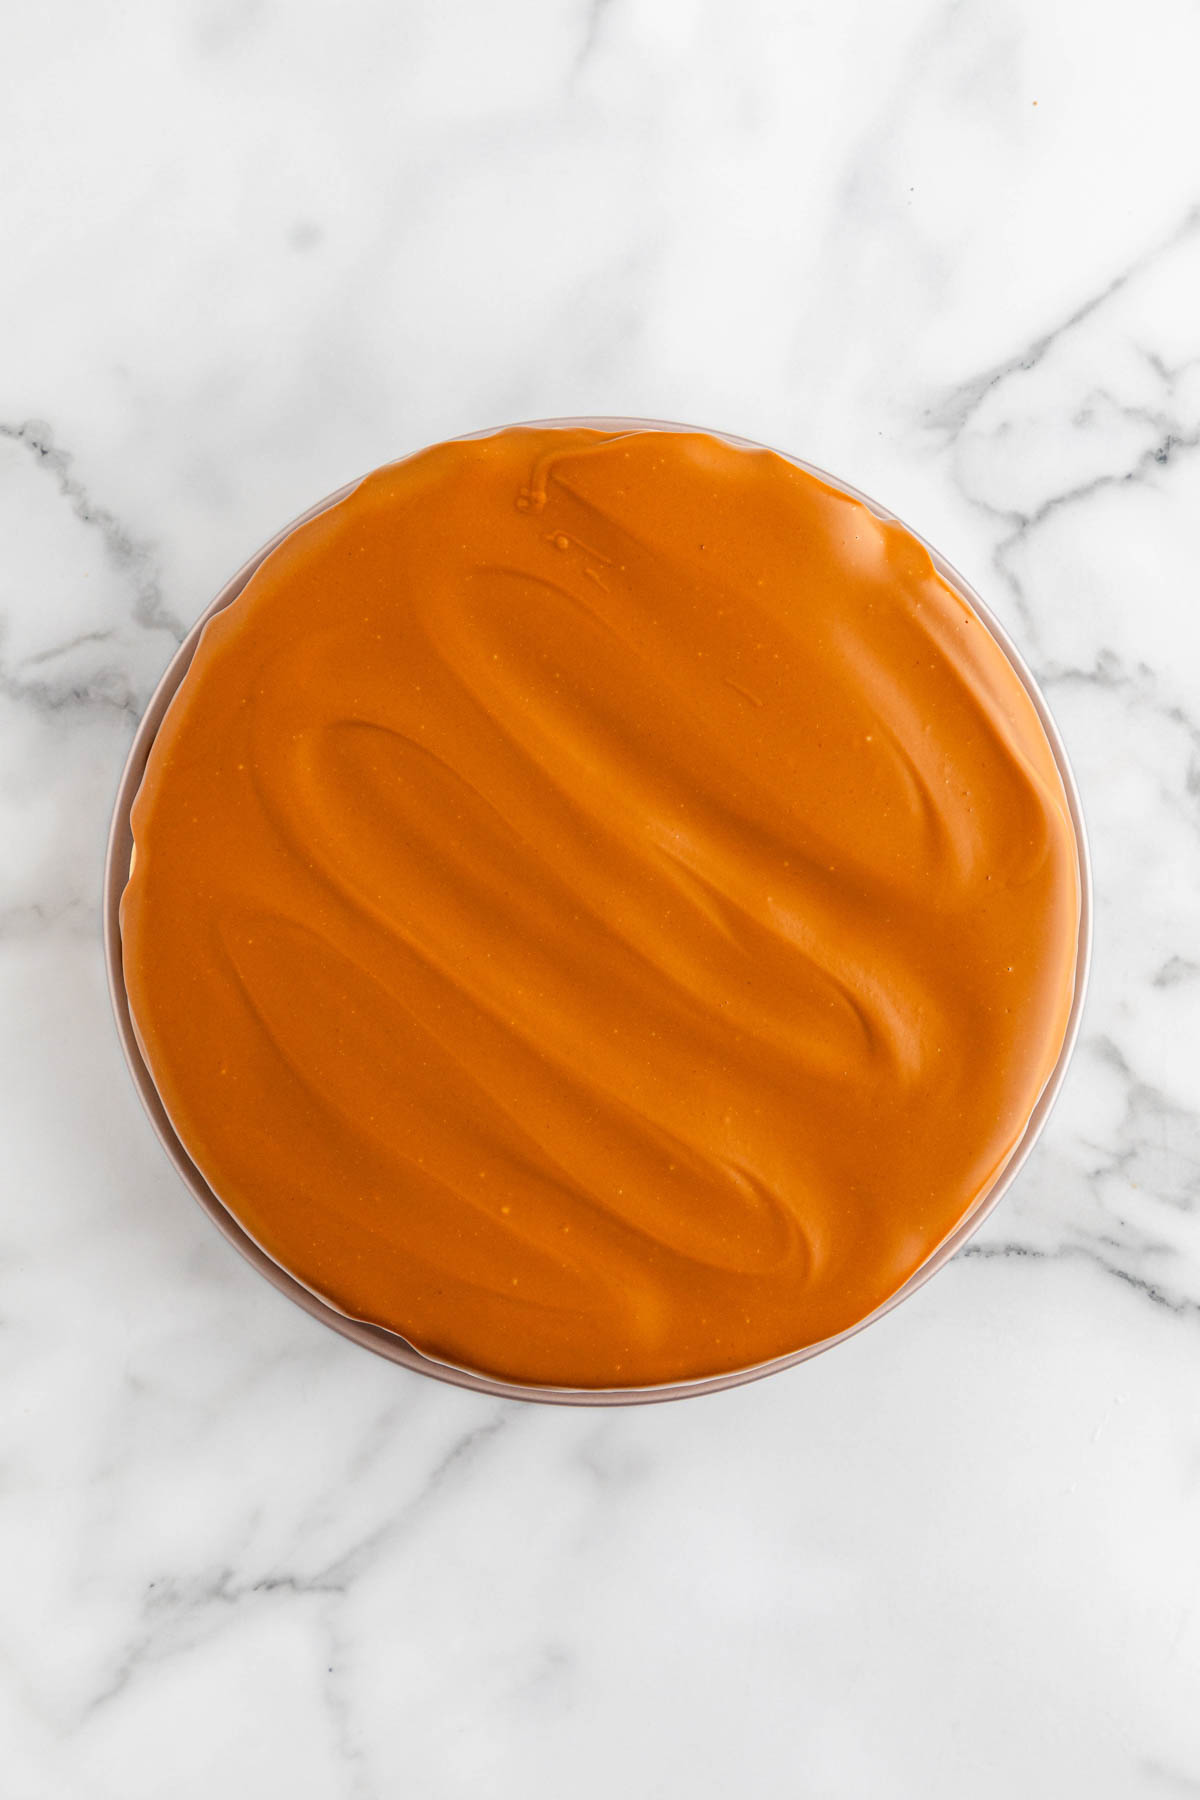
Step 1. Melt ⅔ cup of Biscoff spread in the microwave on a low or defrost setting in 20-second increments. Stir often to be sure it heats evenly.
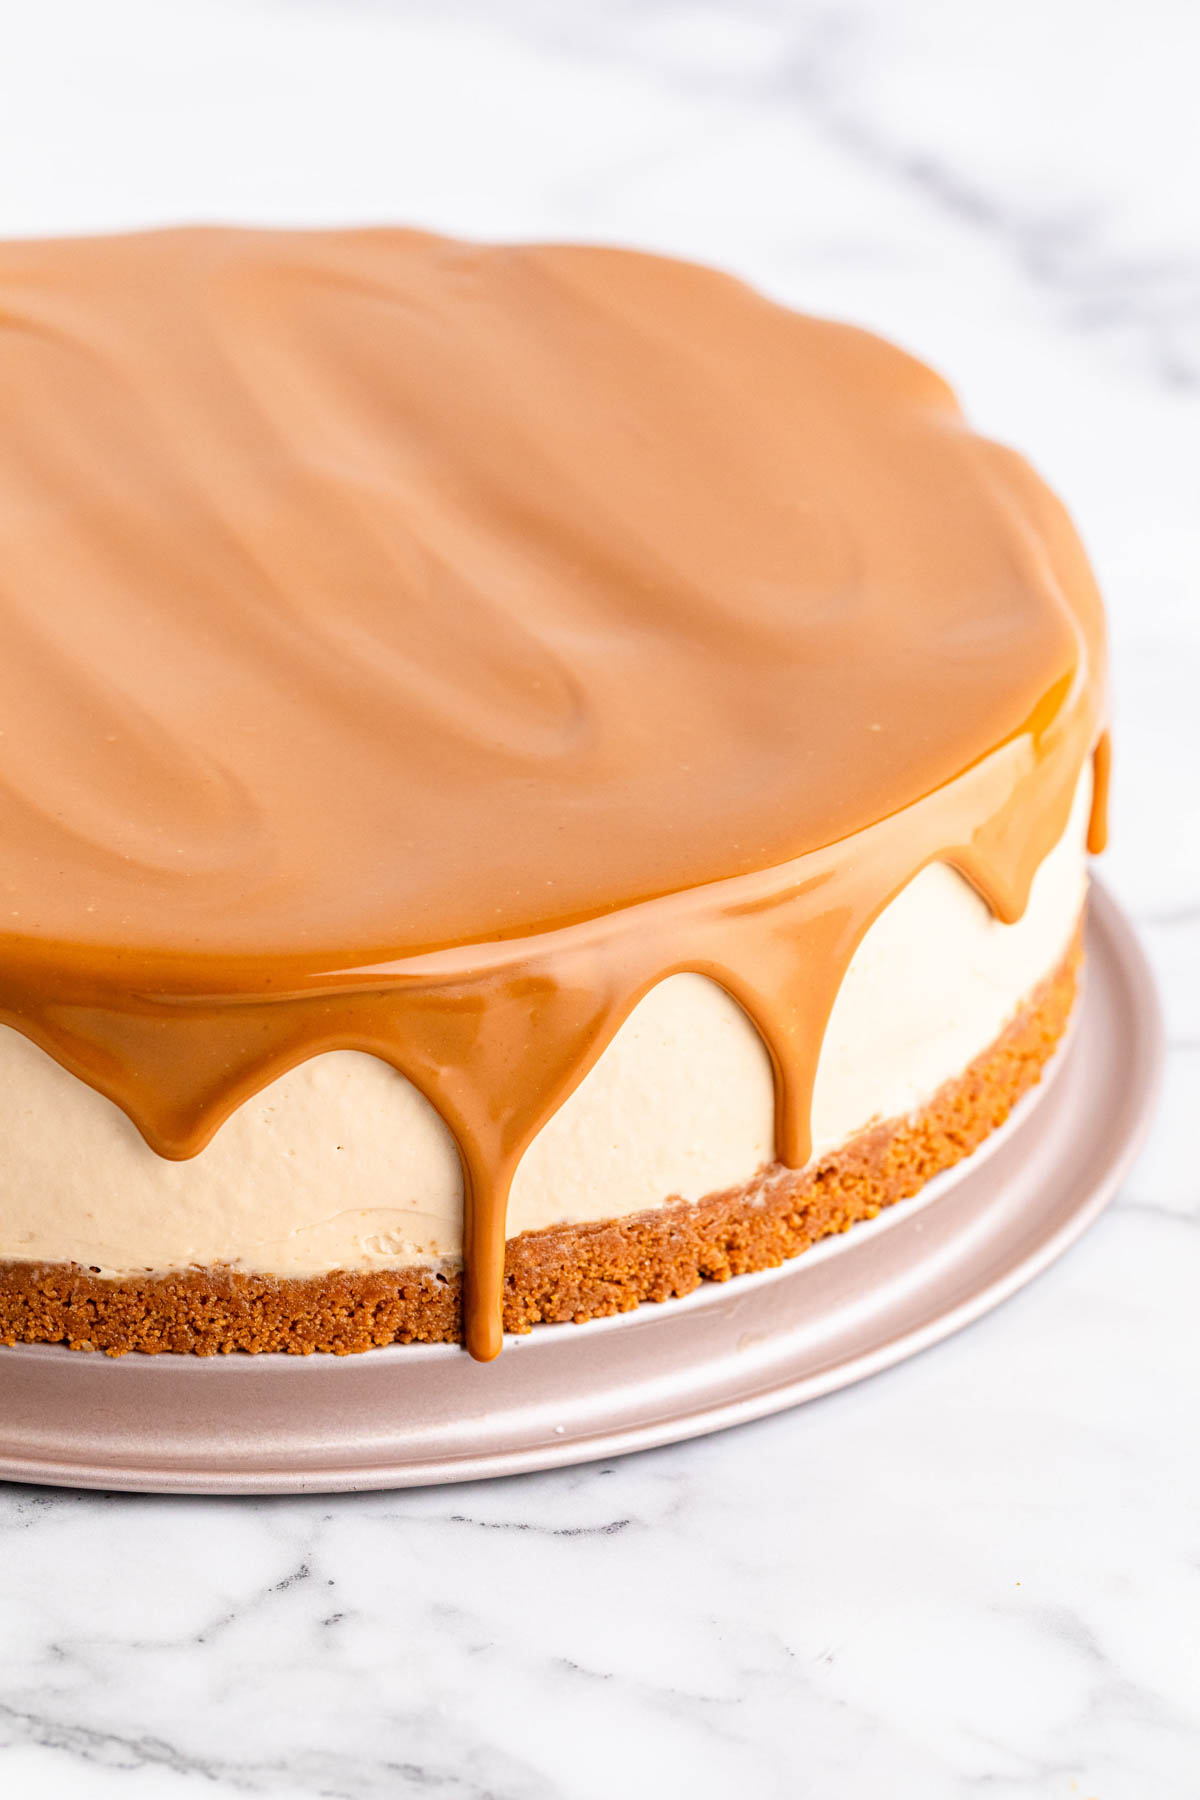
Step 2. When it’s fully melted, allow the spread to cool slightly before pouring it over the top of the cheesecake. Spread evenly, allowing some to drip over the edge.
Tip: To get perfect drips, just use a spoon to push a little bit of the melted Biscoff butter off the edge. You will want to space each drip out by about 1-1.5 inches.
Step 3. Return the cheesecake to the fridge for at least 30 minutes or until the melted cookie butter is set.
Step 4. When ready to serve, pipe stabilized whipped cream or frosting on top and decorate with additional cookies.
Step 5. Slice, serve and enjoy!
How to Store the Cheesecake
Store leftover cheesecake in an airtight container. You can keep it in the fridge for 3-4 days.
This cheesecake can freeze for up to 3 months. Just be sure to cover it well with plastic wrap, then in a layer of foil, to prevent freezer burn. You want to place it on a flat plate so the cheesecake won’t crumble before it freezes.
Recipe Variations
- Crust: Short on time? You can skip the homemade crust and use a graham cracker crust from the grocery store.
- Chocolate chips: Once you melt the Biscoff spread, allow it to cool slightly, then fold in handful of mini chocolate chips. You can also mix some into the filling
- Cookie spread: We used smooth but you can use the crunchy Lotus Biscoff spread instead. It’ll change the texture of the cheesecake slightly, giving it a little bit of crunch.
- Chocolate or caramel drizzle: Drizzle your favorite caramel sauce or chocolate sauce over the finished cheesecake. You can add it instead of the cookie butter topping or in addition to.
- Added Biscoff crumbs: Fold chopped cookies into the cheesecake filling for extra cookie goodness in every bite.
- Cheesecake cups: Because this Biscoff cheesecake doesn’t bake, you can make it without a crust. Just layer loose cookie crumbs in a dessert cup. Follow that with a layer of the filling and a drizzle of the topping. You can use this lemon cheesecake parfait as an example.
Tips & Tricks
- For the best creamy filling, make sure your ingredients are at room temperature before mixing. This will ensure your cheesecake is creamy without any clumps of unblended cream cheese.
- To get nice, clean slices, start by dipping a sharp knife in warm water. Dry it, then cut the chilled cheesecake.
- If the melted cookie butter drizzles too far down the side, let it cool for another minute or two until it begins to firm up a little.
- Don’t rush the chill time. You want to let the cheesecake firm up in the fridge for at least 4 hours.
Biscoff Cheesecake Recipe FAQ
Sometimes called “speculoos”, they’re thin, crisp biscuit-like cookies with a buttery, brown sugar flavor and a hint of cinnamon.
Don’t know what Biscoff spread is? Also called cookie butter, it’s a sweet and creamy spread made from the crushed cookies. It has a caramelized flavor with a texture that is somewhat similar to peanut butter.
Sure! You can make this Biscoff cheesecake up to a few days in advance. Just refrigerate until you’re ready to serve it.
You can leave the cheesecake sitting out for an hour or so. For best results, it’s best to place the cheesecake in the fridge when not serving it. You want to keep the cheesecake cool so the filling doesn’t become too soft.
More Cheesecake Desserts
- Pumpkin Pie Cheesecake
- Oreo Cheesecake Bars
- Peppermint Chocolate Cheesecake Bites
- No Bake Cheesecake with Cool Whip
- Salted Caramel No Bake Chocolate Cheesecake Bites
No Bake Biscoff Cheesecake Recipe
Equipment
- Hand mixer or stand mixer
Ingredients
Crust:
- 13 ounces Biscoff cookies 1 1/2 packages
- 10 tablespoons unsalted butter melted and cooled
- ¼ teaspoon salt optional to balance out sweetness
Filling:
- 32 ounces full fat cream cheese 4 blocks softened to room temperature
- 1 cup Biscoff cookie butter creamy
- 1 cup powdered sugar
- 10 ounces sour cream
- ½ tablespoon pure vanilla extract
Toppings:
- ⅔ cup Biscoff cookie butter spread creamy, melted
- Stabilized whipped cream optional
- Additional cookies for topping optional
Instructions
For The Crust
- Lightly spray your springform pan with cooking spray and line the bottom with a parchment paper round. Line the paper around the edge of the pan as well.
- Use a food processor or a high speed blender to crush the cookies into fine crumbs.13 ounces Biscoff cookies
- Pour the crushed Biscoff crumbs into a medium mixing bowl and then combine with the melted butter and salt. Mix together until well combined.10 tablespoons unsalted butter, ¼ teaspoon salt
- Press the crumb mixture firmly into the bottom of the prepared springform pan.
- Place the prepared crust into the freezer for about 10 minutes. This helps it hold its shape when you add the cheesecake batter.
To Prepare The Cheesecake Filling
- In a large mixing bowl, using a hand mixer on medium-high speed, beat the cream cheese until smooth and creamy.32 ounces full fat cream cheese
- Add the cookie butter, powdered sugar, sour cream, and vanilla extract. Beat until well combined. Make sure to use a rubber spatula to scrape the sides of the bowl as you go.1 cup Biscoff cookie butter, 1 cup powdered sugar, 10 ounces sour cream, ½ tablespoon pure vanilla extract
- Remove the prepared crust from the freezer and pour the cheesecake mixture on top. Spread it in a nice, even layer using the back of a spoon or offset spatula. Lightly press it into the crust to help remove any air pockets.
- Place the cheesecake into the refrigerator. Let it chill for at least 4 hours, or overnight, to allow the filling to set and hold its shape.
- Once set, remove the cheesecake from the fridge and carefully remove the sides of the springform pan. You can run a thin knife around the edges of the cheesecake if it appears it is going to stick.
To Make The Topping
- Melt ⅔ cup of Biscoff spread in the microwave on a low or defrost setting in 20-second increments. Stir often to be sure it heats evenly.⅔ cup Biscoff cookie butter spread
- When it’s fully melted, allow the spread to cool slightly before pouring it over the top of the cheesecake. Spread evenly, allowing some to drip over the edge.
- Return the cheesecake to the fridge for at least 30 minutes or until the melted cookie butter is set.
- When ready to serve, pipe stabilized whipped cream or frosting on top and decorate with additional cookies.Stabilized whipped cream, Additional cookies for topping
- Slice, serve and enjoy!
Notes
- You can use the bottom of a glass or measuring cup to help you press the crust into an even layer.
- To get perfect drips, just use a spoon to push a little bit of the melted Biscoff butter off the edge. You will want to space each drip out by about 1-1.5 inches.
Nutrition
Did You Make This Recipe?
Share it with me on Instagram @funmoneymom and follow on Pinterest @funmoneymom for more!
Let’s be friends!
Did you love this post? Make sure to comment below and let me know your thoughts! And don’t forget to follow on your favorite social network below!

About Lisa O’Driscoll
Lisa O’Driscoll is a lifestyle and parenting expert, cookbook author, and the creative force behind Fun Money Mom, a popular blog she’s run since 2014. She’s the author of the children’s cookbook Roll It, Slice It, Mash It, Dice It, designed to get kids excited about cooking. With multiple TV appearances under her belt, she loves sharing her expertise on family-friendly recipes, creative DIYs, and party planning and is always on a mission to inspire and entertain!