
Stabilized Whipped Cream Frosting
This post may contain affiliate links. As an Amazon Associate, I earn from qualifying purchases.
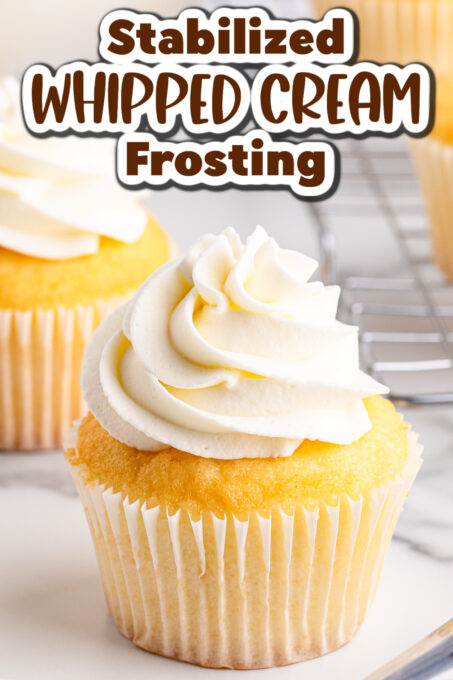
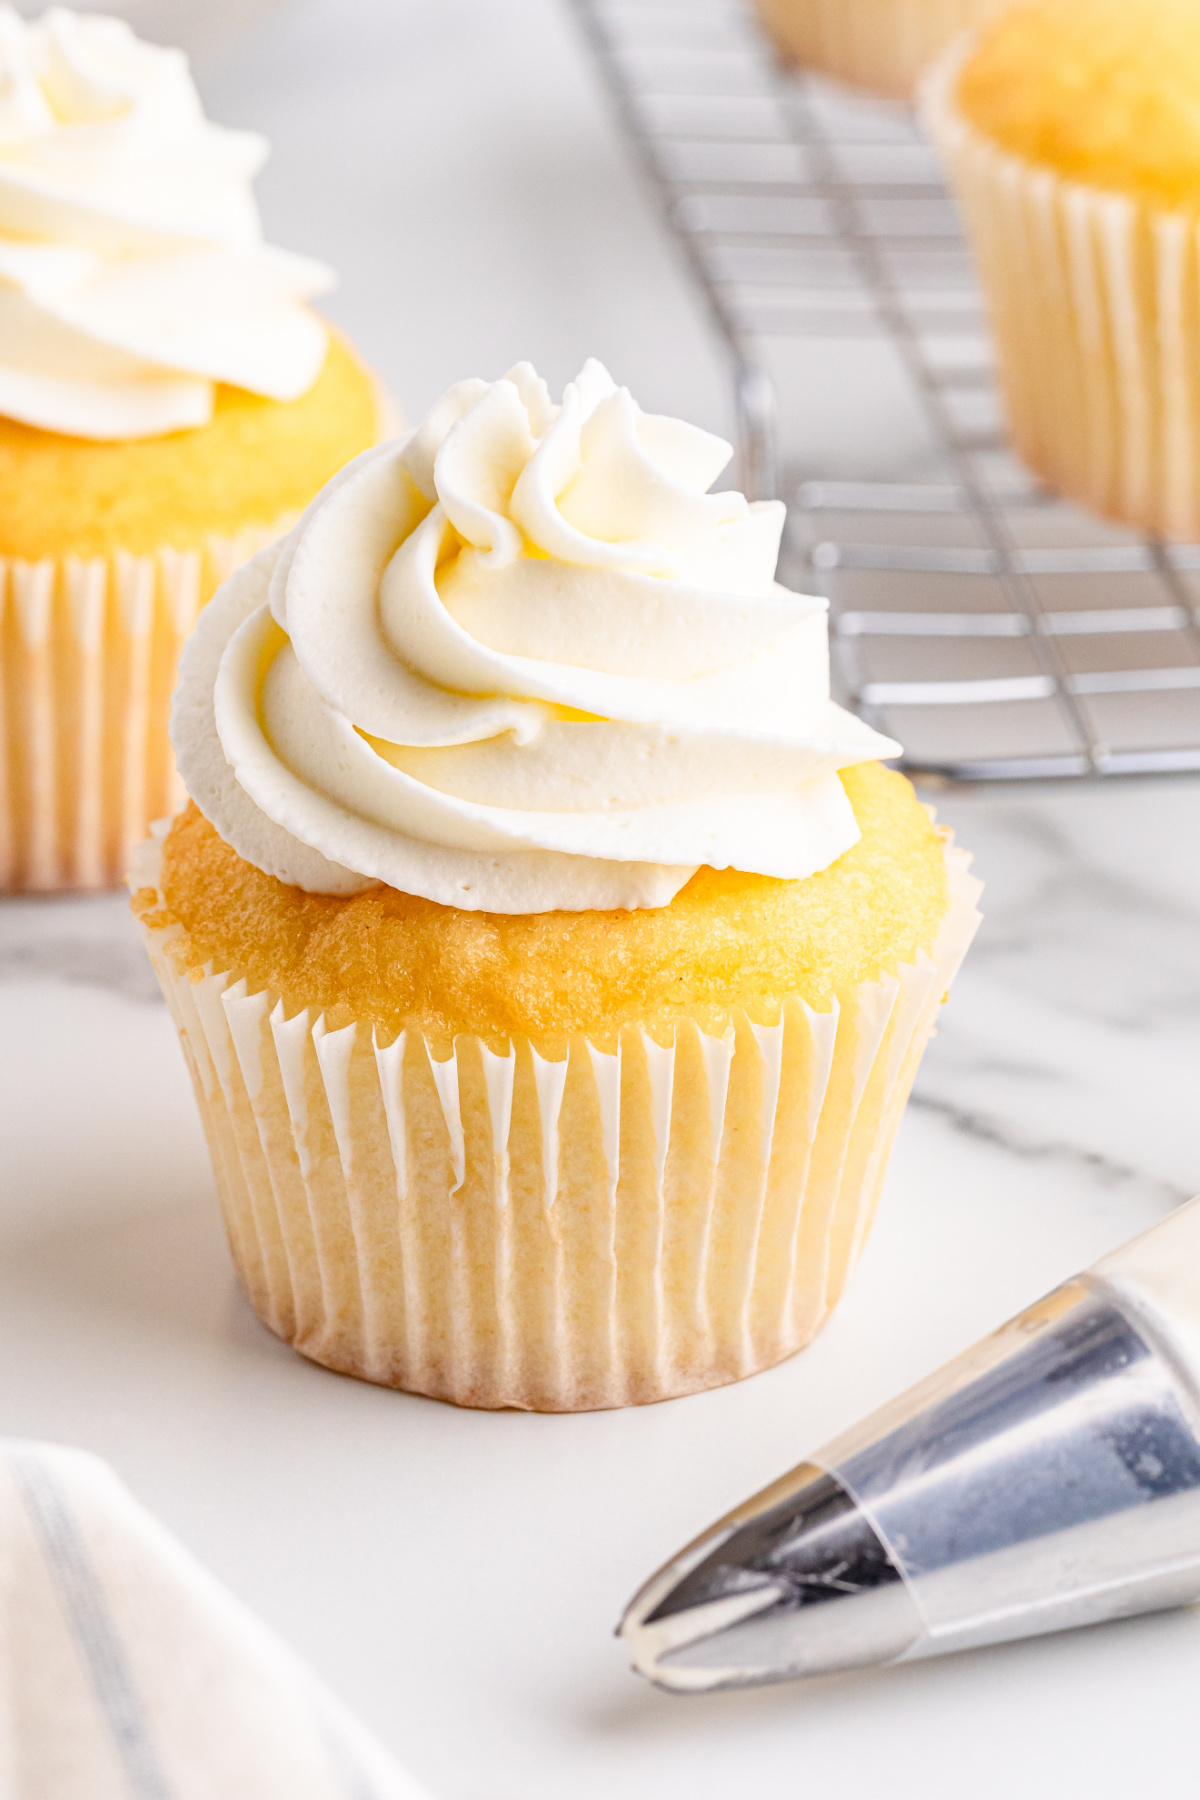
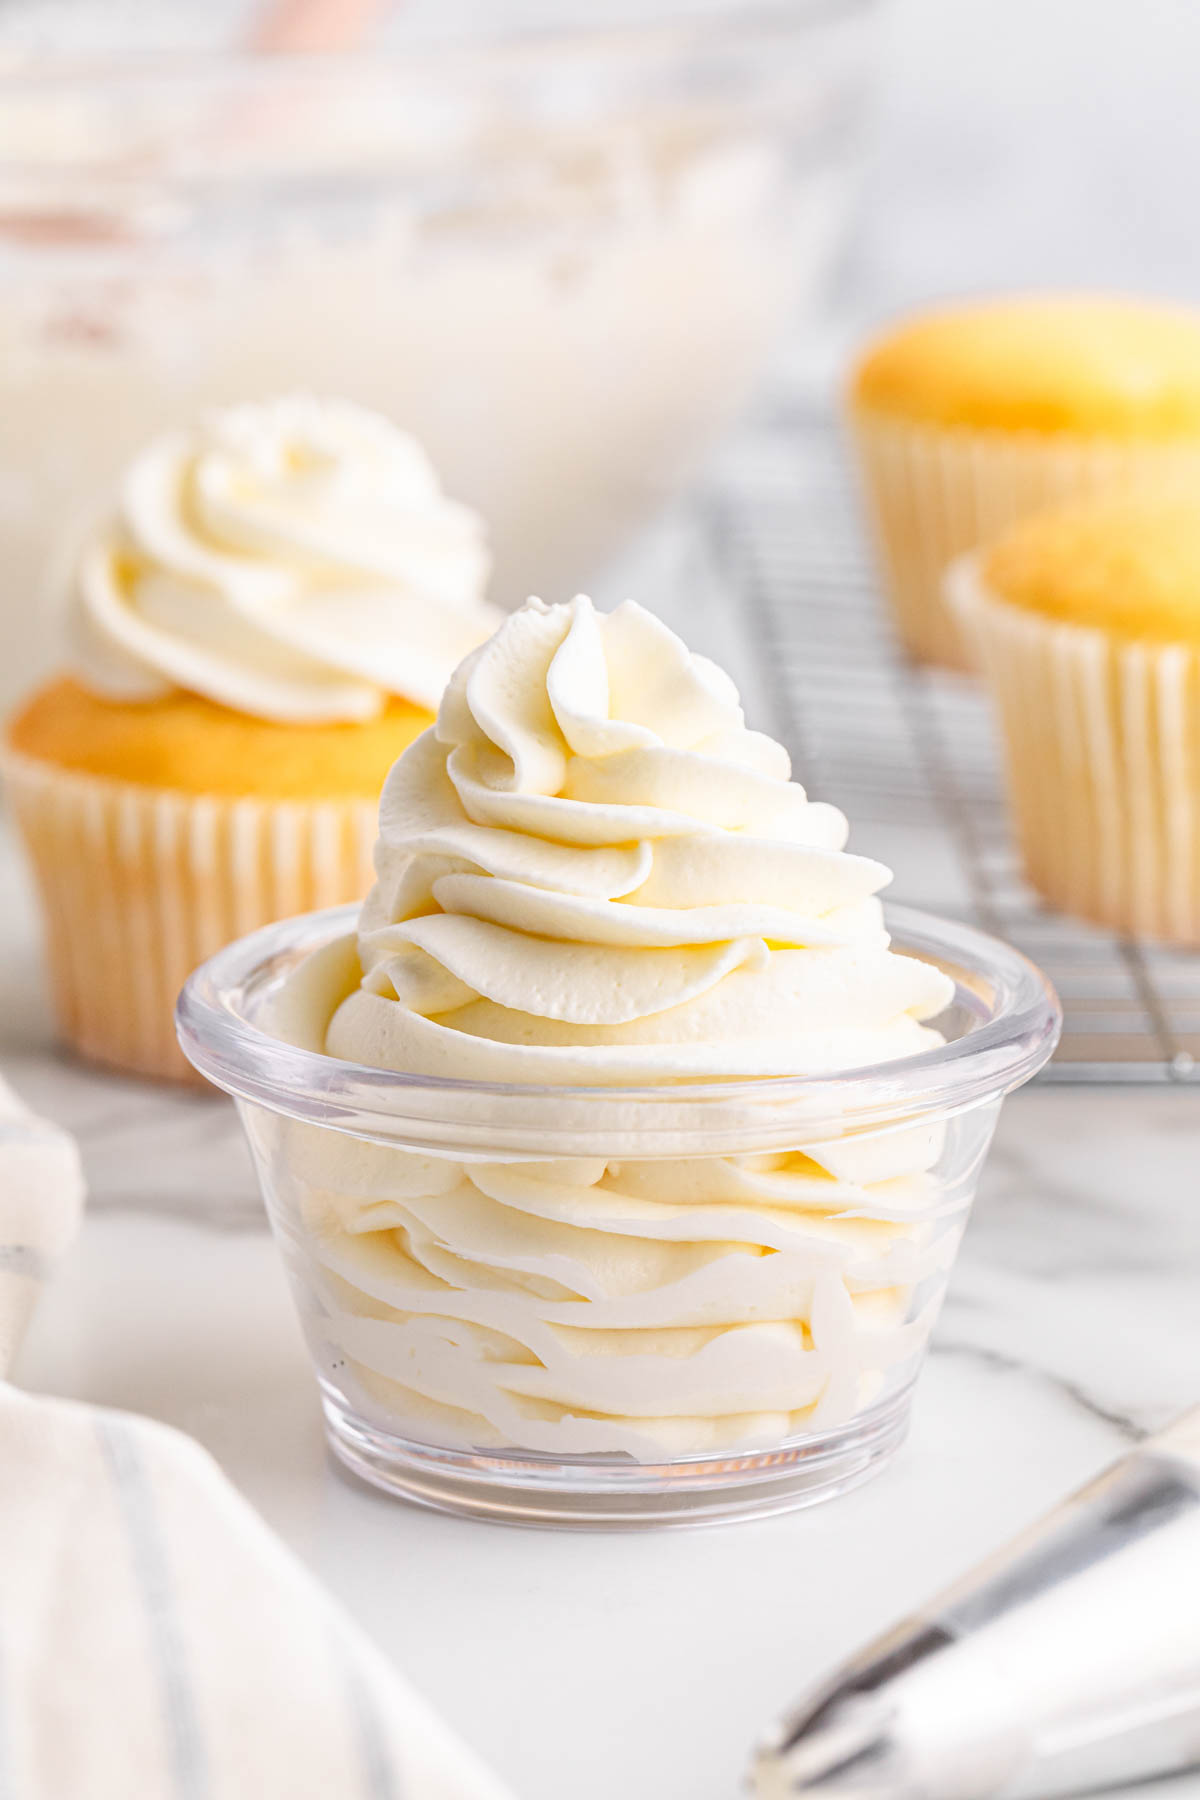
This fluffy Stabilized Whipped Cream Frosting is a velvety sweet topping or filling for cakes, cupcakes, and more. With a secret ingredient that stabilizes the cream, this easy recipe makes a delicious frosting that comes out thick, creamy, and perfectly pipeable.
Stabilized Whipped Cream Recipe
This easy to make frosting recipe is an absolute dream to work with. To start, heavy cream is lightly sweetened and beaten until homemade whipped cream forms. Next you’ll add the secret ingredient, gelatin powder, that acts as a stabilizer. It helps to create a smooth whipped frosting that’s not just deliciously sweet and fluffy but will also hold its shape.
With just 5 simple ingredients you’ll have homemade icing that you use in so many delicious ways. We used it to add a special touch to this Biscoff Cheesecake. You can also use it as go-to frosting for any of your favorite cookie, cake or cupcake recipes, like these simple but delicious White Cupcakes.
Why We Love This Recipe
- Light and creamy: It’s a delicious and lighter alternative to traditional buttercream frosting or cream cheese frosting.
- Perfect for decorating: More stable than cool whip or regular whipped cream, the thicker consistency is perfect for piping and decorating your favorite desserts.
- Easy recipe: This recipe only takes 10 minutes to make using just 5 simple ingredients.
Ingredients
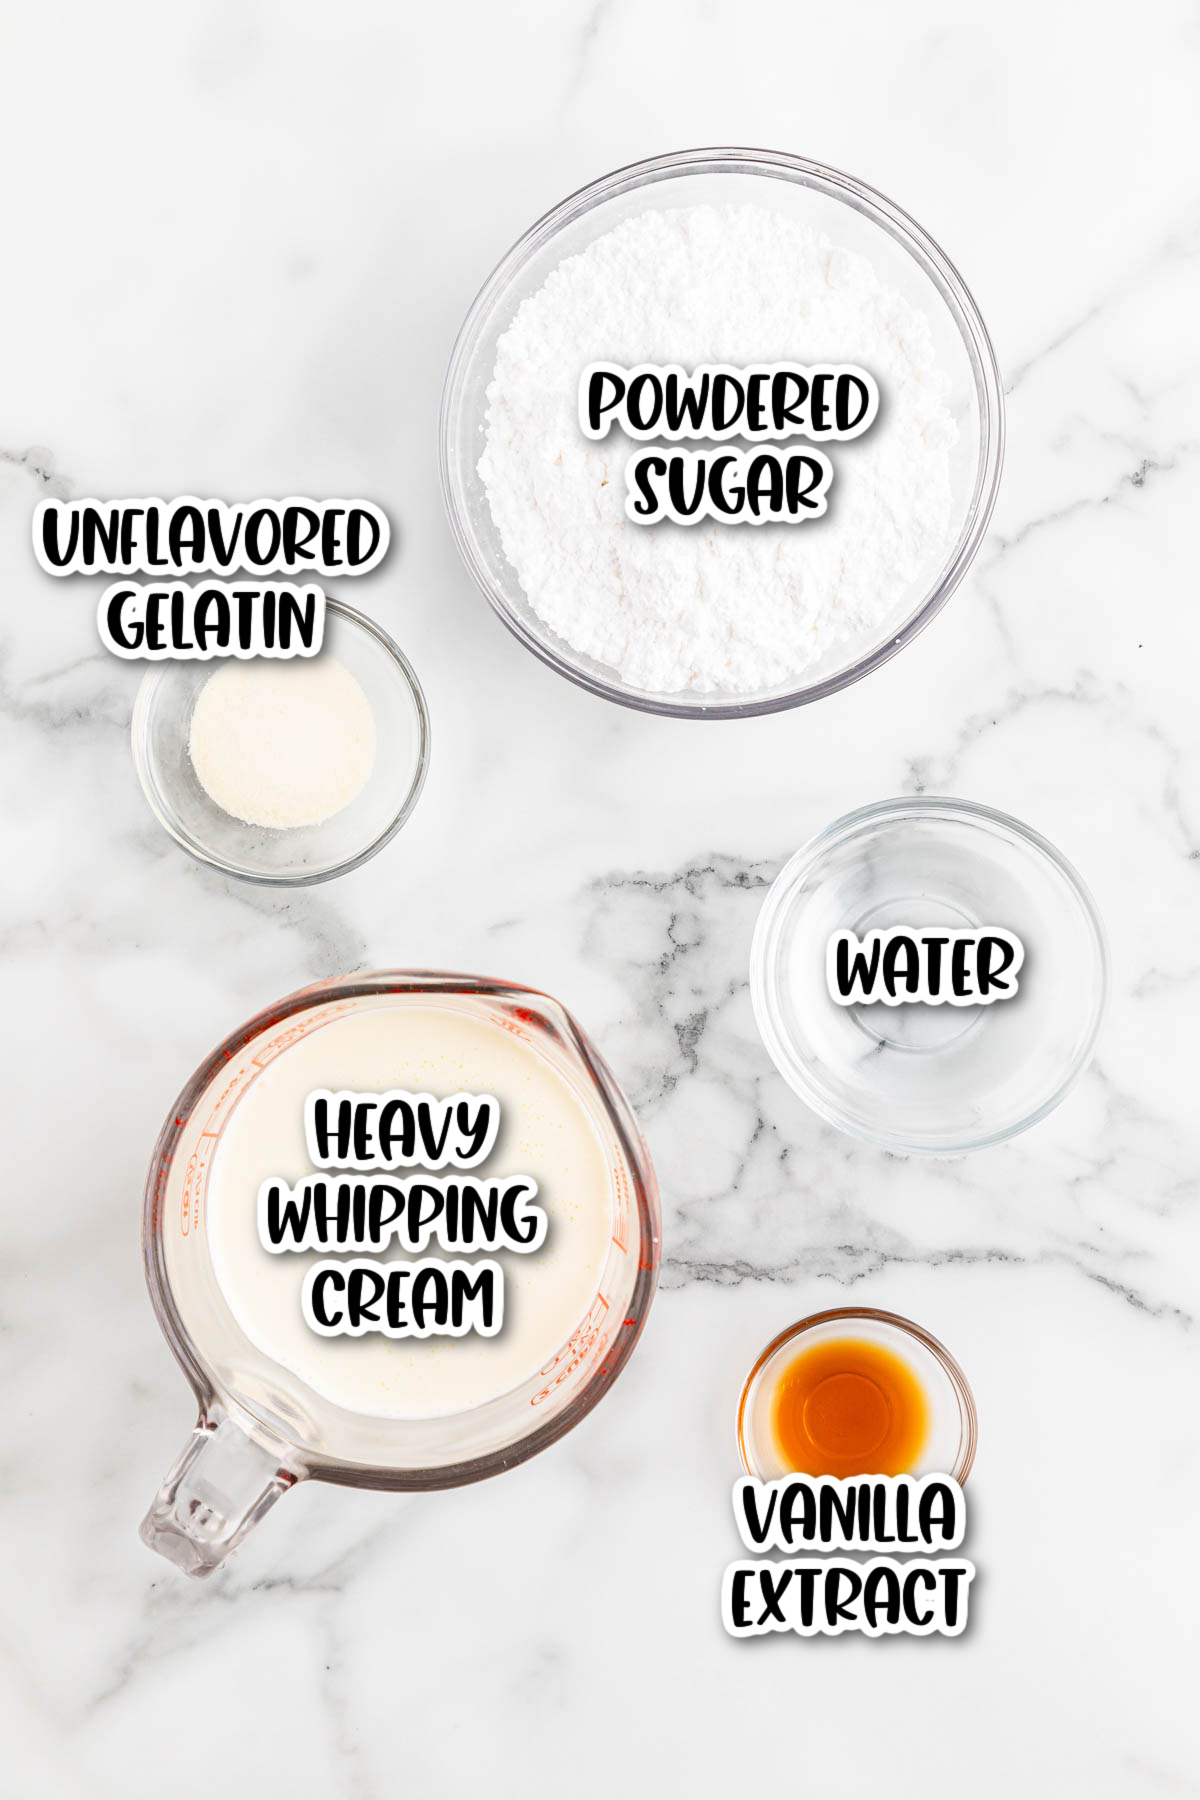
- Unflavored gelatin powder – Key ingredient that helps stabilize the whipped cream
- Cold water – Liquifies the gelatin
- Heavy whipping cream – For the fluffiest results, always start with cold heavy cream
- Powdered sugar – Sweetens the frosting
- Pure vanilla extract – Gives the frosting extra vanilla flavor
For the full recipe and instructions, see the recipe card below.
How to Make Stabilized Whipped Cream Frosting
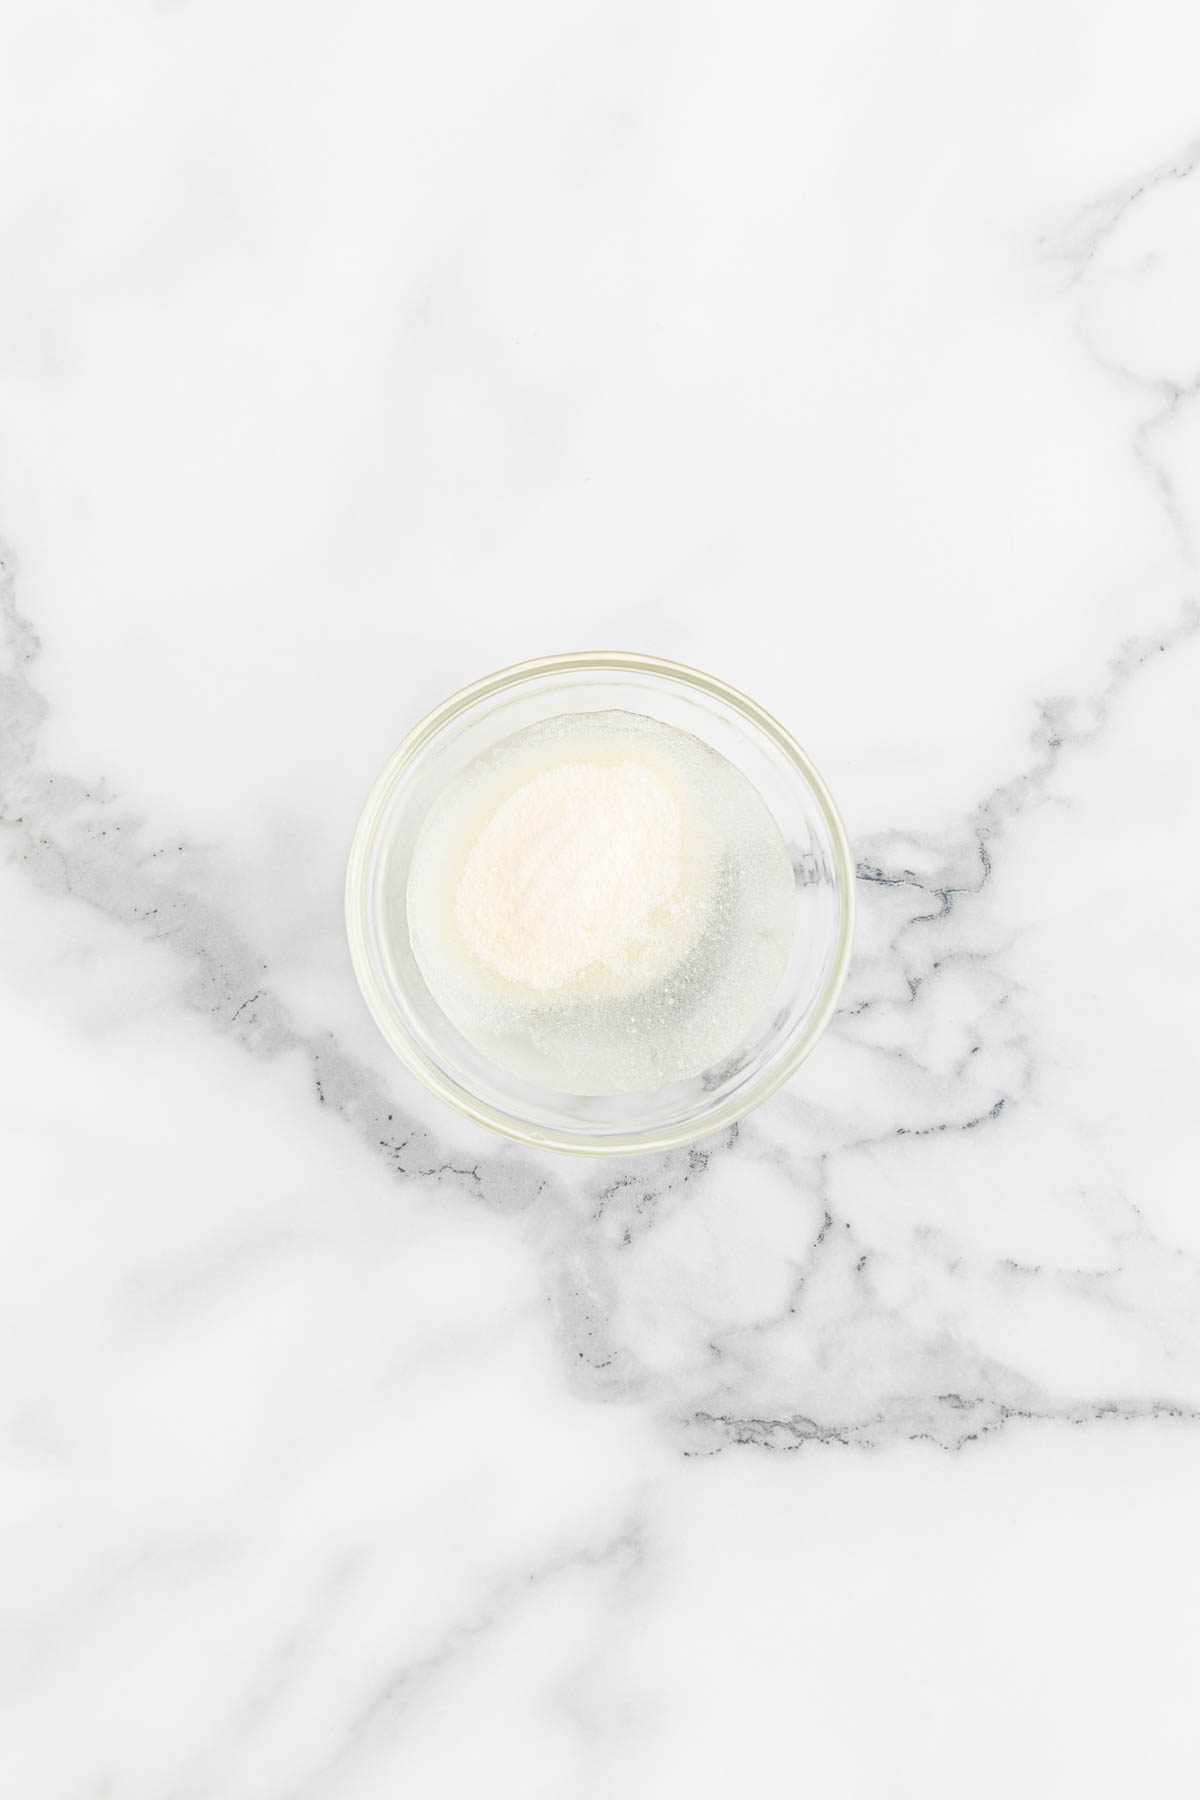
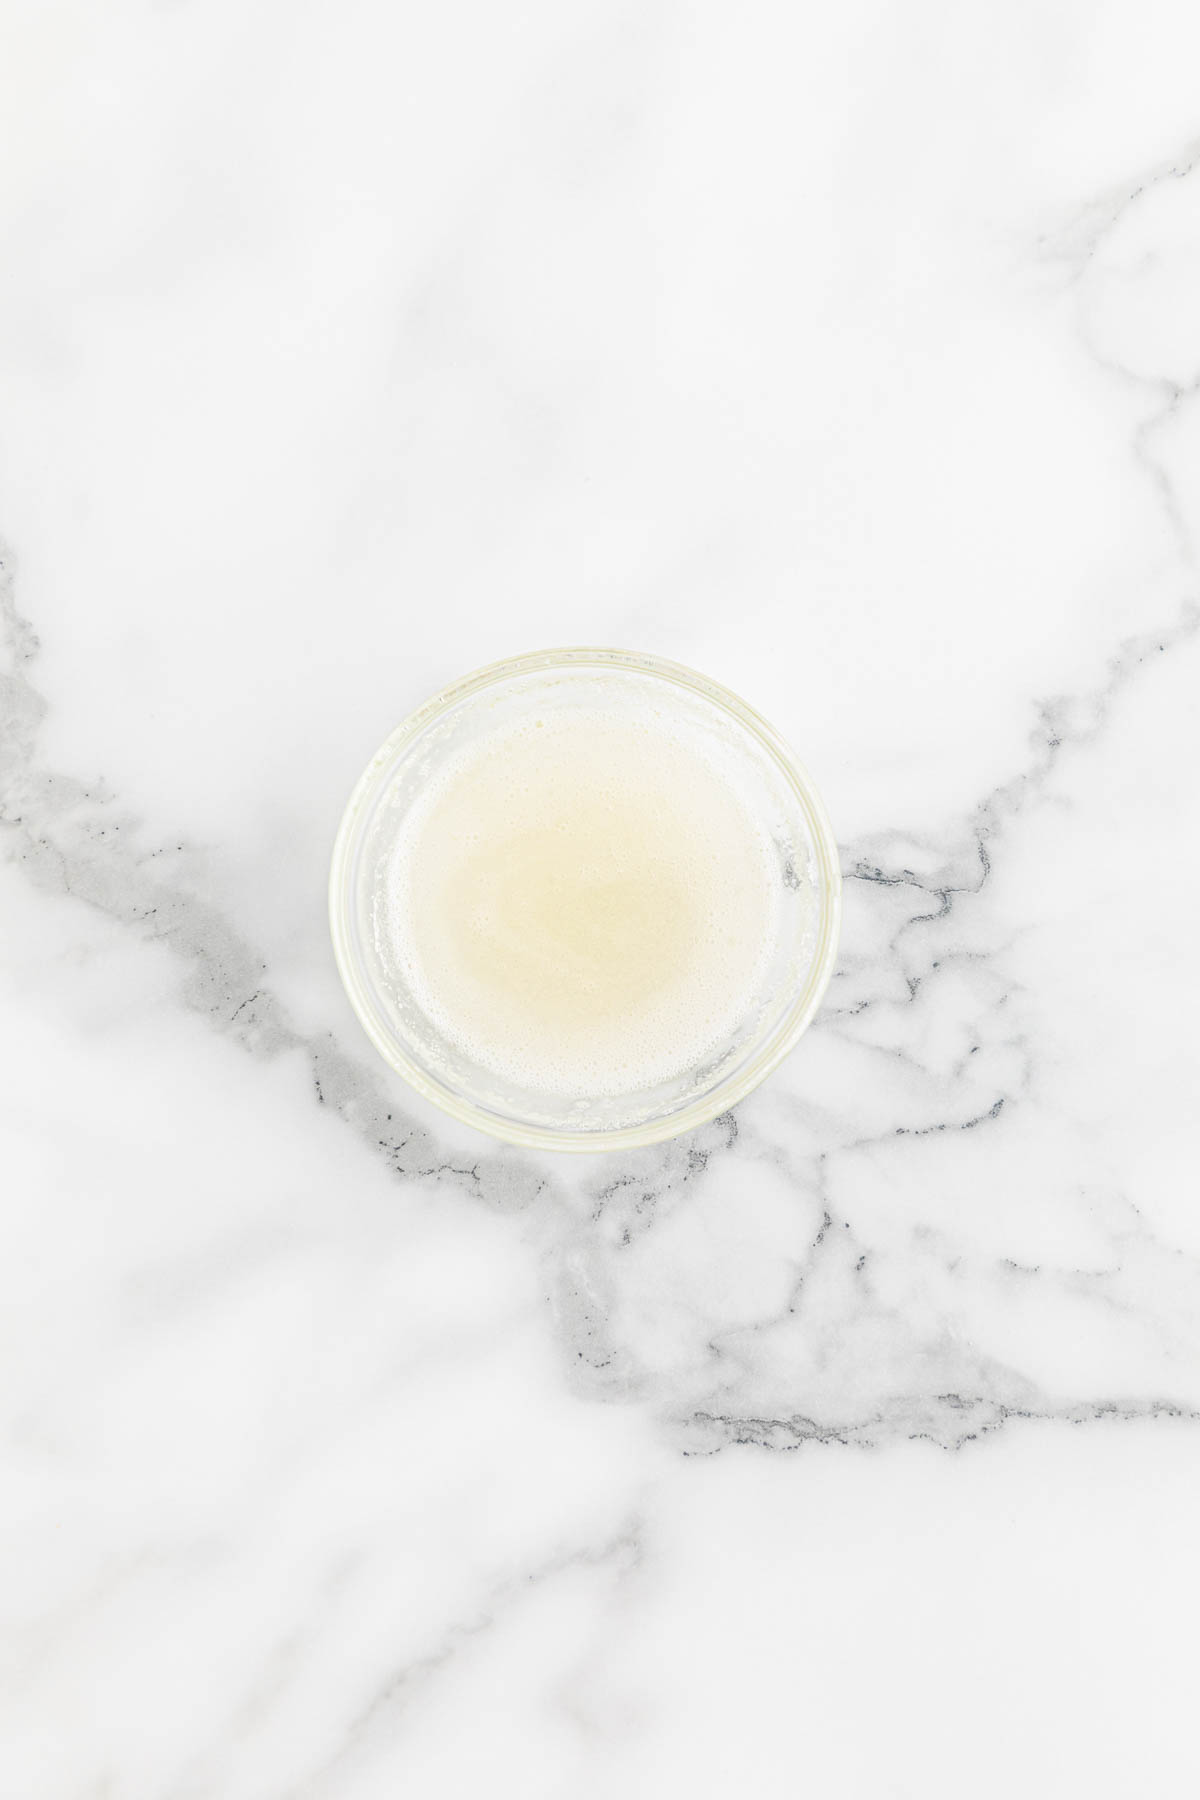
Step 1. In a small microwaveable ramekin, mix the unflavored gelatin powder with cold water. Allow the gelatin to sit while you whip your cream.
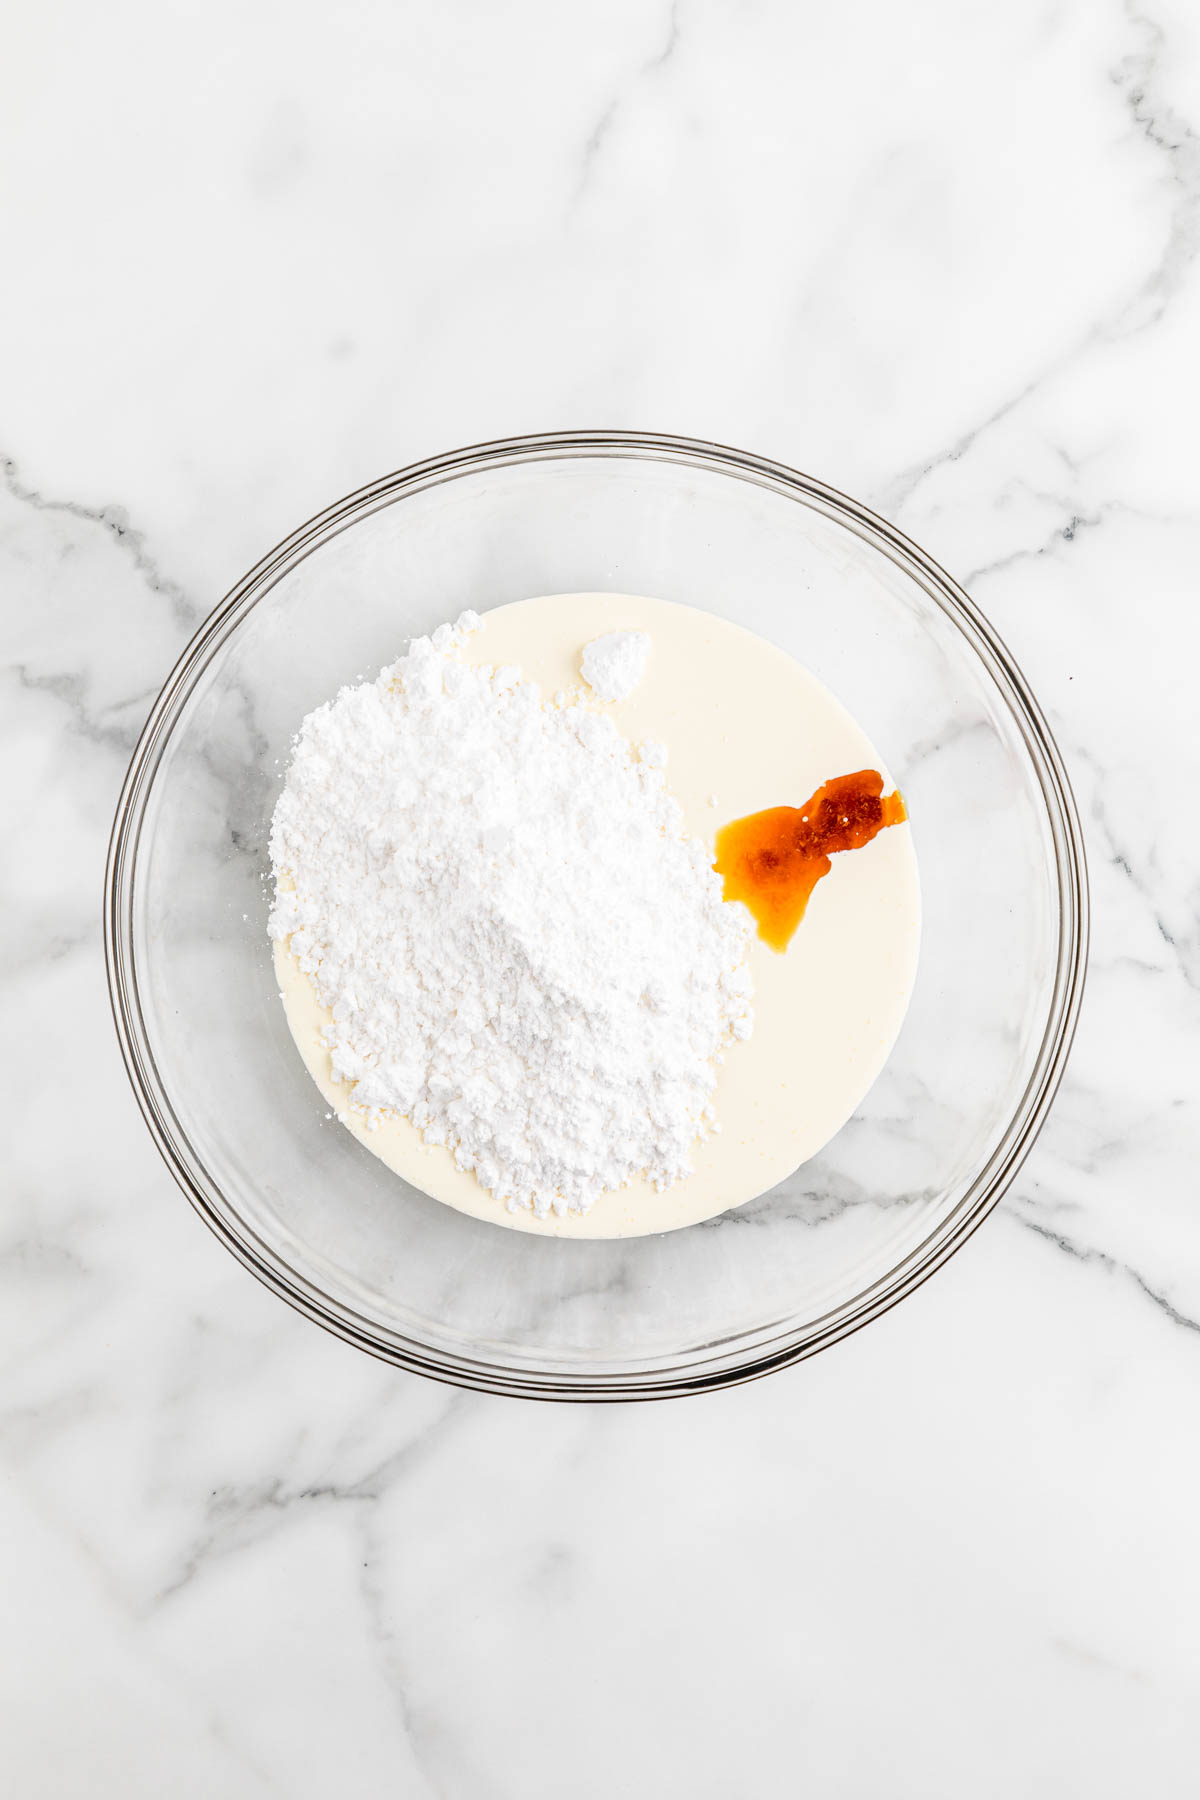
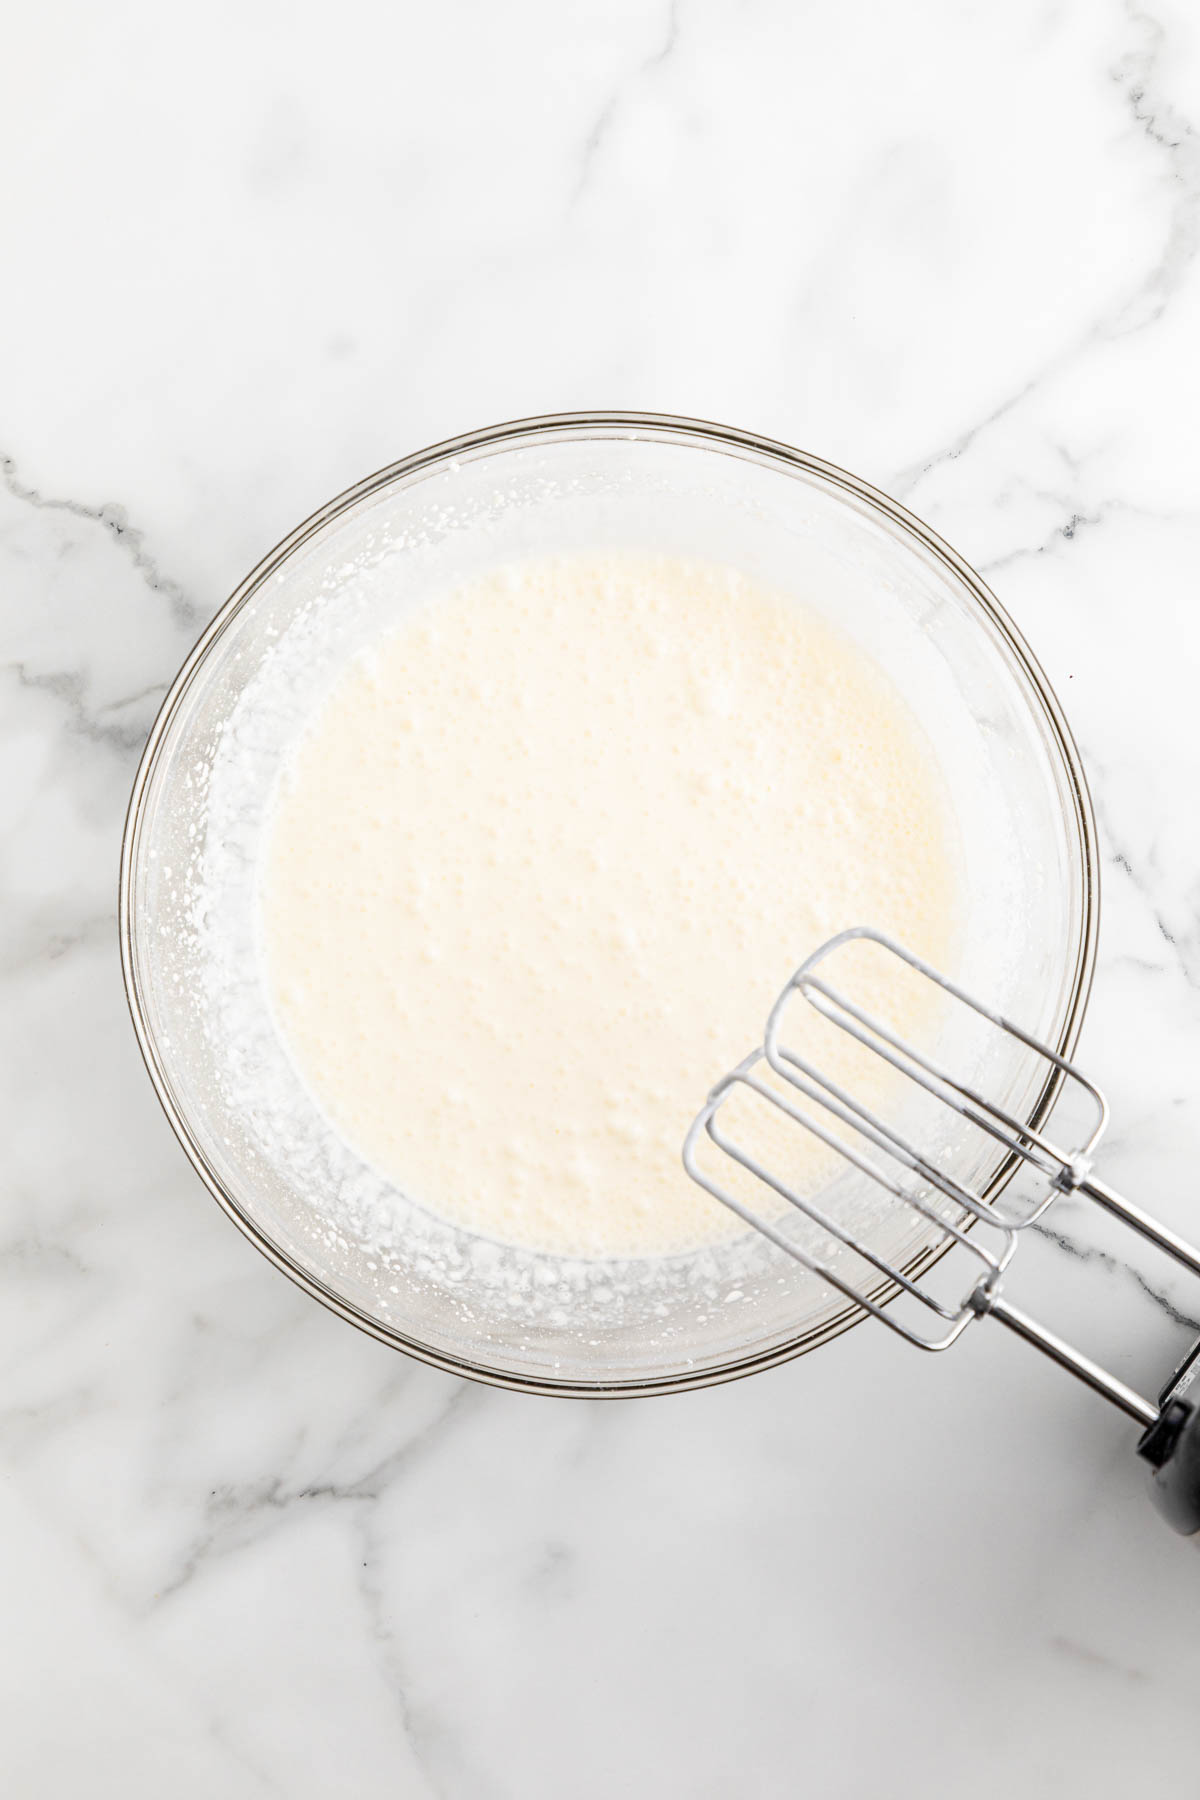
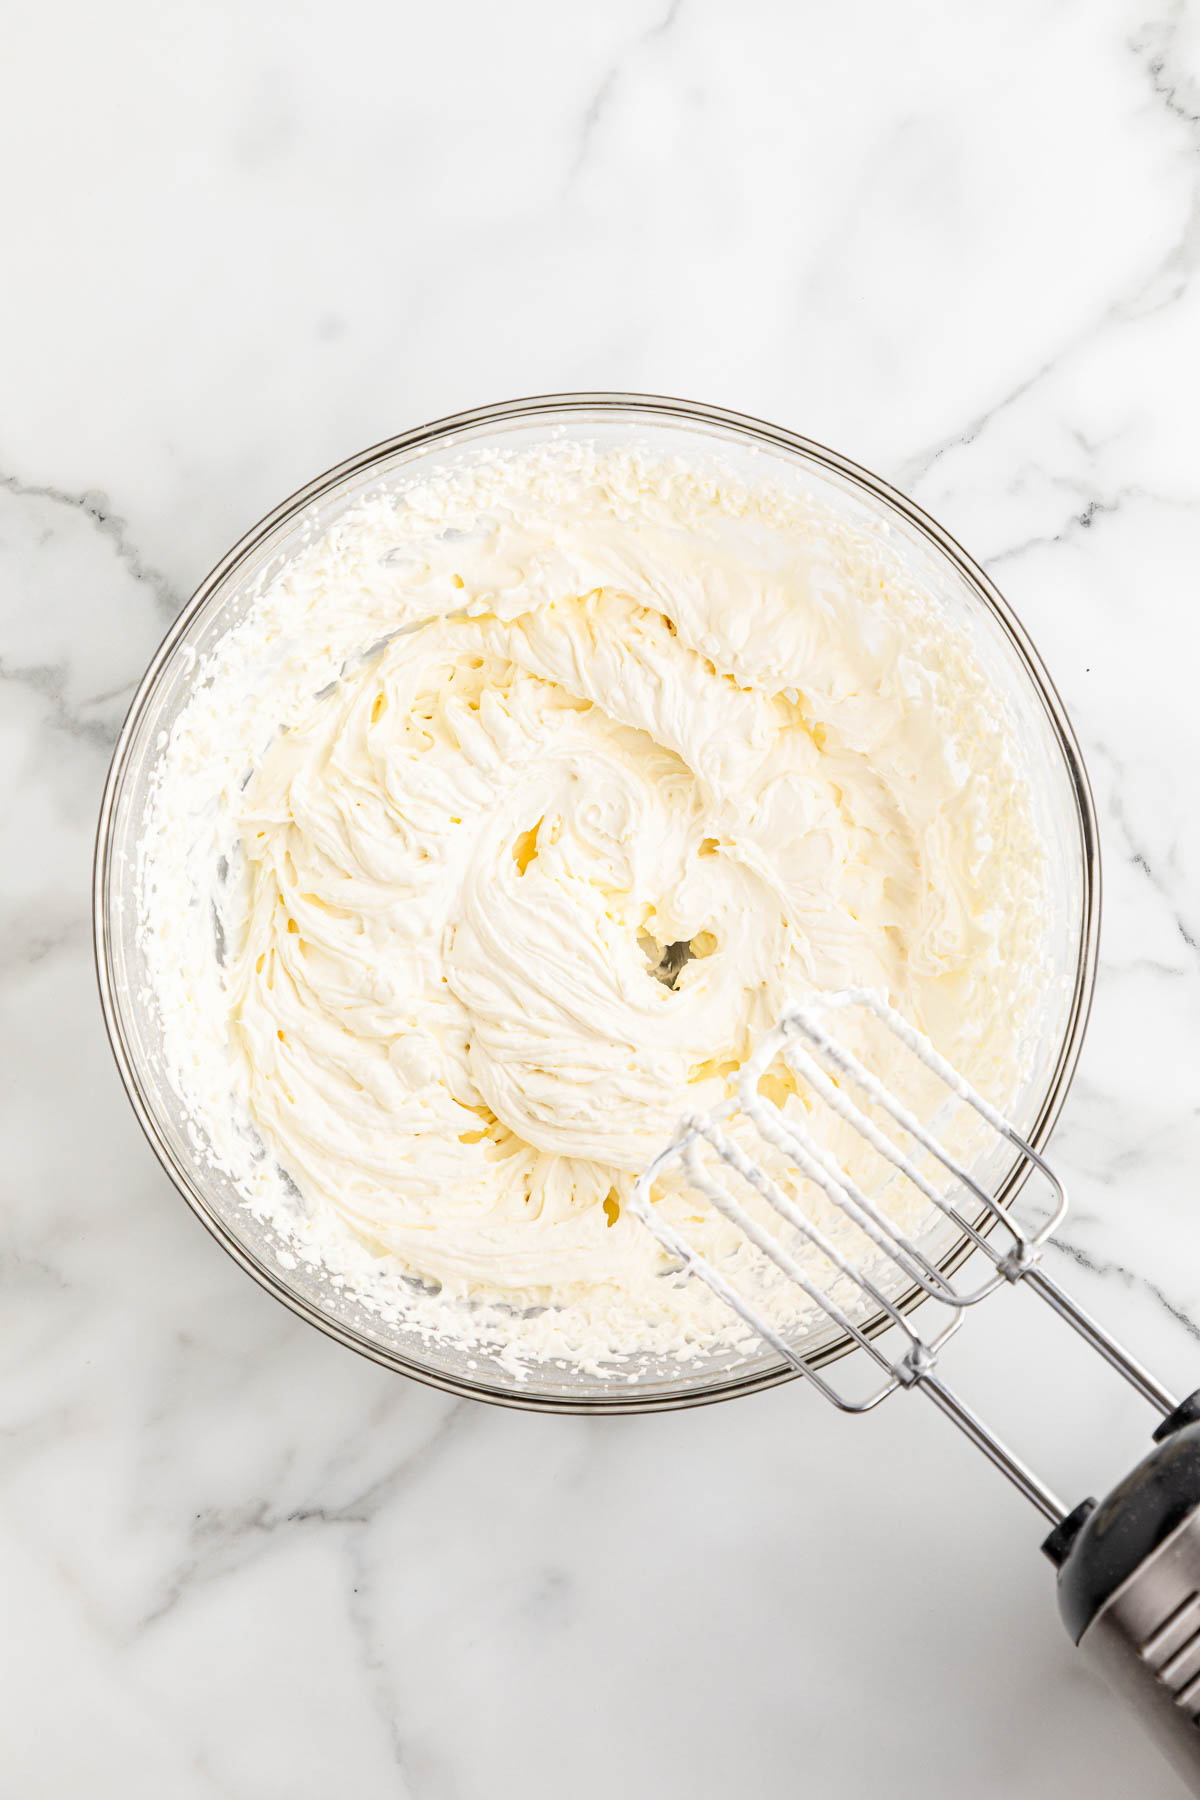
Step 2. In a large mixing bowl, beat the heavy cream, powdered sugar, and vanilla extract together until it reaches soft peaks. As you move the mixer around, you should see it leave a slightly raised trail of small waves.
Tip: I recommend using your hand mixer with beaters or a stand mixer with the whisk attachment for this step. This helps make the whipped cream more light and fluffy.
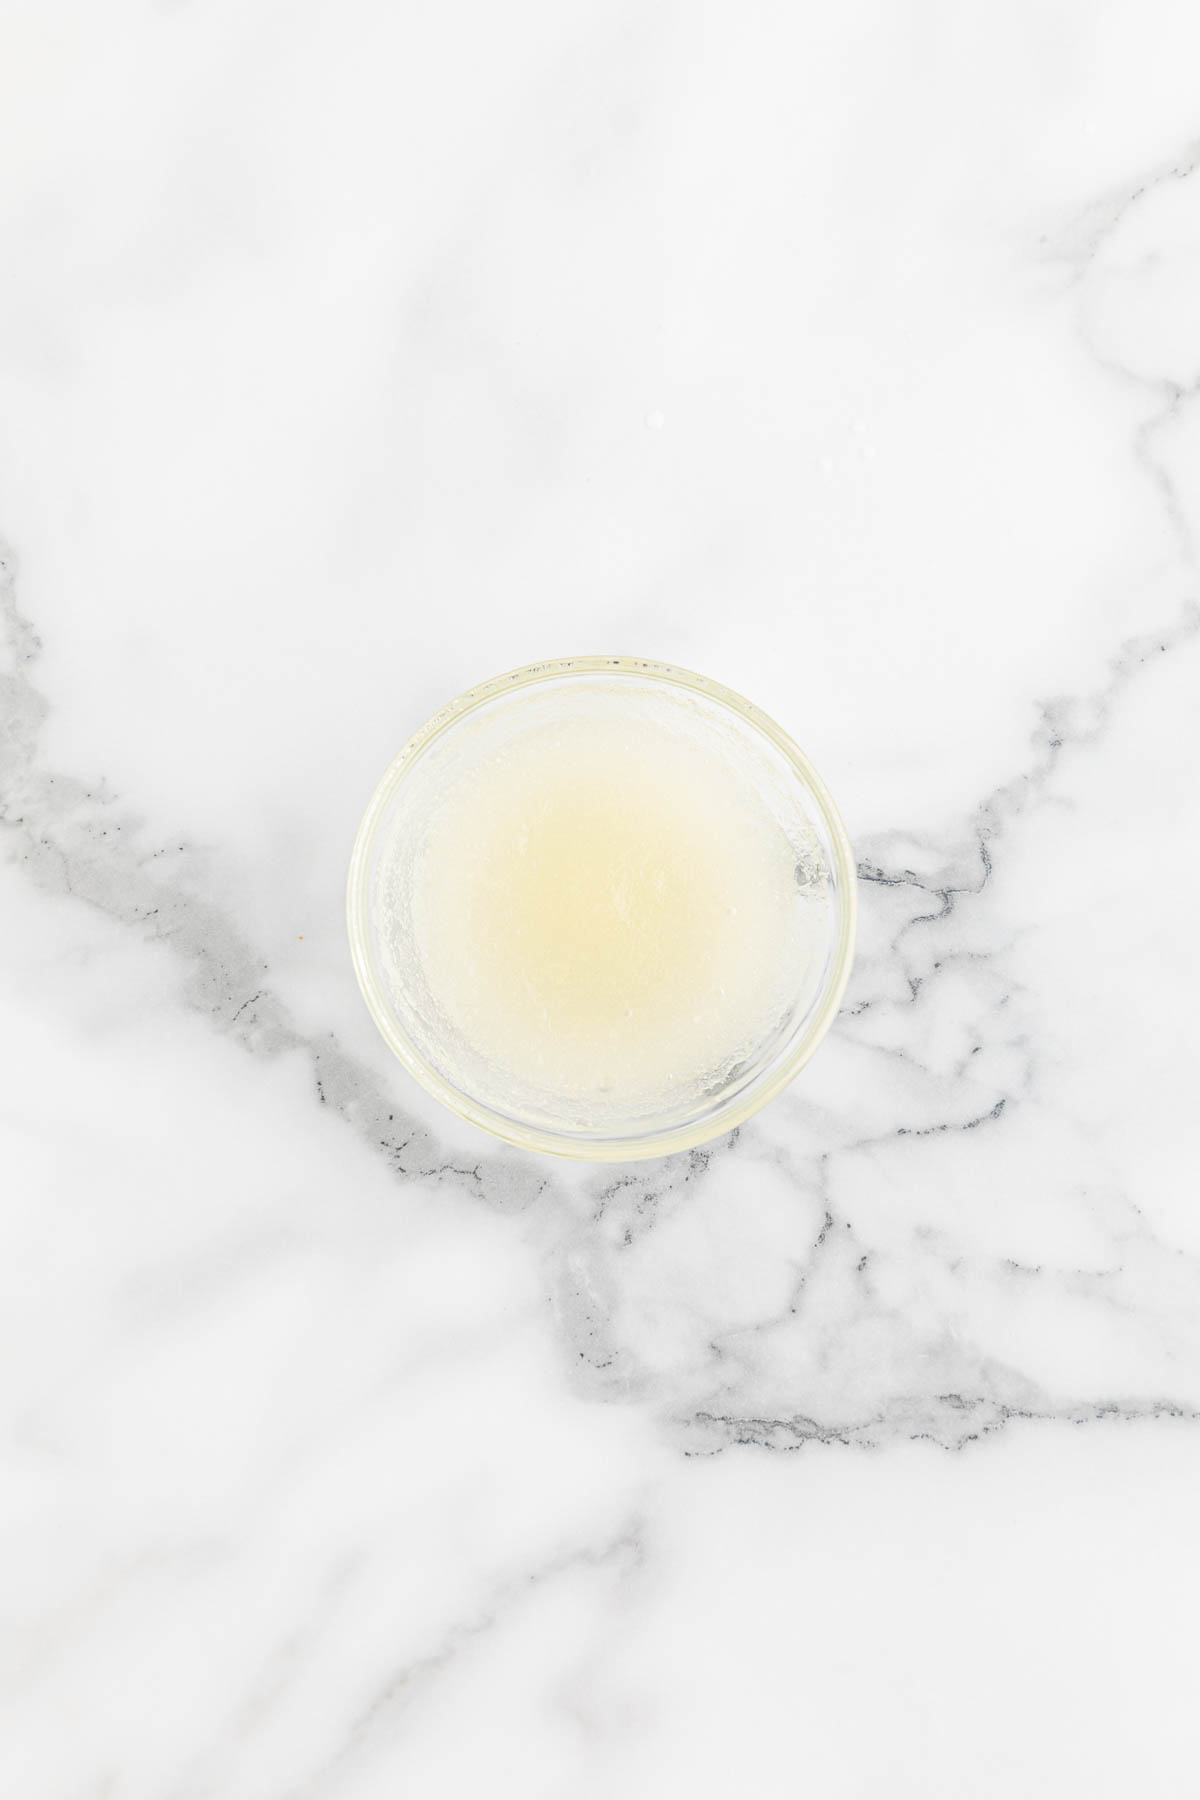
Step 3. Heat the water and gelatin in the microwave for 5-7 seconds. You don’t want it to be too hot, but just warm enough to melt and become liquid again. Stir it to ensure there are no gelatin chunks. Let the gelatin cool slightly for a few minutes before adding to the whipped cream.
Step 4. Turn the mixer back on low-medium speed and slowly drizzle the melted gelatin mixture into the whipped cream mixture, a little at a time, and continue to mix it for 15 seconds.
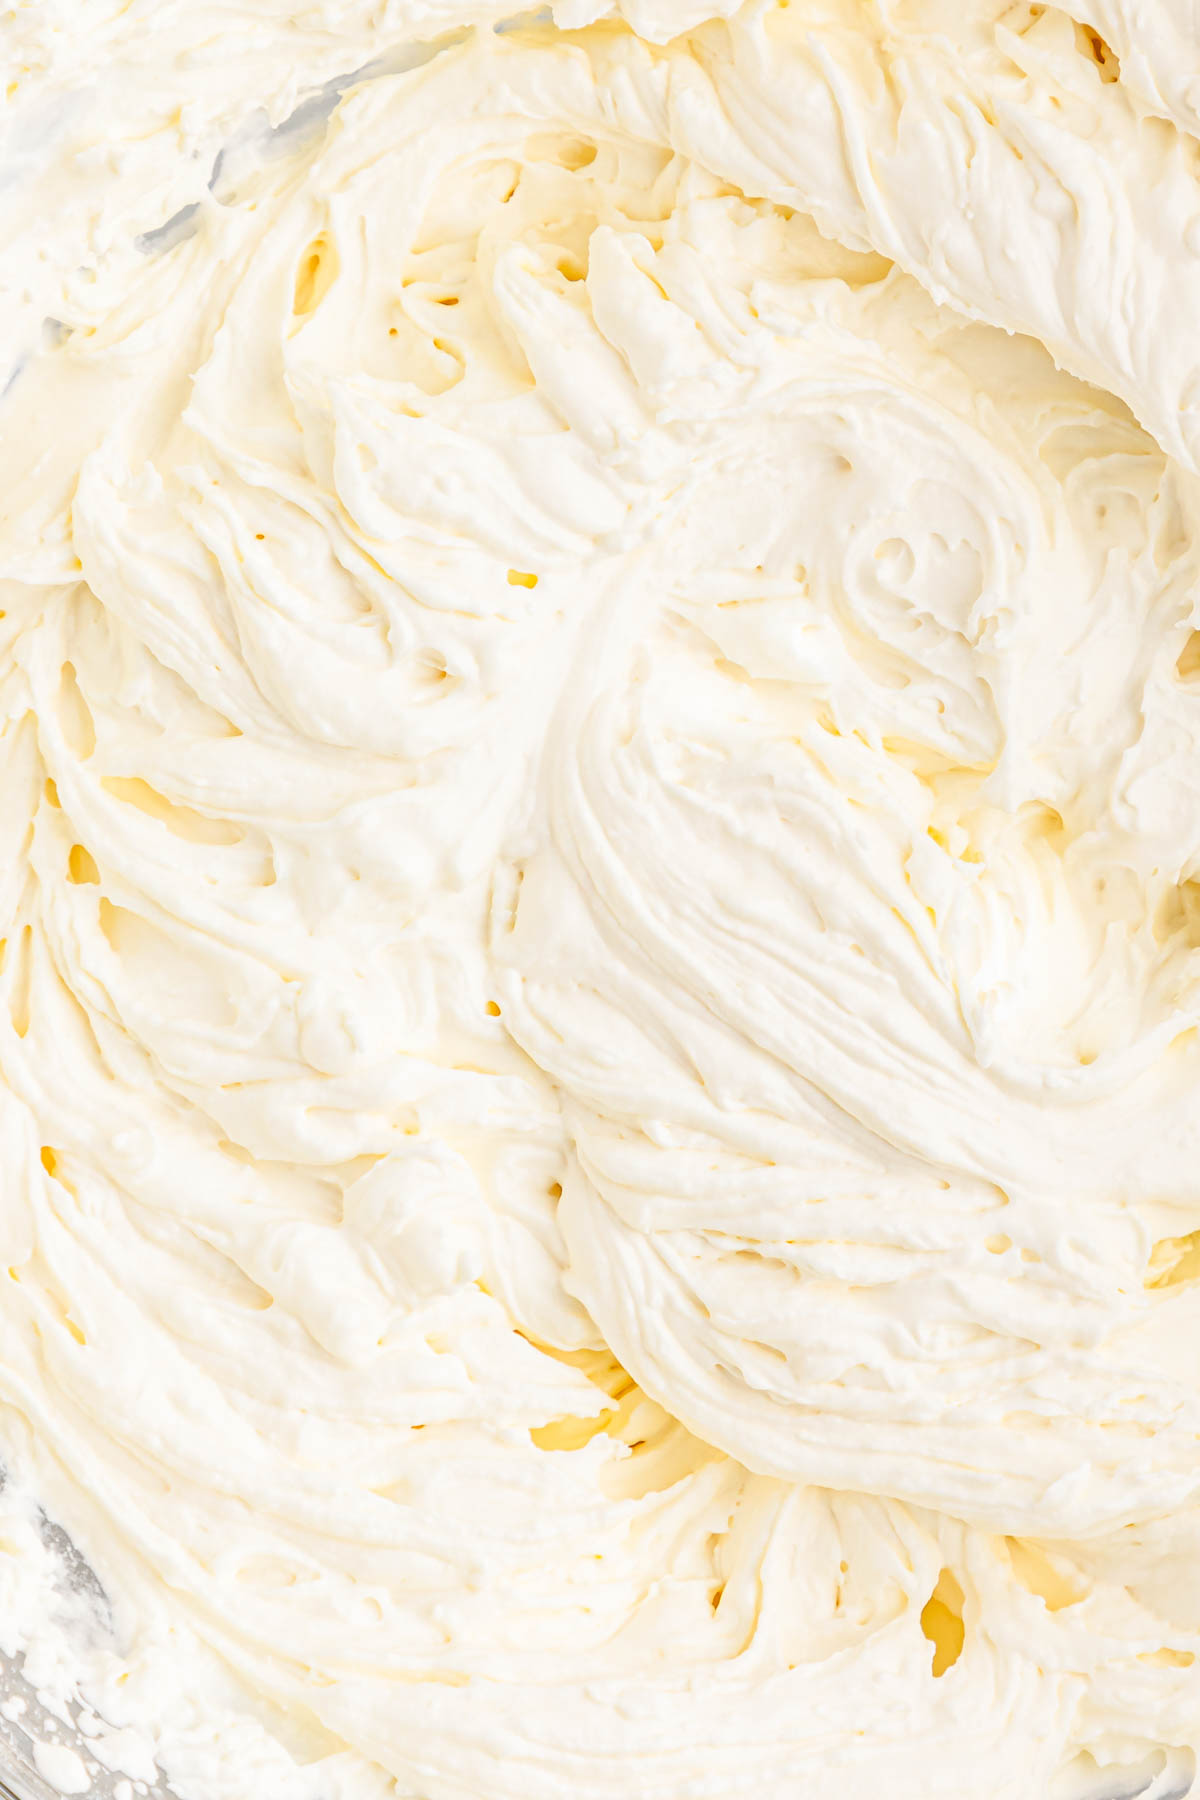
Step 5. Increase the mixer speed to medium-high and continue to whip until fluffy, stiff peaks form. You’ll notice that the little waves the mixer leaves are deeper and bigger. Just make sure not to overbeat it or it may become too dense and begin to clump.
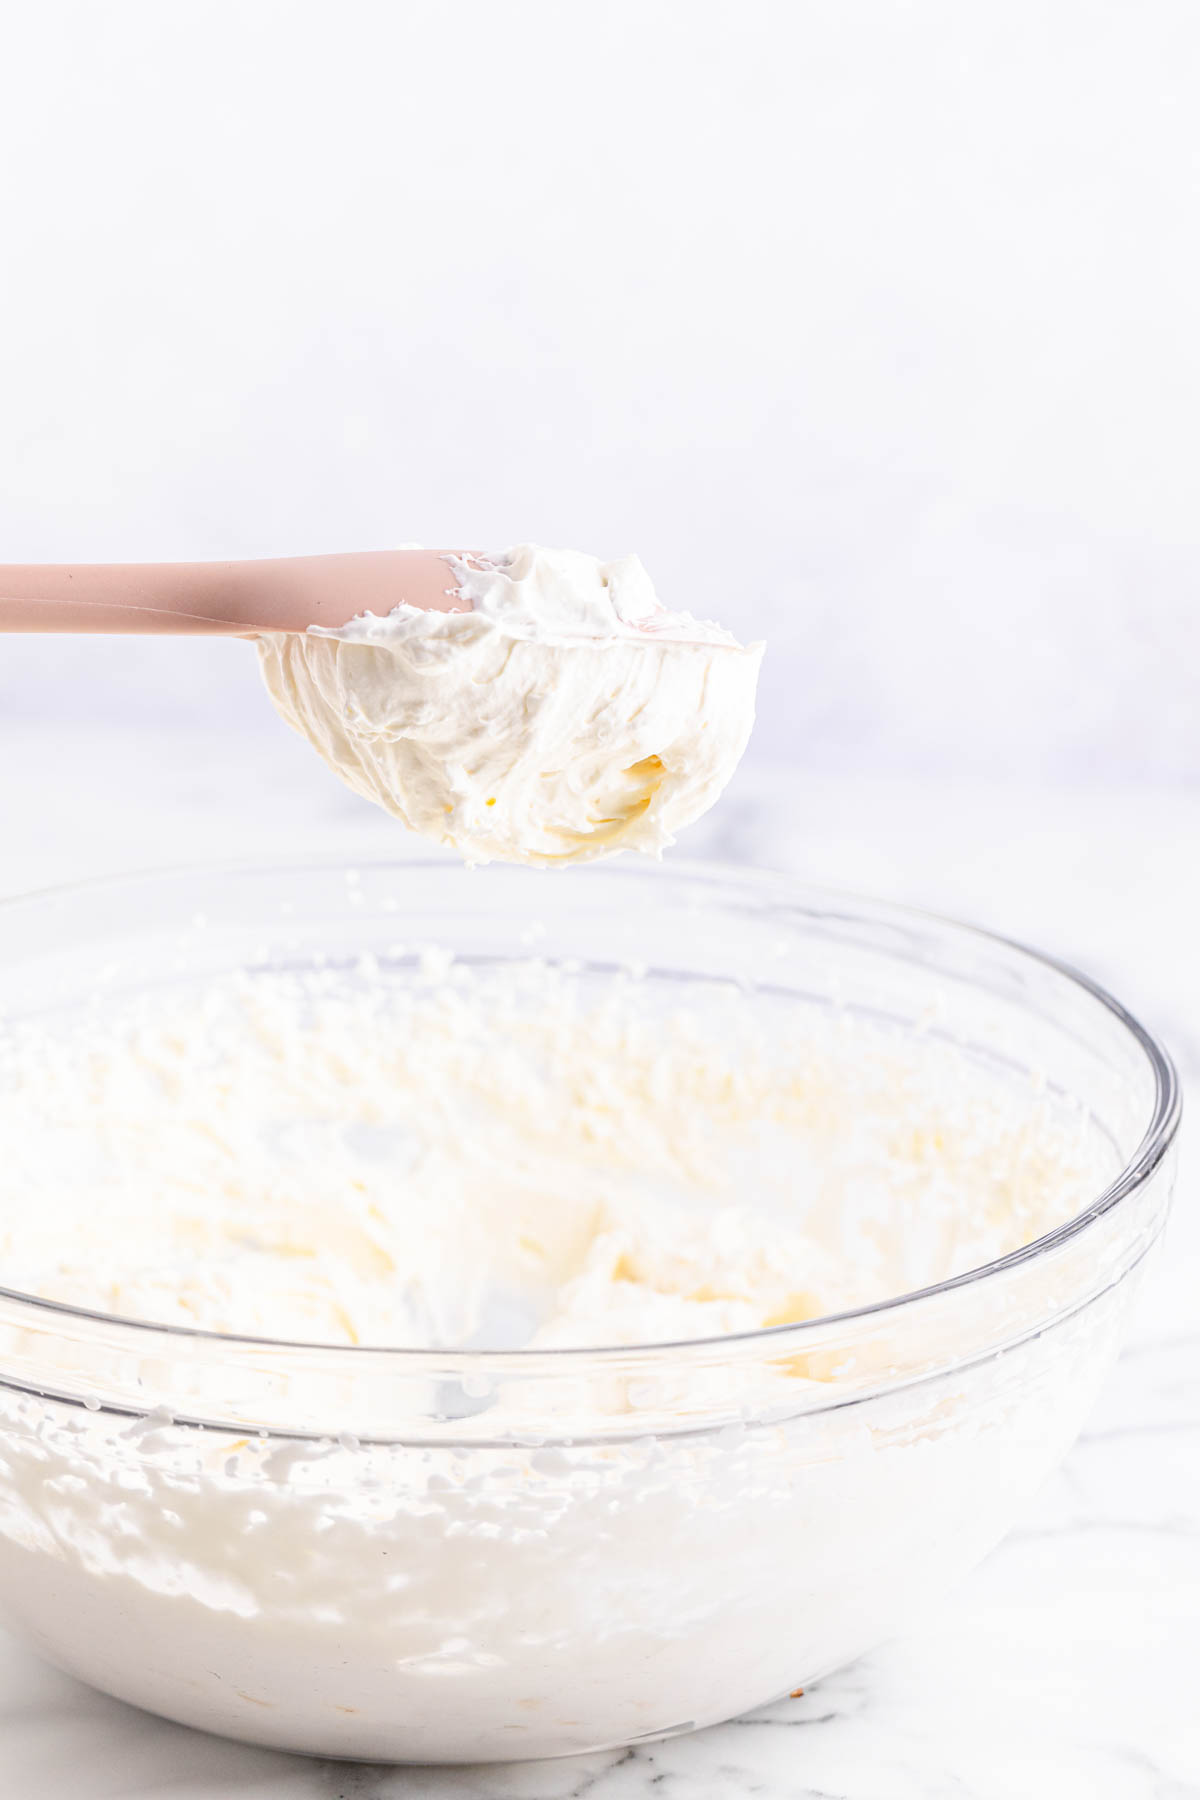
Tip: To test that it’s the right consistency, scoop some of the whipped cream with a rubber spatula and flip it upside down. If it stays on the spatula and holds its shape, it’s ready.
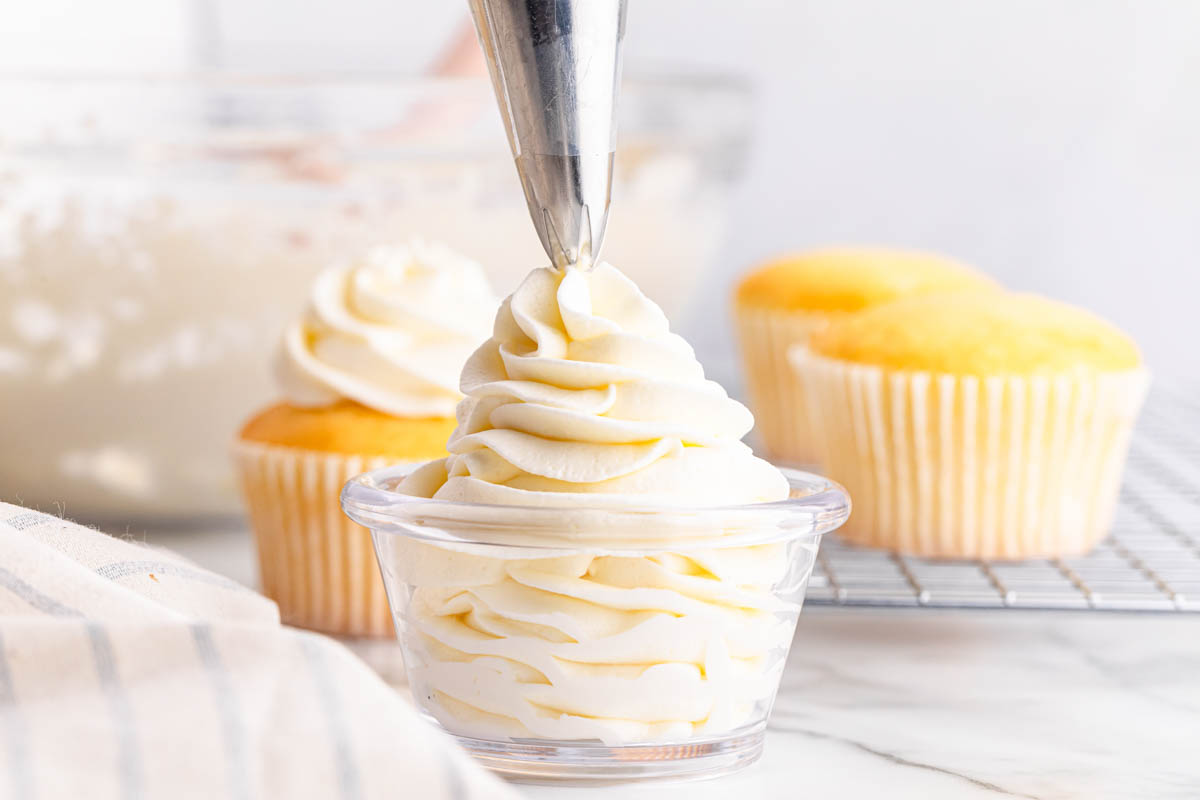
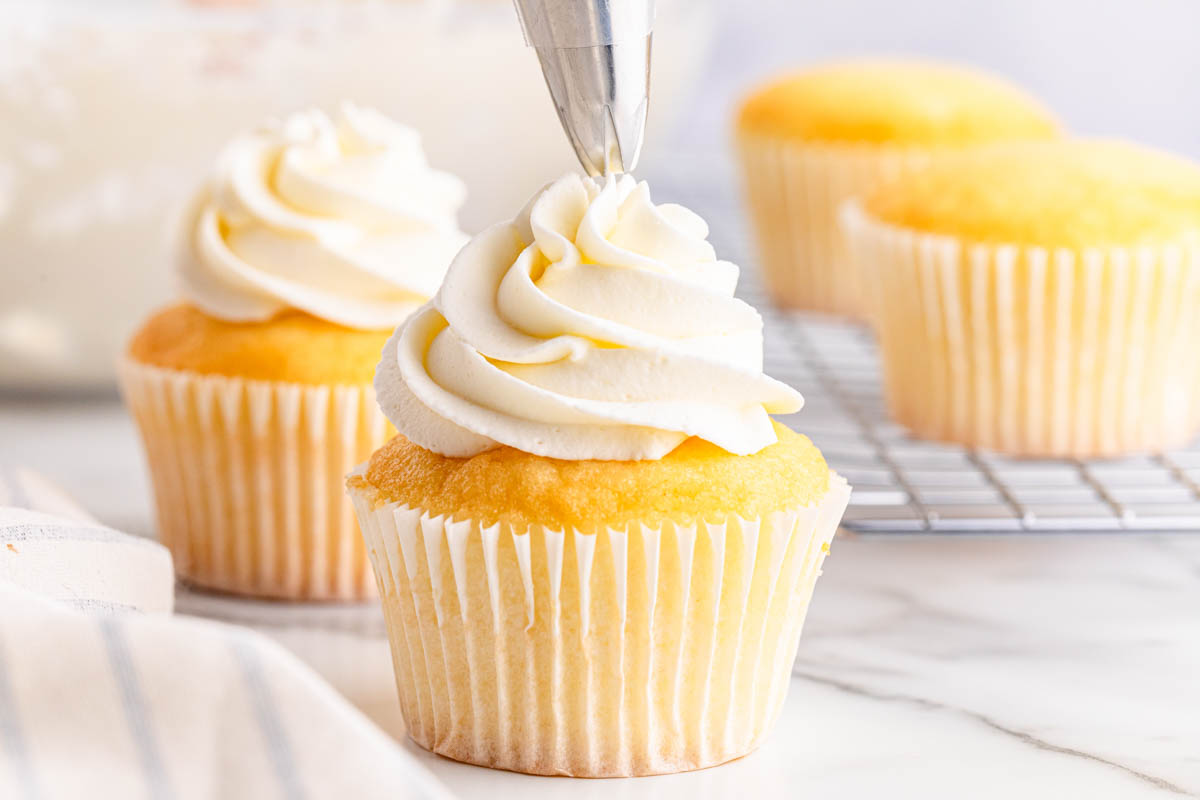
Step 6. Pipe on your favorite desserts and enjoy right away. Or store in an airtight container in the refrigerator for up to 3-4 days.
Variations and Add-ins
Whether you’re adding the frosting onto cakes or using it to fill cream puffs, here are some taste variations to consider.
- Warm spices: You can add delicious fall flavors by adding a pinch of cinnamon and nutmeg. This would be amazing as a frosting for carrot cake or spice cake.
- Coffee: Give your whipped cream a hint of coffee flavor by adding instant espresso powder. Coffee-infused frosting is wonderful on chocolate cupcakes or layer cake.
- Cocoa: Make your red velvet cake, chocolate cake or vanilla cake recipe even sweeter with chocolate frosting. Just mix in a couple of teaspoons of cocoa powder, but don’t overdo it because a little goes a long way.
- Peanut butter: Add nutty flavor to your whipped cream when you’re creaming the cream cheese and vanilla. Don’t try to fold it into the whipped cream because it deflates the cream.
- Maple: Add a touch of decadence to pancakes with a smear of maple frosting. Fold in a teaspoon or two of thick maple syrup, and stir until combined.
- Lemon: Add some zest to whipped cream for a fresh touch. It’s great on an angel food cake or as a filling for cream puffs.
- Bourbon or rum: Add boozy fun with rum or bourbon-flavored whipped frosting on your chocolate or spice cakes. You can use rum extract or the real thing. You’ll only need to add a couple of teaspoons.
Recipe Tips and FAQs
You can make this recipe and keep it in the fridge for 3-4 days. You can also make and pipe desserts in advance and store it in the refrigerator.
Though not super thick like buttercream, whipped frosting is thicker than Cool Whip. This frosting is made with heavy cream, sugar, gelatin and vanilla. Cool Whip is non-dairy whipped topping made with hydrogenated vegetable oil and high fructose corn syrup.
Though it can also hold its shape at room temperature for hours, it is not recommended because it contains cold cream. To keep it fresh, you’ll want to keep it refrigerated until ready to serve.
For best results, be sure your cream is very cold and add it to a cold bowl. Any heat from washing the bowl can keep the cream from forming peaks. This is also why you shouldn’t add the gelatin into the cream before allowing it to cool first.
Other Frosted Treats
- Red Velvet Brownies with Cream Cheese Frosting
- Pumpkin Spice Cake with Cream Cheese Frosting
- Easy Carrot Cake Recipe
- Campfire Cupcakes
- Mermaid Cupcakes

Stabilized Whipped Cream Frosting
Ingredients
- 1 ½ teaspoons unflavored gelatin powder
- 2 tablespoons cold water
- 1 ½ cups heavy whipping cream
- 1 cup powdered sugar
- 1 ½ teaspoons pure vanilla extract
Instructions
- In a small microwaveable ramekin, mix the unflavored gelatin powder with cold water. Allow the gelatin to sit while you whip your cream.1 ½ teaspoons unflavored gelatin powder, 2 tablespoons cold water
- In a large mixing bowl, beat the heavy cream, powdered sugar, and vanilla extract together until it reaches soft peaks. As you move the mixer around, you should see it leave a slightly raised trail of small waves.1 ½ cups heavy whipping cream, 1 cup powdered sugar, 1 ½ teaspoons pure vanilla extract
- Heat the water and gelatin in the microwave for 5-7 seconds. You don’t want it to be too hot, but just warm enough to melt and become liquid again. Stir it to ensure there are no gelatin chunks. Let the gelatin cool slightly for a few minutes before adding to the whipped cream.
- Turn the mixer back on low-medium speed and slowly drizzle the melted gelatin mixture into the whipped cream mixture, a little at a time, and continue to mix it for 15 seconds.
- Increase the mixer speed to medium-high and continue to whip until fluffy, stiff peaks form. You'll notice that the little waves the mixer leaves are deeper and bigger. Just be sure not to overbeat it or it may become too dense and begin to clump.
- Pipe on your favorite desserts and enjoy right away. Or store in an airtight container in the refrigerator for up to 3-4 days
Notes
- I recommend using your hand mixer with beaters or a stand mixer with the whisk attachment for this step. This helps make the whipped cream more light and fluffy.
- To test that it’s the right consistency, scoop some of the whipped cream with a rubber spatula and flip it upside down. If it stays on the spatula and holds its shape, it’s ready.
Nutrition
Did You Make This Recipe?
Share it with me on Instagram @funmoneymom and follow on Pinterest @funmoneymom for more!
Let’s be friends!
Did you love this post? Make sure to comment below and let me know your thoughts! And don’t forget to follow on your favorite social network below!

About Lisa O’Driscoll
Lisa O’Driscoll is a lifestyle and parenting expert, cookbook author, and the creative force behind Fun Money Mom, a popular blog she’s run since 2014. She’s the author of the children’s cookbook Roll It, Slice It, Mash It, Dice It, designed to get kids excited about cooking. With multiple TV appearances under her belt, she loves sharing her expertise on family-friendly recipes, creative DIYs, and party planning and is always on a mission to inspire and entertain!


Can this be colored or will it break it down?
You can add a couple drops of food coloring gel. Be sure to use gel and not the liquid food coloring and you should be fine. Enjoy! 🙂
If I make this ahead of time will I need to re-whip it before piping?
Hi Jennifer,
You can definitely make this the day before and you won’t need to re-whip it. I would store it right in the piping bag, then you’re good to go when you’re ready to use it. Enjoy!
Quick question, can I add powder tint to it and i can I frost a cake with it?
Hi Denise, Yes, you can add powder tint. I would add it at the beginning because if you add it towards the end, you may risk overmixing if it doesn’t blend in quickly enough. And yes, you can also frost a cake with it. It makes a very light, fluffy frosting. Enjoy!