Easy Washi Tape Easter Eggs
This post may contain affiliate links. As an Amazon Associate, I earn from qualifying purchases.
Easter egg decorating isn’t just for kids…it’s fun for the adults too! Find out how to make easy washi tape eggs that doubles as beautiful Easter decor.
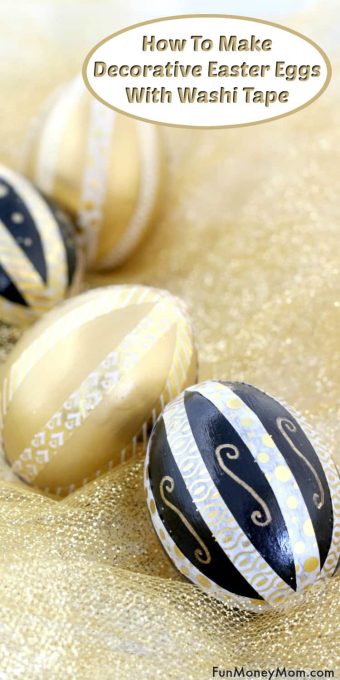
Looking for one of the easiest Easter egg ideas ever? Not only are these washi tape eggs easy to make, they’re pretty enough to use in your Easter tablescape or to decorate the house (or both). I even featured them in my Easter egg decorating segment on Sarasota’s Suncoast View. Want to see how they turned out?
The great part about these Easter eggs is that they’re so inexpensive to make too. All you need are a few supplies and some hollowed out eggs* and you’re good to go.
*You don’t have to use hollowed out eggs but you can reuse these as Easter decor again next year if you do.
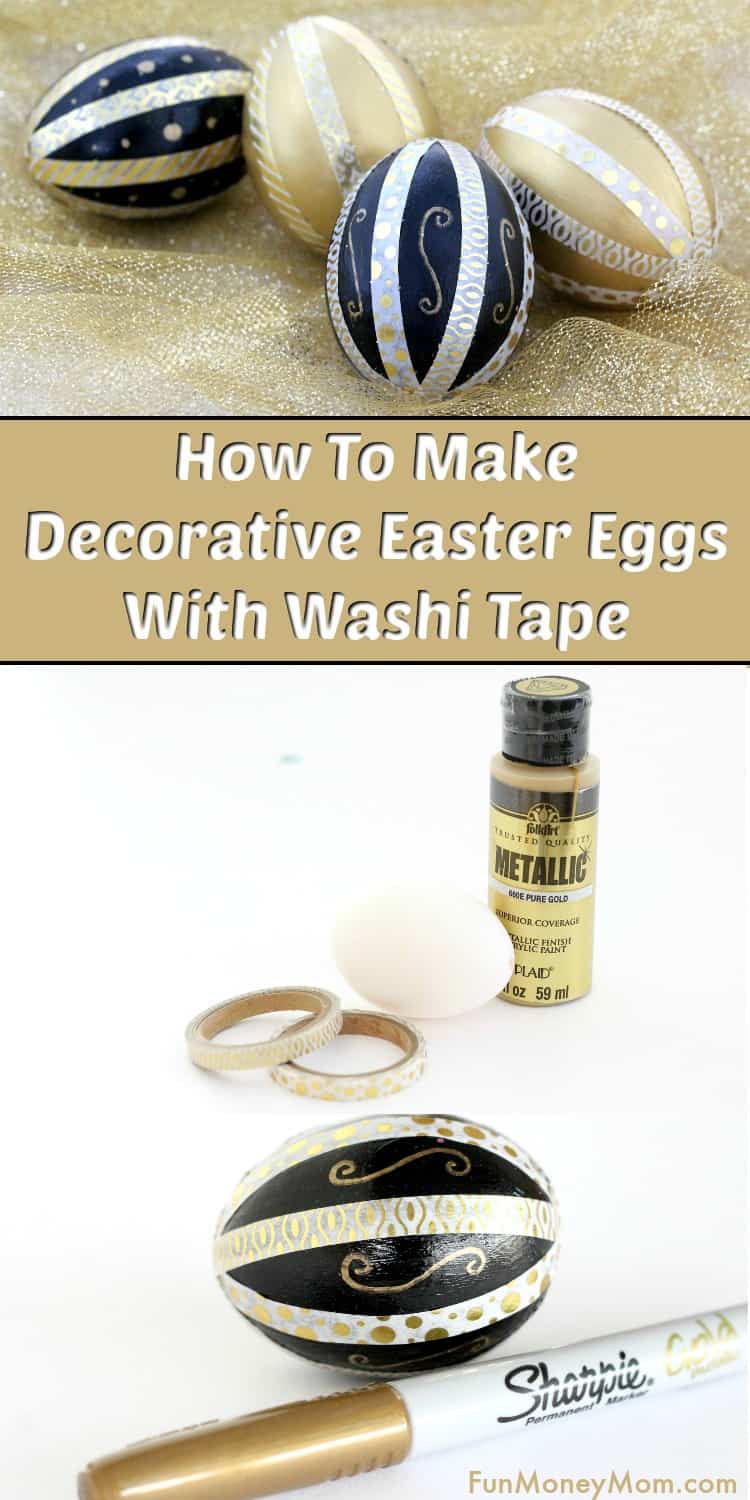
What you’ll need:
- Hollowed out eggs
- Gold washi tape
- Gold metallic paint
- Black acrylic paint
- Gold permanent marker
- Mod Podge (optional)
Washi Tape Eggs
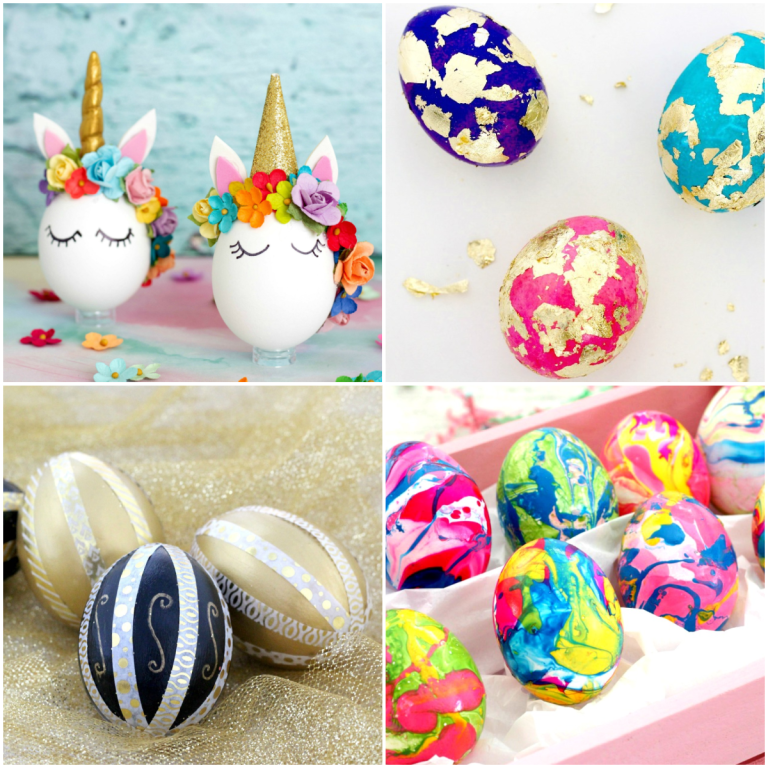
Start by hollowing out your eggs, rinsing them and letting them dry. I wish I could share a secret trick for making it easier but I haven’t discovered one yet. However, the bigger the hole you make, the easier it is (the more I did, the bigger the holes got!) The good thing about these eggs is that you’ll cover the holes with washi tape, which is why you’ll want to be sure they’re completely dry first.

Paint your egg gold and let it dry. Give it a second coat if necessary (mine needed two coats).

Starting at the bottom of the egg, wrap the gold washi tape vertically, going up over the top and back to the bottom. Cut the tape at the bottom.
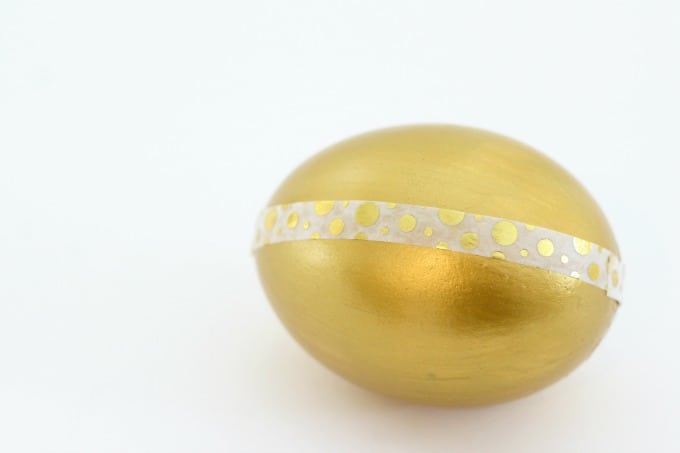
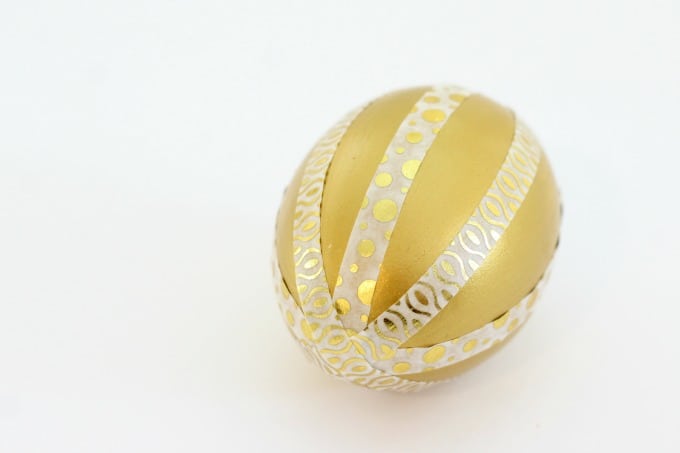
Keep adding washi tape until you get the look that you want. I used two long pieces of gold polka dots and two of another print. That’s all there is to it! Pretty easy, right?
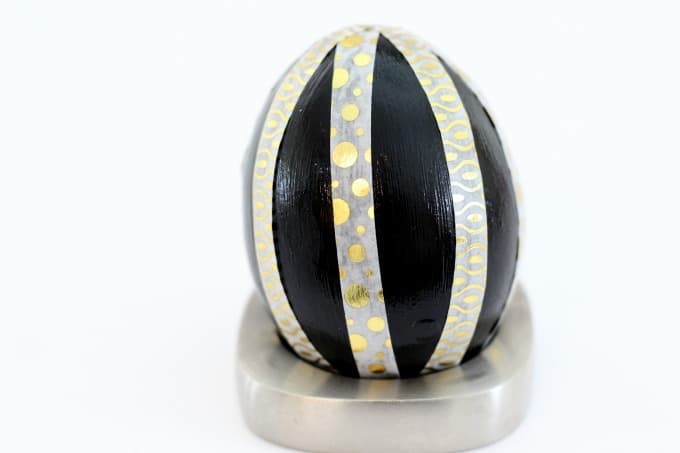
To make your black Easter eggs, just paint hollowed out eggs with black acrylic paint. After drying, I also painted Mod Podge over the top for a shiny effect.

Starting at the bottom again, wrap washi tape up around the top and back down to the bottom. Cut at the bottom. Keep wrapping more washi tape until you get it just how you want it.
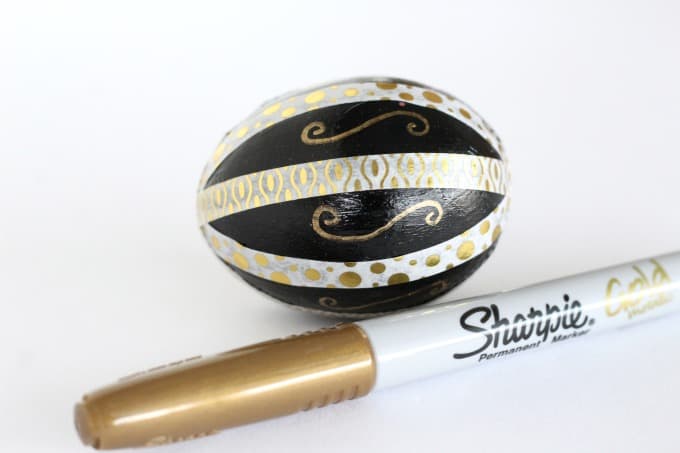
Next, add designs with a gold marker. I made swirls on this egg and polka dots on another one.
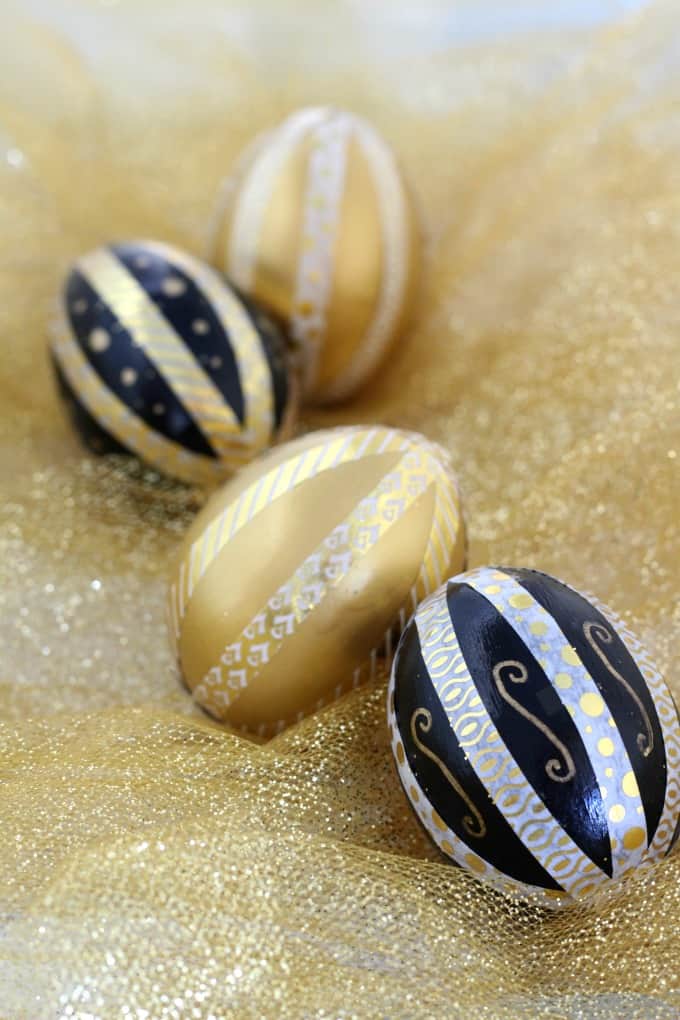
I love how elegant these gold and black Easter eggs turned out. They’d be perfect for a fancy Easter tablescape too.
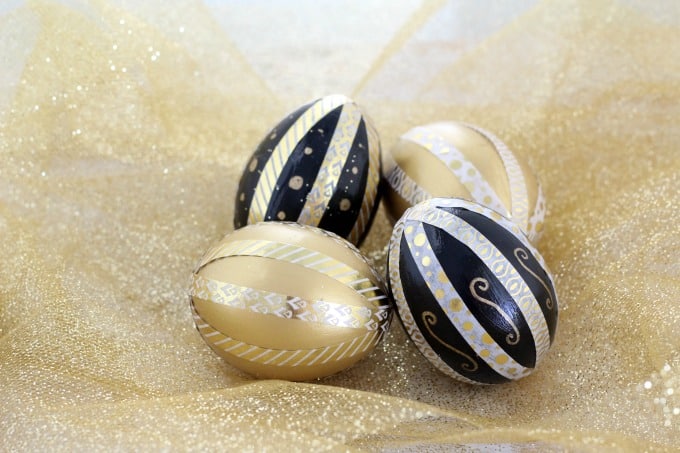
I definitely plan to use these again next year! Maybe I’ll even make a silver set.
These are so easy to make that they’re perfect for kids too. Washi tape comes in every color you can think of so the kids can get as creative as they want. Give them some eggs, washi tape and colored markers and see what they come up with.
Have you ever made washi tape crafts? What creative ideas have you come up with?
More Easter Egg Decorating Ideas
If you liked these washi tape eggs, you may want to check out these Easter egg decorating ideas too…

How To Make Marbled Easter Eggs Without The Big Mess
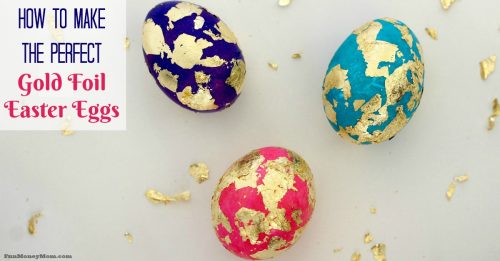
How To Make The Perfect Gold Foil Easter Eggs
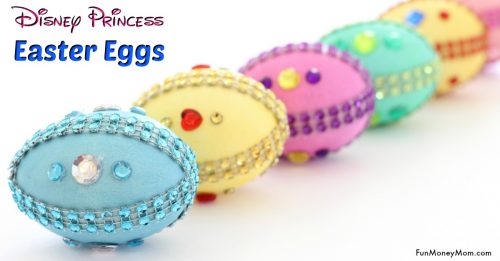
Disney Princess Easter Egg Ideas

15 Of The Most Creative Easter Egg Ideas You’ve Ever Seen
Let’s be friends!
Did you love this post? Make sure to comment below and let me know your thoughts! And don’t forget to follow on your favorite social network below!

About Lisa O’Driscoll
Lisa O’Driscoll is a lifestyle and parenting expert, cookbook author, and the creative force behind Fun Money Mom, a popular blog she’s run since 2014. She’s the author of the children’s cookbook Roll It, Slice It, Mash It, Dice It, designed to get kids excited about cooking. With multiple TV appearances under her belt, she loves sharing her expertise on family-friendly recipes, creative DIYs, and party planning and is always on a mission to inspire and entertain!