
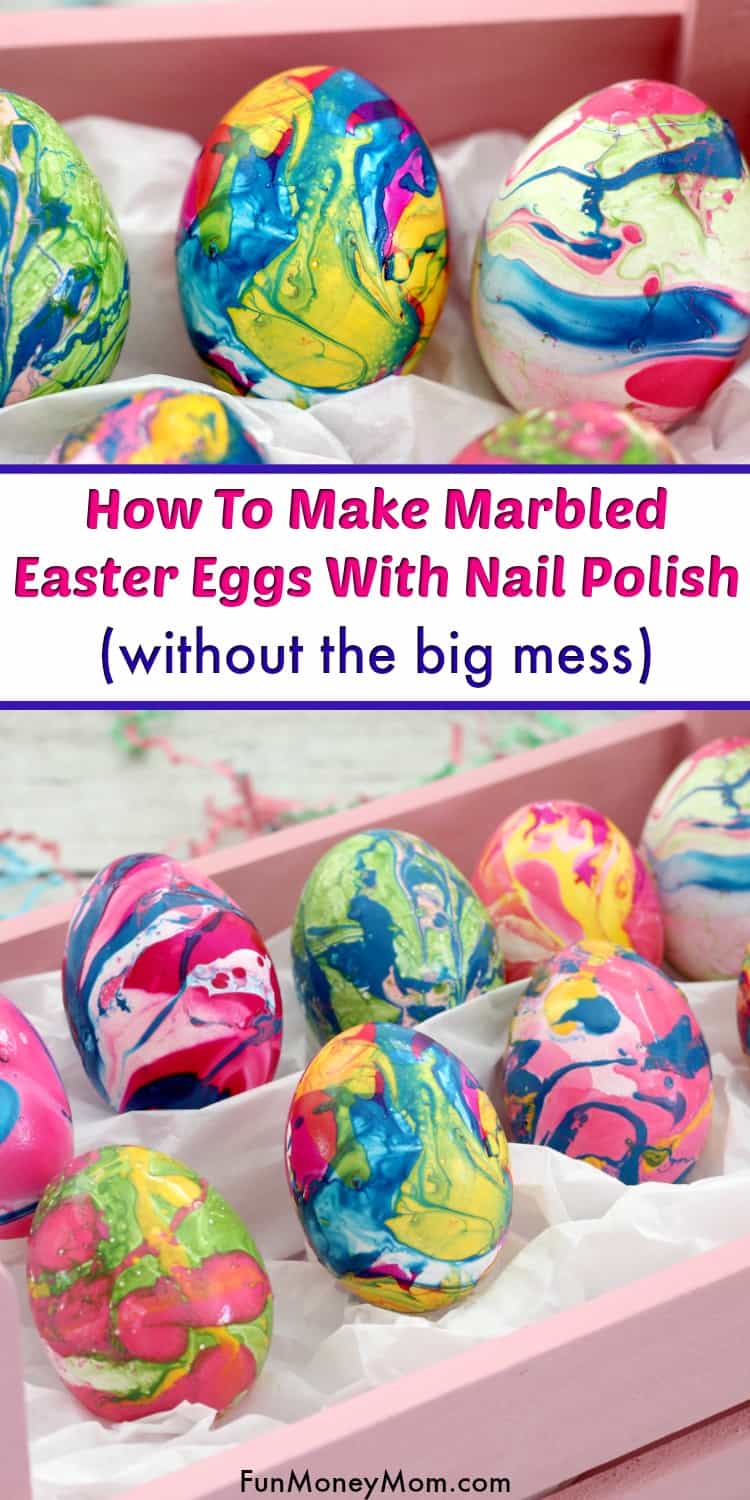
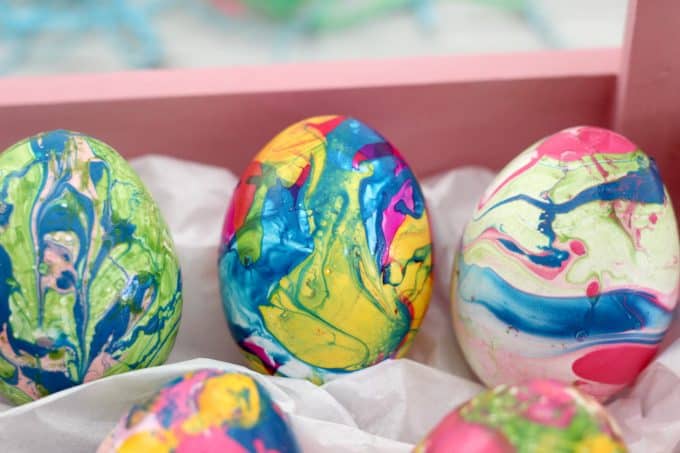
Marbled Easter Eggs With Nail Polish
This post may contain affiliate links. As an Amazon Associate, I earn from qualifying purchases.

I love Easter egg decorating and always wanted to try making marbled Easter eggs with nail polish. The problem was, I had no idea how messy it was! I found out the hard way that to get that pretty Easter egg marbling effect, you’d better have a bottle of nail polish remover on standby! After some trial and error (a LOT of error), I finally came up with a brilliant idea for making marbled Easter eggs without the mess!
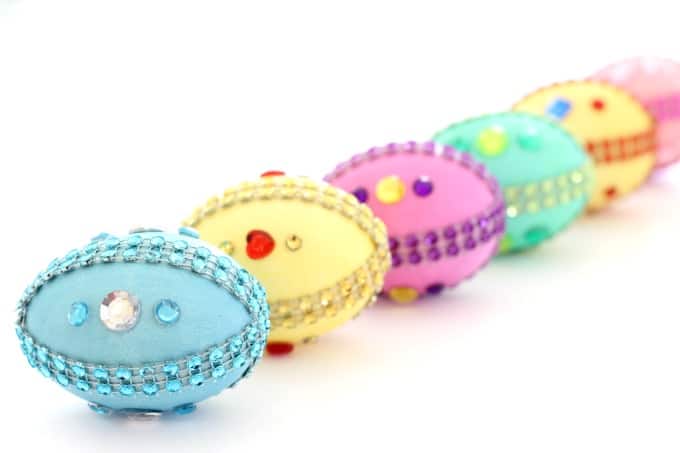
I don’t know about you but one of my favorite things about Easter is the Easter egg decorating! I love finding new ways to decorate eggs for Easter and may have even gone a little overboard when I made these Disney princess inspired eggs last week.
This time I had something different in mind. I’ve always wanted to try using nail polish to make marbled Easter eggs. I’ve heard that this method could be a little messy but I’m not scared of a little mess. After all, I’m a mom!
Little did I know that this would be one of the messiest Easter egg decorating ideas I’d ever tried. After my first couple of attempts, my fingers were completely covered in nail polish. Easter egg marbling is no joke! I’m not even sure how much nail polish remover I used but it didn’t come completely off until the next day.
I tried gloves but they were too slippery. Next I tried putting a string through the egg (I used hollowed out eggs) but the egg moved around too much. I even tried sticking a toothpick in the hole and holding it that way. Still no success! Finally, I tried something and it actually worked…yay!
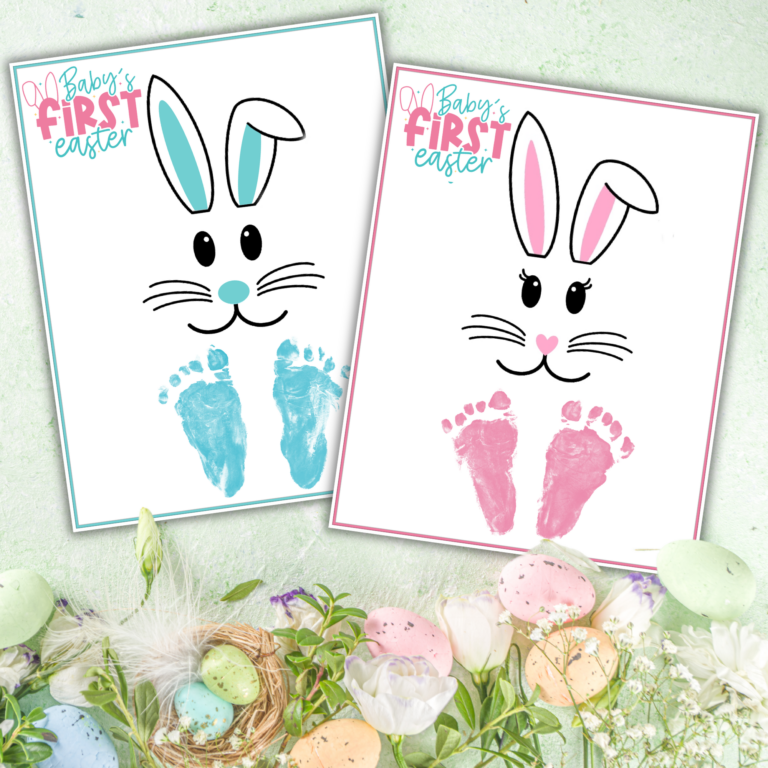
Get a free printable letter from the Easter bunny here.
Marbled Easter Eggs Without The Big Mess
What you’ll need:
- Eggs – you’ll need hollowed/blown eggs for this method
- Nail Polish – assorted colors
- Bowl – it will get ruined so go with a plastic bowl you don’t mind throwing away
- Toothpicks
- Wooden Skewers
- Floral foam for drying eggs (optional)
Fill your bowl with water (room temperature) and select your nail polish colors. I started with these three but then raided my daughter’s nail polish stash!
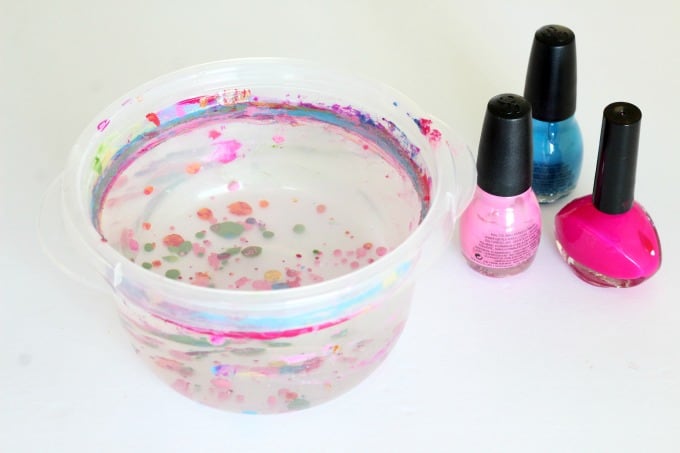
Next, add your nail polish to the water. I went a little rogue here. While most people add one drop at a time, I drizzled the colors over the water (see video below). I started with the hot pink, added light pink and topped it off with a little blue. If you want the nail polish swirl effect, this is where you pull a toothpick through.
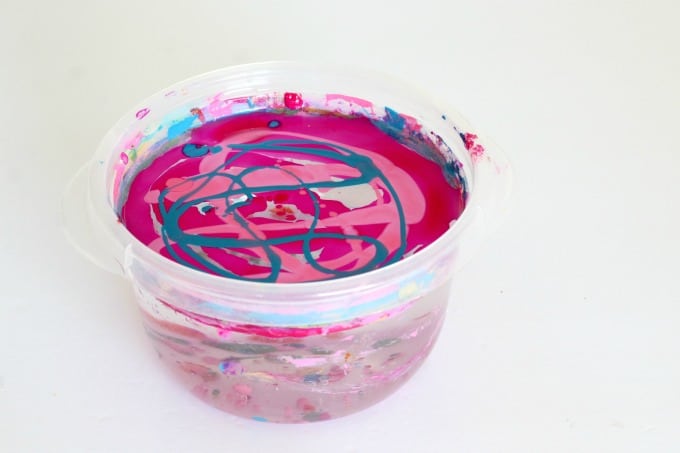
I left the nail polish as is for this one because it gives it more of a “modern art” look. So here’s where you discover my no-mess secret (though if you read the “what you’ll need” section, you’ve probably figured it out). Take your hollowed egg and put it on a wooden skewer. I tried to make the holes just big enough to fit the skewer through but not so big that the egg wobbles when I dip it.
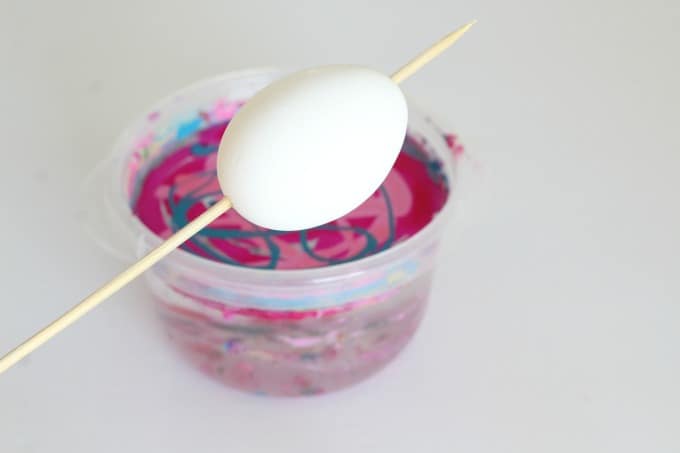
Push the egg towards the top of the skewer, so that only about 1/2 inch or so is sticking out. Dip the egg under the water, slowly turn and pull out so that the opposite side gets some of the nail polish swirl. If the egg is loose, that may be hard to do. If that’s the case, lift the egg out of the water and turn it so that the white side is down. Dip the white part just enough to cover it, then pull the egg back out.

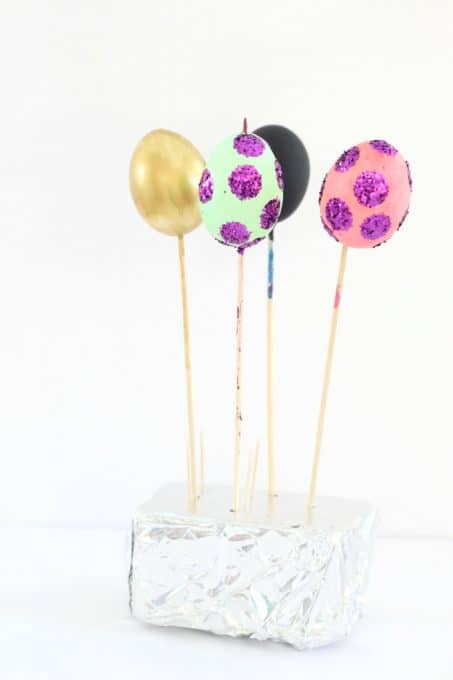
You’ll need to let the eggs dry and I do this by sticking the end of the skewer in floral foam. If the egg slides around on the skewer, pull it inside the egg and let the skewer point rest on the inside of the egg. Here’s what it looks like…
These were so much fun to make and I just couldn’t stop! I actually made so many that now I have to buy new nail polish for my girls…I used theirs up! Oops!

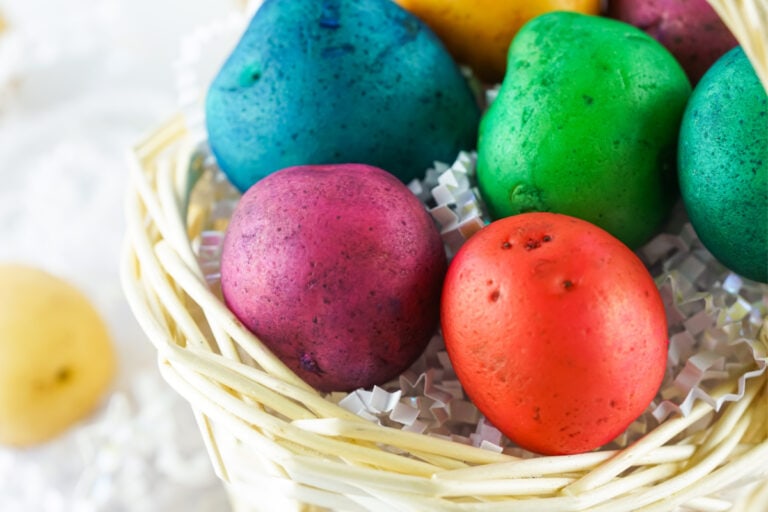
I love how no two marbleized Easter eggs turn out alike.
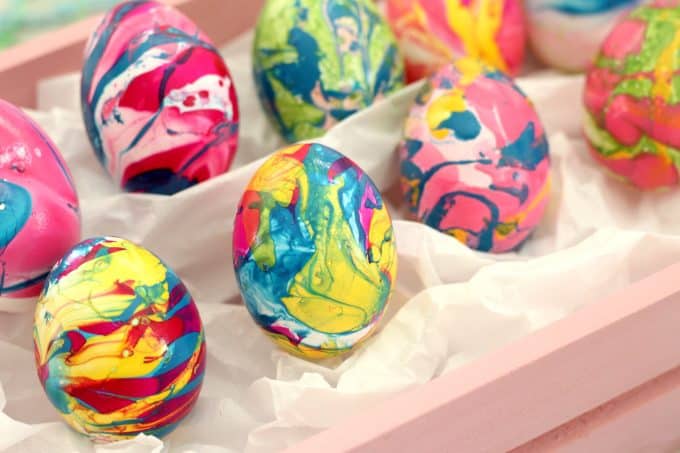
There’s a reason why we don’t decorate with white Easter eggs! Covering them in nail polish is SO much more fun. How cute are these?!
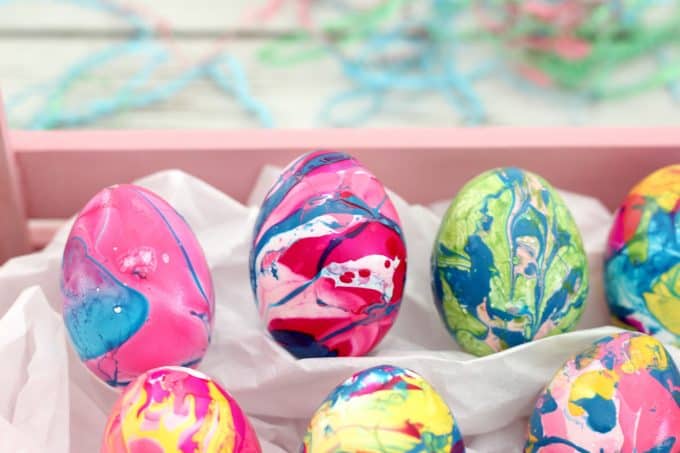
I don’t even know which one is my favorite…they’re all so pretty!
The best thing about using the skewers is that now my girls can make marbled Easter eggs too (I would have been WAY too scared to let them try before!). Of course I still take precautions but I’m much less likely to have to follow behind them with an entire bottle of nail polish remover!
What are your favorite Easter egg decorating ideas? Have you tried decorating eggs with nail polish before?
Check out my latest appearance on Sarasota’s Suncoast View for more egg crafts!
If you enjoyed this post, you may want to check these out too…
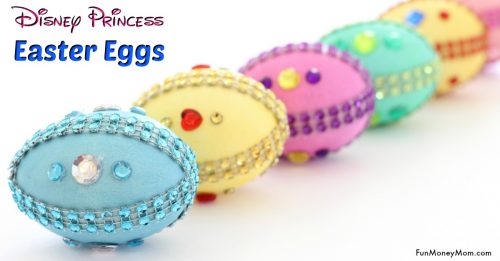
Disney Princess Easter Egg Ideas
Super Cute Easter Egg Decorating Ideas For Kids
15 Of The Most Creative Easter Egg Ideas You’ve Ever Seen
How To Make Napkin Wrapped Easter Eggs
Let’s be friends!
Did you love this post? Make sure to comment below and let me know your thoughts! And don’t forget to follow on your favorite social network below!

About Lisa O’Driscoll
Lisa O’Driscoll is a lifestyle and parenting expert, cookbook author, and the creative force behind Fun Money Mom, a popular blog she’s run since 2014. She’s the author of the children’s cookbook Roll It, Slice It, Mash It, Dice It, designed to get kids excited about cooking. With multiple TV appearances under her belt, she loves sharing her expertise on family-friendly recipes, creative DIYs, and party planning and is always on a mission to inspire and entertain!


Hi, FANTASTIC EGGS! Do you think I could do this with plain white plastic eggs instead of real eggs? Would the nail polish stick to the plastic? I just don’t like blowing the eggs out and would want to keep them so cannot do hard boiled eggs. Thank you for any info.
I have not tried it but I will try it next year and let you know!