Red Velvet Brownies With Cream Cheese Frosting
This post may contain affiliate links. As an Amazon Associate, I earn from qualifying purchases.
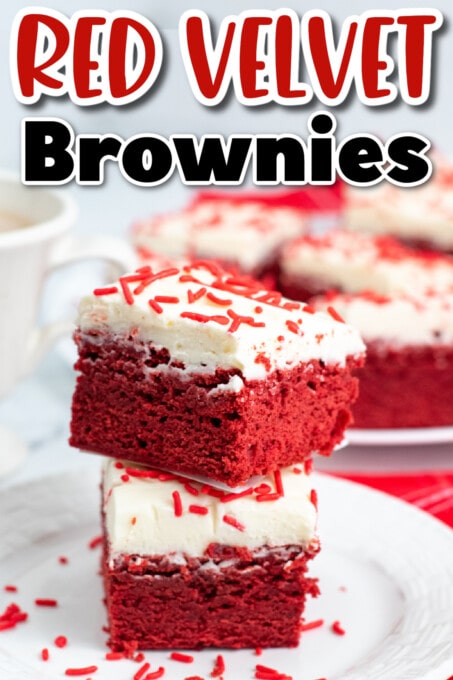
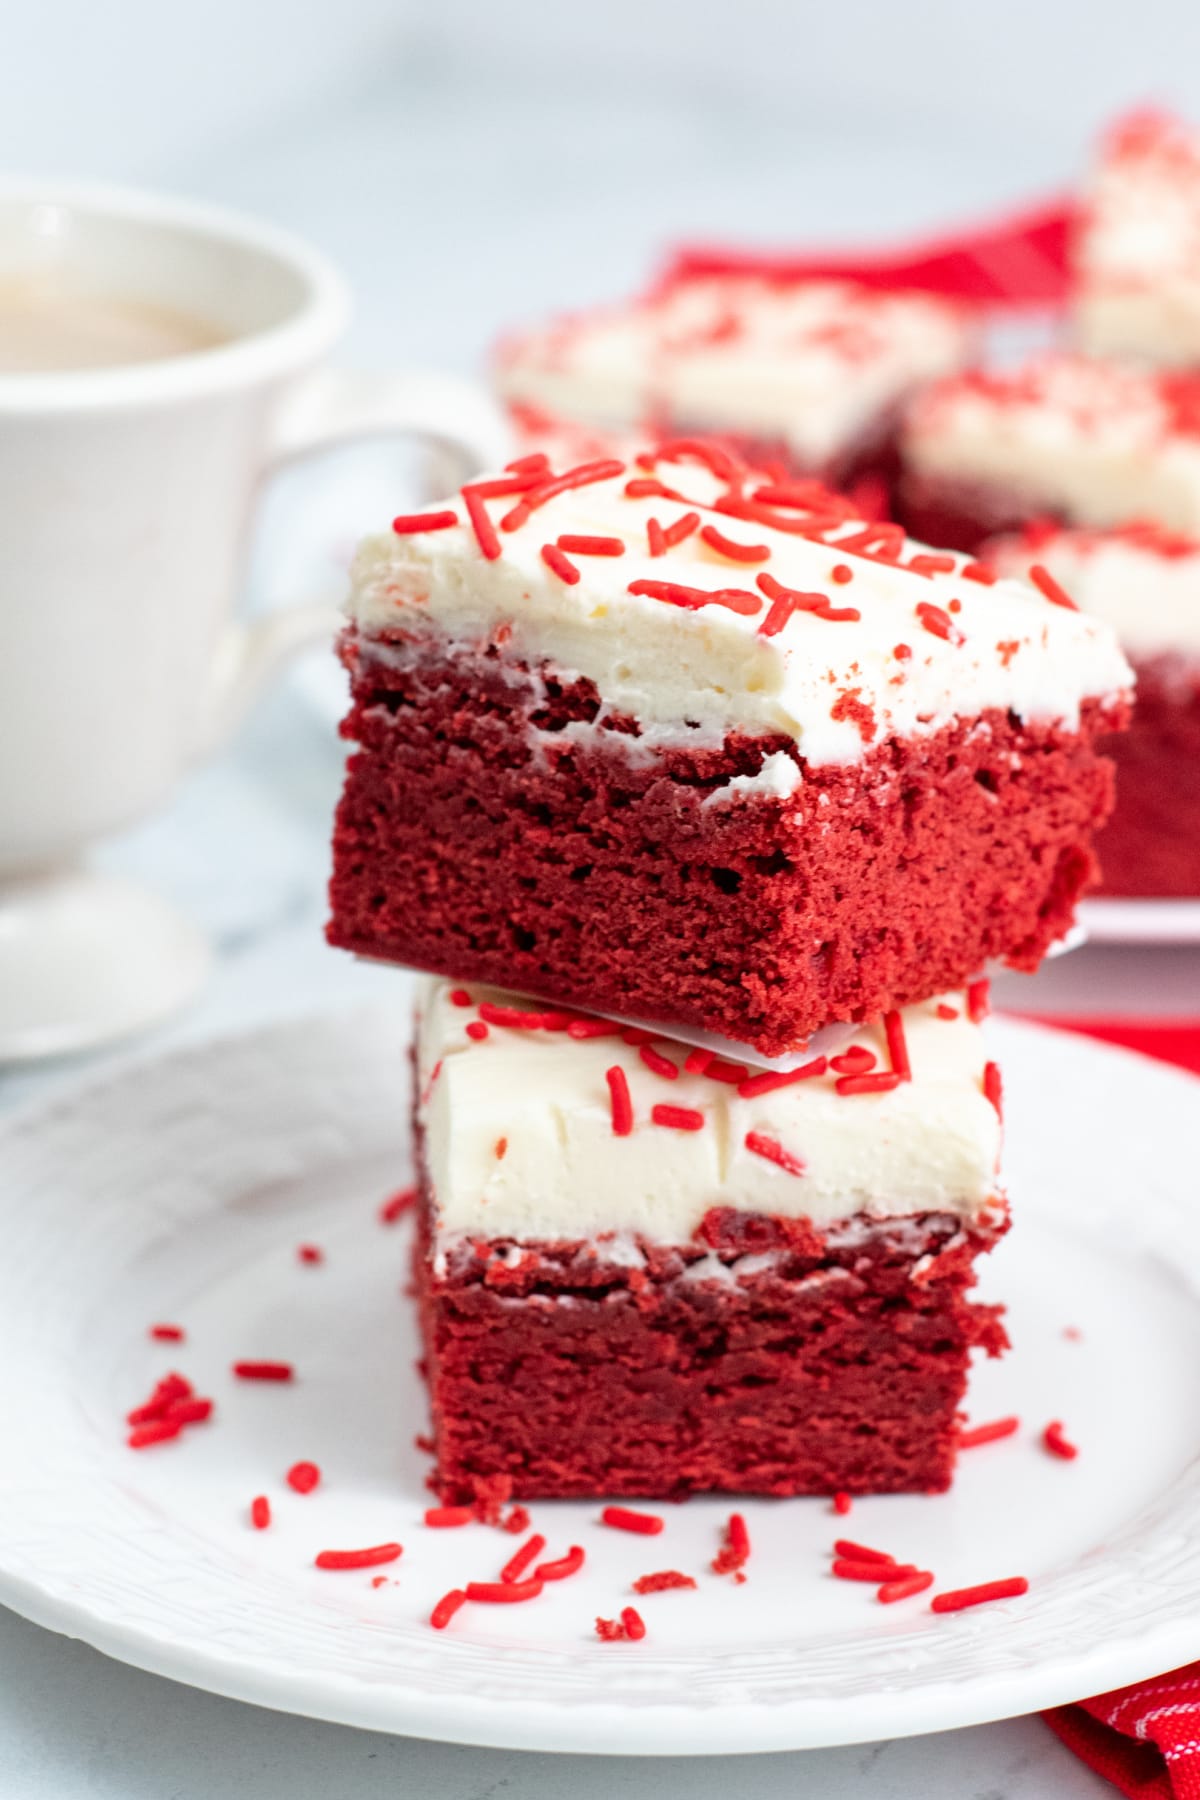
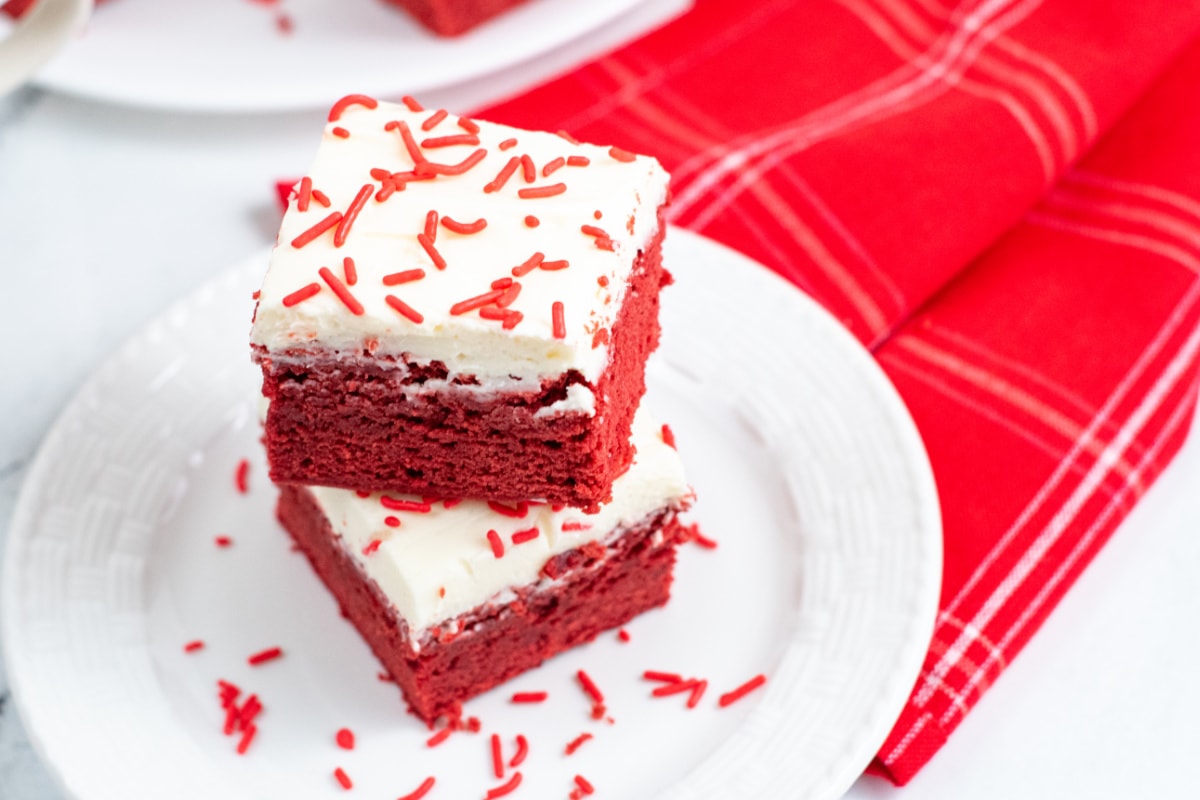
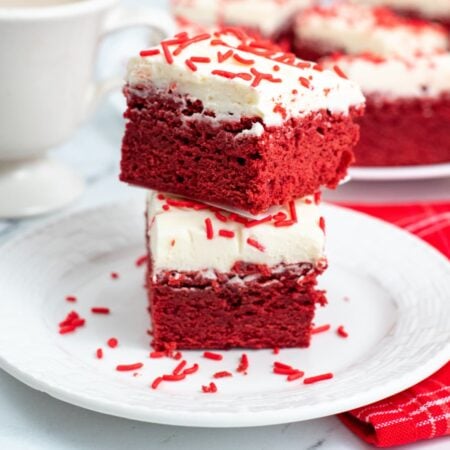
These amazing Red Velvet Brownies With Cream Cheese Frosting are simply irresistible! Deliciously dense, fudgy brownies topped with a rich cream cheese frosting, they’re the perfect treat for any occasion!
Red Velvet recipes are always a huge hit! We’re all about this Christmas Lasagna and these cute little Santa Hat Cupcakes because not only does the red velvet color make for a beautiful presentation, they taste absolutely amazing too.
But now we have a new recipe to obsess over…these decadent and fudgy red velvet brownies with cream cheese icing! They’re such a fun twist on traditional homemade brownies. Add cream frosting and you’ve got a whole new level of deliciousness!
You’ll love this recipe as a tasty treat for Christmas or any other time you want a fun dessert with a pop of festive red color. You can even make a batch for Valentine’s Day or add blue sprinkles for a 4th of July dessert!
Why We Love This Recipe
- Easy to make: This is a from-scratch recipe, but it is so easy to make. If you can make a cake using a red velvet cake mix, you can make this recipe. They are just that easy!
- It’s all about that frosting: These delicious red velvet brownies are amazing on their own, but once the rich cream cheese frosting is added, they are taken to a whole new level of yum!
- Chocolate chips: This recipe calls for melted chocolate chips. The melted chocolate makes the brownies super moist and gives them a stronger chocolate flavor than when you use cocoa powder alone.
Ingredients
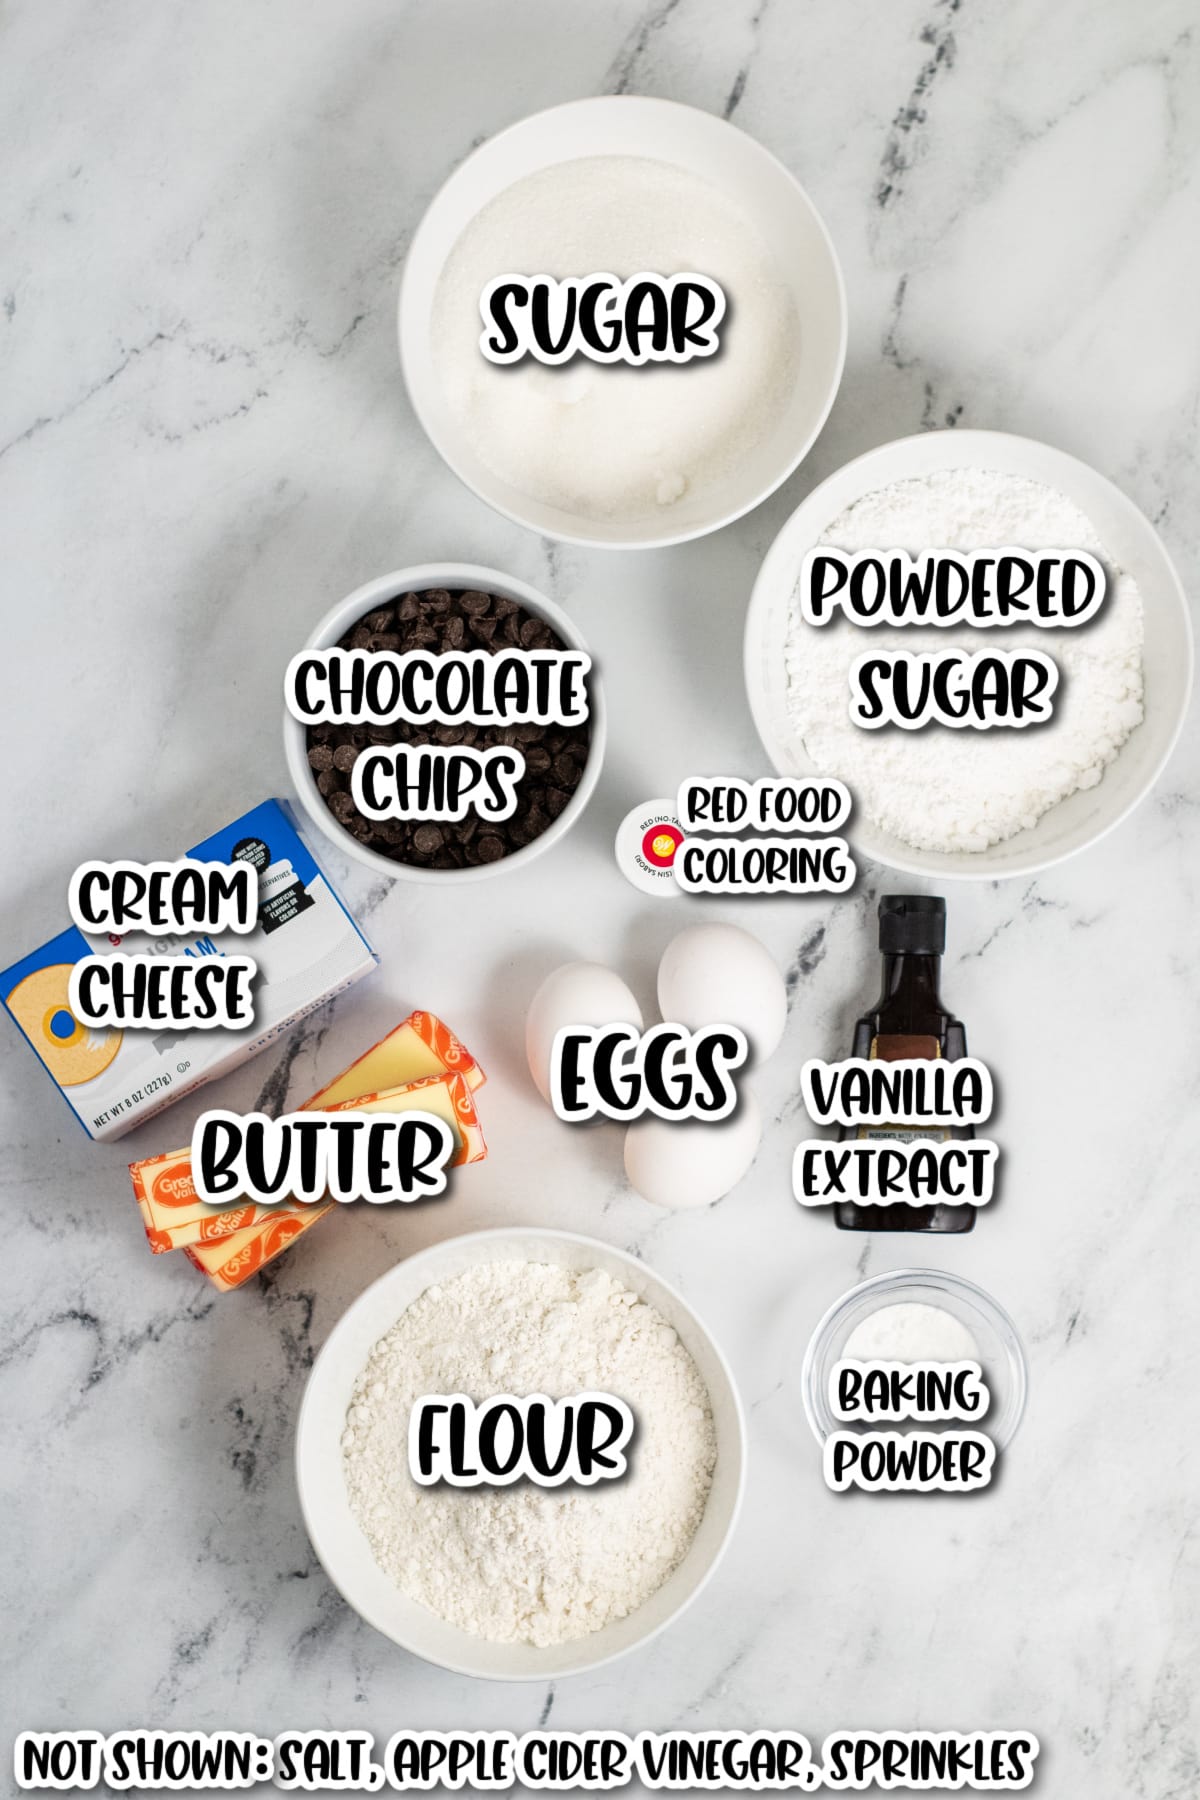
This recipe for chewy red velvet brownies is made using pantry staples that you probably already have on hand. There are a few key ingredients that will always ensure your brownies have that classic red velvet flavor:
- Butter: You can use room temperature salted or unsalted butter. Butter is used to make the brownie batter rich and delicious, and it’s used again in the frosting to give it a smooth and velvety texture.
- Flour– You’ll want to use a trusted all-purpose flour for this recipe.
- Semi-sweet chocolate chips: This is where the chocolatey goodness comes from and gives them a nice fudgy texture.
- Sugar: You will need granulated sugar for the brownies and powdered sugar for the sweet cream cheese frosting.
- Eggs: For these chocolate brownies, you’ll need 3 eggs. This gives the brownies moisture and prevents from being cakey and crumbly.
- Apple Cider Vinegar: The little bit of acid from the vinegar ensures the baking soda can do its job by giving the batter a lift.
- Cream Cheese: One of the things that makes these brownies so special is the rich and decadent cream cheese frosting.
- Food Coloring: You’ll want to use a gel food coloring. Use a brand that has no taste to prevent it from giving the brownies an unwanted bitter flavor.
How To Make Red Velvet Brownies
For the Brownie Layer
Step 1: Preheat the oven to 325 degrees. Line an 8×8 or 9×9 inch pan with parchment paper. Butter the bottom and sides of parchment paper and set it aside.
Step 2: Add the chocolate chips and butter to a medium size saucepan.

Step 3: Melt over low heat, stirring frequently until completely melted and smooth. Remove from heat.
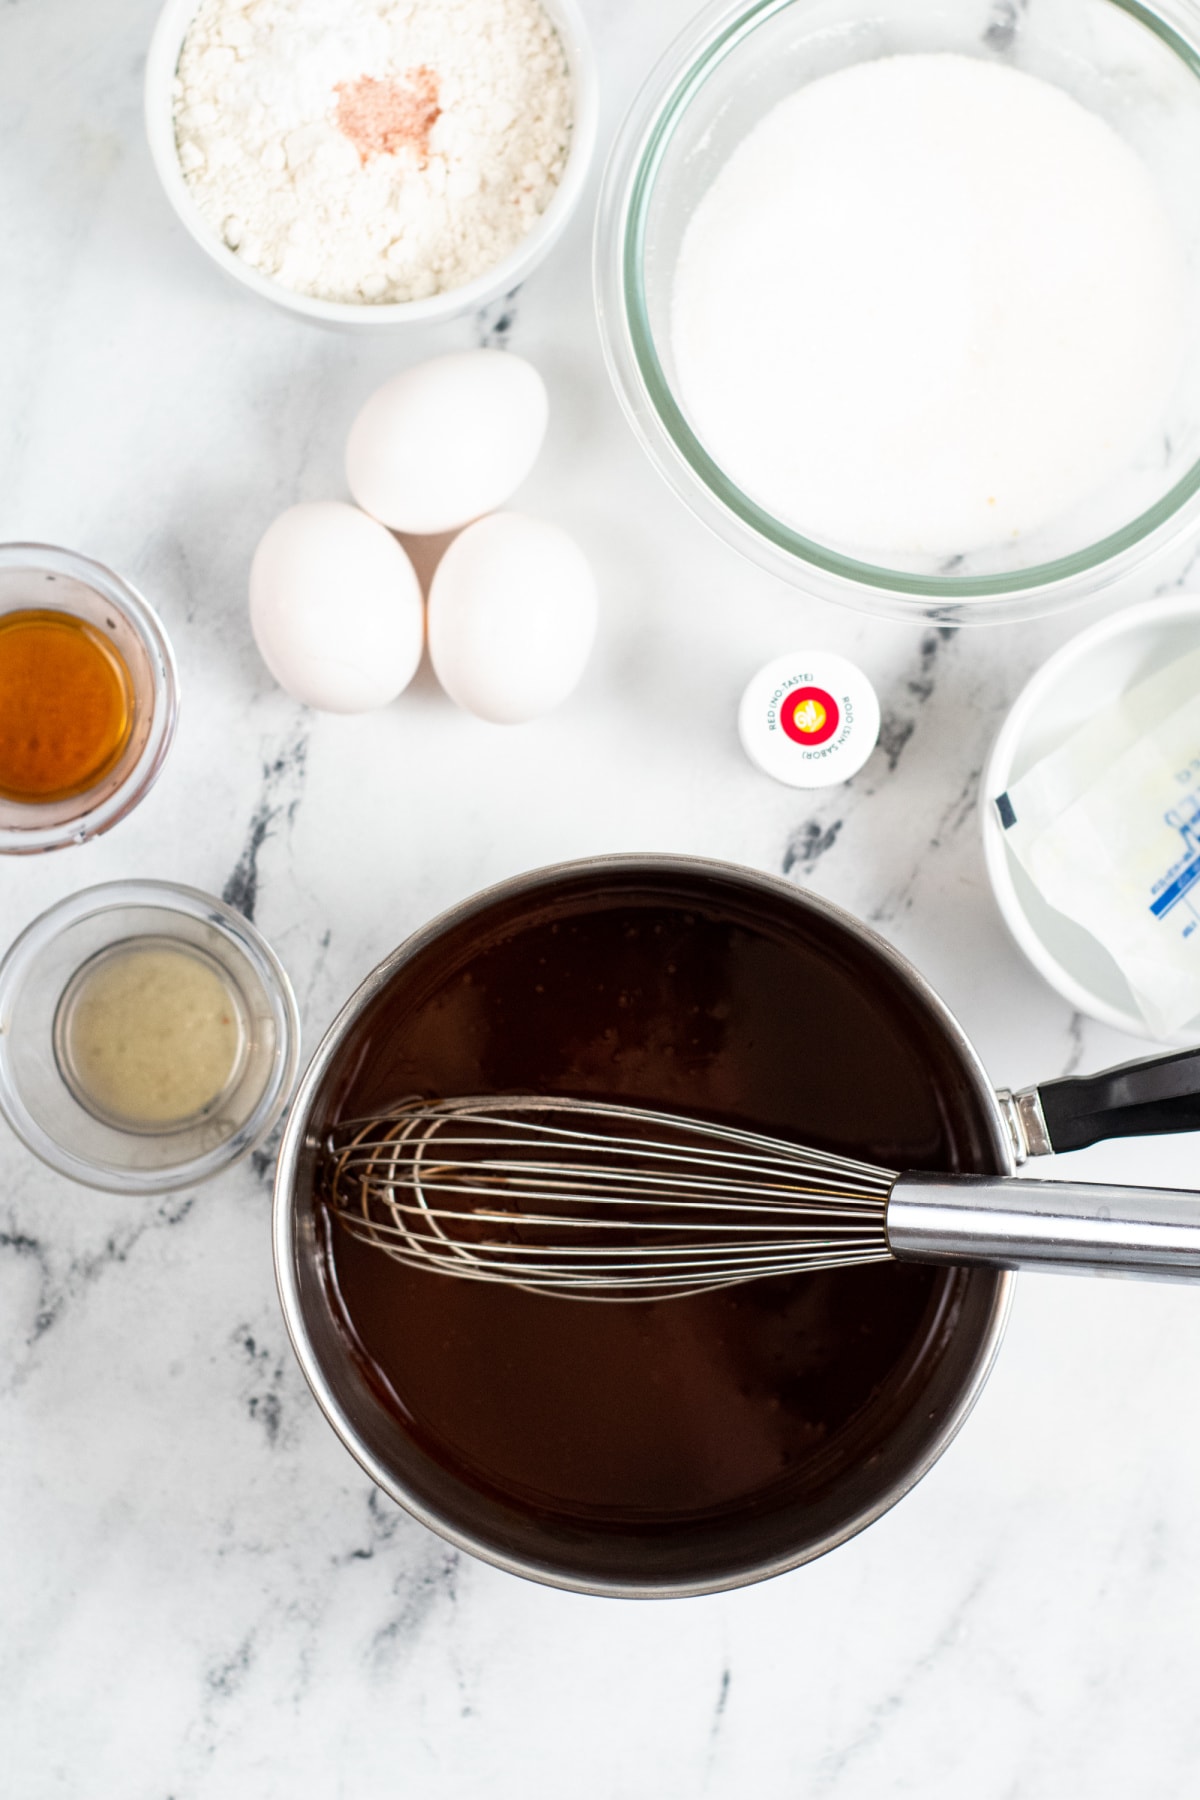
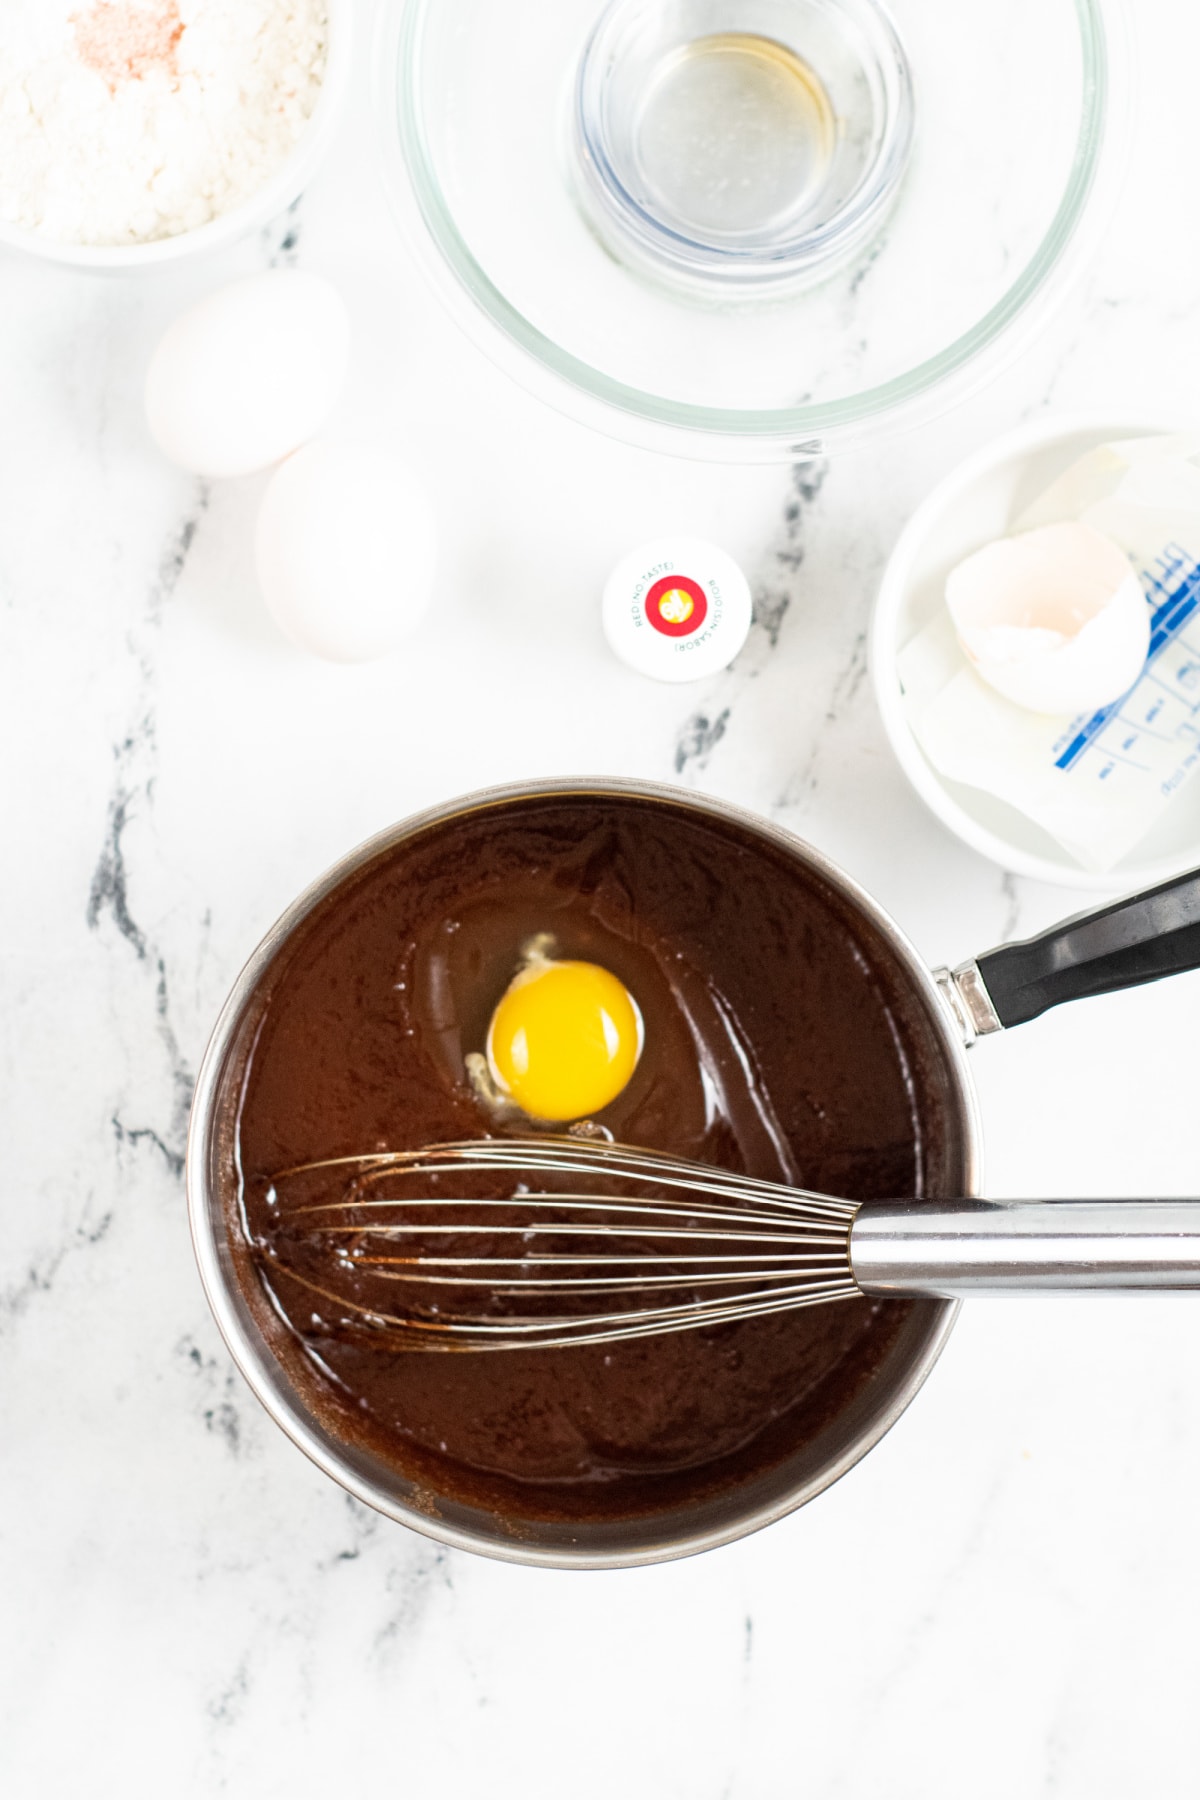
Step 4: Add the sugar to the chocolate mixture and whisk in sugar until well incorporated.

Step 5: Add eggs one at a time mixing thoroughly between each addition. Stir in vanilla extract, salt, and vinegar.
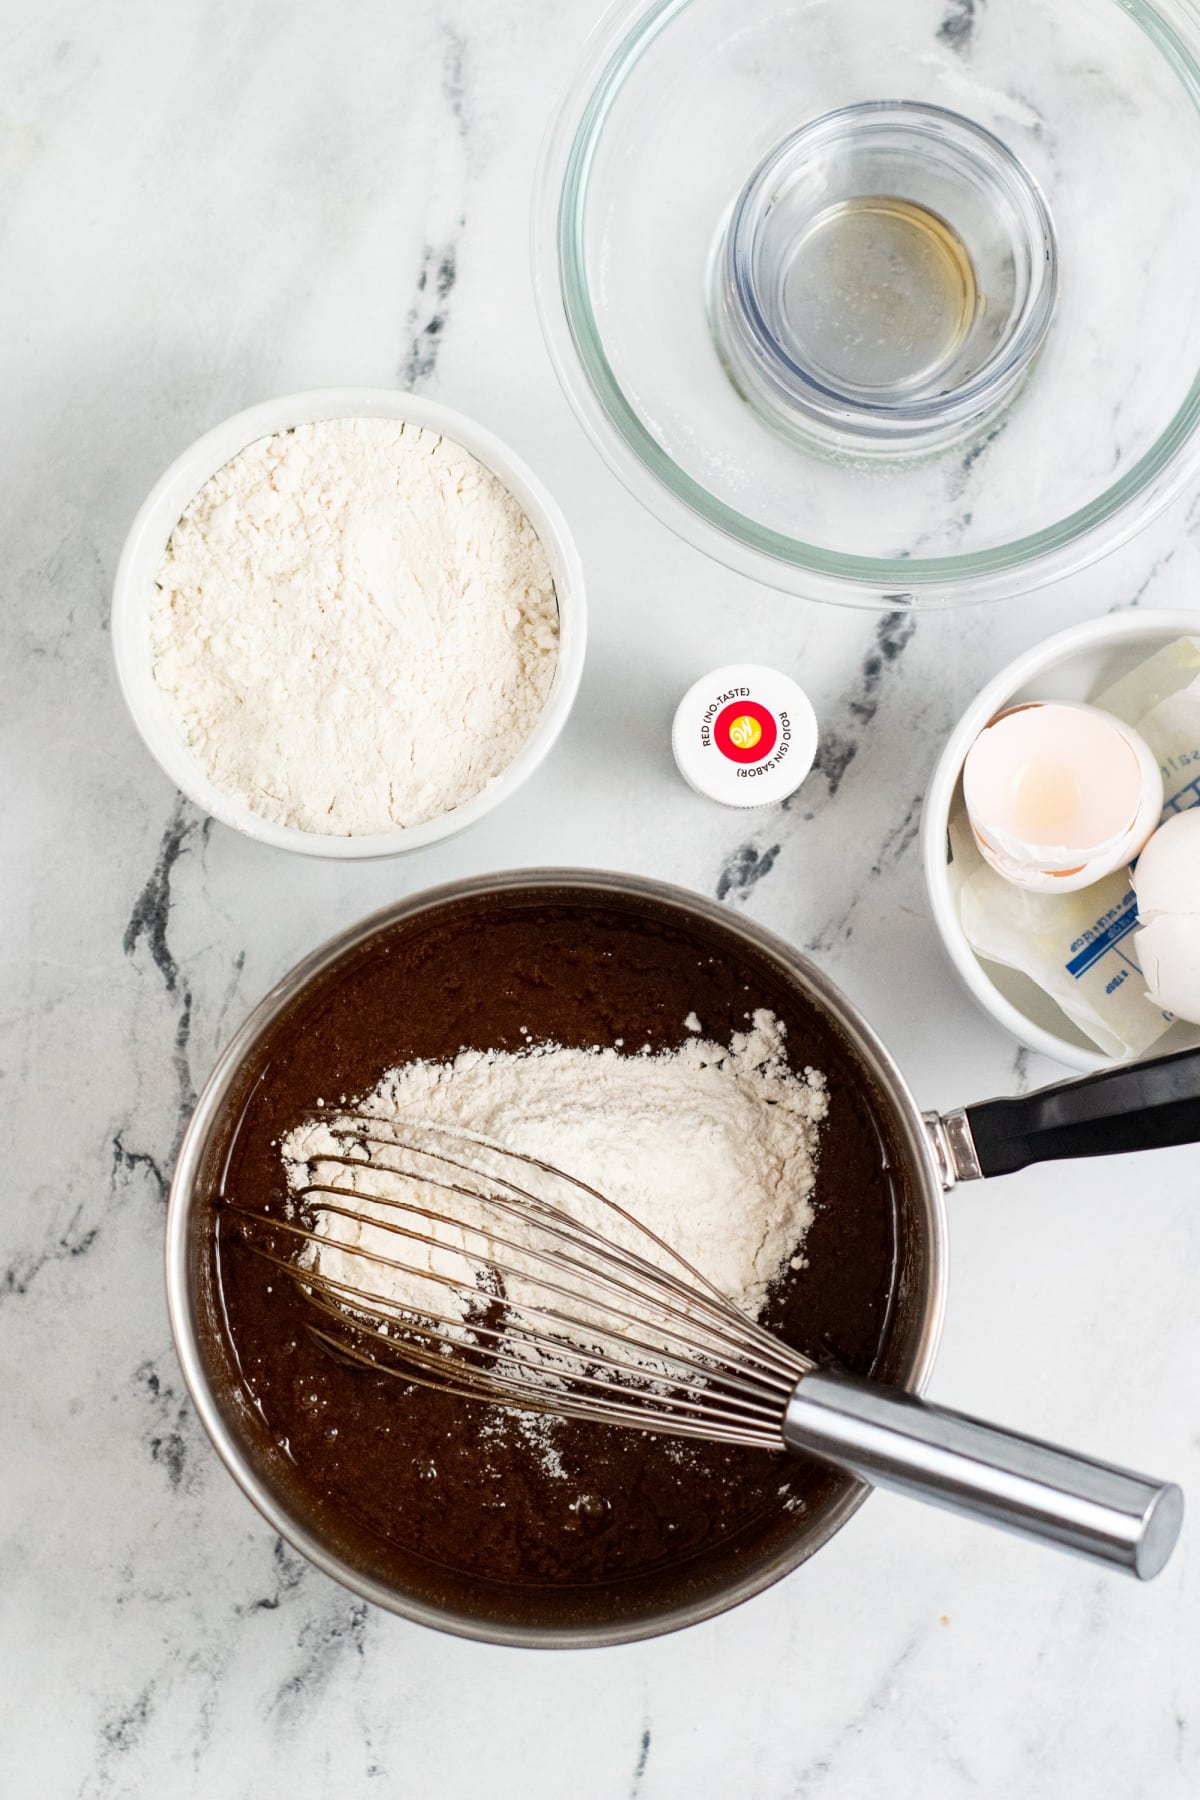
Step 6: In a separate mixing bowl, whisk together flour, baking powder and salt until well mixed.
Step 7: Gradually add the flour mixture to the chocolate mixture. Mix well between each addition.
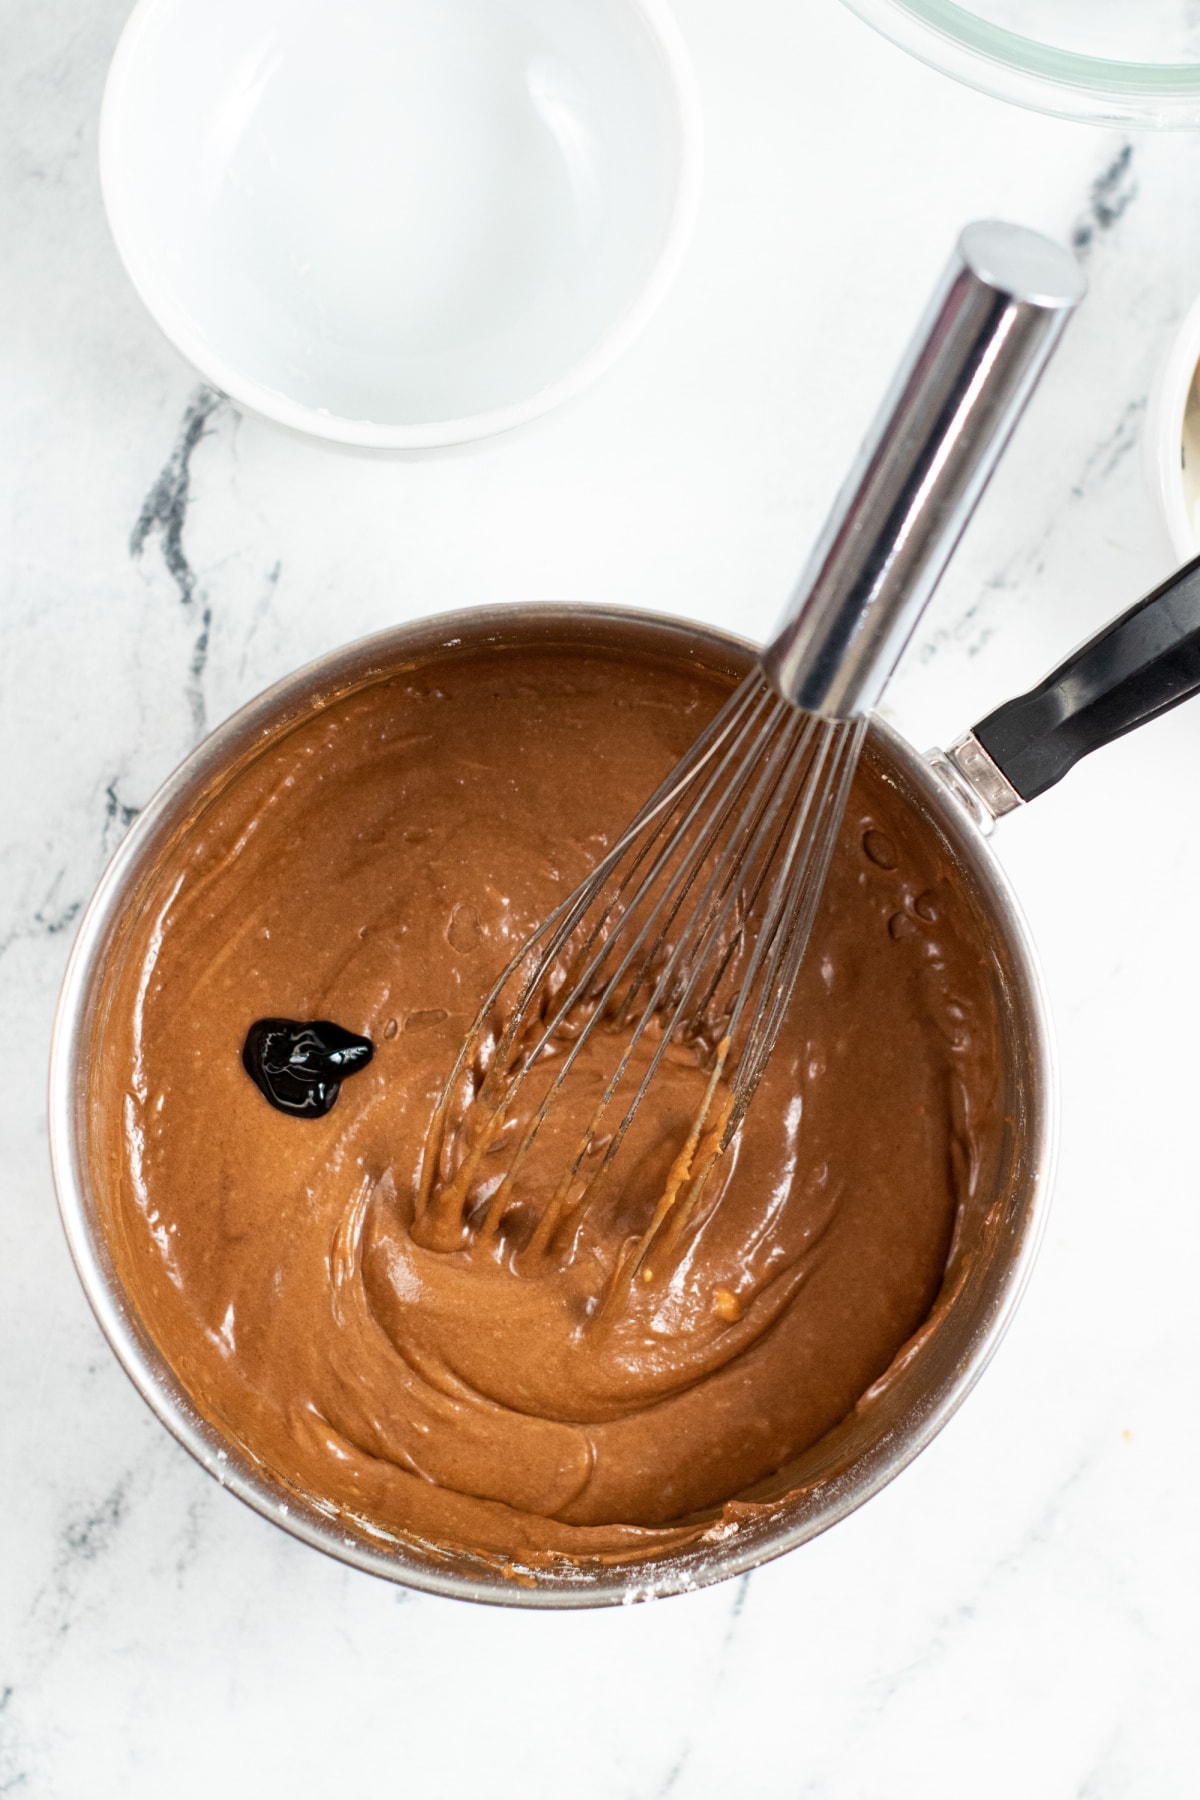
Step 8: Add 1 teaspoon of the red food coloring and mix well. For a deeper shade of red, add more food coloring and continue mixing until well blended.
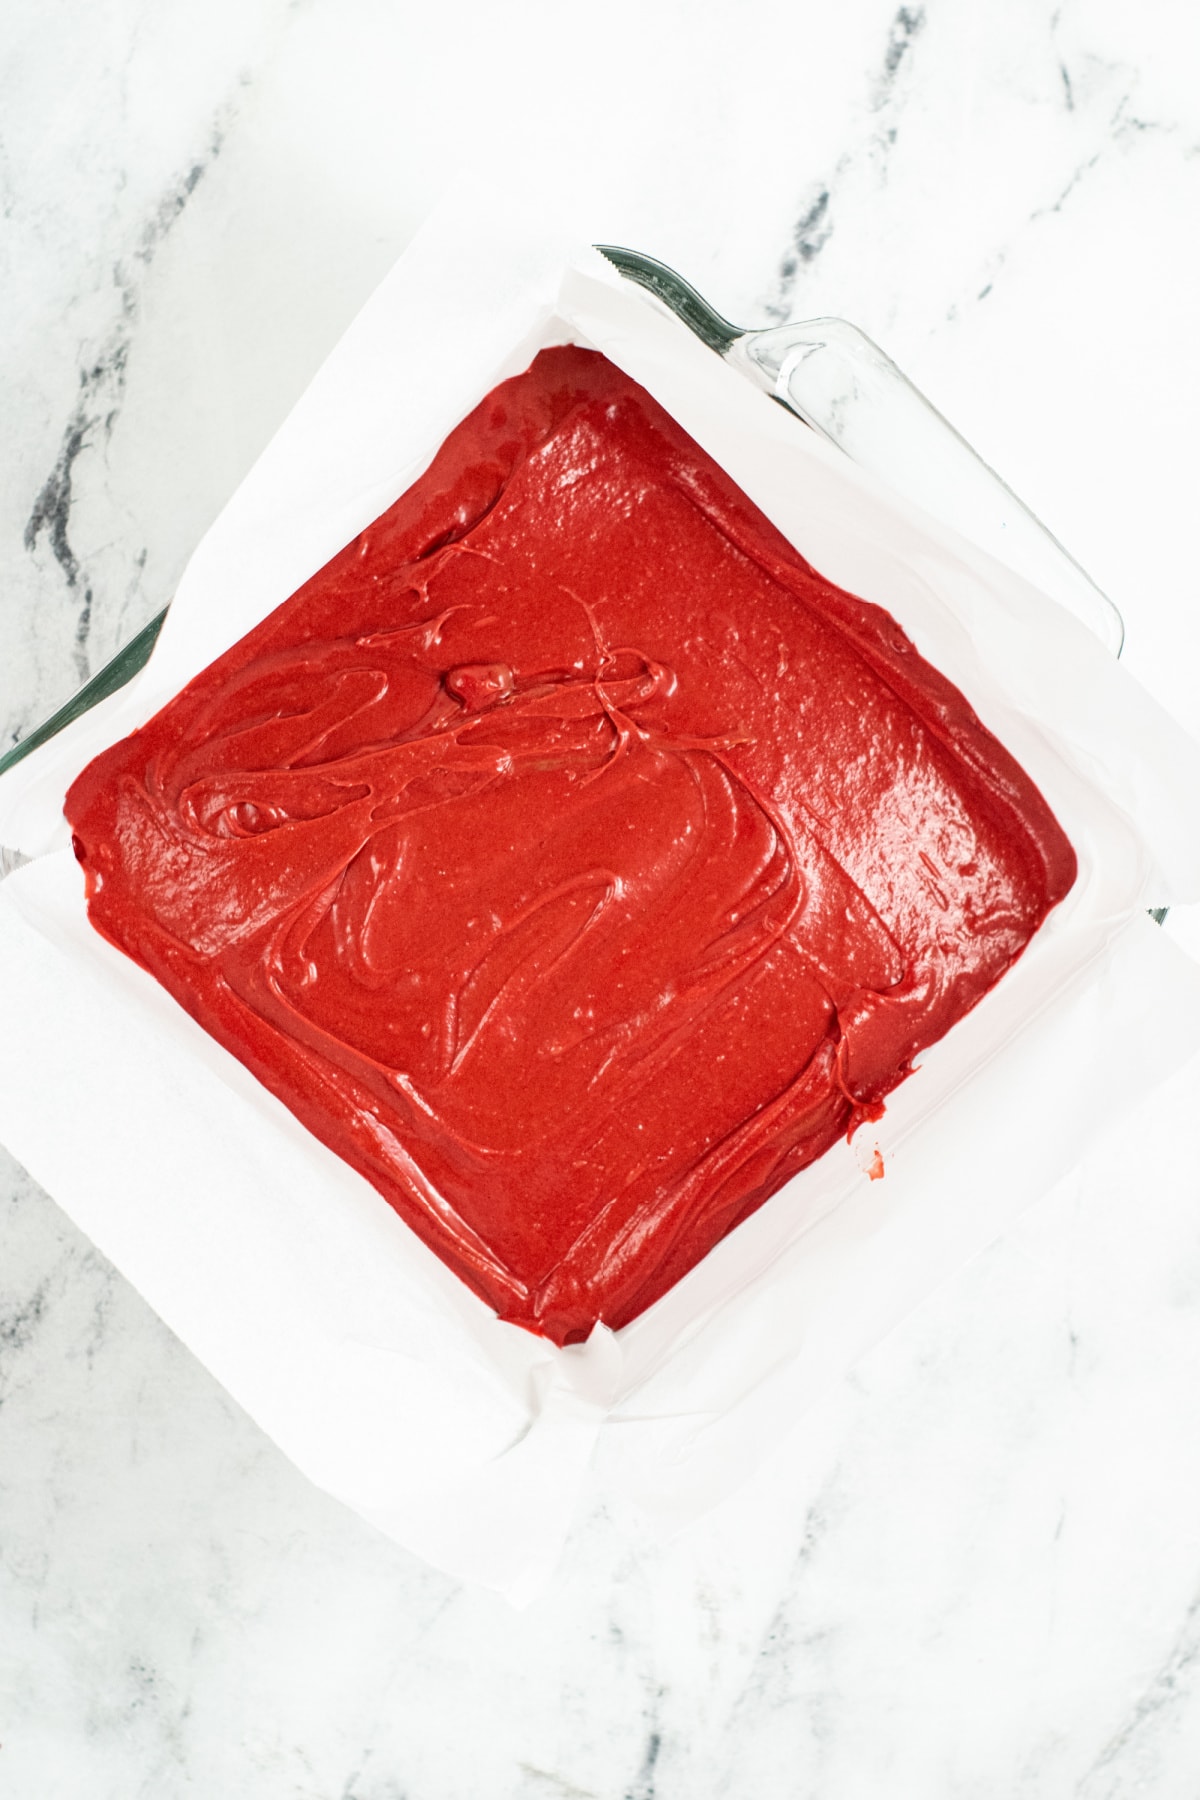
Step 9: Pour the red velvet brownie batter into the prepared baking pan, and smooth evenly. Place in oven and bake the brownies for approximately 45-55 minutes, until a toothpick inserted in the center of the brownies comes out clean.
The time will vary depending on if you’re using a metal or glass pan. Set a timer for 35 minutes and start checking to see if they are done. After that, check them every 5 minutes until they are completely done.
Step 10: Remove from the oven. Place the pan on a cooling rack and let the brownies cool completely.
For The Cream Cheese Frosting
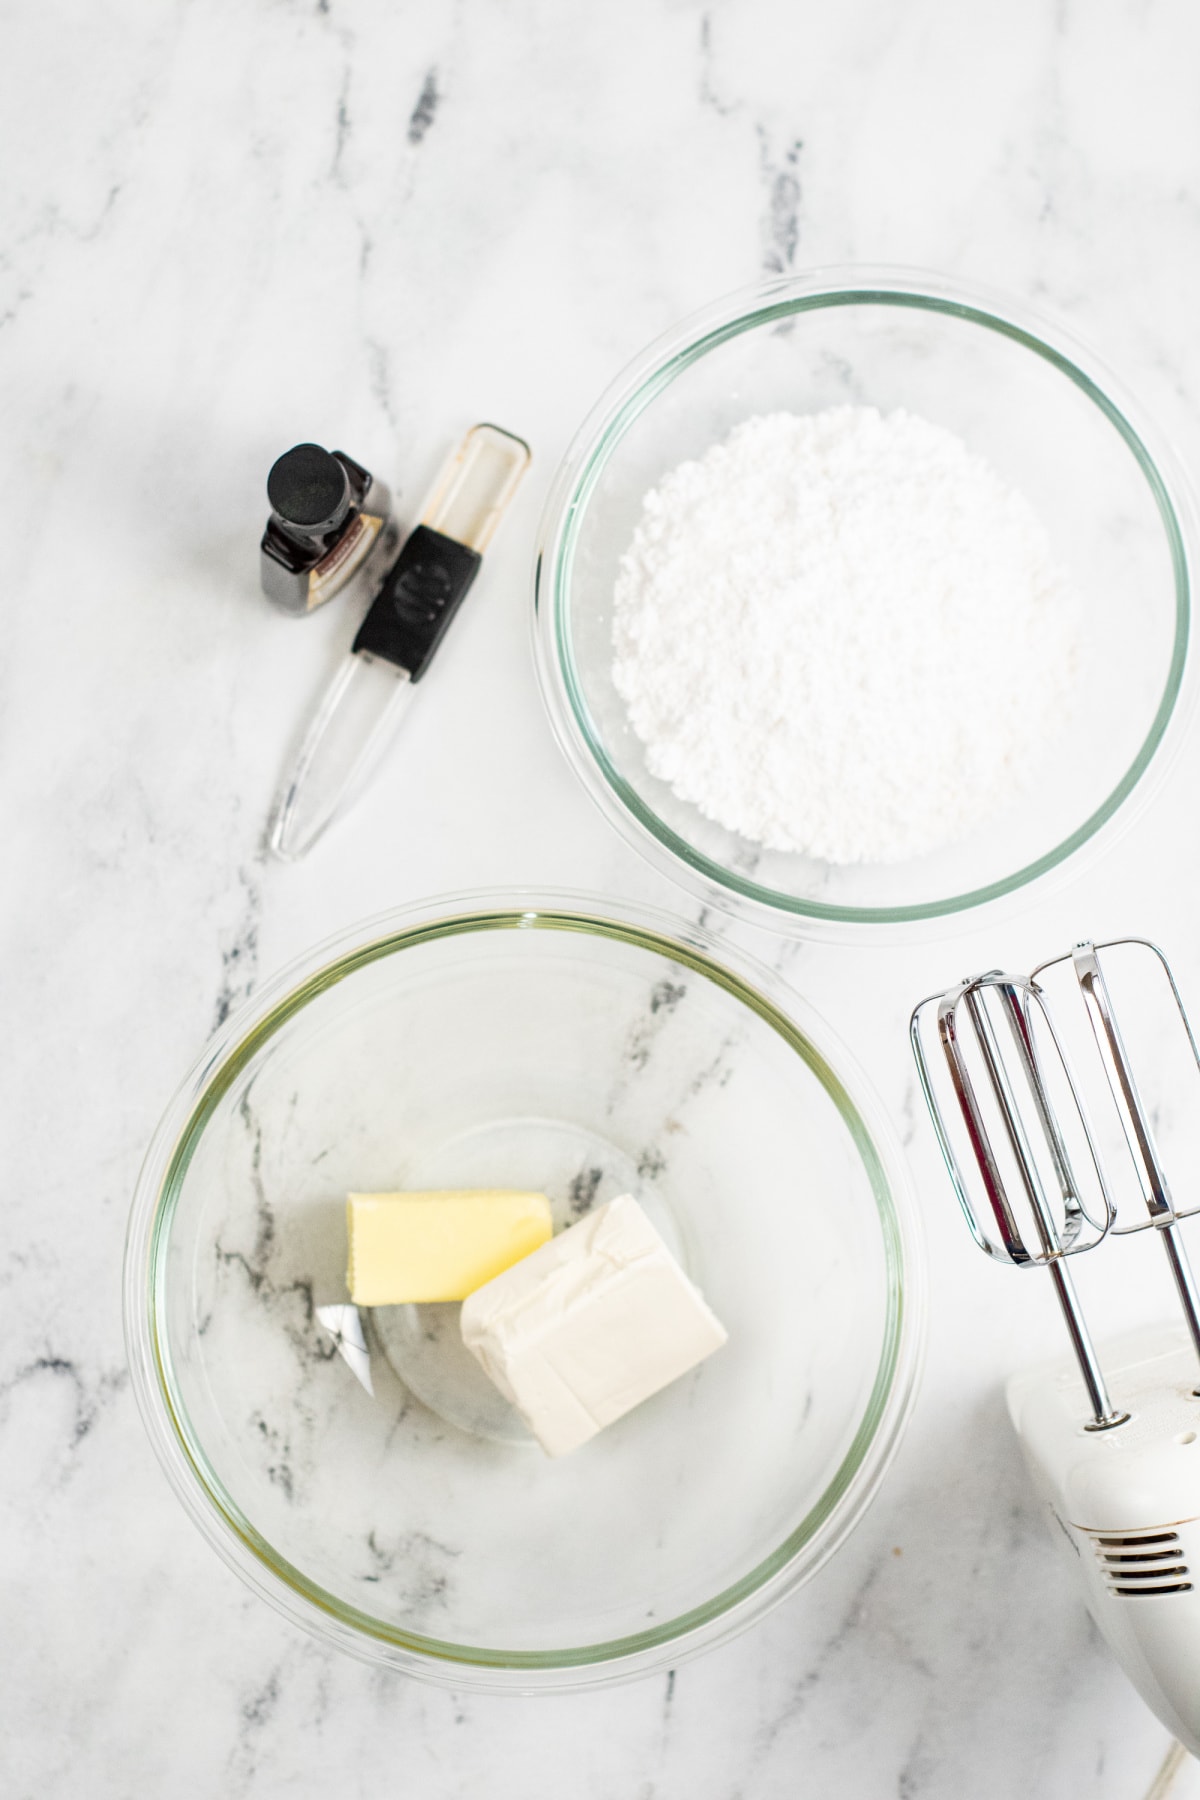
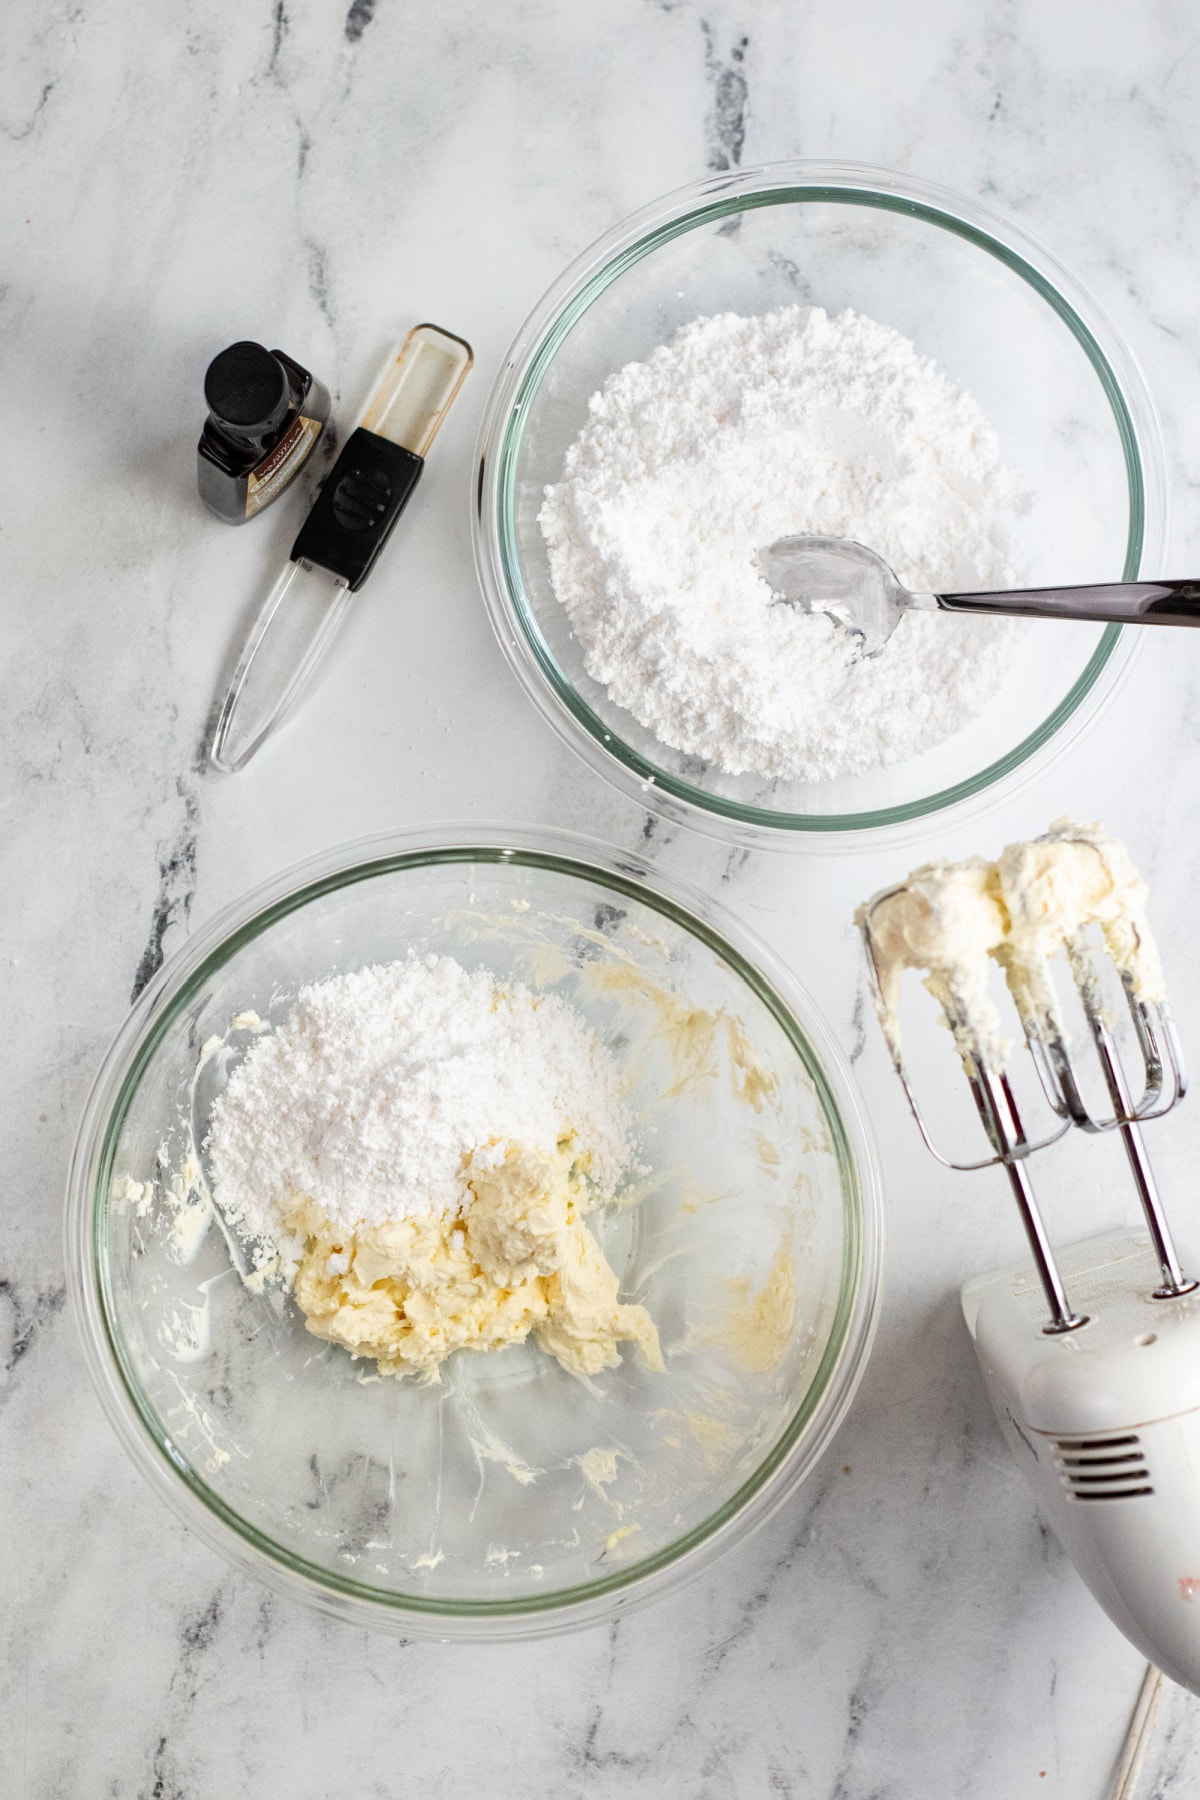
Step 1: In a medium size bowl, beat the cream cheese and butter with an electric mixer until light and fluffy. Add vanilla and mix again.
Step 2: Add powdered sugar a little at a time. Stir between each addition until the powdered sugar is completely incorporated.
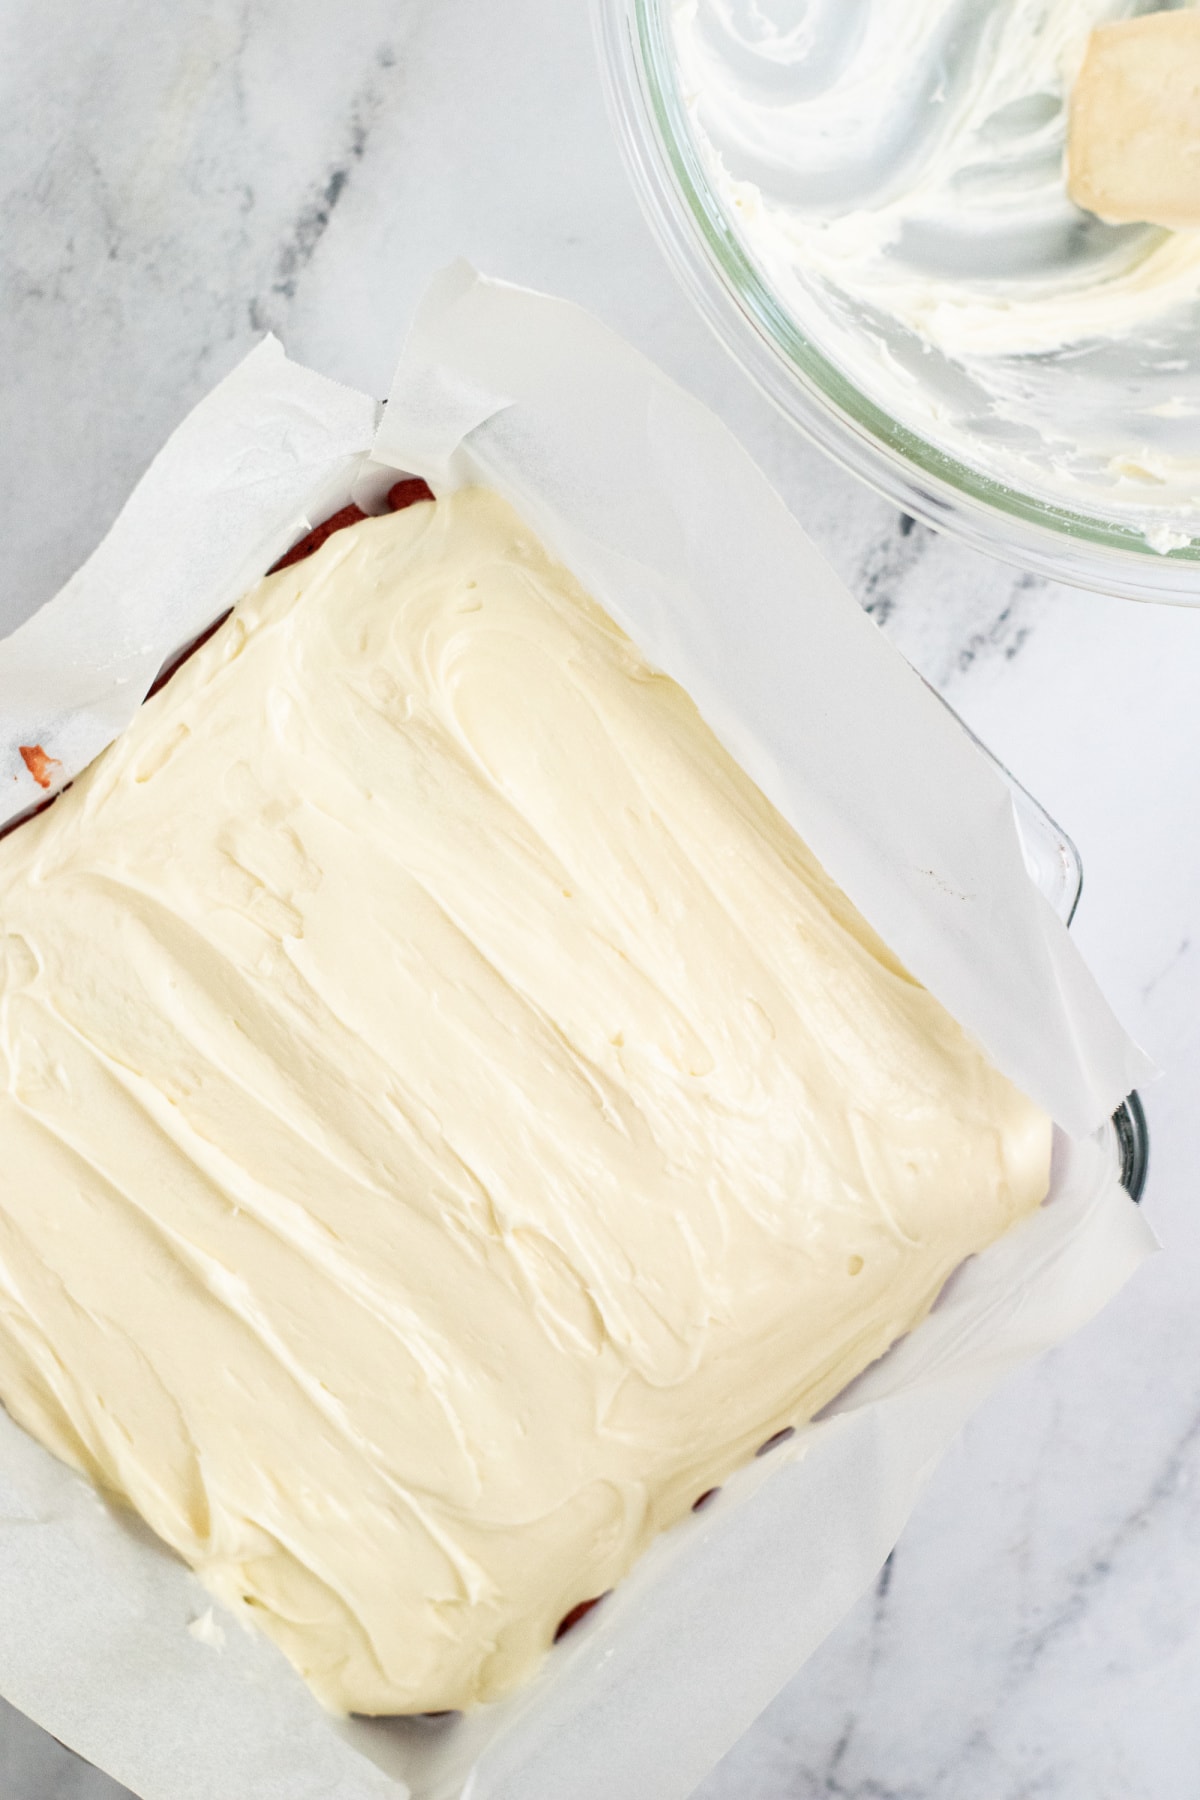
Step 3: Spread the cream cheese mixture evenly across the top of the brownies.
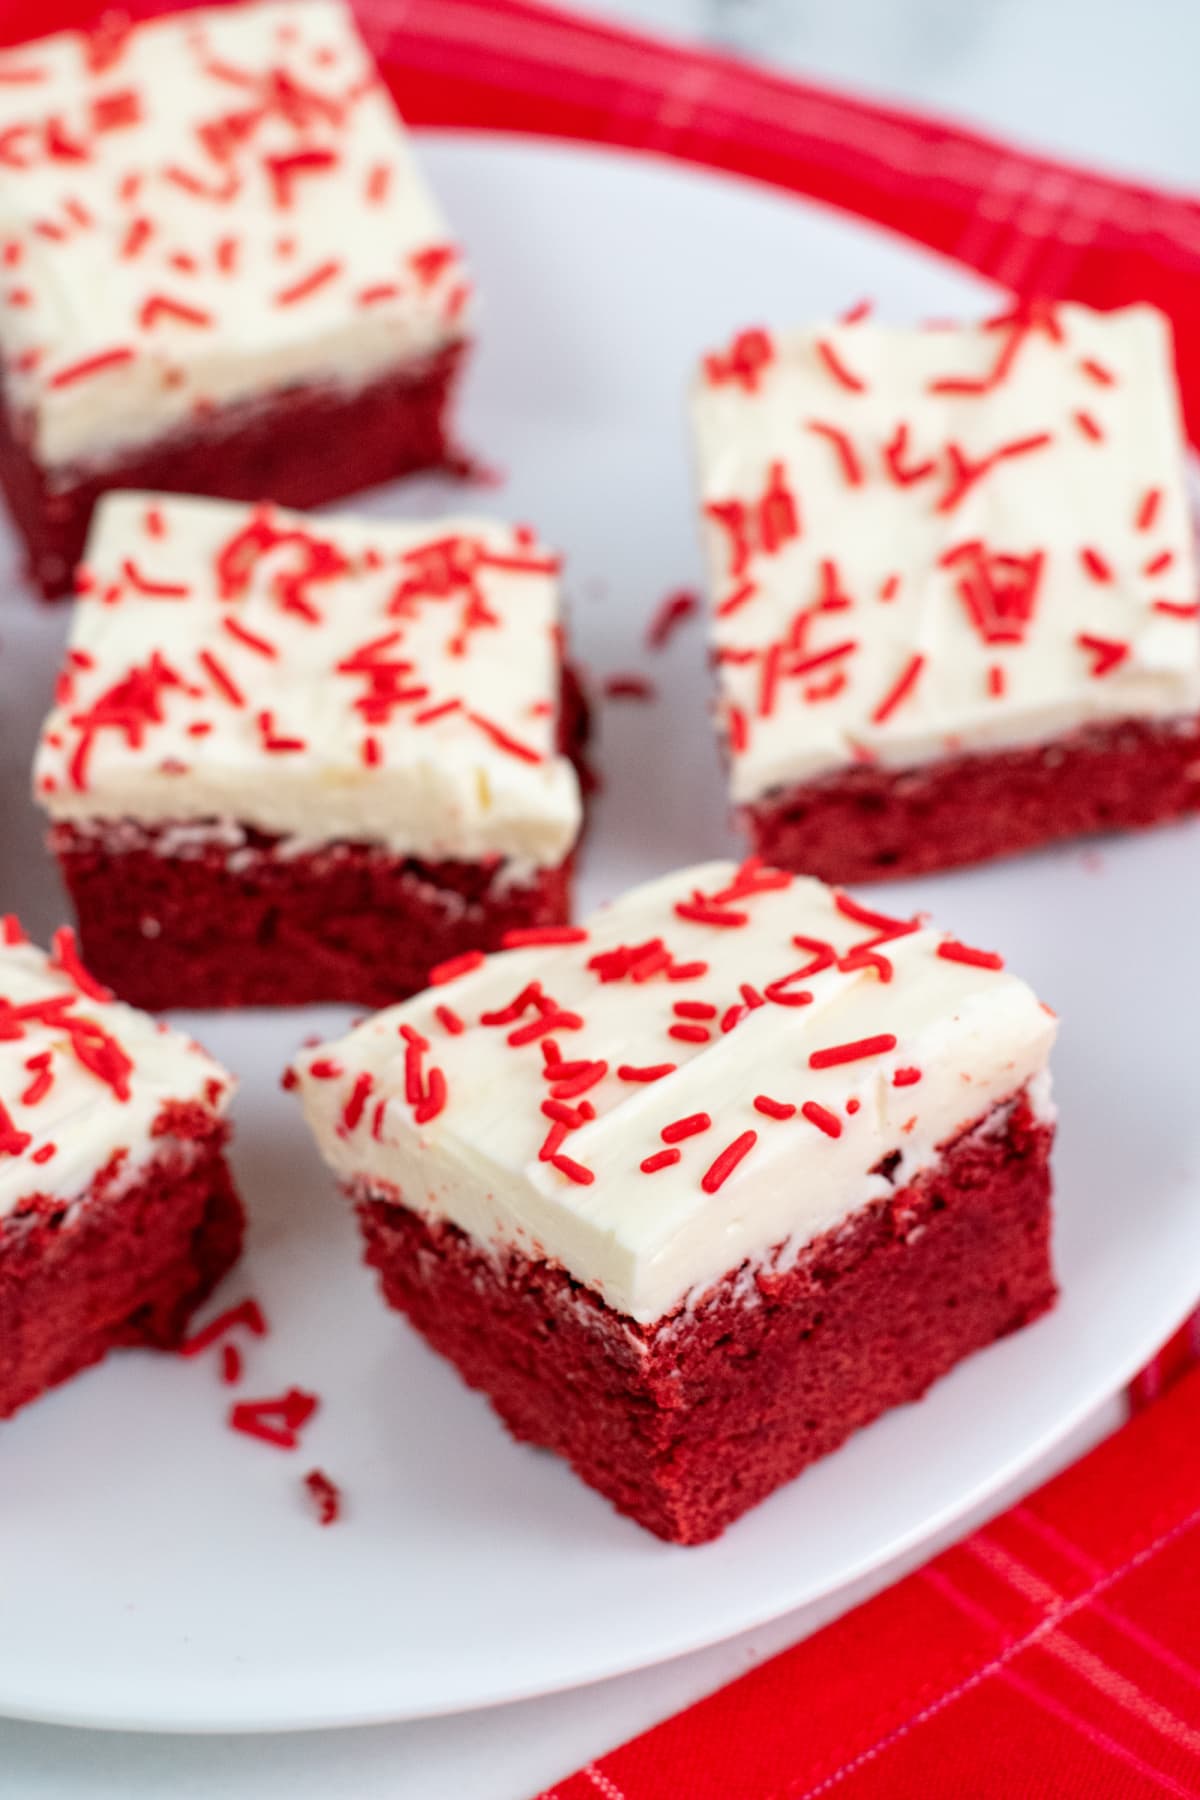
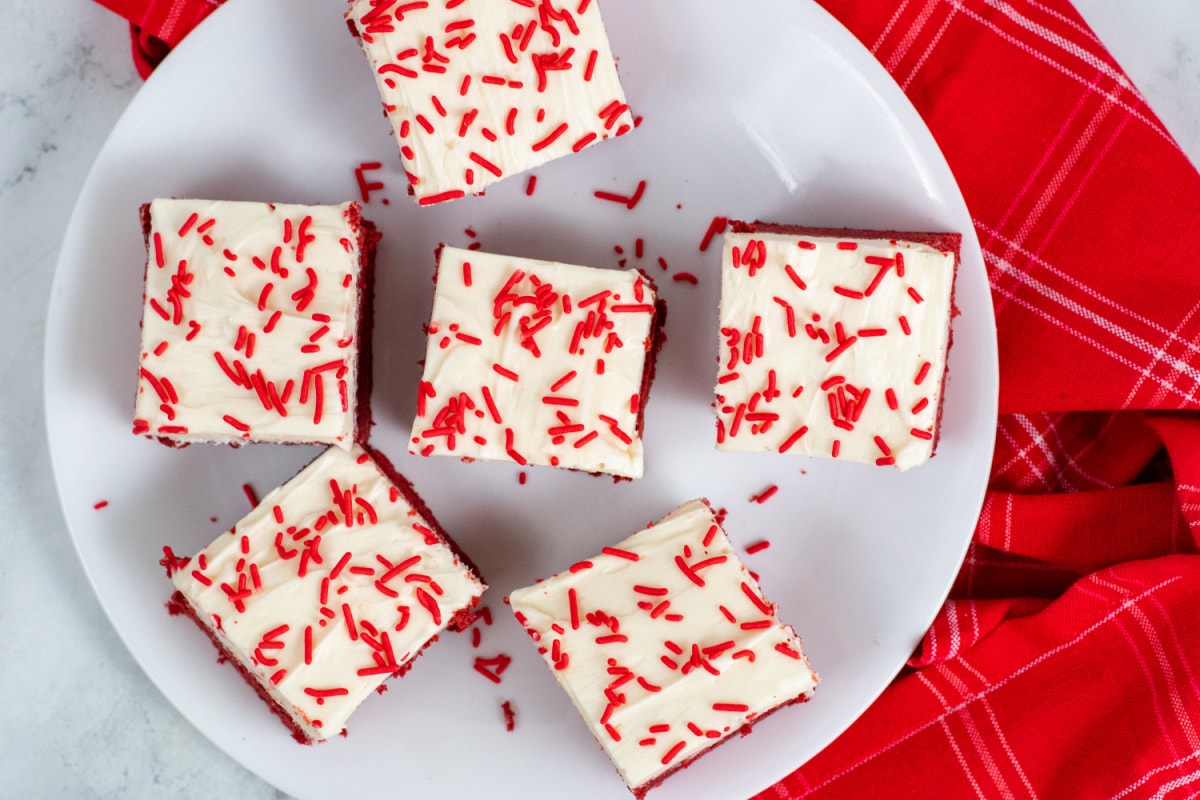
Step 4: Top with sprinkles if desired. Remove the brownies from the pan and cut them into 9 squares.
Store in an airtight container in the fridge for up to a week.
You sure can. For best results, set the brownies on a sheet pan and place them in the freezer for about an hour. Remove them and wrap them individually in a double plastic wrap. You can freeze the brownies for up to 3 months. When you’re to eat them, unwrap the brownie and let thaw in the fridge overnight.
People are sometimes surprised to find out that a key ingredient in red velvet desserts is chocolate. To achieve that perfect red velvet flavor, chocolate of some sort is added.
Whether it’s melted chocolate chips, like in these homemade red velvet brownies, or a touch of cocoa, as you’ll usually find in red velvet cupcakes, there is always a slight chocolatey flavor in all red velvet recipes.
Tips For Making Red Velvet Brownie:
- Cutting Clean Squares: If you want nice, clean edges, the best way to cut brownies is to run your knife under warm water first. Then wipe it clean before you make each new cut.
- Cool completely: You really want to cool the brownies completely before adding the frosting. The slightest bit of warmth can cause the cream cheese and butter in the frosting to become too loose and it will run down the side of the brownies.
- Add some crunch: If you love nutty brownies, pecan and walnuts are a great option to add just a little crunch without changing up the overall texture.
- Add extra chocolate: Adding a few white chocolate chips to the brownie batter not only gives them even more chocolate flavor, but baking the little white chips into the brownies looks pretty. You can also add more chocolate flavor by using mini pink and red M&M’s instead of the sprinkles on top.
Want More Brownie Recipes?
- Reese’s Peanut Butter Cup Brownies
- Easy Buckeye Brownies
- S’mores Brownies
- Hocus Pocus Spellbook Brownies
- Easter Brownies
- Oreo Brownie Trifle
Red Velvet Brownies Recipe
Equipment
Ingredients
For The Brownies
- 1/2 cup butter softened
- 1/3 cup semi-sweet chocolate chips
- 1 cup granulated sugar
- 3 eggs
- 1 teaspoon vanilla extract
- 1 teaspoon apple cider vinegar
- 1/4 teaspoon salt
- 1/2 teaspoon baking powder
- 1 cup flour
- 1-2 teaspoons red gel food coloring
For The Frosting
- 4 ounces cream cheese
- 1/4 cup butter softened
- 1/4 teaspoon vanilla extract
- 2 cups powdered sugar
- Pinch of salt
- Red sprinkles optional
Instructions
For The Brownies
- Preheat the oven to 325 degrees. Line an 8×8 or 9×9 inch pan with parchment paper. Butter the bottom and sides of parchment paper and set it aside.
- Add the chocolate chips and butter to a medium size saucepan.
- Melt over low heat, stirring frequently until completely melted and smooth. Remove from heat.
- Add the sugar to the chocolate mixture and whisk in sugar until well incorporated.
- Add eggs one at a time mixing thoroughly between each addition. Stir in vanilla extract, salt, and vinegar.
- In a separate mixing bowl, whisk together flour, baking powder and salt until well mixed.
- Gradually add the flour mixture to the chocolate mixture, mixing well between each addition.
- Add 1 teaspoon of the red food coloring and mix well. For a deeper shade of red, add more food coloring and continue mixing until well blended.
- Pour the red velvet brownie batter into your prepared baking pan, and smooth evenly. Place in oven and bake for approximately 45-55 minutes, until a toothpick inserted in the center of the brownies comes out clean.
- Remove from the oven and place pan of brownies on a cooling rack to cool completely.
For The Frosting
- In a medium size bowl, cream together the cream cheese and butter with an electric mixer until light and fluffy. Add vanilla and mix again.
- Add powdered sugar a little at a time, stirring between each addition until the powdered sugar is completely incorporated.
- Spread the cream cheese mixture evenly across the top of the brownies.
- Top with sprinkles if desired. Remove the brownies from the pan and cut them into 9 squares. Enjoy!
Notes
- The time will vary depending on if you’re using a metal or glass pan. Set a timer for 35 minutes and start checking to see if they are done. After that, check them every 5 minutes until they are completely done.
- Be sure to use no-taste red food coloring. Regular liquid or gel food coloring can sometimes leave a bitter taste when used in large quantities.
Nutrition
Did You Make This Recipe?
Share it with me on Instagram @funmoneymom and follow on Pinterest @funmoneymom for more!
Let’s be friends!
Did you love this post? Make sure to comment below and let me know your thoughts! And don’t forget to follow on your favorite social network below!

About Lisa O’Driscoll
Lisa O’Driscoll is a lifestyle and parenting expert, cookbook author, and the creative force behind Fun Money Mom, a popular blog she’s run since 2014. She’s the author of the children’s cookbook Roll It, Slice It, Mash It, Dice It, designed to get kids excited about cooking. With multiple TV appearances under her belt, she loves sharing her expertise on family-friendly recipes, creative DIYs, and party planning and is always on a mission to inspire and entertain!