Sweet Potato Biscuits
This post may contain affiliate links. As an Amazon Associate, I earn from qualifying purchases.

This Sweet Potato Biscuits recipe makes soft, flaky biscuits with buttery layers, golden color, and a light sweet potato flavor. They’re easy to make from scratch and absolutely irresistible served warm with butter, a spoonful of jam, or a drizzle of honey.
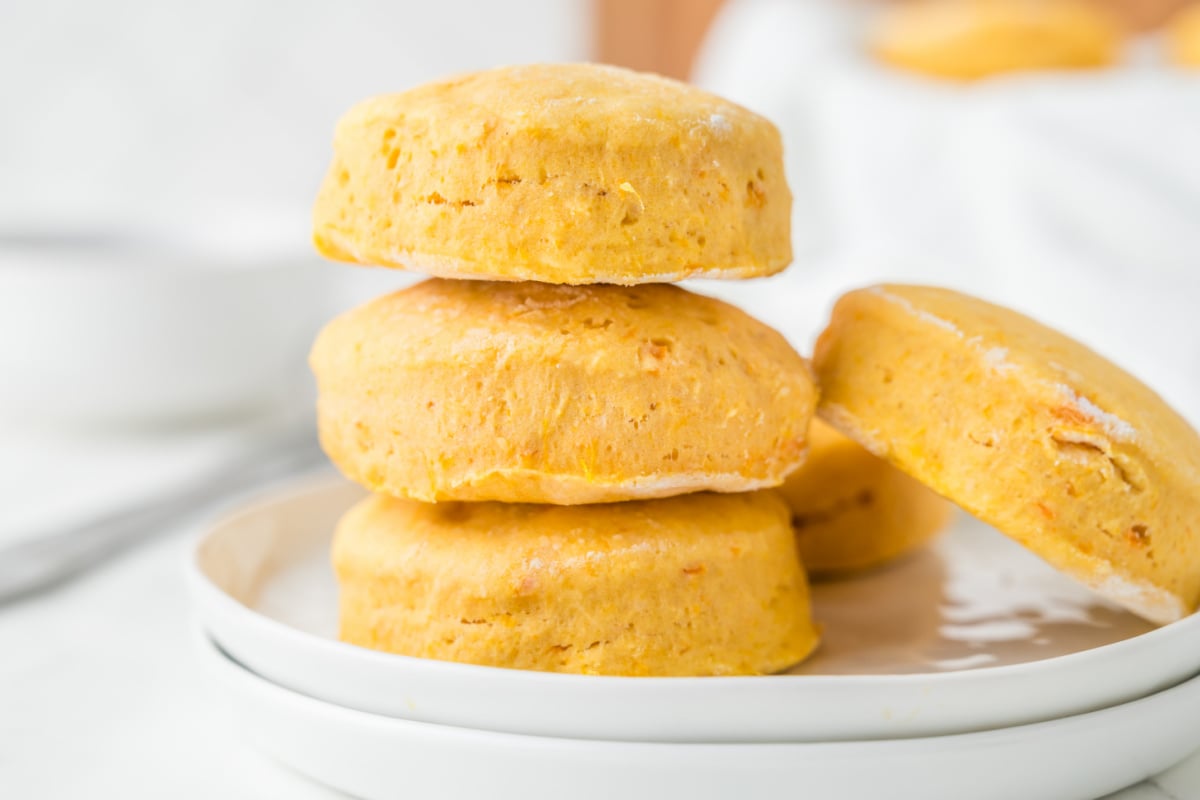
Sweet Potato Biscuit Recipe
Once you try these Sweet Potato Biscuits, regular buttermilk biscuits just may not cut it anymore. The sweet potato gives them a little natural sweetness and keeps the centers moist and tender. I always make a double batch for Thanksgiving dinner because my family goes crazy for the soft, squishy centers and incredibly flaky layers.
They’re also much easier to make from scratch than you’d think. The food processor cuts the cold butter into the flour in seconds, and the dough comes together with very little kneading. Roll it out, cut the biscuits, and minutes later you’ve got you’ve got a warm batch ready for breakfast, dinner, or your Thanksgiving bread basket.
Warm from the oven, these sweet potato biscuits are incredible with butter, honey, or syrup. If you’re feeling a little fancy, spread them with my Easy Fruit Syrup or Strawberry Syrup for even more flavor.

Why We Love This Recipe
- Beginner friendly: Even if you’ve never made biscuits from scratch before, you can nail this recipe.
- Soft and flaky: The cold butter creates little pockets throughout the dough, giving the biscuits tender layers and slightly flaky edges.
- Just enough sweet potato: The sweet potato puree adds moisture, color, and a mild sweetness without overpowering the buttery biscuit flavor.
- Easy for any meal: These sweet potato biscuits are perfect with breakfast, alongside soup or dinner, or as part of your Thanksgiving bread basket.
Ingredients
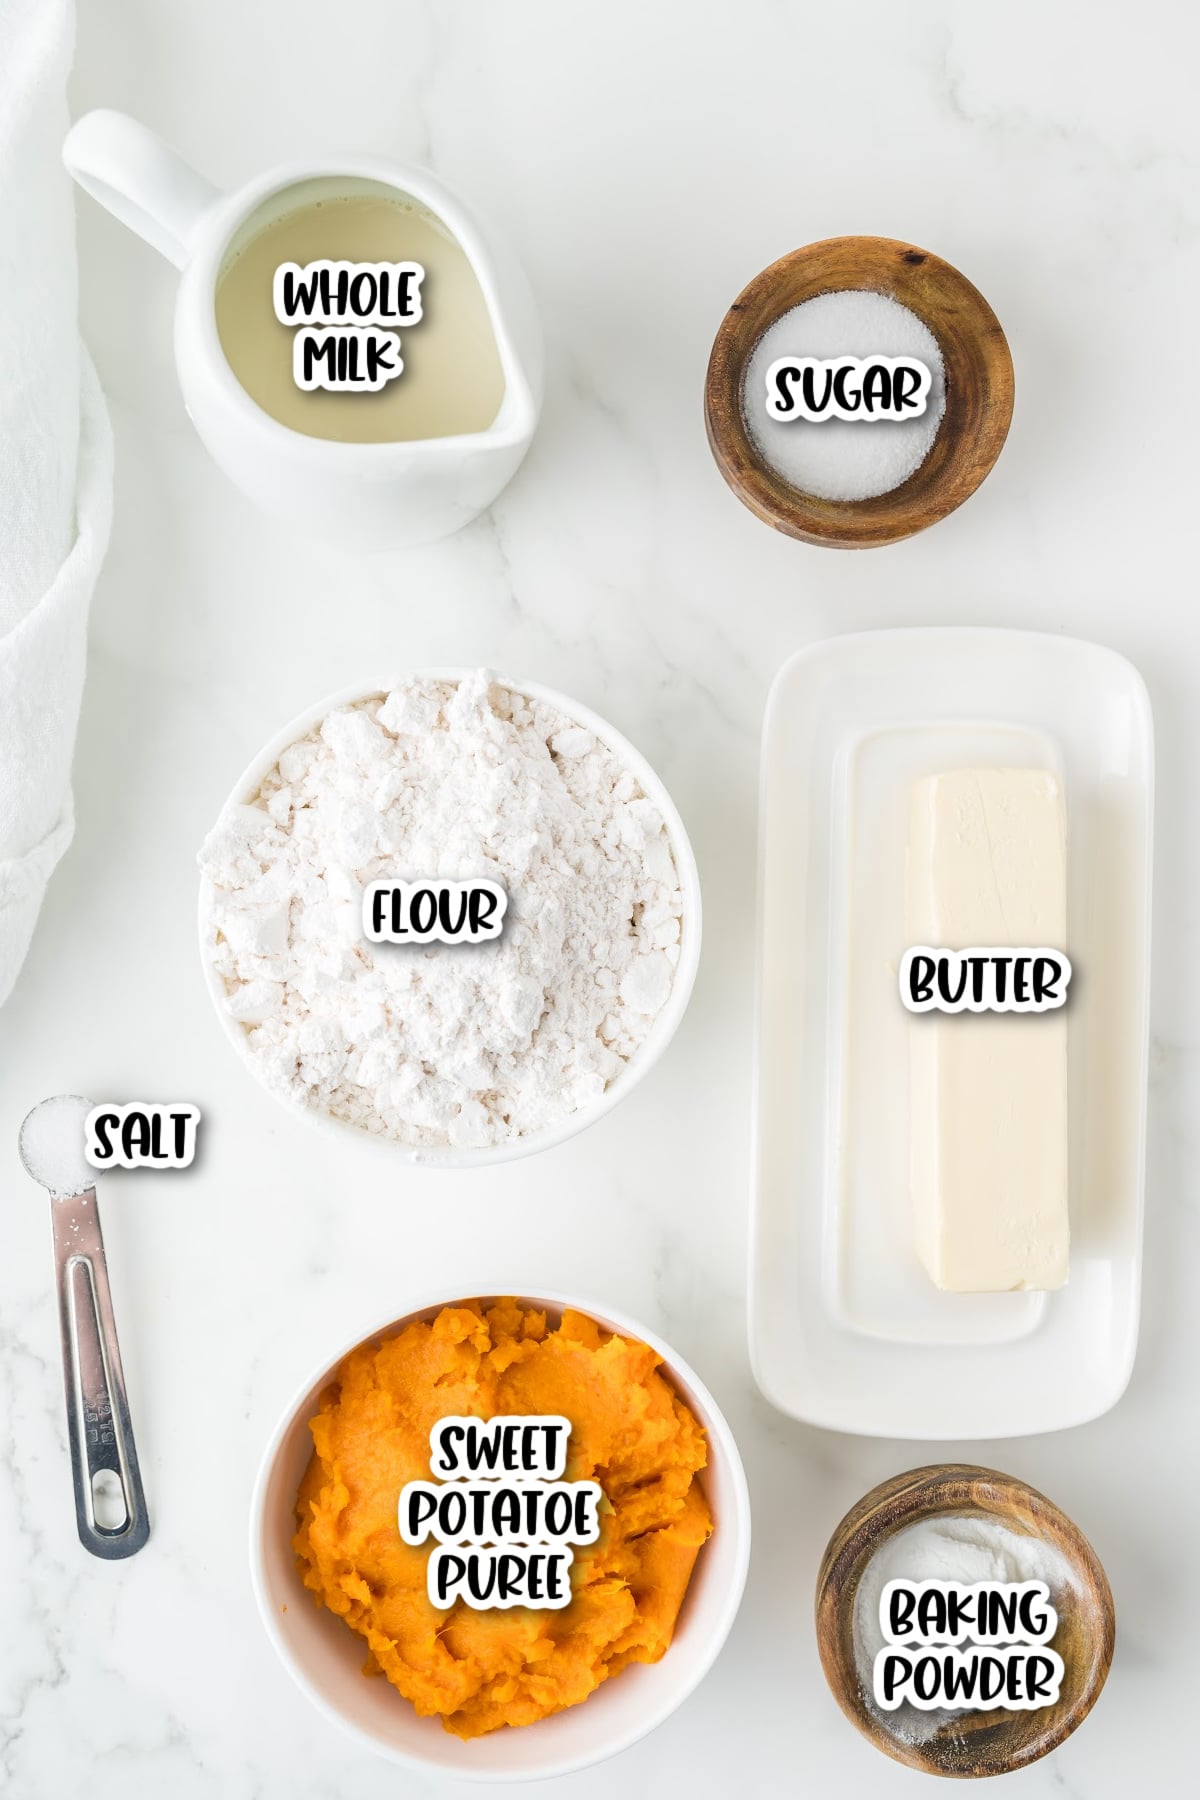
- Flour: I like to use regular all-purpose flour for this recipe.
- Baking Powder: One tablespoon gives the biscuits the lift they need.
- Sugar: Adds a touch of sweetness that works really well with the sweet potatoes.
- Salt: Balances the sweetness and brings out the buttery flavor.
- Butter: Cold butter gives you those little flaky pockets throughout the biscuits.
- Sweet Potato Puree: Gives the dough its pretty color, soft texture, and subtle sweetness.
- Whole Milk: Add just enough to help the dough come together.
Find the full printable recipe with measurements and directions in the recipe card below.
How To Bake Homemade Sweet Potato Biscuits
Step 1. Preheat the oven to 425°F. Line a prepared baking sheet with parchment paper.
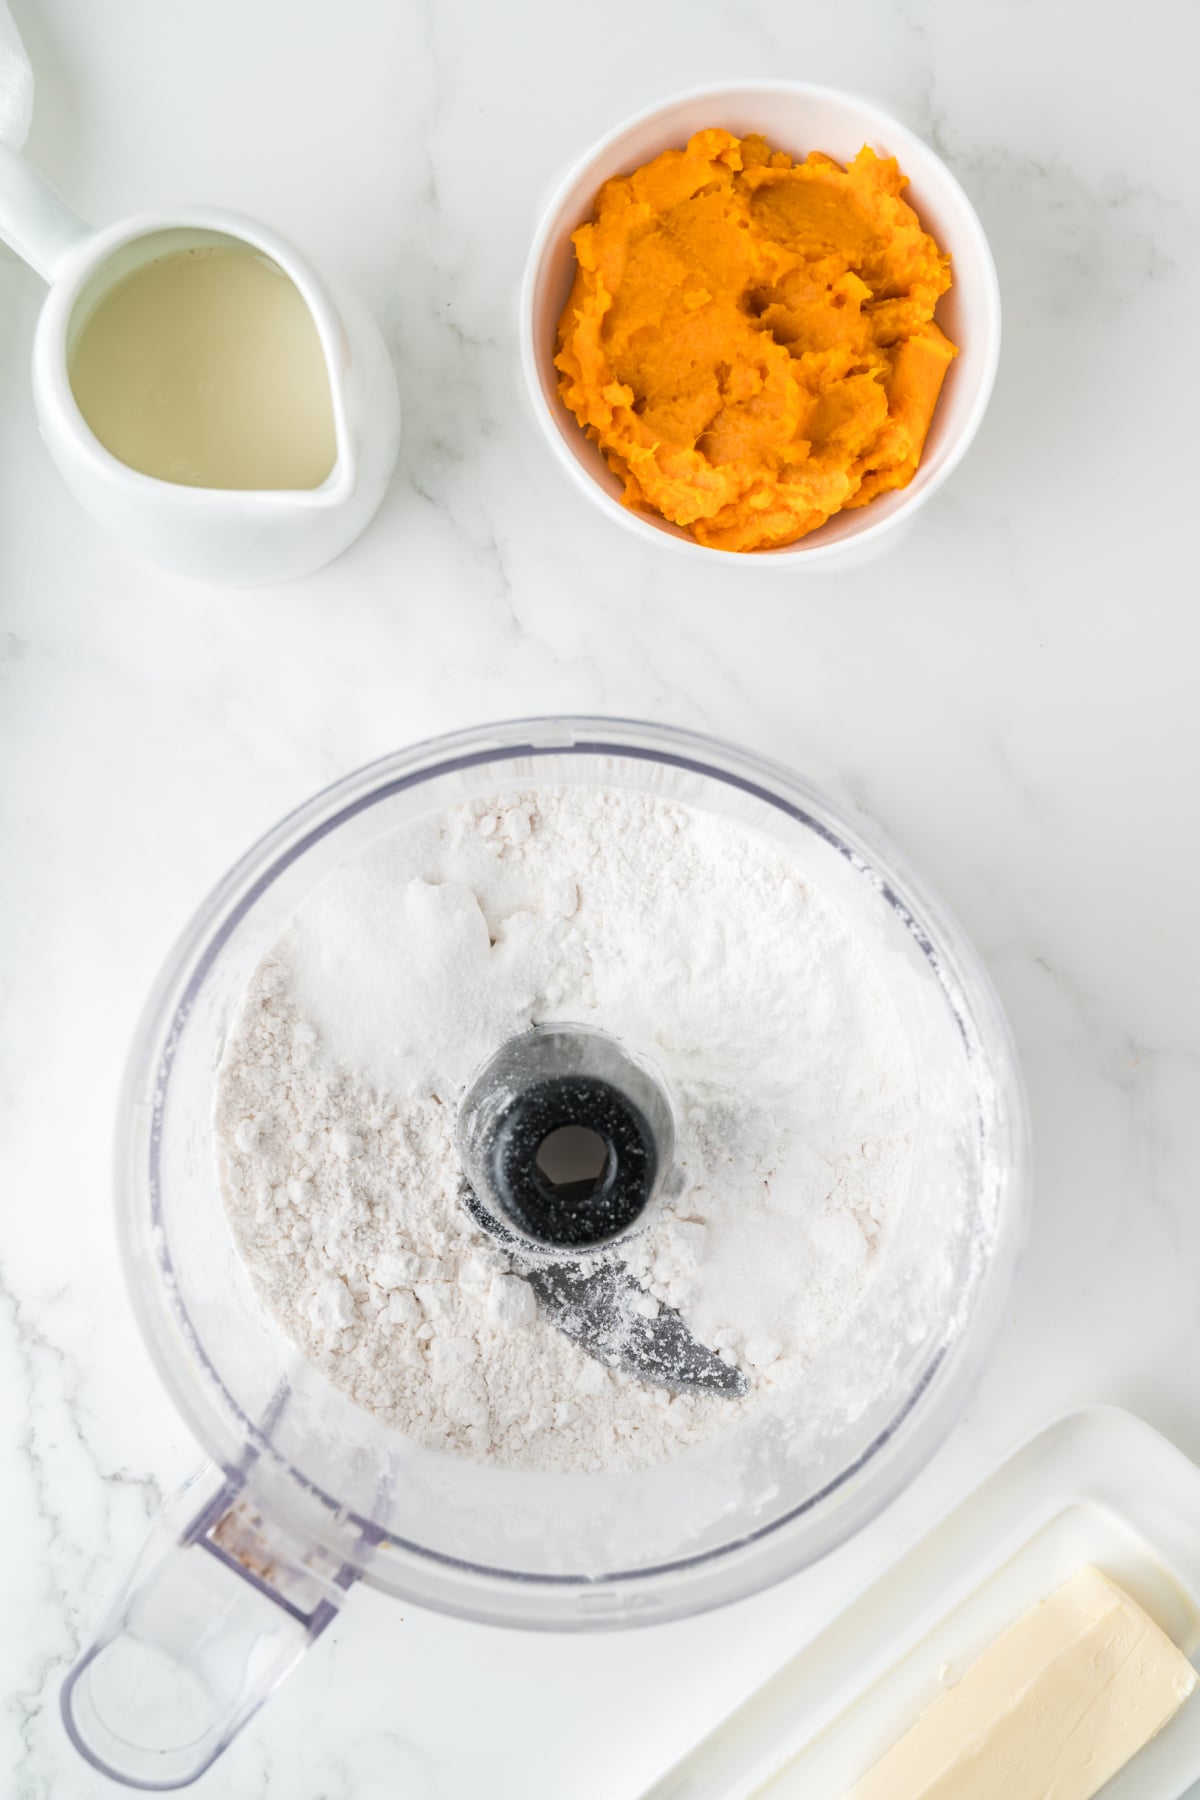
Step 2. Add the flour, baking powder, sugar, and salt to the food processor. Process for about 30 seconds, until the dry ingredients are thoroughly combined.
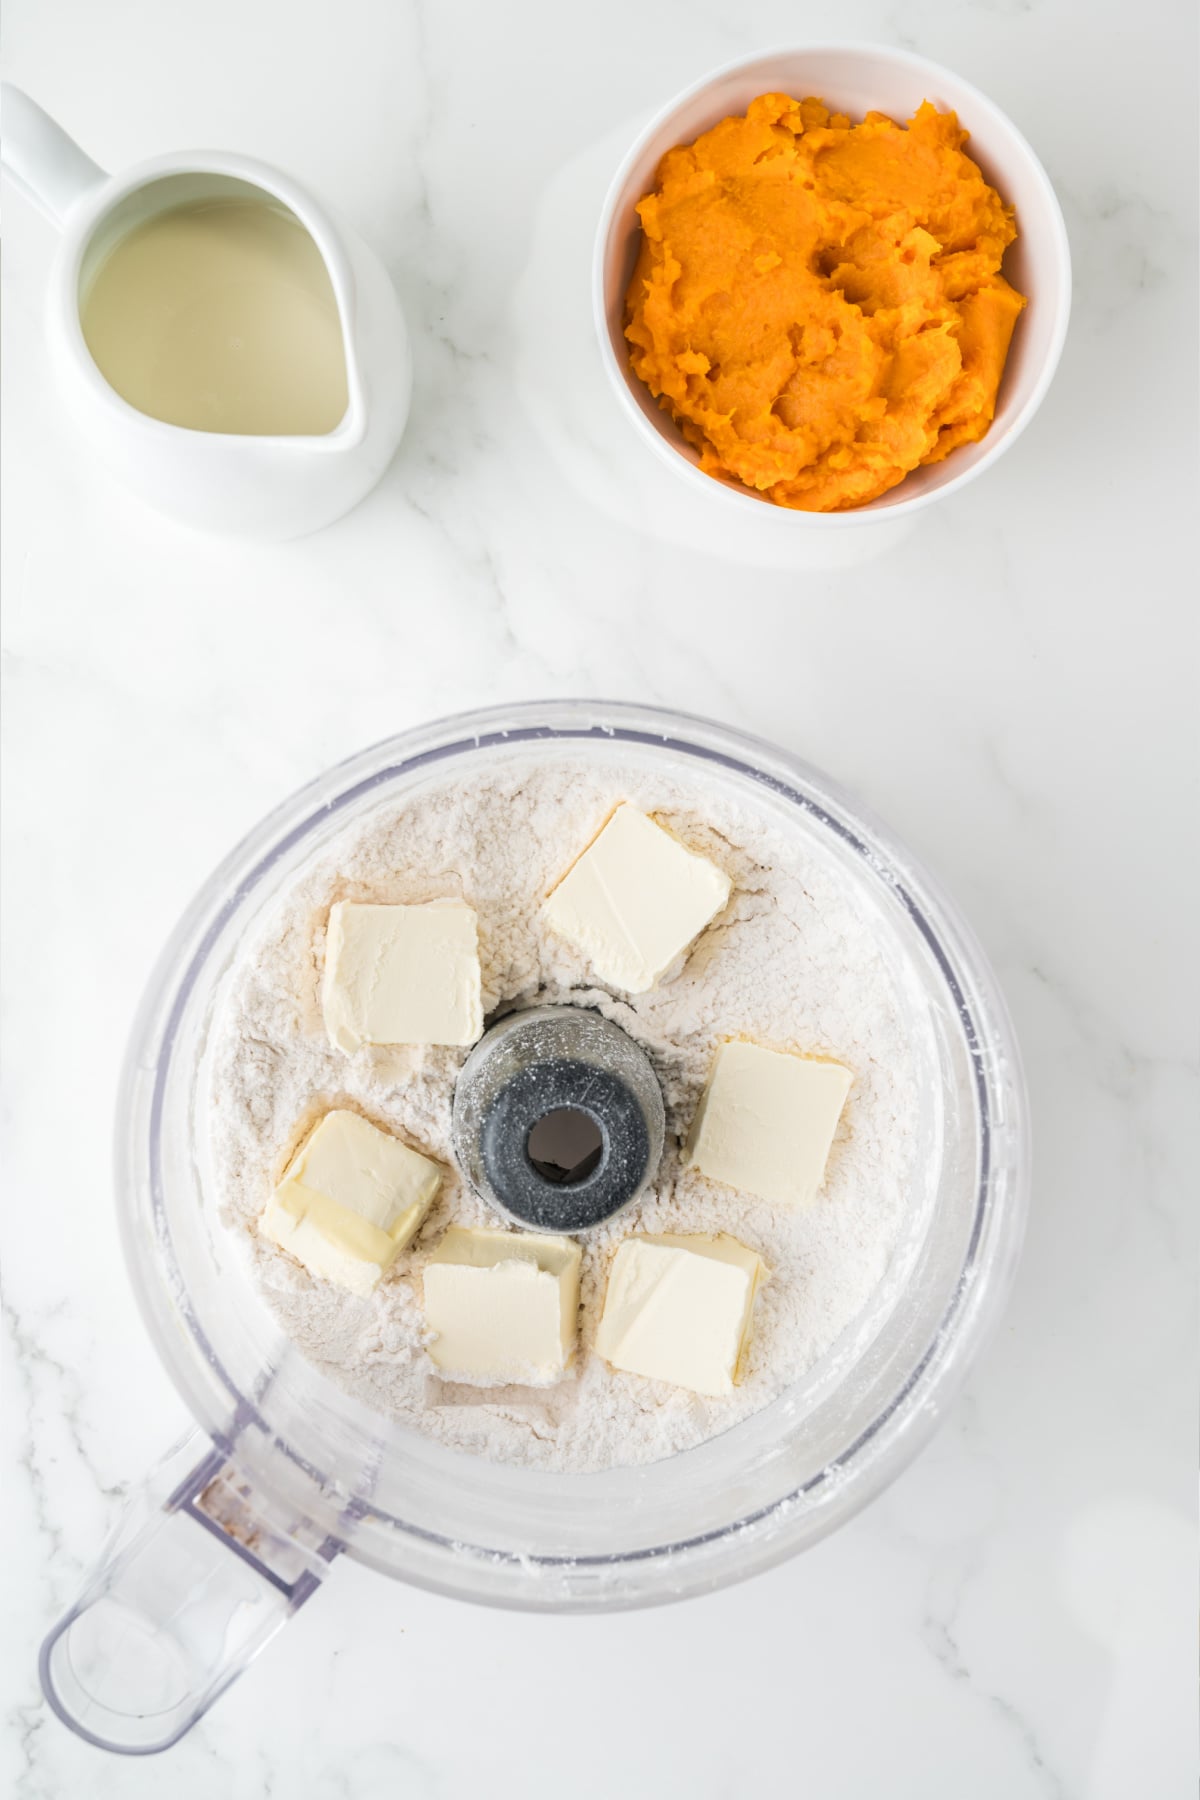
Step 3. Slice the cold butter into tablespoon-sized pieces and add it to the food processor. Pulse several times until the flour mixture resembles coarse crumbs with pea-sized pieces of butter.
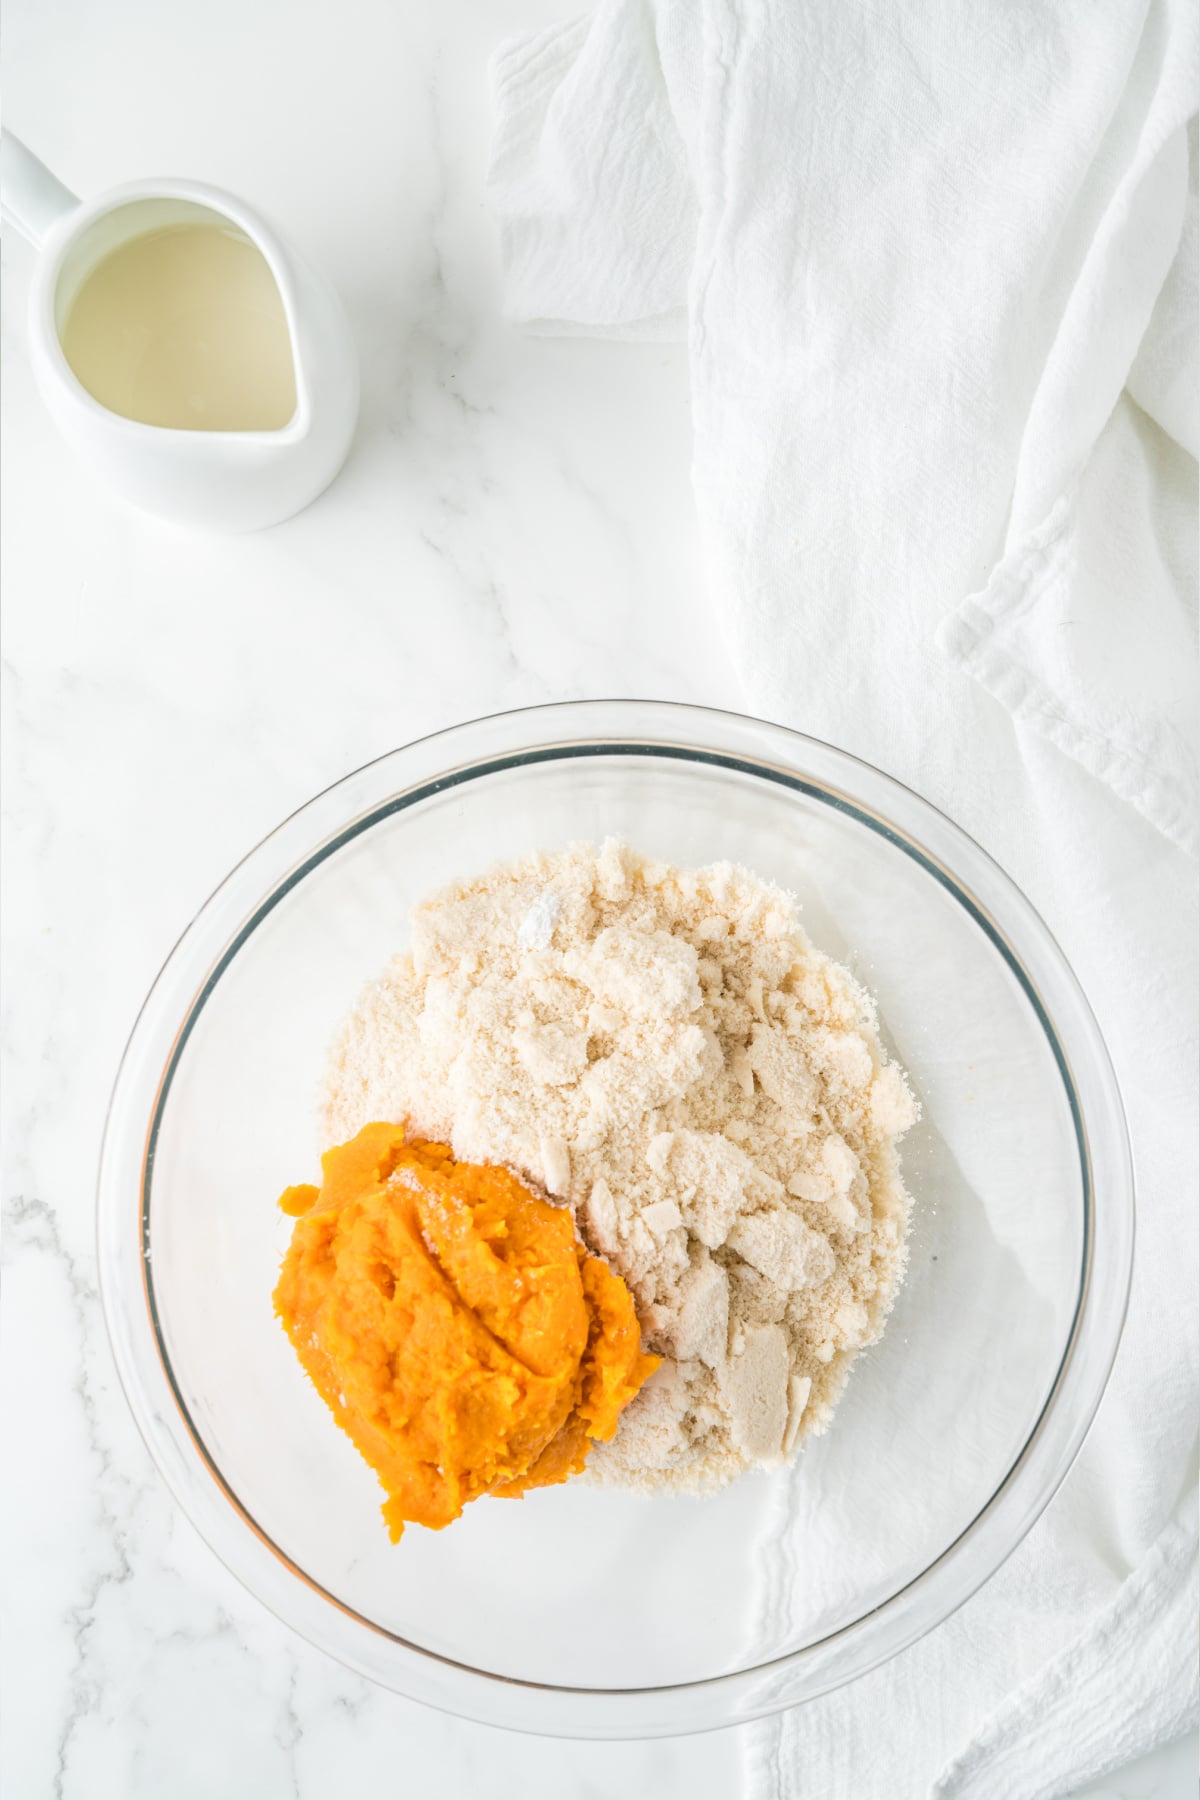
Step 4. Combine the flour mixture and sweet potato puree in a large bowl and stir until just combined.
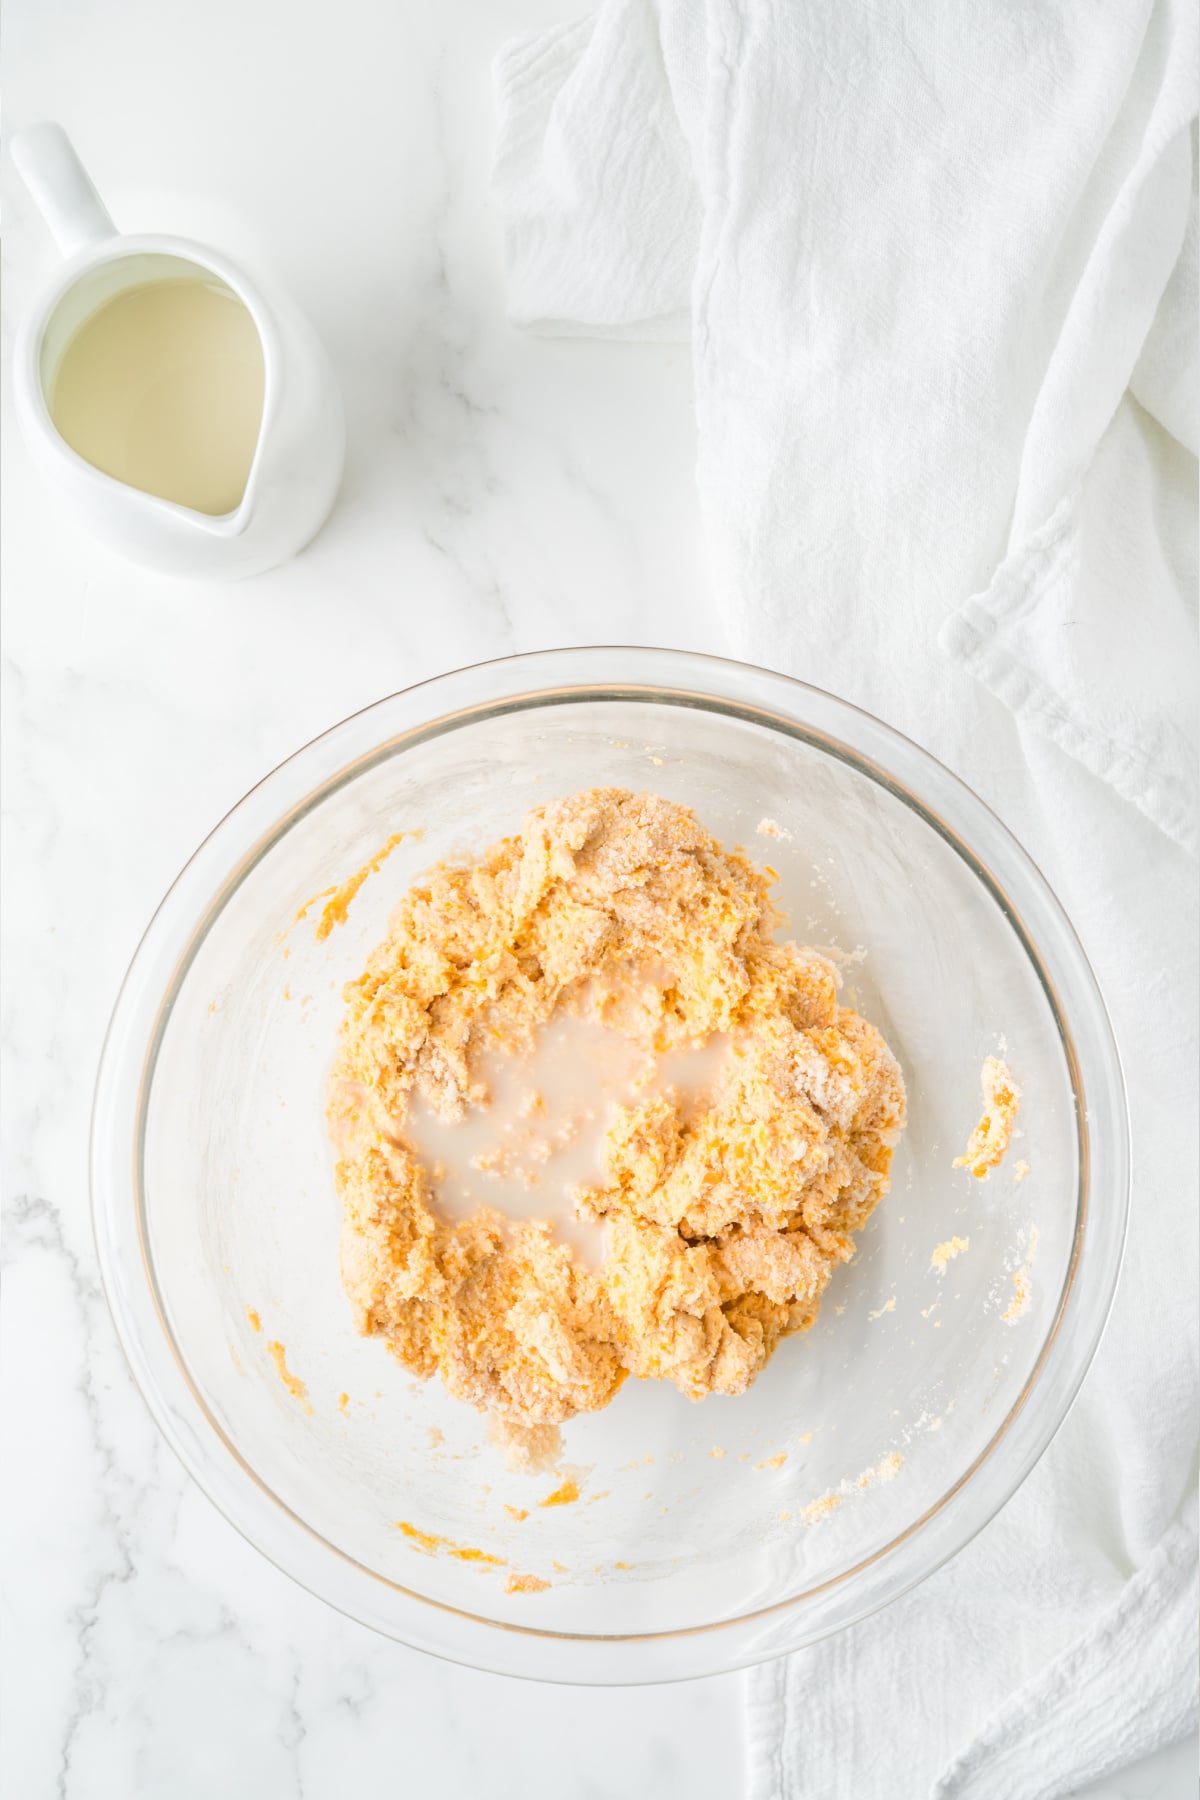
Step 5. Add milk as needed to form a dough.
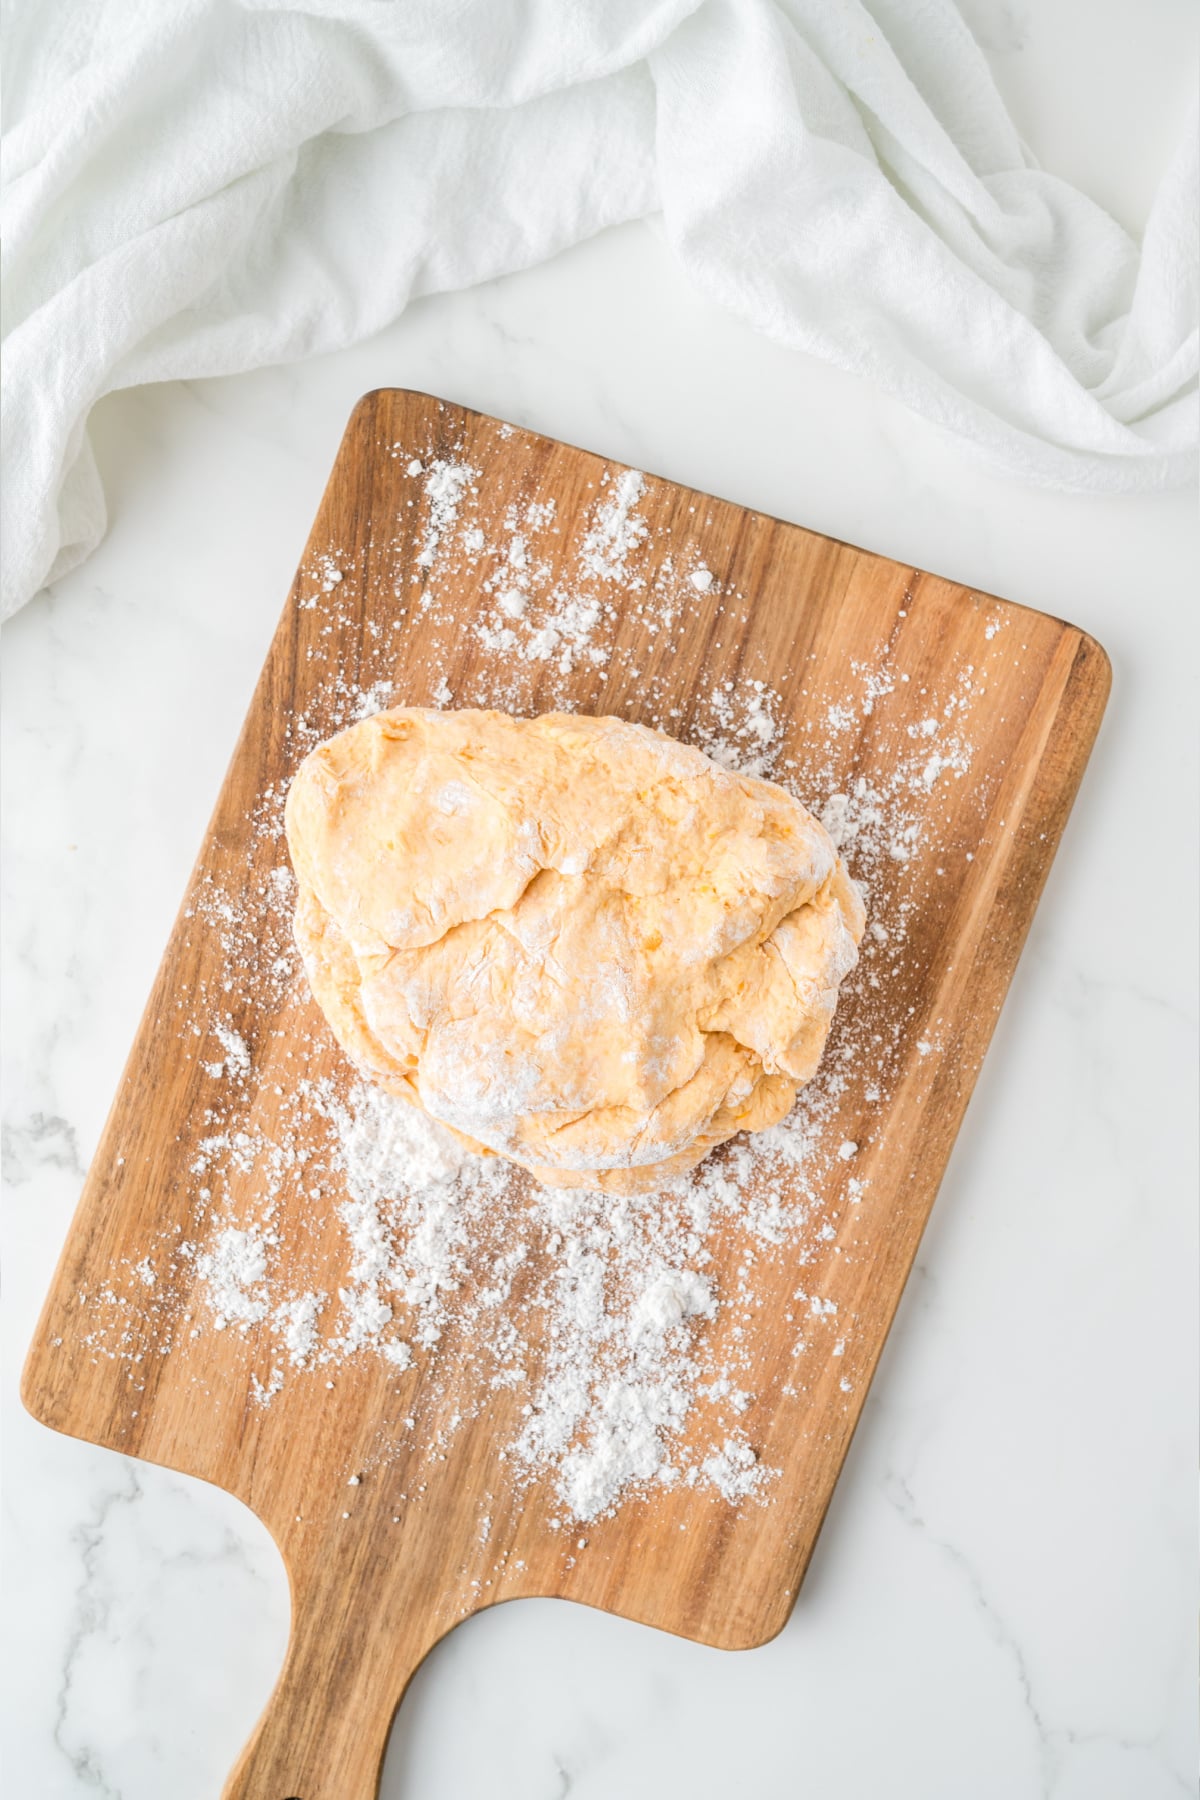
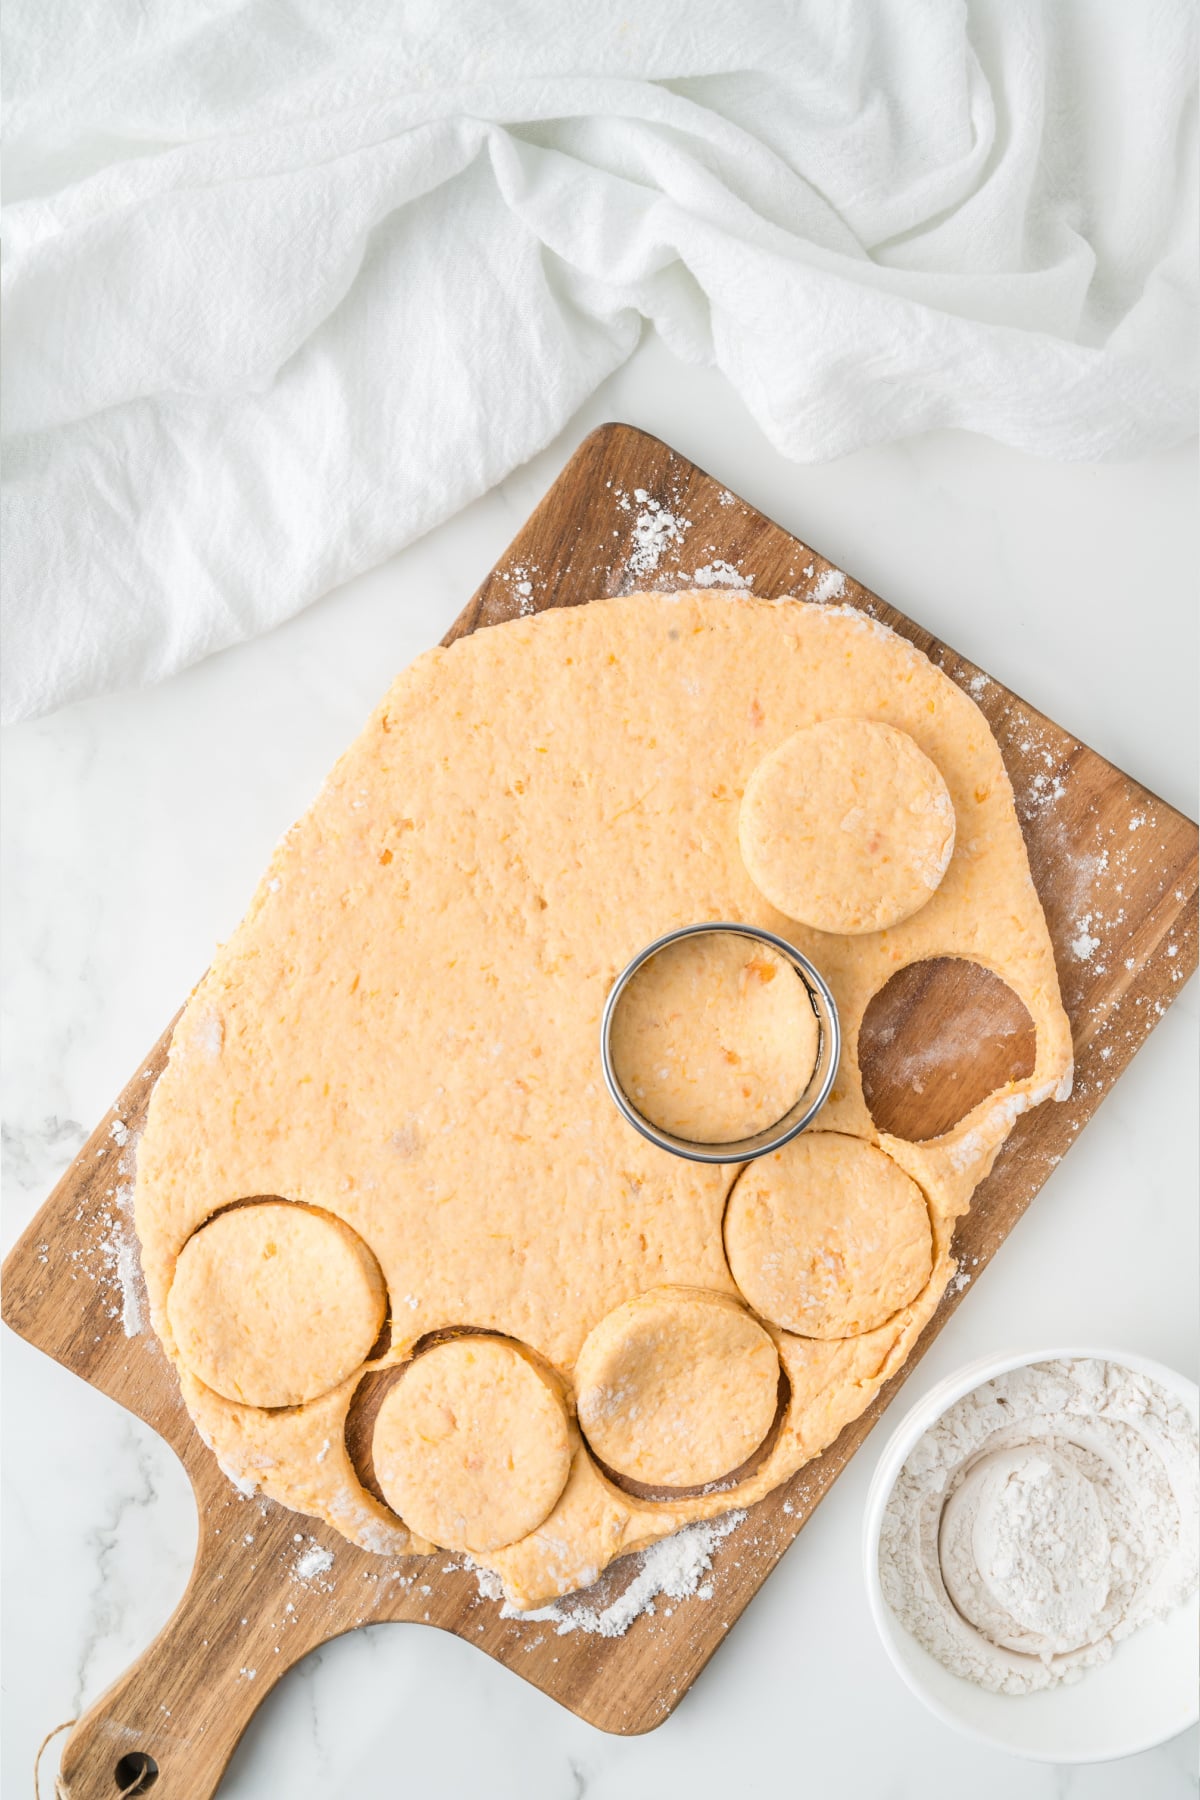
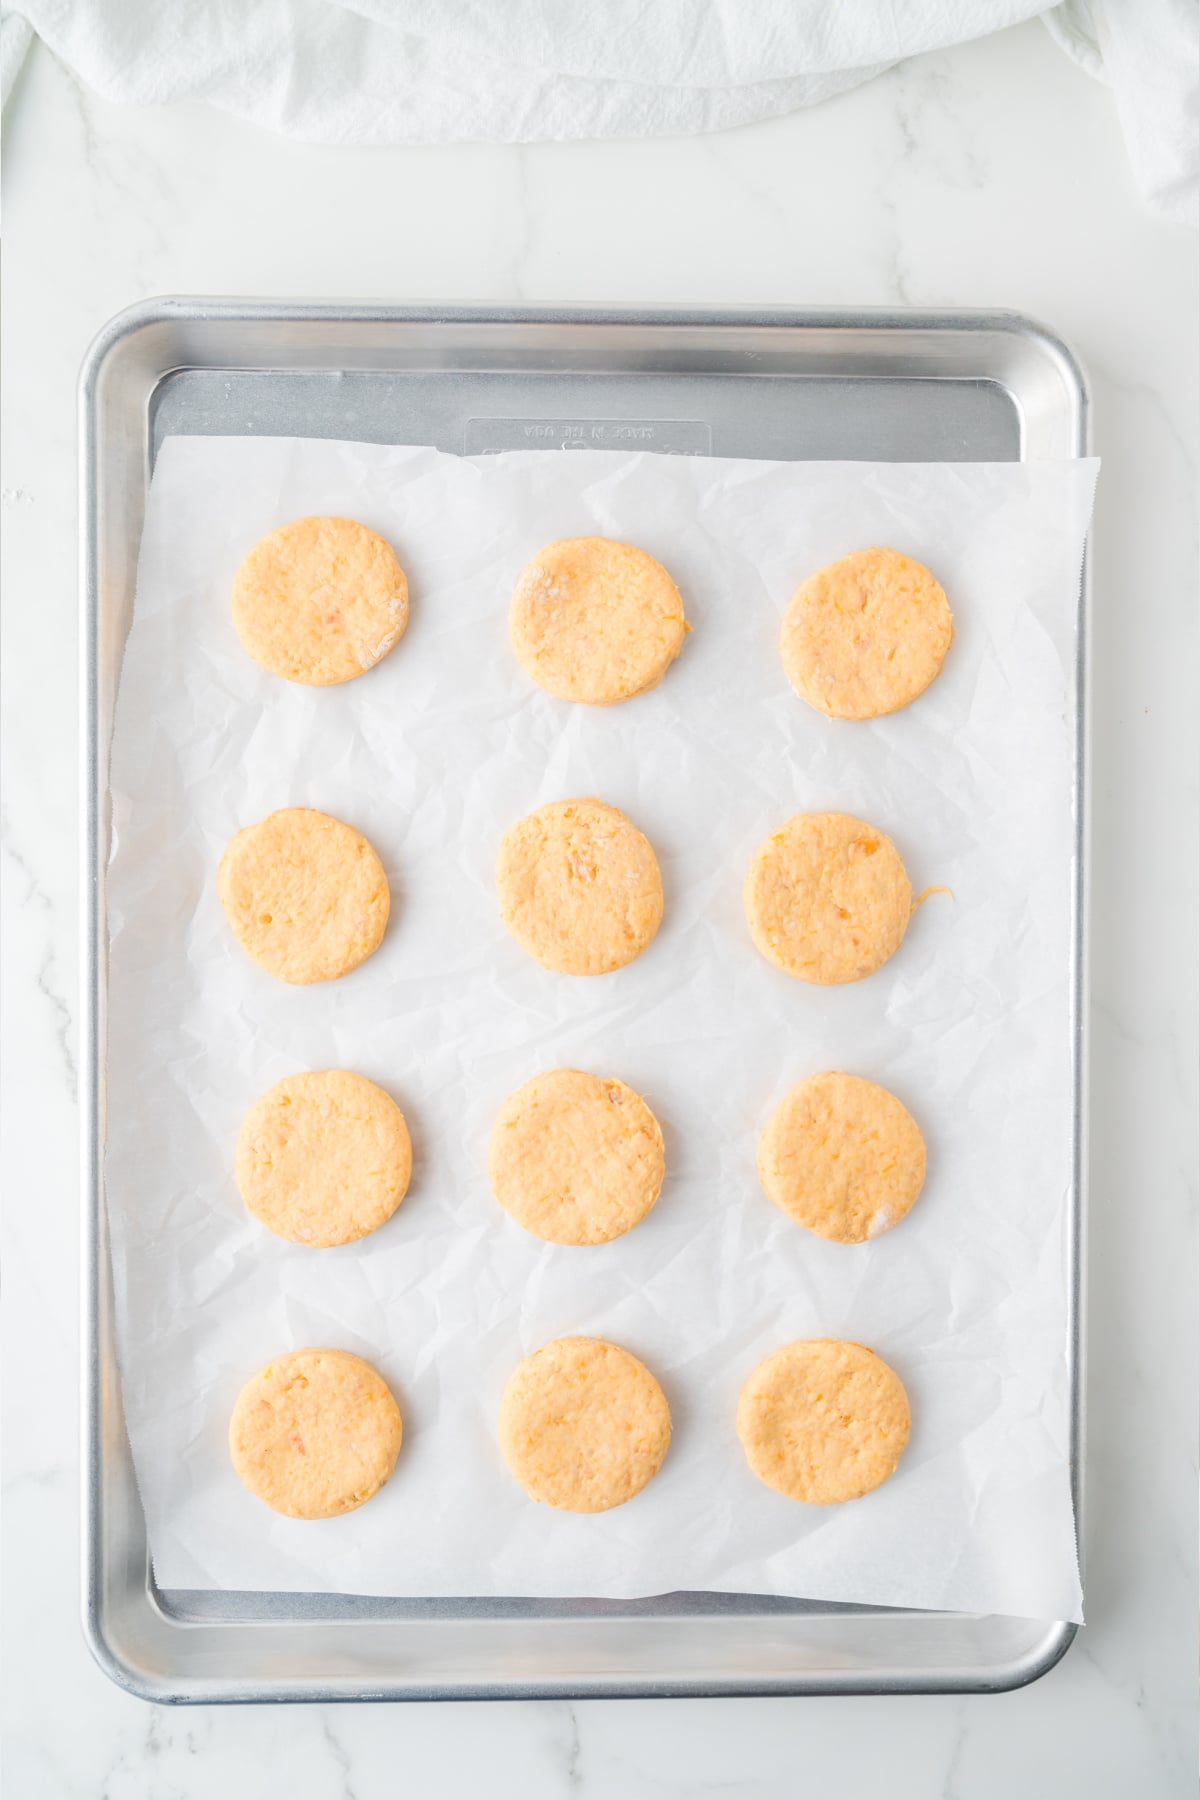
Step 6. Place the dough on a lightly floured surface and knead gently until it forms a smooth ball. Roll it out to about ½-inch thickness and use a 2-inch biscuit cutter to cut out your biscuits.
Step 7. Place the biscuits on the prepared baking sheet. Re-roll the remaining dough and keep cutting until it’s all used up!
Step 8. Bake for approximately 12 minutes, or until the tops are lightly golden brown.
Step 9. Let cool for several minutes before serving. Enjoy warm with butter, jam, honey, or cinnamon butter.

Storage Instructions
Refrigerator: Store biscuits in an airtight container in the refrigerator for up to 5 days. Warm briefly in the microwave or oven before serving.
Freezer: Allow the biscuits to cool completely and then store them in a freezer-safe container or freezer bag for up to 3 months. Thaw overnight in the refrigerator and warm before serving.

Variations And Add-ins
- Cardamom: Stir a pinch of cardamom into the dry ingredients for a subtle warmth that goes so well with the sweet potato flavor.
- Cheddar: Add shredded sharp cheddar cheese for a savory biscuit that’s especially delicious with breakfast.
- Flaky sea salt: Sprinkle the tops with flaky sea salt before baking for a little extra texture and flavor.
- Cinnamon: Add a pinch of cinnamon for a slightly sweeter biscuit…perfect alongside eggs and bacon at brunch!
- Apple butter pairing: Serve the biscuits warm with butter and apple butter for a cozy fall treat.
- Hot honey: Finish freshly baked biscuits with a drizzle of hot honey for a sweet and savory combination.
- Bacon upgrade: Stir finely chopped cooked bacon into the dough for smoky flavor in every bite.
- Breakfast sandwiches: Slice the biscuits in half and fill them with eggs, sausage, bacon, or cheese for a hearty breakfast.

Tips And Tricks
- Cold butter: Cold butter is the secret to flaky layers. As it melts in the oven, it creates little pockets that give the biscuits their tender texture.
- Chilled sweet potato puree: Cold puree helps keep the dough from becoming overly soft and makes the biscuits bake up taller and lighter.
- Avoid overworking the dough: Mix and knead just until everything comes together. Too much handling can make the biscuits dense instead of soft and fluffy.
- Flour amounts can vary: The exact amount of flour needed depends on the moisture in your sweet potato puree. Add only enough flour to create a workable dough.
- Use a sharp biscuit cutter: A clean cut helps the biscuits rise evenly. Press straight down rather than twisting the cutter.
- Let them rest briefly: Giving the biscuits a few minutes to cool allows the centers to set while still staying warm and buttery.

FAQs
A food processor makes it quick and easy, but you can whisk together the dry ingredients by hand. Cut the cold butter into the flour using a pastry cutter or fork until you have small pieces of butter throughout the mixture.
Peel and dice the sweet potatoes, then place them in a pot of water and bring to a boil. Cook until tender, then drain well and puree until smooth using a handheld mixer, food processor, high speed blender, or potato masher. Chill the puree before using it in the biscuit dough.
These biscuits are best baked fresh, but you can totally get ahead by making the sweet potato puree in advance. Just keep it chilled until you’re ready to mix and bake.
They fall right in the middle but lean more savory. The sugar and sweet potato add a mild sweetness, while the butter and salt keep them tasting like a traditional biscuit.

More Breakfast Recipes
- Blueberry Streusel Muffins
- Hawaiian Roll Breakfast Sliders
- Ham and Cheese Crescent Braid
- Mini Pancakes with Fresh Fruit
- Stuffed Crescent Rolls

Sweet Potato Biscuits
Ingredients
- 1 ¾ – 2 ¼ cups Flour
- 1 tablespoon Baking Powder
- 1 tablespoon Sugar
- ½ teaspoon Salt
- ½ cup Butter cold
- 1 cup Sweet Potato Puree cold
- 1-2 tablespoons whole Milk
Instructions
- Preheat your oven to 425℉ and line your baking sheet with parchment paper.
- Add all of the dry ingredients to your food process and process until well combined, about 30 seconds.1 ¾ – 2 ¼ cups Flour, 1 tablespoon Baking Powder, 1 tablespoon Sugar, ½ teaspoon Salt
- Add the butter, sliced into tablespoons, to the food processor and pulse until it starts to come together, with some pea sized chunks.½ cup Butter, 1 cup Sweet Potato Puree
- Add the flour mixture and sweet potato puree to a large bowl and start to stir. Add in milk as needed to form a dough.1-2 tablespoons whole Milk
- Knead the dough until it forms a smooth ball, then roll out to ½ an inch thick and cut out the biscuits with your cookie/biscuit cutter and lay on your baking sheet.
- Bake for about 12 minutes.
- Allow to cool slightly and enjoy!
Notes
- Refrigerator: You can store sweet potato biscuits in an airtight container in the refrigerator for up to 5 days. Warm briefly in the microwave or oven before serving.
- Freezer: Cool the biscuits completely, then store in a freezer-safe container or freezer bag for up to 3 months. Thaw overnight in the refrigerator and warm before serving.
- Cold butter: The secret to flaky layers is cold butter. It creates little pockets as it melts in the oven, giving the biscuits their tender texture.
- Chilled sweet potato puree: Using cold puree helps keep the dough from becoming too soft and makes the biscuits bake up taller and lighter.
- Avoid overworking the dough: Mix and knead just until everything comes together. If you overwork the dough, the biscuits can become dense instead of soft and fluffy.
- Flour amounts can vary: The exact amount of flour you need will depend on the moisture in your sweet potato puree. Add just enough flour to create a workable dough.
- Use a sharp biscuit cutter: A clean cut helps the biscuits rise evenly. Press straight down on the cutter rather than twisting it.
- Let them rest briefly: Let the biscuits cool for a few minutes to allows the centers to set while still staying warm and buttery.
Nutrition
Did You Make This Recipe?
Share it with me on Instagram @funmoneymom and follow on Pinterest @funmoneymom for more!
Let’s be friends!
Did you love this post? Make sure to comment below and let me know your thoughts! And don’t forget to follow on your favorite social network below!

About Lisa O’Driscoll
Lisa O’Driscoll is a lifestyle and parenting expert, cookbook author, and the creative force behind Fun Money Mom, a popular blog she’s run since 2014. She’s the author of the children’s cookbook Roll It, Slice It, Mash It, Dice It, designed to get kids excited about cooking. With multiple TV appearances under her belt, she loves sharing her expertise on family-friendly recipes, creative DIYs, and party planning and is always on a mission to inspire and entertain!