
Leprechaun Hat Cookies
This post may contain affiliate links. As an Amazon Associate, I earn from qualifying purchases.
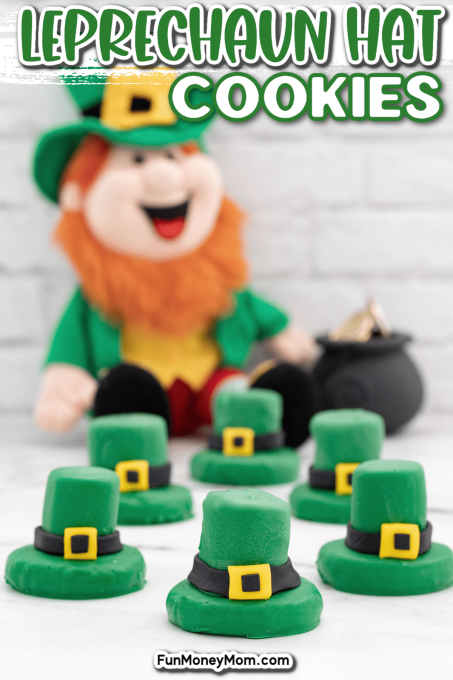
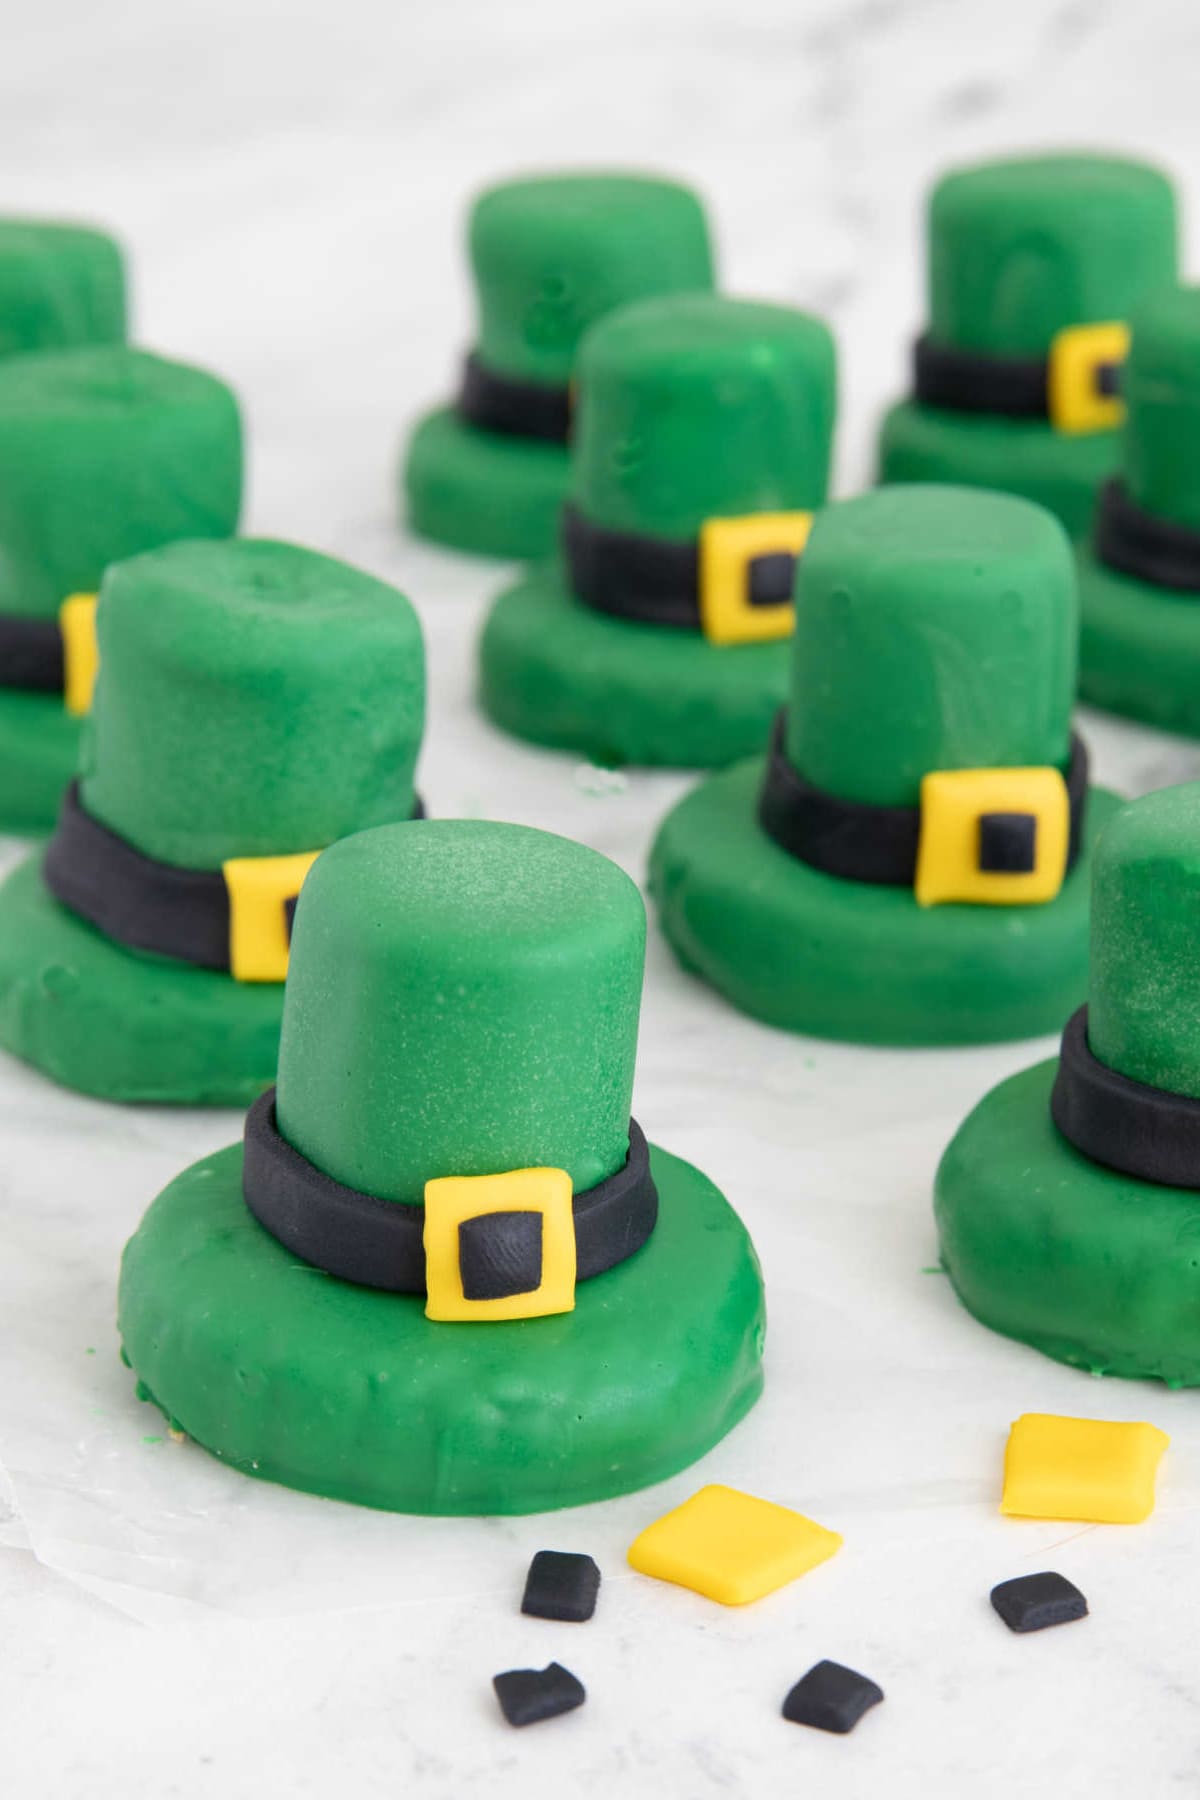
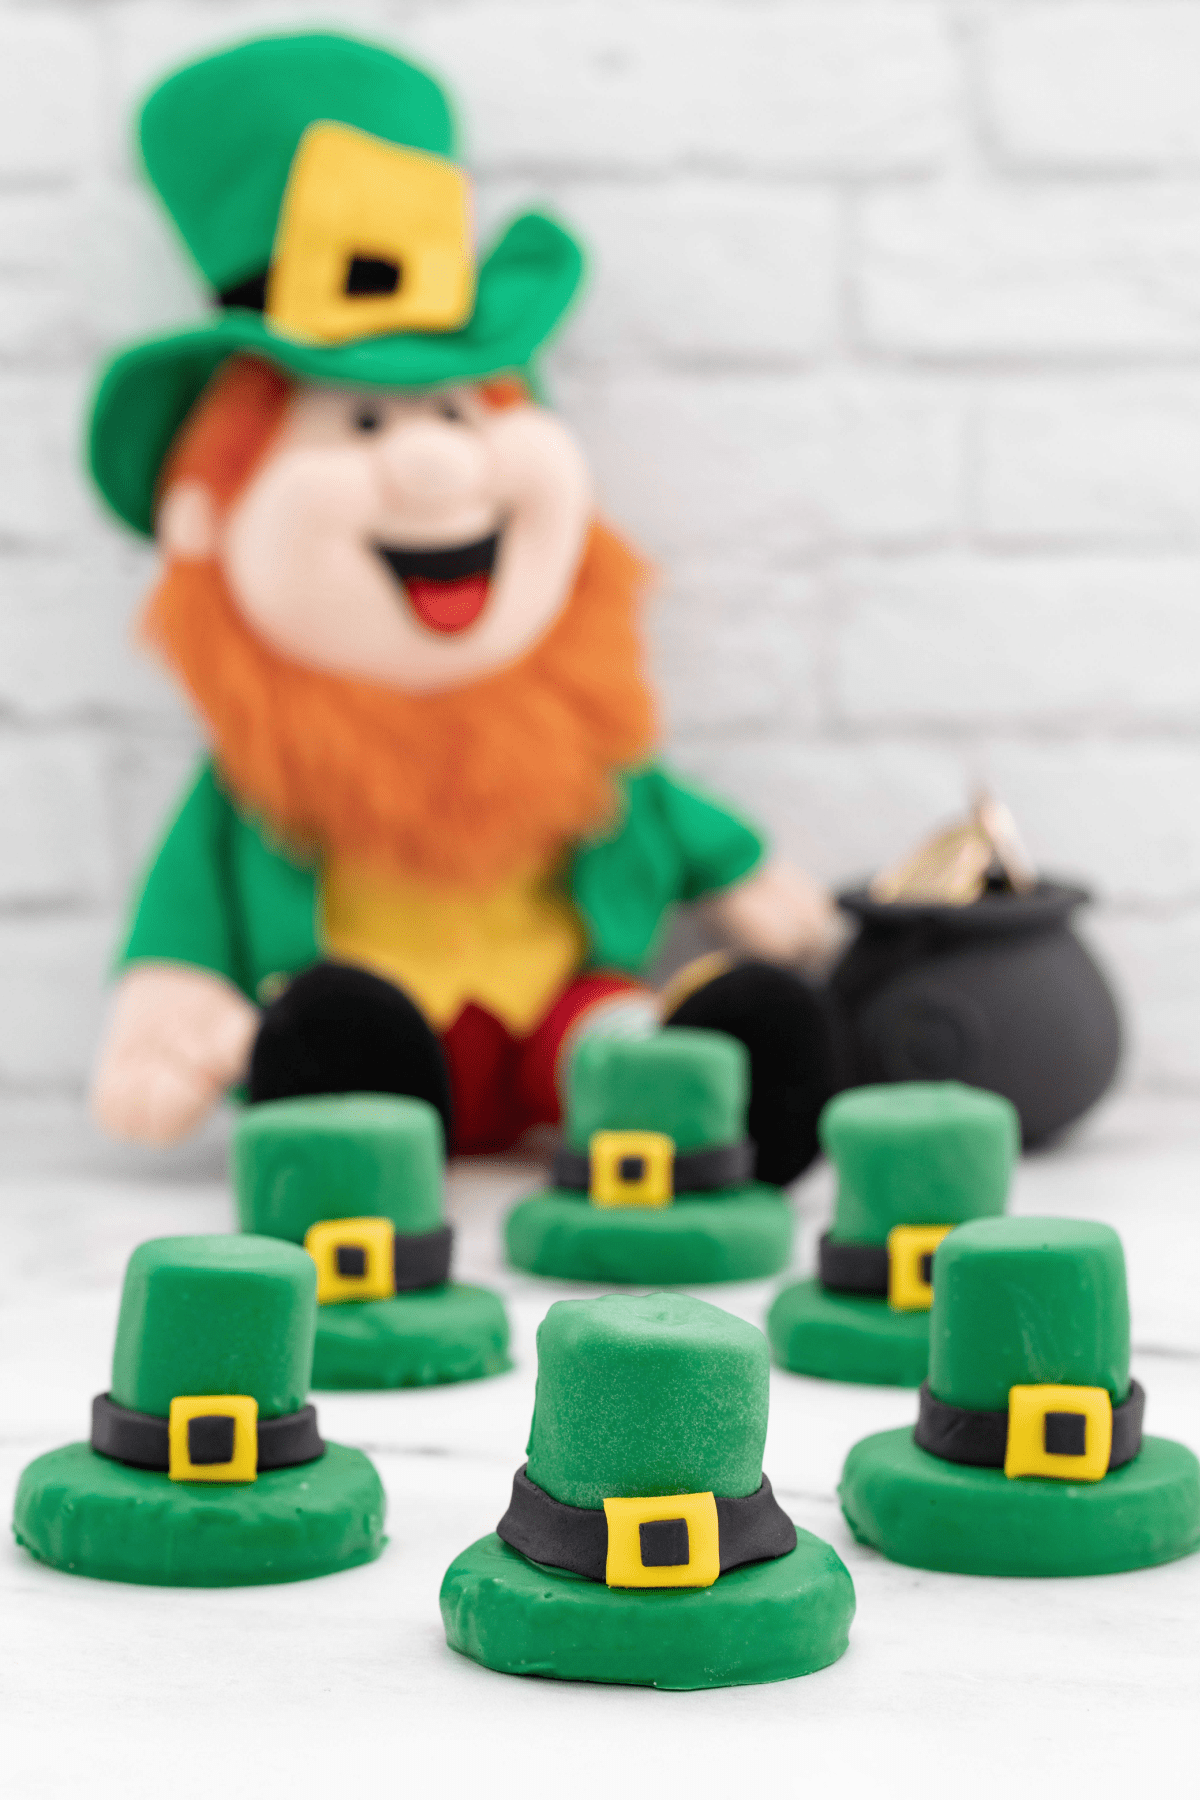
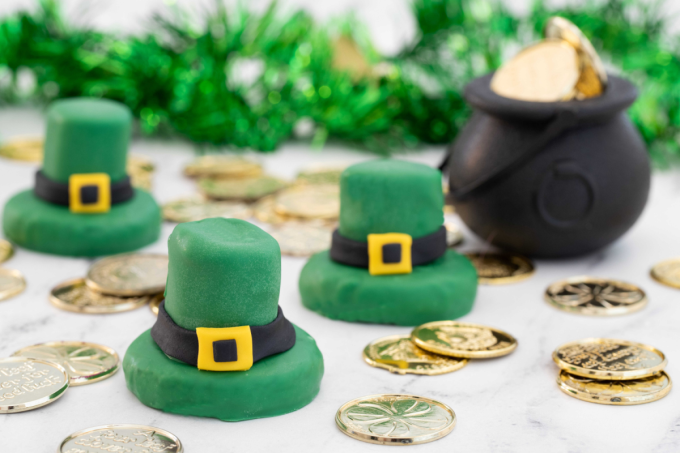
These adorable leprechaun hat cookies make the perfect St. Patrick’s Day treat. Made with store-bought cookies, marshmallows, green candy melts, and a few other crafty cooking supplies, it’s a fun recipe and craft all rolled into one!
From their vibrant green color to their tiny gold buckles, leprechaun hat cookies are almost too cute to eat. And not only are they the perfect sweet treats for the little leprechauns in your life, they’re also so much fun to make!
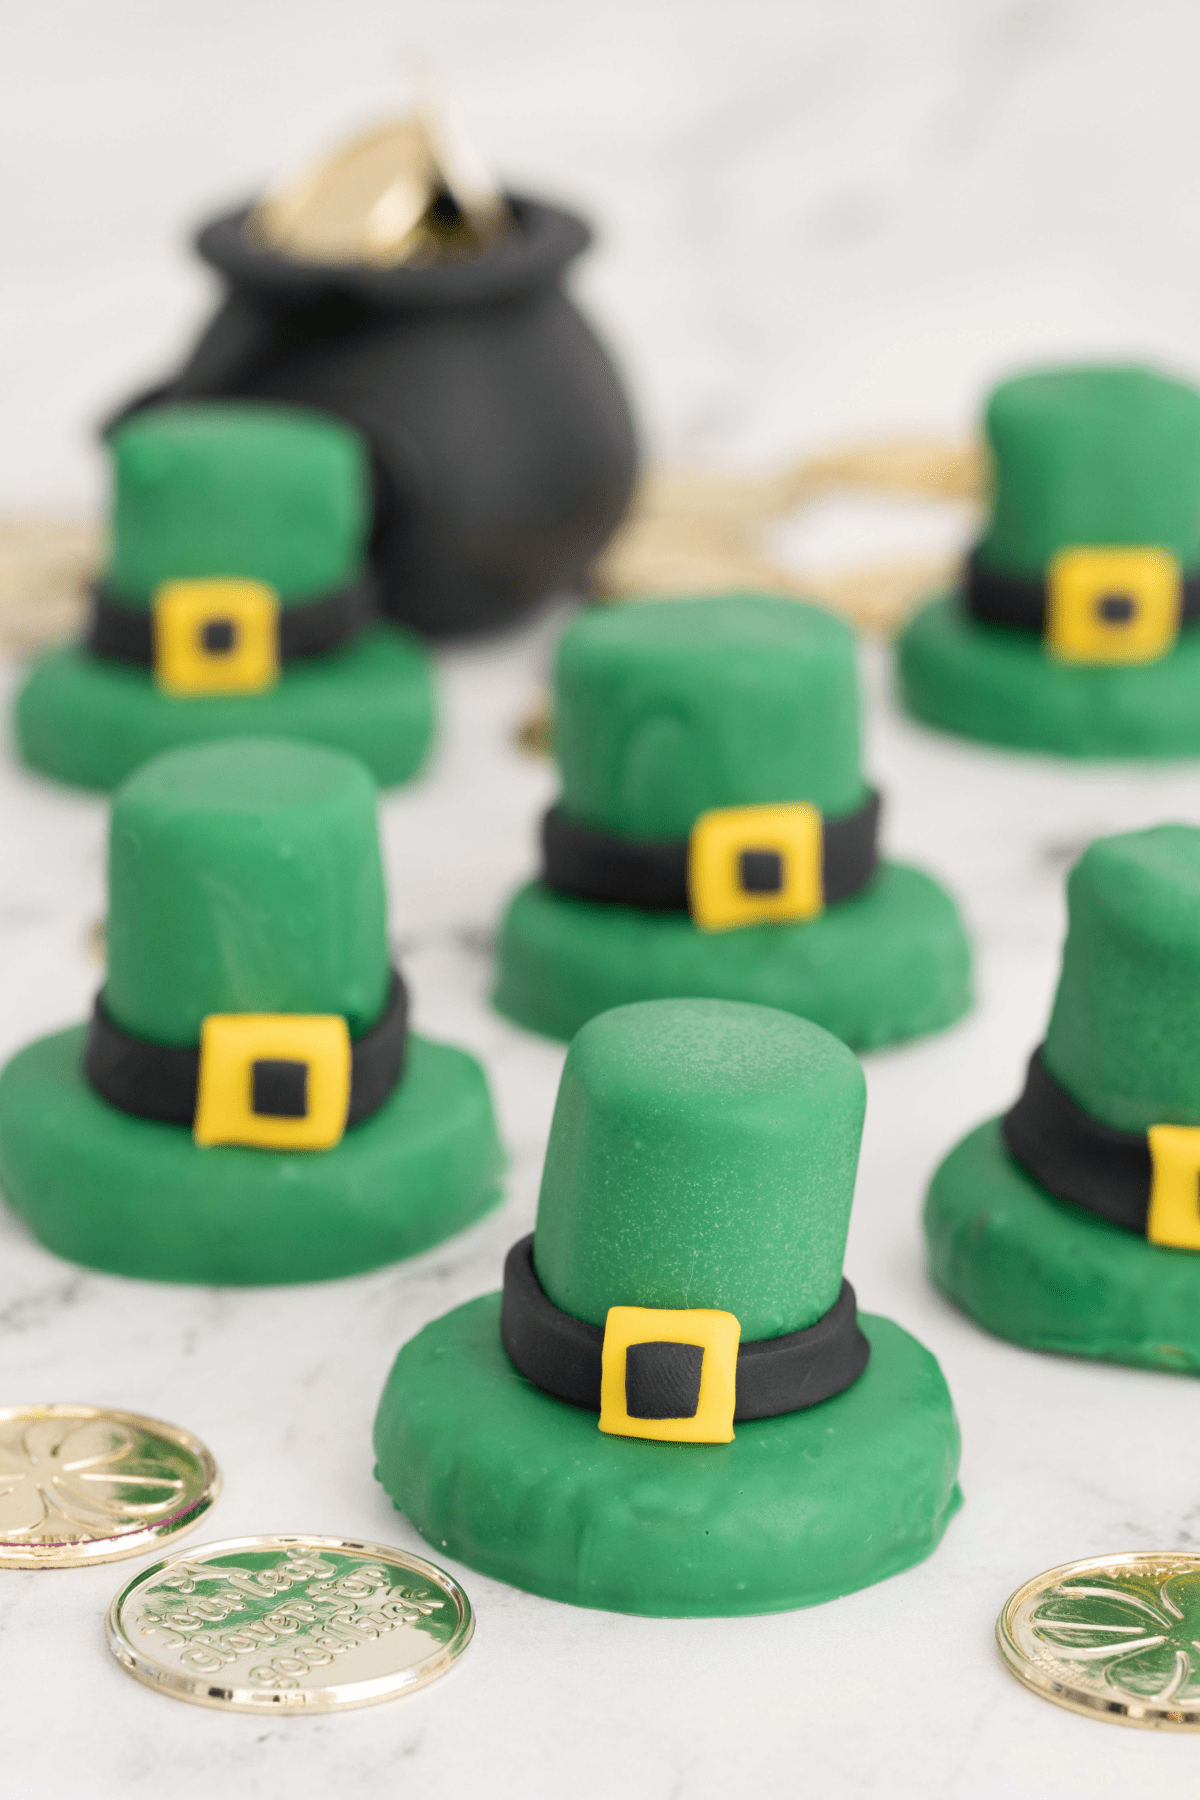
This is one of our favorite no-bake recipes for a school party or St. Patrick’s Day event. A store-bought cookie is used for the brim of the hat while large marshmallows form the tops. Green candy melts provide the bright emerald color, while the melted chocolate also serves as the ‘glue’ that holds it all together. Finally, black fondant and gold cake sequins provide the finishing touches, forming the band of the hat and the gold buckle.
Kids will love helping with this recipe, and the finished product will make the whole family smile. You can even enjoy them while making these fun St. Patrick’s Day Crafts or drinking a little Shamrock Punch.

Get a personalized letter from your leprechaun! Customize it with your child’s name for a fun St. Patrick’s Day surprise!
Why We Love This Recipe
It’s easy: With only six ingredients and no baking required, this is one of our most popular easy recipes. Plus, since the only equipment you need is a double boiler or microwave-safe bowl to melt the chocolate, cleaning up is a breeze too!
It’s perfect for St. Patrick’s Day: It’s hard to think of a more ideal sweet treat for the holiday. Surprise your family with a batch (tell the kids that they’re a gift from leprechauns) or involve them in the process and leave a few cookies out as a fun treat to go with one of these leprechaun traps.
It’s craft and recipe in one: We love recipes that do double duty, and these leprechaun hats are basically an edible art project. You’ll have a great time constructing the hats and adding the details to create the fun finished product.
Ingredients
- Large Marshmallows
- Sandies Cookies (or any other firm round cookies)
- Green Candy Melts (you can also use white melts and add green gel food coloring)
- Shortening or Wilton EZ Melts
- Black Fondant
- Yellow fondant (or small flat yellow confetti sprinkles, or gold cake sequins)
How To Make Marshmallow Leprechaun Hats
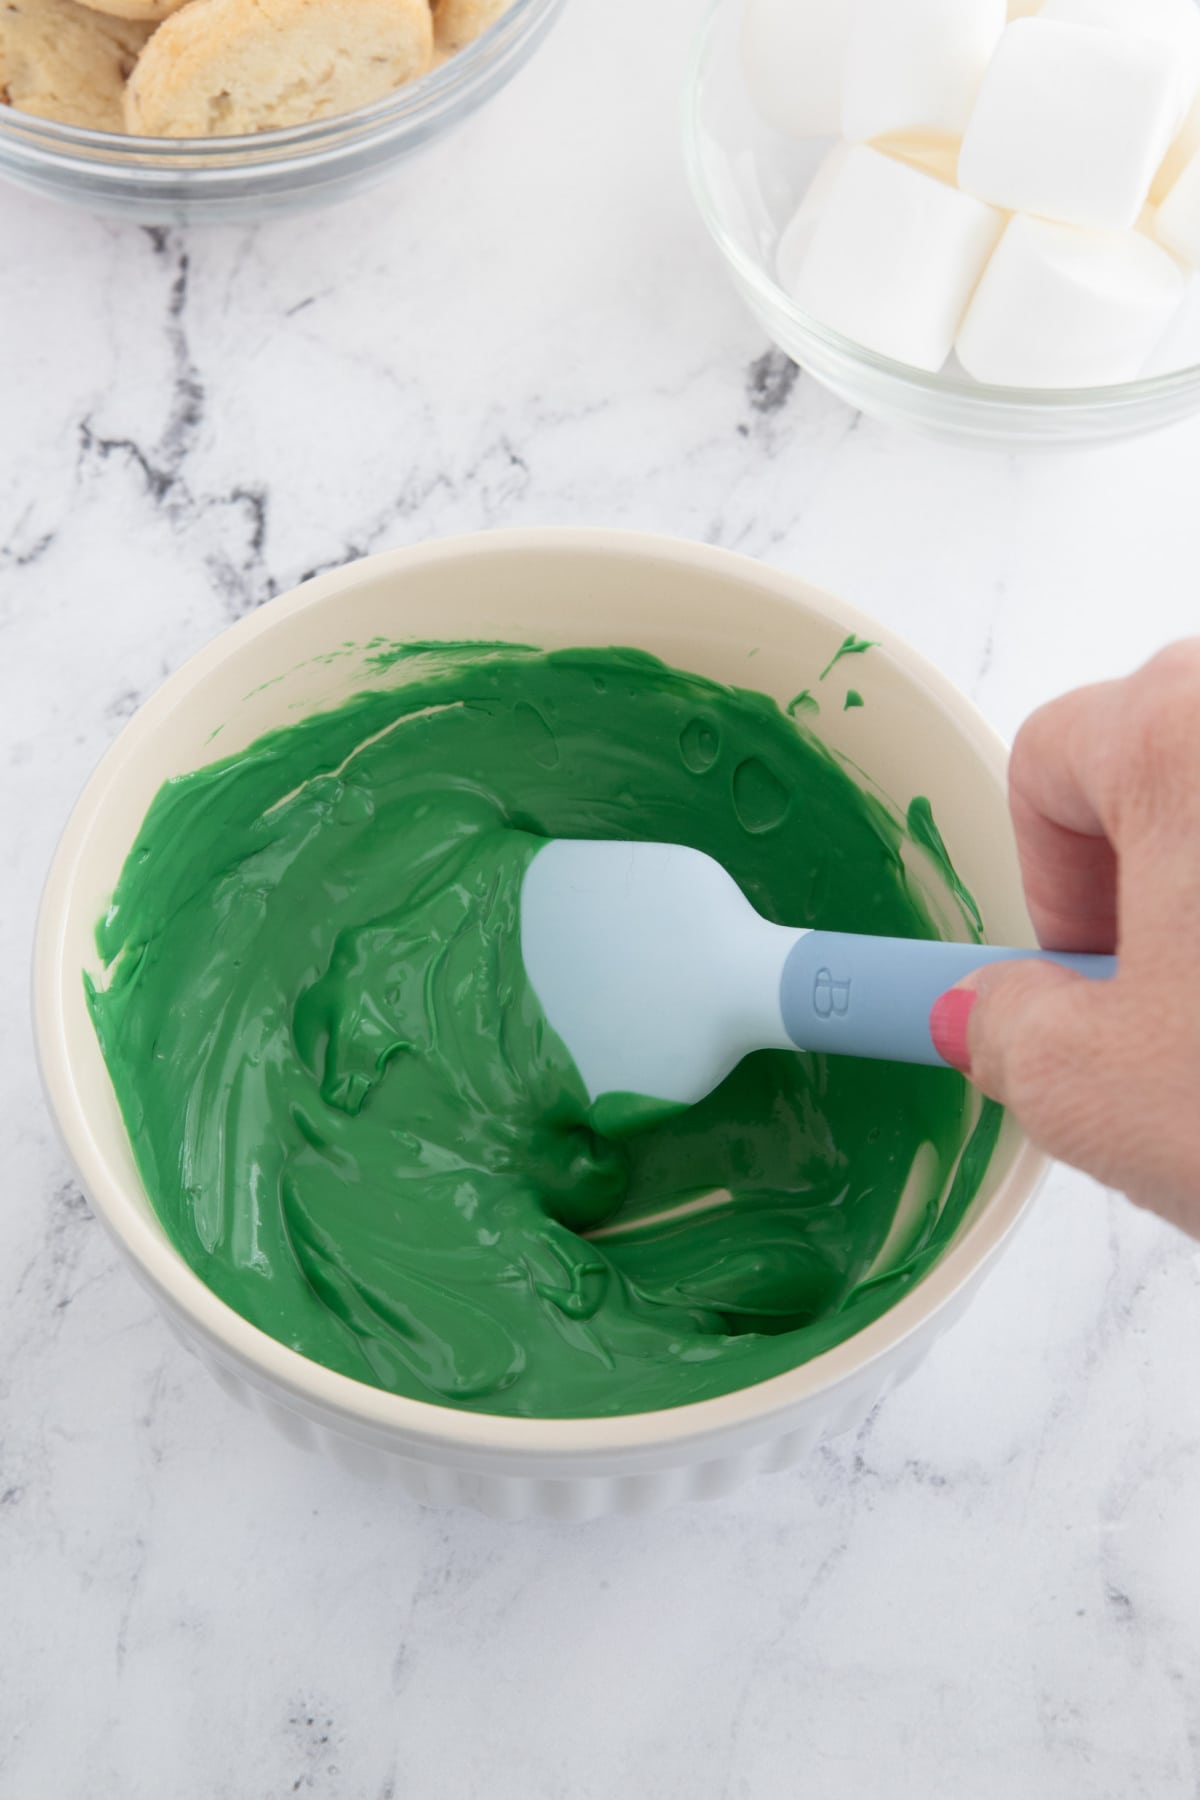
Step 1: Place candy melts in a microwave safe bowl and microwave for 30 seconds. Remove from the microwave and stir. Continue to microwave in 15 second increments, stirring in between, until candy melts are melted and smooth.
NOTE: If the melted candy is still too thick, you can thin it with shortening or Wilton EZ Thin Dipping Aid. Use a little at a time until you get the consistency you are looking for.
Step 2: Drop a cookie into the melted chocolate, flipping with a fork until completely covered. Use a fork to lift the cookie out, tapping on the side of the bowl to get rid of any excess chocolate. Place on wax paper, parchment paper or a cooling rack and repeat with the remaining cookies.

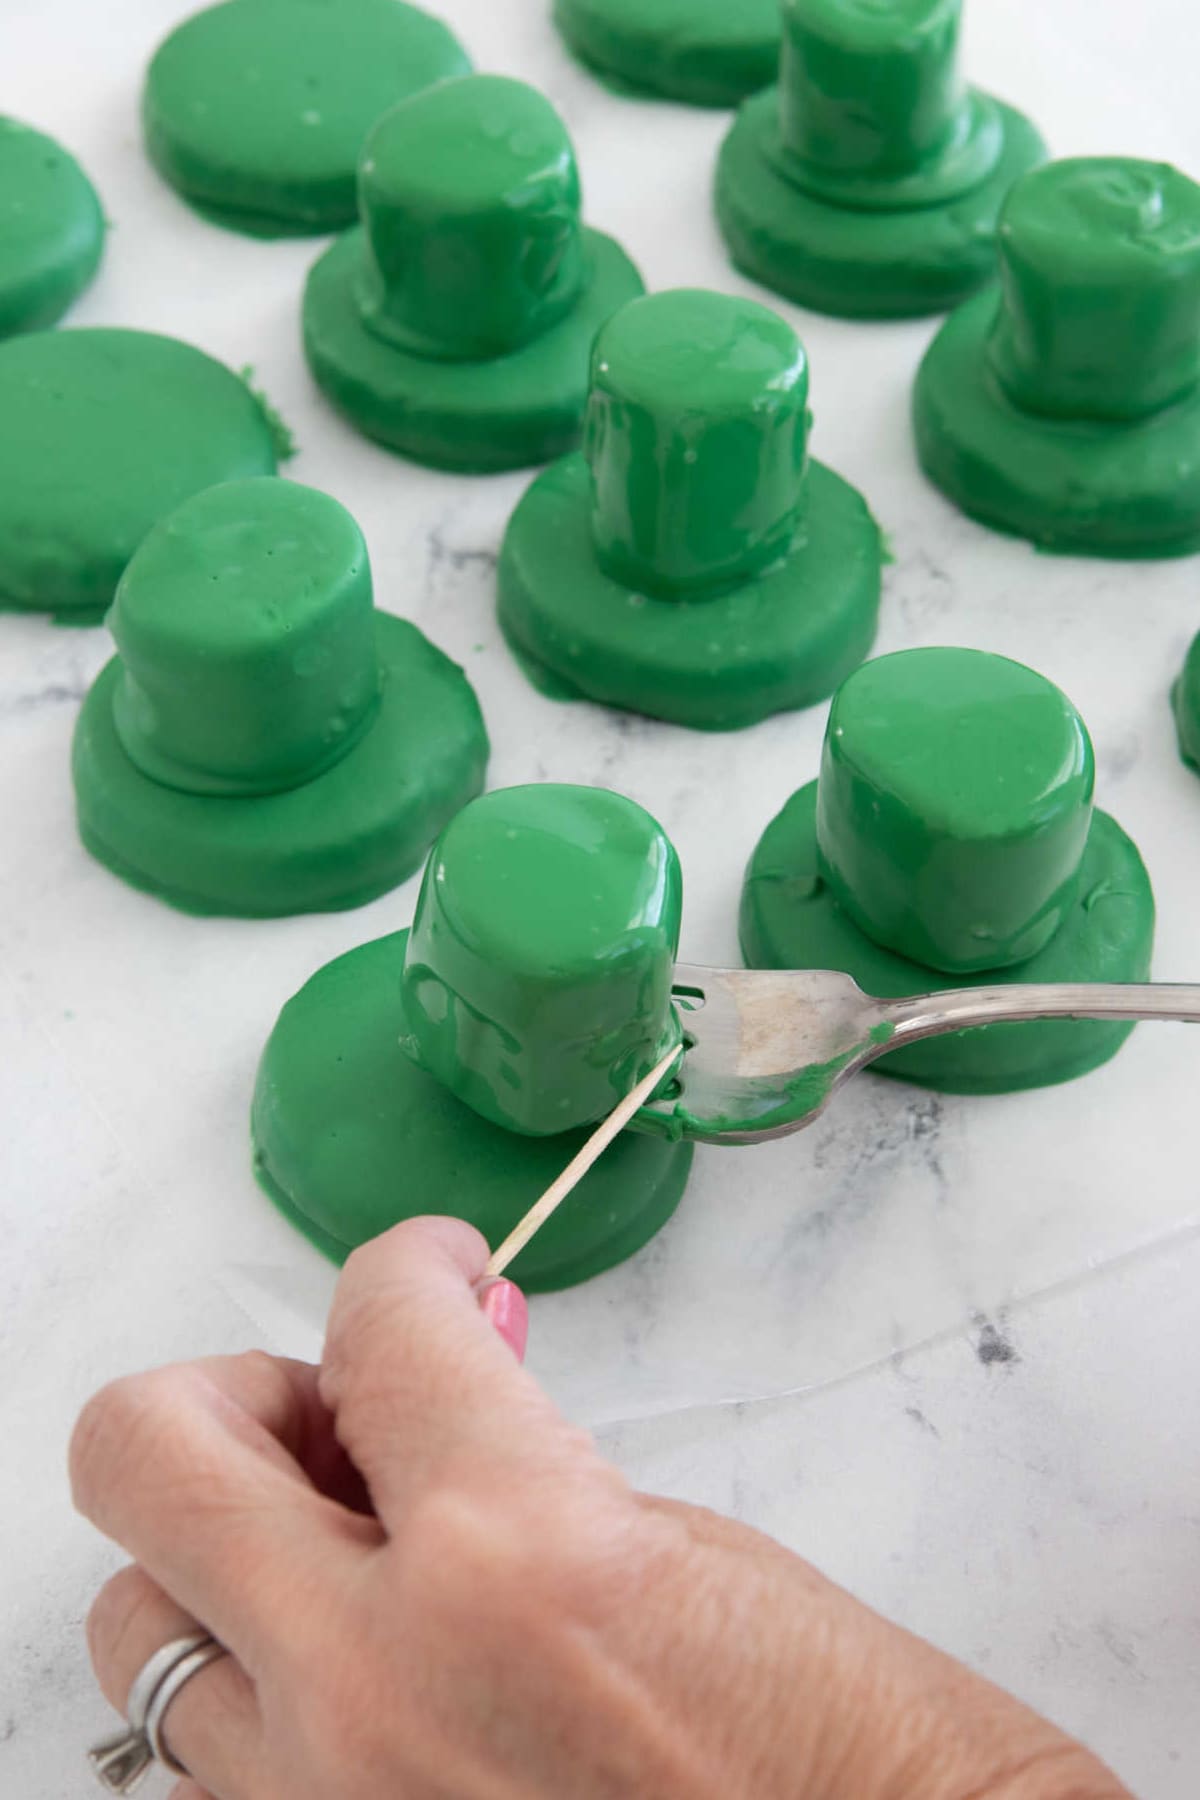
Step 3: Dip marshmallow into the chocolate, using a spatula to roll it around until it’s completely covered. Place a fork underneath it so that it’s standing up just as it would be on the hat. Lift out of the chocolate and tap on the side of the bowl to remove any excess, then place marshmallow on top of the cookie.
Note: It was a little tricky figuring out how to get the marshmallow on the cookie without making any marks in the chocolate marshmallow. I found the best way was to lift it with the fork, then use a toothpick at the base to slide it onto the cookie. If you make a mark at the base, it’ll be covered by the black band.
Repeat with remaining marshmallows.
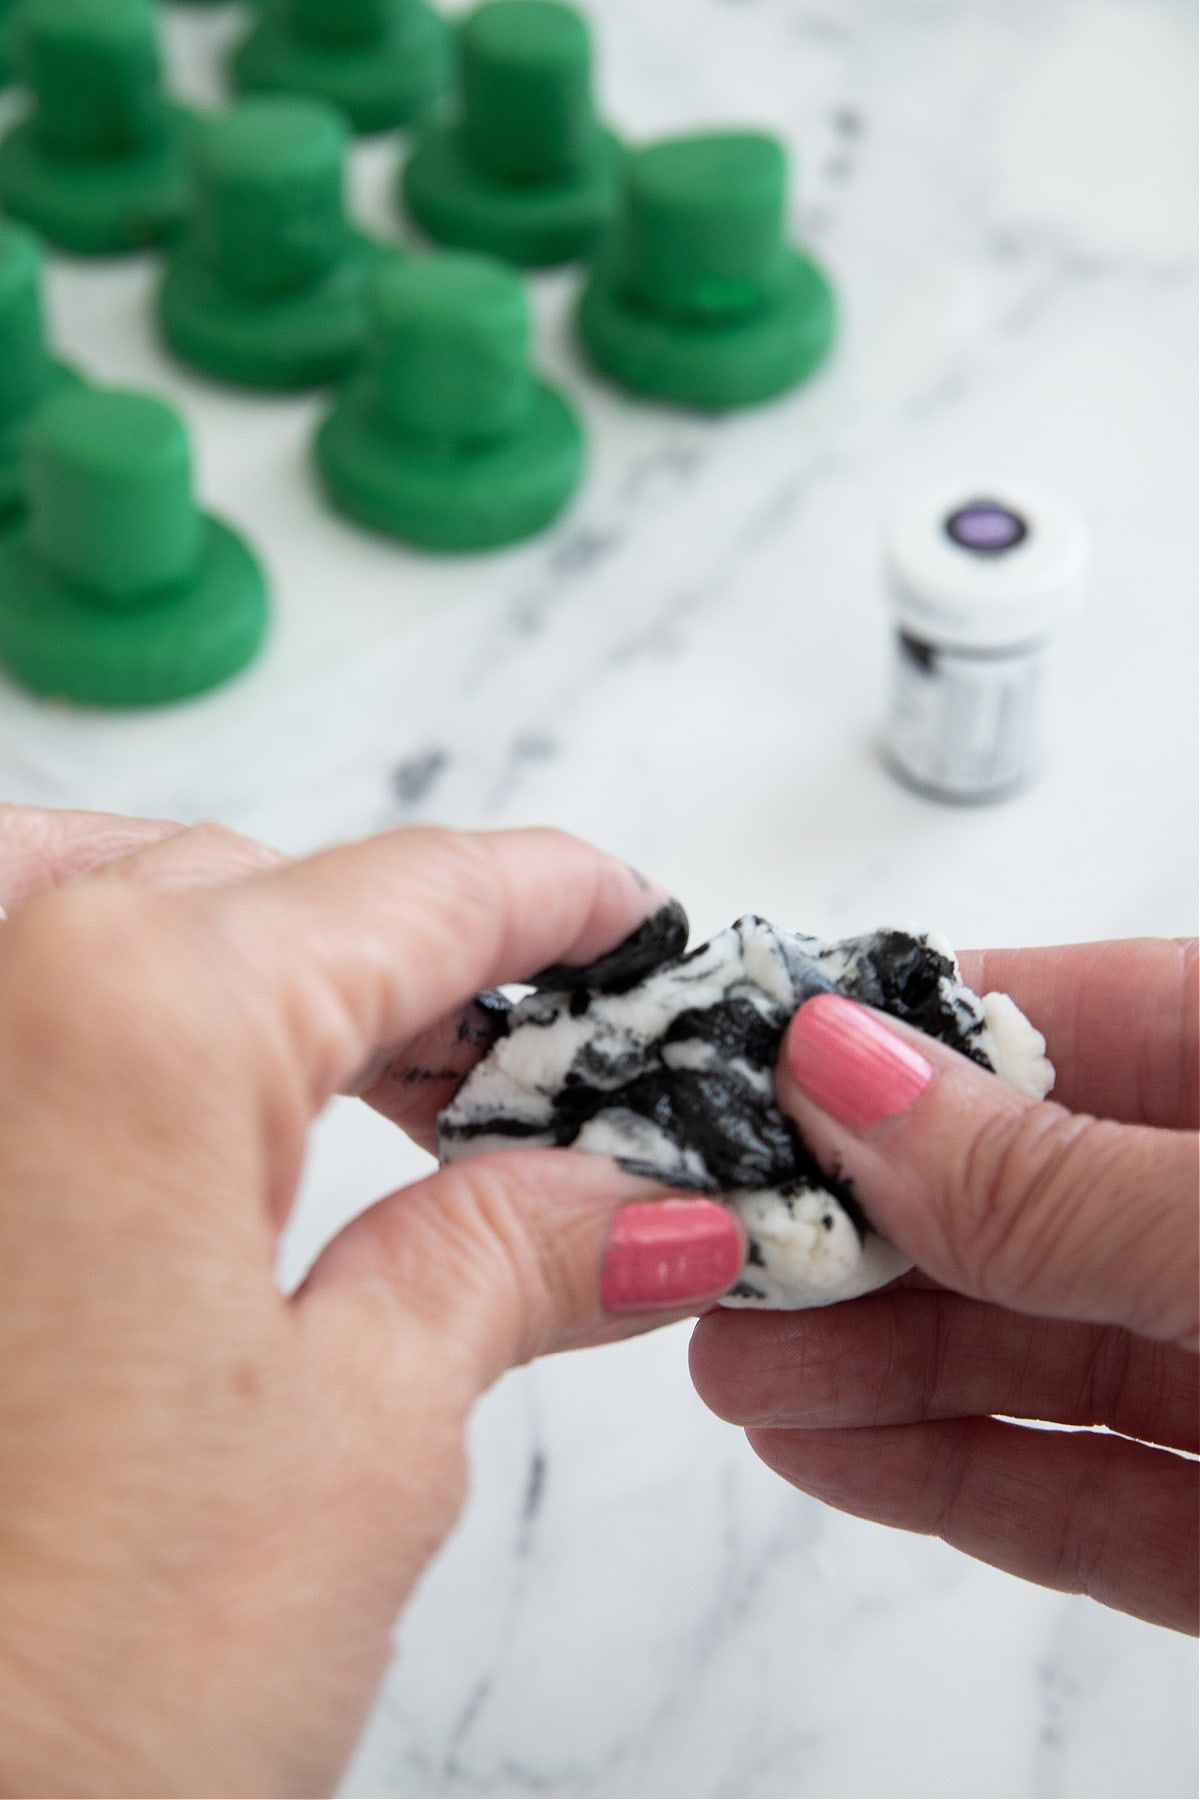
Step 4: While the chocolate on the hats sets, you can make the bands. Start with black fondant or use white fondant with black food coloring. If you already have black fondant, you can skip this next step.
Take a chunk of fondant, about the size of a large egg, and add black food coloring. Work the food coloring through with your fingers until the color is completely blended. If the fondant isn’t dark enough, add a little more food coloring.
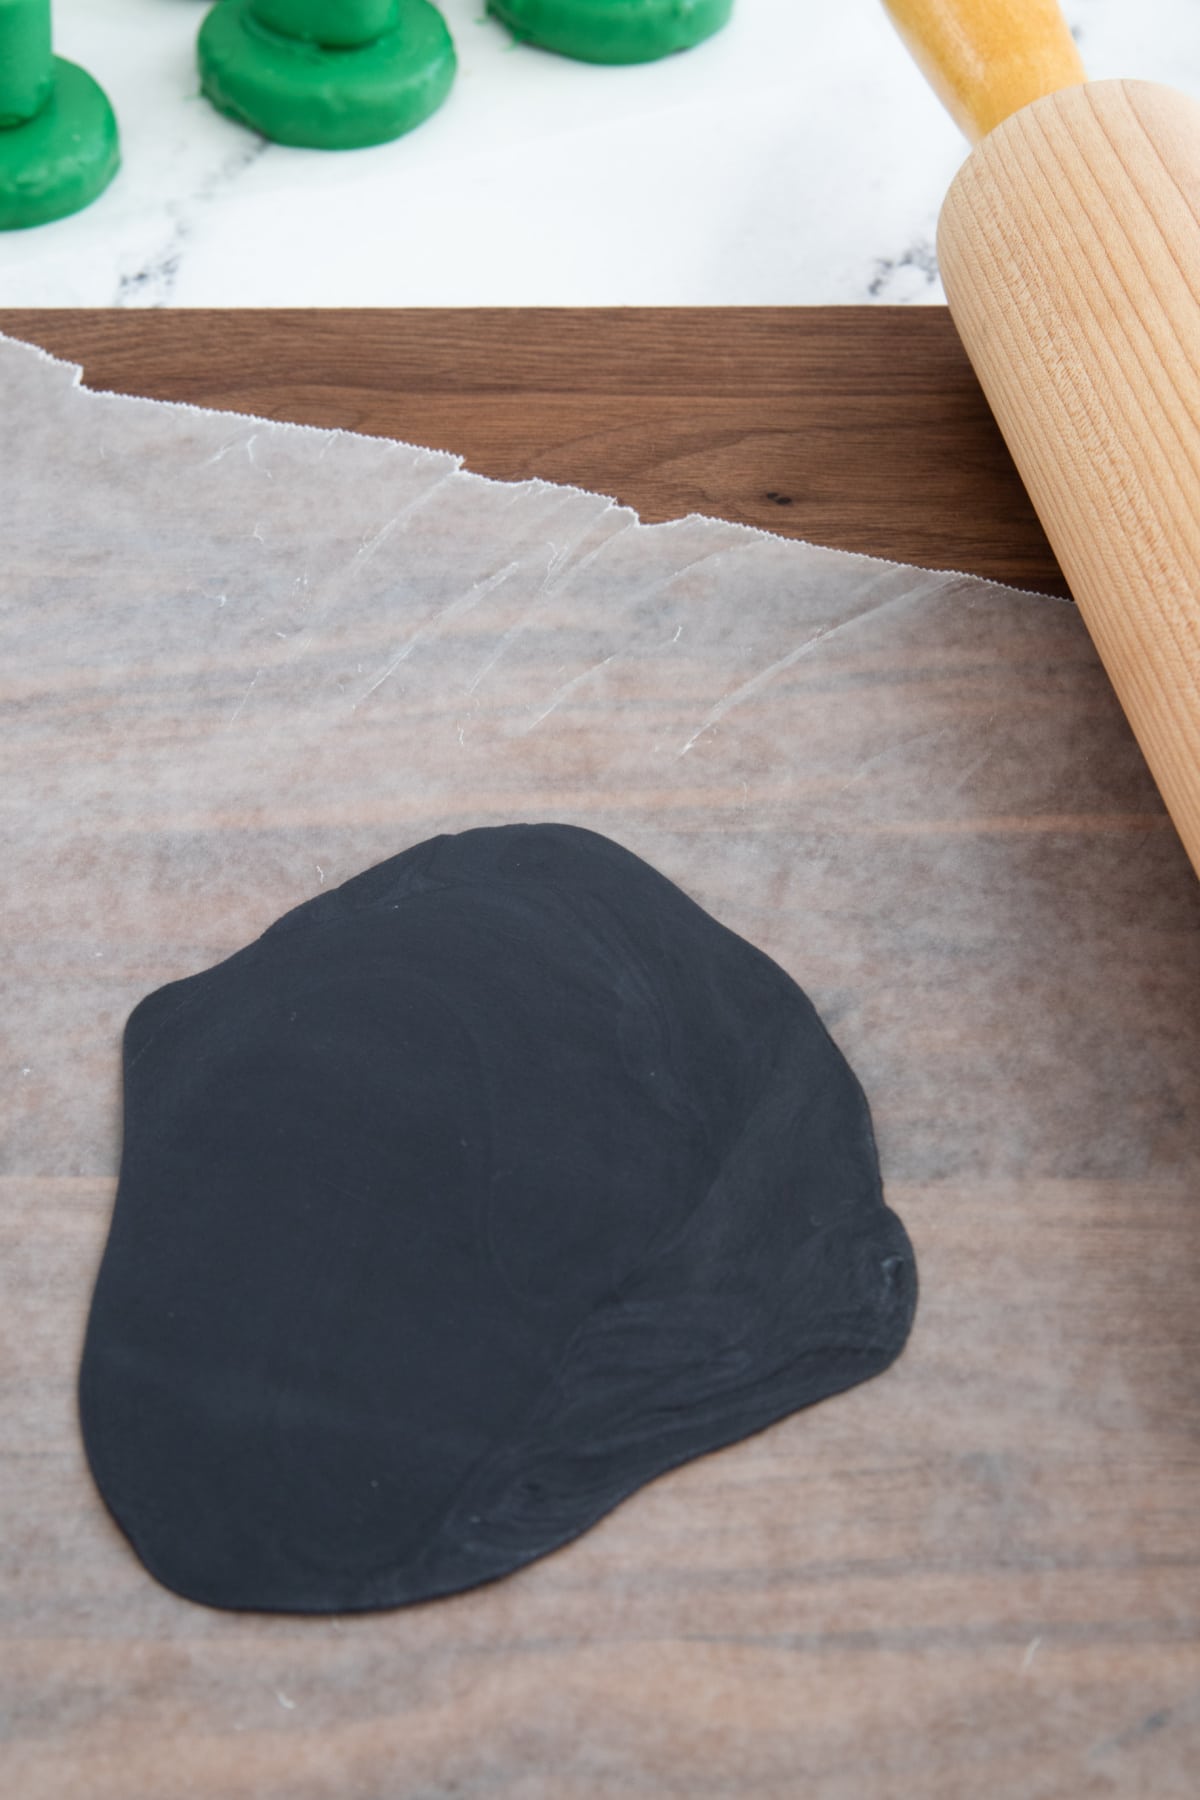
Step 5: Use a rolling pin to roll out the fondant (I rolled mine pretty thin). If it’s too sticky, you can add a little corn starch or powdered sugar to your surface. Each strip will be about 5 inches long, so keep that in mind as you’re rolling.
Step 6: Use a sharp knife to cut black strips about 5 inches long (enough to fit around the base of the marshmallow). Wrap around the marshmallows and push the ends together to hold in place.
Note: Be sure to save the rest of the black fondant. You’ll need a little more in just a minute.

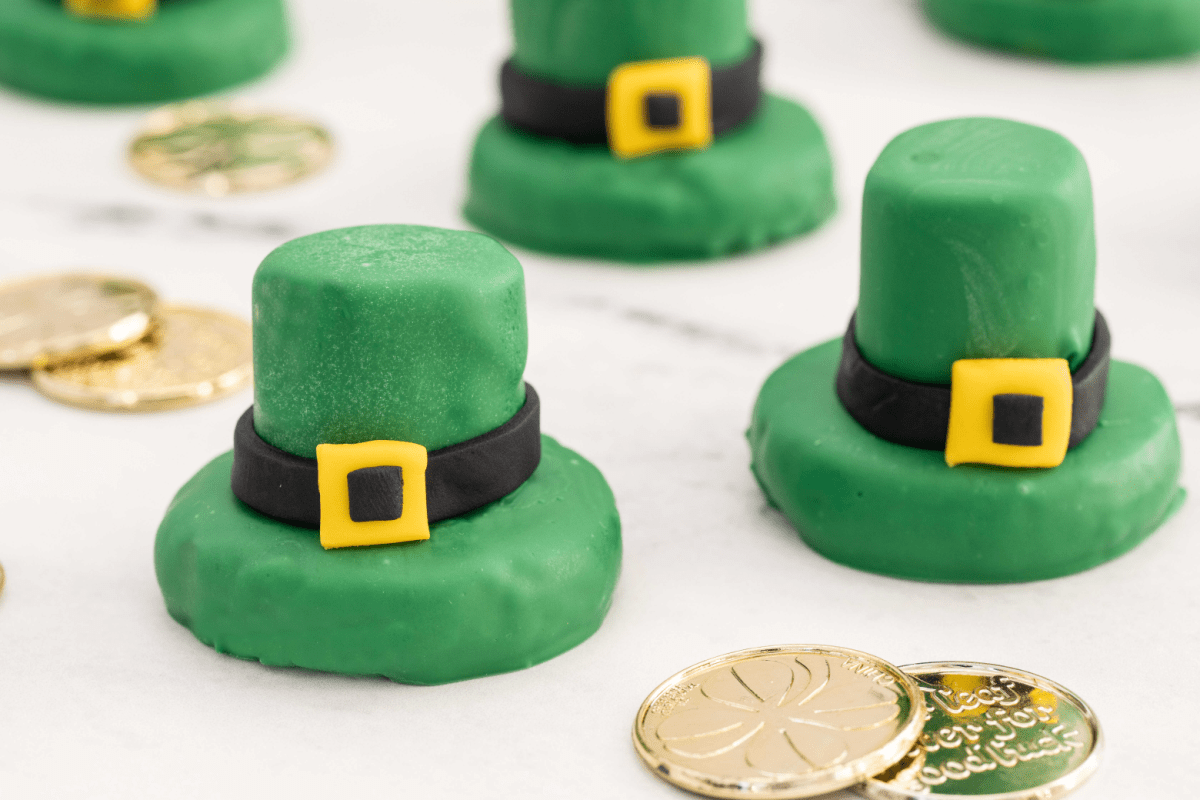
Step 7: For the belt buckles, use yellow fondant (or color white fondant yellow using the process above). Roll it into a thin sheet and cut 12 buckles about 1/2″ x 1/2″. Place the yellow square over the black band where the two ends come together.
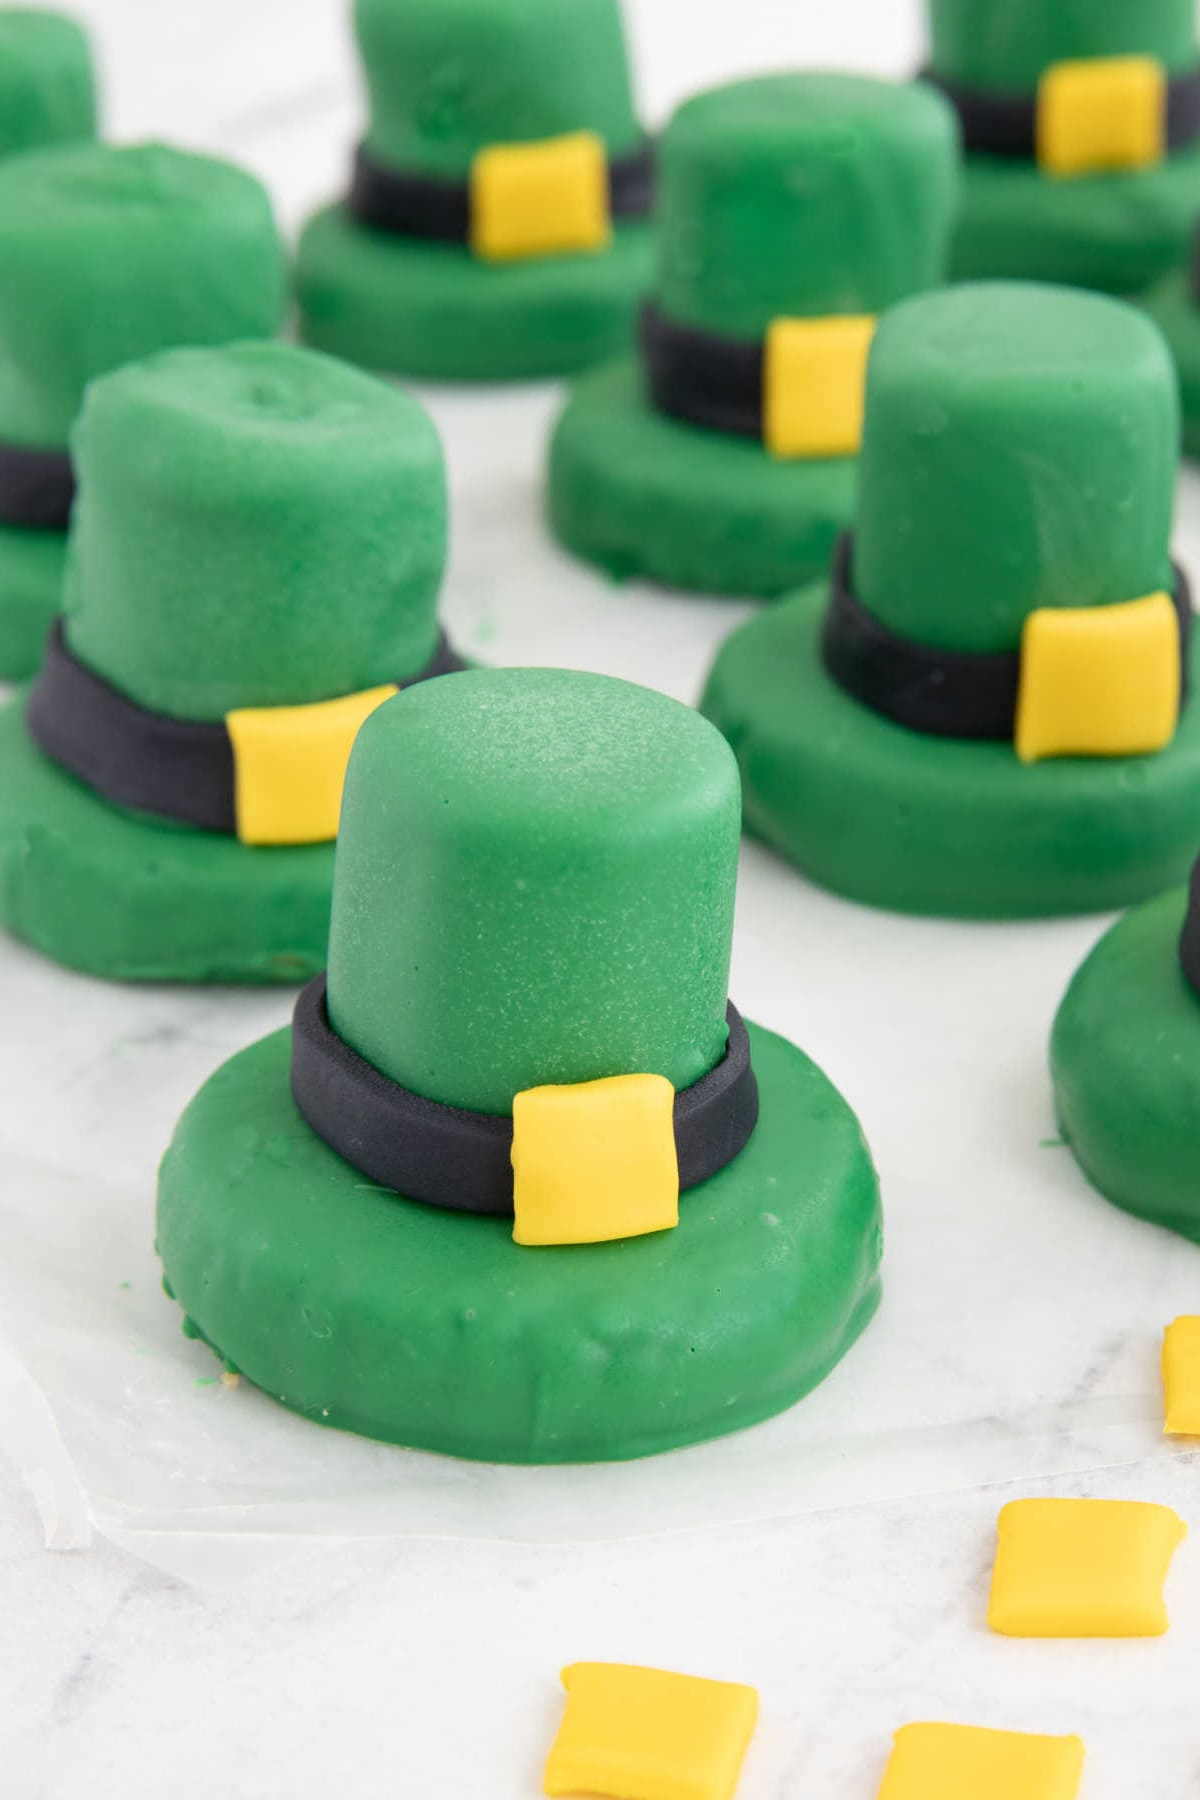
Step 8: Cut tiny squares from the remaining black fondant and place in the middle of the buckle. The squares should be about the same width as the band.
We seriously love what an adorable and delicious easy treat this makes. It’s the perfect addition to all of your St. Paddy’s Day celebrations.
How Should I Store Leprechaun Hat Cookies?
These leprechaun hats should be stored in a single layer in an airtight container. They’ll stay good for up to a week.
Tips and Tricks
- If the candy coating is too thick after microwaving, add shortening one teaspoon at a time until the mixture reaches the desired consistency. You can also use EZ Thin Dipping Aid in place of the shortening.
- If you want the finished cookies to harden more quickly, place them in the refrigerator for a few minutes.
- Fondant can dry out quickly. Wrap any excess fondant in plastic wrap or put in a small plastic bag to keep it more pliable.
- Sandies cookies work especially well in this recipe due to their smooth, round shape and firm texture. You can also use hard sugar cookies, thin mints, a fudge stripe cookie or any other flat, round cookie. It’s best to avoid cookies with chocolate chips because they won’t have a smooth enough surface.
- Before the melted chocolate hardens, you can include additional decorations to make your cookies even more festive. Try adding green sprinkles or green sanding sugar for a little extra sparkle.
Whether you’re looking for a Pinterest-worthy party treat, a cute gift for friends or just a fun family project, leprechaun hat cookies are sure to get you in the St. Patrick’s Day spirit.
Want More Saint Patrick’s Day Treats?
- St. Patrick’s Day Marshmallow Pops
- Rainbow Pinwheel Cookie Recipe
- St. Patrick’s Day Pretzels
- St. Patrick’s Day Treat Ideas

Leprechaun Hat Cookies
Equipment
- mixing bowl
Ingredients
- 2 cups green candy melts
- 12 Sandies cookies
- 12 marshmallows
- Black fondant
- Yellow fondant
- White fondant if coloring your own
- Food coloring if coloring your own
Instructions
- Place candy melts in a microwave safe bowl and microwave for 30 seconds. Remove from microwave and stir. Continue to microwave in 15 second increments, stirring in between, until candy melts are melted and smooth.2 cups green candy melts
- Dip a cookie into the melted chocolate, flipping with a fork until completely covered. Use a fork to lift the cookie out, tapping on the side of the bowl to get rid of any excess chocolate. Place on wax paper or parchment paper and repeat with remaining cookies.12 Sandies cookies
- Drop marshmallow into the chocolate, using the spatula to roll it through until it’s completely covered. Place a fork underneath it so that it’s standing up just as it would be on the hat. Lift out of the chocolate and tap on the side of the bowl to remove any excess, then place on the cookie sheet.12 marshmallows
- Use a rolling pin to roll out the black fondant. If it’s too sticky, you can add a little corn starch to your surface. Your strips will need to be about 5 inches long, so keep that in mind as you’re rolling.Black fondant
- Use a sharp knife to cut black strips about 5 inches long (enough to fit around the base of the marshmallow). Wrap around the marshmallows and push the ends together to hold in place. Note: Be sure to save the rest of the black fondant. You’ll need a little more in just a minute.
- Roll yellow fondant into a thin sheet. Cut 12 buckles about 1/2″ x 1/2″ and place over the black band where the two ends come together.Yellow fondant
- Cut tiny squares from the remaining black fondant, about the same width as the band, and place in the middle of the buckle. Push slightly to be sure they stay in place and now your cookies are ready to eat!
Notes
- If the melted candy is still too thick, you can thin it with shortening or Wilton EZ Thin Dipping Aid. Use a little at a time until you get the consistency you are looking for.
- The easiest way was to lift it with the fork, then use a toothpick at the base to slide it onto the cookie. Repeat with remaining marshmallows.
- If you can’t find colored fondant, you can use white fondant and color it with food coloring.
Nutrition
Did You Make This Recipe?
Share it with me on Instagram @funmoneymom and follow on Pinterest @funmoneymom for more!
Let’s be friends!
Did you love this post? Make sure to comment below and let me know your thoughts! And don’t forget to follow on your favorite social network below!

About Lisa O’Driscoll
Lisa O’Driscoll is a lifestyle and parenting expert, cookbook author, and the creative force behind Fun Money Mom, a popular blog she’s run since 2014. She’s the author of the children’s cookbook Roll It, Slice It, Mash It, Dice It, designed to get kids excited about cooking. With multiple TV appearances under her belt, she loves sharing her expertise on family-friendly recipes, creative DIYs, and party planning and is always on a mission to inspire and entertain!


Those look so cute !! Thank you for sharing this !!!
You’re very welcome! We had so much fun making them!