Chocolate Thumbprint Cookies With A Rich Dulce De Leche Filling
This post may contain affiliate links. As an Amazon Associate, I earn from qualifying purchases.
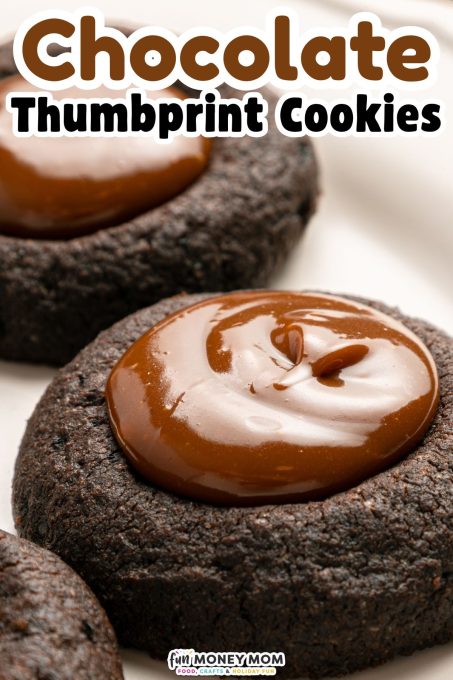
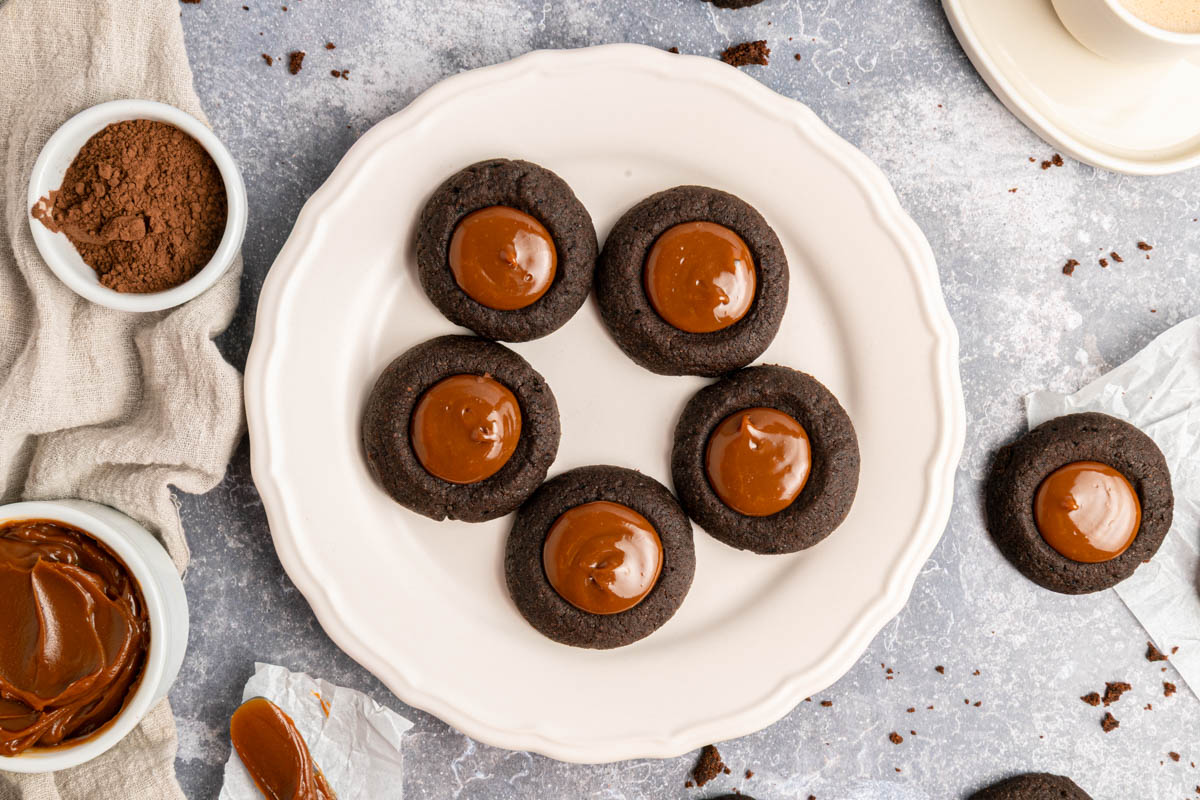
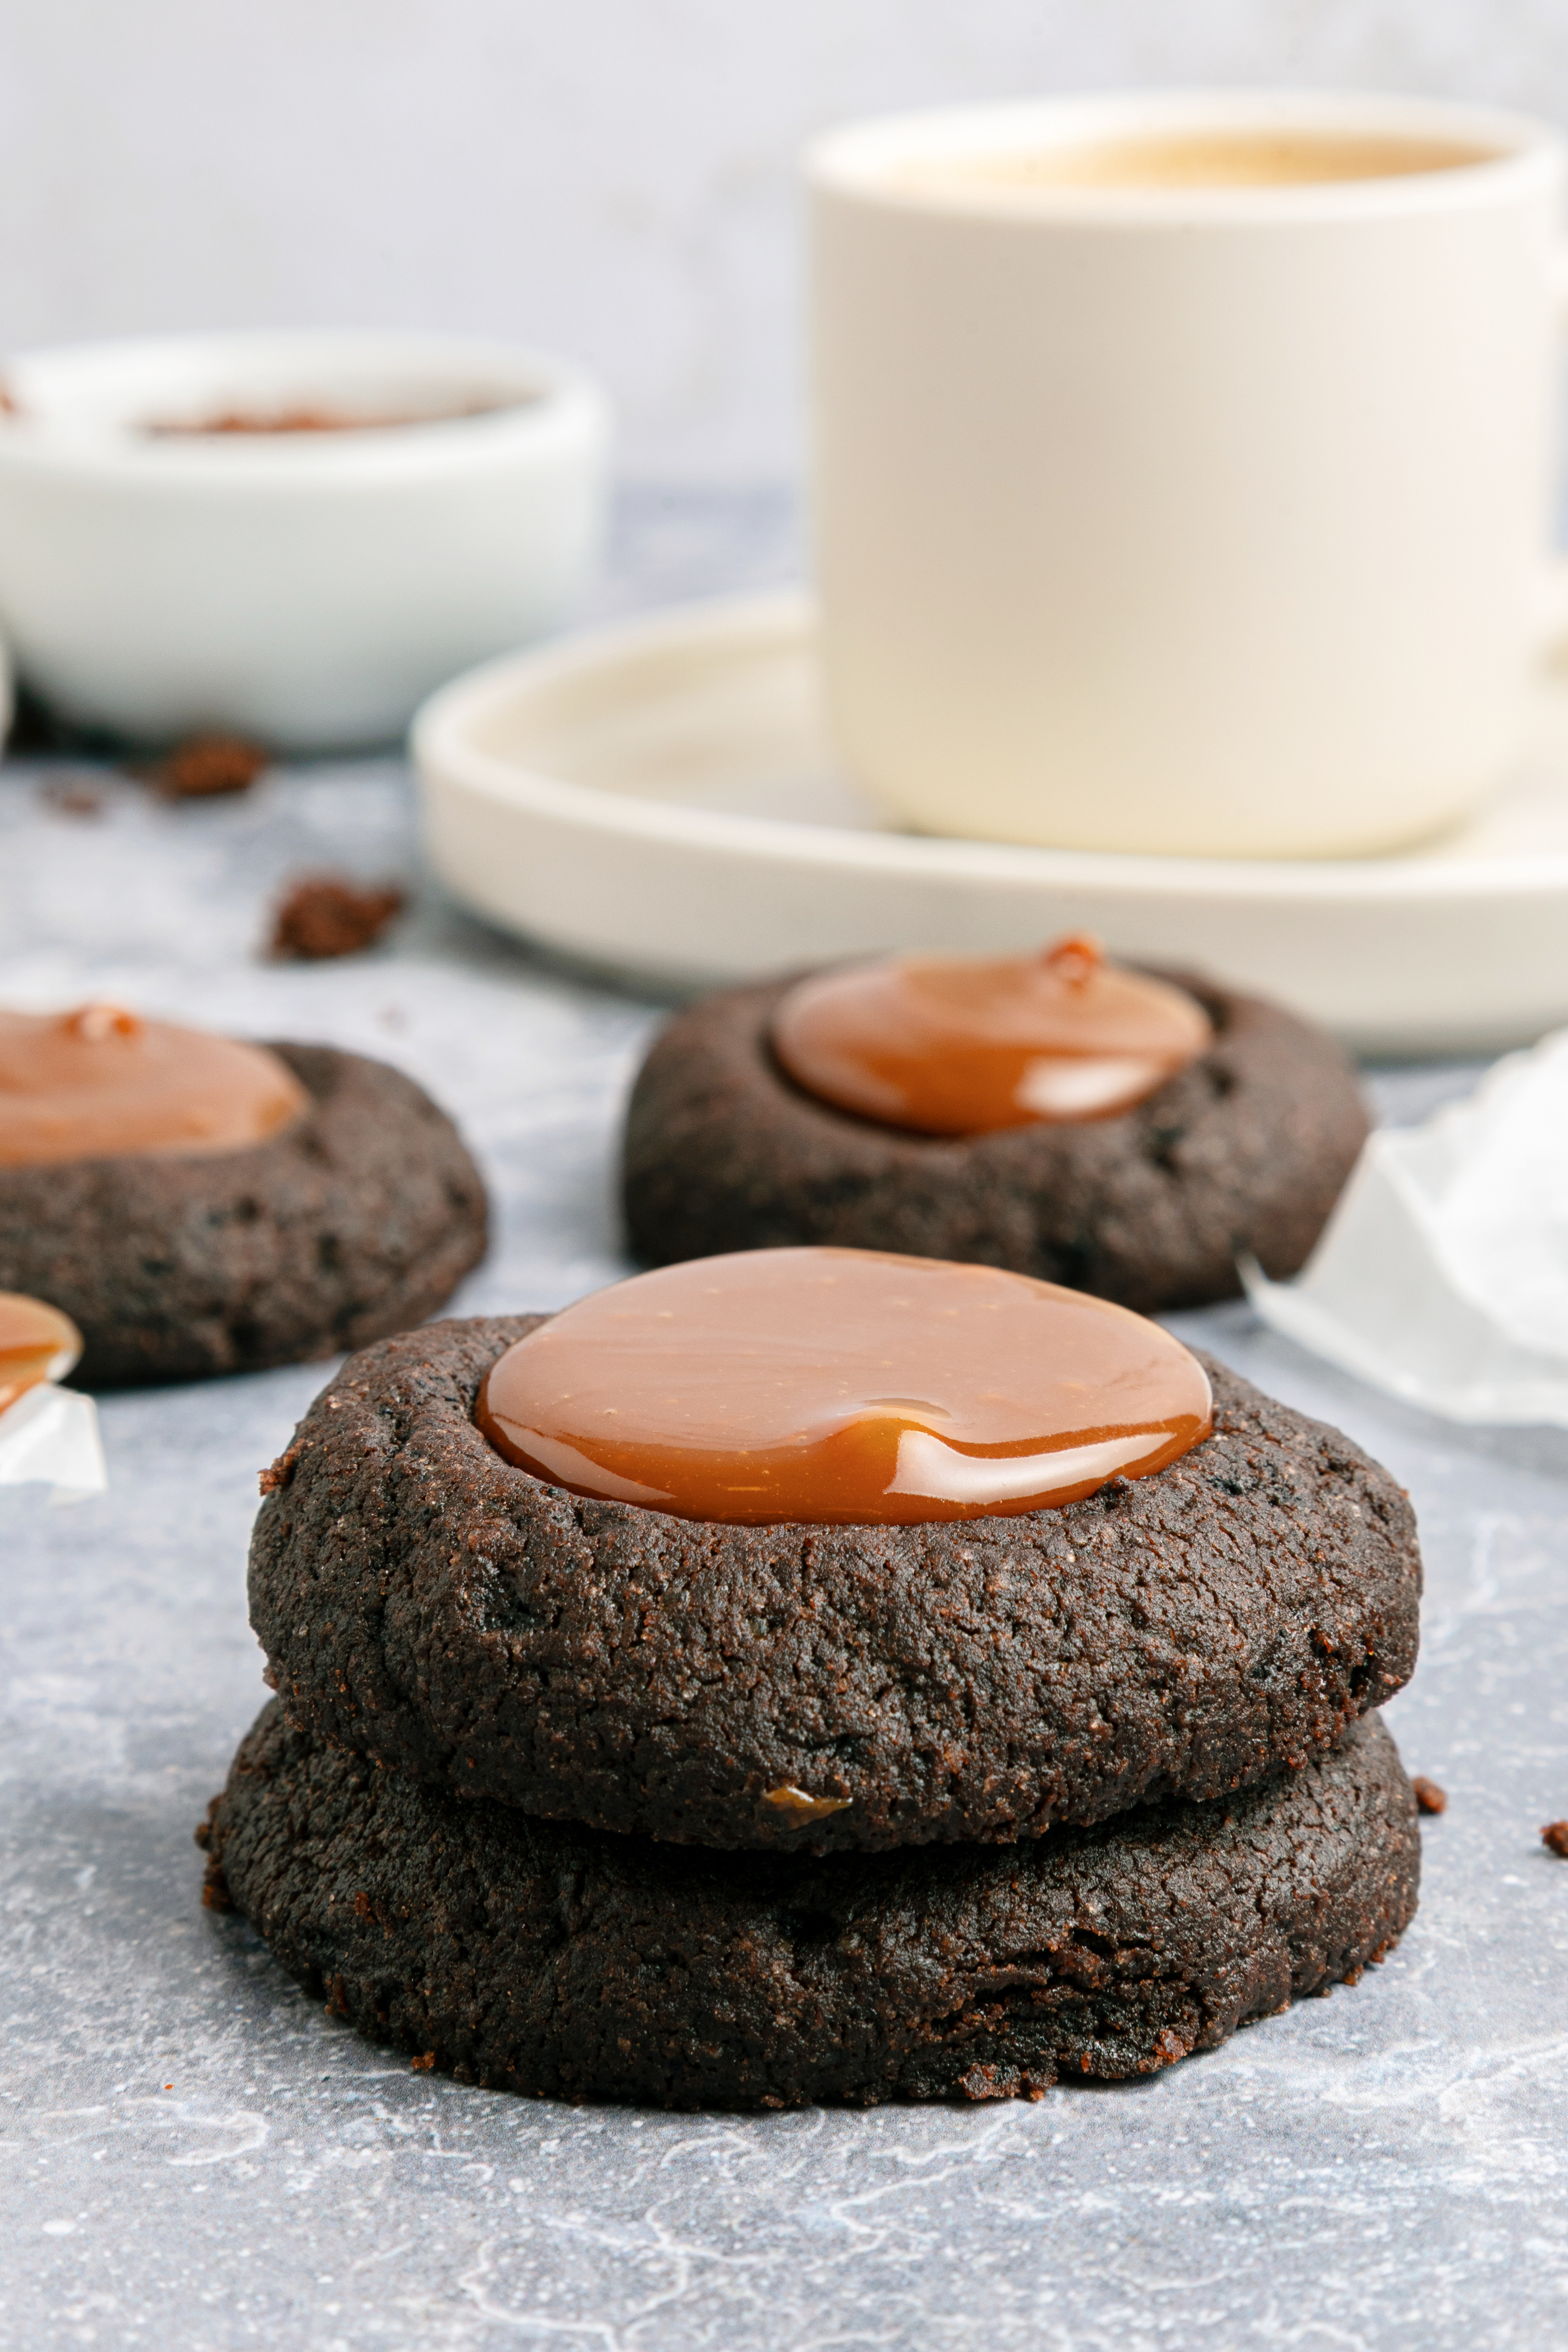
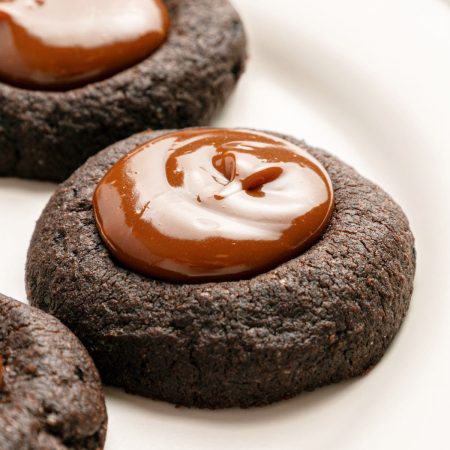
Pillowy soft and chocolatey, these Chocolate Thumbprint Cookies with Dulce De Leche are my delicious spin on the classic thumbprint. They’re easy to make, fun to fill, and add rich chocolate and gooey sweetness to any cookie tray or dessert table.

Chocolate Thumbprint Cookies Recipe
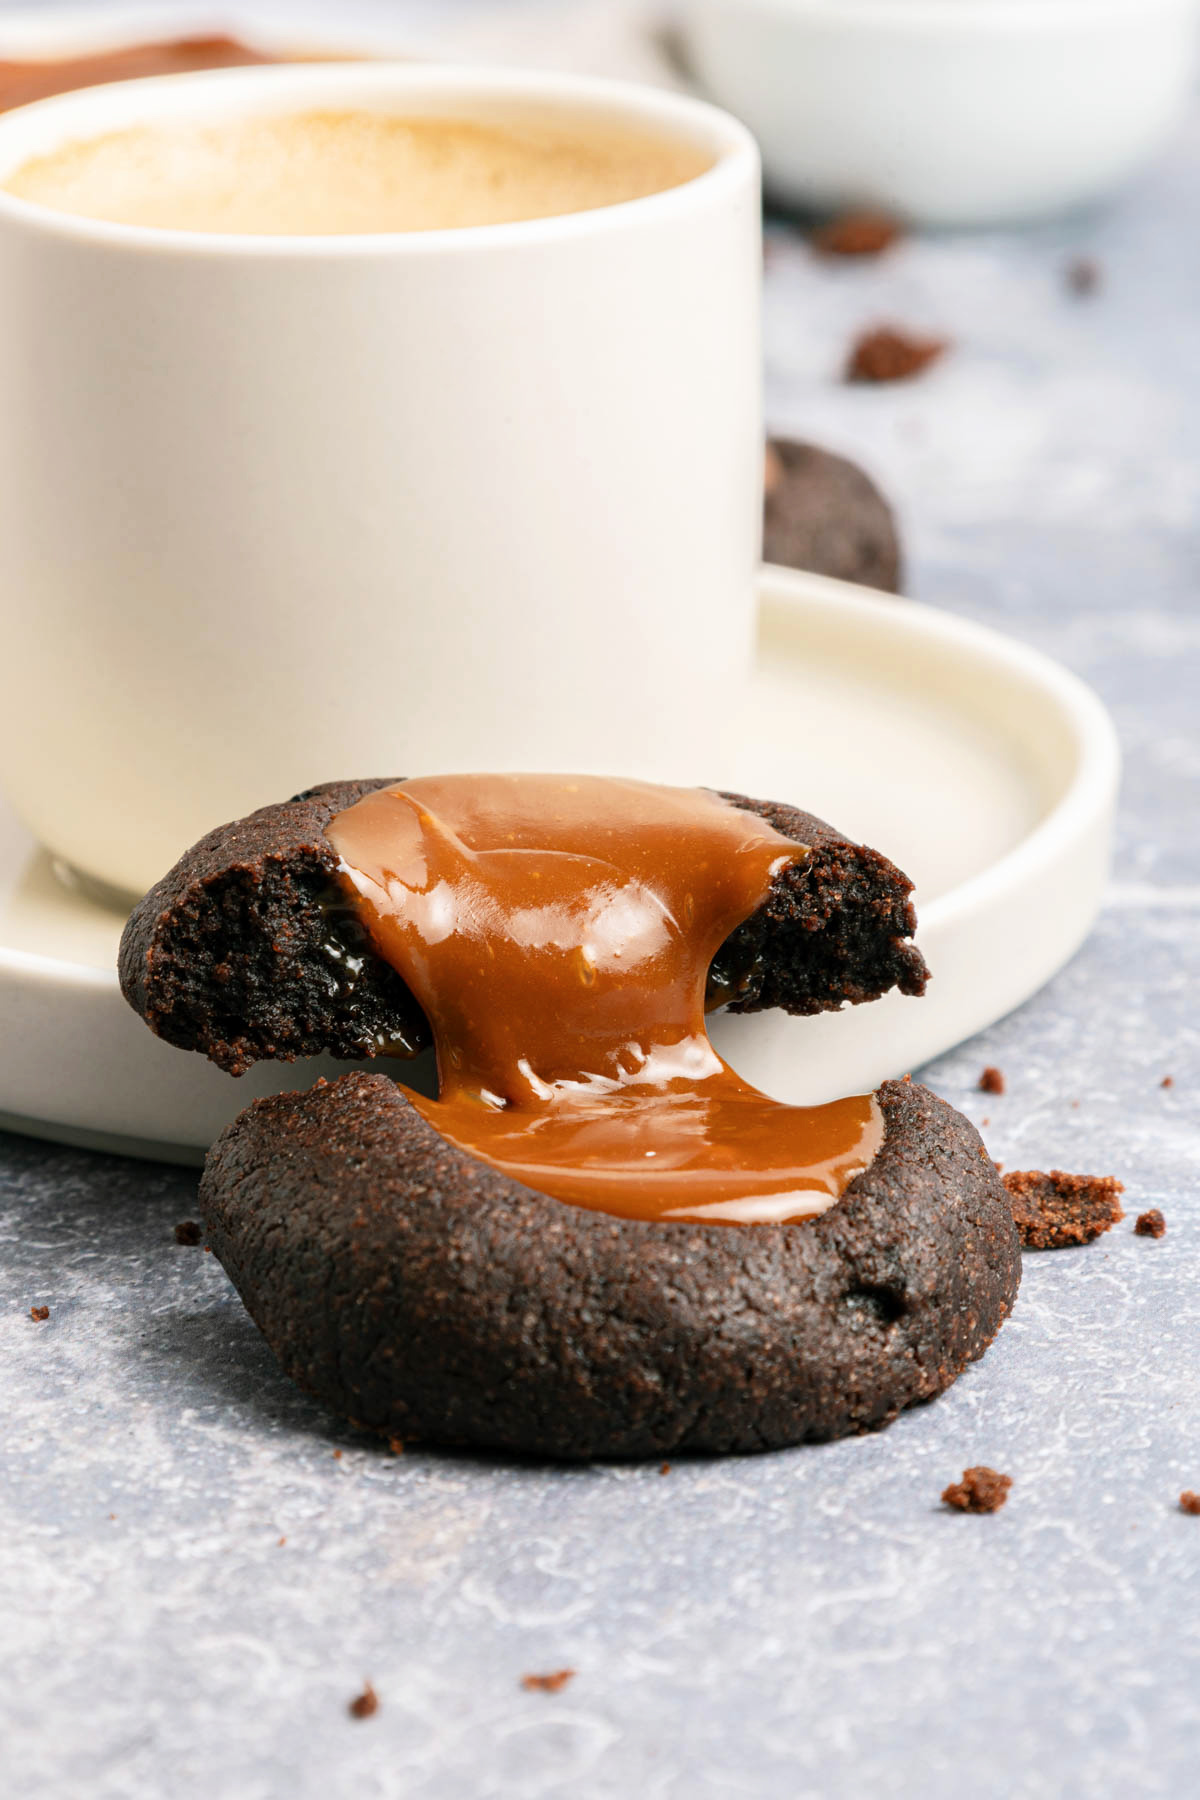
These Chocolate Thumbprint Cookies are a great way to satisfy your sweet tooth and chocolate cravings all in one perfect bite. I’ve always been a serious chocoholic, and while thumbprint cookies are a favorite, I wanted a rich fudgy version. So, I reimagined the classic with a deep cocoa infused dough and a decadent dulce de leche filling.
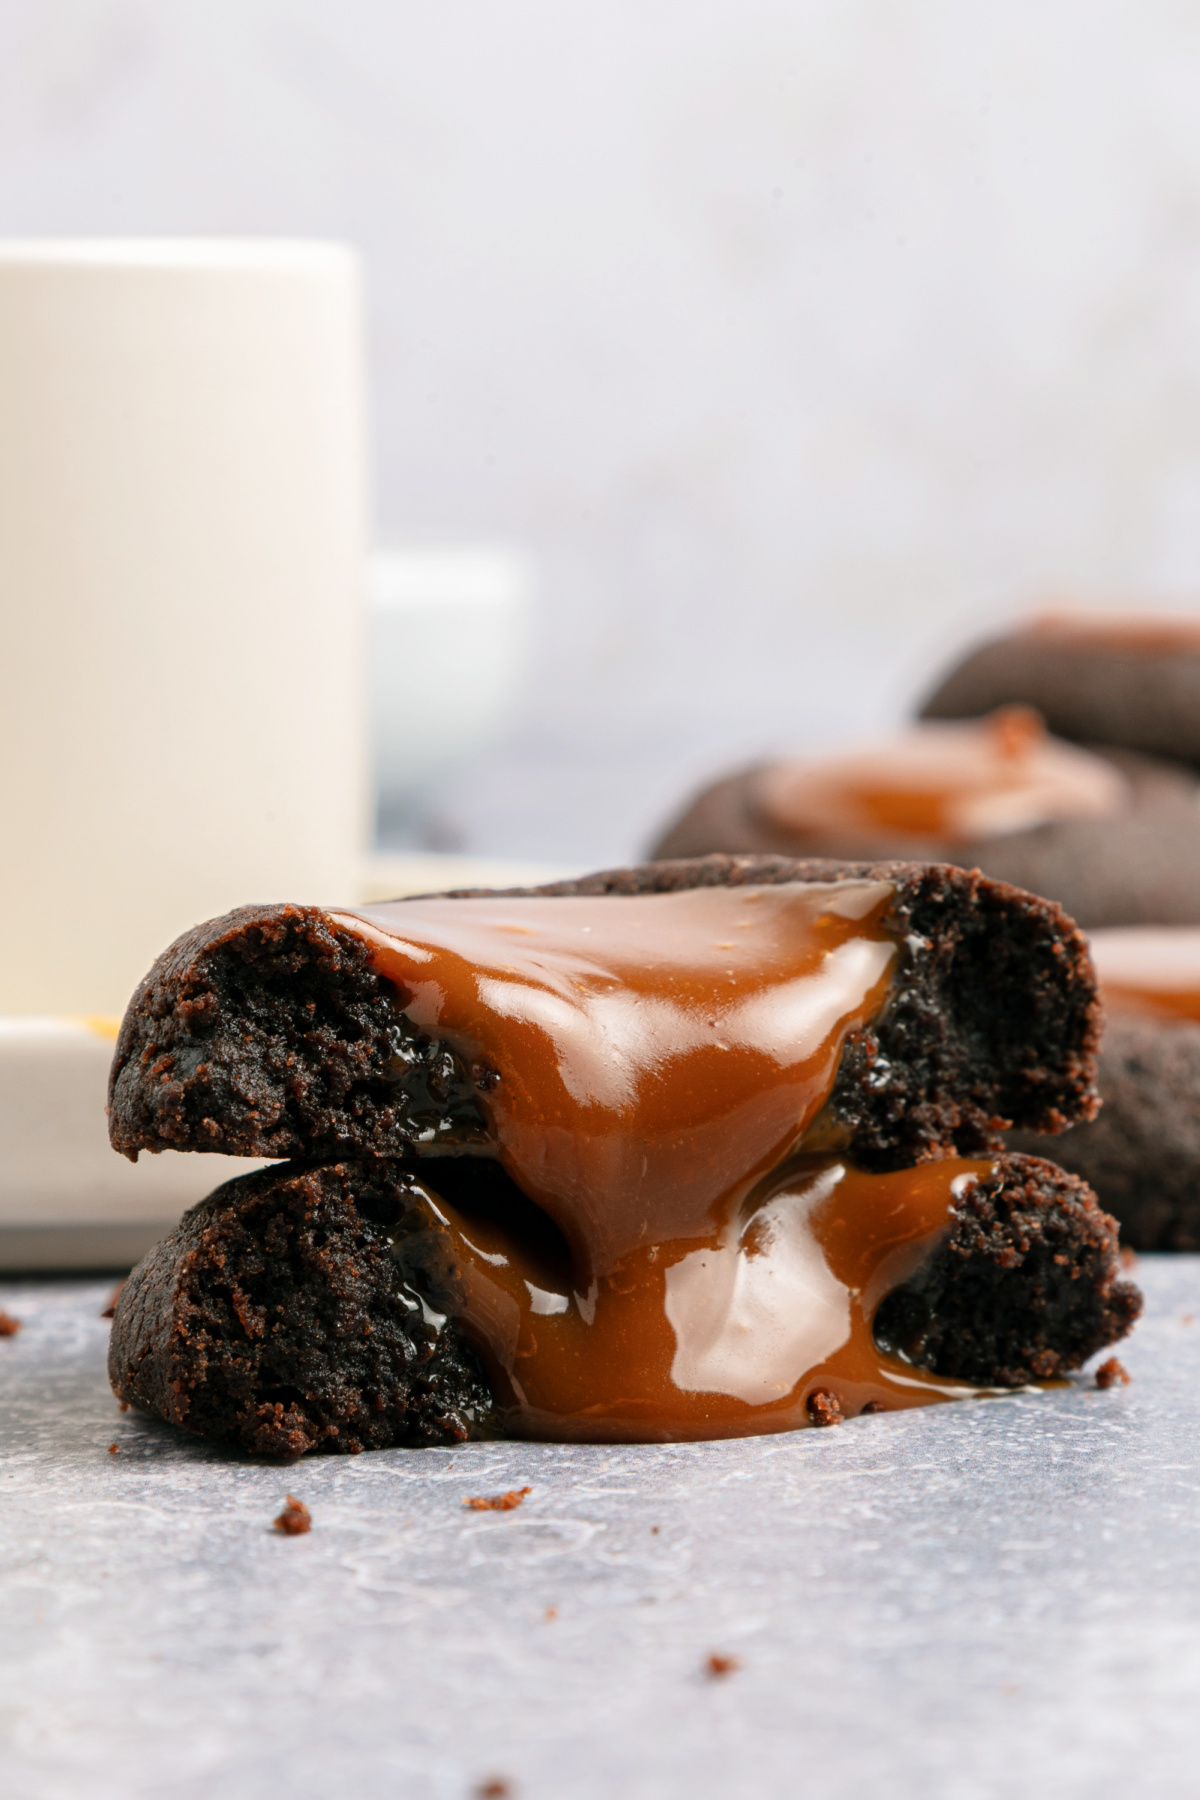
They bake up pillowy soft and full chocolate flavor, with a gooey caramel center that makes them completely irresistible. Perfect for holidays, gifting, or just a treat with coffee, these thumbprints get the chocolate upgrade you’ve been waiting for.
If chocolate and caramel are your love language, you should also try my Chocolate Bear Paw Cookies. They’re soft, rich, and layered with the same cocoa-meets-caramel magic.
Why We Love This Recipe
- Unbeatable flavors: Chocolate with caramel centers, yes please! It’s the kind of flavor combo you don’t forget after one cookie.
- Soft and fudgy, not dry or crumbly: These thumbprints stay tender, even after cooling completely.
- Fun to make, easy to love: The dough comes together fast, chills briefly, and bakes into beautiful and delicious cookies every time.
Ingredients
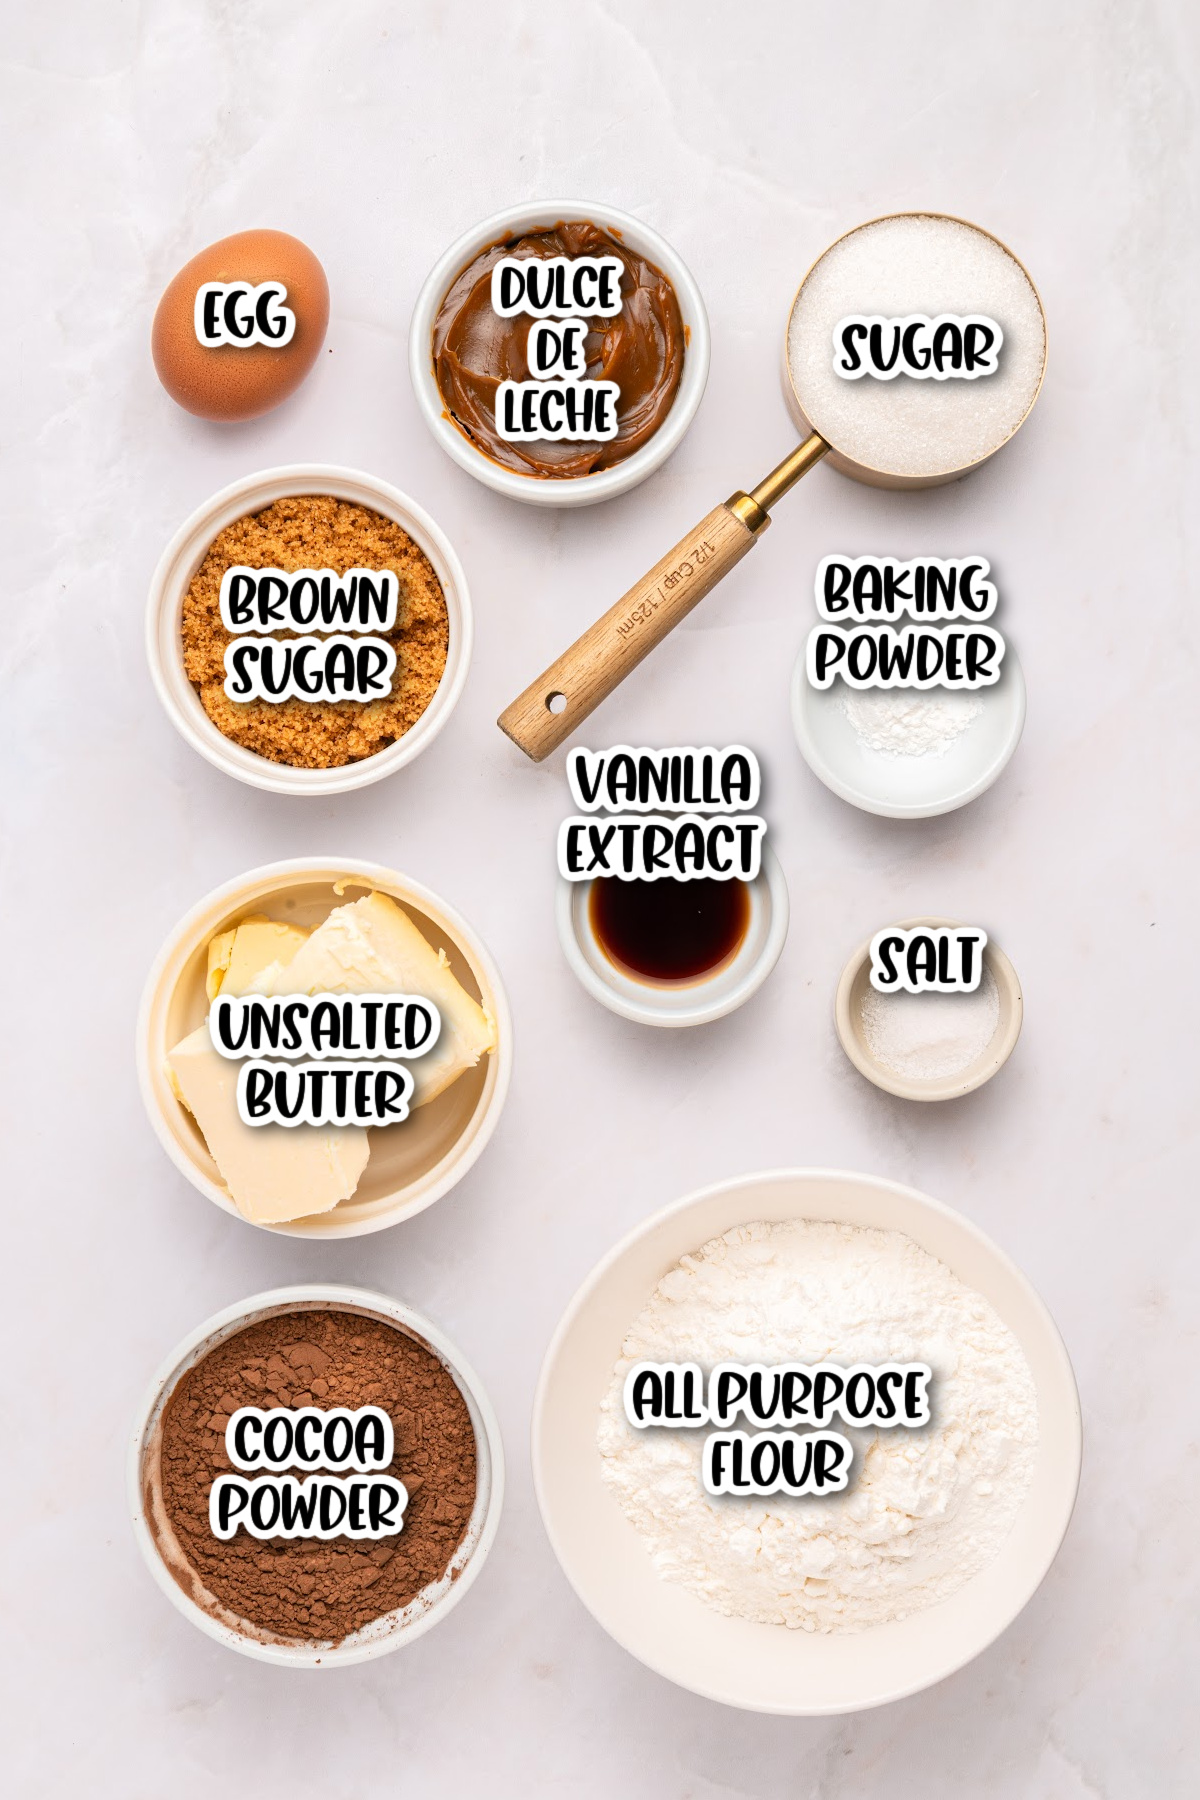
- Unsalted butter, softened: Add the richness thumbprints are known for.
- Granulated sugar: Adds sweetness and helps the cookies bake with a soft center.
- Brown sugar, packed: Gives the cookies moisture and a deeper caramel flavor.
- Egg yolk: Keeps the dough rich and tender without making it cakey.
- Vanilla extract: Brings warmth to the chocolate flavor.
- All-purpose flour: This is the structure of the cookie.
- Unsweetened cocoa powder: Gives these cookies a deep chocolate flavor.
- Salt: Balances the sweetness so the chocolate stands out.
- Baking powder: Adds a little lift so the cookies don’t turn dense.
- Dulce de leche: Creamy sweet filling for the center of each cookie.
Find the full printable recipe with measurements and directions in the recipe card below.
How To Make Chocolate Thumbprint Cookies
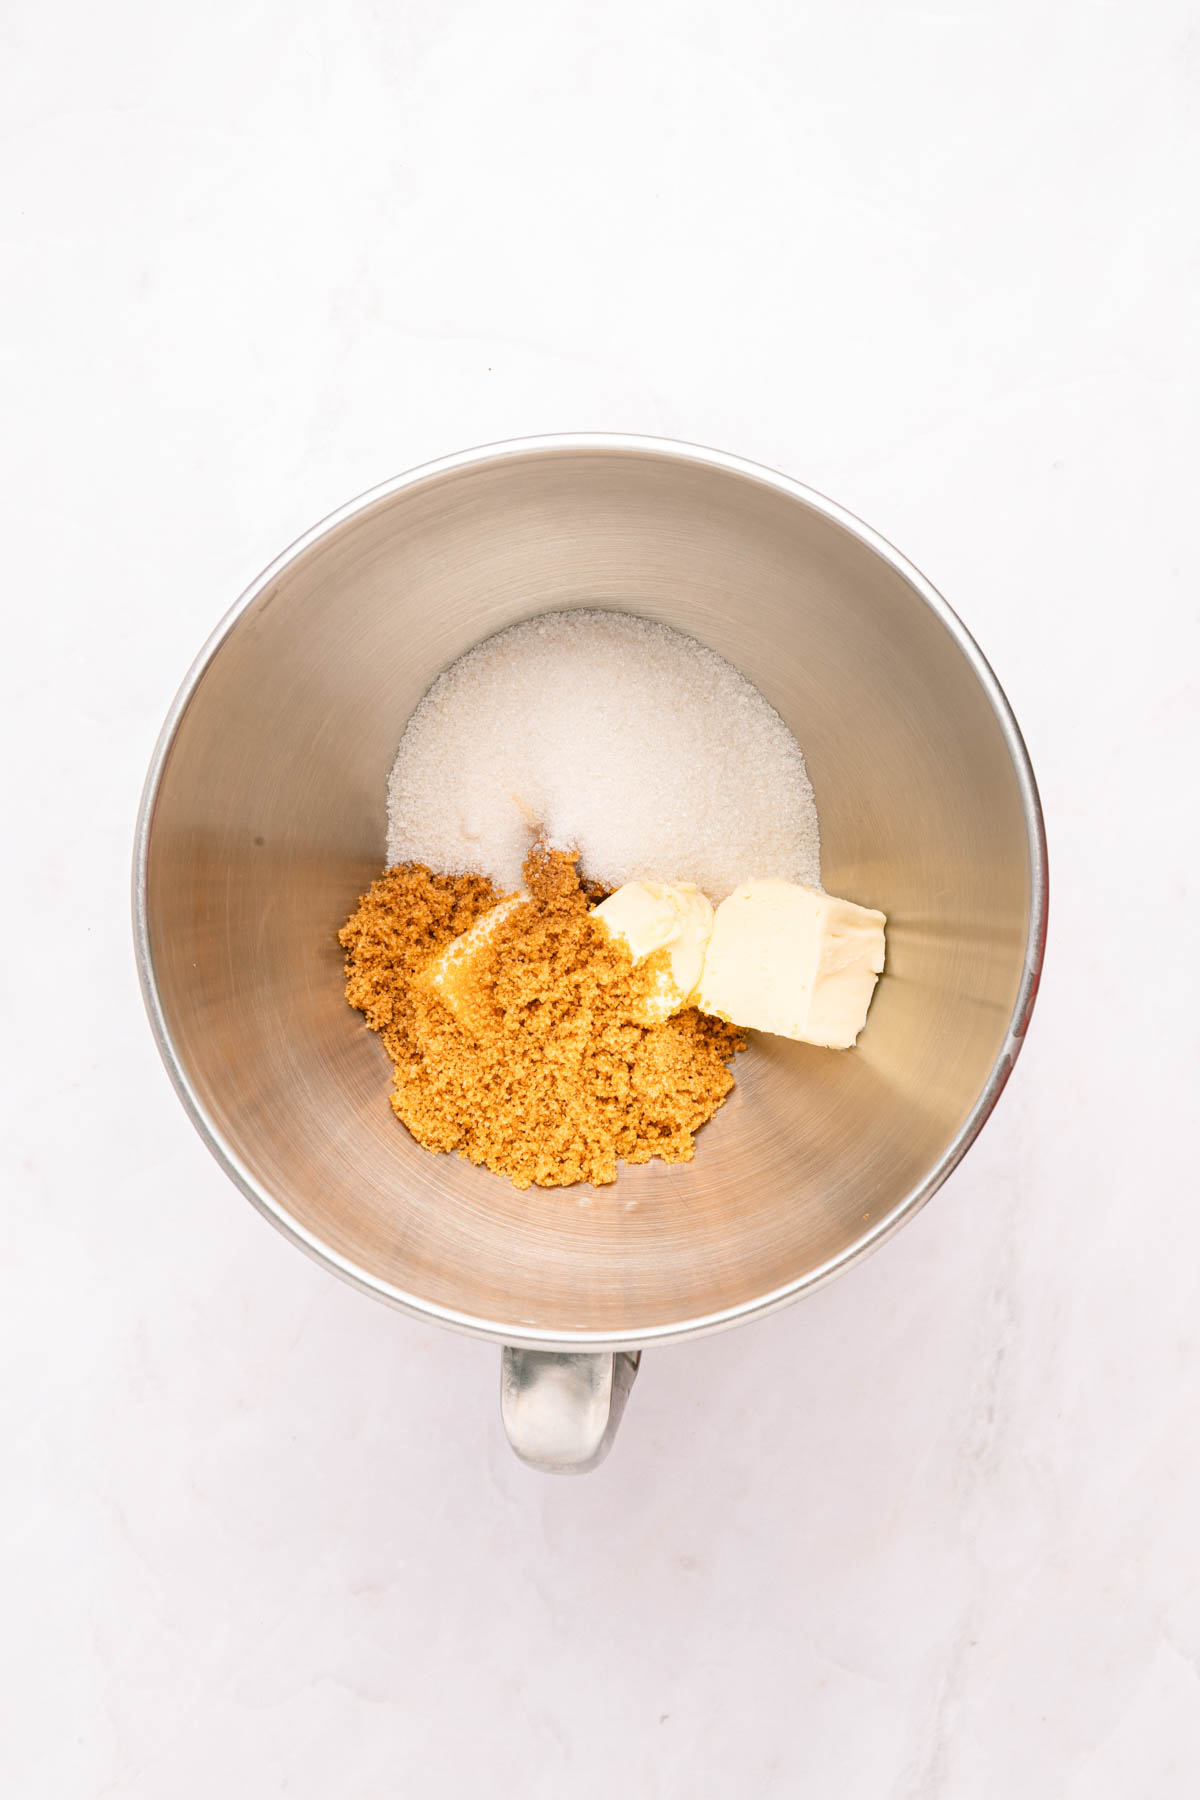
Step 1. In a large bowl, cream the butter, granulated sugar, and brown sugar until light and fluffy for about two minutes.
Step 2. Mix in the egg yolk and vanilla extract.

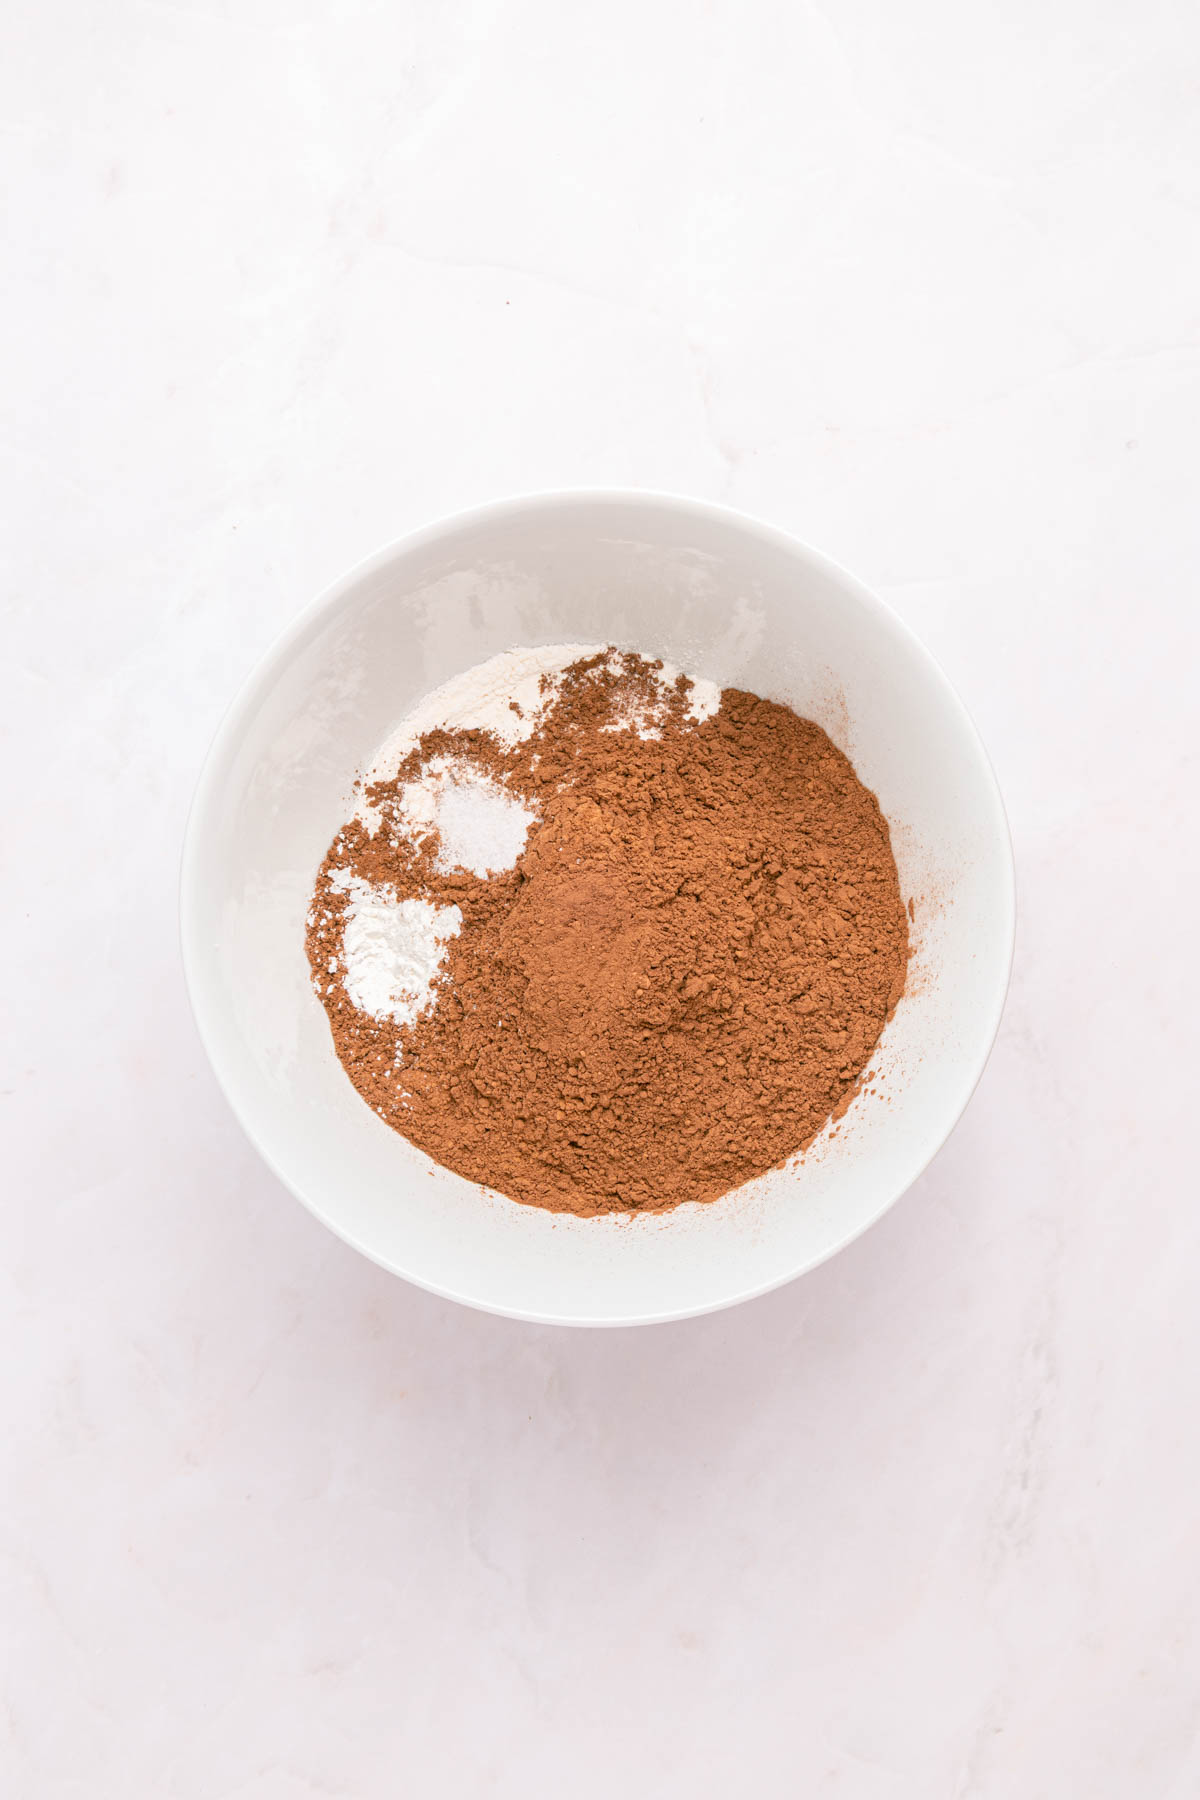
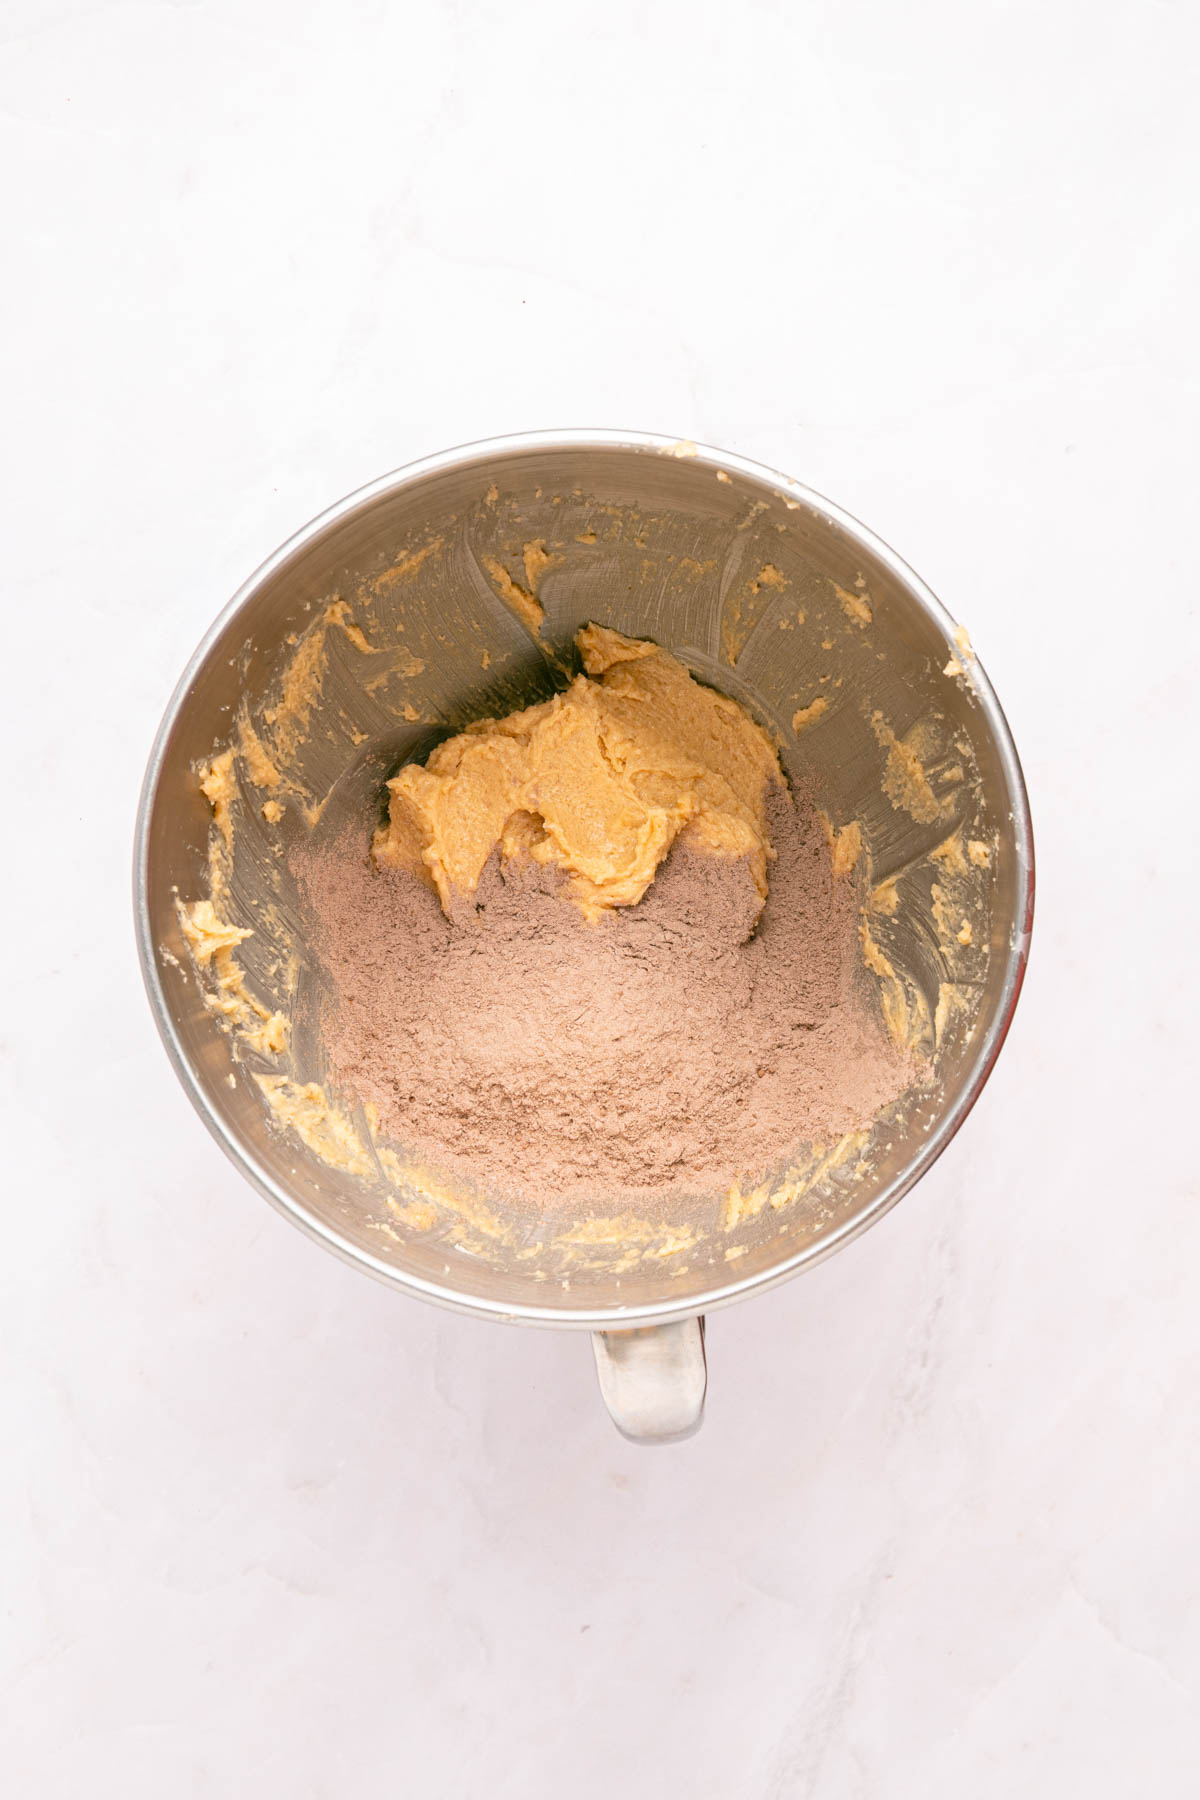
Step 3. In a separate bowl whisk the flour, cocoa powder, salt, and baking powder.
Step 4. Add the dry ingredients to the wet mixture and mix until a soft dough forms.
Step 5. Cover and refrigerate for at least 30 minutes so the cookie dough relaxes.
Step 6. Preheat to 350°F and line a baking sheet with parchment paper.
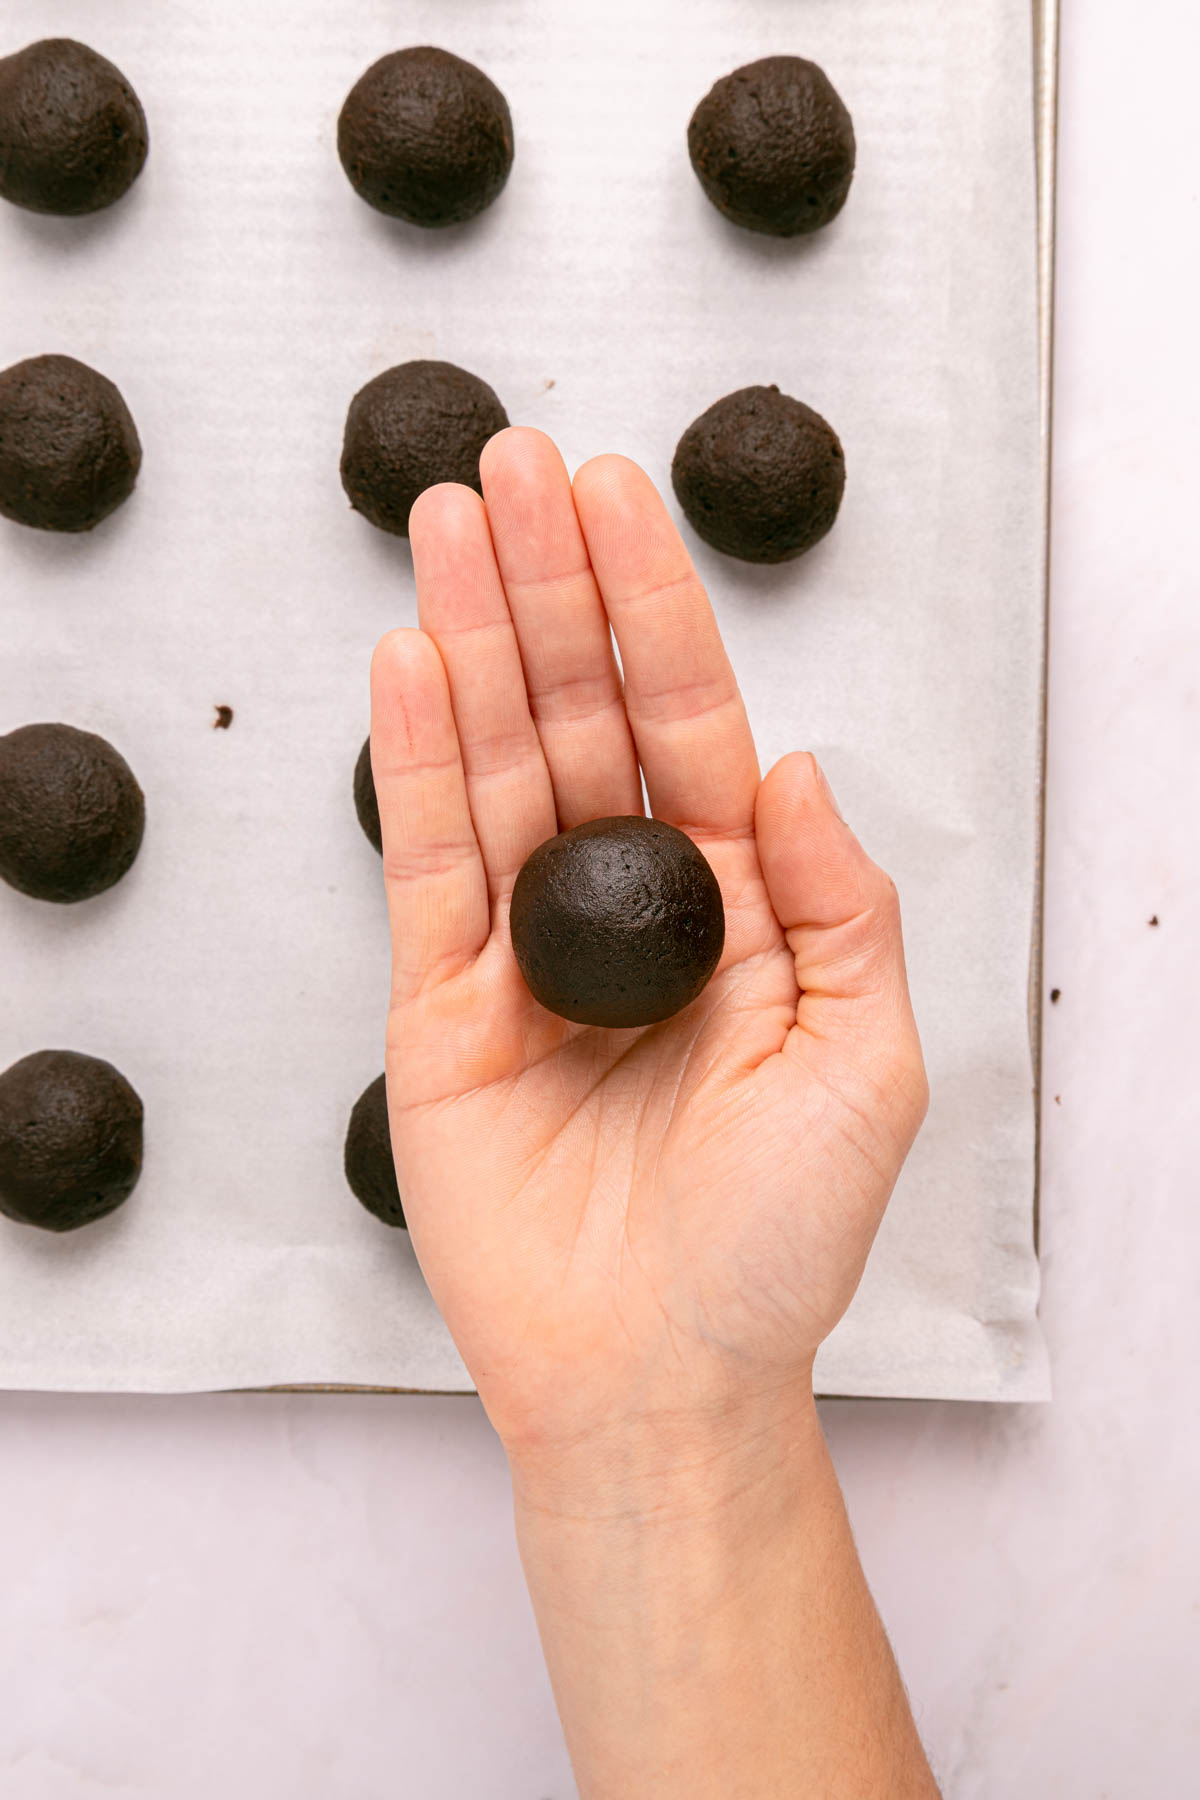
Step 7. Scoop tablespoon portions of dough, roll into dough balls, place on the baking sheet.
Step 8. Press the center gently with your thumb or the back of a teaspoon or measuring spoon.
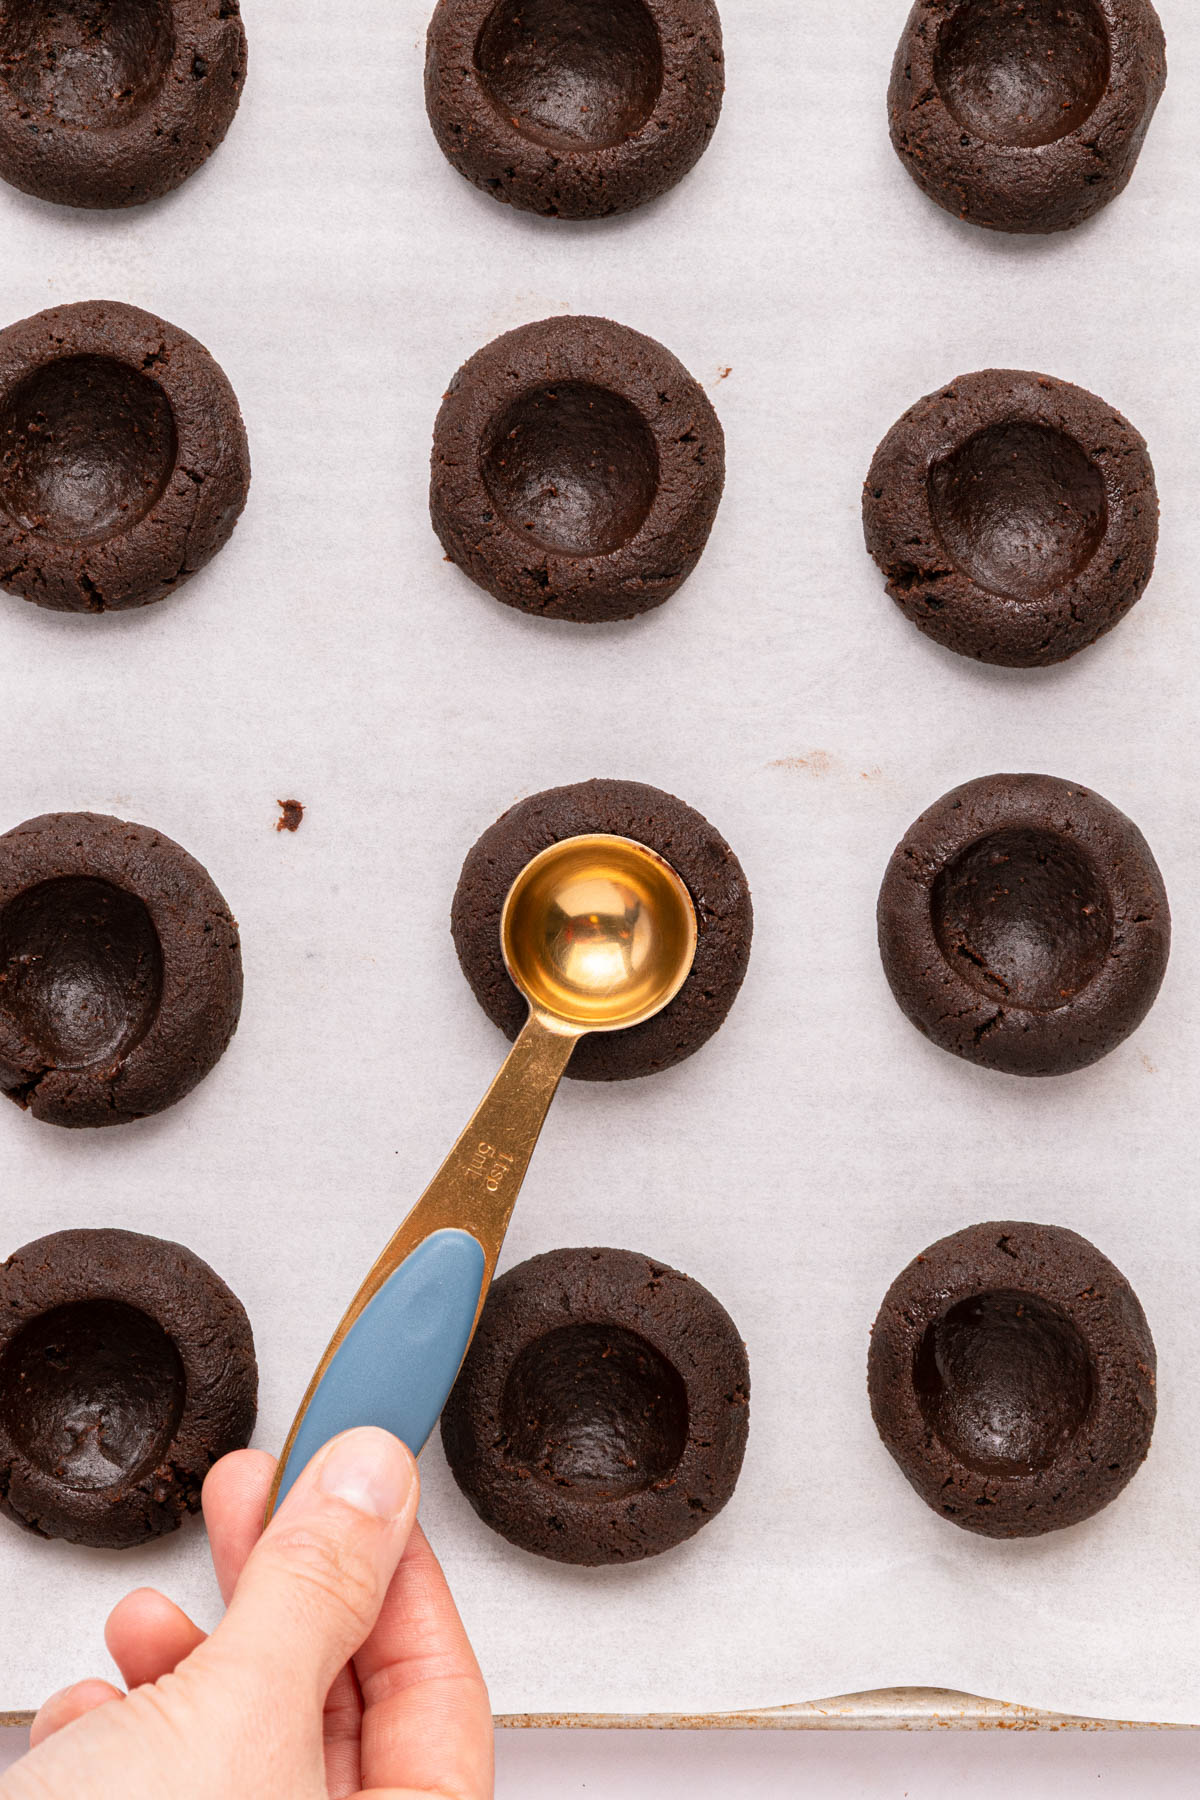
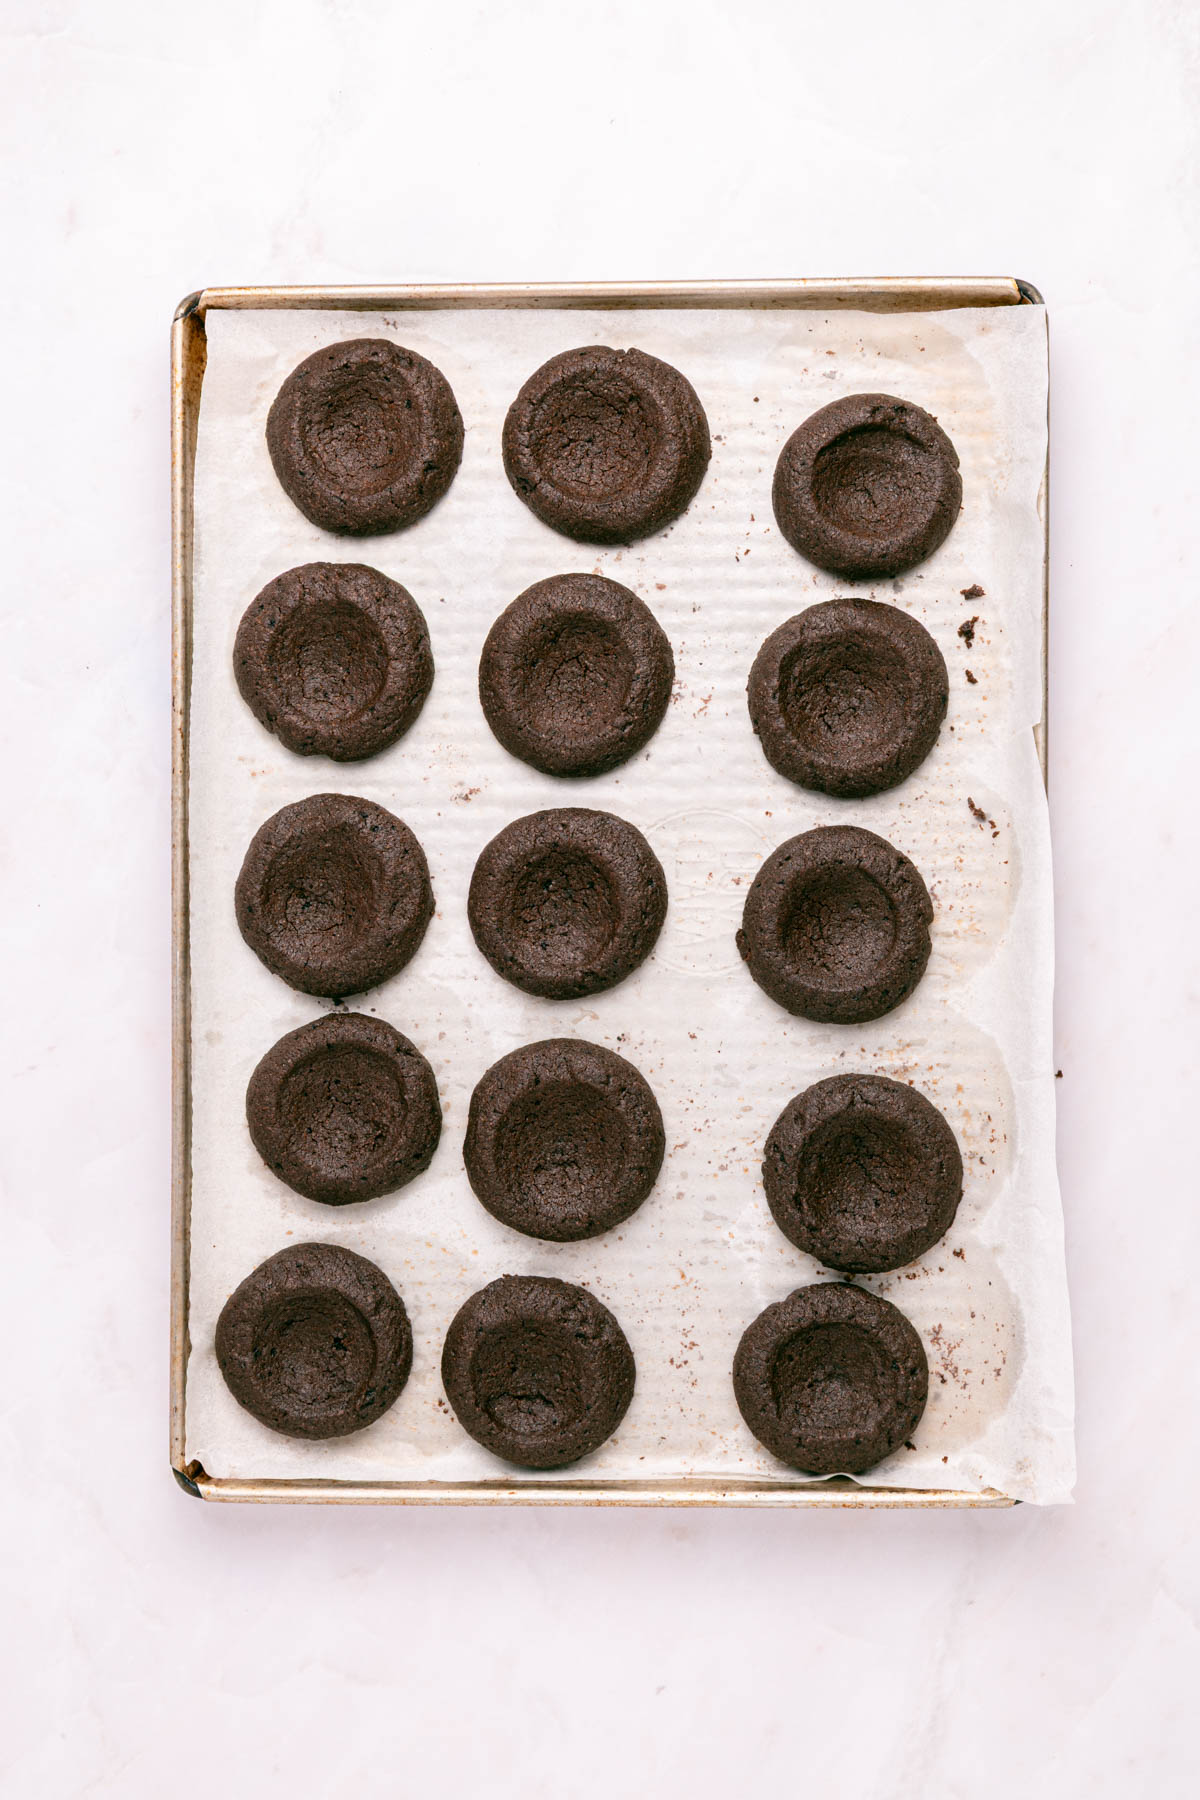
Step 9. Bake for 10 to 12 minutes until the edges look set. If the indentation rises, press again lightly while warm.
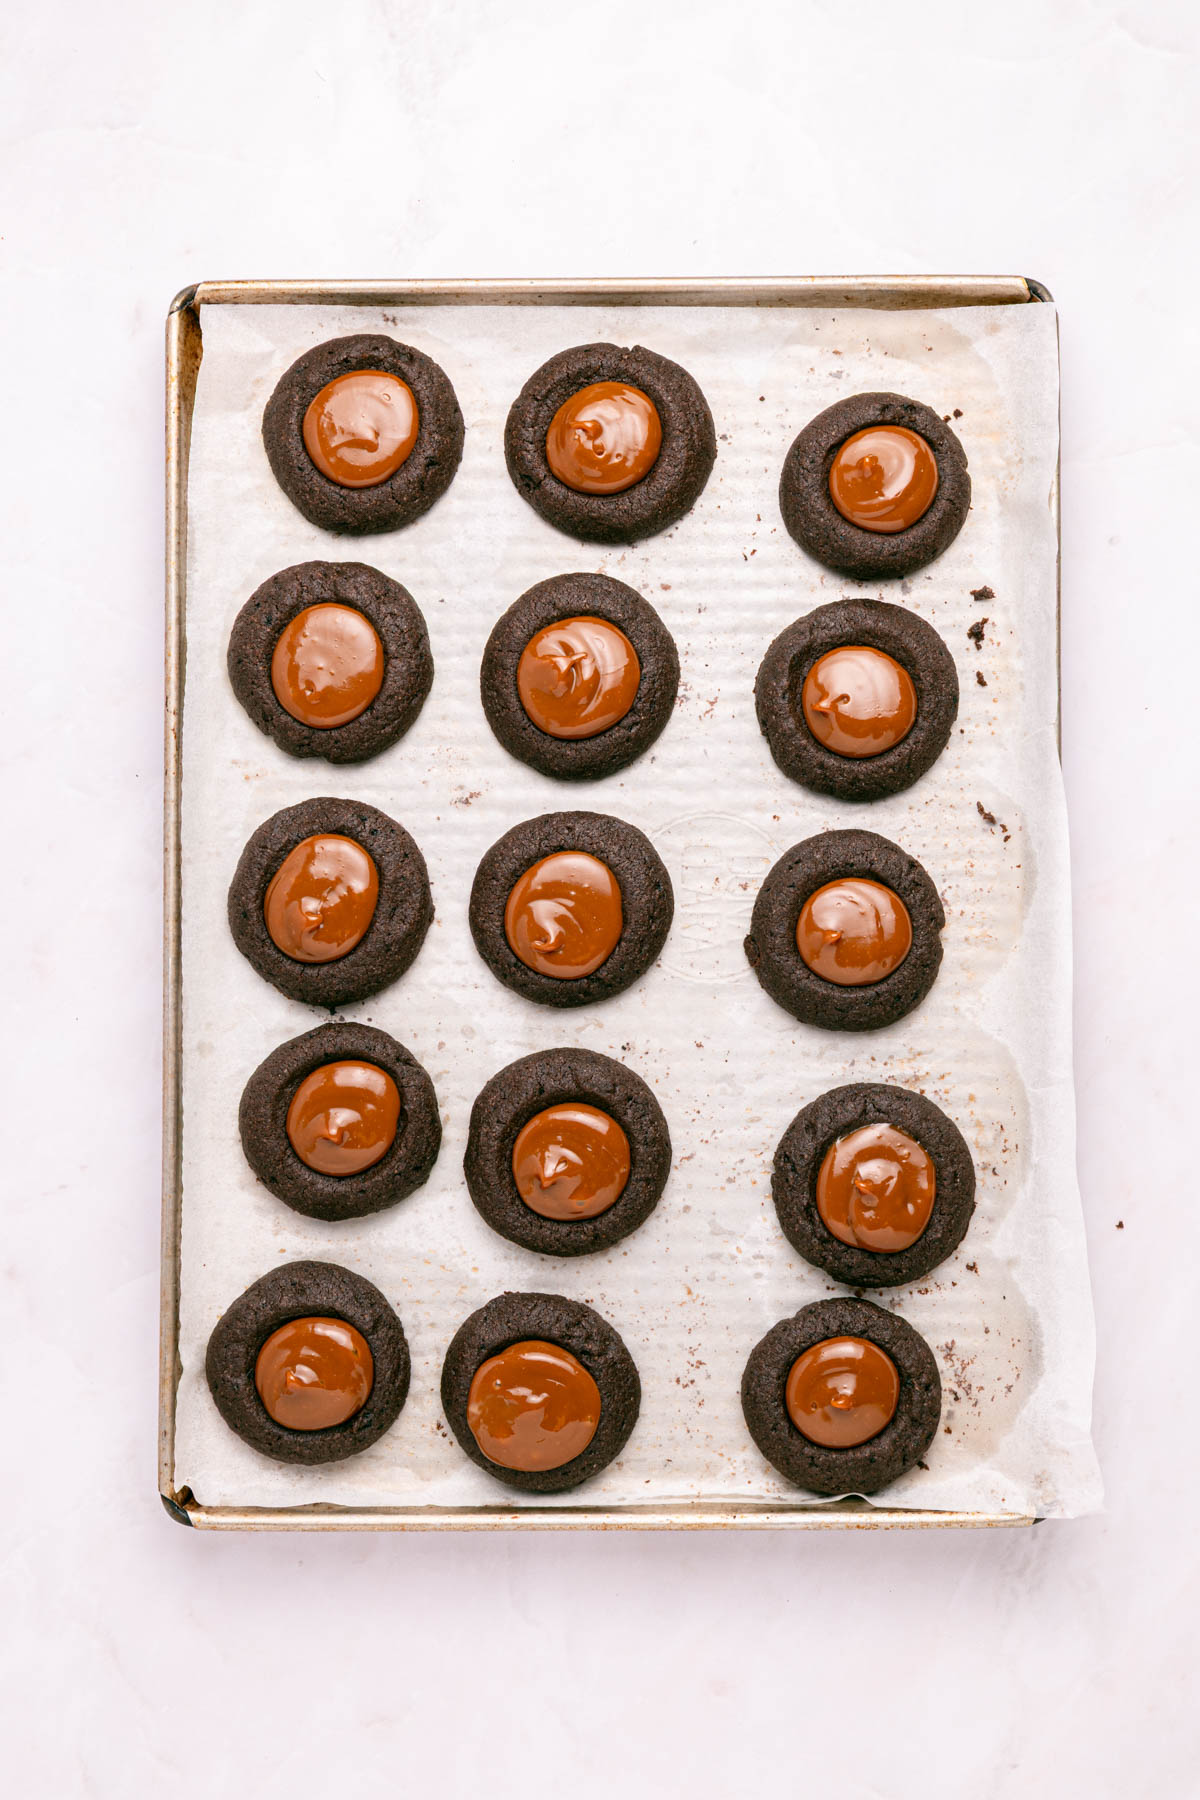
Step 10. Cool completely, then spoon or pipe dulce de leche into the center of each cookie.
Storage Instructions
Room Temperature
These chocolate cookies will stay fresh for up to a week when stored in an airtight container at room temperature. For easier storage, use wax paper or parchment paper to layer between the cookies and keep them from sticking.
Freezer
You can freeze the dough or baked cookies for up to three months. Freeze the dough as a whole batch or shape it into cookie dough balls first so they’re ready to bake later. If freezing the baked cookies, leave them unfilled and add the dulce de leche after thawing.
Dough balls can bake straight from frozen, or rest on the counter for about thirty minutes before going into the oven. Baked cookies thaw quickly at room temperature and are ready to fill once softened.
Tips And Tricks
These simple pointers will make the baking smoother and the results even better.
- You want to roll the dough into even balls because uneven sizes will bake unevenly.
- Don’t skip chilling the dough, as it helps the cookies keep their shape in the oven and prevents them from spreading too much.
- Make the thumbprint deep enough for filling, but stop before the dough splits. Smooth any cracks with your fingertip.
- If the dough sticks to your hands, dust fingertips lightly with cocoa or powdered sugar instead of flour.
- Add filling after cooling, then refrigerate for ten minutes if you want it to be firm for gifting.
- Spoon the filling in if you like, but piping the dulce de leche gives you cleaner, prettier cookies, especially if you’re gifting them.
Variations And Add-ins
A few simple twists can take these cookies in new directions. Try one or mix and match to find your favorite.
- Espresso: Add a pinch of espresso powder to the dry ingredients for deeper chocolate flavor.
- Sea salt: Sprinkle flaky salt over the dulce de leche for a sweet salted finish.
- Ganache: Swap the filling with chocolate ganache if you want double chocolate thumbprint cookies.
- Peppermint: Use peppermint extract in the dough for a festive chocolate cookie during Christmas time.
- Coating: Roll dough balls in granulated sugar before baking for a sparkly finish
- Jam: You can fill the cookies indentions with strawberry jam instead of the dulce for a fruity twist.
FAQS
The dough may not have been chilled long enough. Chill again and try baking one sheet at a time.
It depends on how deep the thumbprints are but you want just enough to fill the center without running over the edges.
You can mix the dough, cover it tightly, and chill it up to 48 hours before baking.
You can, but it will melt and lose definition. For neat, glossy centers, let the cookies cool completely before filling.
More Delicious Cookie Recipe
- Tiramisu Cookies
- Brown Butter Sugar Cookies
- Red Velvet Crinkle Cookies
- Chocolate Crinkle Cookies
- Harry Potter Butterbeer Cookies
- Raspberry Cheesecake Cookies
- Cake Mix Oreo Cookies
- Pistachio Cookies
Chocolate Thumbprint Cookies With Dulce De Leche
Equipment
- cookie scoop (optional)
Ingredients
- 1 cup unsalted butter softened
- 1/2 cup granulated sugar
- 1/2 cup brown sugar packed
- 1 large egg yolk
- 1 teaspoon vanilla extract
- 1 1/4 cups all-purpose flour
- 3/4 cup unsweetened cocoa powder
- 1/2 teaspoon salt
- 1/2 teaspoon baking powder
- 1/2 cup dulce de leche
Instructions
- In a large bowl, cream the butter, granulated sugar, and brown sugar until light and fluffy for about two minutes. Mix in the egg yolk and vanilla extract.1 cup unsalted butter, 1/2 cup granulated sugar, 1/2 cup brown sugar, 1 large egg yolk, 1 teaspoon vanilla extract
- In a separate bowl whisk the flour, cocoa powder, salt, and baking powder. Add the dry ingredients to the wet mixture and mix until a soft dough forms.1 1/4 cups all-purpose flour, 3/4 cup unsweetened cocoa powder, 1/2 teaspoon salt, 1/2 teaspoon baking powder
- Cover and refrigerate for at least 30 minutes so the dough relaxes and the cookies hold shape.
- Preheat to 350°F and line a baking sheet with parchment paper.
- Scoop tablespoon portions of dough, roll into dough balls, place on the baking sheet, and press the center gently with your thumb or the back of a teaspoon.
- Bake for 10 to 12 minutes until the edges look set. If the indentation rises, press again lightly while warm.
- Cool completely, then spoon or pipe dulce de leche into the center of each cookie.1/2 cup dulce de leche
Notes
- Roll the dough into even balls because uneven sizes will bake unevenly.
- Make the thumbprint deep enough for filling, but stop before the dough splits. Smooth any cracks with your fingertip.
- If the dough sticks to your hands, dust fingertips lightly with cocoa or powdered sugar instead of flour.
- Add filling after cooling, then refrigerate for ten minutes if you want the dulce de leche firm for gifting.
- These chocolate cookies will stay fresh for up to a week when stored in an airtight container at room temperature. For easier storage, use wax paper or parchment paper to layer between the cookies and keep them from sticking.
- You can freeze the dough or baked cookies for up to three months. Freeze the dough as a whole batch or shape it into cookie dough balls first so they’re ready to bake later. If freezing the baked cookies, leave them unfilled and add the dulce de leche after thawing.
Nutrition
Did You Make This Recipe?
Share it with me on Instagram @funmoneymom and follow on Pinterest @funmoneymom for more!
Let’s be friends!
Did you love this post? Make sure to comment below and let me know your thoughts! And don’t forget to follow on your favorite social network below!

About Lisa O’Driscoll
Lisa O’Driscoll is a lifestyle and parenting expert, cookbook author, and the creative force behind Fun Money Mom, a popular blog she’s run since 2014. She’s the author of the children’s cookbook Roll It, Slice It, Mash It, Dice It, designed to get kids excited about cooking. With multiple TV appearances under her belt, she loves sharing her expertise on family-friendly recipes, creative DIYs, and party planning and is always on a mission to inspire and entertain!