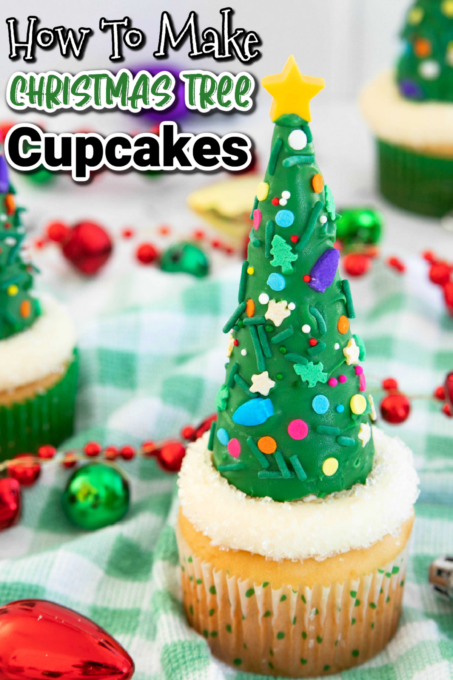
Christmas Tree Cupcakes
This post may contain affiliate links. As an Amazon Associate, I earn from qualifying purchases.
This post is sponsored by the Holiday Baking promotion at Publix. The opinions and text are all mine.
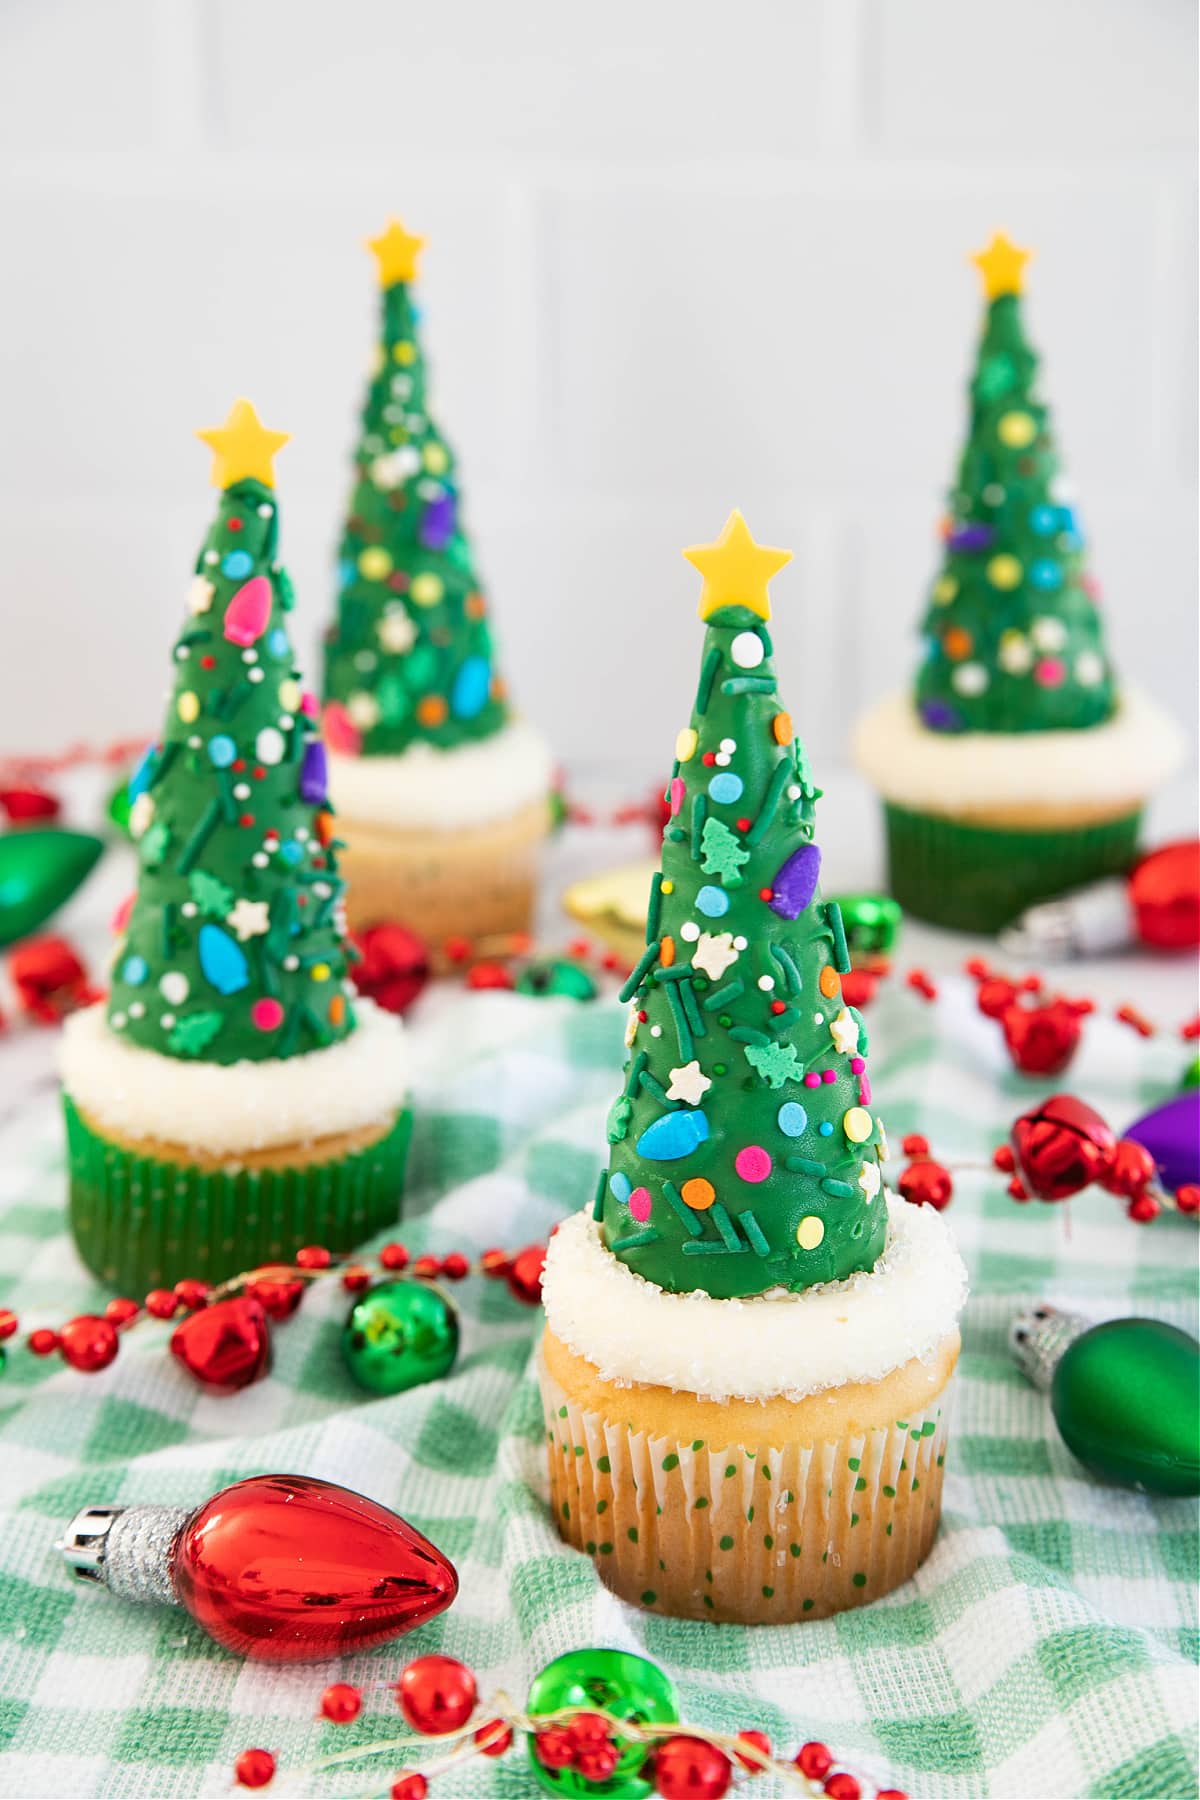
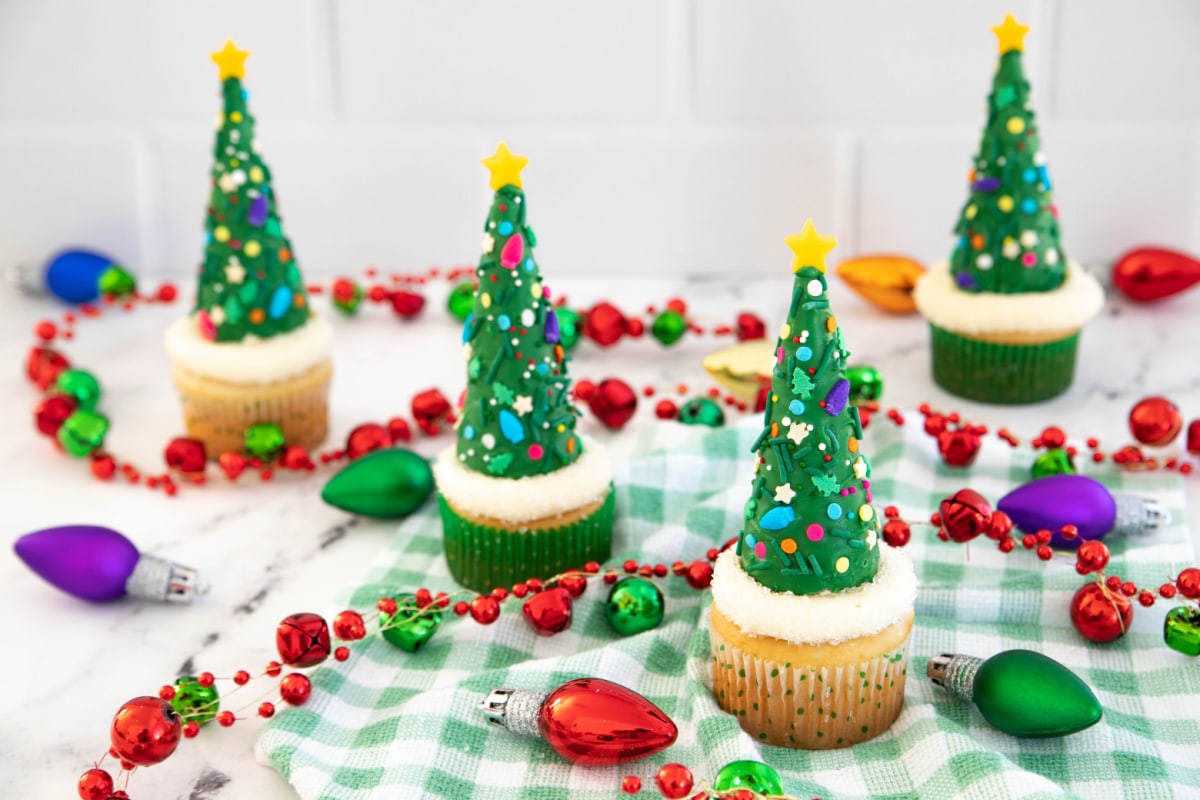
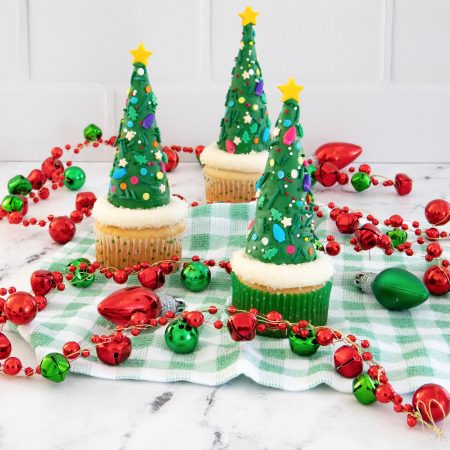
These adorable Christmas Tree Cupcakes make the perfect dessert for the holidays. Made with cupcakes, ice cream cones, and a few other simple ingredients, they’re easy enough that the kids can join in the cupcake making fun!
Christmas Tree-Shaped Cupcake Recipe
From holiday cupcakes to cookies, my girls and I can’t get enough of holiday baking, and we love sharing all our baked goodies with friends and neighbors. It’s the perfect way to spread a little Christmas cheer over the holiday season. Everybody loves being surprised with a festive holiday treat!
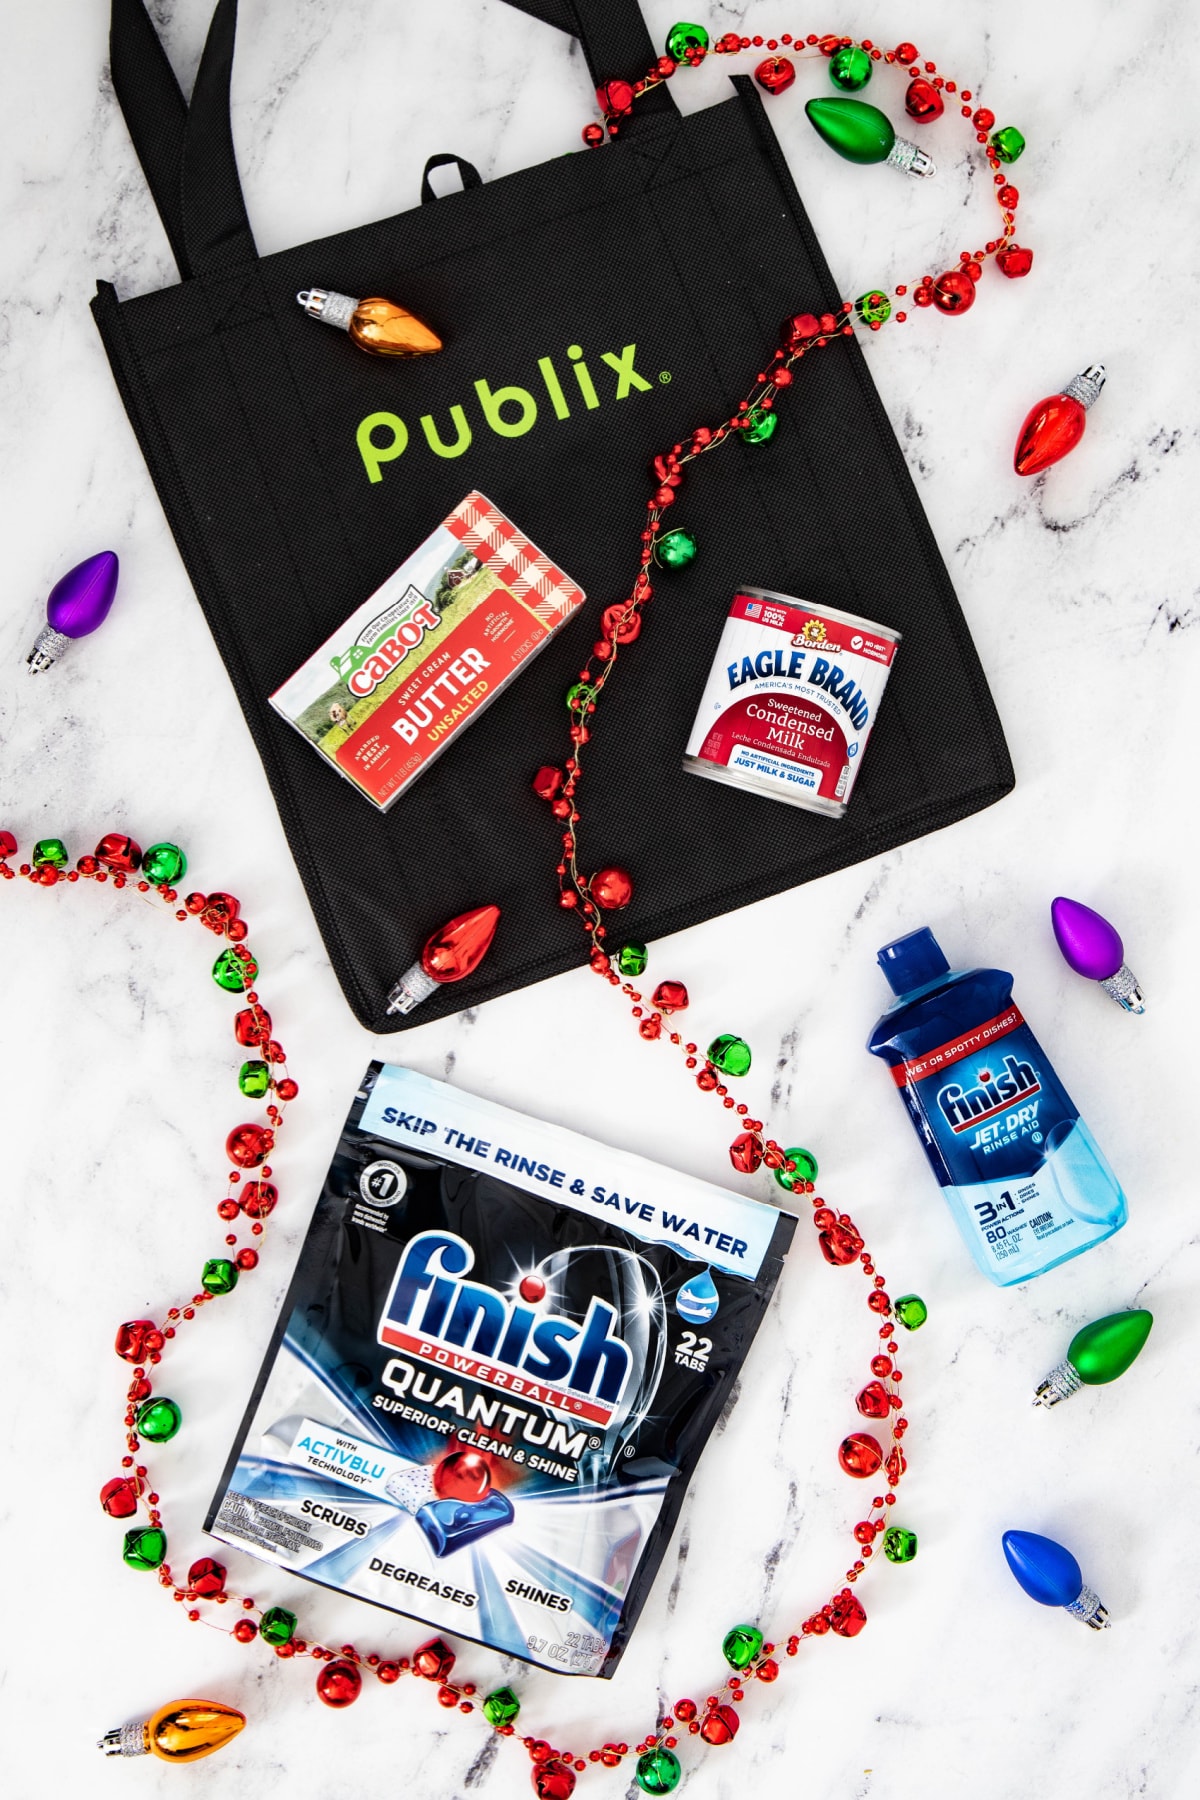
The best part is that with the Holiday Baking promotion at Publix, running from 12/4/21-12/17/21, I can save money too. Not only are there lots of baking products on sale, but you’ll also find great deals on the things you need to clean up the mess afterwards.
Holiday Baking Promotion At Publix
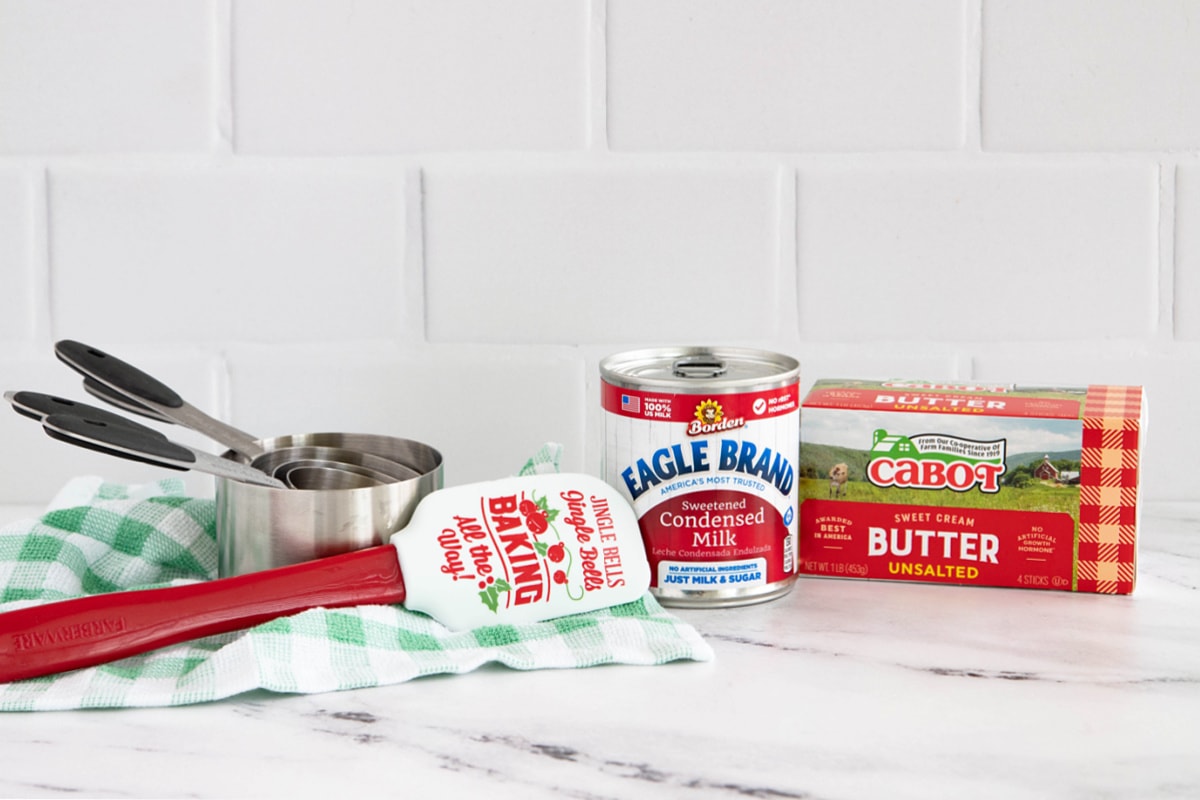
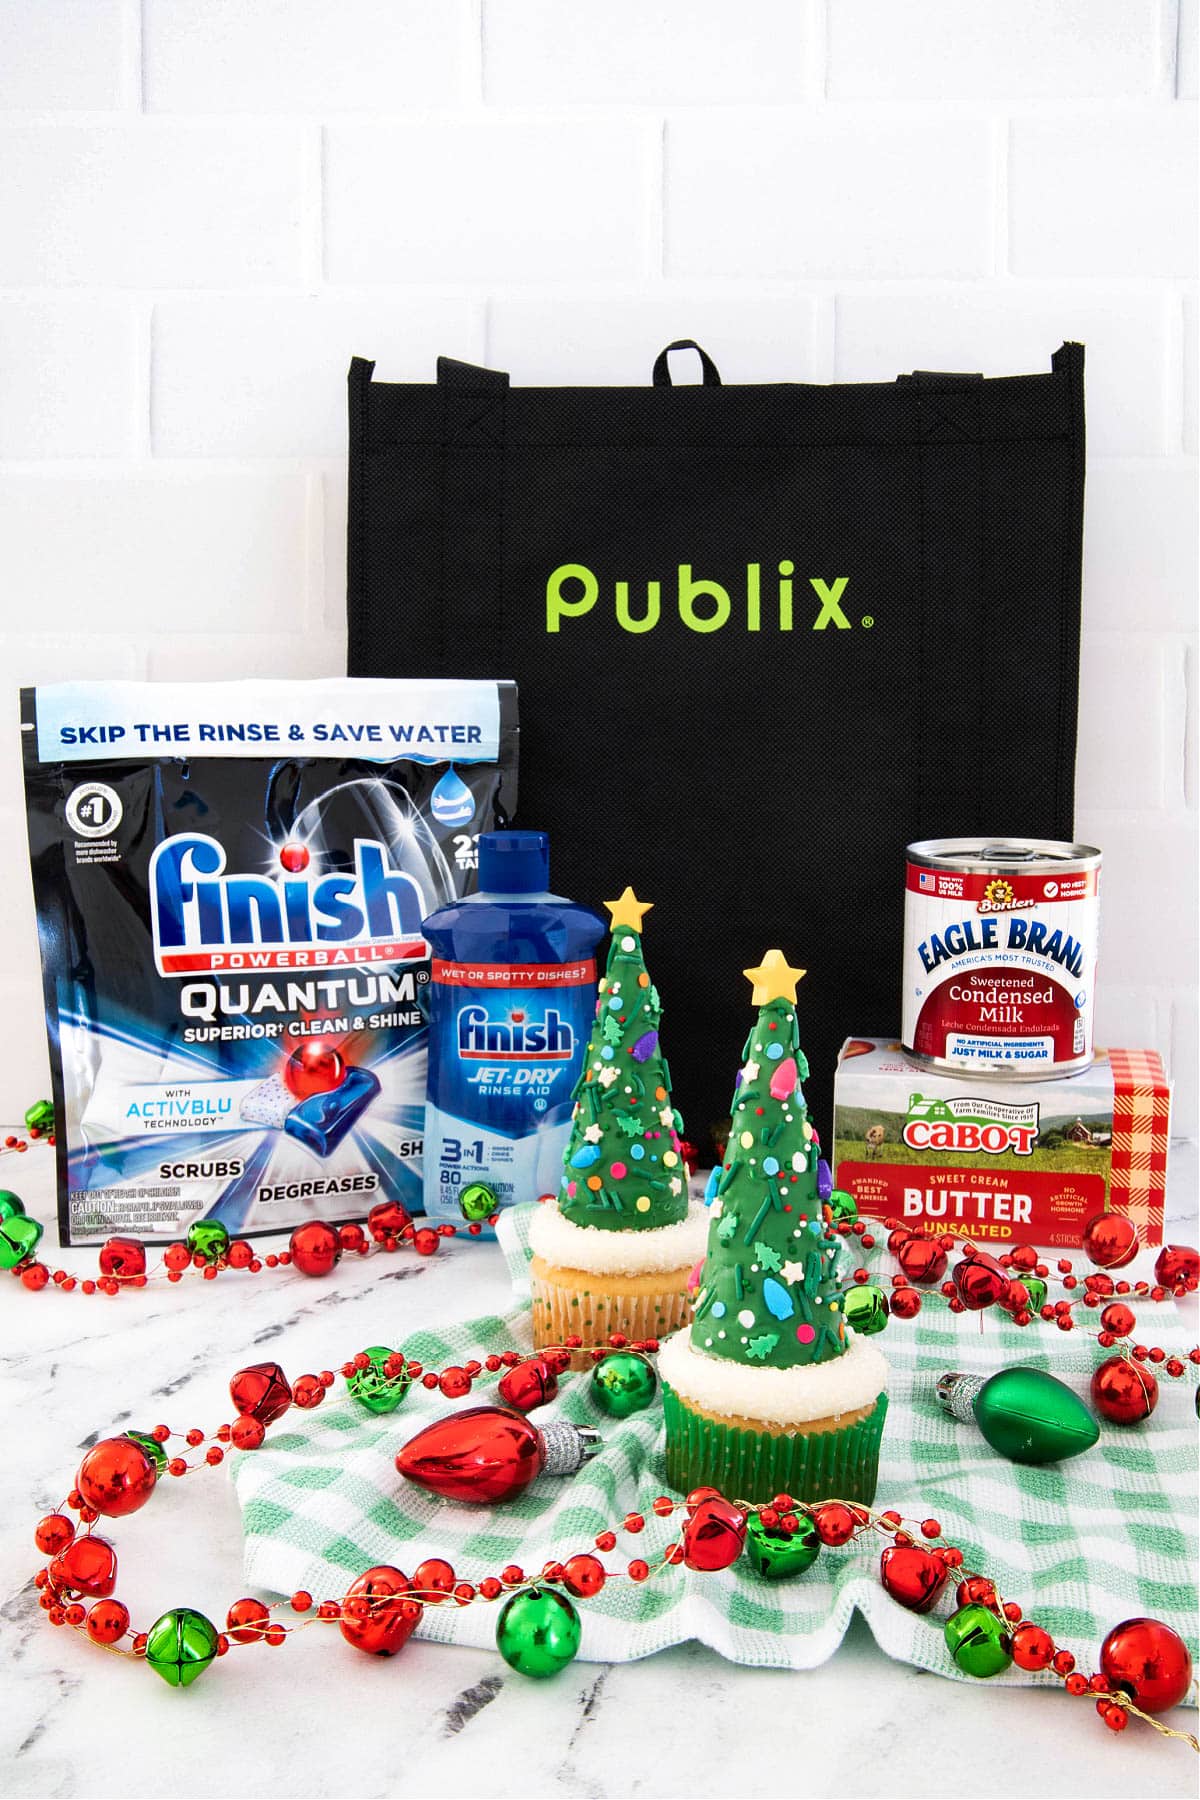
The girls and I planned to make some fun Christmas tree cupcakes, so I picked up Cabot Unsalted Butter (one pound), which is $1 off during the promotion. Since Eagle Brand Sweetened Condensed Milk is only $2.29 a can, I totally stocked up on that too. Not only is it just what I need to make frosting from scratch, but I can also use it in my other Christmas desserts, like this colorful Christmas Poke Cake.
I already had muffin or cupcake liners and sprinkles on hand, but if you buy Betty Crocker or Cake Mate Decorating Items, you can save $1 on any one item.
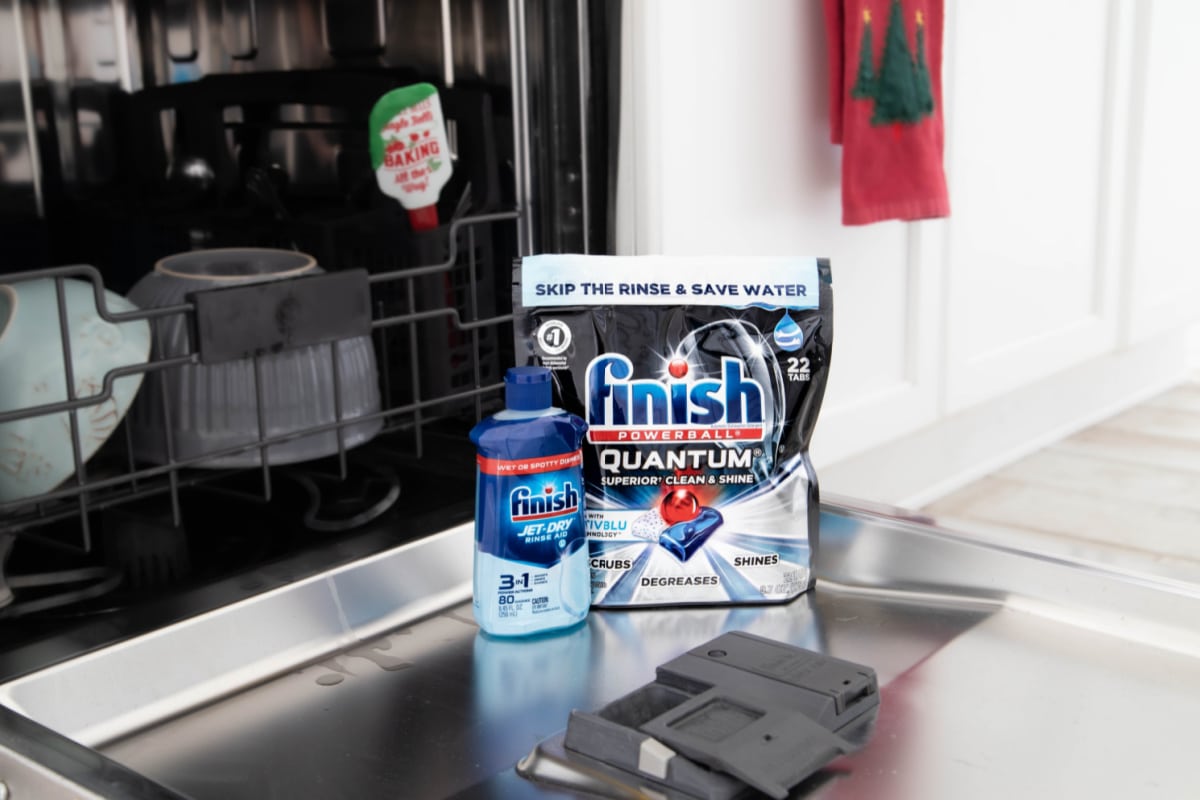
Since we always have plenty of dirty bowls and pans when we finish baking, I’d need Finish Quantum and Jet-Dry 3in1 Rinse Aid too. They make it easy to get everything spotless (until next time!) and since they’re part of the promotion too, I was able to use the MFR DIGITAL COUPON to save 1.50 on each.
You can also see the savings when you look for the at-shelf signs located throughout the store. Start shopping now because the promotion ends 12/17/21.
Once you’ve done your shopping, you’re ready to bake!
Why We Love This Recipe
- Fun and festive: It doesn’t get much more festive than little Christmas tree cupcakes.
- Easy recipe: Christmas trees made with a boxed and sugar cones are so easy to make, using just a few simple ingredients.
- Beautiful design: These cupcakes look amazing with their festive sprinkles and tree design.
- Fun for kids: Even ids love making these adorable cupcakes, especially when it comes to adding the sprinkles.
Ingredients
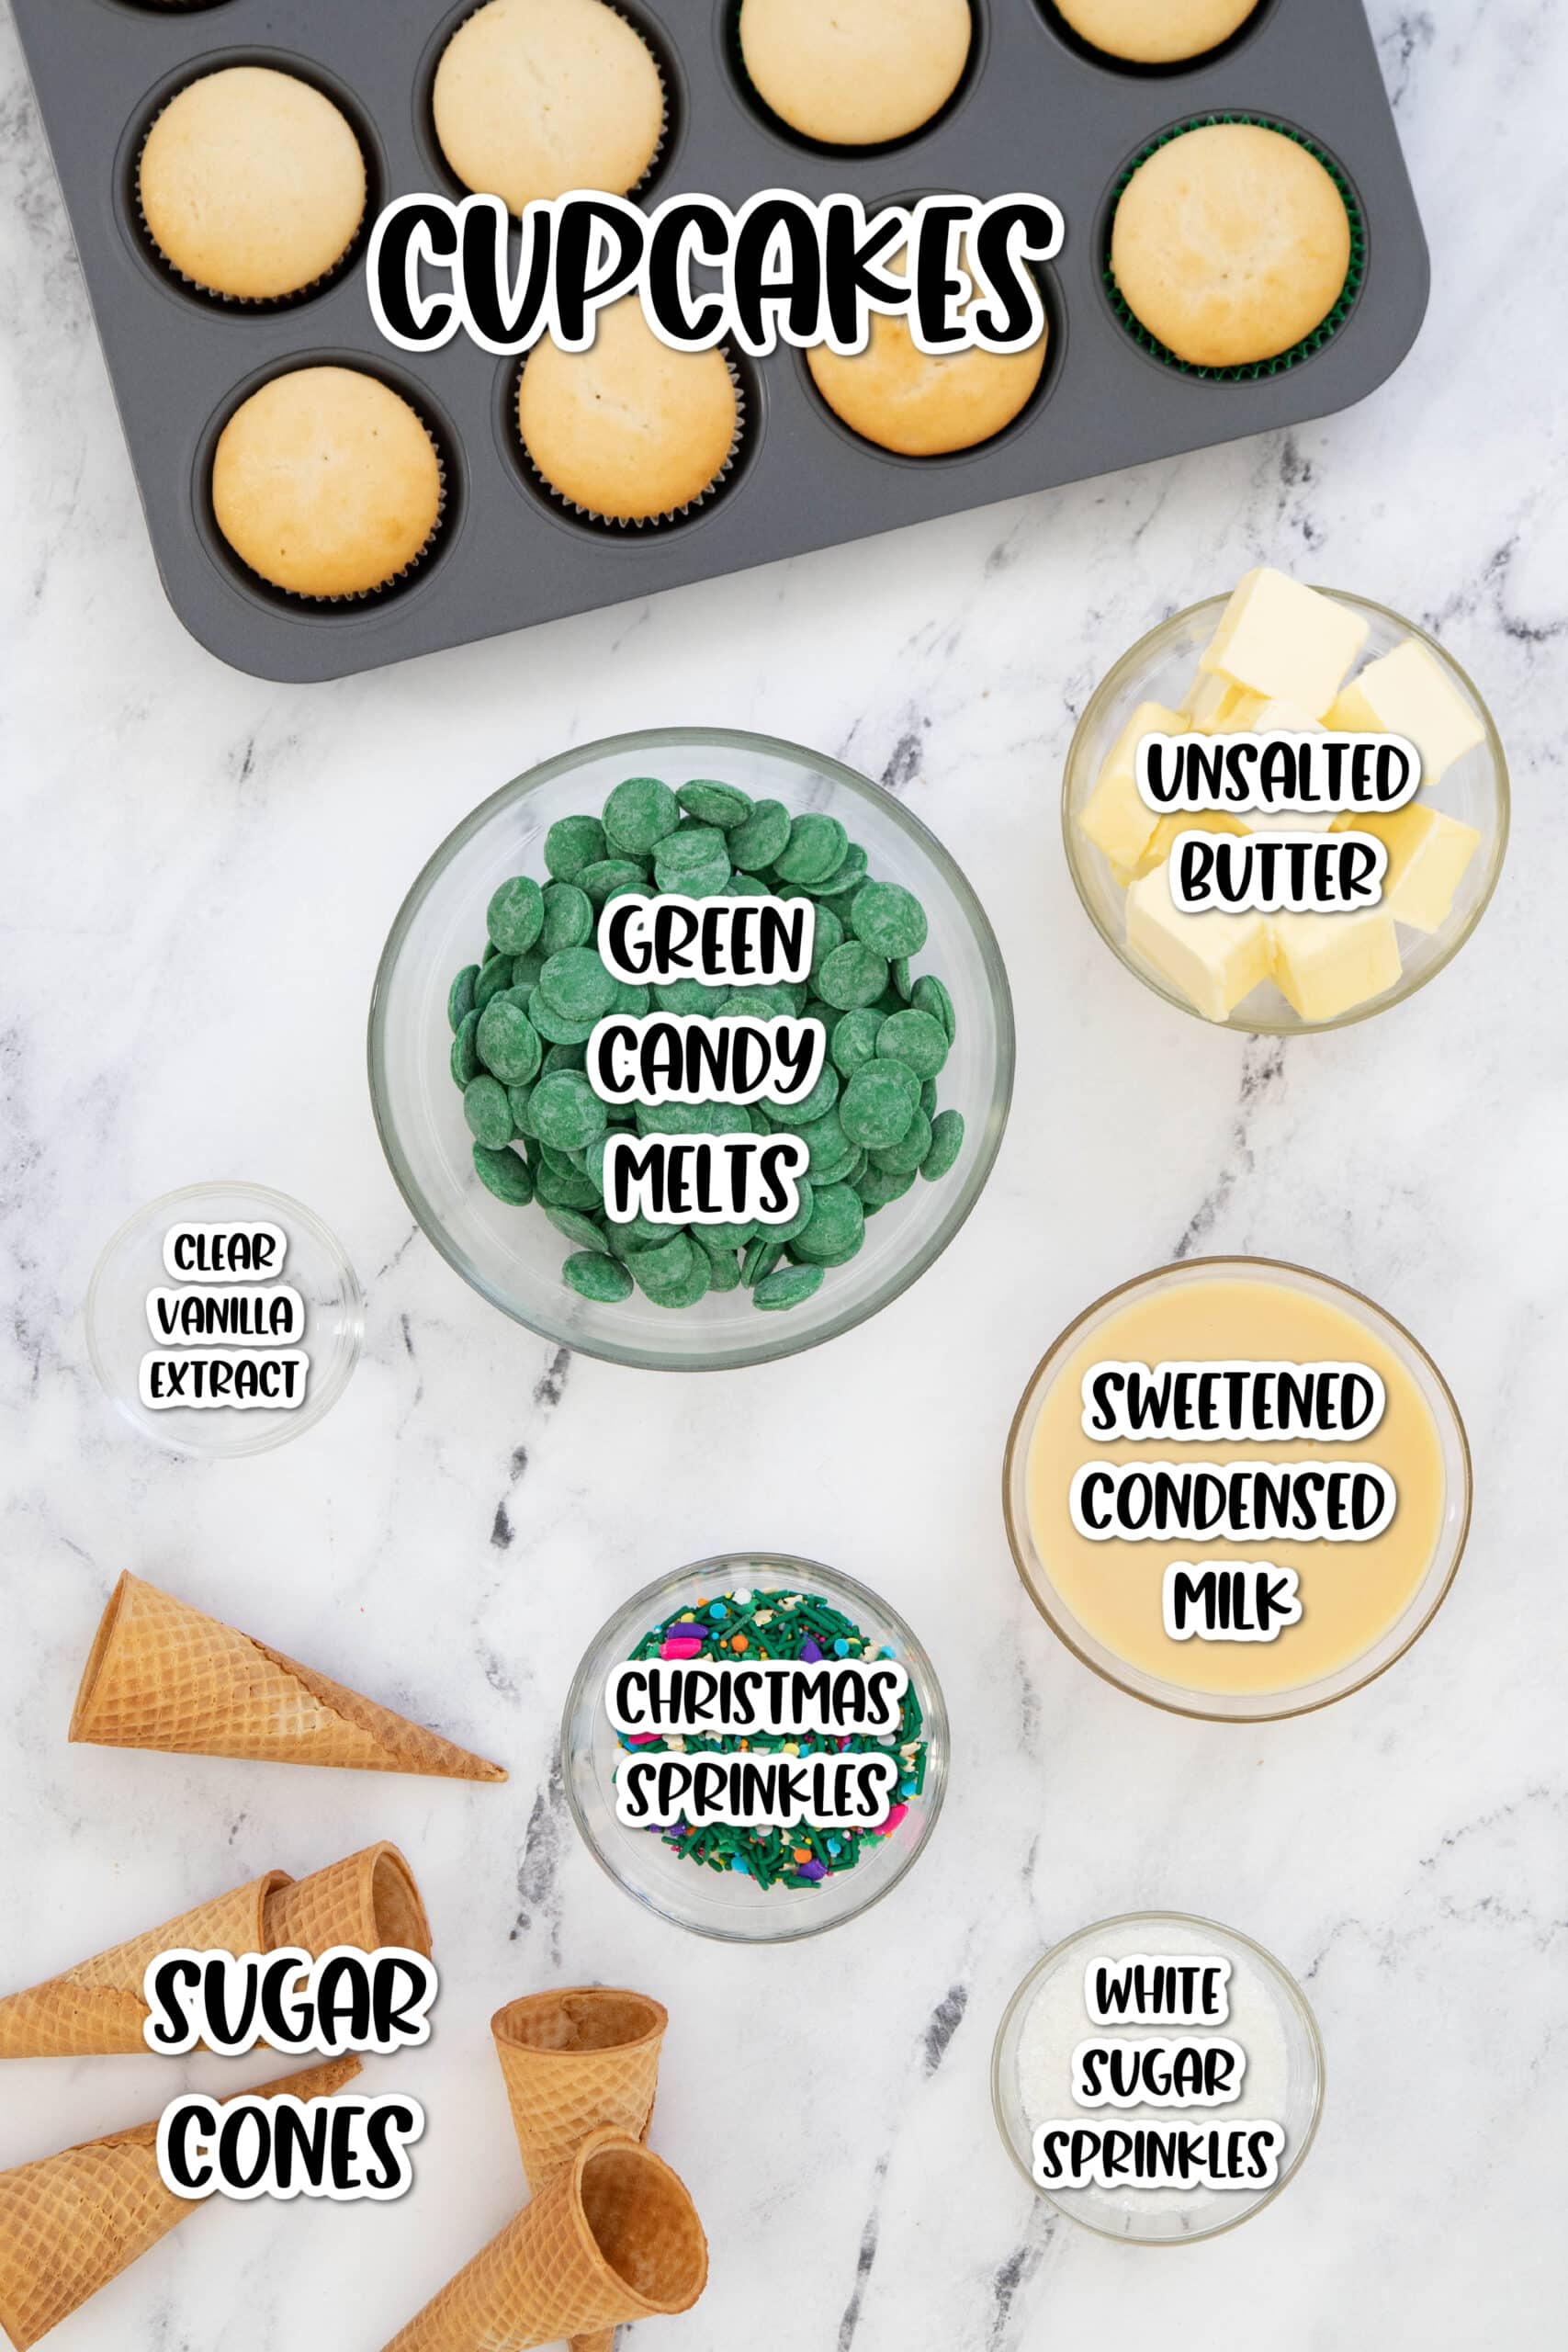
- Cupcakes (I used white cake mix plus the ingredients it calls for)
- Cabot Unsalted Butter, room temperature
- Eagle Brand Sweetened Condensed Milk
- Clear vanilla extract
- Sugar cones
- Green candy melts
- Christmas themed sprinkles and nonpareils
- White sparkling sugar
- Yellow candy melts for star (optional)
For the full recipe, see the recipe card below.
How To Make Christmas Tree Cupcakes
For The Trees
Step 1. Mix the batter and bake your cupcakes according to the directions on the box. They done when a toothpick inserted in the center comes out clean. Remove the cupcakes from the oven and set aside on a cooling rack to cool completely.
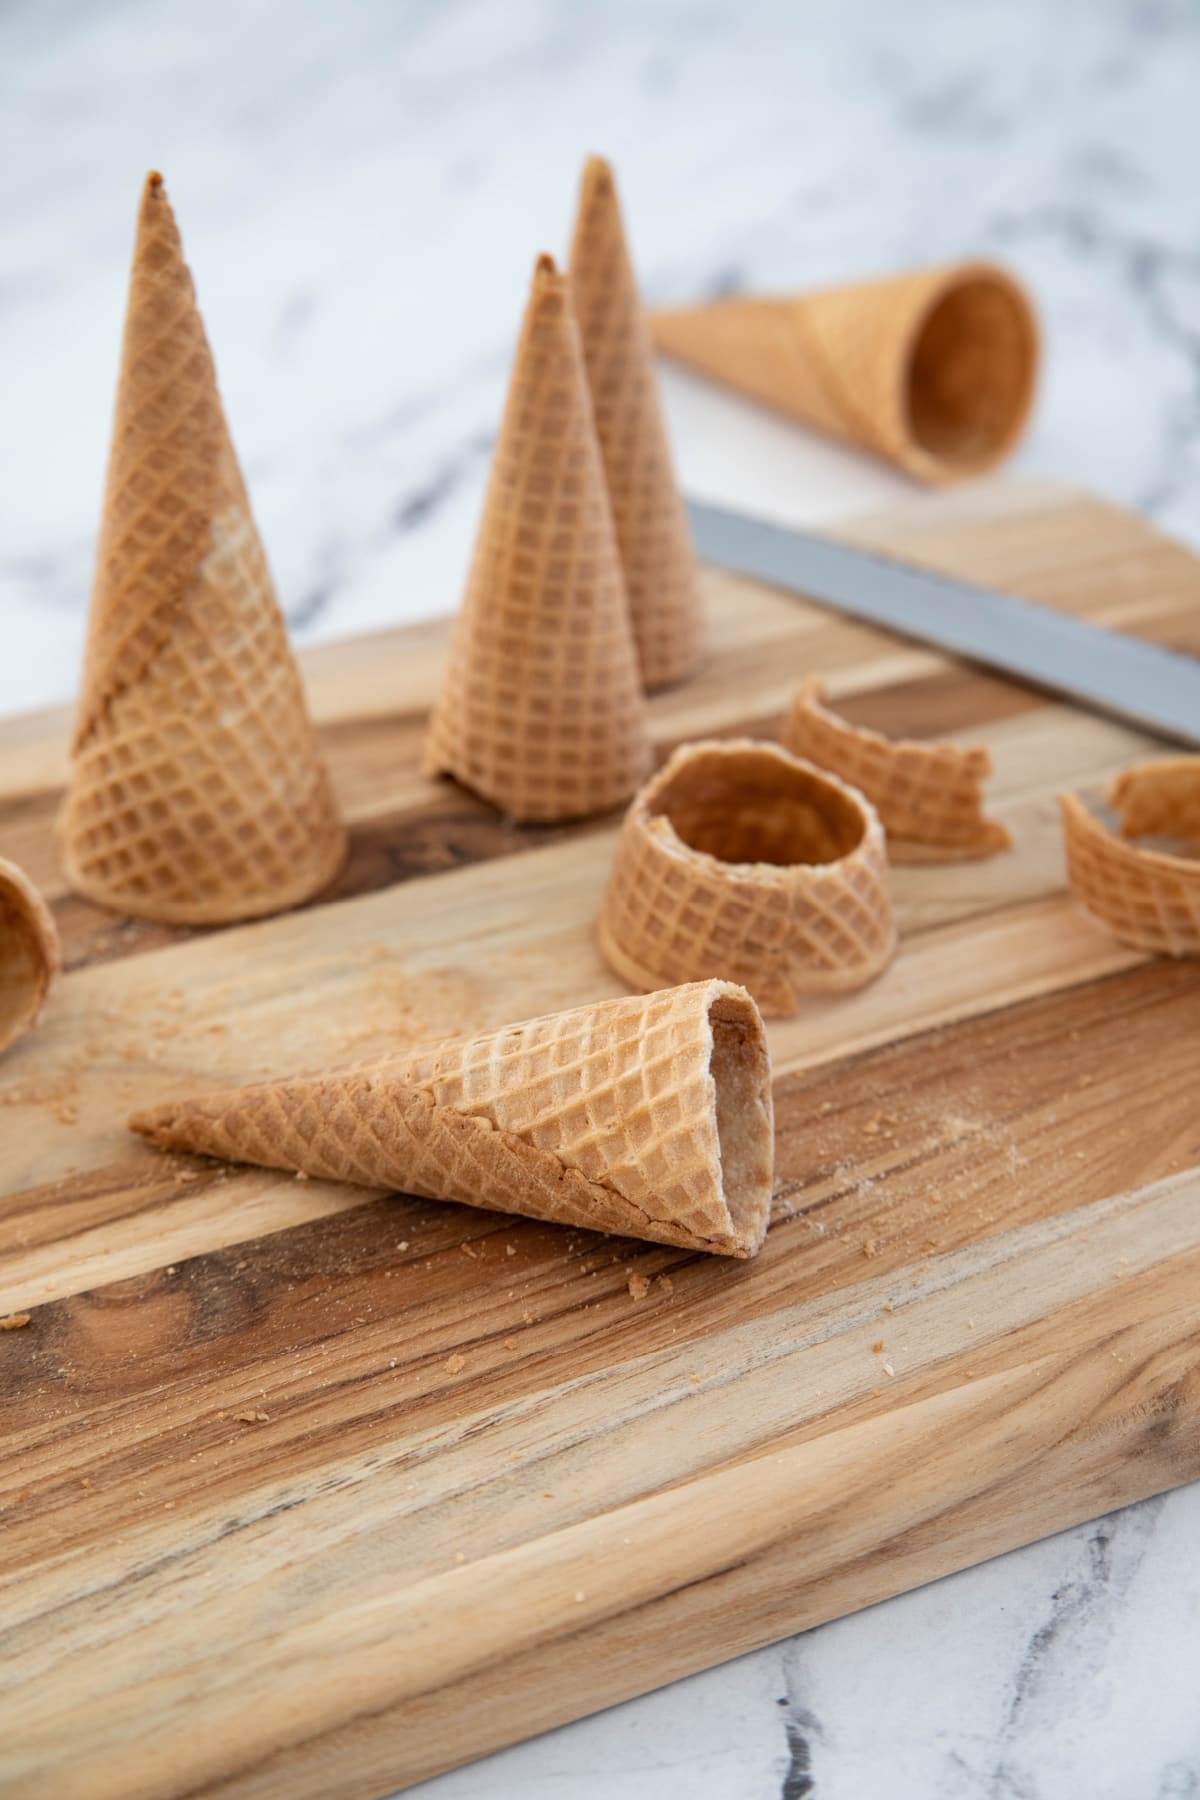
Step 2. To get your tree shape just the right height, use a bread knife to cut about an inch off the open end of each sugar cone. It works best to score it first, then snap off the end.
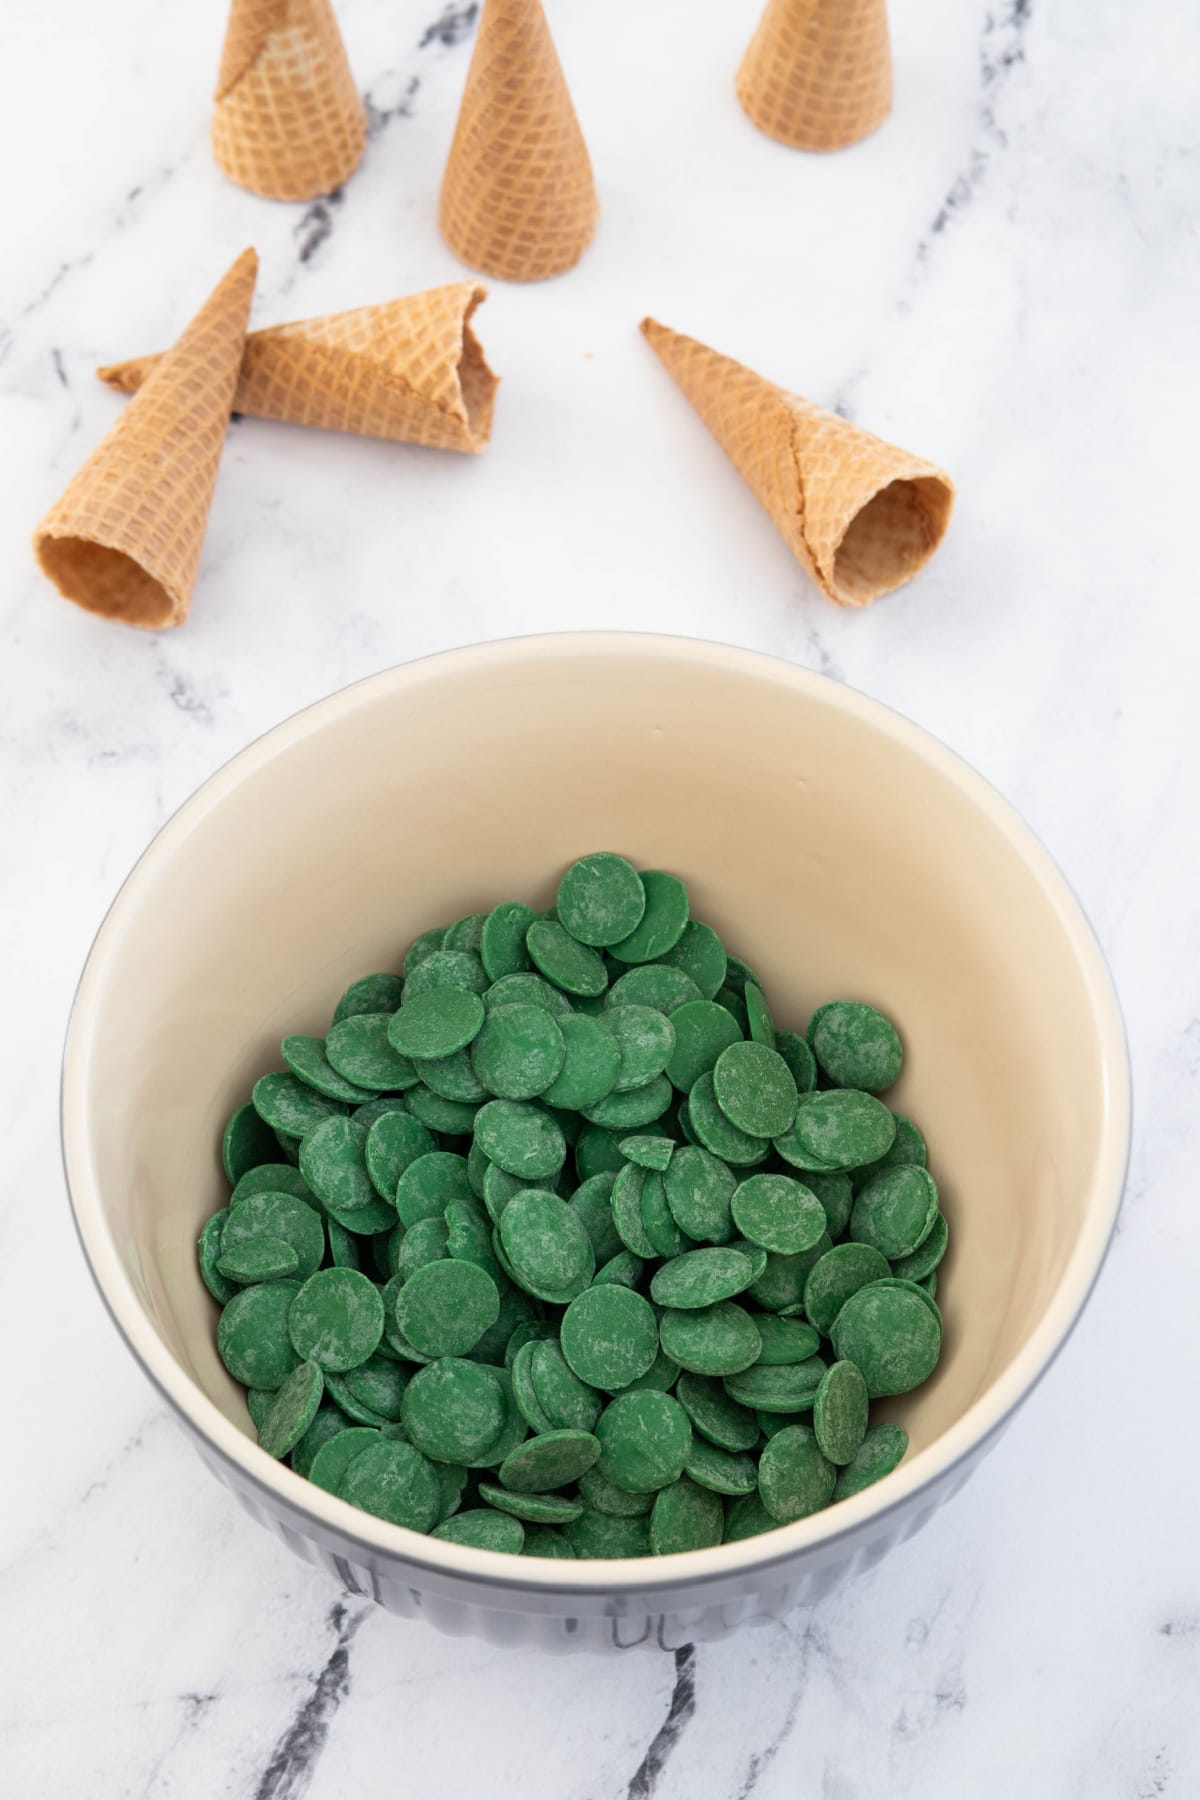
Step 3. Place green chocolate melts in a large bowl.
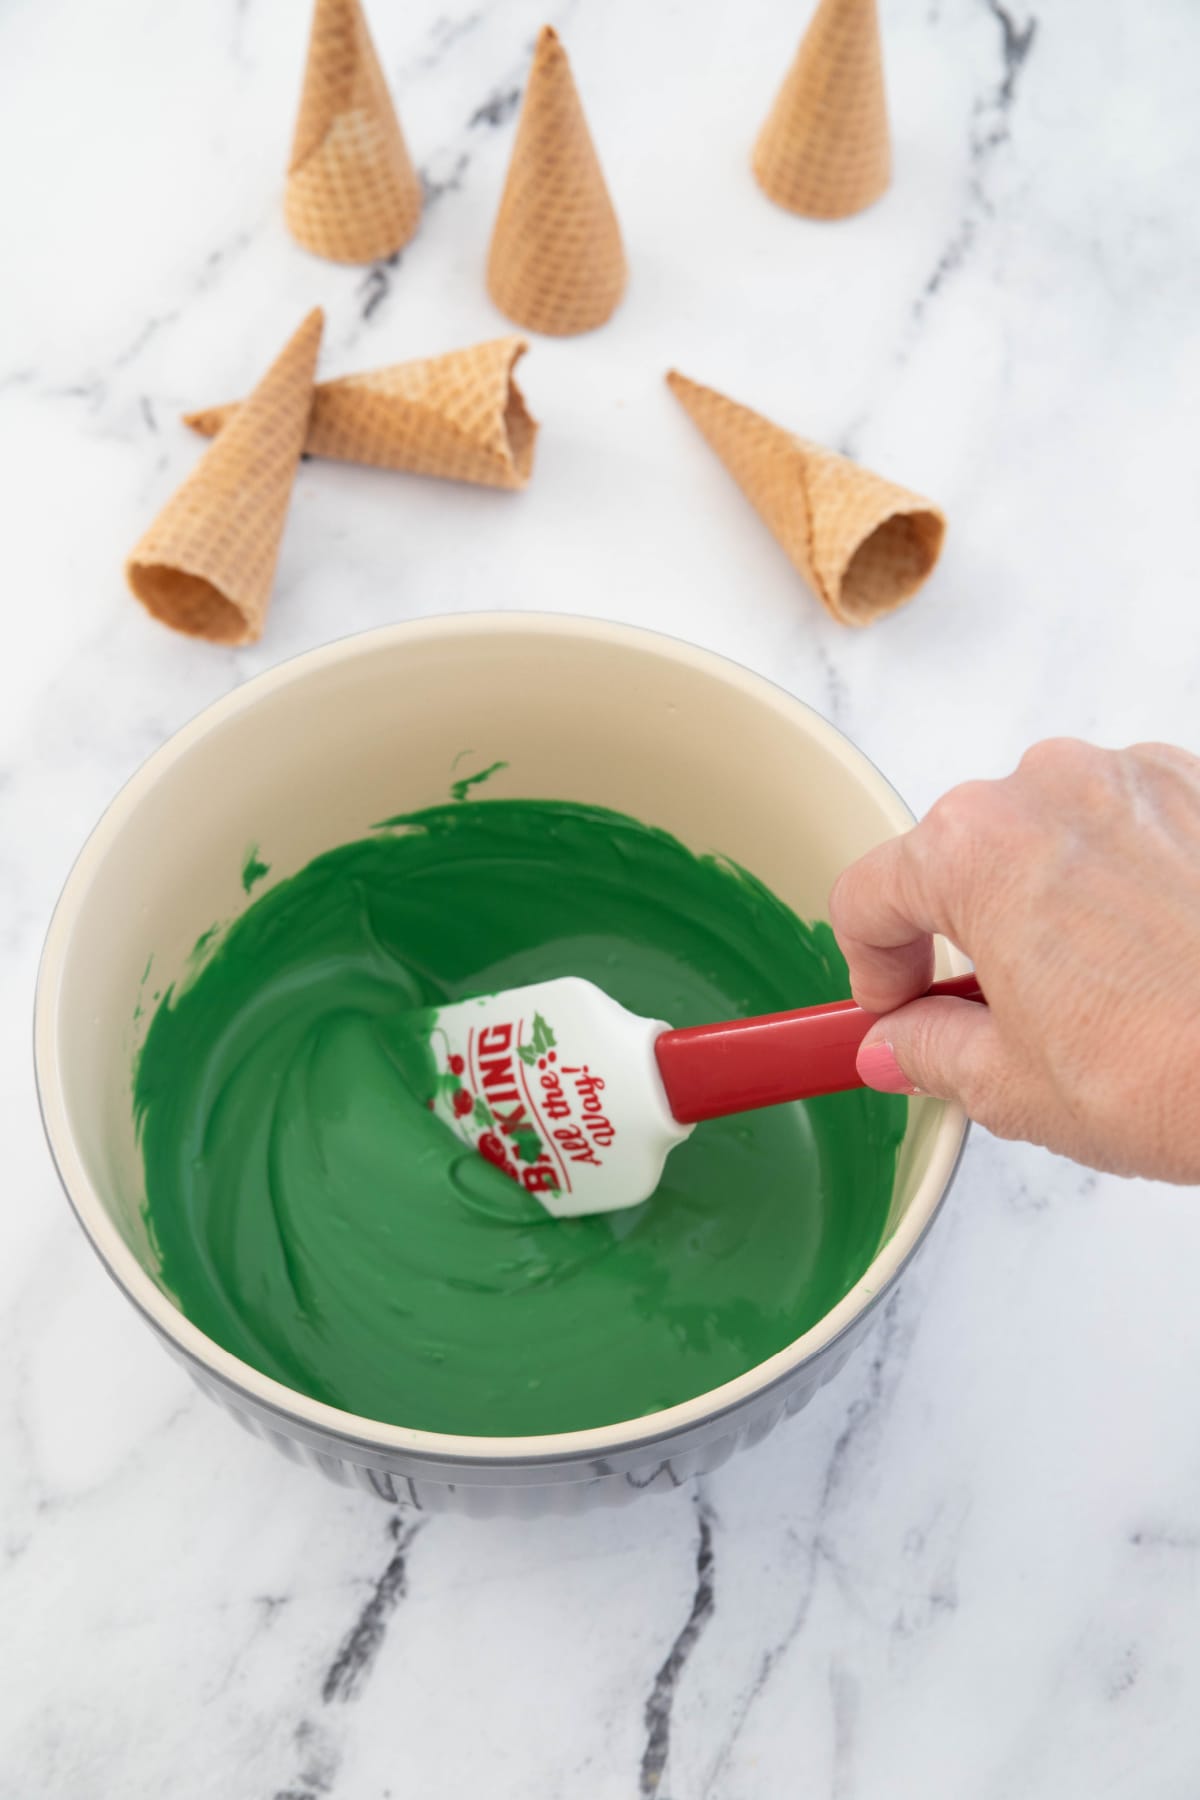
Step 4. Microwave for 30 seconds, then stir. Continue to microwave in 15-second increments, stirring in between, until completely melted and smooth. If the chocolate is too thick, you can add 1-2 tablespoons of shortening to get a thinner consistency for dipping.
Step 5. Dip a cone into the melted chocolate, rotating until the surface of the cone is completely covered.
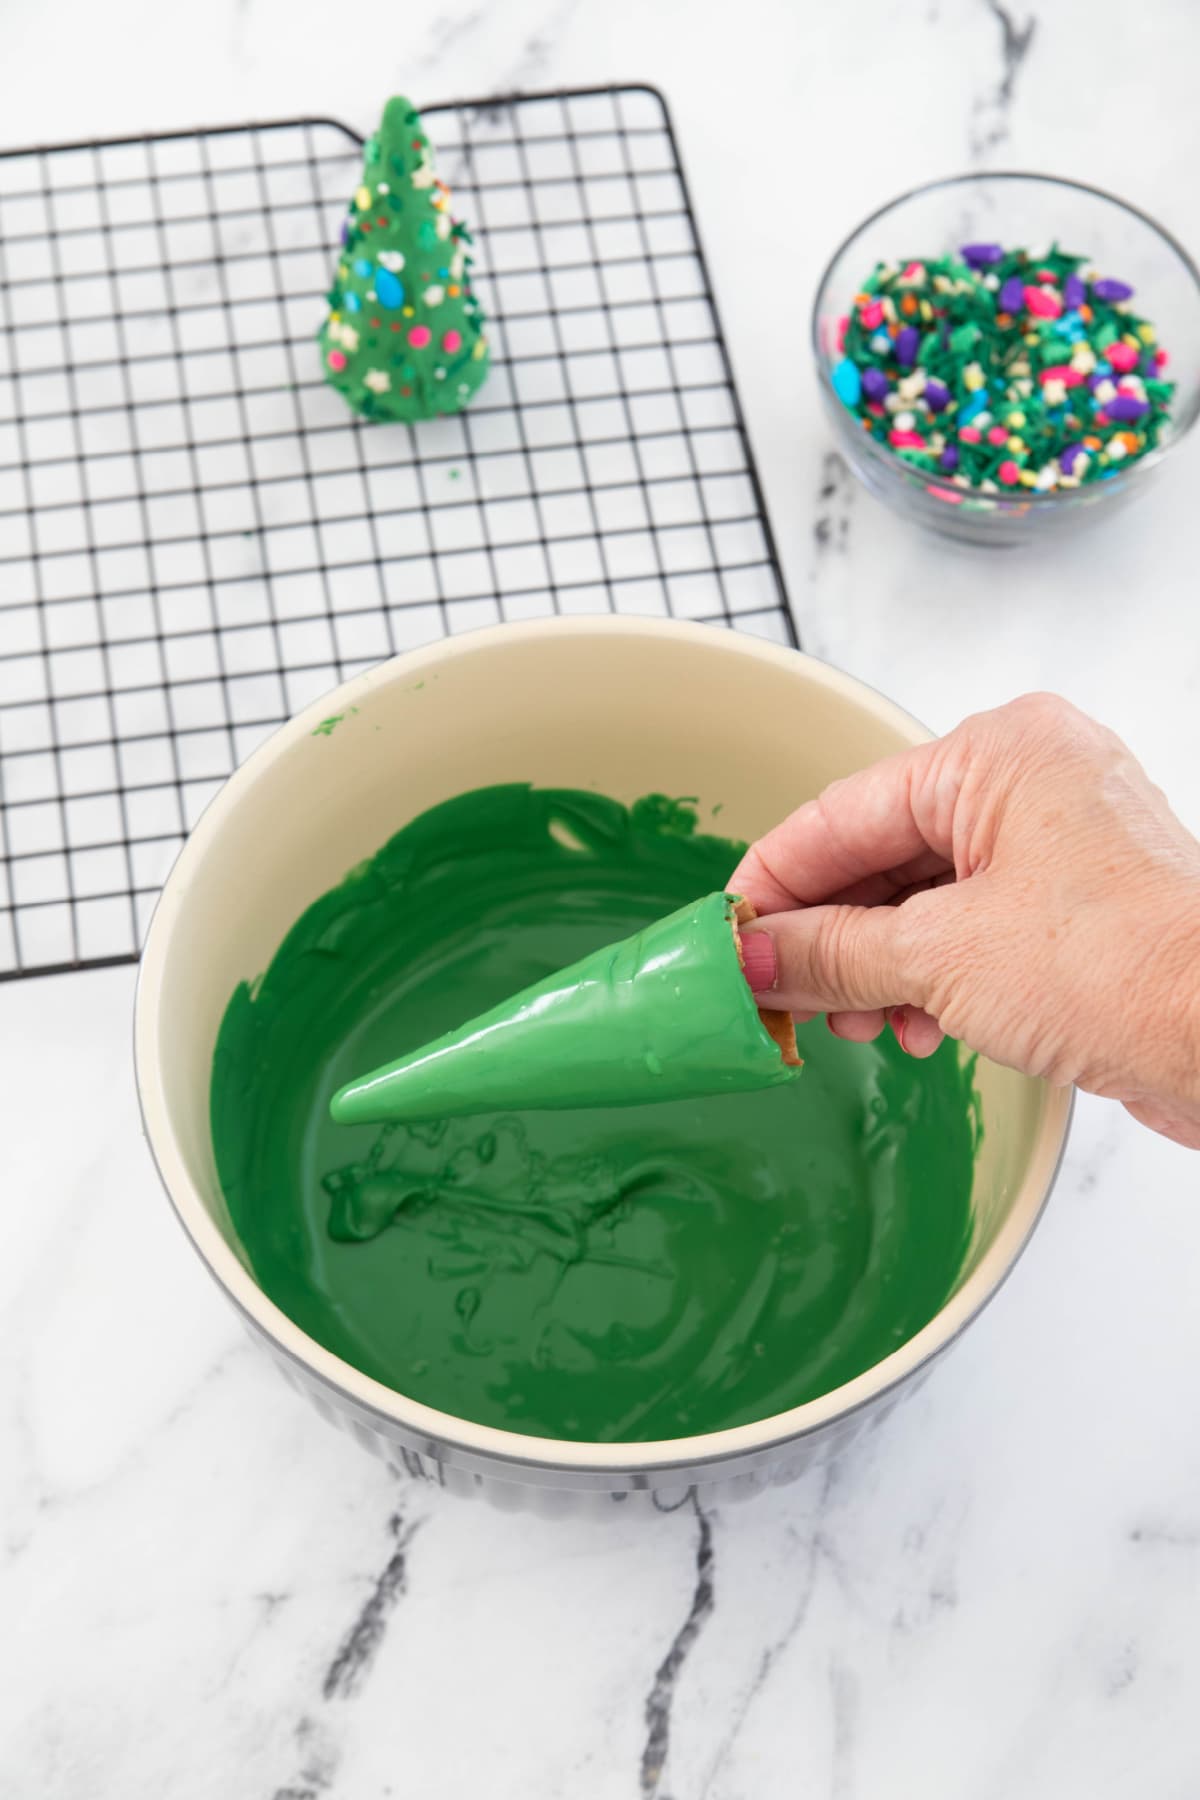
Step 6. Place on a wire rack so that any excess chocolate drips down instead of collecting on the bottom. For easy cleanup, place a piece of parchment paper underneath or place the rack on a baking sheet to catch any dripping chocolate.
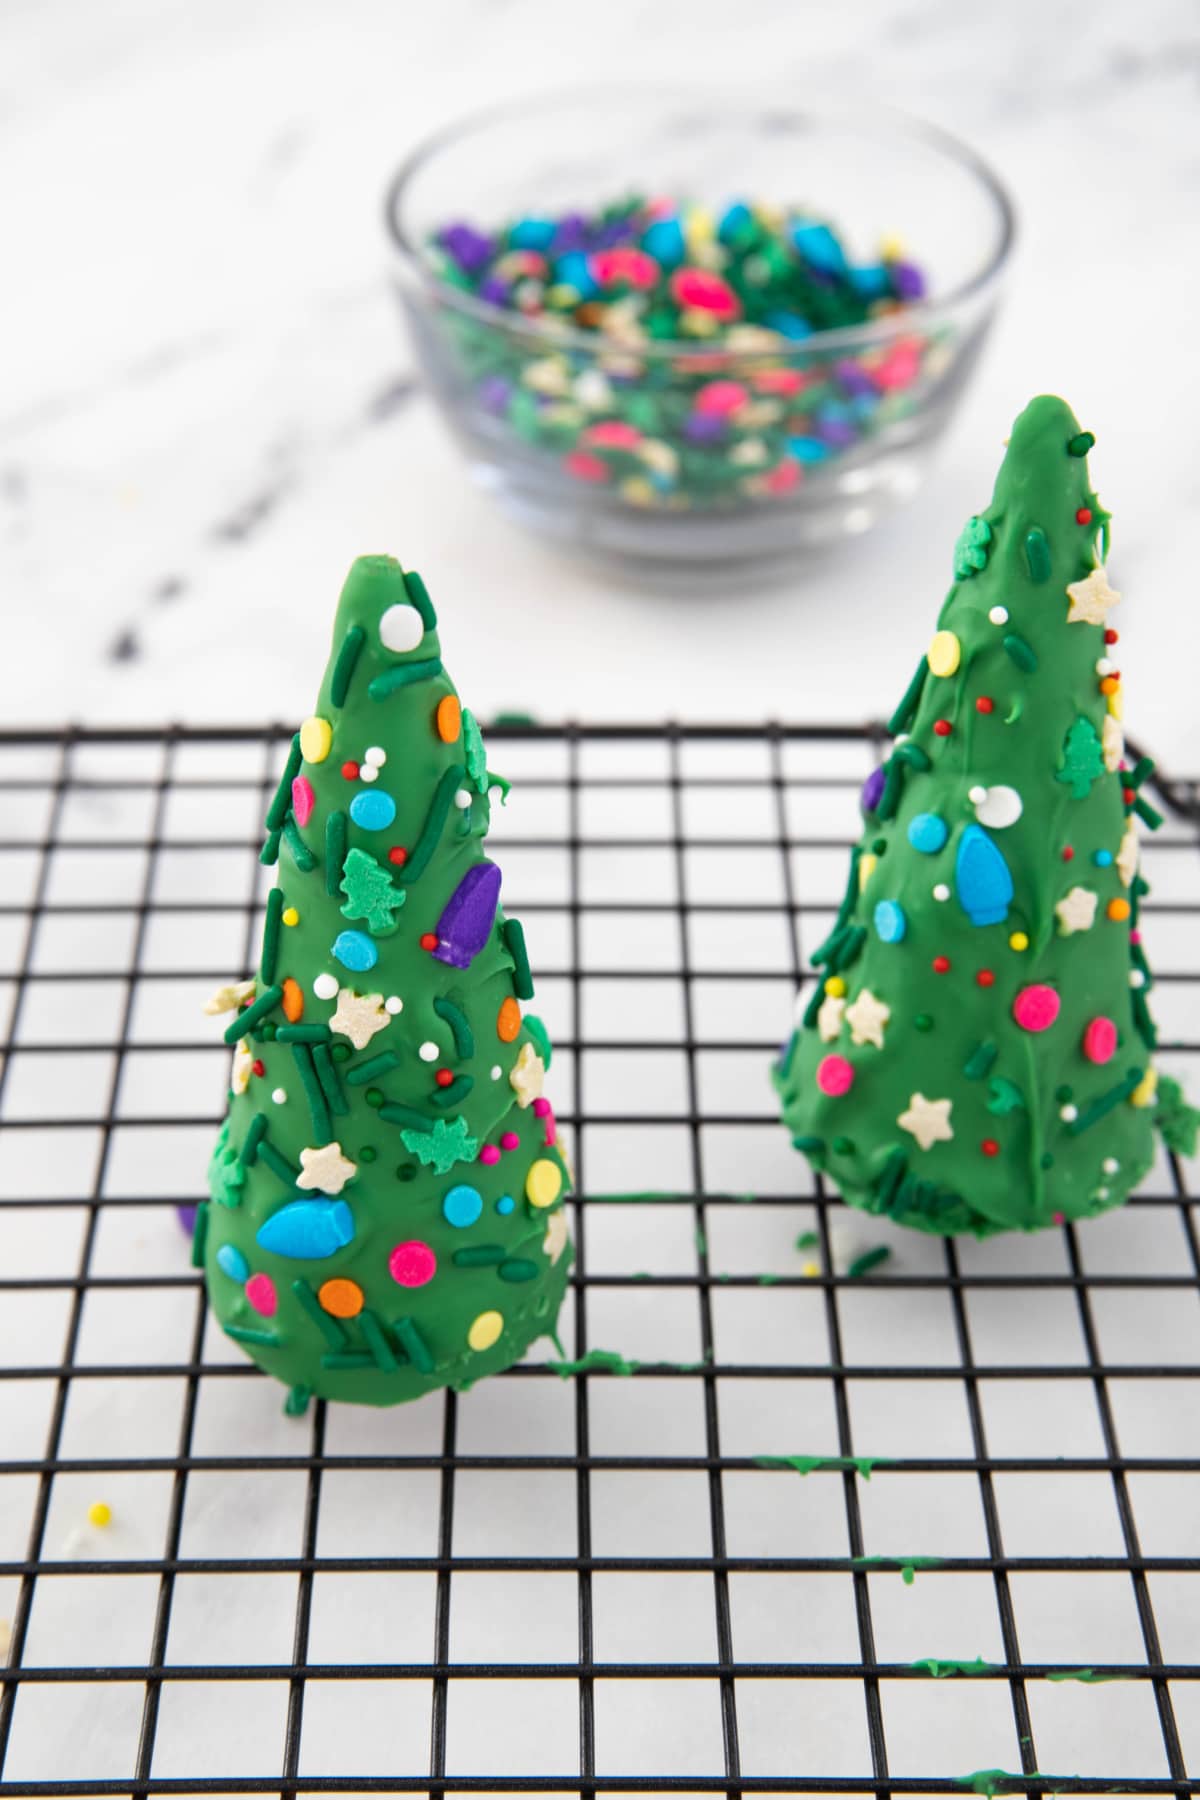
Step 7. Add sprinkles. You’ll want to do this after dipping each cone. The chocolate sets fairly quickly, so you have to add the sprinkles while it’s still soft, or they won’t stick. Continue with each cone, one at a time, until they’re all decorated.
For The Icing
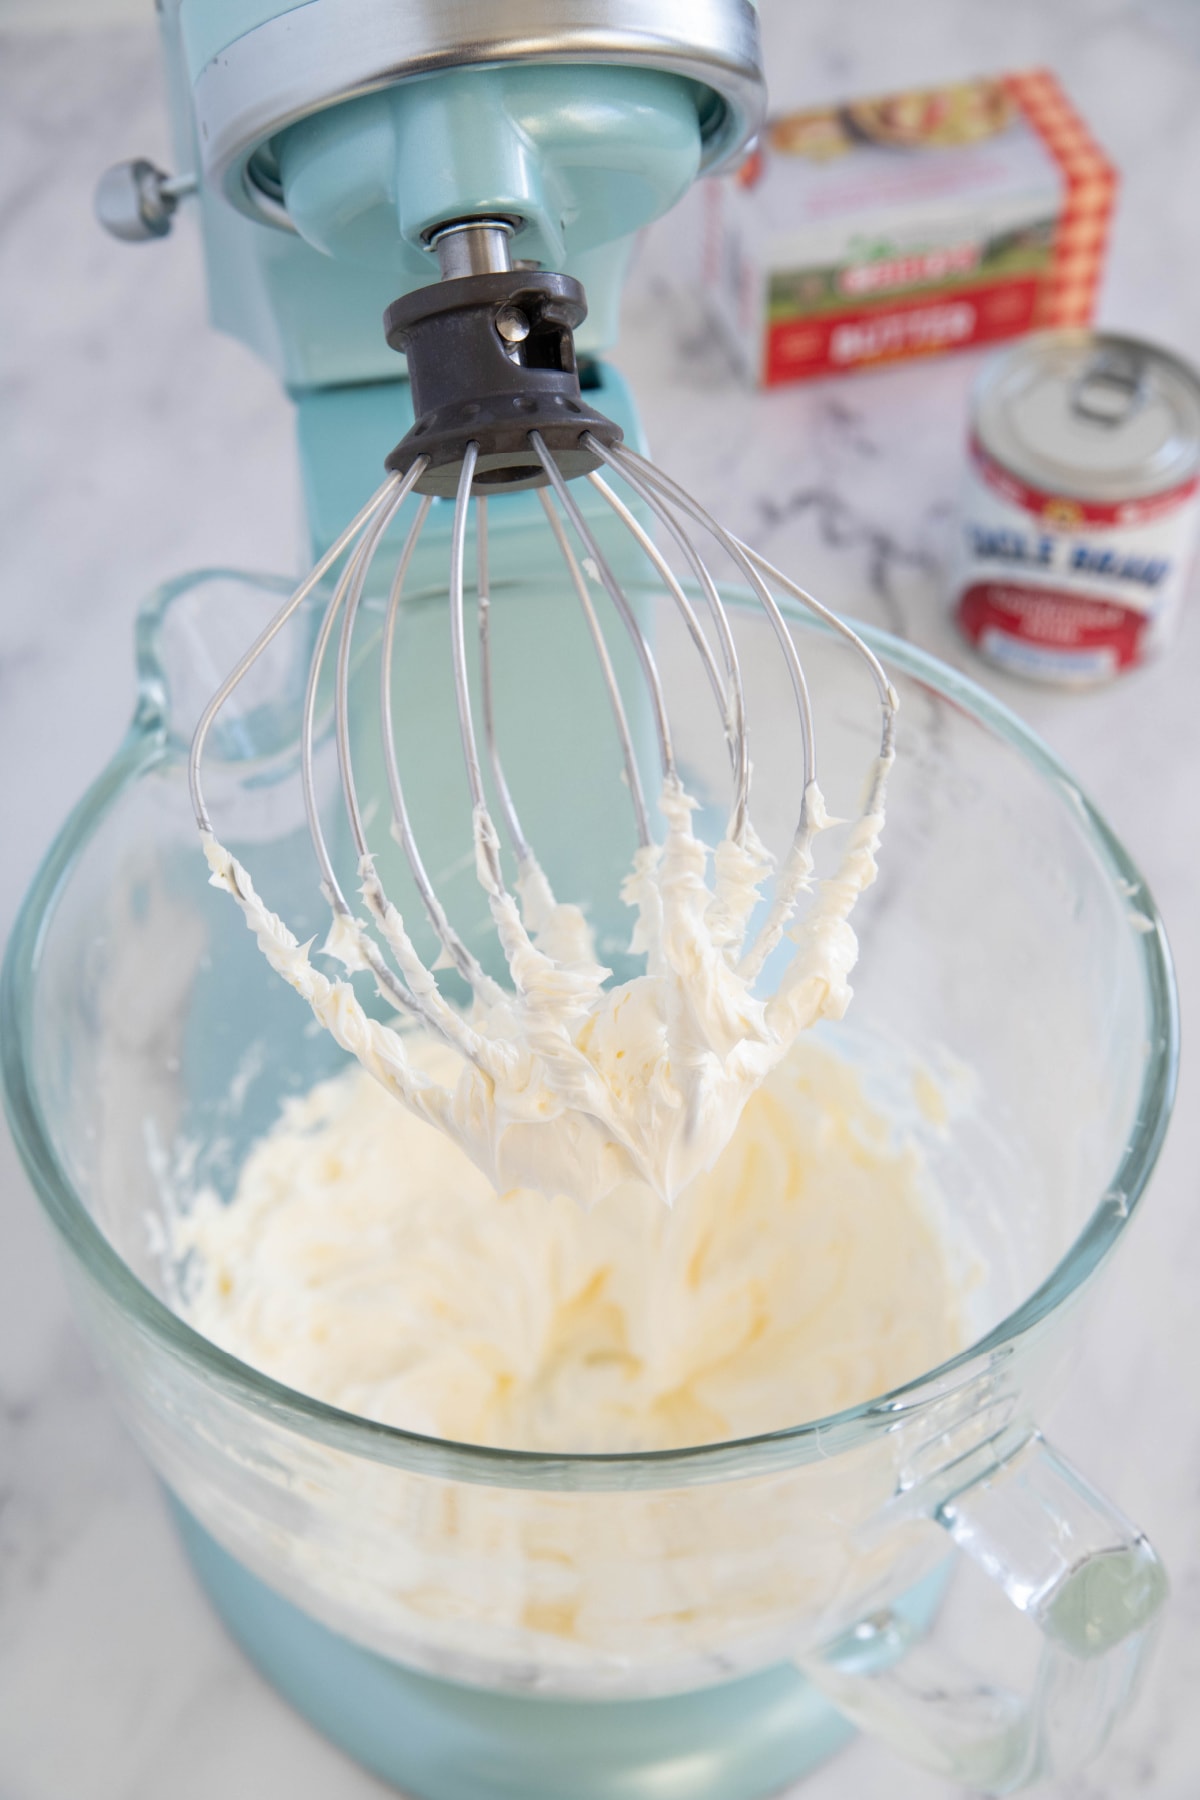
Step 1. Place butter in a large mixing bowl and use the whisk attachment of a stand mixer to whip for 3-4 minutes on medium high speed until light and fluffy.
Tip: For best results, you’ll want the butter to be at room temperature. If it’s still cold, you will probably need to beat the butter for an extra minute or two.
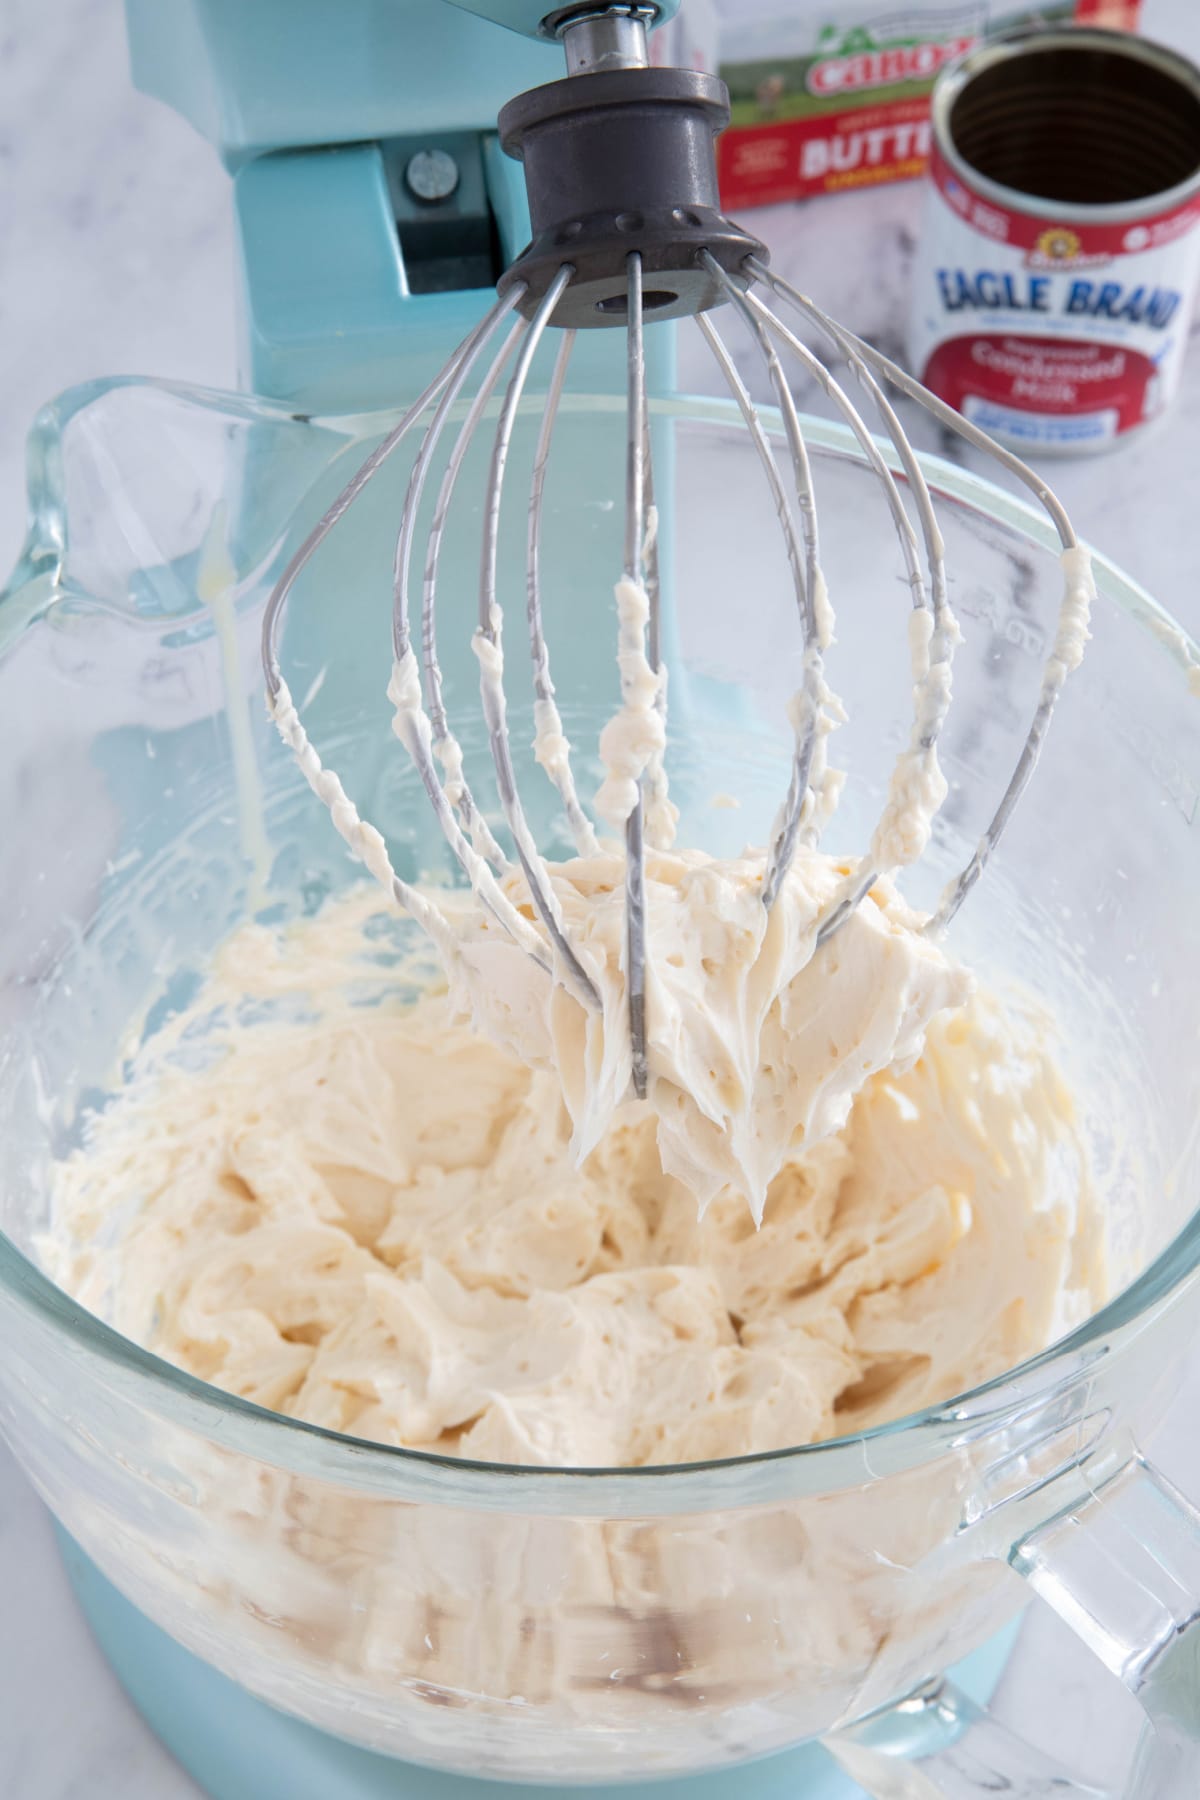
Step 2. Add the vanilla, then pour in condensed milk a little bit at a time. Mix well. If the frosting isn’t thick enough, you can add powdered sugar, 1/4 cup at a time, until you have the right consistency.
Step 3. Fill an icing bag fitted with a plain nozzle tip with the white frosting . Pipe the frosting onto the top of the cupcakes. You can use a large star tip if that’s what you have on hand.
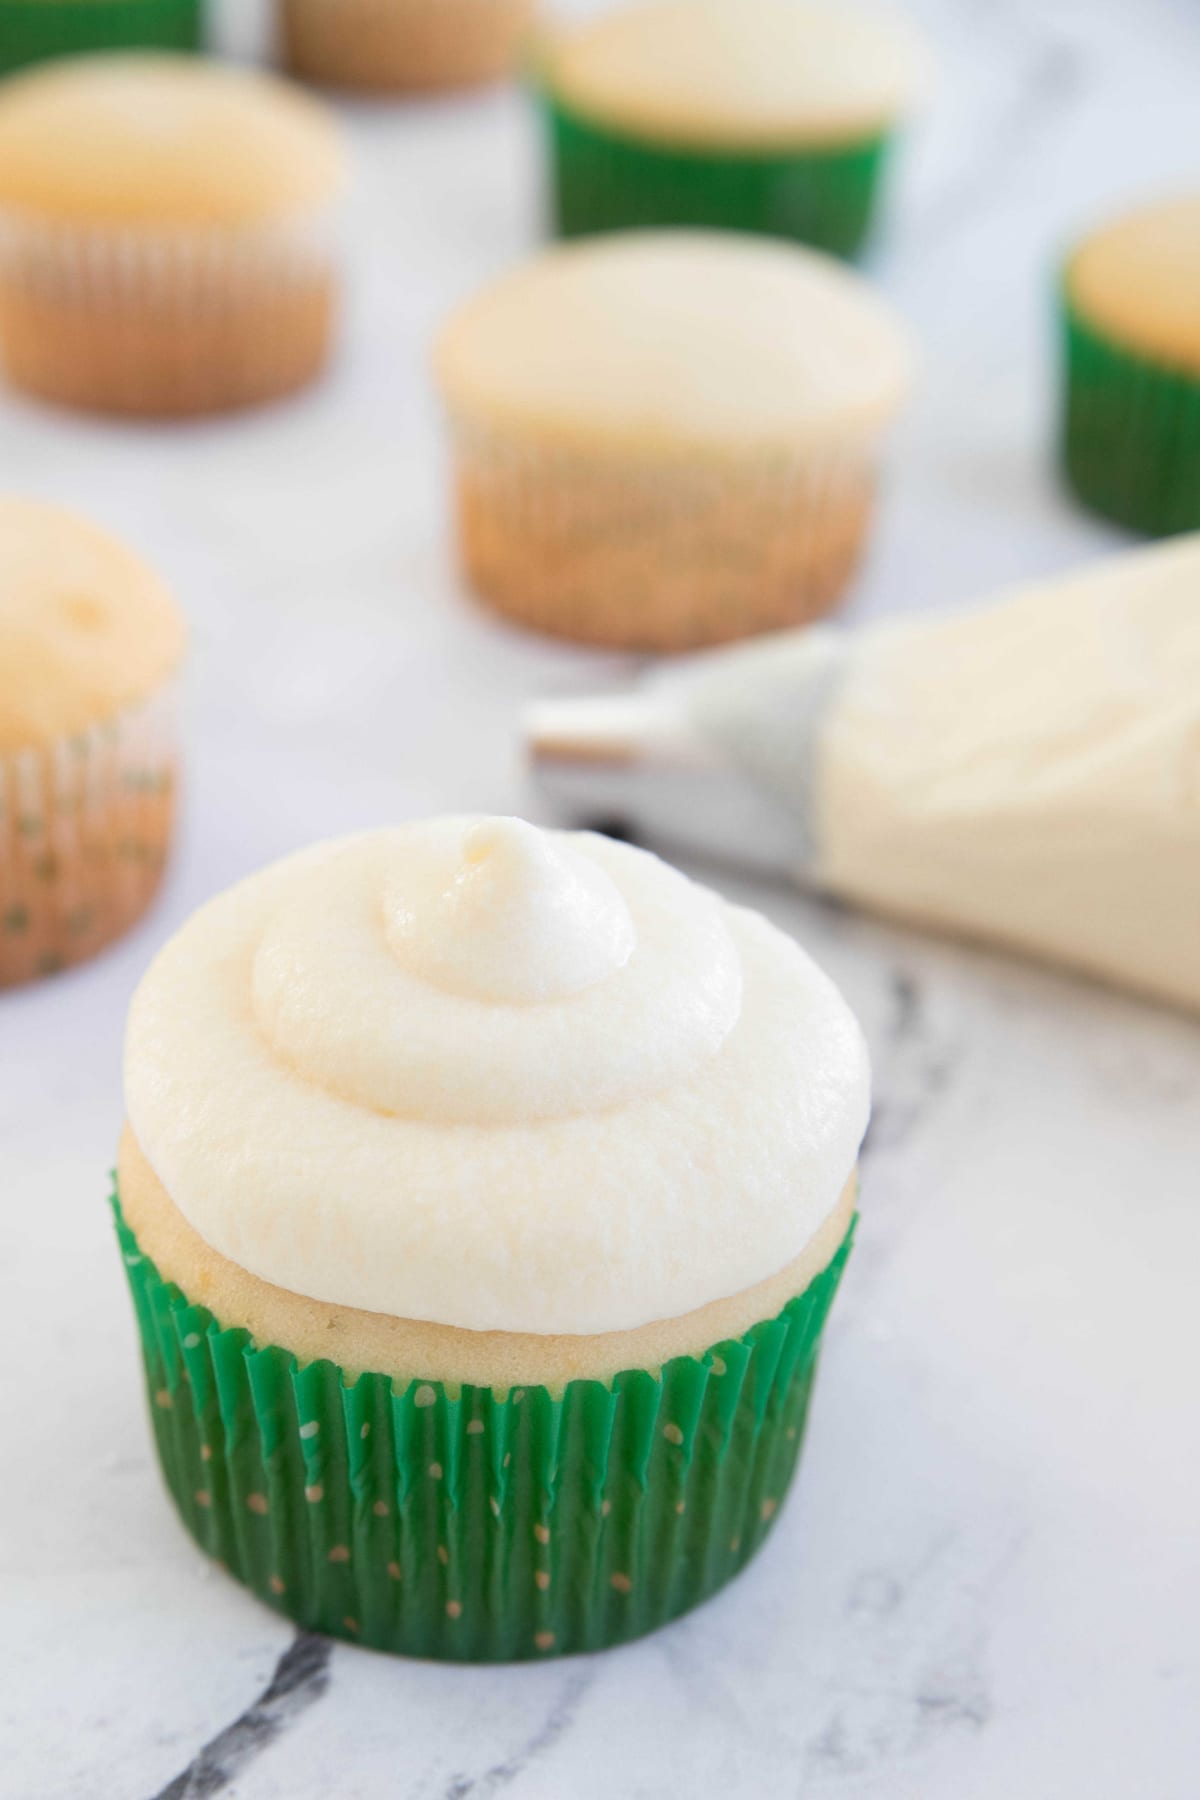
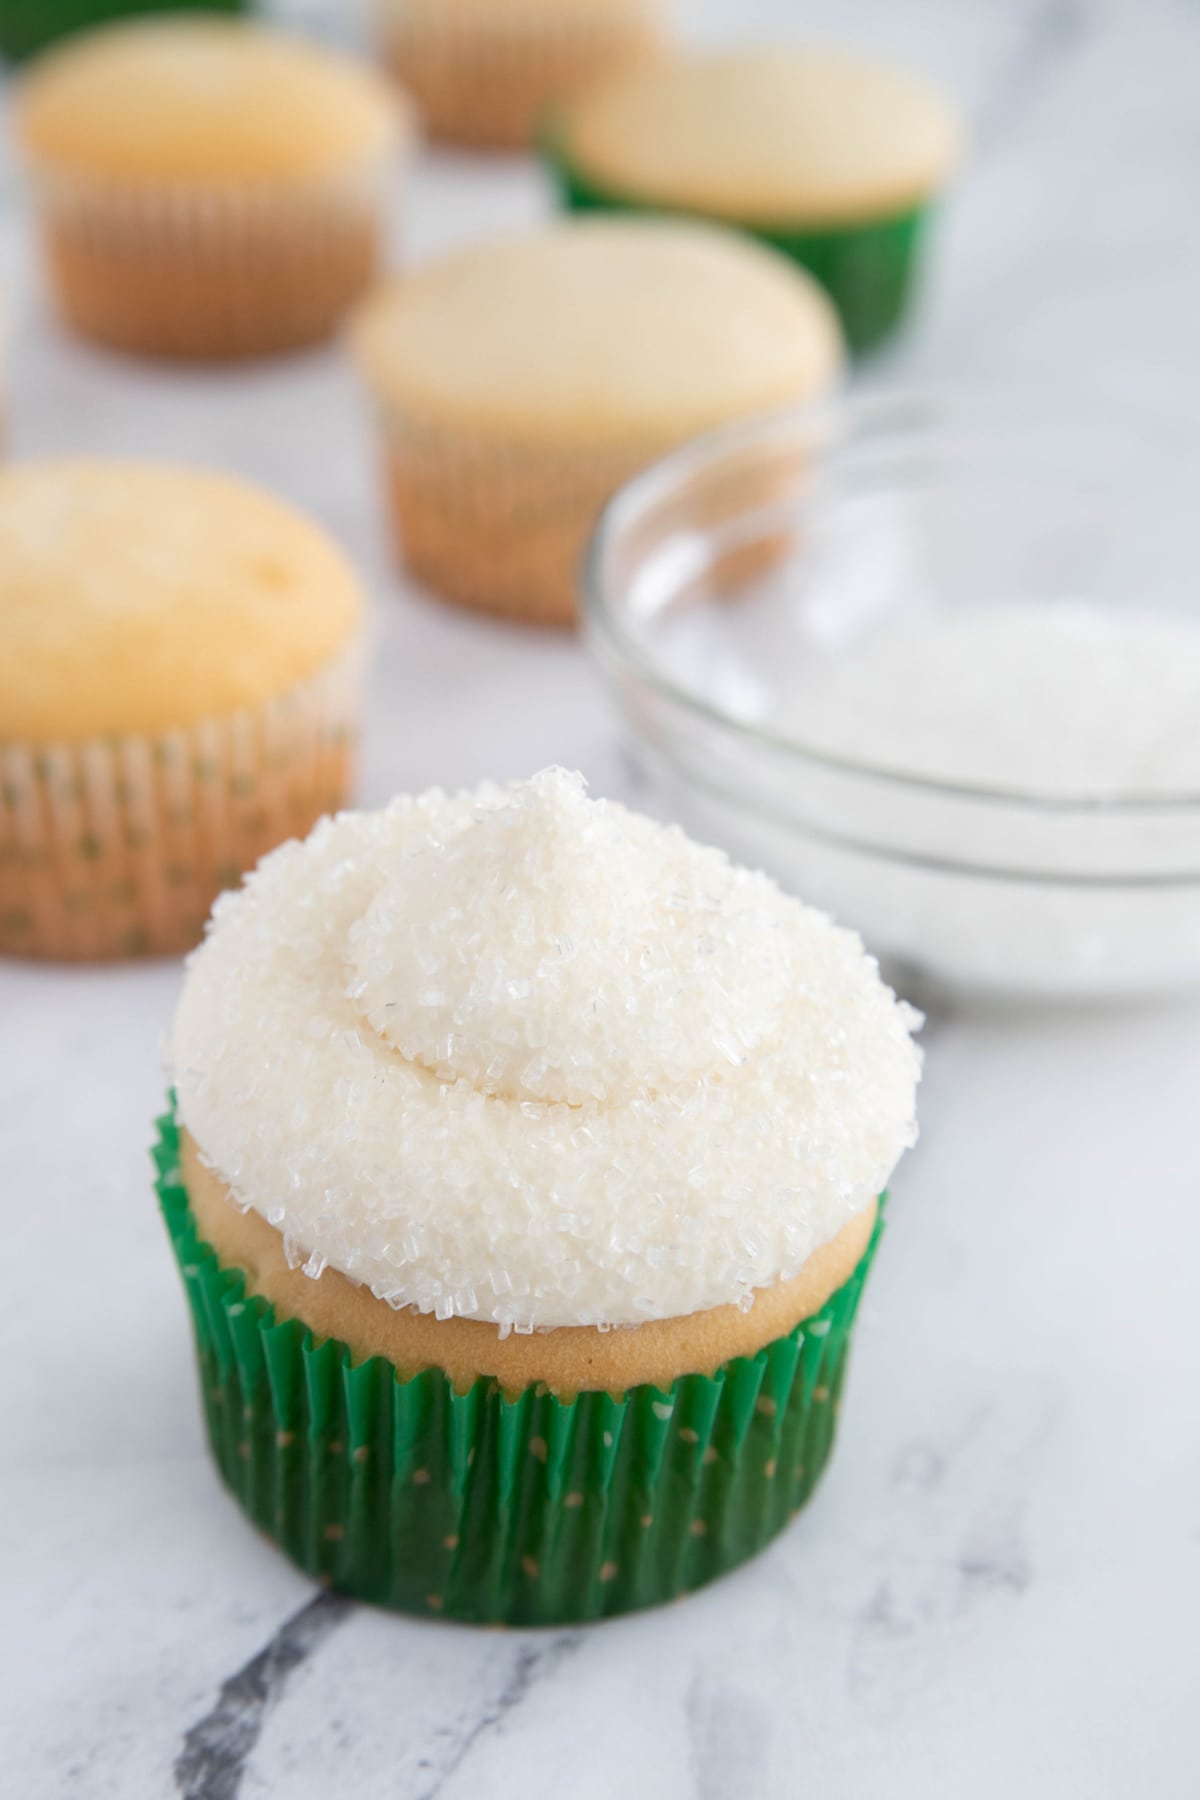
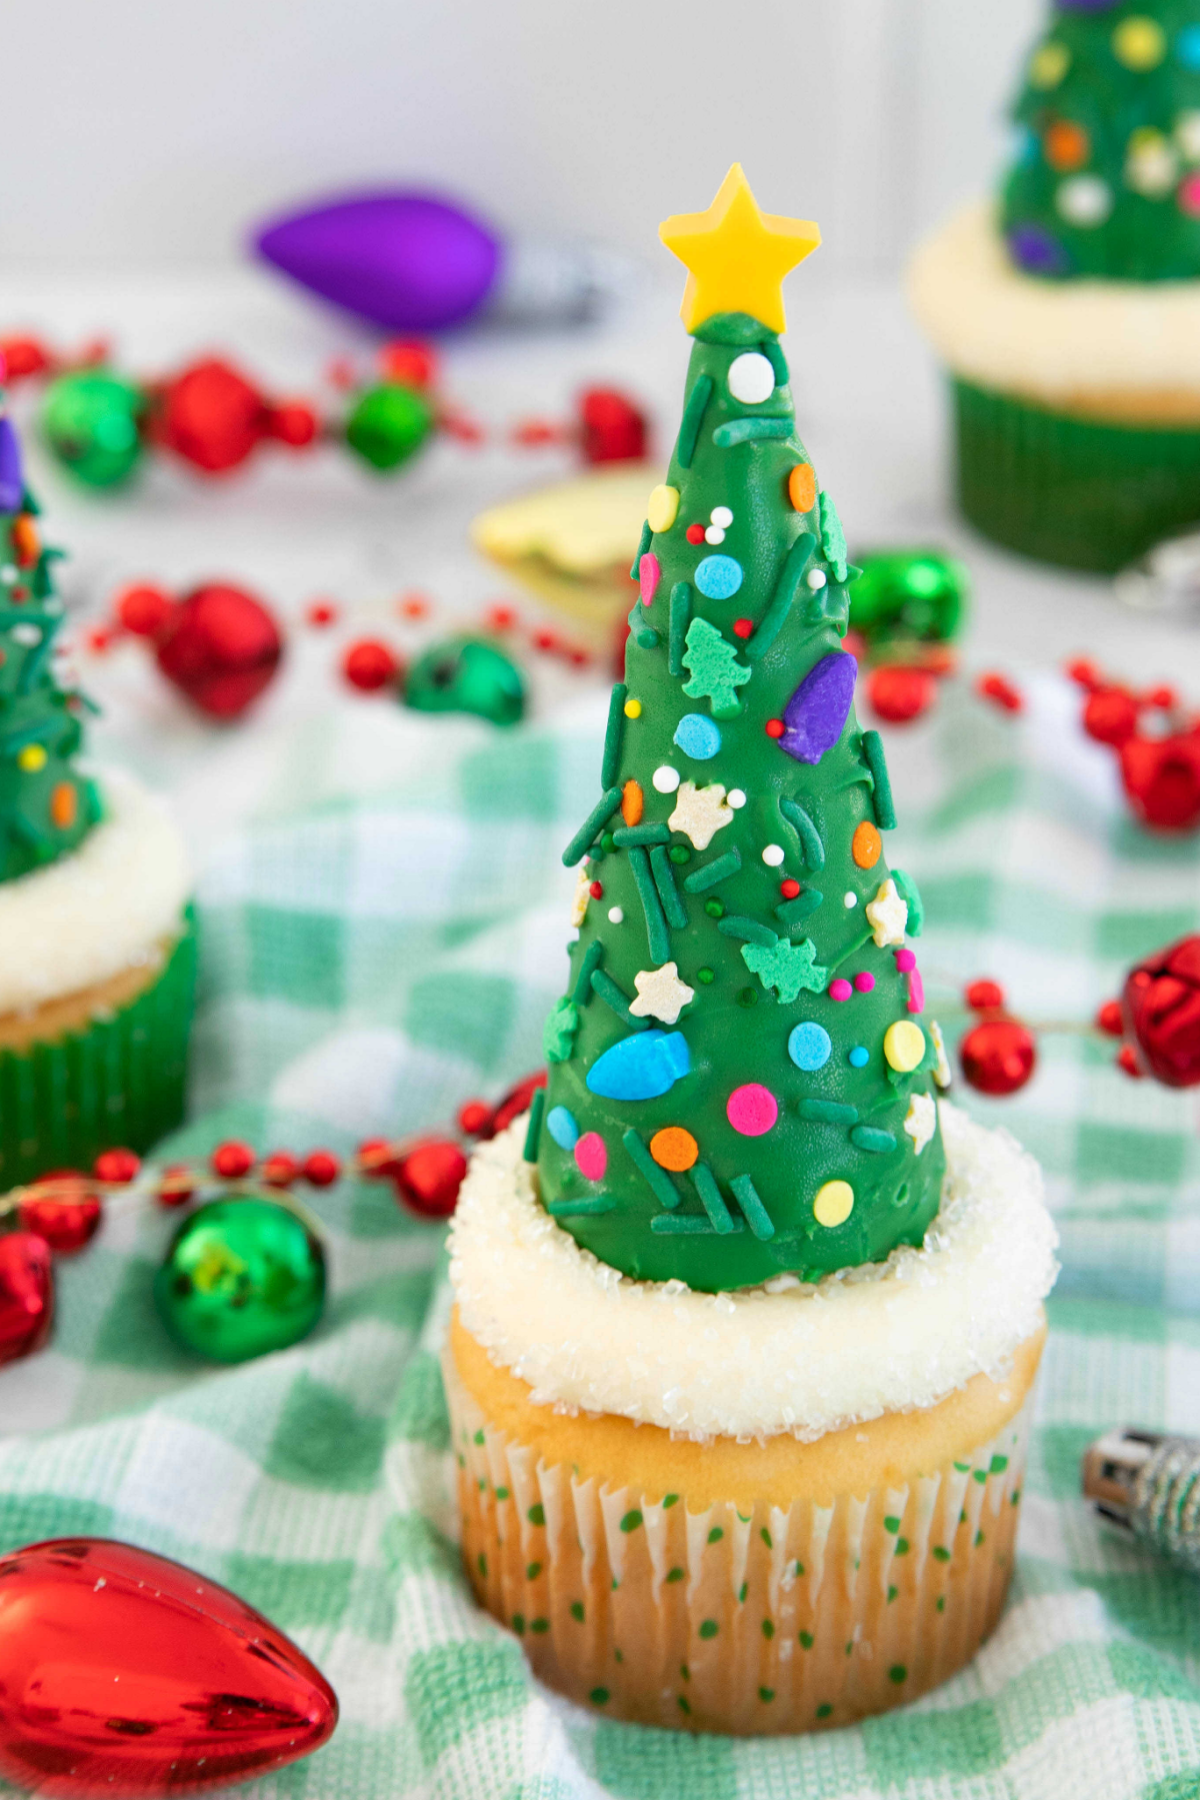
Step 4. Top with the white sugar sprinkles. This will give the icing the look of sparkling snow.
Assembling The Cupcakes
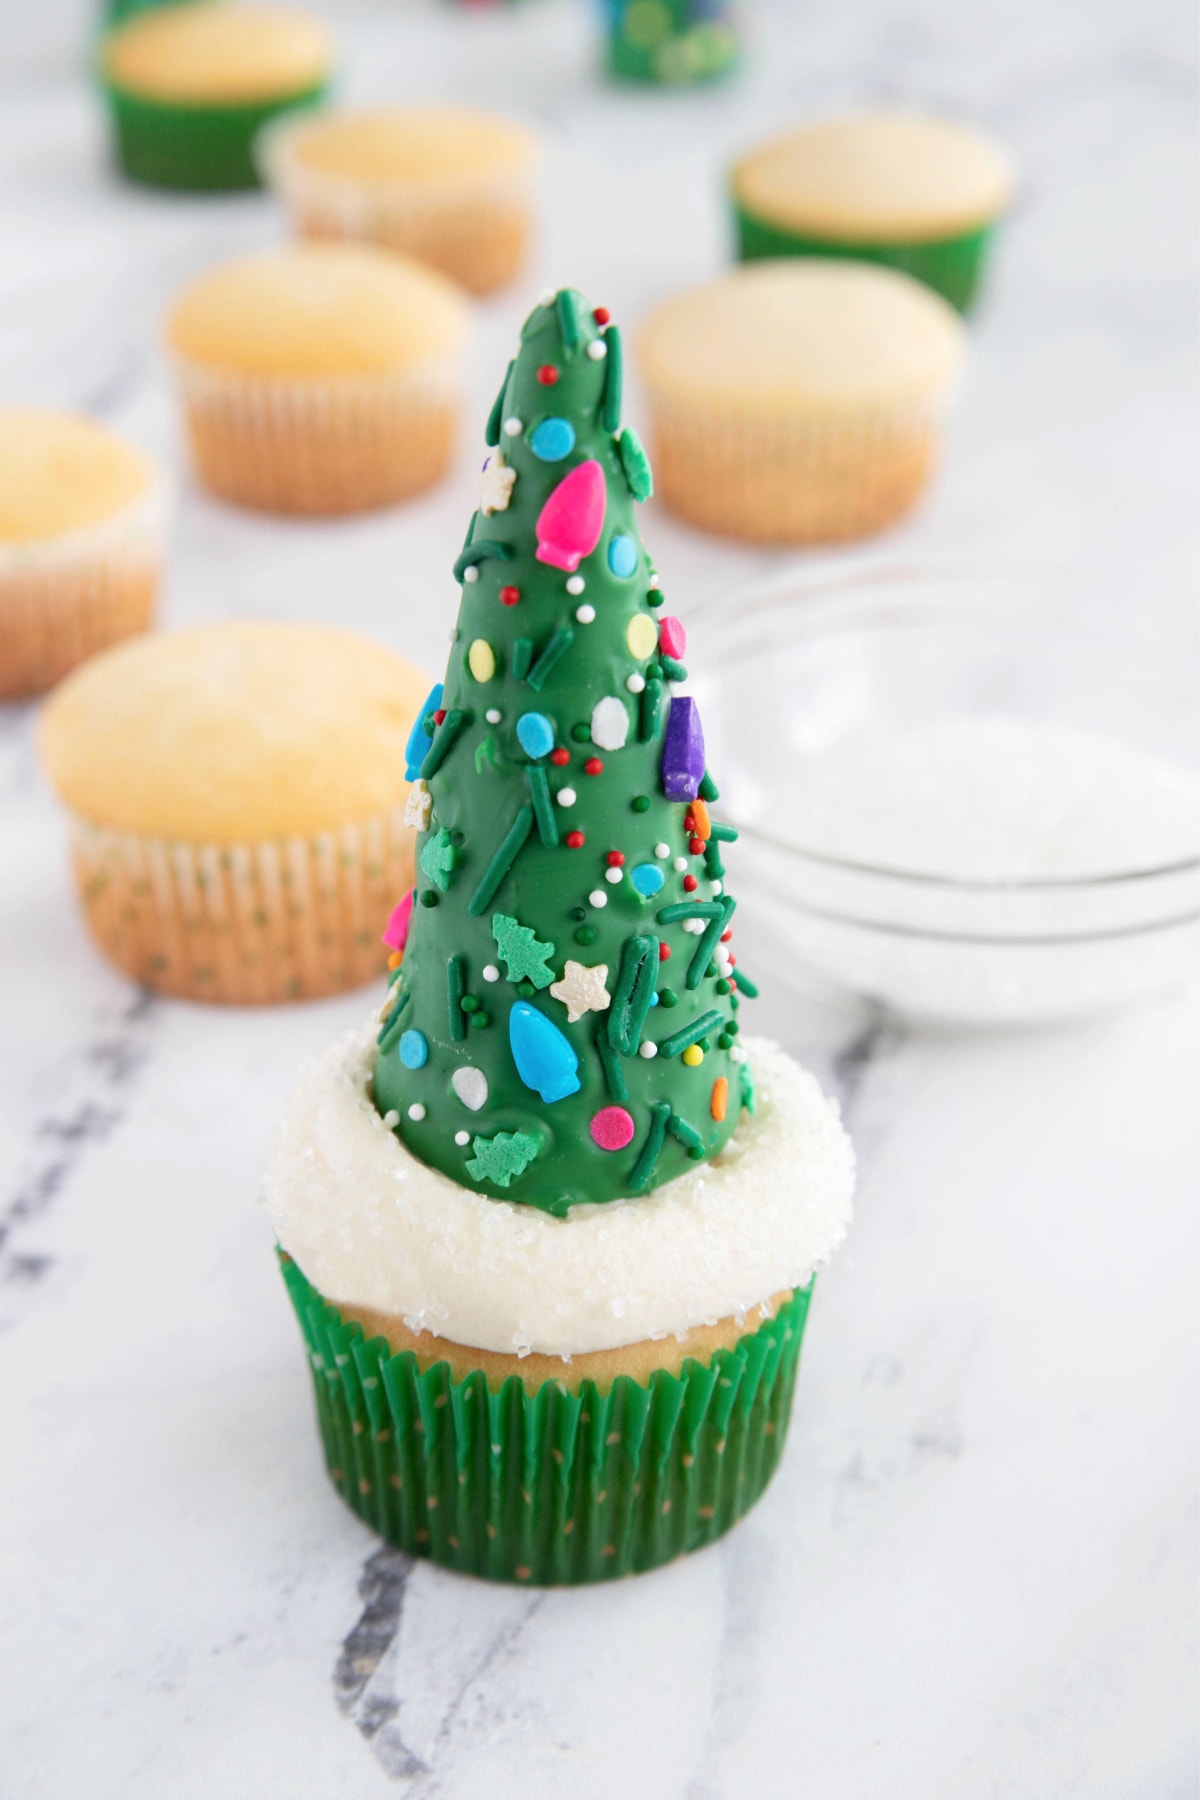
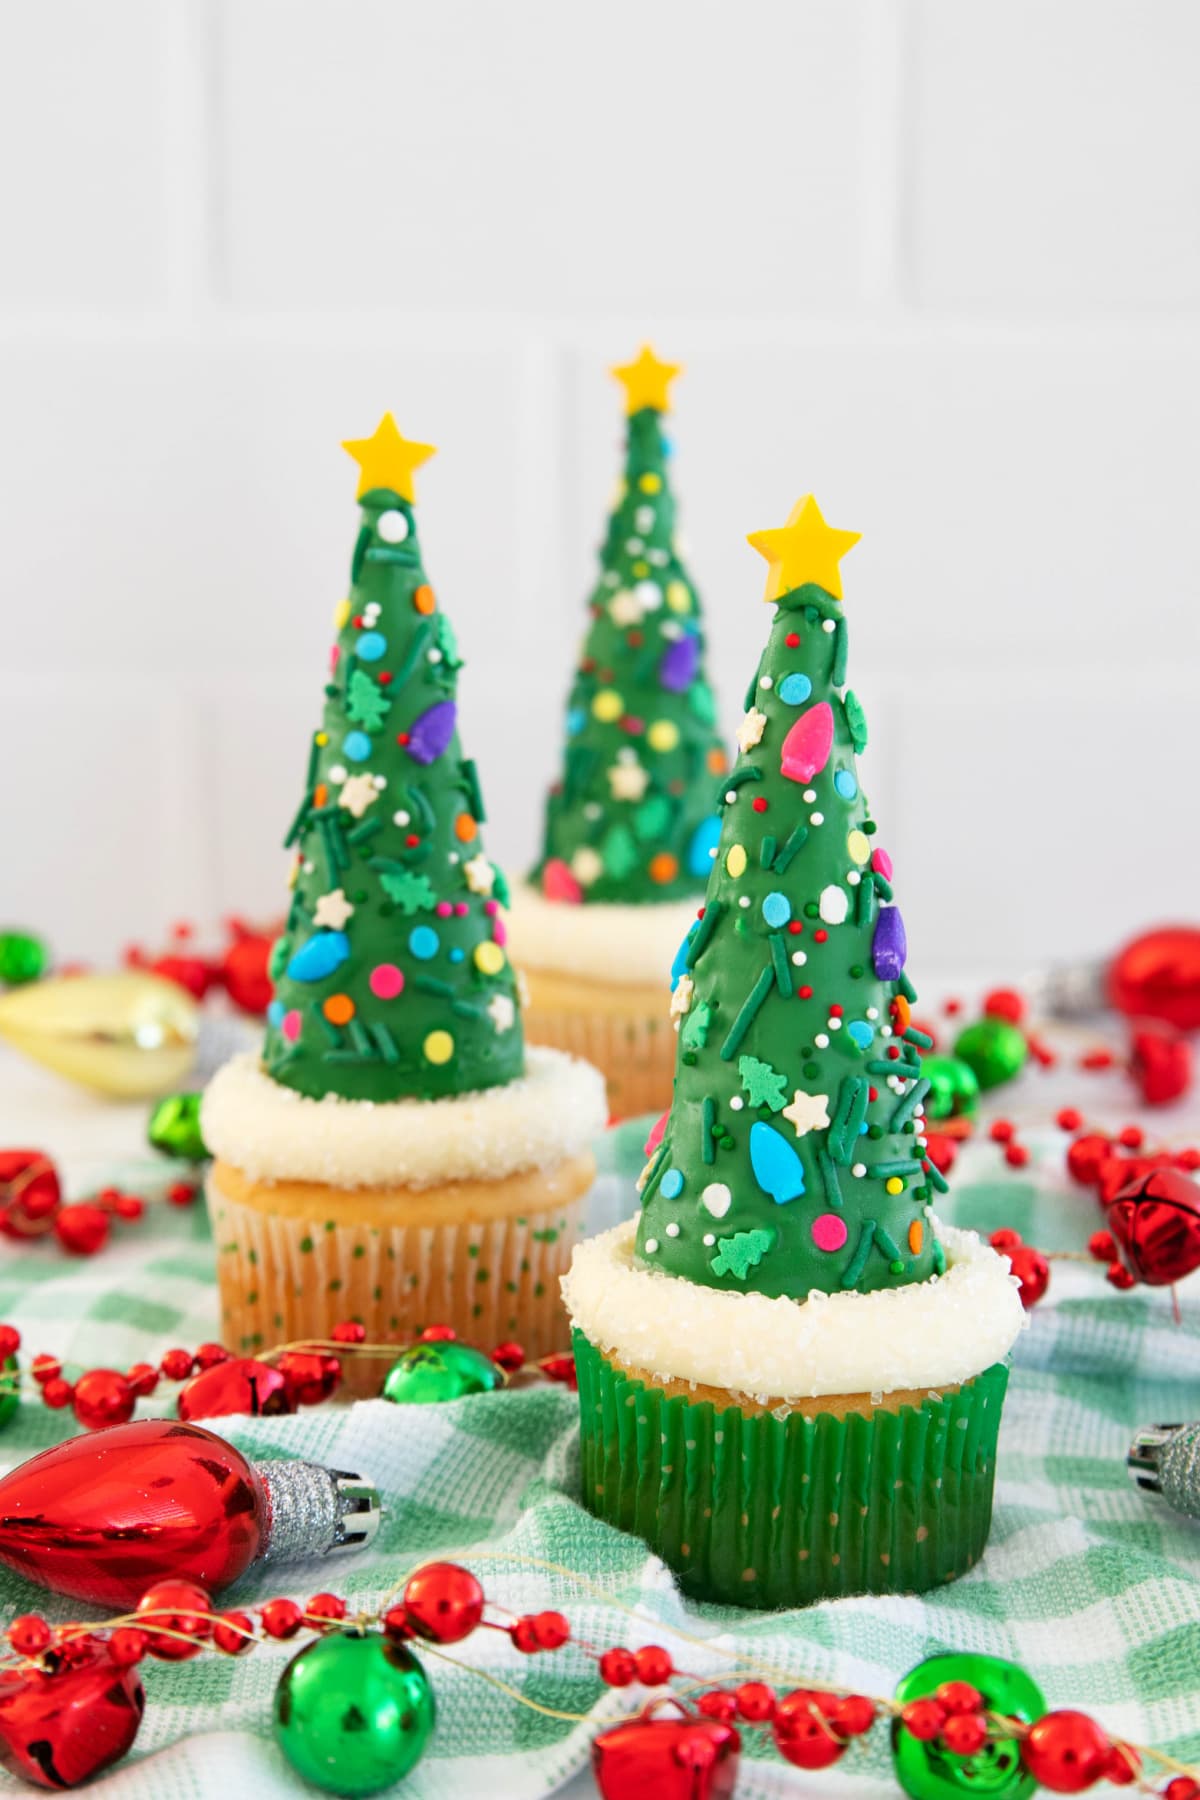
Step 1. Set a Christmas tree onto the cupcake. Gently press it into the icing so it stays put.
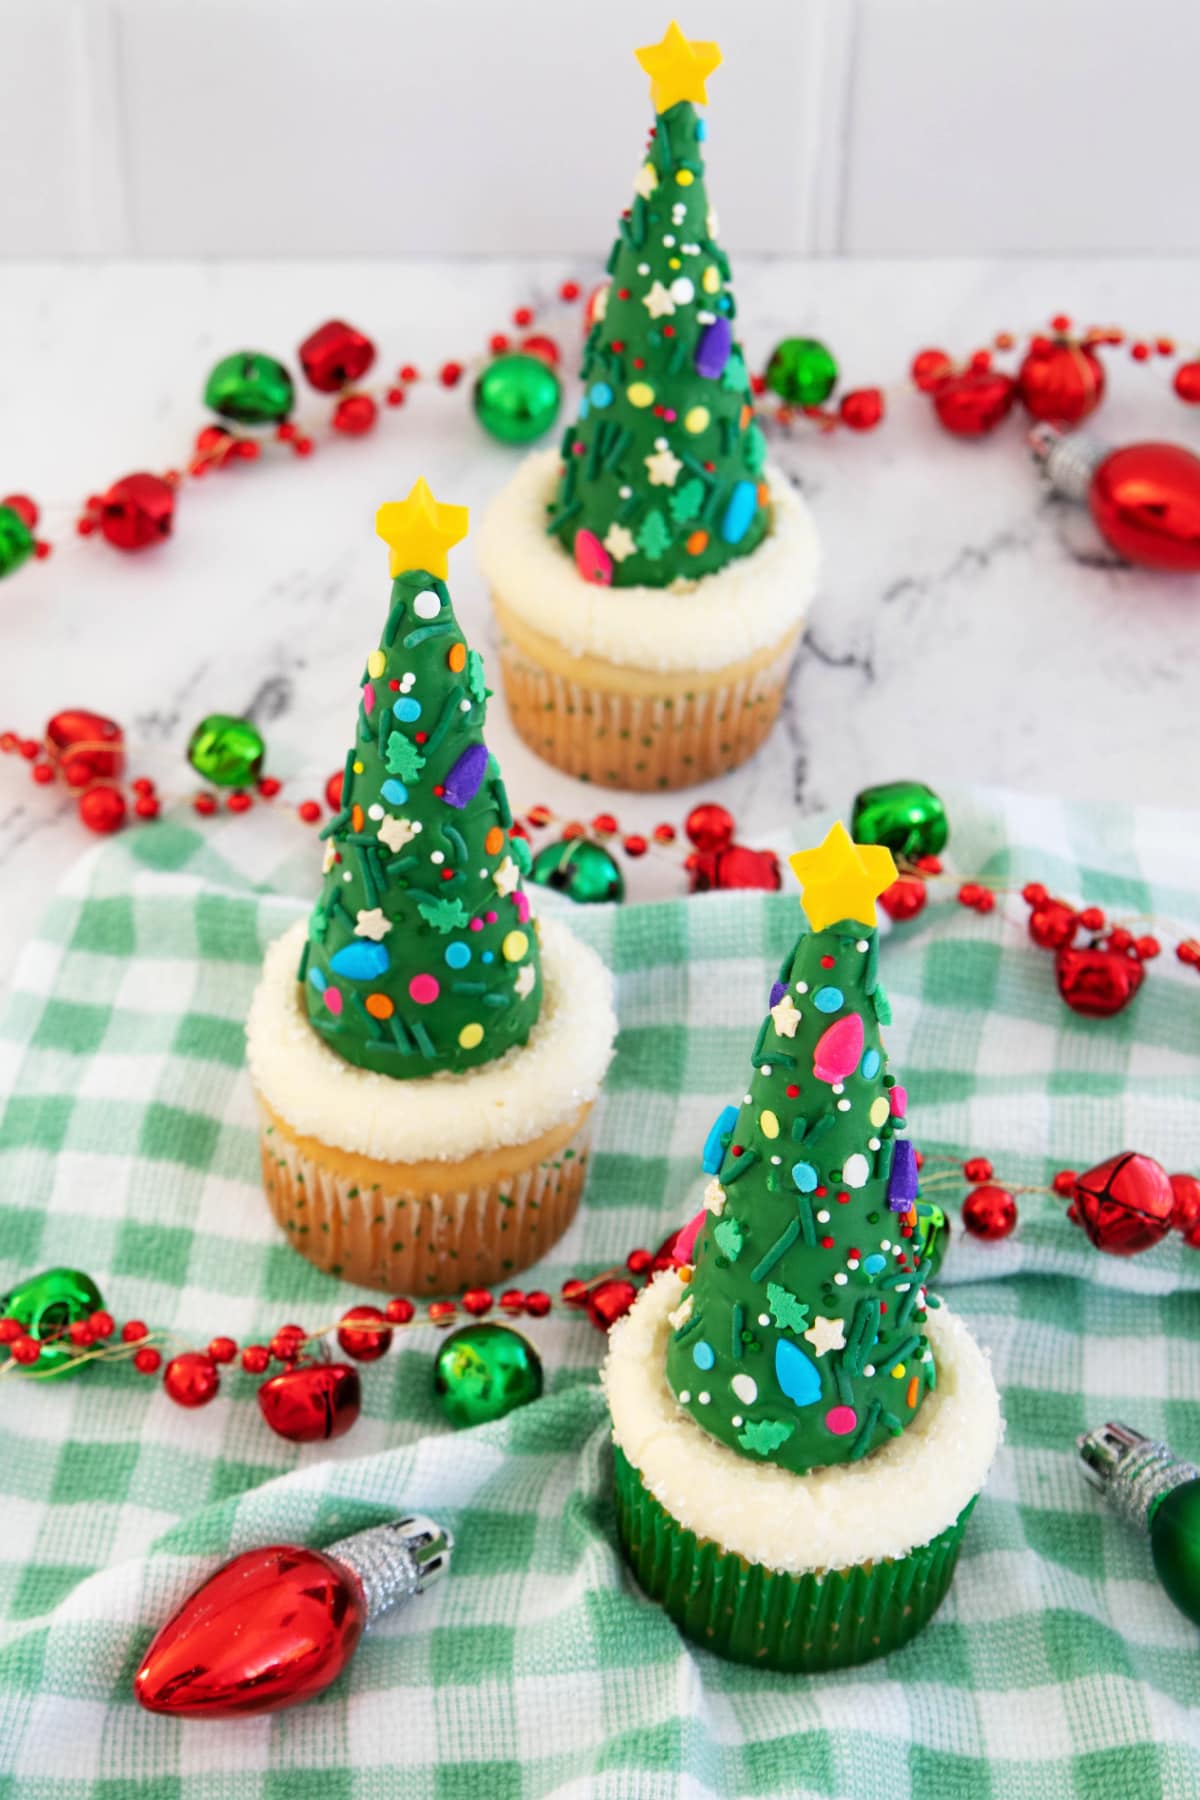
Step 2. If you want your trees to have a tree topper, you can use a candy mold to make yellow stars.

Step 3. Once stars are dry, use a little melted chocolate to stick them to the top of the trees.
If you don’t have a candy mold, you can easily skip this step. Your Christmas trees will look beautiful either way!
Of course, after making these, we had a few bowls to clean. Luckily, Publix had us covered with deals on ingredients AND the supplies to get our baking supplies spotless!
Christmas Tree Cupcakes Recipe Variations:
- Frosting: You can use any frosting you prefer. A simple vanilla buttercream or cream cheese frosting both work really well.
- Green candy melts: If you can’t find green candy melts or prefer a brighter shade, you can substitute white candy melts and add green food coloring. You can also spread green frosting on the cones, though I prefer the smooth look of the candy melts.
- Cupcake flavor: I used a white cake mix for this Christmas cupcake recipe, but you can easily switch the cake mixes flavors to make chocolate Christmas tree cupcakes or any other flavor you want to try. If you make chocolate cupcakes, you may want to take the frosting to edges to cover up the chocolate color.
- Cupcake alternative: Want to make this a fun activity for the kids but don’t have time to make cupcakes? Spread the frosting on a large sugar cookie instead, then let the kids make their own trees with the cookie as a base.
Can I Make These Christmas Tree Cupcakes In Advance?
You can make these in advance, but it’s best to make the individual components the day before. Then you can assemble them just before you’re ready to serve. The cupcakes can be covered and stored unrefrigerated overnight.
The frosting can also be made the day before and refrigerated in an airtight container. It will harden slightly, so you’ll have to let it soften at room temperature for about 15 minutes or whip with a stand mixer to soften to the desired consistency before piping.
For best results, decorate your ice cream cones on the same day you’re serving them. However, you can do it the day before…the cone just may lose a little of its crispness.
Top Tips
- Dipping the cones: If you don’t want to use your fingers, you can insert a toothpick into the top of the cone and use a second one to guide the cone through the melted chocolate.
- Cooled cupcakes: You should let your cupcakes cool totally before decorating. If not, the warmth from the cupcake will melt the butter in the icing.
- Icing bag: If you don’t have an icing or piping bag on hand, you can use a gallon size storage bag instead. Just cut one corner off and insert a piping tip, then fill the bag with frosting and start decorating.
- Storing: These are tall cupcakes for for best results, place them in a large, upside-down cake carrier. The will give them enough room with touching the tree.
More Festive Desserts
These easy Christmas tree cupcakes were so much fun to make! Don’t forget to check these other fun holiday cake and dessert recipes:
- Santa Hat Christmas Cupcakes (also made with ice cream cones)
- Christmas Lasagna Dessert
- Christmas Tree Meringues
- Christmas Poke Cake
- Chocolate Christmas Mice
Christmas Tree Cupcakes
Ingredients
- 12 cupcakes
- 12 sugar cones
- 12 ounces green candy melts
- Christmas themed sprinkles
- 1 cup unsalted butter softened
- 1/4 teaspoon clear vanilla extract
- 14 ounces sweetened condensed milk 1 can
- White sparkling sugar sprinkles
- 1/4 cup yellow candy melts optional
- confectioner sugar optional
Instructions
- Make your cupcakes according to the directions on the box. Set aside to cool.12 cupcakes
- Use a bread knife to cut about an inch off the open end of each sugar cone. It works best to score it first, then snap off the end.12 sugar cones
- Place green candy melts in a large mixing bowl.12 ounces green candy melts
- Microwave for 30 seconds, then stir. Continue to microwave in 15 second increments, stirring in between, until completely melted and smooth. If necessary, add 1-2 tablespoons of shortening to thin the chocolate.
- Dip a cone into the melted candy, rotating until completely covered.
- Place on a cooling rack so that any excess chocolate drips down instead of collecting on the bottom. For easy cleanup, place a piece of wax paper or aluminum foil underneath to catch the falling chocolate.
- Add sprinkles. You’ll want to do this after dipping each cone. If you wait too long, the chocolate will set, and the sprinkles won’t stick. Continue until all 12 cones have been decorated.Christmas themed sprinkles
- Place butter in a large mixing bowl and whip for 3-4 minutes, until light and fluffy. For best results, you’ll want the butter to be at room temperature. If it’s still cold, you’ll need to whip it a little bit longer.1 cup unsalted butter
- Add the vanilla, then pour in the condensed milk a little at a time. Mix well. If the frosting needs to be thickened, you can add powdered sugar, a little at a time, until you get the desired consistency.14 ounces sweetened condensed milk, 1/4 teaspoon clear vanilla extract
- Fill an icing bag with the frosting and pipe onto cupcakes.
- Top with the white sparkling sugar to get the effect of sparkling snow.White sparkling sugar sprinkles
- Top the cupcake with your Christmas tree.
- If you have a star-shaped candy mold, make yellow stars and attach them to the top with a drop of melted green candy (optional)1/4 cup yellow candy melts
Notes
- I used clear vanilla extract because I wanted to keep the frosting as white as possible. If you don't have clear, you can use regular vanilla extract or just leave the extract out altogether.
- If you make the frosting ahead of time and refrigerate it, I may be too hard to pipe onto the cupcakes. Either let it sit out for about 15 minutes or whip with a stand mixer until it's soft enough to use.
Nutrition
Did You Make This Recipe?
Share it with me on Instagram @funmoneymom and follow on Pinterest @funmoneymom for more!
Let’s be friends!
Did you love this post? Make sure to comment below and let me know your thoughts! And don’t forget to follow on your favorite social network below!

About Lisa O’Driscoll
Lisa O’Driscoll is a lifestyle and parenting expert, cookbook author, and the creative force behind Fun Money Mom, a popular blog she’s run since 2014. She’s the author of the children’s cookbook Roll It, Slice It, Mash It, Dice It, designed to get kids excited about cooking. With multiple TV appearances under her belt, she loves sharing her expertise on family-friendly recipes, creative DIYs, and party planning and is always on a mission to inspire and entertain!