Minion Pumpkin (No Carve)
This post may contain affiliate links. As an Amazon Associate, I earn from qualifying purchases.
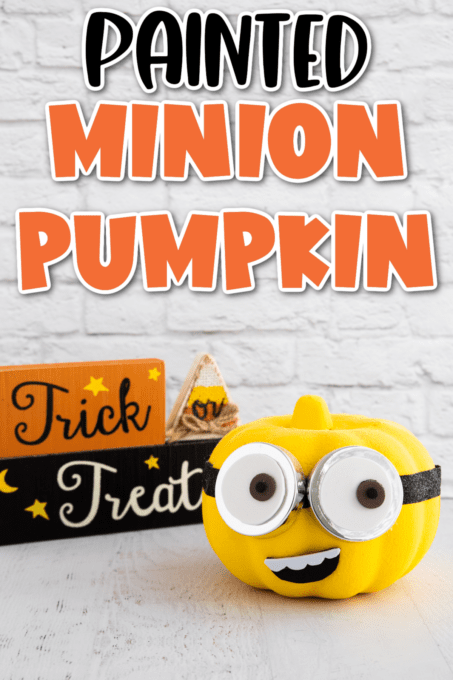
This adorable Minion Pumpkin is the perfect mess-free Halloween activity! Made with inexpensive craft items from your local dollar store, your kids will have so much fun making their very own little minions to display.

Halloween just wouldn’t be the same without fun pumpkins and decorations. Our favorites are always the no carve pumpkins and we’ve created everything from a unicorn pumpkin to a no carve Frankenstein pumpkin!
Every year we try to come up with creative new ideas and many of them are based on popular characters from movies and tv. Since we’ve always loved minions, we decided that it was time to make a fun pumpkin version of these cute little guys.
Kids will love making their own amazing minion pumpkin for a Halloween party or a Despicable Me movie night.

What We Love About This Minion Pumpkin
- Safe – What I love most about this no carve pumpkin is that it’s totally safe for little ones. I’m a big fan of my girls keeping all 10 of their fingers and this craft doesn’t require anything sharper than scissors. Younger kids can even use their own kid-friendly scissors.
- Mess Free – Does anybody actually enjoy cleaning the pumpkin guts? It’s messy and gross and I’m more than happy to skip that entire step!
- Budget Friendly – These pumpkin minions are super budget friendly and I always stock up when Dollar Tree first puts out their pumpkins (usually in September).
- Reusable – Unlike real pumpkins, these pumpkins don’t rot. That means that you can use these as Halloween decorations for years to come!
Craft Supplies
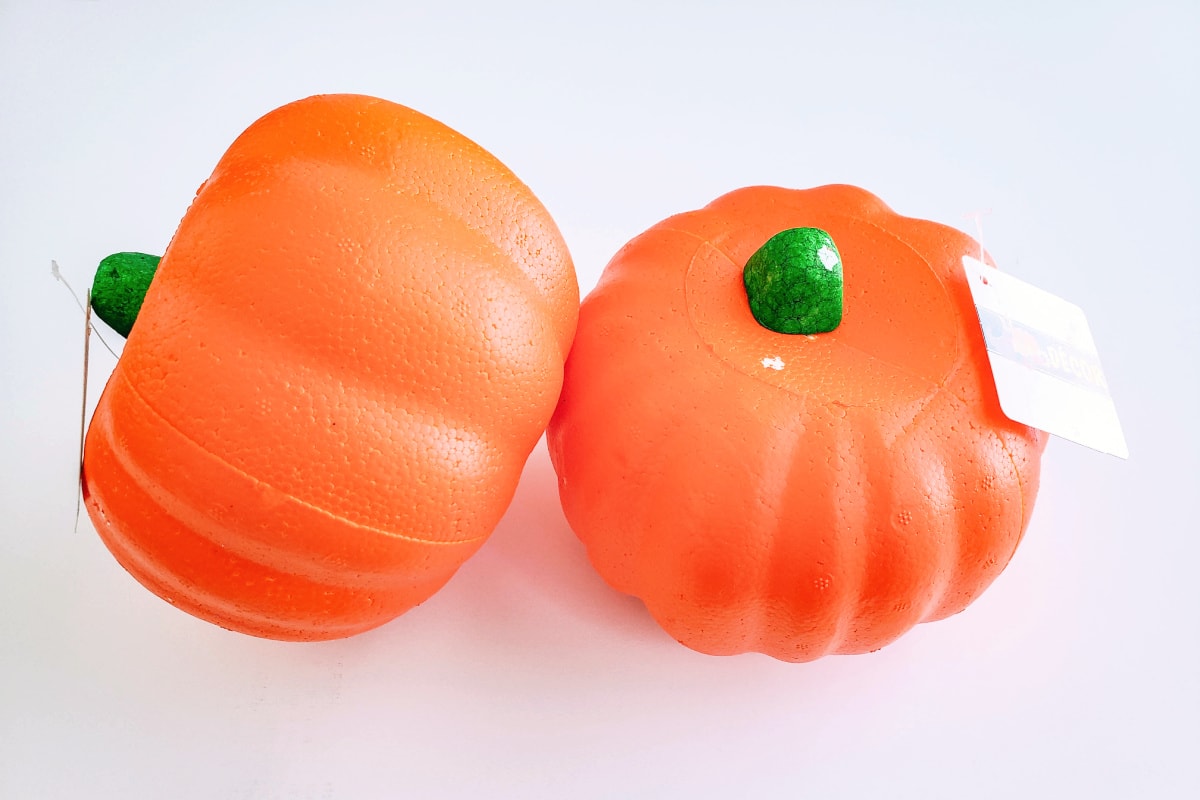
- craft pumpkin
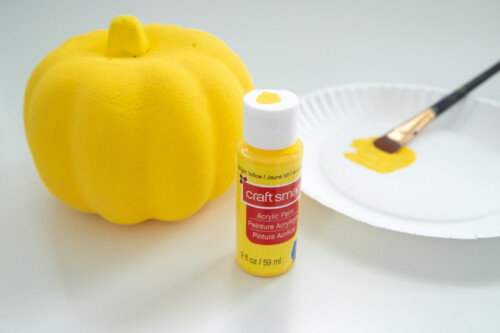
- yellow paint
- black ribbon
- jar lids or gray/silver craft foam
- craft foam (black, white, and brown)
- hot glue gun
- glue sticks
Tips for Perfect Pumpkins
- I found it easiest to draw the shapes with a pencil first. Once you get the look you want, flip the piece over so that the pencil markings are on the bottom and don’t show.
- Get creative! Google Minions and check out all the different ideas. You can have silly minions, frightened minions or even scary minions for Halloween. Each family member can pick a different expression for their own minion pumpkin!
- I used jar lids for the goggles, just because I happened to have them on hand. You can also use baby jar or a candle jar lid. Mason jar lids could work too, they just happen to be a little bigger. If you only have one lid, don’t worry…just make a minion with one eye instead.
- Don’t have any lids? You can easily substitute gray or silver craft foam.
- If you’re making a lot of these for kids to decorate at a party, you can use yellow spray paint to paint all the pumpkins first. Just let them dry overnight and you’ll be good to go.

Looking for more fun pumpkin ideas? I have plenty! From the cutest Baby Yoda pumpkin to a magical Harry Potter pumpkin, check out these 25+ Cute Pumpkin Ideas or scroll to the end of this post to see them all!
It’s a great way to bring the whole family together for a little bit of fall fun!
Minion Pumpkin (No Carve)
Materials
- Foam pumpkin
- Yellow paint
- Black ribbon 1/2 inch
- Craft foam white, brown and black
- Silver craft foam to use in place of jar lids
- Jar lids
Instructions
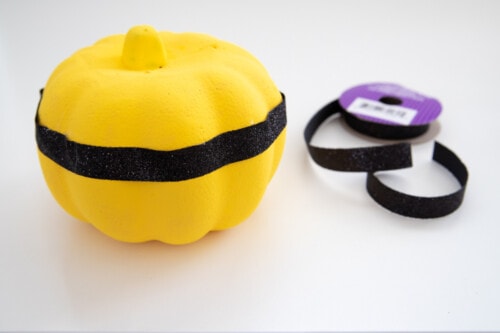
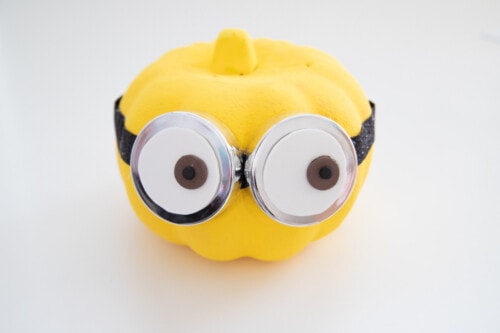
- Paint craft pumpkin with yellow acrylic paint. Let it dry for about 30 minutes. You may need to add a second coat depending on how thick the first coat is.Foam pumpkin, Yellow paint

- Wrap ribbon around the pumpkin, about 1/3 of the way down. The ribbon I used was 1/2" but you can go a little bigger or smaller if needed.Black ribbon
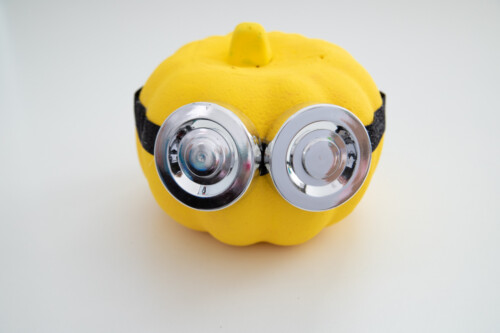
- Use hot glue to attach the jar lids. If you don't have jar lids, you can cut circles out of grey or silver craft foam instead.Jar lids , Silver craft foam
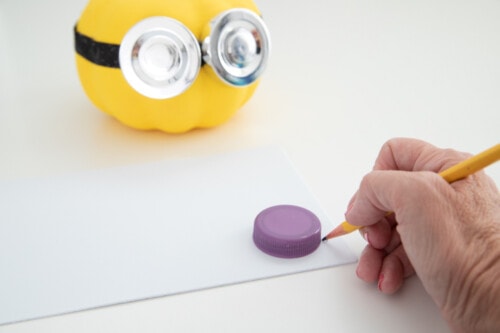
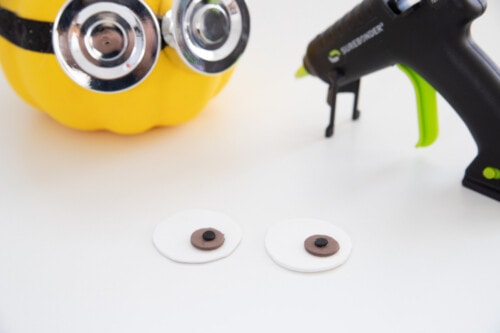
- Trace a slightly smaller circle onto white craft foam. You can use an everyday object like a milk jug lid or spice jar cap for tracing.Craft foam
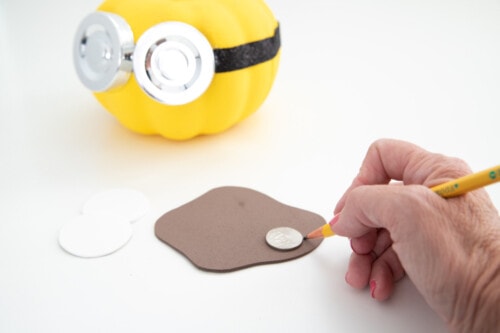
- Use a quarter to trace a circle onto the brown craft foam.Craft foam
- Use a hole punch to make two tiny pupils from black craft foam (you can also use a black sharpie or a dot of black acrylic paint). If you don't have a hole punch, cut two small circles with your scissors. Then use a little bit of hot glue to attach the brown circles to the front of the white ones, then add the pupils.Craft foam
- Glue the eyes onto the silver lids or craft foam.
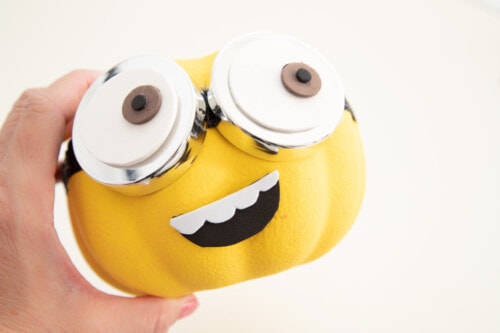
- Cut a mouth and teeth from black and white craft foam, then glue together to form the minion's mouth. Attach to the pumpkin and your minion is ready for Halloween!Craft foam
Notes
Did You Make This Project?
Share it with me on Instagram @funmoneymom and follow on Pinterest @funmoneymom for more!
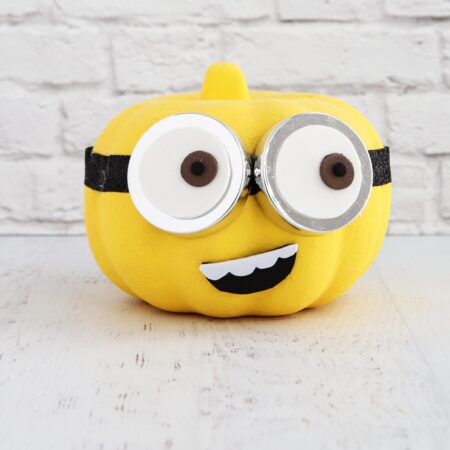
How easy was that? We had so much fun, we just may make a whole minion army!

More No-Carve Halloween Pumpkins
Want more easy pumpkin painting ideas? Get all the tutorials here:
- Grinch Pumpkin
- Witch Pumpkin
- Minion Pumpkin
- Gnome Pumpkin
- Pikachu Pumpkin
- Mike Wazowski Pumpkin
- Sully Pumpkin
- Taylor Swift Pumpkin
- Shark Pumpkin
- Baby Yoda Pumpkin
- Vampire Pumpkin
- Harry Potter Pumpkin
- Golden Snitch Pumpkin
- Pumpkin Diorama
- Unicorn Pumpkin
- Jack Skellington Pumpkin
- Sally Skellington Pumpkin
- Hello Kitty Pumpkin
- Frankenstein Pumpkin
- Mummy Pumpkin
- Black Cat Pumpkin
- Emoji Pumpkins
- Bat Pumpkin
- Spider Pumpkin
- Melted Crayon Pumpkin
- Cinderella Inspired Pumpkin
- Teal Pumpkin
- Butterfly Pumpkin
- Bumblebee Pumpkin
- Metallic Polka Dot Pumpkin
- Caramel Apple Pumpkin
- Spiderweb Pumpkin
- Glitter Pumpkin
- Dollar Tree Pumpkin
- Minnie Mouse Pumpkin
- Mickey Mouse Pumpkin
- Spiderman Pumpkin
Let’s be friends!
Did you love this post? Make sure to comment below and let me know your thoughts! And don’t forget to follow on your favorite social network below!

About Lisa O’Driscoll
Lisa O’Driscoll is a lifestyle and parenting expert, cookbook author, and the creative force behind Fun Money Mom, a popular blog she’s run since 2014. She’s the author of the children’s cookbook Roll It, Slice It, Mash It, Dice It, designed to get kids excited about cooking. With multiple TV appearances under her belt, she loves sharing her expertise on family-friendly recipes, creative DIYs, and party planning and is always on a mission to inspire and entertain!