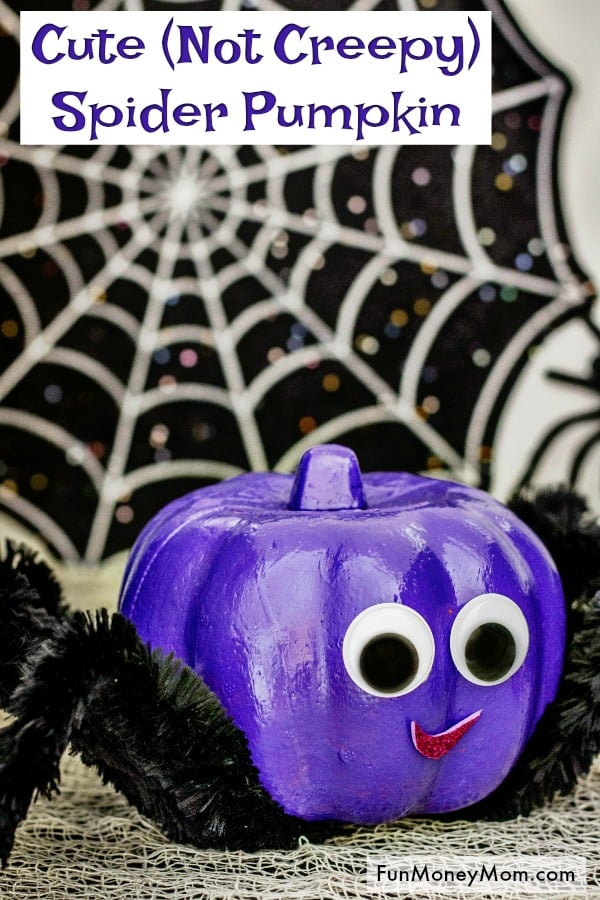
Cute Spider Pumpkin For Halloween (No Carve)
This post may contain affiliate links. As an Amazon Associate, I earn from qualifying purchases.

This spider pumpkin is proof that Halloween pumpkins don’t need to be scary. Kids will have a blast making this adorable Halloween craft!
This post contains affiliate links to help you find what you need to make this fun craft
If you’ve taken a look around my blog, you’ll see that no carve pumpkins are one of my family’s favorite Halloween activities! We’ve made everything from a flowery unicorn pumpkin to a Harry Potter pumpkin and I’ve even made pumpkins on our local lifestyle show, Suncoast View.
It’s so much easier to make no carve pumpkins than to pull out the knives (even though these cool pumpkin carvings are pretty awesome). Plus, since we use $1 foam pumpkins, it’s cheap too. Easy and cheap just happens to be my favorite combination when it comes to Halloween crafts…or any craft for that matter!
Ready to make your own giant spider pumpkin? Here’s what you’ll need:
Supplies:
- Foam craft pumpkin – I get mine from Dollar Tree but you can also find them on Amazon (you’ll just pay a little more)
- Purple acrylic paint
- (1) Jumbo chenille
- Wiggly Eyes
- Craft foam
Tools:
- Hot glue gun and glue sticks (this cordless glue gun is a game changer!)
- Scissors
- Paintbrush
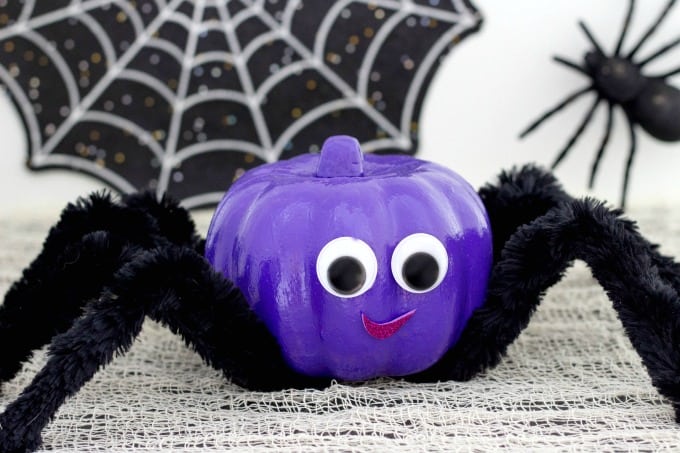
Spider Pumpkin
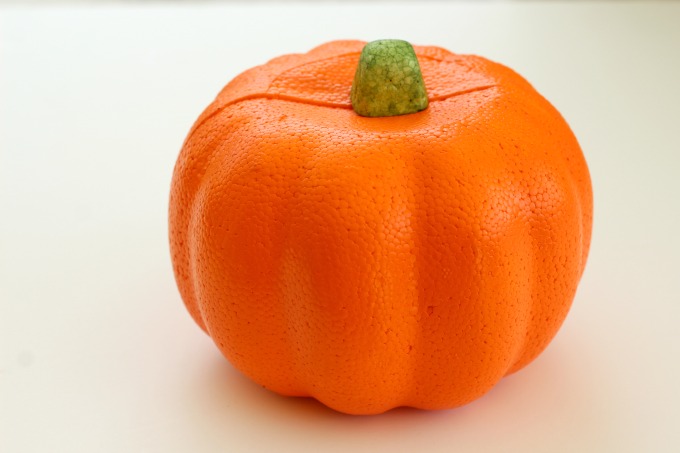
Start with a cheap foam pumpkin. I totally stock up on these as soon as I see them hit the Dollar Tree every year.
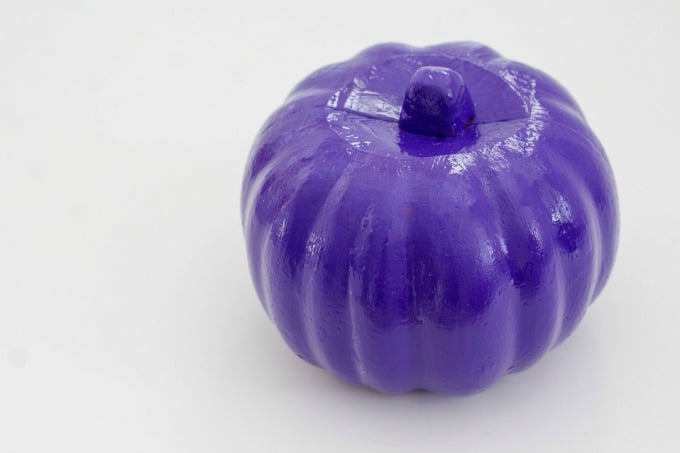
Paint it with purple acrylic paint. You’ll need 2-3 coats.
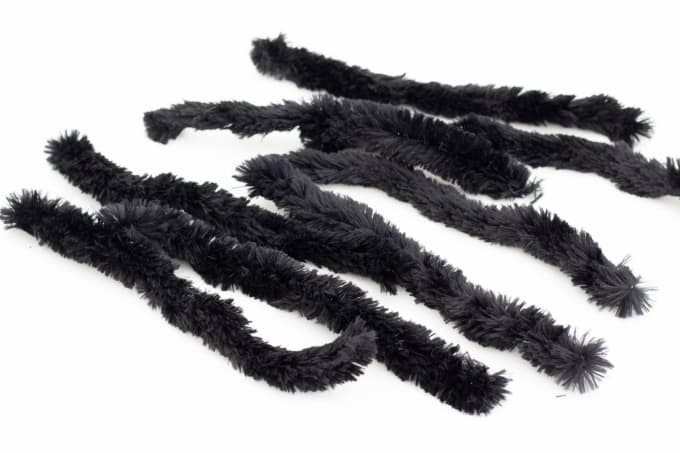
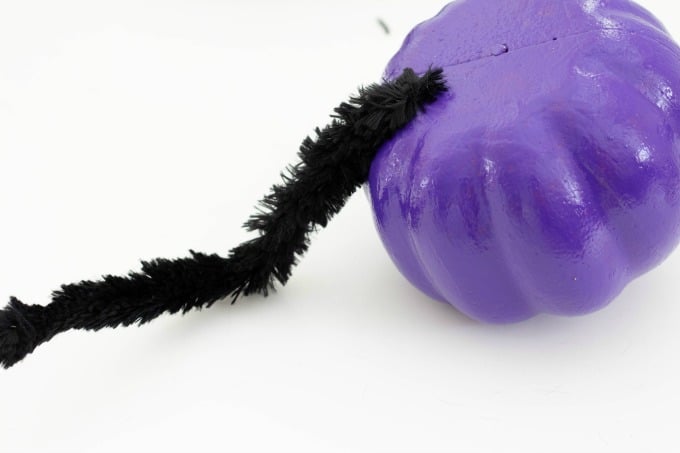
While you wait for the paint to dry, cut the chenille into eight equal pieces.
Bend each piece in the middle.
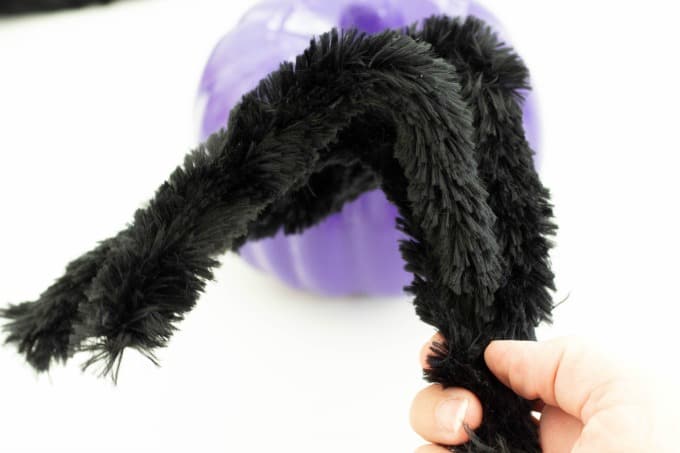
Bend the bottom of the chenille slightly inward and hot glue to the bottom of the pumpkin.
Glue the rest of the spider legs to the bottom of the pumpkin, then remove all the random hot glue strings. I get them everywhere, as you can see.
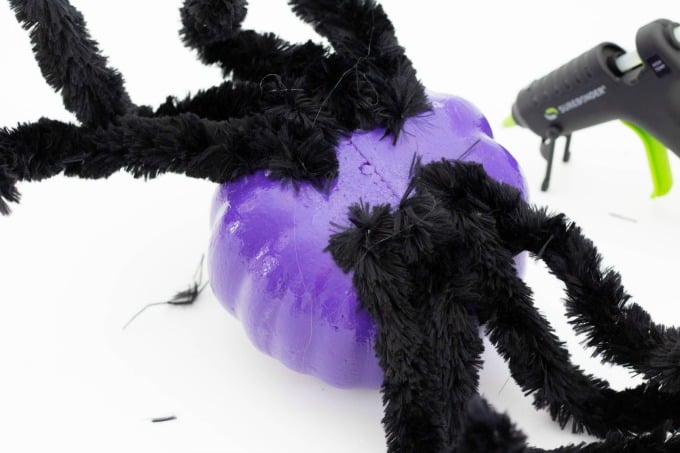
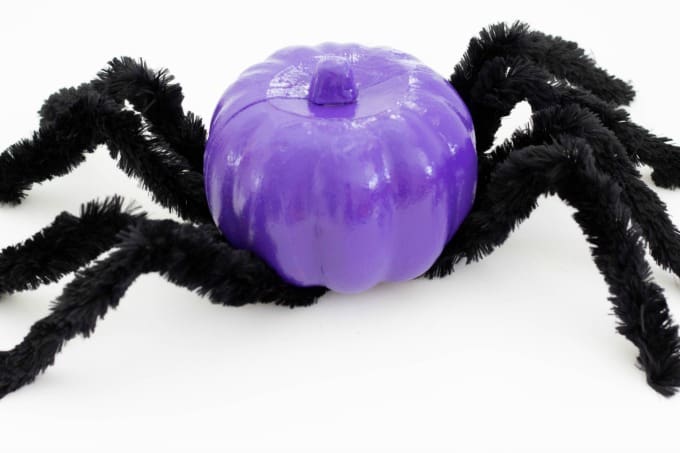
Give the glue a minute to set, then turn over your spider pumpkin and adjust the legs.
Now add the wiggly eyes.
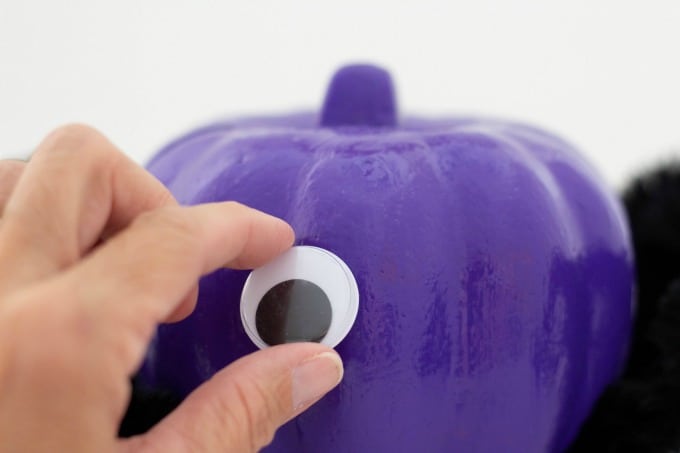
Add a mouth (I used a small piece of craft foam) and your spider pumpkin is complete.
My girls thought this little guy was so cute…and definitely not scary at all! We may even make a few friends in different colors. What color spider pumpkin would you make? Do you like sweet or scary Halloween decor?
Want more easy pumpkin painting ideas? Get all the tutorials here:
- Grinch Pumpkin
- Witch Pumpkin
- Minion Pumpkin
- Gnome Pumpkin
- Pikachu Pumpkin
- Mike Wazowski Pumpkin
- Sully Pumpkin
- Taylor Swift Pumpkin
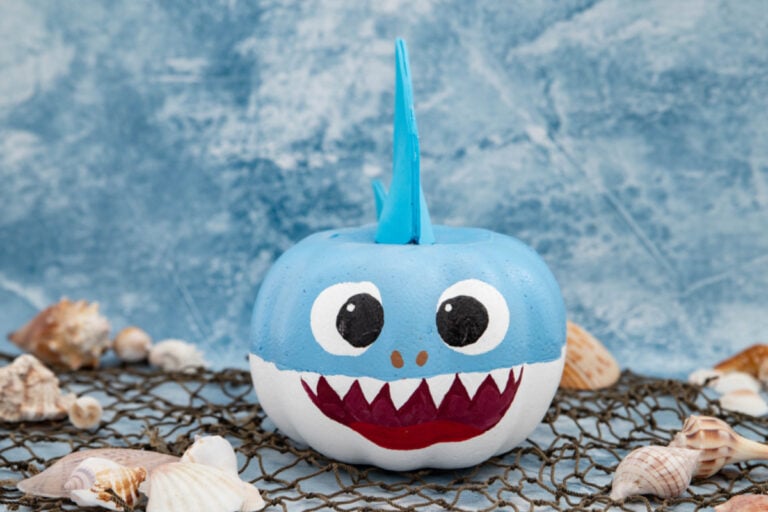
- Shark Pumpkin
- Baby Yoda Pumpkin
- Vampire Pumpkin
- Harry Potter Pumpkin
- Golden Snitch Pumpkin
- Pumpkin Diorama
- Unicorn Pumpkin
- Jack Skellington Pumpkin
- Sally Skellington Pumpkin
- Hello Kitty Pumpkin
- Frankenstein Pumpkin
- Mummy Pumpkin
- Black Cat Pumpkin
- Emoji Pumpkins
- Bat Pumpkin
- Spider Pumpkin
- Melted Crayon Pumpkin
- Cinderella Inspired Pumpkin
- Teal Pumpkin
- Butterfly Pumpkin
- Bumblebee Pumpkin
- Metallic Polka Dot Pumpkin
- Caramel Apple Pumpkin
- Spiderweb Pumpkin
- Glitter Pumpkin
- Dollar Tree Pumpkin
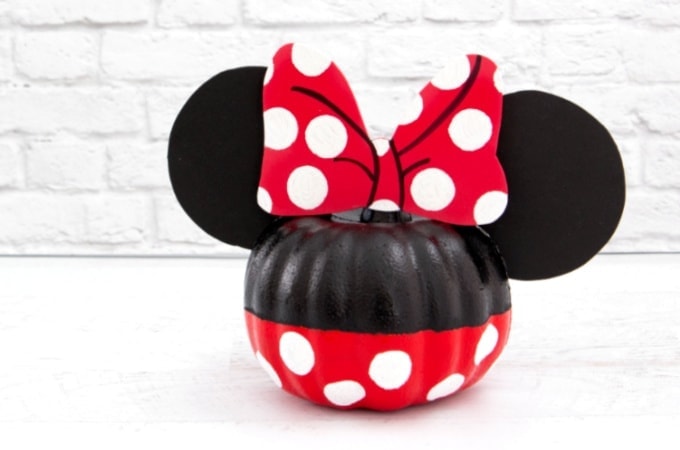
- Minnie Mouse Pumpkin
- Mickey Mouse Pumpkin
- Spiderman Pumpkin
Looking for more Halloween fun? Check these out…
Let’s be friends!
Did you love this post? Make sure to comment below and let me know your thoughts! And don’t forget to follow on your favorite social network below!

About Lisa O’Driscoll
Lisa O’Driscoll is a lifestyle and parenting expert, cookbook author, and the creative force behind Fun Money Mom, a popular blog she’s run since 2014. She’s the author of the children’s cookbook Roll It, Slice It, Mash It, Dice It, designed to get kids excited about cooking. With multiple TV appearances under her belt, she loves sharing her expertise on family-friendly recipes, creative DIYs, and party planning and is always on a mission to inspire and entertain!