
How To Make A Barbie Car
This post may contain affiliate links. As an Amazon Associate, I earn from qualifying purchases.
This shop has been compensated by Collective Bias, Inc. and its advertiser. All opinions are mine alone. #GiftDeliciously #CollectiveBias

Every Christmas I have a hard time deciding what to get my girls for their stockings! I have no problems with actual presents but the stockings are tricky. I want to save fancy gifts for under the tree but I don’t like to get a lot of cheap little trinkets either.
This year I got the idea for some yummy snacks when we passed the OREO cookie display at Walmart. The smaller boxes are a perfect fit for their stockings and since I almost never buy cookies, these would be a real treat…especially for my three year old, who we have lovingly dubbed “cookie monster”. Seriously, that kid will do anything for a cookie! Anyway, the girls caught me looking at the OREO cookies (Walmart knew what they were doing when they put the display right in front of the checkout aisle) and twisted my arm. What can I say…I was kind of in the mood for cookies anyway!

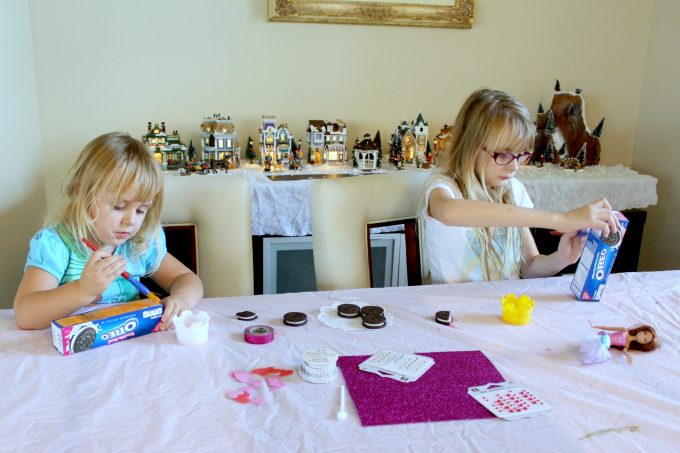
When we got home we decided that not only would we snack on the cookies, we’d make something fun with the boxes too! They were an interesting shape so we brainstormed and came up with Barbie cars…who wouldn’t, right? We got our box of craft supplies, I found some other random items around the house and we were ready to get started.
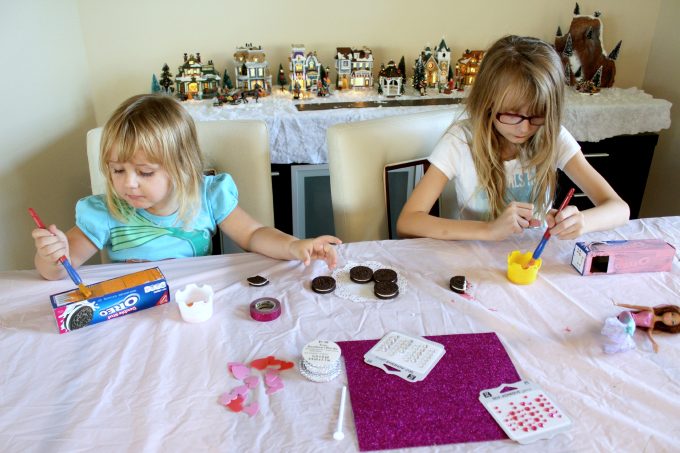
The girls and I had a blast, though I’m not quite sure if Keira had more fun making her toy car or eating the cookies! Look at that little hand reaching for the cookie as she continues to paint…that’s coordination!
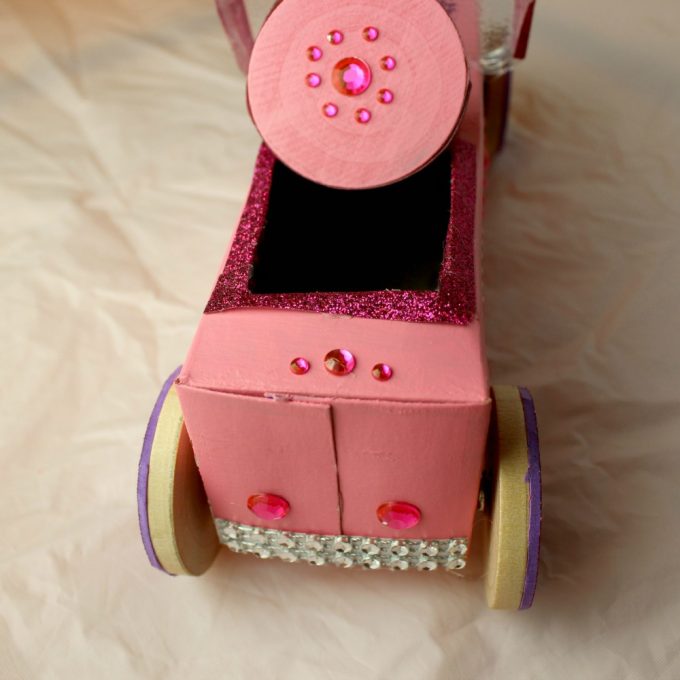
I had to get in on the act too and once I started, I got a little carried away! This is probably the fanciest Barbie car ever made from an OREO cookie box! I think I enjoyed it as much as the girls did (maybe even more)! Want to join in on the fun? Here’s how…
Barbie Car Supplies
- Gather your supplies: I have a box of craft supplies that I keep around the house for a rainy day. Whenever I’m at the craft store and see random things in the dollar bin, I’ll thrown them in the basket, especially if they sparkle! You never know when these things will come in handy. I also found some tiny cake stacking tools (I don’t actually know what they’re called) and thought they’d be perfect for the steering wheels. Finally I covered the table with the plastic tablecloth that we use for all things messy!

2. You’ll want to open each end of the box before you start painting to make it easier to add the wheels later. Find a pointy object and make holes where you want your wheels to go.

3. Cut a hole in the top of the box approximately 2 1/4″ long. Cut some of the flap off but leave it about one inch long. I folded mine over and used it to hold the steering mechanism in place. Push the cake stacker (or whatever you choose to use) through the front and back of the flap, then angle it and push it through the box.

4. Pull your steering contraption out, then paint the box. I used acrylic paint (Barbie pink, of course) because I wanted something thick enough to cover the OREO logo. Two coats did the trick. I also painted the wooden steering wheel while I was at it.

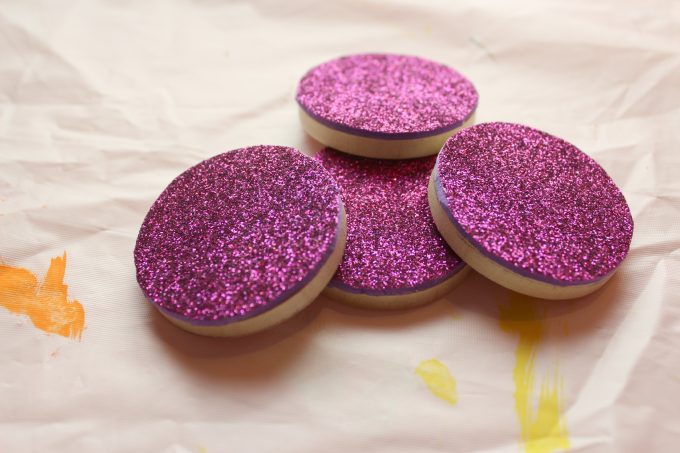
5. This glitter foam was perfect for giving the wooden wheels a little extra sparkle. Just trace it, peel the paper and stick it on. So easy!

6. Hot glue metal brads to your wheels, then attach them to the car. Be sure not to attach them too tightly or the wheels won’t turn. Once your wheels are attached, hot glue the ends of the box shut and glue your steering wheel on. Now it’s time to have fun decorating!

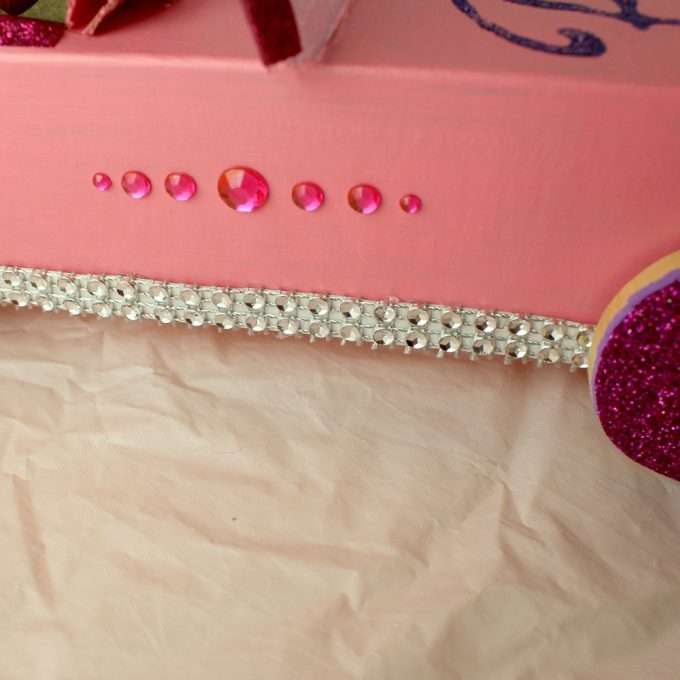
7. This was my favorite part! We’re very girly in our house (as if you can’t tell from all the pink) so I had fun adding whatever sparkly thing I could get my hands on! I also found this little piece of plastic from my daughters’ latest Shopkins haul and thought it was the perfect size for a little windshield.


This car was the perfect size for Barbie’s little sister and she decided to take it for a spin to show it off!

She took Keira’s car a little later and met up with a friend to enjoy the village lights. I think they had fun and they can always snack on their OREO wheels if they get hungry!

What could be better for the holidays than stuffing those stockings with OREO cookies and making memories crafting with the kids! Oh yeah, don’t forget to leave some of those cookies for Santa!

Let’s be friends!
Did you love this post? Make sure to comment below and let me know your thoughts! And don’t forget to follow on your favorite social network below!

About Lisa O’Driscoll
Lisa O’Driscoll is a lifestyle and parenting expert, cookbook author, and the creative force behind Fun Money Mom, a popular blog she’s run since 2014. She’s the author of the children’s cookbook Roll It, Slice It, Mash It, Dice It, designed to get kids excited about cooking. With multiple TV appearances under her belt, she loves sharing her expertise on family-friendly recipes, creative DIYs, and party planning and is always on a mission to inspire and entertain!


Cute idea!
Thanks Emily!
What an awesome idea! I’ll have to remember this when my girls reach Barbie age. And I love the pics of the Barbies cruising around town. They made me smile. 😀
Thanks! We had a fun time making them and my girls got a kick of seeing their Barbies drive through the Christmas village! You’ll definitely have to do it with your girls too 🙂
xoxo
Lisa
Such a creative idea. When I was little, I built houses for my Barbies. I am going to share this craft with my sisters who have girls. You could easily change this to a boy craft. My boys would love my making cars for their super heroes.
This is adorable. What a cute idea. Thanks for sharing on Small Victories Link Up.
Thanks! It was a fun project to work on with my girls!
xoxo
Lisa