Clay Pot Gingerbread Girl Ornament
This post may contain affiliate links. As an Amazon Associate, I earn from qualifying purchases.

This Clay Pot Gingerbread Girl Ornament is the perfect way to keep the kids entertained over the holiday break. It’s a fun yet easy craft that transforms an ordinary clay pot into a festive Christmas ornament that’ll look adorable on your tree!

Clay Pot Gingerbread Girl Ornament
If you’re looking for a super easy craft that the whole family will love, this clay pot gingerbread girl will be a new holiday favorite. With a few simple supplies from the Dollar Store, you can turn a clay pot into the cutest Christmas tree ornament. It can also double as a place card holder for a holiday dinner or a cute tag for a Christmas gift.
Try this easy craft at a kids’ Christmas party, a classroom event, or just a fun weekend activity. It will be an adorable new addition to your homemade ornament collection.

Why We Love This Craft
Easy – This craft is nearly impossible to mess up. It always comes out looking great and kids of all ages can make their own.
Budget-Friendly – You can get most of the supplies you need for this project at the Dollar store, so it’s a great way to have some inexpensive holiday fun.
Reusable – Add this cute craft to your ornament collection and you can enjoy seeing this keepsake on your tree year after year.
Supplies Needed
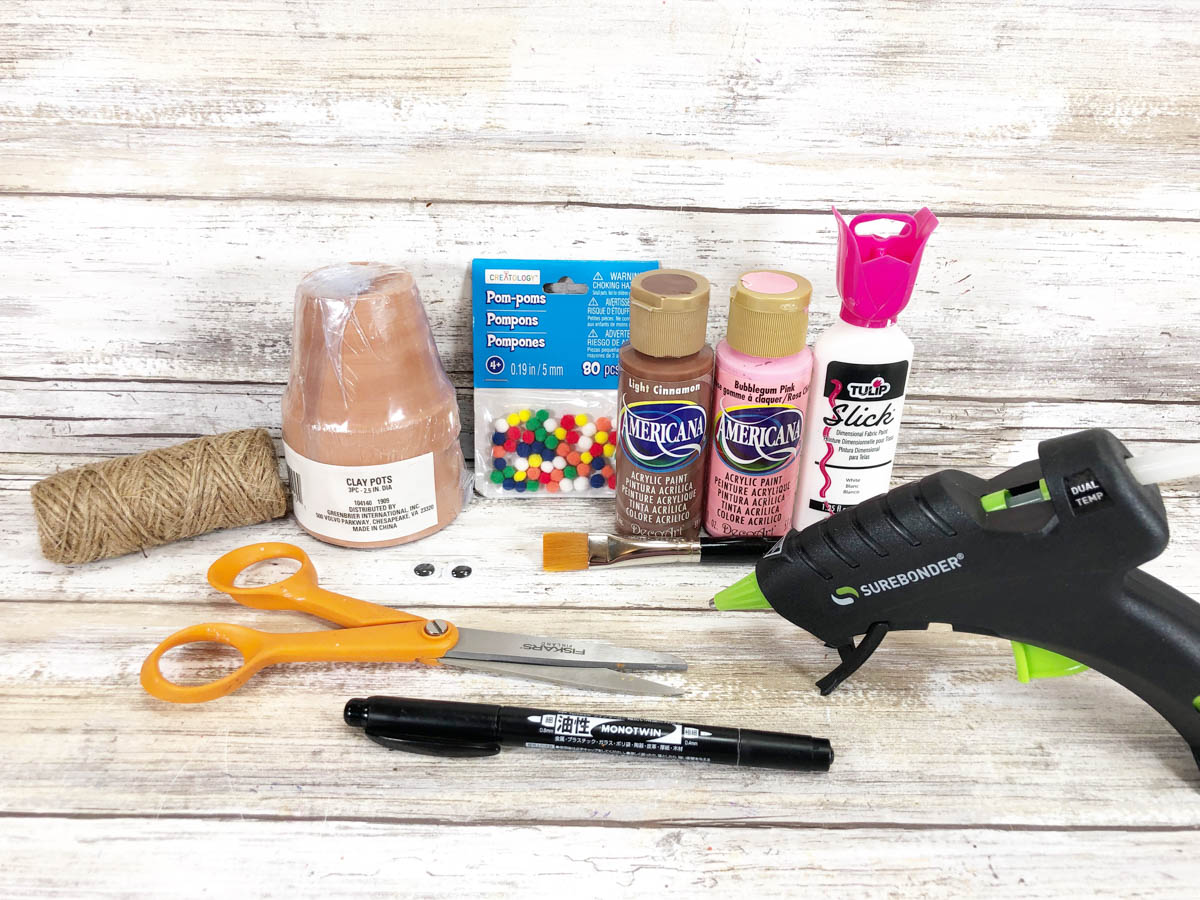
- Dollar Store Clay Pot – 2.5” in diameter – Dollar Store
- Acrylic Craft Paint – Dark Brown, Pink
- Dimensional Paint – White
- Natural Jute Twine – Dollar Store
- Wiggle Eyes, Two – Dollar Store
- Gingham Ribbon, Red and White – Dollar Store
- Mini Pom Poms, White
- Glue Gun and Glue Sticks
- Scissors
- Paintbrush
- Pencil with New Eraser
Note: If you want to make a gingerbread man instead of a girl, just skip adding the gingham ribbon.
More Holiday Craft Fun
If you’re looking for more fun family craft ideas, try some of our other favorite holiday ornament crafts.
- DIY Cupcake Ornaments
- Clay Pot Reindeer Ornament
- Paintbrush Santa Ornament
- Clothespin Reindeer Ornament
- Clothespin Christmas Tree
Or if you want to stick with the gingerbread theme, you’ll love this list of 20 of the Most Amazing Gingerbread House Ideas.

Clay Pot Gingerbread Girl Ornament
Equipment
- Pencil with new eraser
Materials
Instructions
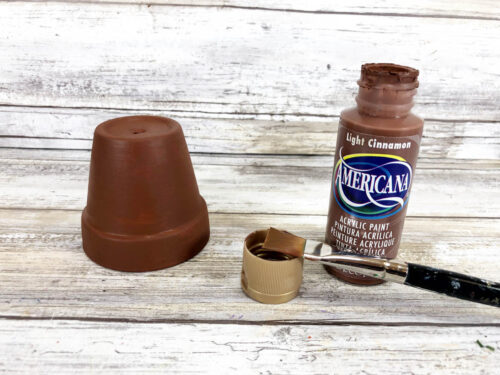
- Remove the packaging and labels from all materials. Apply a base coat of dark brown acrylic craft paint to the entire clay pot. Allow the paint to dry and then apply a second coat, if necessary.

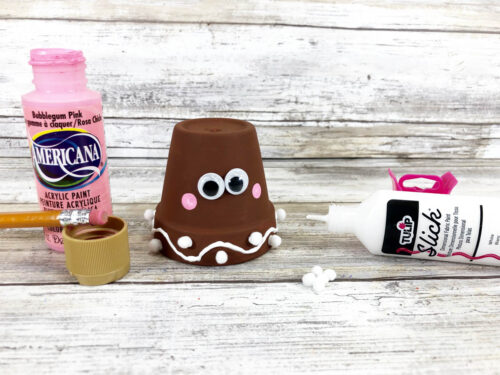
- Attach two wiggle eyes to the clay pot with a glue gun. Add polka dot cheeks to the face using a new pencil eraser dipped into pink acrylic craft paint. Set aside to dry.
- Draw a squiggle line around the rim of the pot with white dimensional paint. Attach the mini white pom poms to the rim of the pot with the dimensional paint. Set aside to dry.
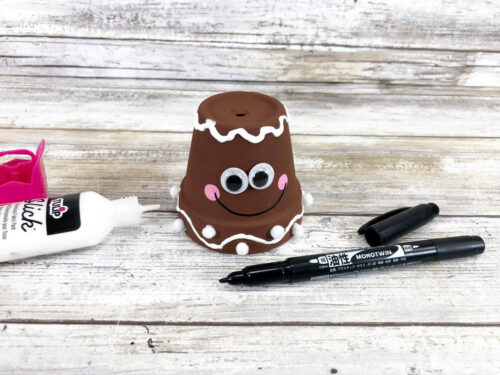
- Add a squiggle line around the top of the Gingerbread person with white dimensional paint. Using a permanent black marker, draw a smile from cheek to cheek.
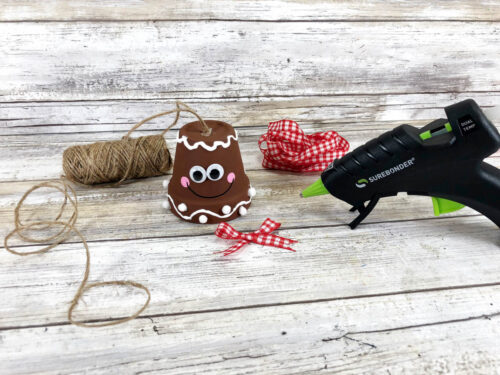
- Cut a 12” piece of natural jute twine, tie it in a loop with a knot, and attach it to the top of the clay pot with a glue gun. Tie a red and white gingham ribbon into a bow shape.
- Glue the bow to the top of the clay pot.
- Now all that's left to do is find the perfect spot on the tree for your adorable new ornament!


Notes
Did You Make This Project?
Share it with me on Instagram @funmoneymom and follow on Pinterest @funmoneymom for more!
Let’s be friends!
Did you love this post? Make sure to comment below and let me know your thoughts! And don’t forget to follow on your favorite social network below!

About Lisa O’Driscoll
Lisa O’Driscoll is a lifestyle and parenting expert, cookbook author, and the creative force behind Fun Money Mom, a popular blog she’s run since 2014. She’s the author of the children’s cookbook Roll It, Slice It, Mash It, Dice It, designed to get kids excited about cooking. With multiple TV appearances under her belt, she loves sharing her expertise on family-friendly recipes, creative DIYs, and party planning and is always on a mission to inspire and entertain!