How To Dye Easter Eggs With Food Coloring
This post may contain affiliate links. As an Amazon Associate, I earn from qualifying purchases.
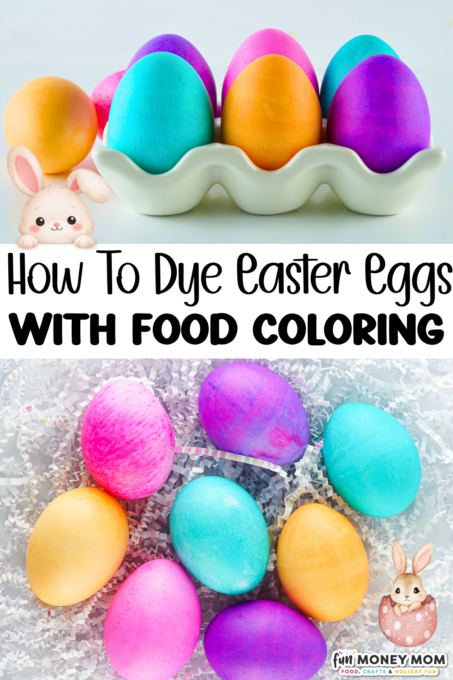
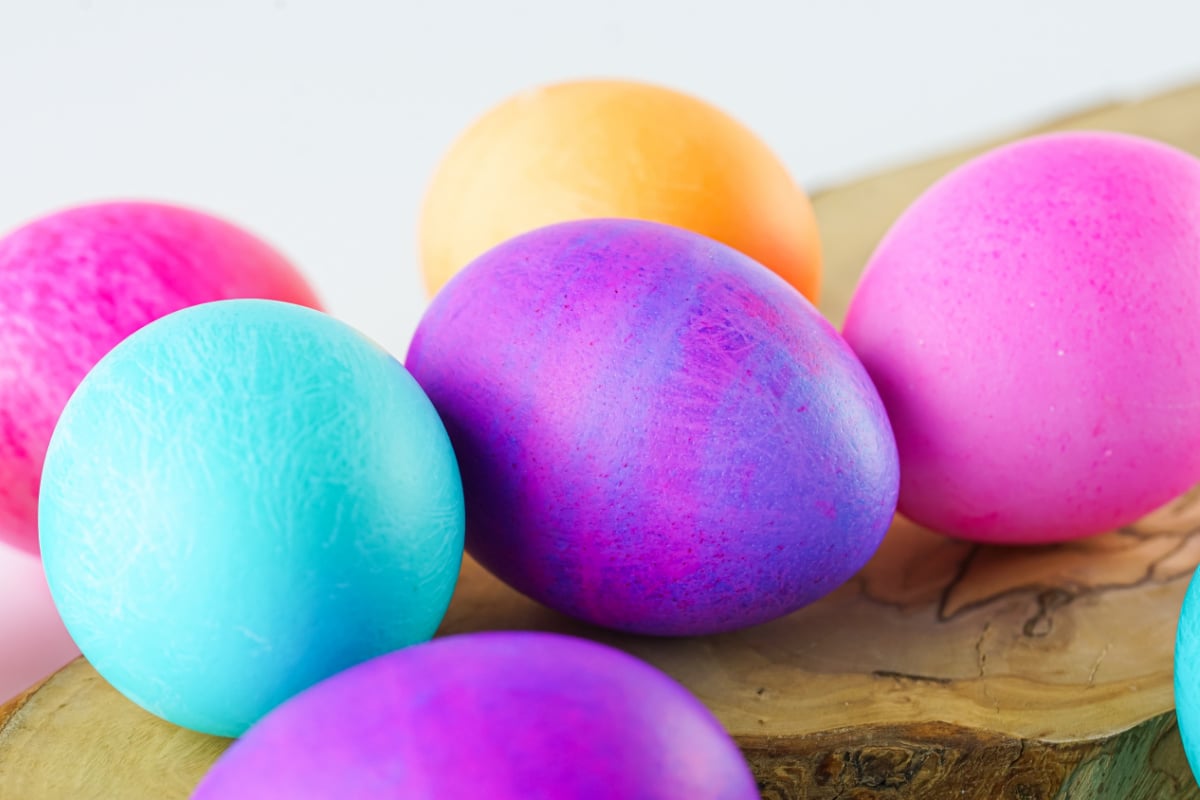
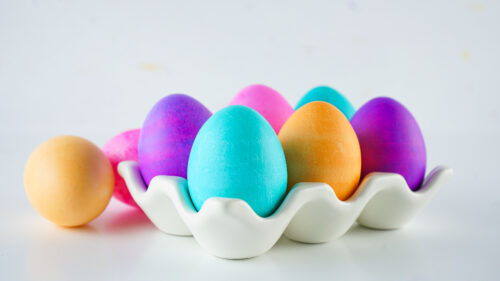
Ever wonder how to dye Easter eggs with food coloring? I tried it at home and was surprised at how easy it was to get bright, beautiful colors using just food dye, water, and vinegar.

How To Dye Easter Eggs With Food Coloring
No time to run to the store for an Easter egg dyeing kit? I’ve definitely been there. The good news is you can dye eggs with what you probably already have at home. From napkin wrapped Easter eggs to marbled Easter eggs with nail polish, it really just takes a little bit of creativity.
This time, I used food coloring, and I was really happy with how they turned out. It’s also so much easier than the usual kits. Just mix, dunk, and let them dry, and you’ve got bright, pretty eggs in about 10 minutes.
Why We Love This Craft
- Uses What You Already Have – No last-minute store run needed. You can pull this together with simple things you likely already have at home.
- Budget Friendly – No need to buy a kit when a few drops of food coloring can do the trick.
- Totally customizable – You can make soft pastels, bold colors, or mix shades to get exactly what you want.
Materials Needed
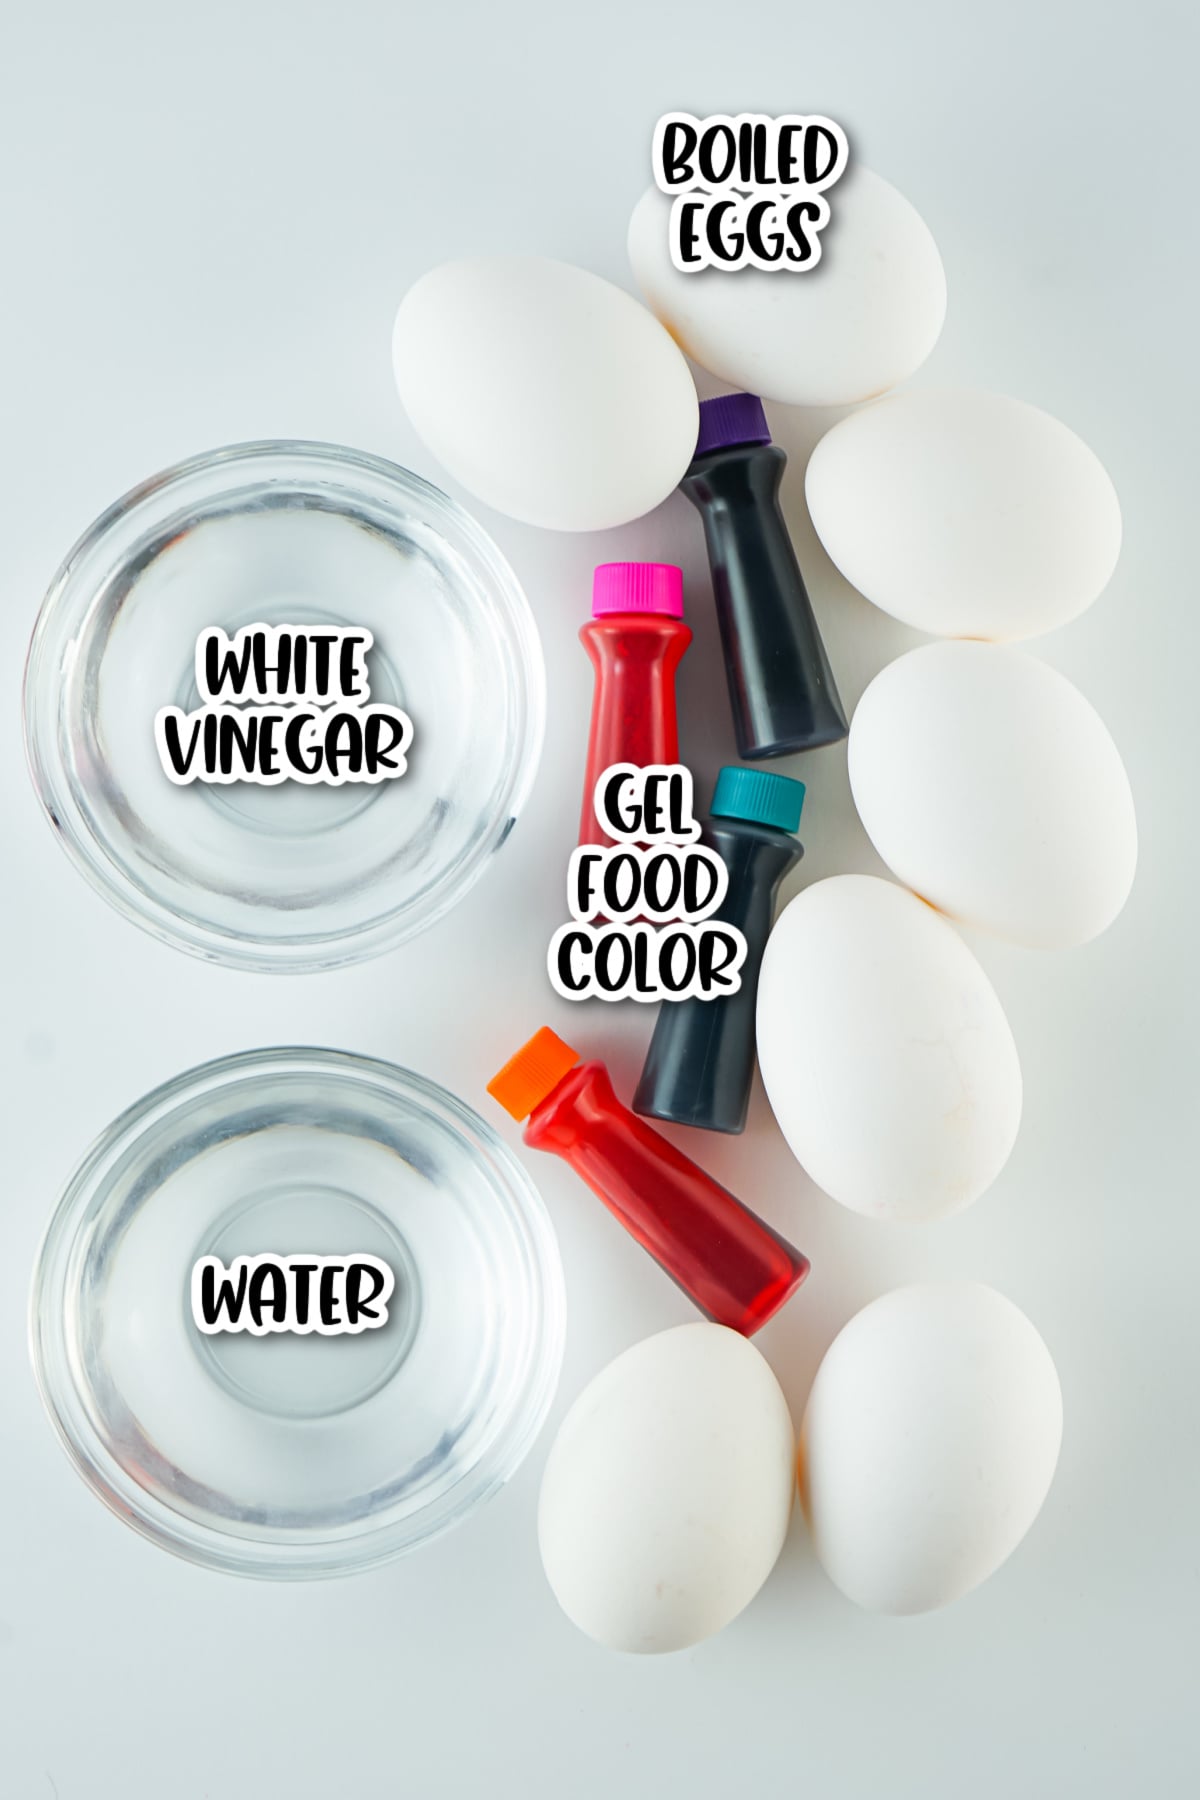
- Boiled eggs
- Food coloring gel (whatever colors you love most)
- White vinegar
- Water
Equipment
- 10 ounce cup or larger (one per color)
- Spoons
- Paper towels
Tips & Tricks
- For richer colors, you can heat the cups of colored water in the microwave for about a minute before adding the eggs. It helps deepen the color, but it’s totally up to you.
- Depending on the brand and color (especially orange and yellow), you may need a little more than ½ teaspoon of gel food coloring to get those bright, bold shades. I like to test one egg first to see if I want to add more.
- You can also use liquid food coloring instead of gel. About 10 drops usually does the trick. Just skip oil-based dyes since they won’t mix well with the water.
- Brown or farm-fresh eggs work great too. The colors may turn out a little darker or richer, which actually looks really pretty.
- Some gel food coloring (especially older ones) can create little “floaties” (food color specks) in the water. Don’t toss it! It can give your eggs a fun, almost tie-dye or firework look.
More Fun Easter Egg Ideas
Ready to get a little more creative with your eggs? Here are some fun ideas to try next.
- Silk Tie Easter Eggs
- Disney Princess Inspired Easter Eggs
- Unicorn Easter Eggs
- Toy Story Alien Easter Eggs
- Gold Foil Easter Eggs
How To Dye Easter Eggs With Food Coloring
Equipment
- 10 ounce cup or larger 1 per color
- spoons
- paper towels
Materials
- 7 boiled eggs
- 1 cup water per color
- 1/2 tablespoon white vinegar per color
- 1/2 teaspoon gel food coloring per color
Instructions
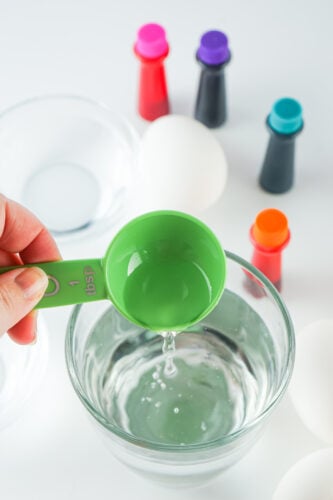
- Pick your colors and grab a separate glass for each one. Then add one cup of water and 1 tablespoon of vinegar to each.1 cup water, 1/2 tablespoon white vinegar

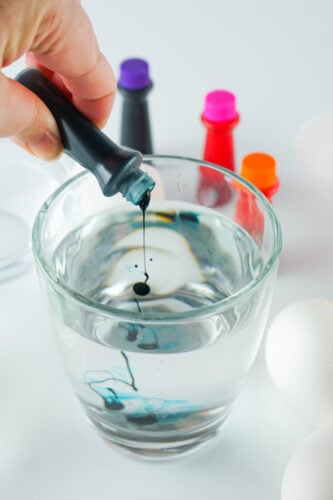
- Next add 1/2 teaspoon of food coloring to each one and stir.1/2 teaspoon gel food coloring
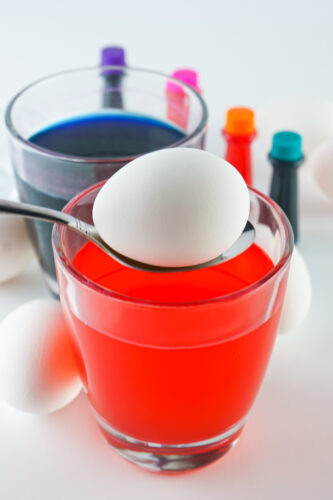
- Place your eggs in the colored water (one per cup). I recommend using spoons to make it easier to get the eggs in and out of the cups.7 boiled eggs
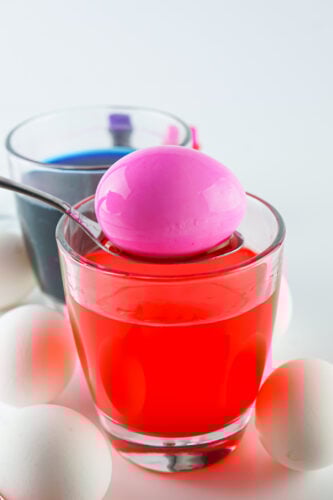
- Leave eggs in the dye for at least one minute. The longer you leave them in the colored water, the darker they will get.
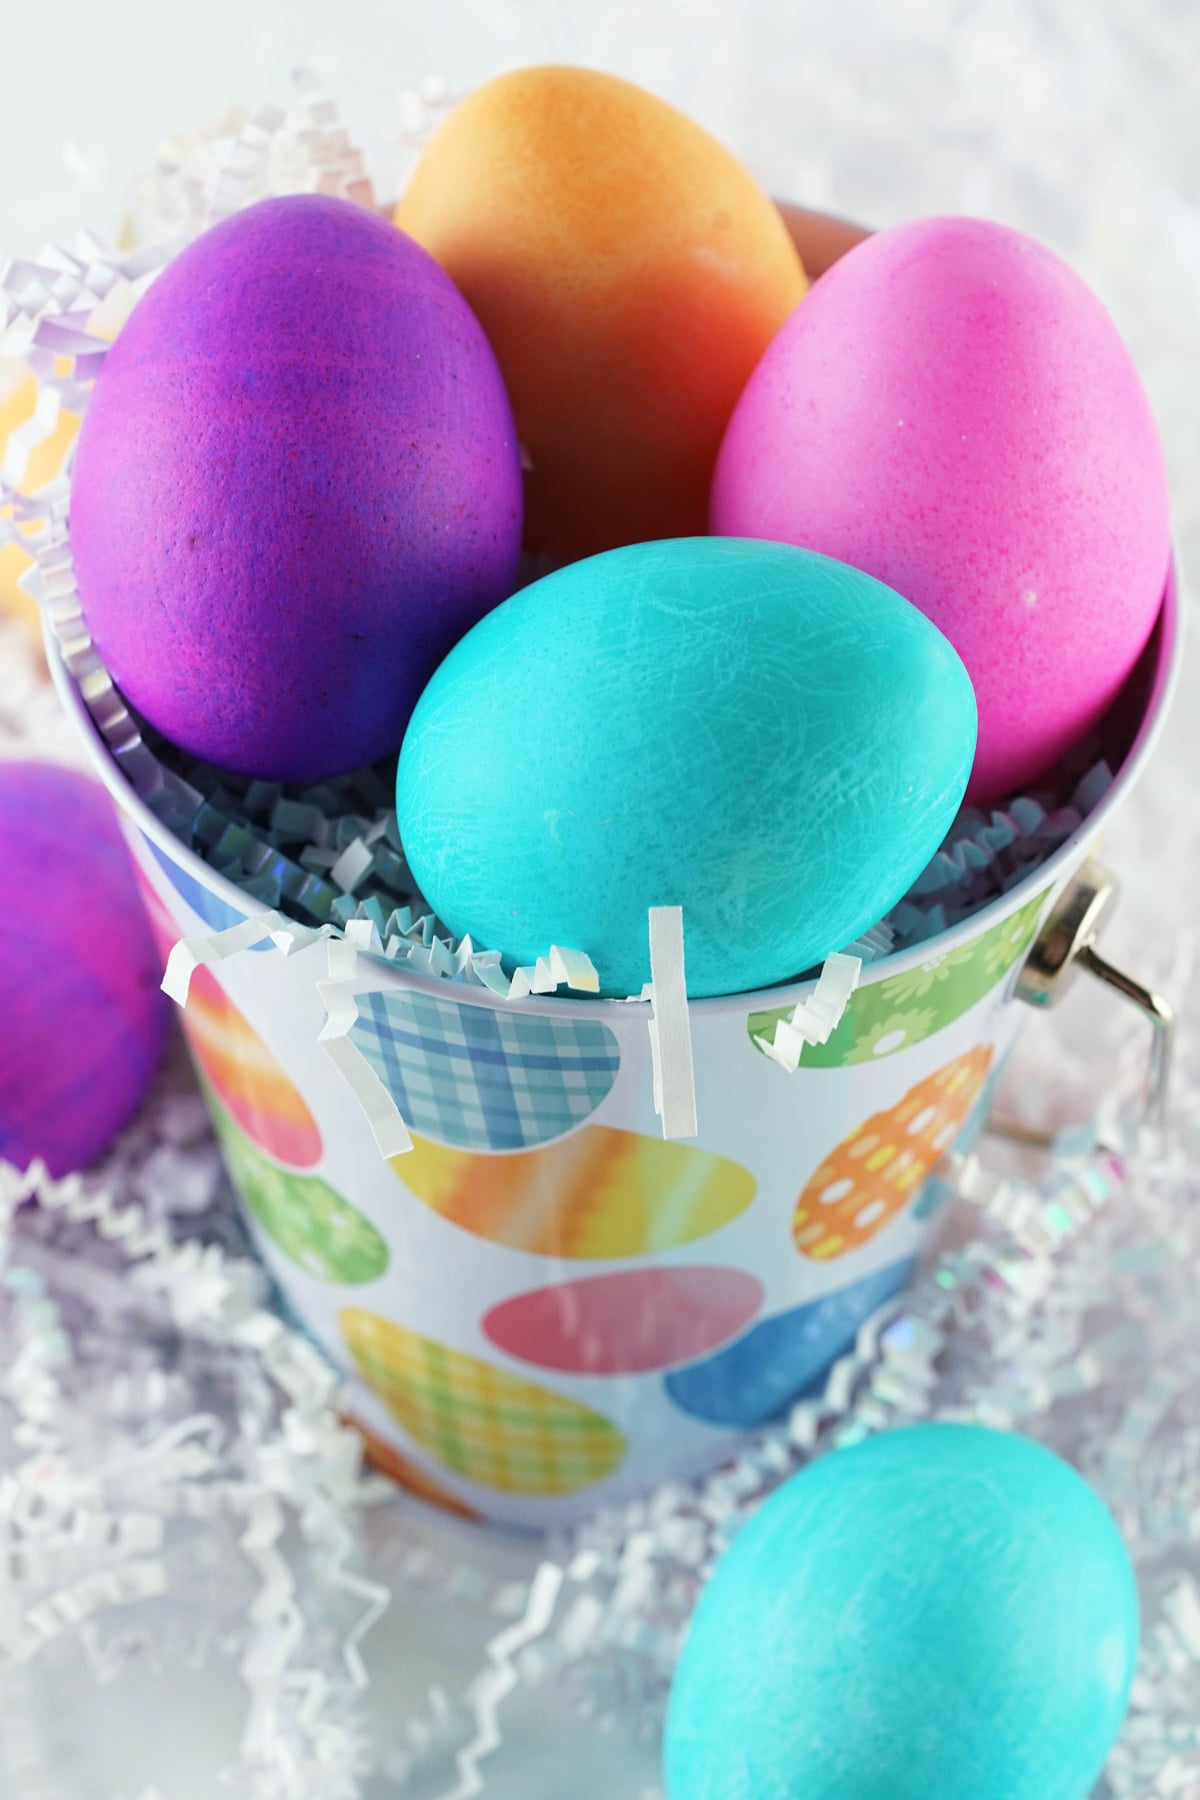
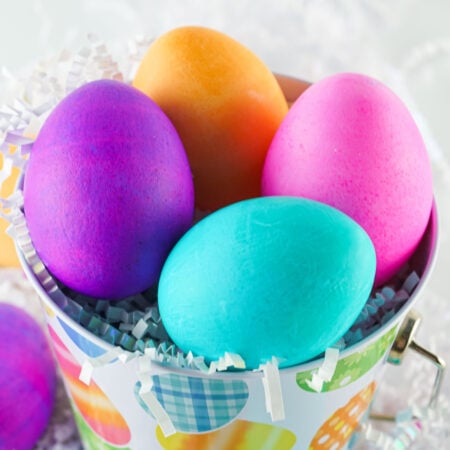
- When you're ready, remove them from the glasses and place on paper towels to dry for about 5 minutes. Display and enjoy!

Notes
- Depending on the brand and color (especially orange and yellow), you may need a little more than ½ teaspoon of gel food coloring to get those bright, bold shades. I like to test one egg first to see if I want to add more.
- You can also use liquid food coloring instead of gel. About 10 drops usually does the trick. Just skip oil-based dyes since they won’t mix well with the water.
Did You Make This Project?
Share it with me on Instagram @funmoneymom and follow on Pinterest @funmoneymom for more!
Let’s be friends!
Did you love this post? Make sure to comment below and let me know your thoughts! And don’t forget to follow on your favorite social network below!

About Lisa O’Driscoll
Lisa O’Driscoll is a lifestyle and parenting expert, cookbook author, and the creative force behind Fun Money Mom, a popular blog she’s run since 2014. She’s the author of the children’s cookbook Roll It, Slice It, Mash It, Dice It, designed to get kids excited about cooking. With multiple TV appearances under her belt, she loves sharing her expertise on family-friendly recipes, creative DIYs, and party planning and is always on a mission to inspire and entertain!