Oreo Cake Pops
This post may contain affiliate links. As an Amazon Associate, I earn from qualifying purchases.

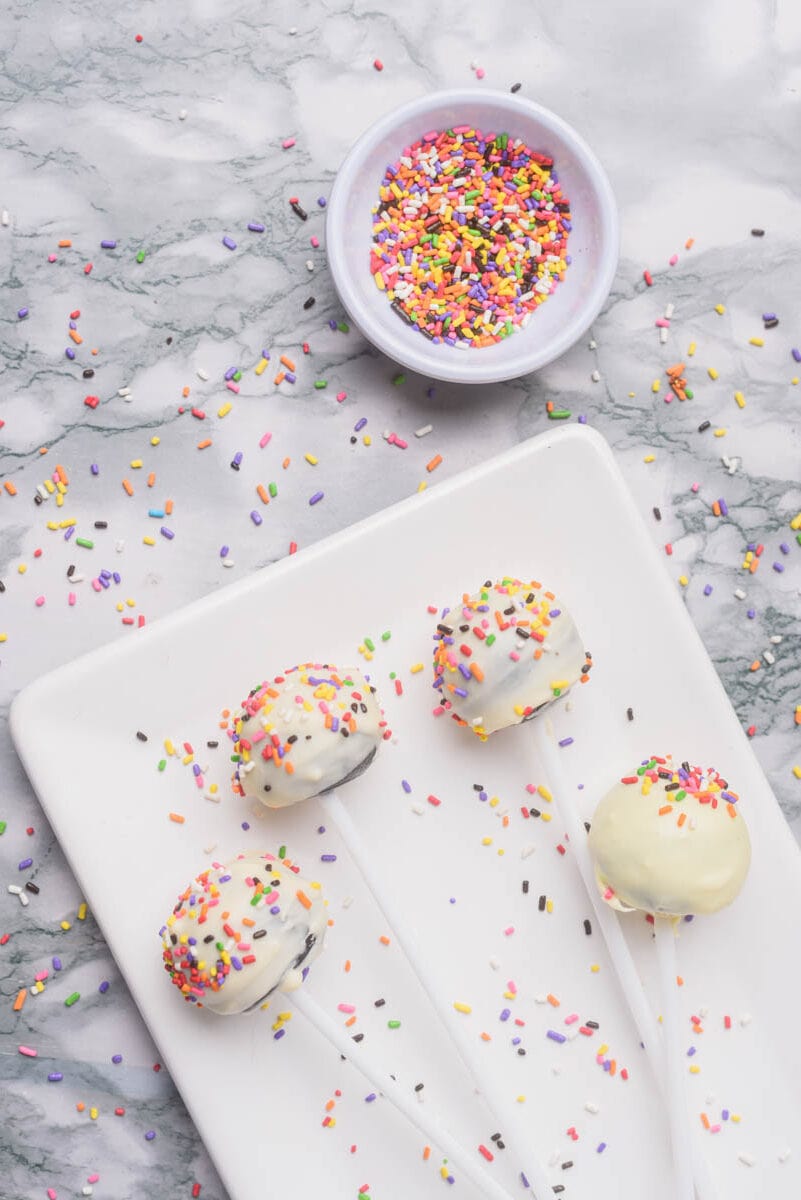
These fun and festive Oreo Cake Pops are a tasty bite-sized treat that’s perfect for parties, special occasions, or whenever you’re craving a little something sweet. With a sweet candy coating and a creamy chocolatey center, these mini no-bake desserts are completely irresistible!

Easy Oreo Cake Pops Recipe
These easy no-bake Oreo cake pops take everything there is to love about Oreos and transforms them into bite-sized nuggets of creamy, dreamy chocolate goodness. Finely crushed Oreo cookies and cream cheese are rolled into smooth balls and dipped into chocolate. Then they’re topped with colorful sprinkles for the perfect finishing touch.
If there’s a holiday or special occasion coming up, you can easily customize these to match the theme. Change the color of the chocolate coating with food coloring, the type of sprinkles or even the flavor of the cookies. The possibilities are endless!
If you’re looking for bite-sized dessert recipes like this for your next party or gathering, try these Chocolate Chip Cheesecake Bites, Easy Lemon Cake Balls or these delicious Mini Apple Pies.

Why We Love This Recipe
- No baking required: This delicious chocolatey treat uses just 4 ingredients that you can get from any grocery store. All you have to do is crush, mix, shape, and dip!
- Oreo flavors: No one will be able to resist the heavenly combination of chocolate Oreos and cream cheese!
- Perfect for any occasion: Whether it’s a birthday bash or a casual get-together, these Oreo cake pops are loved by kids and adults alike.
Ingredients
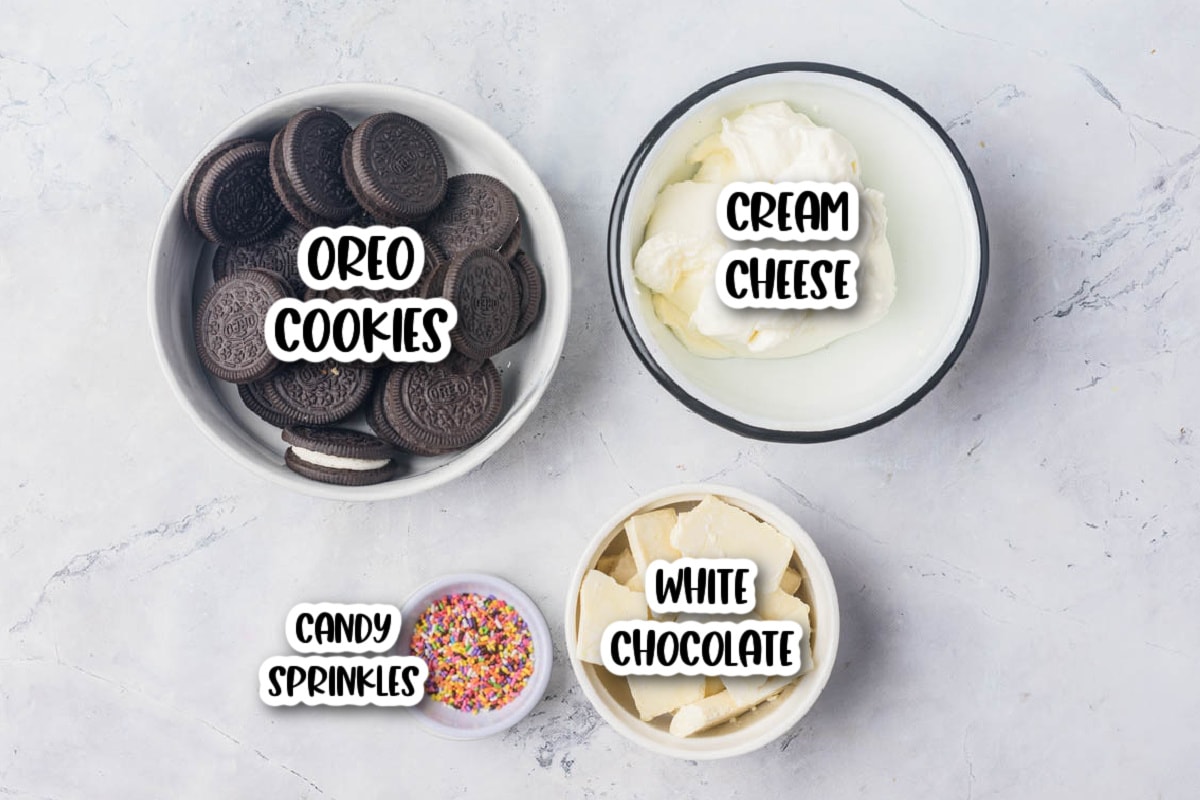
- Cream Cheese, softened
- Oreo Cookies
- White chocolate bark for coating (You can also make these with chocolate chips or candy melts)
- Candy sprinkles
How to Make No Bake Oreo Cake Pops
Step 1. Line a baking sheet with parchment paper and set aside.
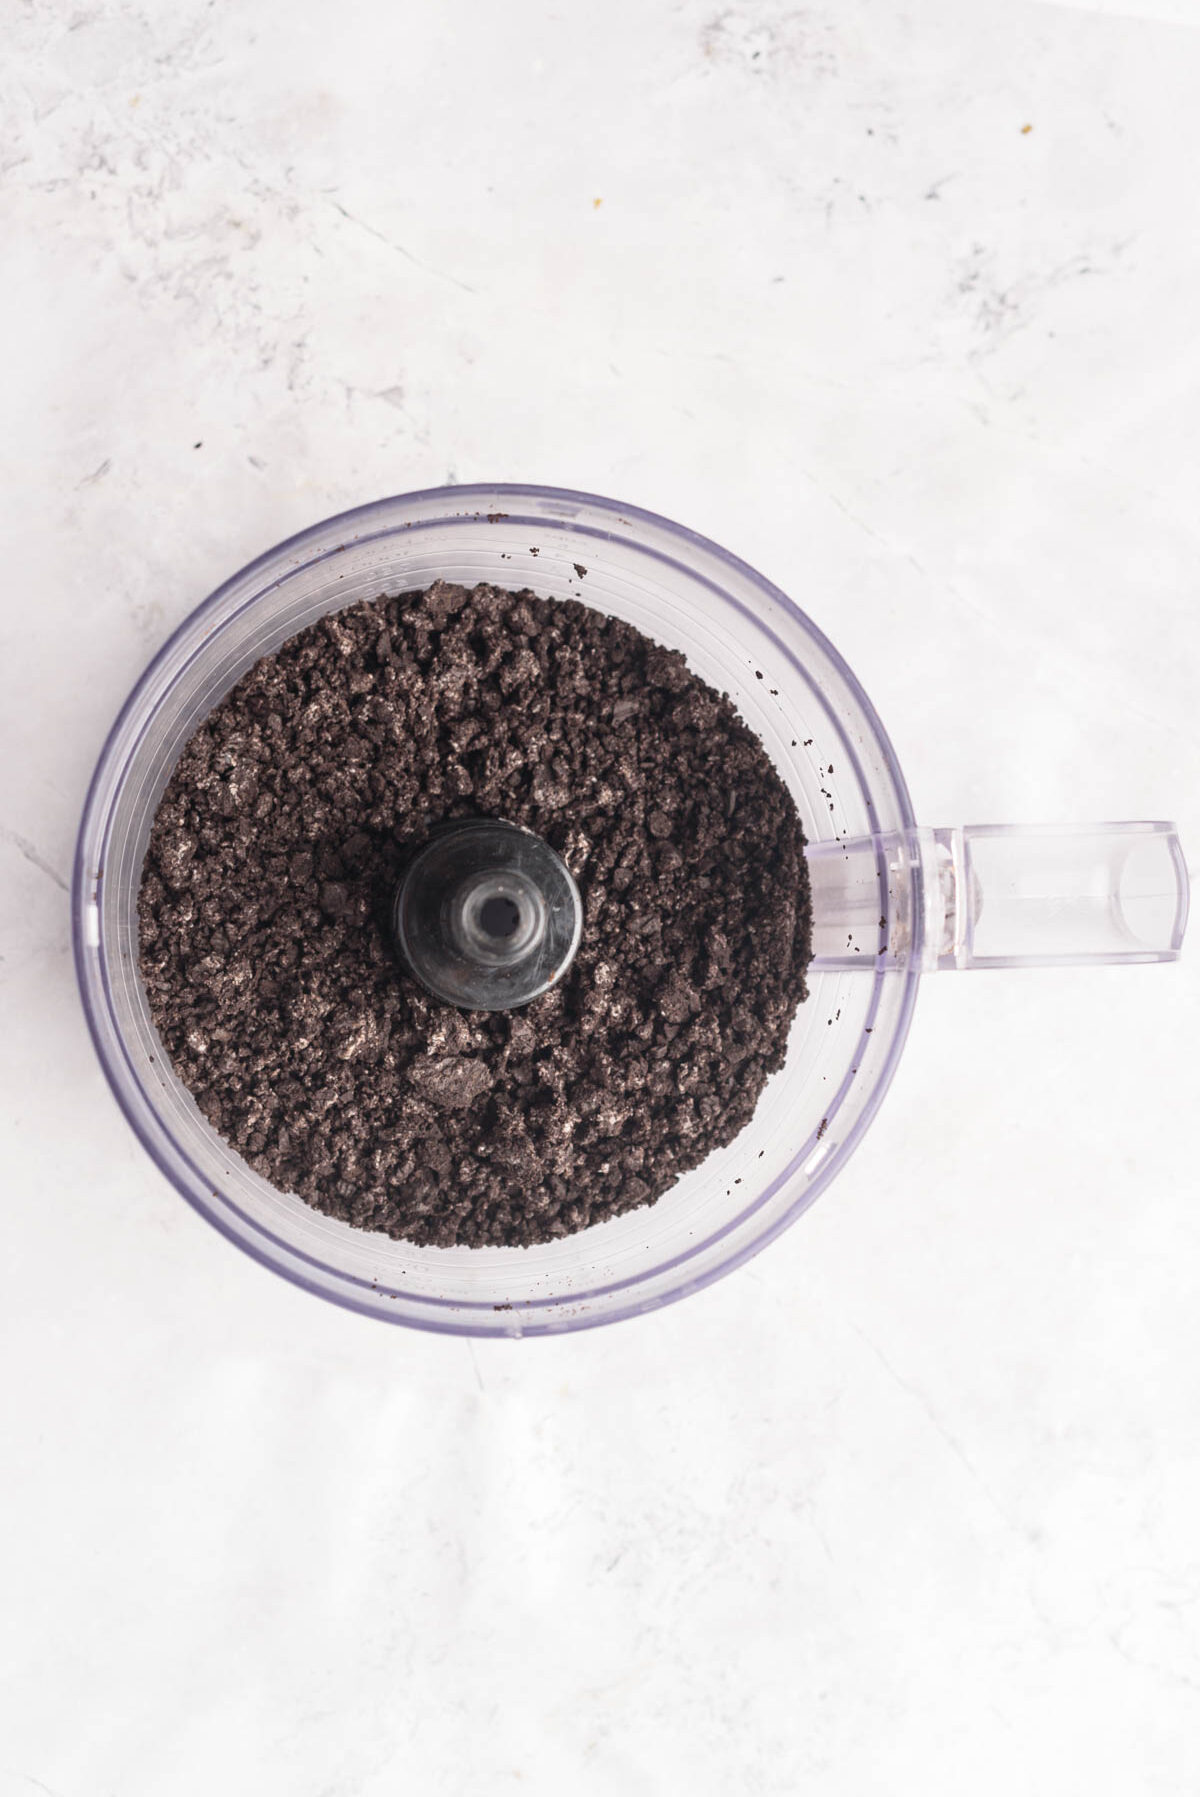
Step 2. Use your food processor to crush the Oreo cookies into fine crumbs.
Tip: If you don’t have a food processor, you can use a rolling pin to crush the Oreos in Ziplock bag. Just leave a small corner unsealed so that the bag doesn’t pop open.
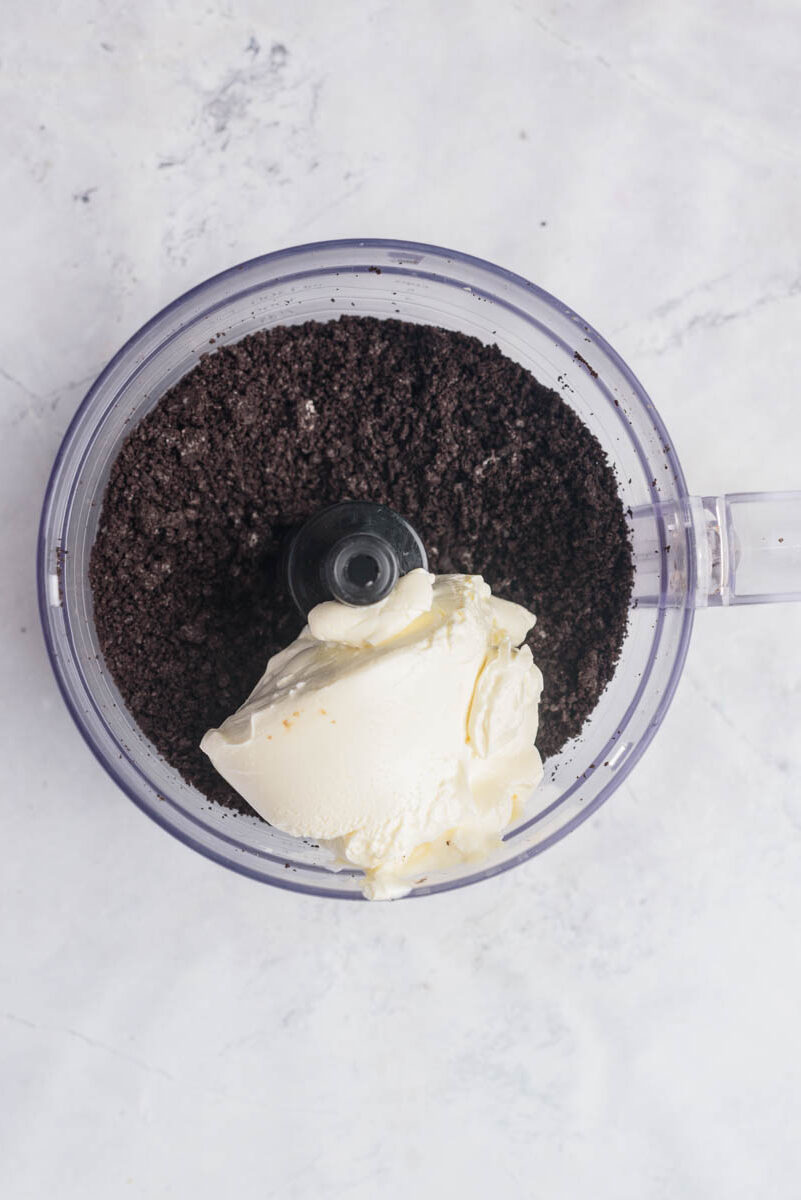
Step 3. After softening to room temperature, add the cream cheese to the Oreo crumbs and process until well combined. You can do this step with an electric hand mixer or stand mixer if you’re not using a food processor.
Step 4. Use a small cookie scoop or a tablespoon to measure the cream cheese mixture into bite-sized portions. Roll dough into small Oreo cookie balls and place them on a baking sheet lined with parchment paper.
Step 5. Chill the Oreo balls in the refrigerator for at least an hour or up to several hours.

Step 6. Melt the chocolate in a double boiler or in a microwave-safe bowl the microwave until smooth and melted.
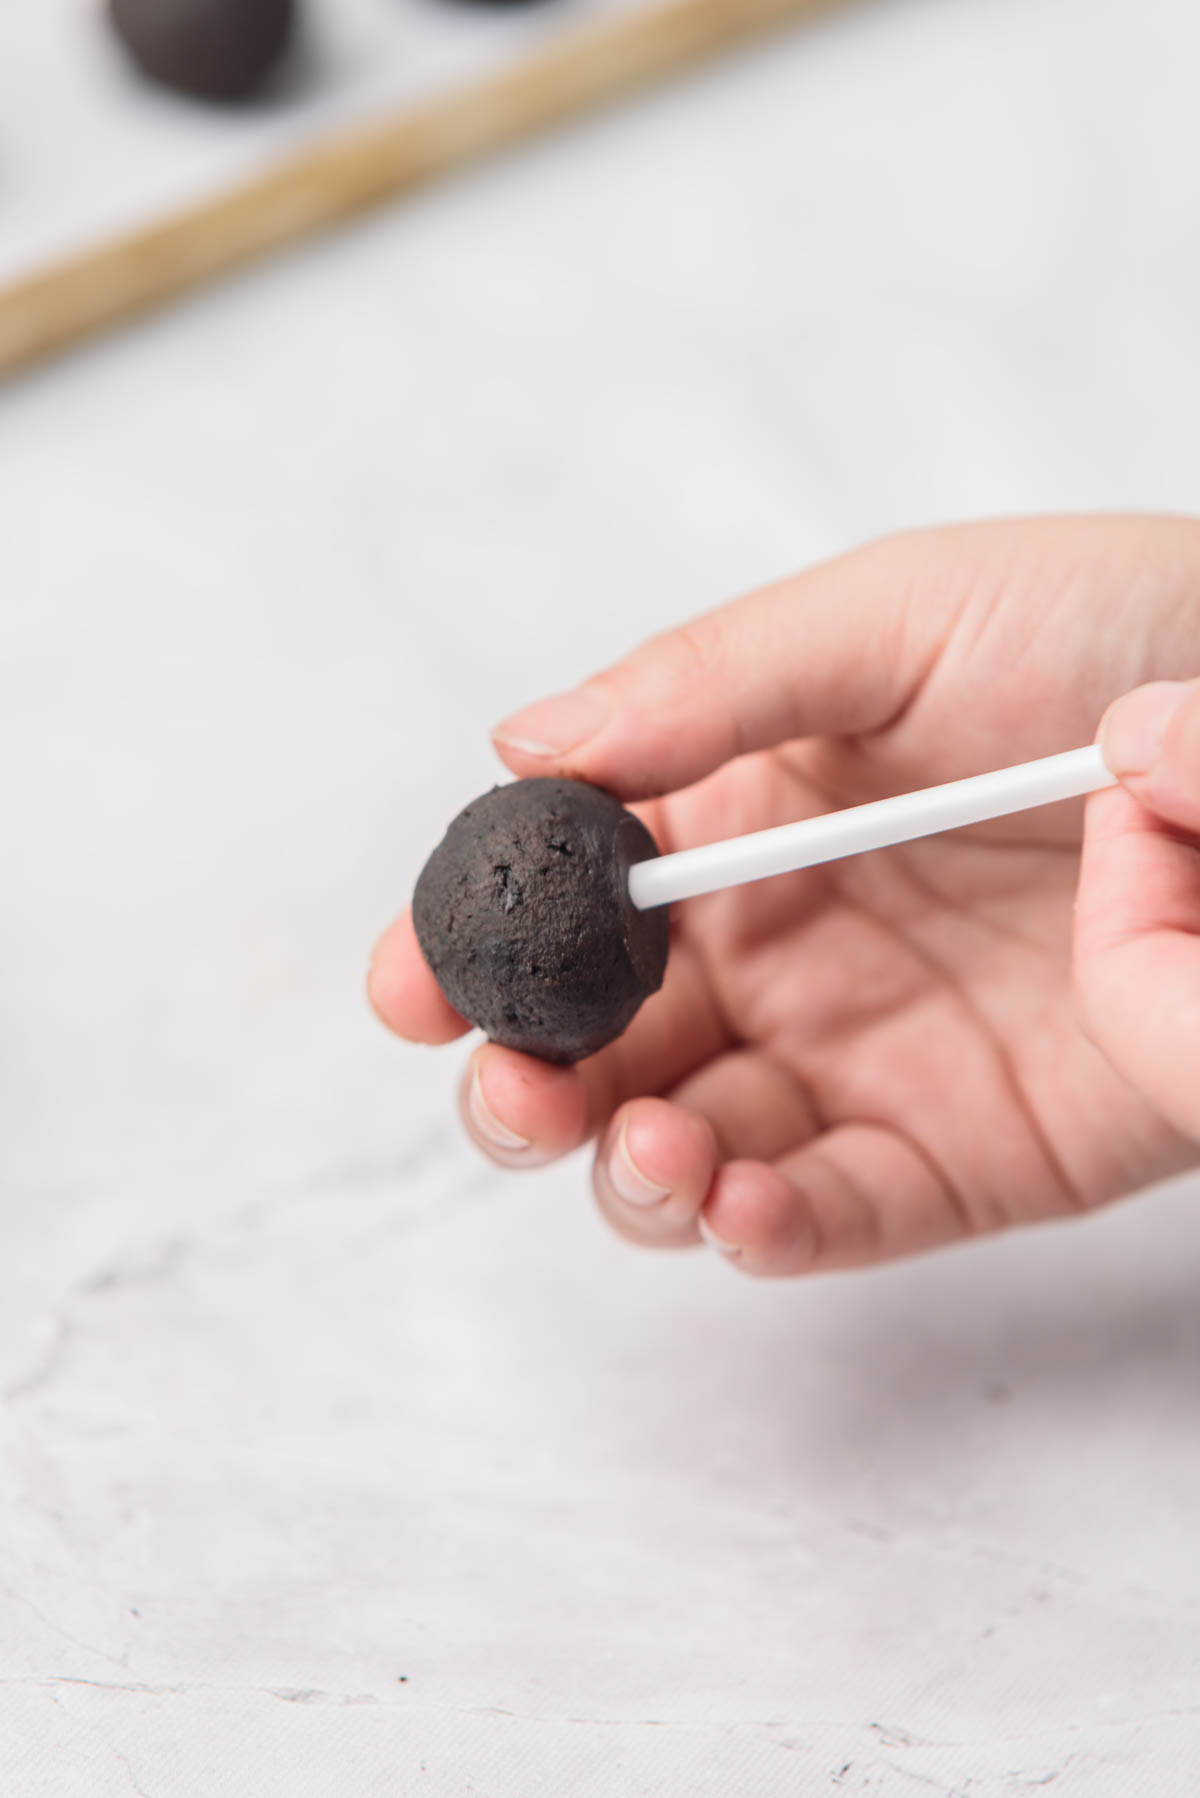
Step 7. Insert cake pop sticks or lollipop sticks into each of the chilled cookie balls.
If you have extra time, you can dip the end of the stick in the melted chocolate, push the stick into the Oreo cookie pop and freeze for 15 minutes. It’ll help keep the ball from falling off the stick.
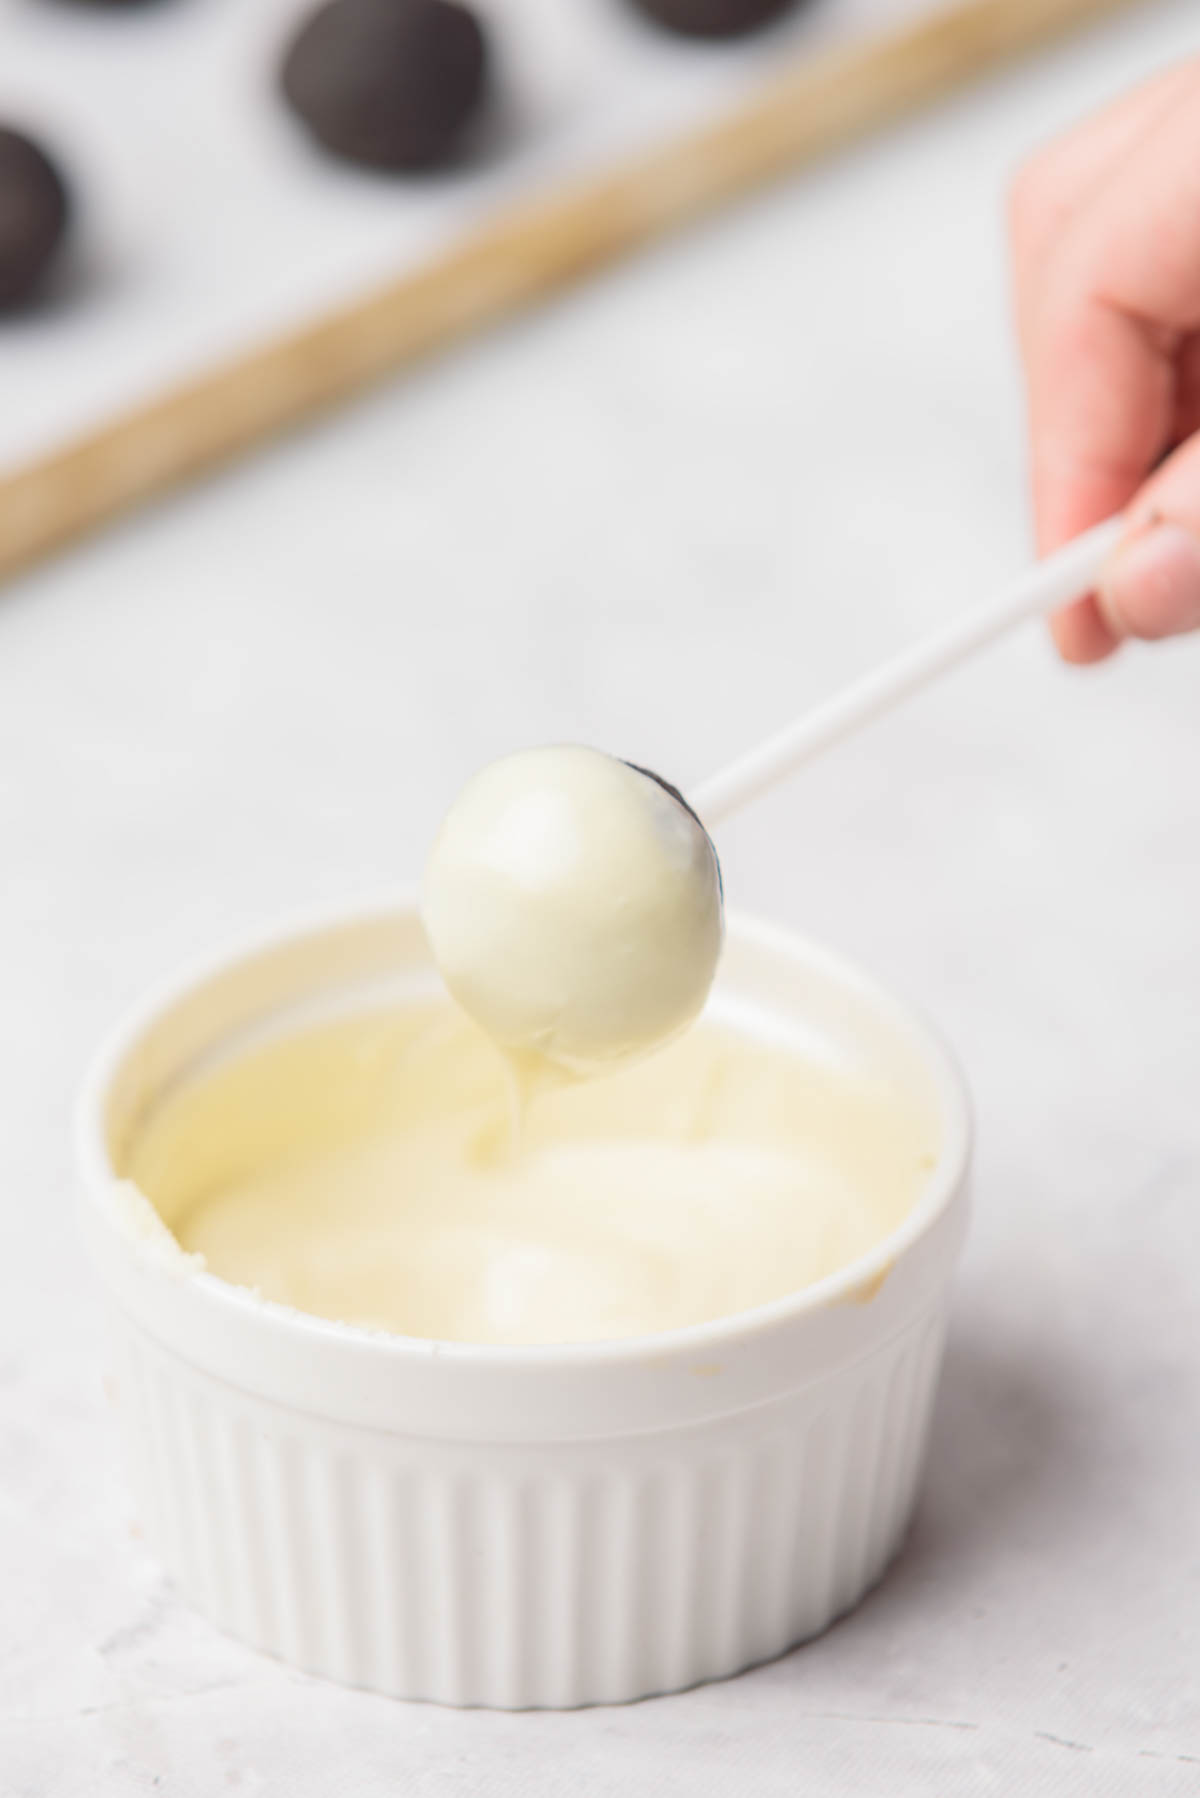
Step 8. Dip the cake pops into the melted chocolate, swirling to coat them evenly. Tap off any excess chocolate and return each one to the cookie sheet.
Step 9. While the chocolate is still soft, garnish the Oreo cake balls with sprinkles.
No sprinkles? No worries! Just set aside some crushed Oreos and use those instead. Even better, you’ve now got an even simpler 3 ingredient recipe!
Step 10. Refrigerate the cake pops for 10-15 minutes, or until the chocolate hardens into a shell. Serve chilled and enjoy!
Store cookie pops in an airtight container in the fridge for up to 5 days.

Oreo Pop Variations and Add-ins
- Sprinkles: One of the easiest ways to change up the way these colorful cake pops look is to use sprinkles in a different color. You can use red or pink for Valentine’s Day, red and green for Christmas, or you can use your team’s colors for game day.
- Chocolate coating: We used white chocolate bark, but you can use white chocolate chips or candy melts. You can also change up the flavors by using dark chocolate or semi-sweet chocolate chips.
- Colorful chocolate: If you want to make Oreo cake pops that are even more colorful, just add a little gel food coloring in the chocolate. I like to swirl it just enough to be mixed but leave streaks. This gives the cake pops a pretty marbled look.
- Oreo cookie crumbs: We used regular Oreos to make these chocolate cake pops but for a fun twist you can use Golden Oreos, Mint Oreos, or any of your favorite flavors.
- Peanut butter chocolate pops: Mix some creamy peanut butter into the Oreo mixture for an irresistible peanut butter and chocolate combination. If the mixture seems a little loose, just add a few more crushed Oreos.
- Nutty Oreo pops: Stir in chopped nuts like almonds, pecans, or hazelnuts to add a subtle nutty texture.

The dough should feel slightly sticky but if it is too sticky or won’t hold its shape just add more crushed Oreos, a little at a time. Also, to help them firm up, make sure you allow enough time for the Oreo balls to chill in the refrigerator.
Chocolate bark or candy melts will give you the best results and typically won’t crack when set up. If you’re using chocolate chips that aren’t the best quality, try adding a small amount of vegetable oil or shortening to the melted chocolate to help give it a smoother consistency.

More No Bake Recipes To Try
Looking for more delicious recipes? These desserts are pretty much perfect for any party or just a fun treat for the family!
- Key Lime Pie
- Peanut Butter Fudge
- Pineapple Pie With Cool Whip
- Easy Cool Whip Cheesecake
- Creamy Chocolate Mousse
- Peanut Butter and Coconut Cookies
- Cookie Dough Balls
- White Chocolate Raspberry Cheesecake

Oreo Cake Pops
Equipment
Ingredients
- 36 Oreo cookies
- 8 ounces cream cheese
- 16 ounces white chocolate
- 1/4 cup rainbow jimmies
Instructions
- Use your food processor to crush the Oreo cookies into fine crumbs.36 Oreo cookies
- Add the softened cream cheese to the Oreo crumbs and process until well combined. You can do this step with an electric hand mixer or stand mixer if you’re not using a food processor.8 ounces cream cheese
- Use a small cookie scoop or a tablespoon to measure the cream cheese mixture into bite-sized portions. Roll dough into small Oreo cookie balls and place them on a baking sheet lined with parchment paper.
- Chill the Oreo balls in the refrigerator for at least an hour or up to several hours.
- Melt the white chocolate chips in a double boiler or in a microwave-safe bowl the microwave until smooth and melted.16 ounces white chocolate
- Insert cake pop sticks or lollipop sticks into each of the chilled Oreo balls.
- Dip them into the melted chocolate, swirling to coat it evenly. Tap off any excess chocolate and return to the cookie sheet.
- While the white chocolate is still soft, sprinkle candy sprinkles over the Oreo cake balls.1/4 cup rainbow jimmies
- Refrigerate the cake pops for 10-15 minutes, or until the white chocolate transforms into a hard chocolate shell. Serve the Oreo cake pops chilled. Enjoy!
Notes
- If you don’t have a food processor, add the cookies to a Ziplock bag and crush them with a rolling pin until you have fine crumbs.
- If your Oreo balls are falling off the stick before dipping them, dip the end of the stick into melted chocolate, then push it into the Oreo ball. The chocolate will act as a glue to hold the ball on the stick.
Nutrition
Did You Make This Recipe?
Share it with me on Instagram @funmoneymom and follow on Pinterest @funmoneymom for more!
Let’s be friends!
Did you love this post? Make sure to comment below and let me know your thoughts! And don’t forget to follow on your favorite social network below!

About Lisa O’Driscoll
Lisa O’Driscoll is a lifestyle and parenting expert, cookbook author, and the creative force behind Fun Money Mom, a popular blog she’s run since 2014. She’s the author of the children’s cookbook Roll It, Slice It, Mash It, Dice It, designed to get kids excited about cooking. With multiple TV appearances under her belt, she loves sharing her expertise on family-friendly recipes, creative DIYs, and party planning and is always on a mission to inspire and entertain!