Snowman Rice Krispie Treats
This post may contain affiliate links. As an Amazon Associate, I earn from qualifying purchases.
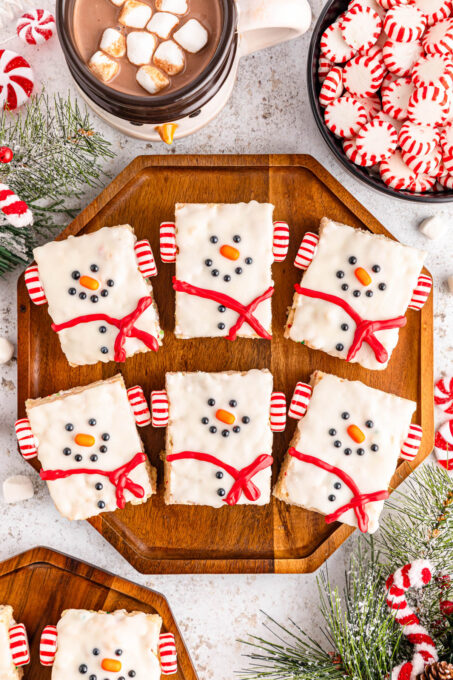
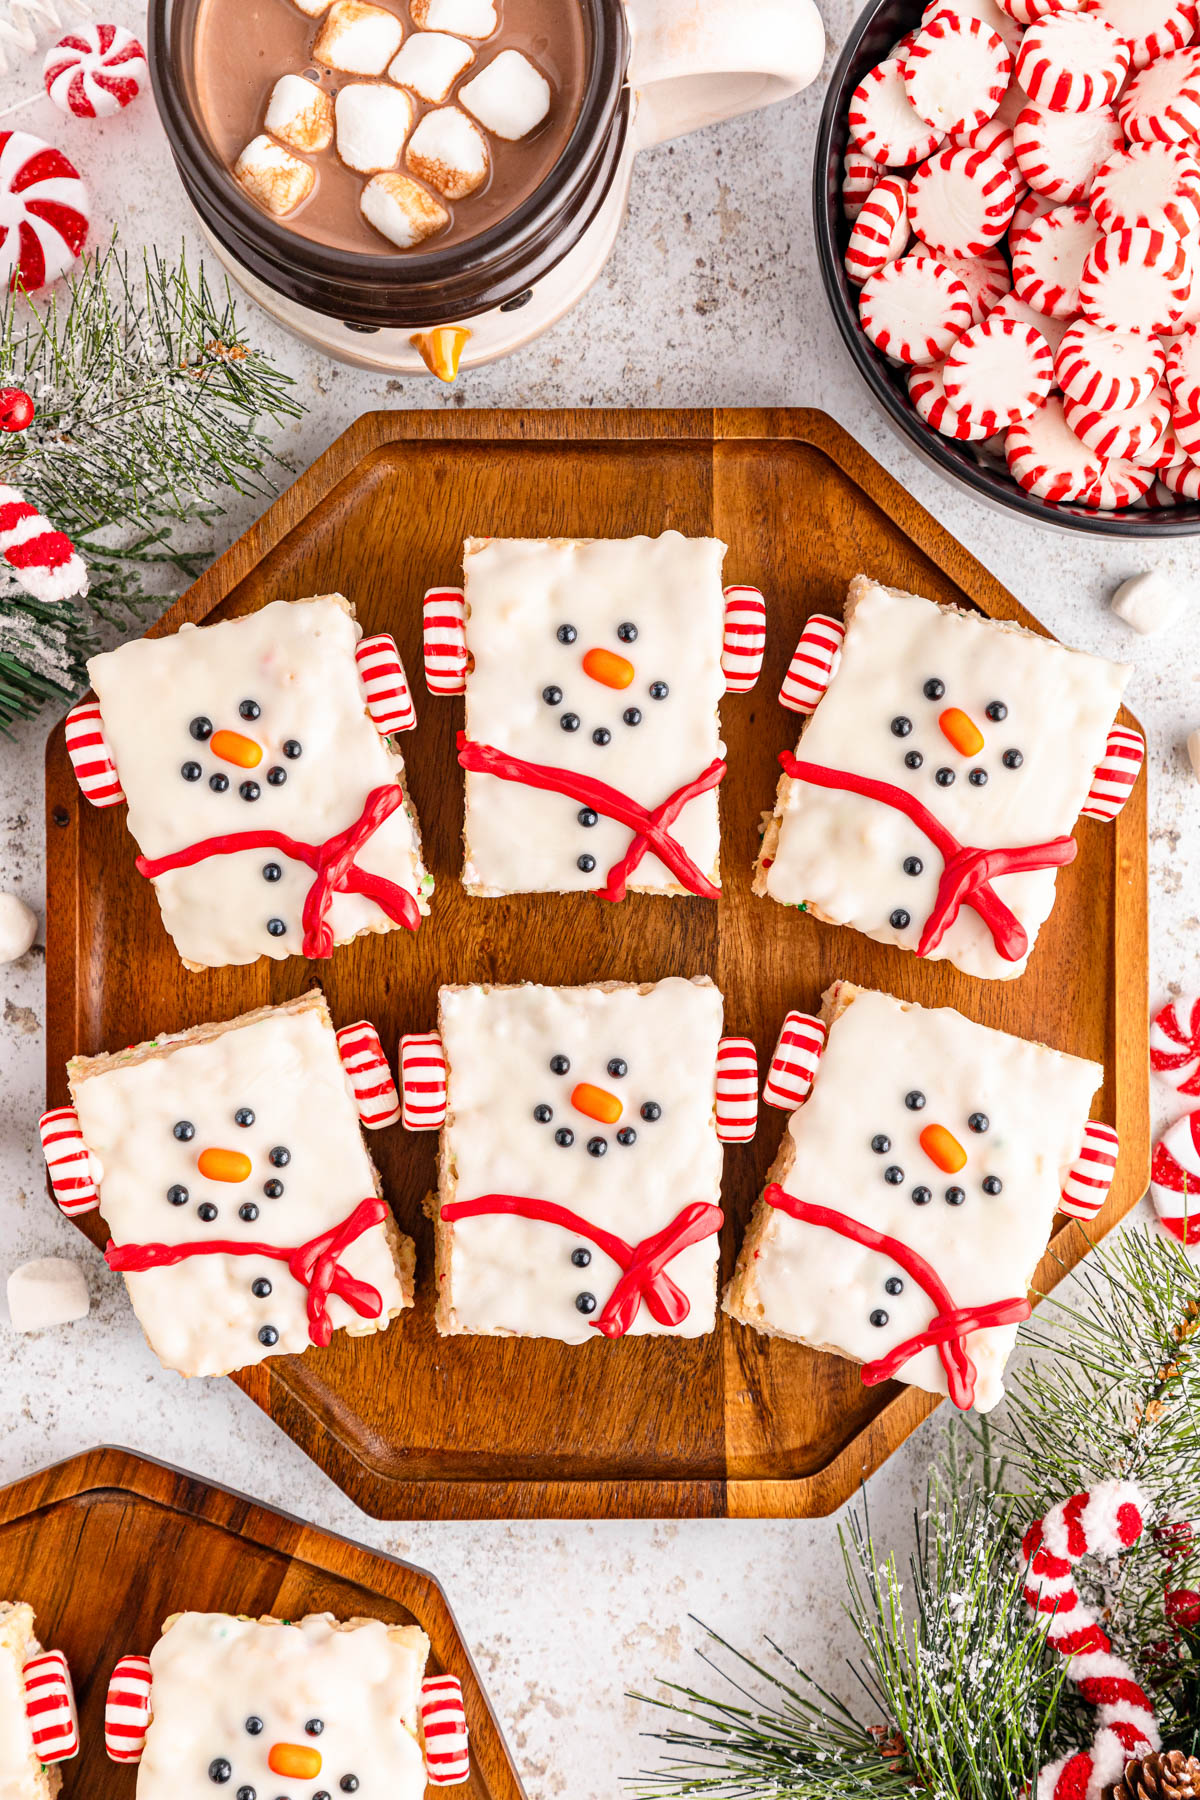
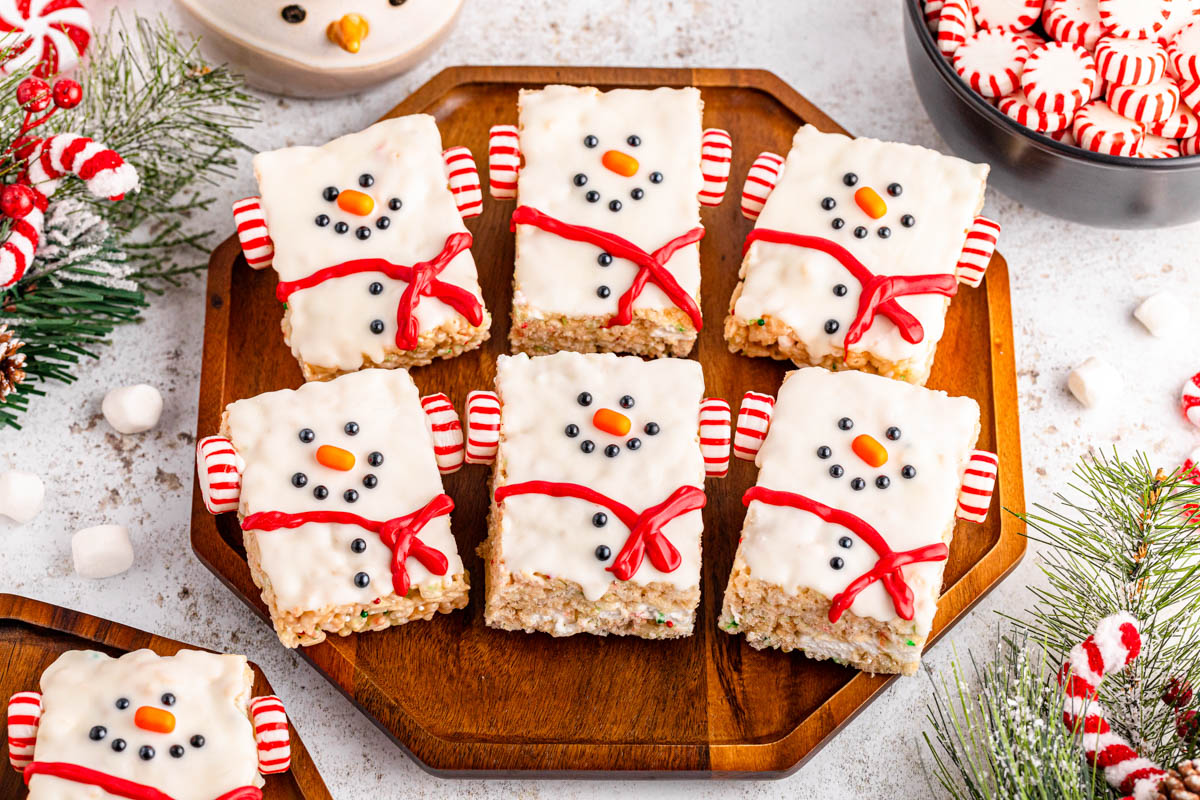
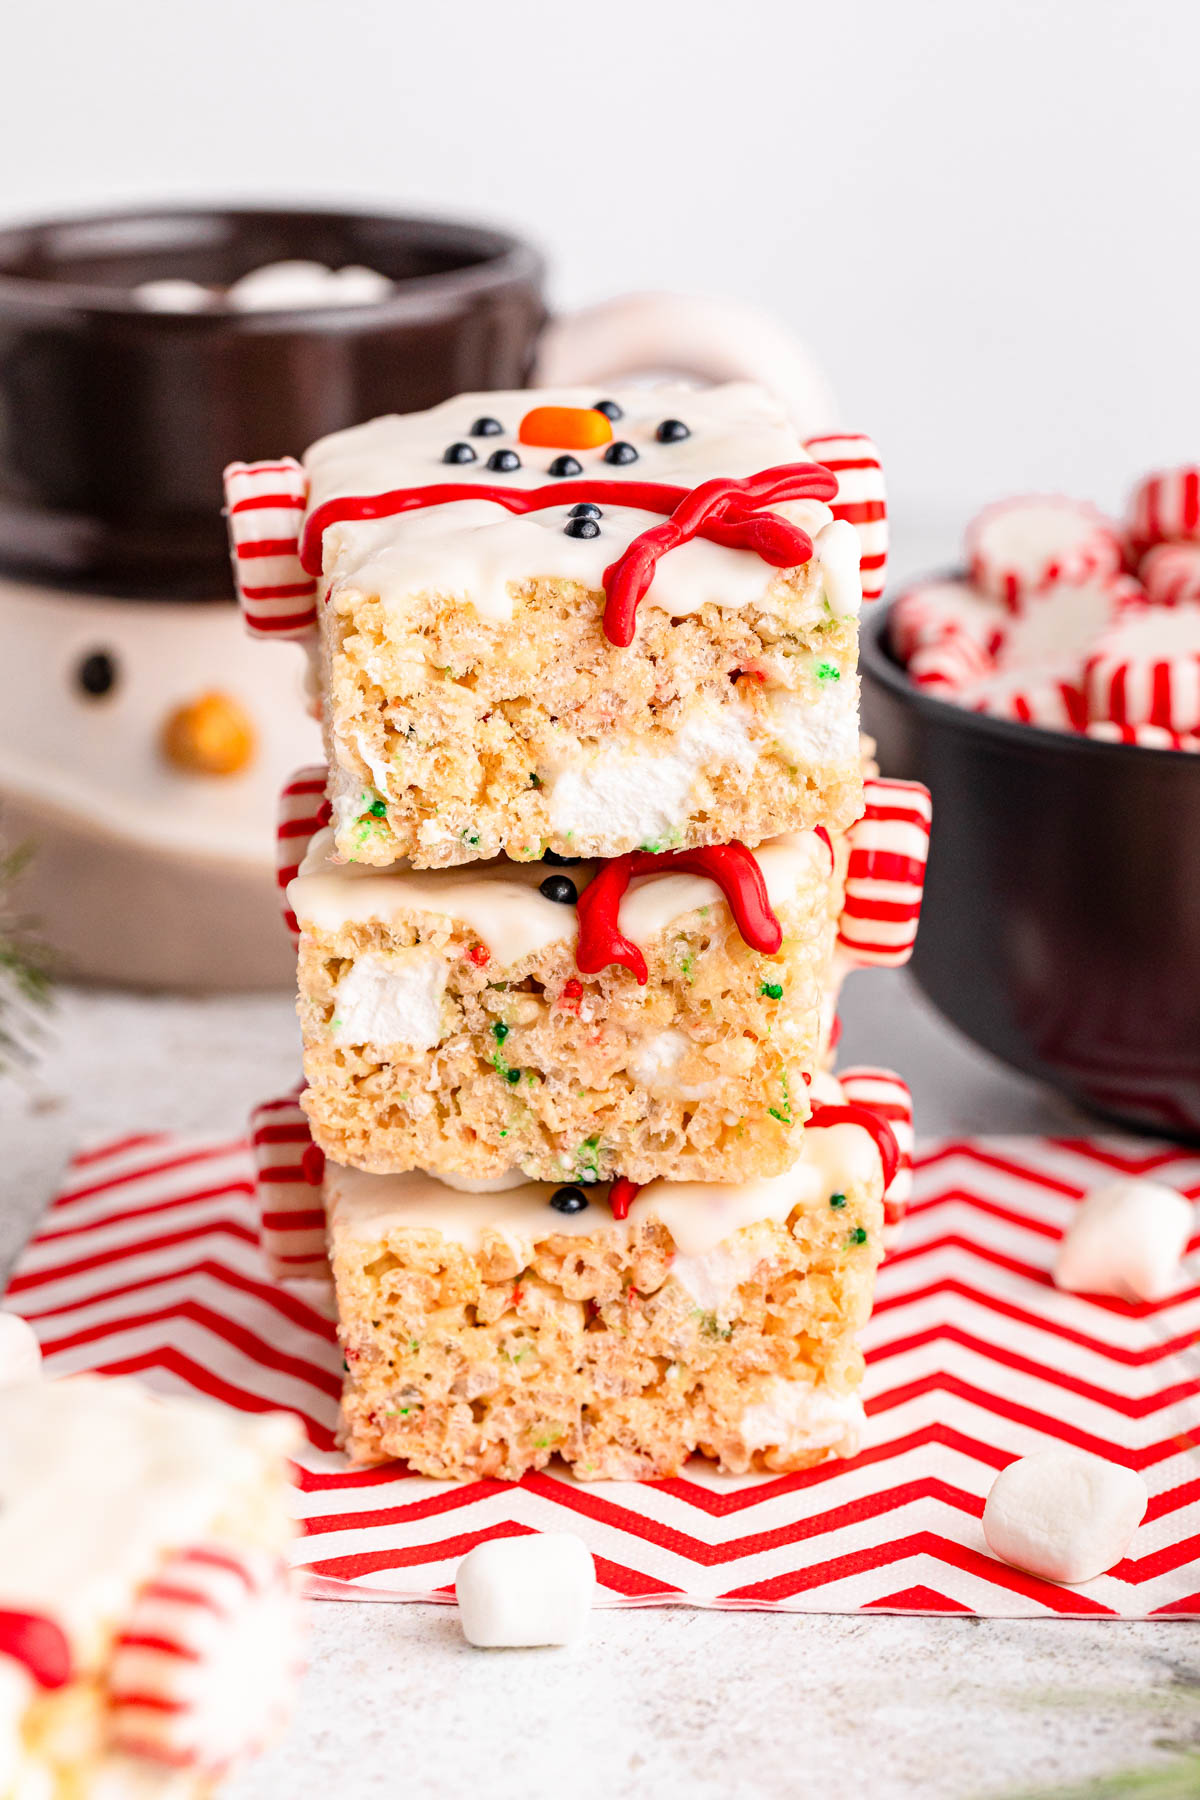
These super cute Snowman Rice Krispie Treats are a delicious and whimsical Christmas treat. A fun twist on everyone’s favorite cereal treat, they can even double as a festive and fun afternoon activity that the whole family will enjoy making together.
Rice Krispie Treat Snowmen
This recipe takes everyone’s beloved gooey marshmallow treats and transforms them into adorable winter snowmen. With their sweet and chewy goodness and white chocolate coating, these treats are not only super cute but also irresistibly delicious!
What makes them even better is that they are so much fun to make. It’s a wonderful way to involve the kids in the holiday kitchen festivities. Plus, they’re the perfect addition to Christmas cookie trays and are sure to be a hit at any holiday party.
And if you love these festive creations, you’ll want to check out these precious Chocolate Christmas Mice, Oreo Reindeer Cookies and these colorful Oreo Christmas Balls.

Why We Love this Recipe
- Awesome gifts: Wrap them in decorative cellophane bags for an ideal gift for teachers, family and friends.
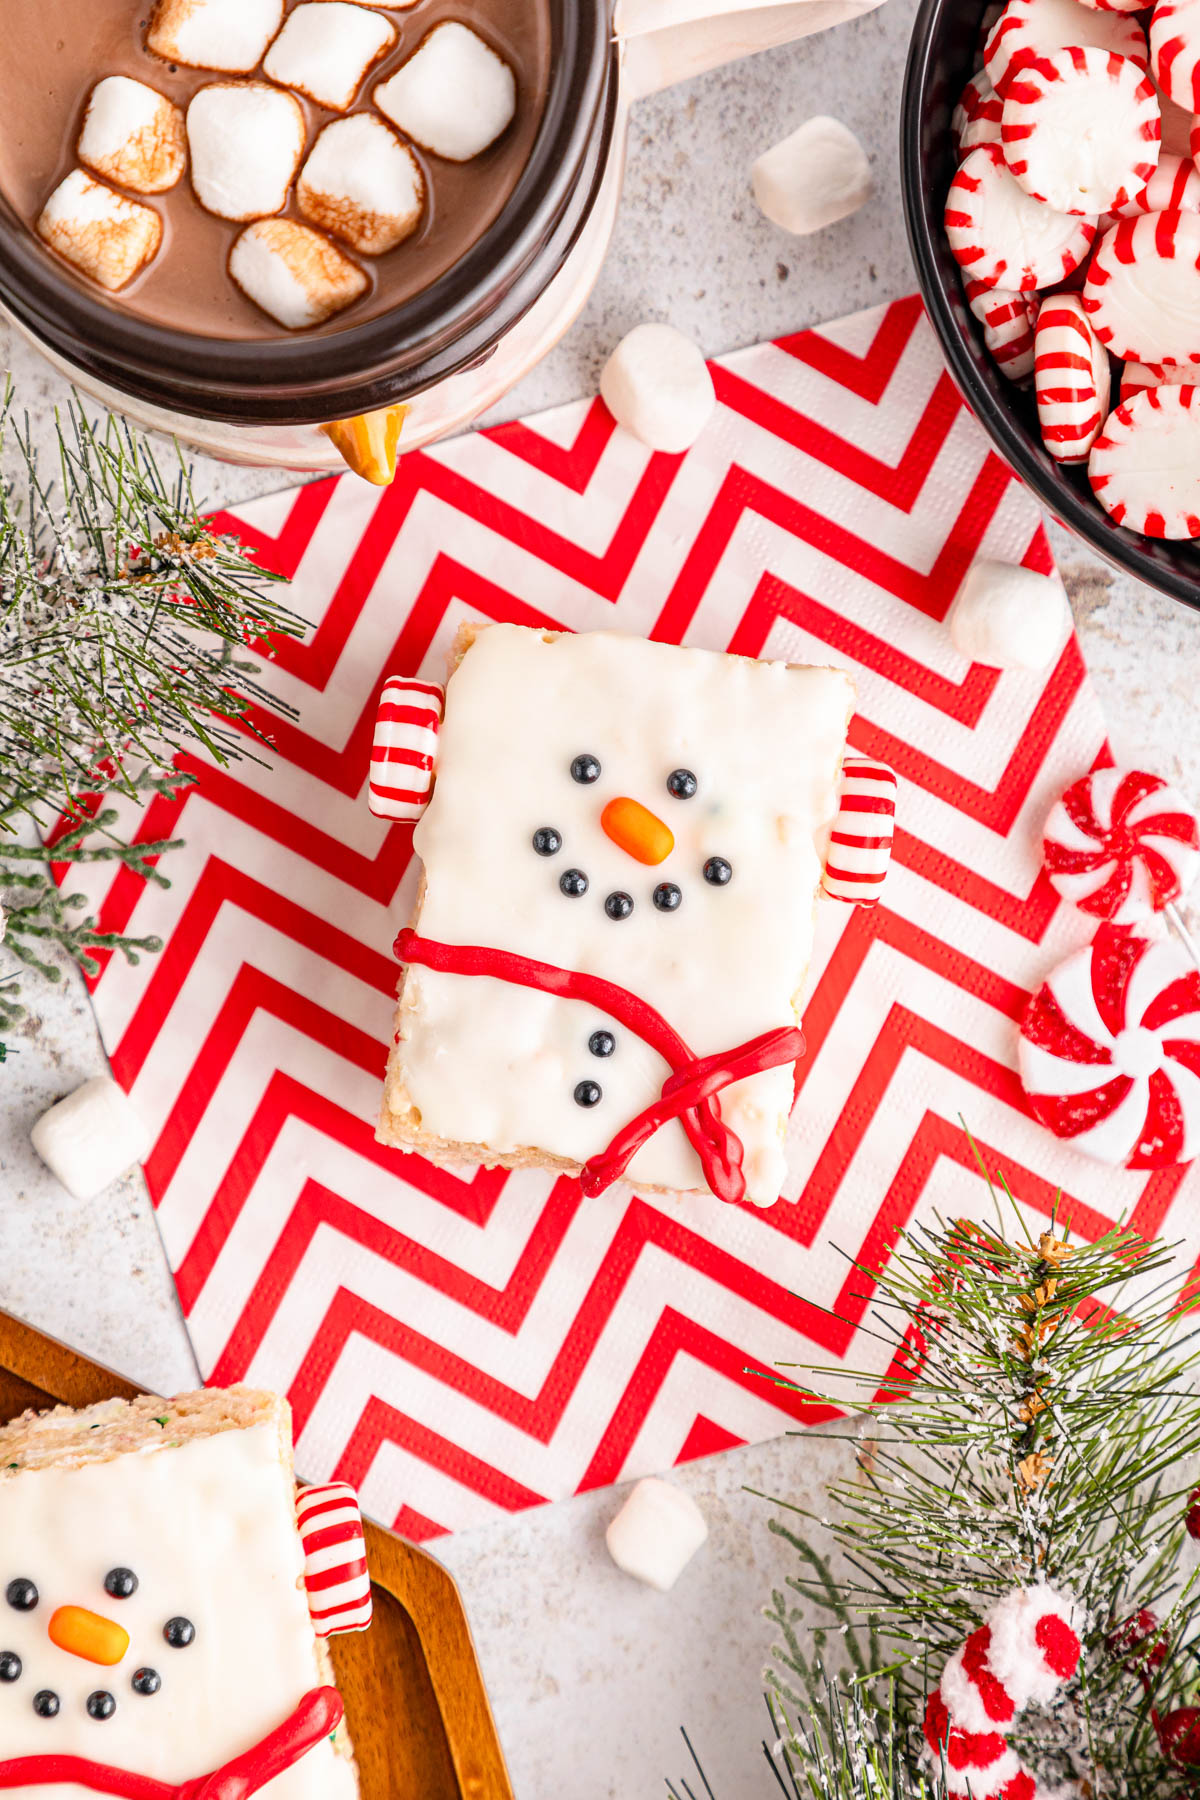
- Perfect for holiday parties: Their cute little faces will make them the star attraction at your next Christmas part.
- Super easy: These treats double as a sweet treat and and an easy activity too. Kids will love adding the decorations almost as much as they’ll love eating them!
Recommended Tools
- Large pot
- 9×13 baking pan
- Baking tray line with parchment paper
- Piping bags
- Rubber spatula
- Unsalted butter
- Mini marshmallows, divided
- Pure vanilla extract
- Salt
- Rice Krispies cereal
- Nonpareils (white, red and green)
- White melting wafers
- Black sugar pearls, for the mouth, eyes and buttons
- Orange tic tacs, for the nose
- Peppermint candies, for the ear muffs
- Red candy melts, for the scarf
How to Make Rice Krispie Snowman Treats
Making The Bars
Step 1. Line a 13 x 9 baking tray with parchment paper and set it aside.
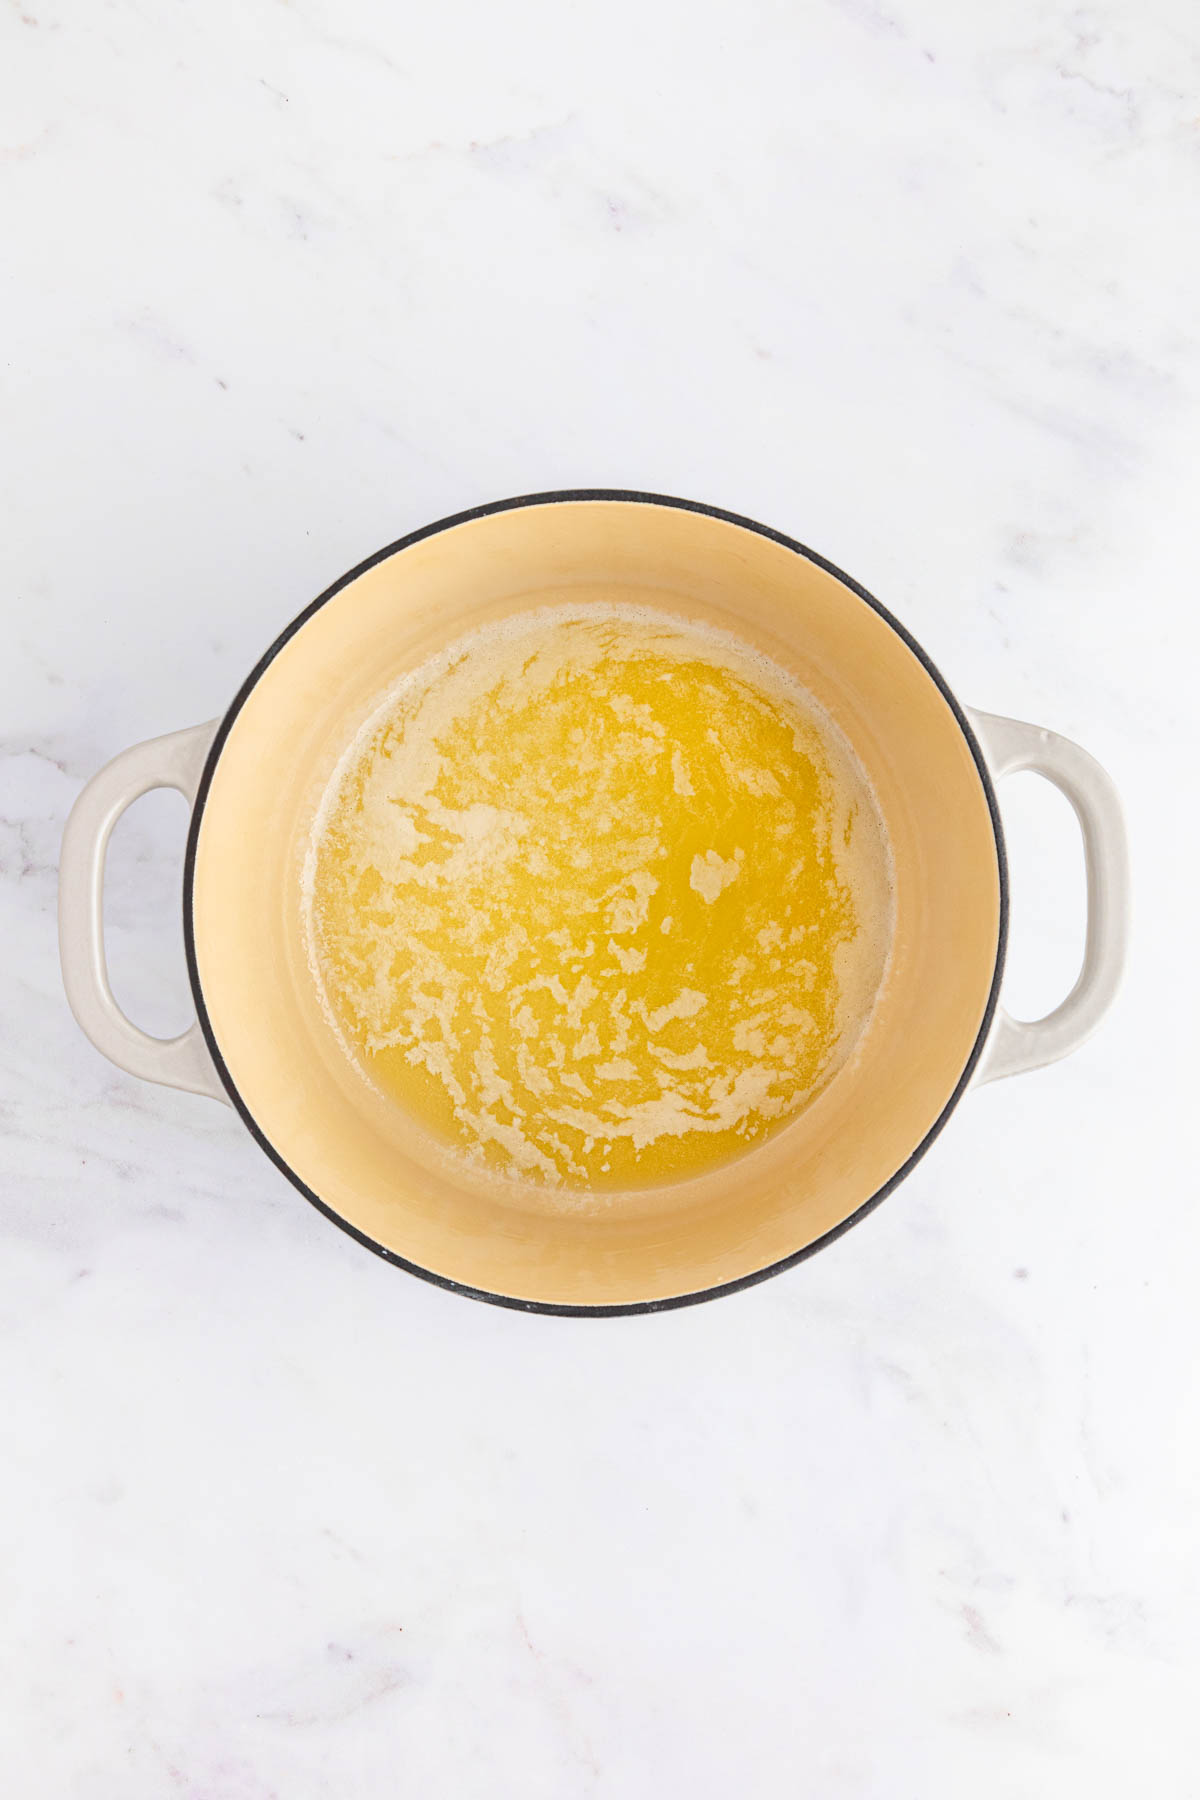
Step 2. Melt the butter in a large pot over low heat.
Step 3. Measure 2 cups of mini marshmallows and set them aside. Add the remaining marshmallows to the pot and melt in the melted butter. Stir until smooth.

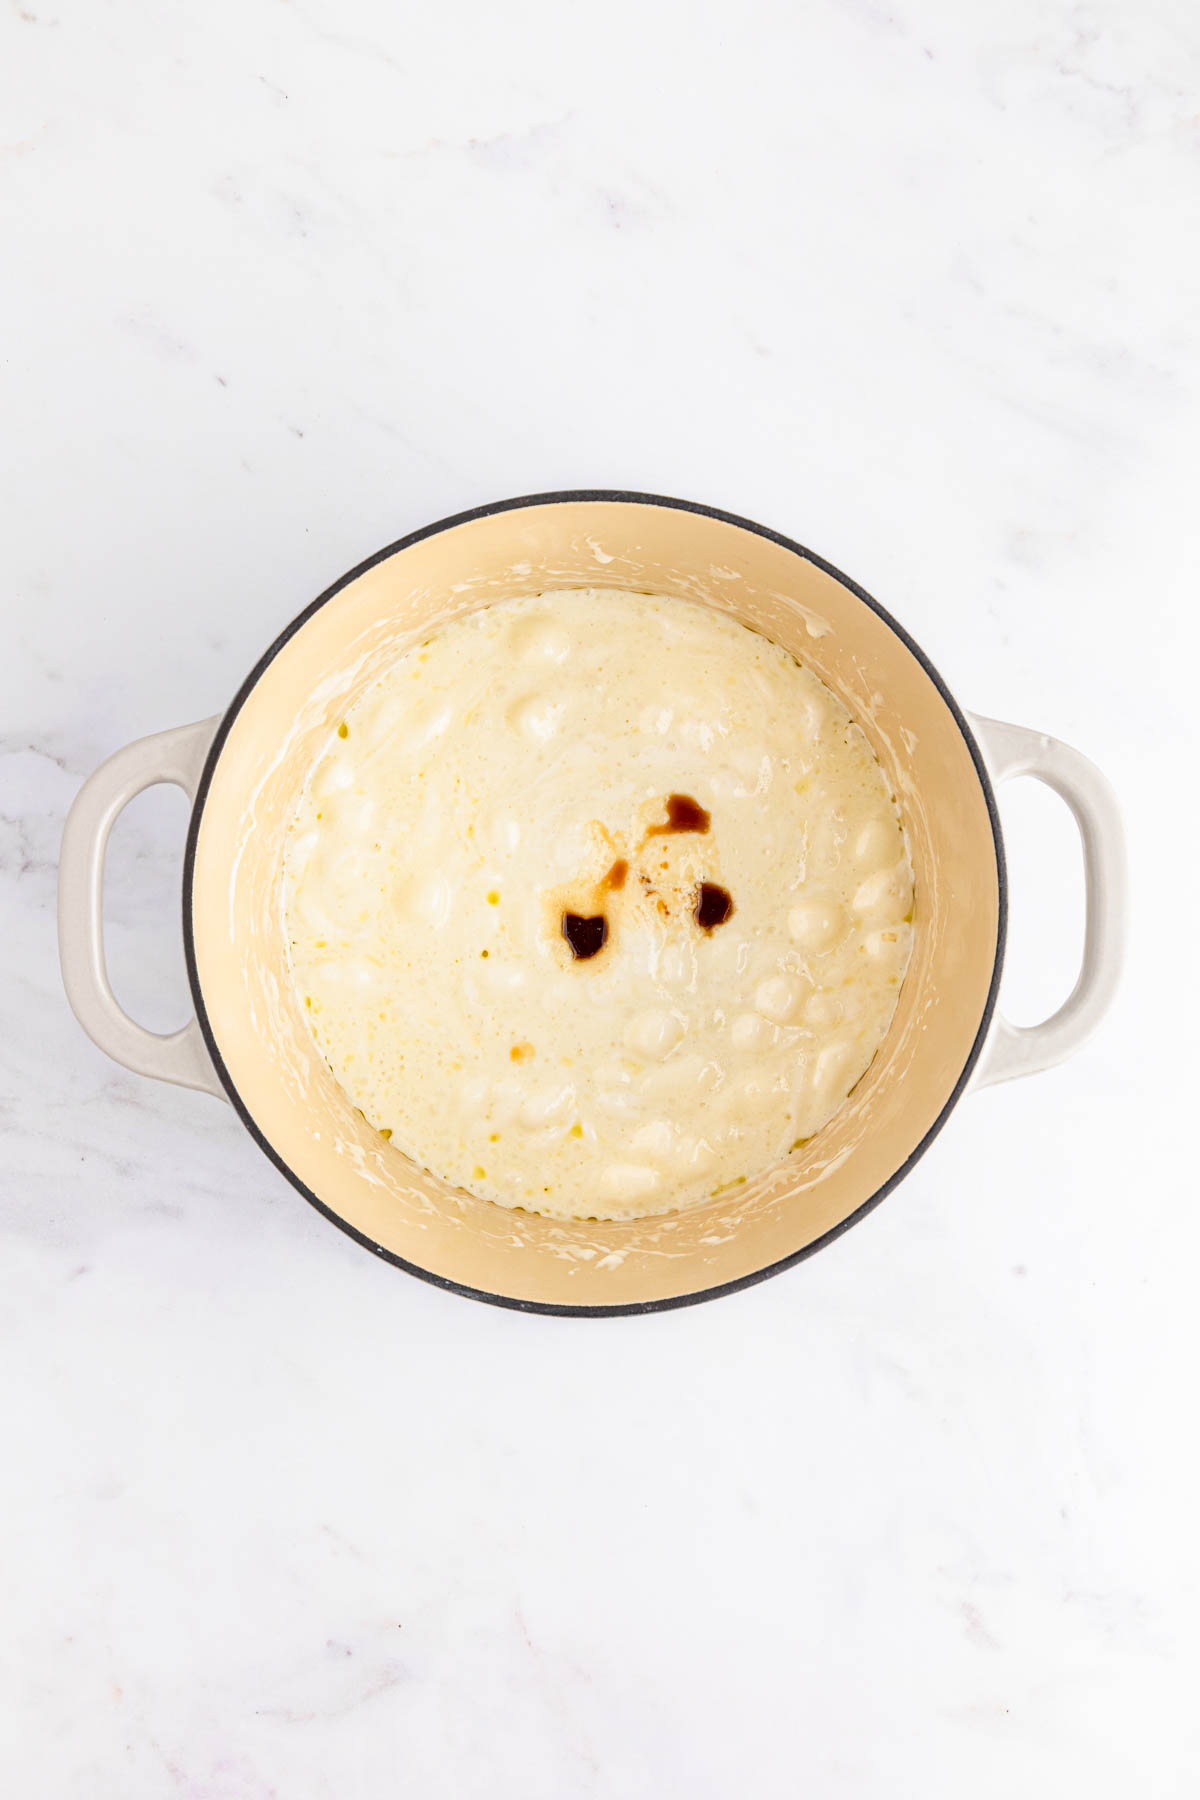
Step 4. As soon as the marshmallows have melted, remove from the heat. Stir in the vanilla extract and salt until incorporated.
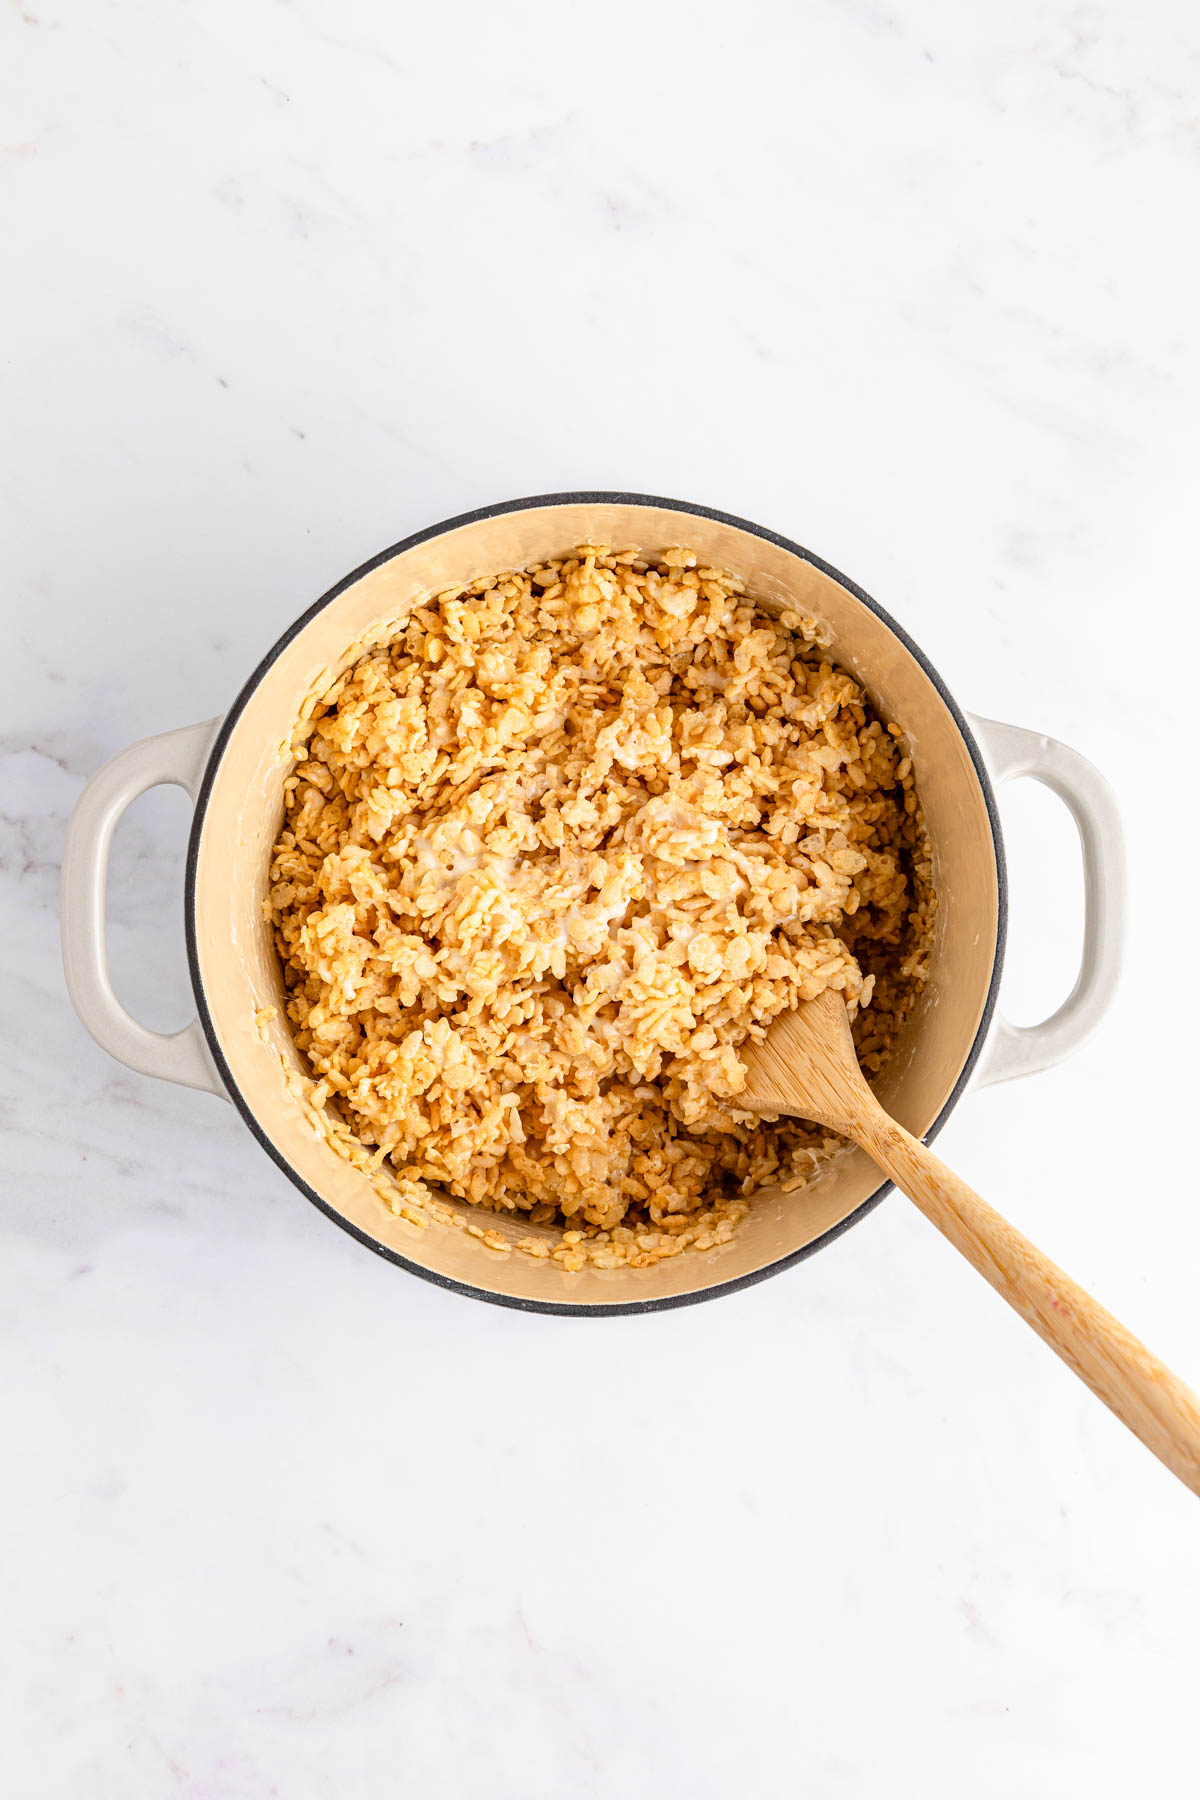
Step 5. Add the Rice Krispies cereal and fold it into the melted marshmallows.
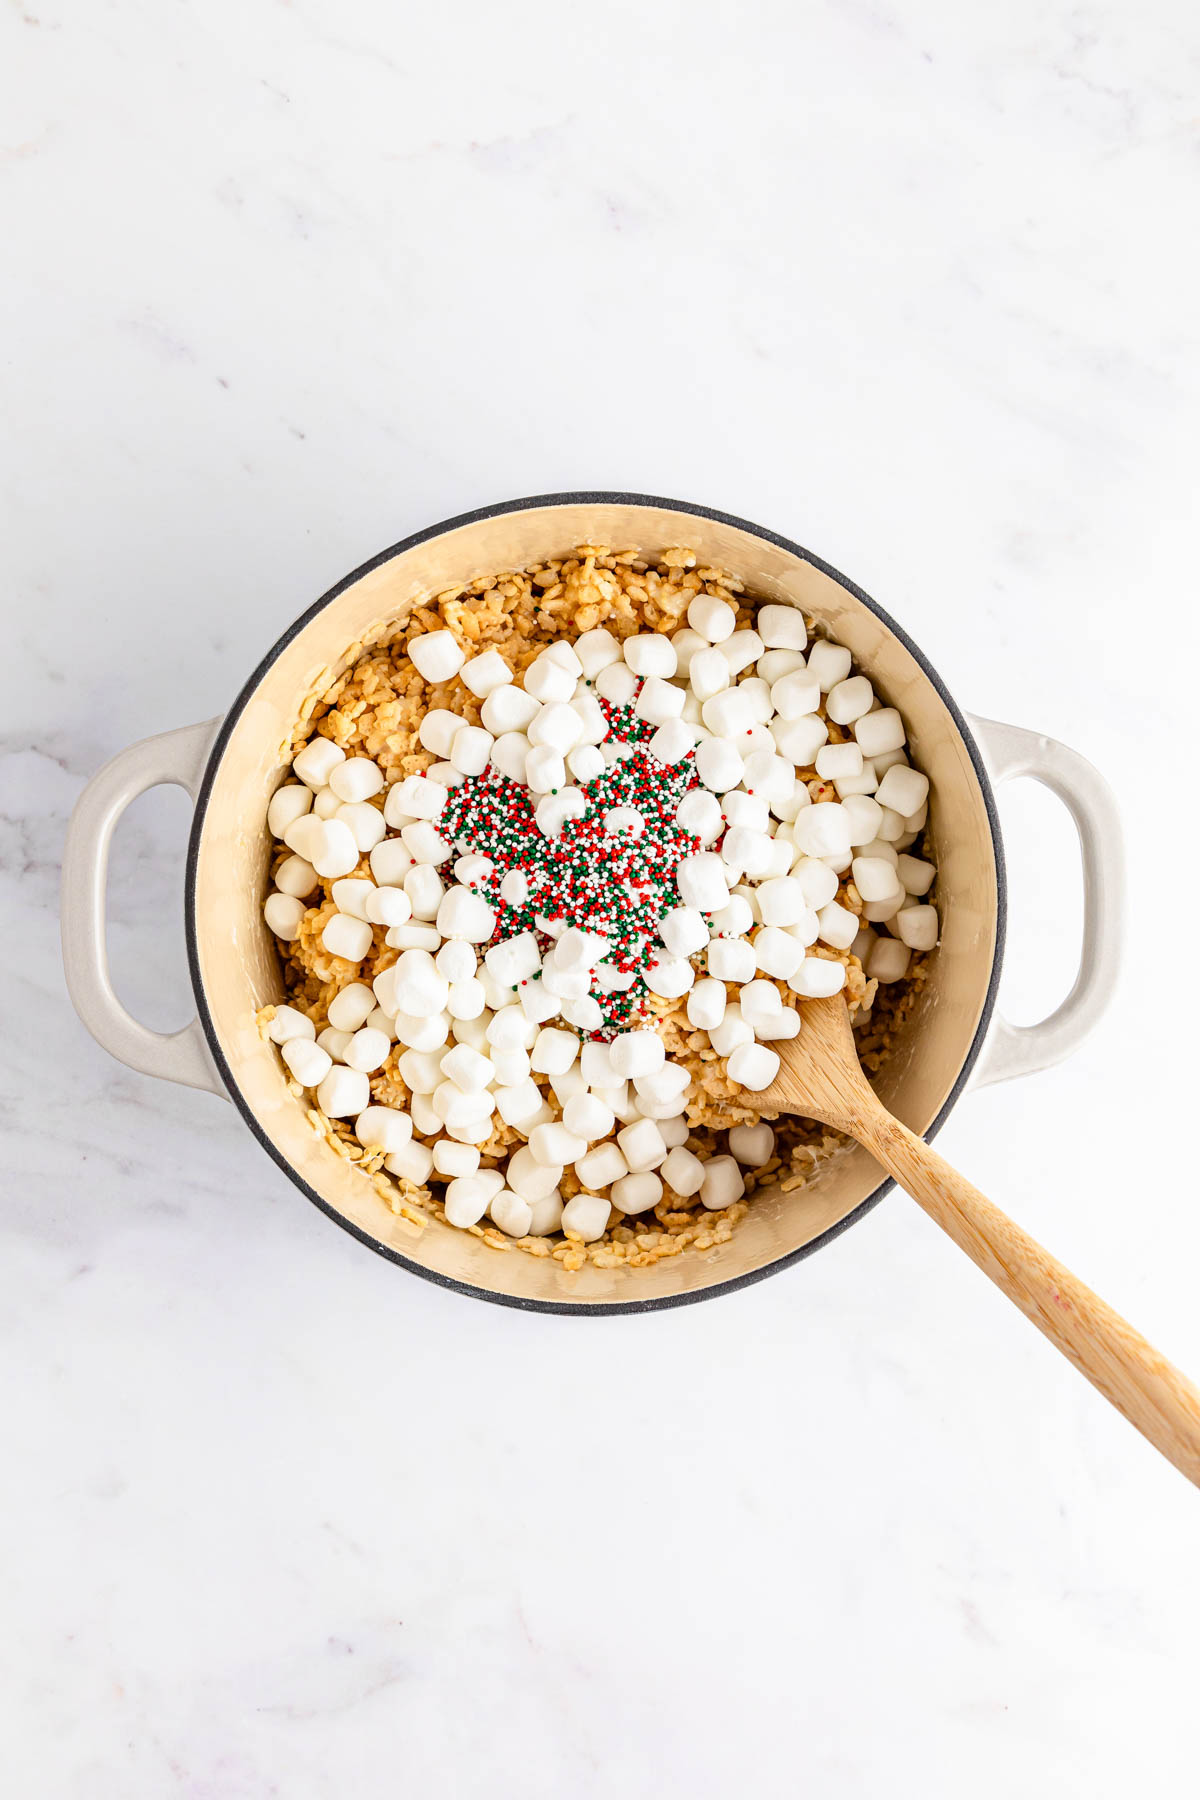
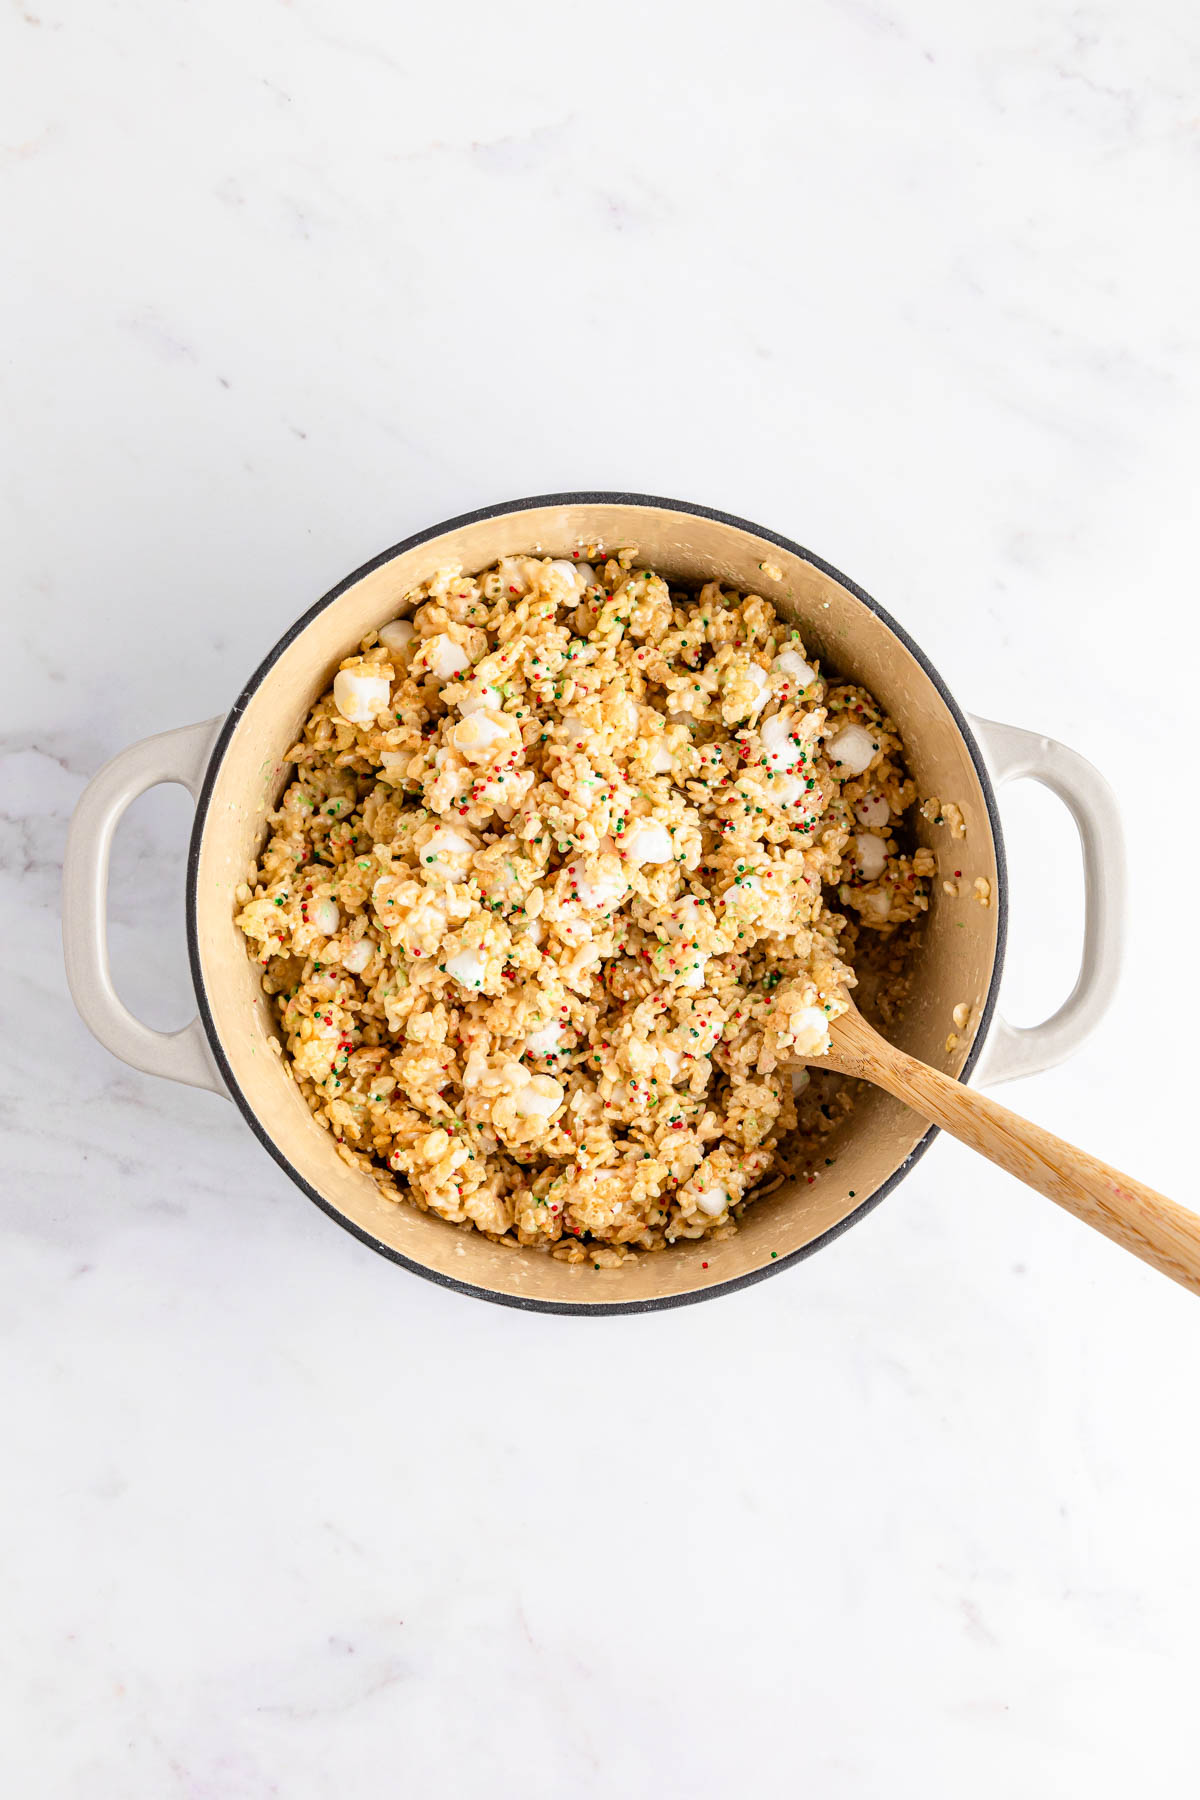
Step 6. Add the 2 cups of marshmallows that were set aside and the nonpareil sprinkles. Fold together again until evenly distributed and coated.
Tip: You will want to work quickly with this step because the marshmallows may start to melt and the color from the sprinkles will bleed.
Step 7. Spread the prepared Rice Krispies treats mixture into an even layer in the baking sheet and evenly press it in. If needed, you can use a rubber spatula or lay wax paper over the top to help smooth them out. Allow to cool on the counter for 30 minutes to 45 minutes.
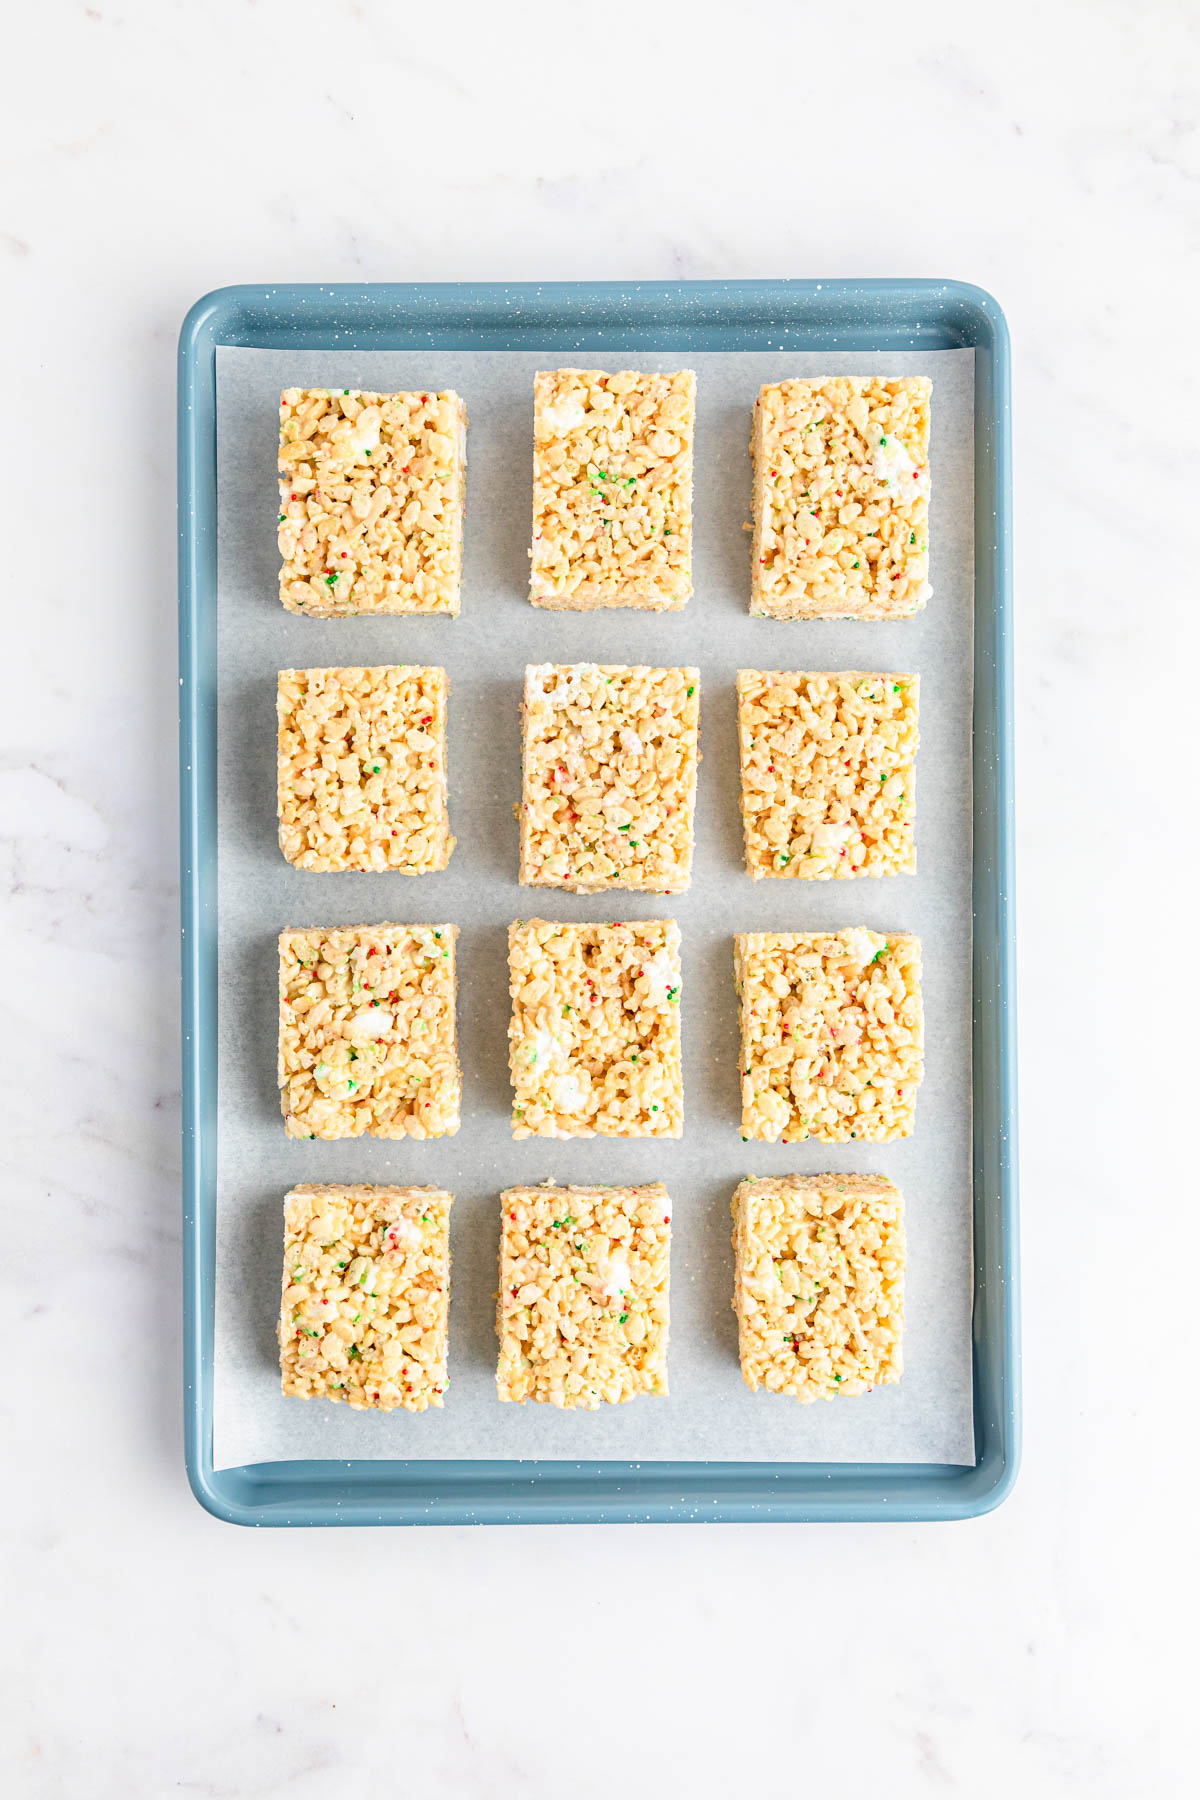
Step 8. Using a sharp knife, cut it into bars, about 3 inches long and 2 ½” inches wide.
Tip: If you want to be sure your treats all the same size, you can use a ruler to help cut them into straight lines.

Decorating The Treats
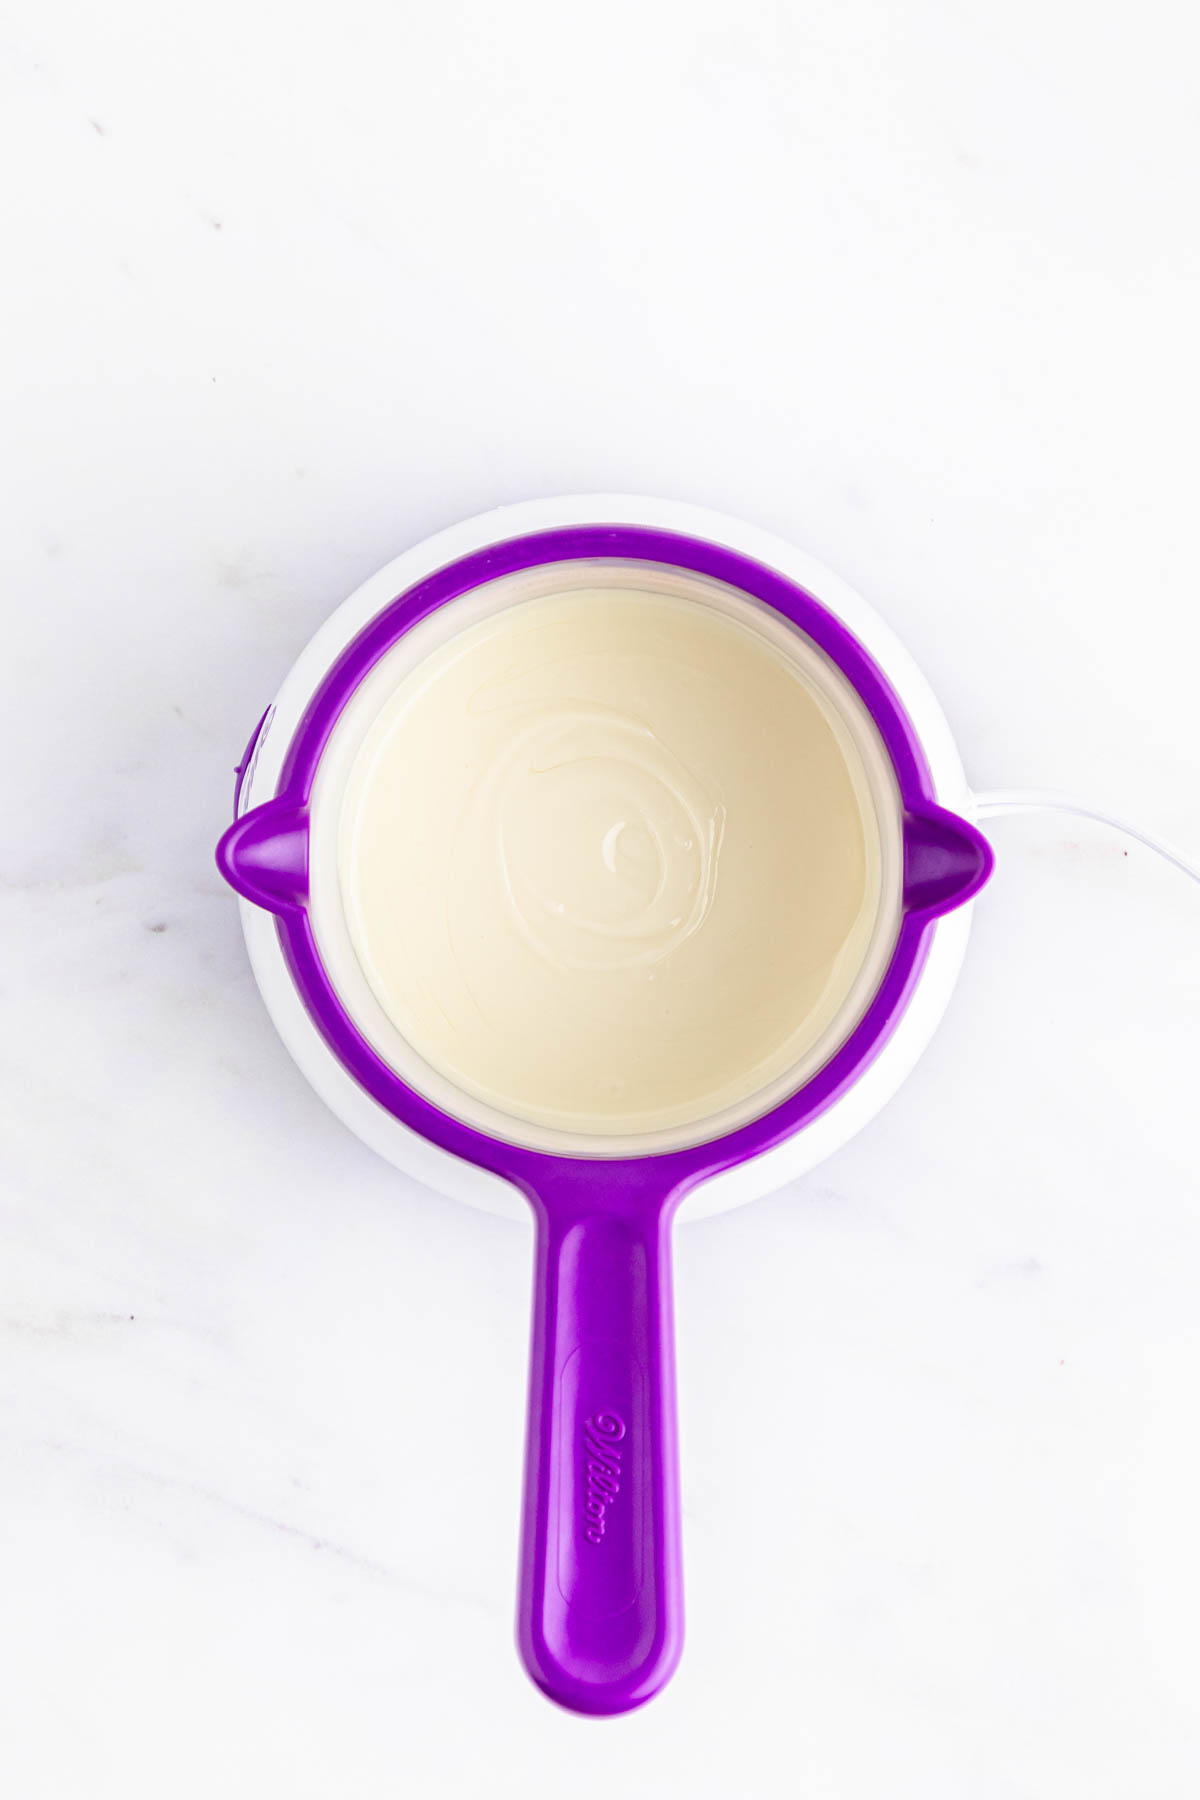
Step 1. Using a candy melting pot or double boiler over low heat, melt the white melting wafers until smooth.
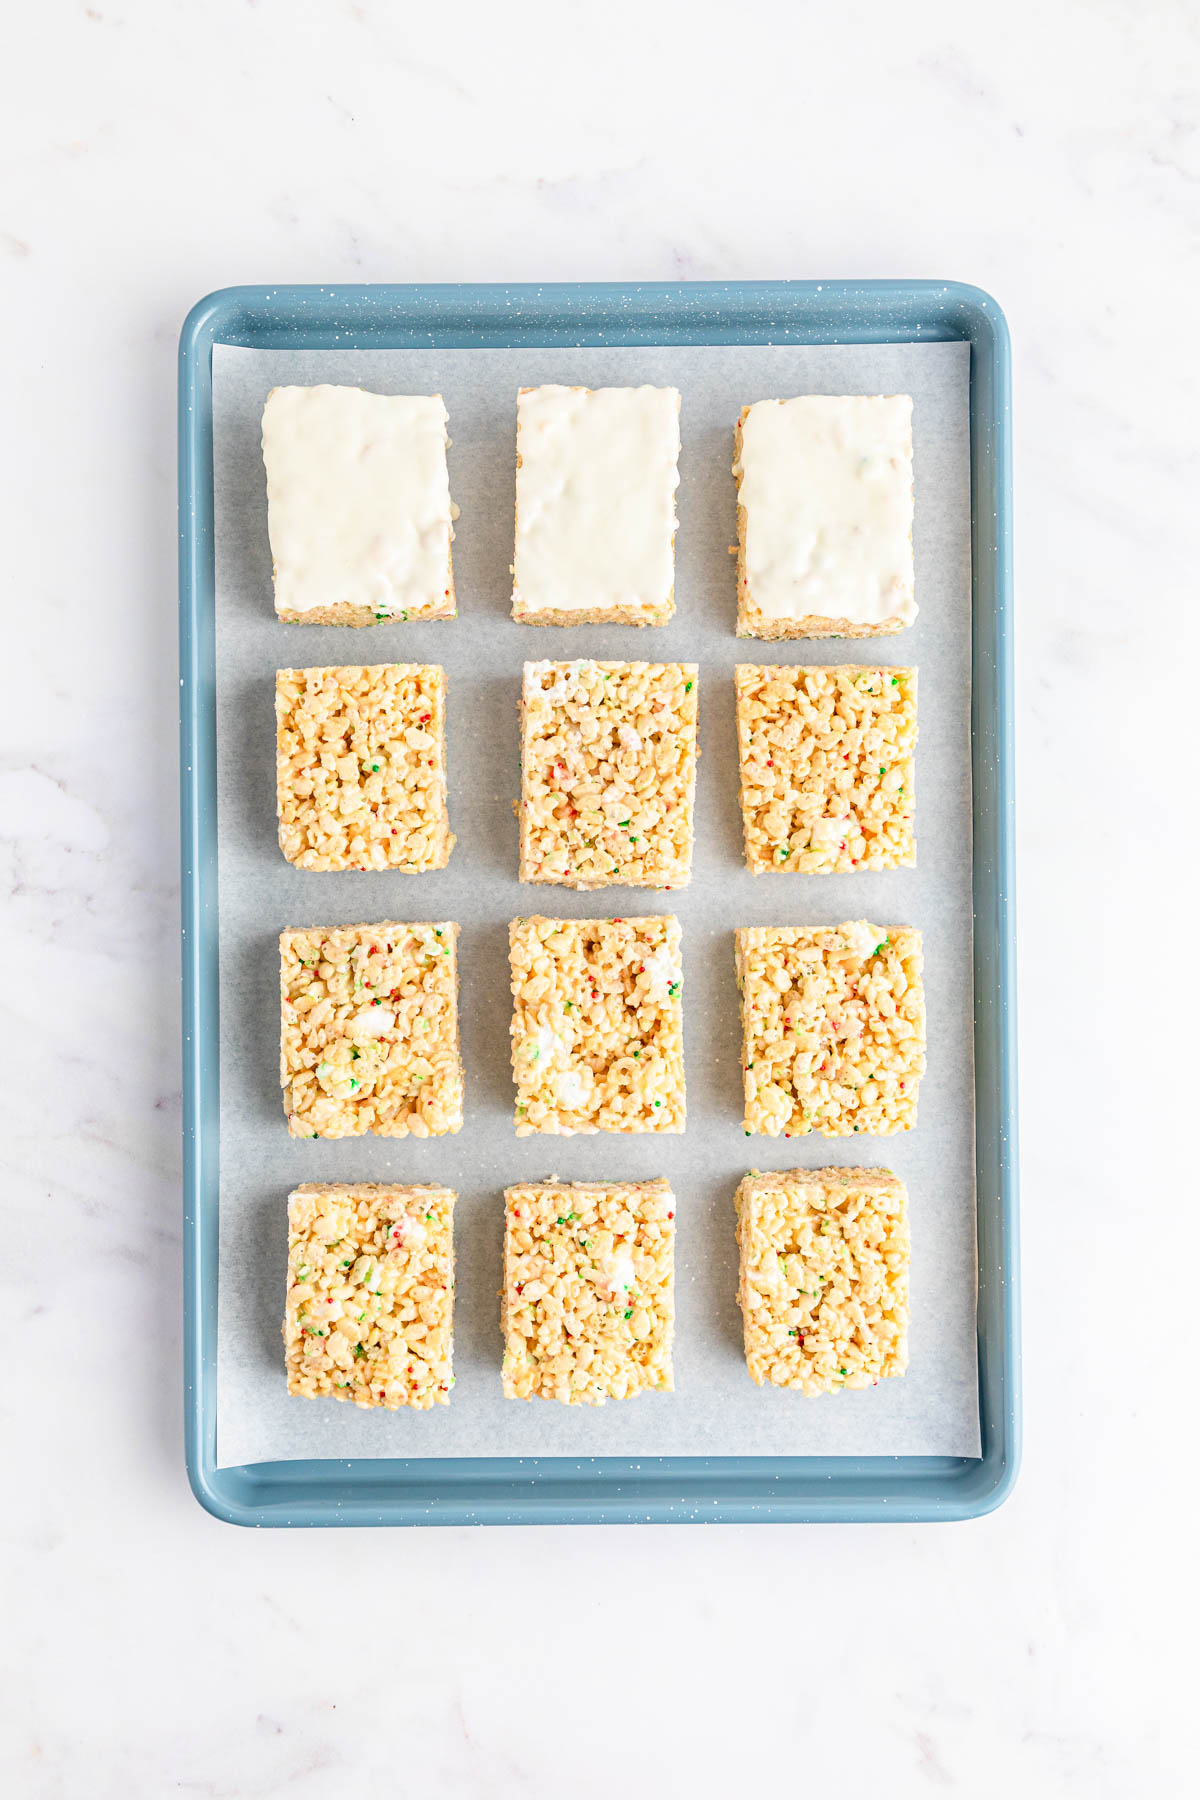
Step 2. Dip one Rice Krispie treat bar into the melts, just enough to coat the top. Then place onto the lined baking tray with the dipped side up.
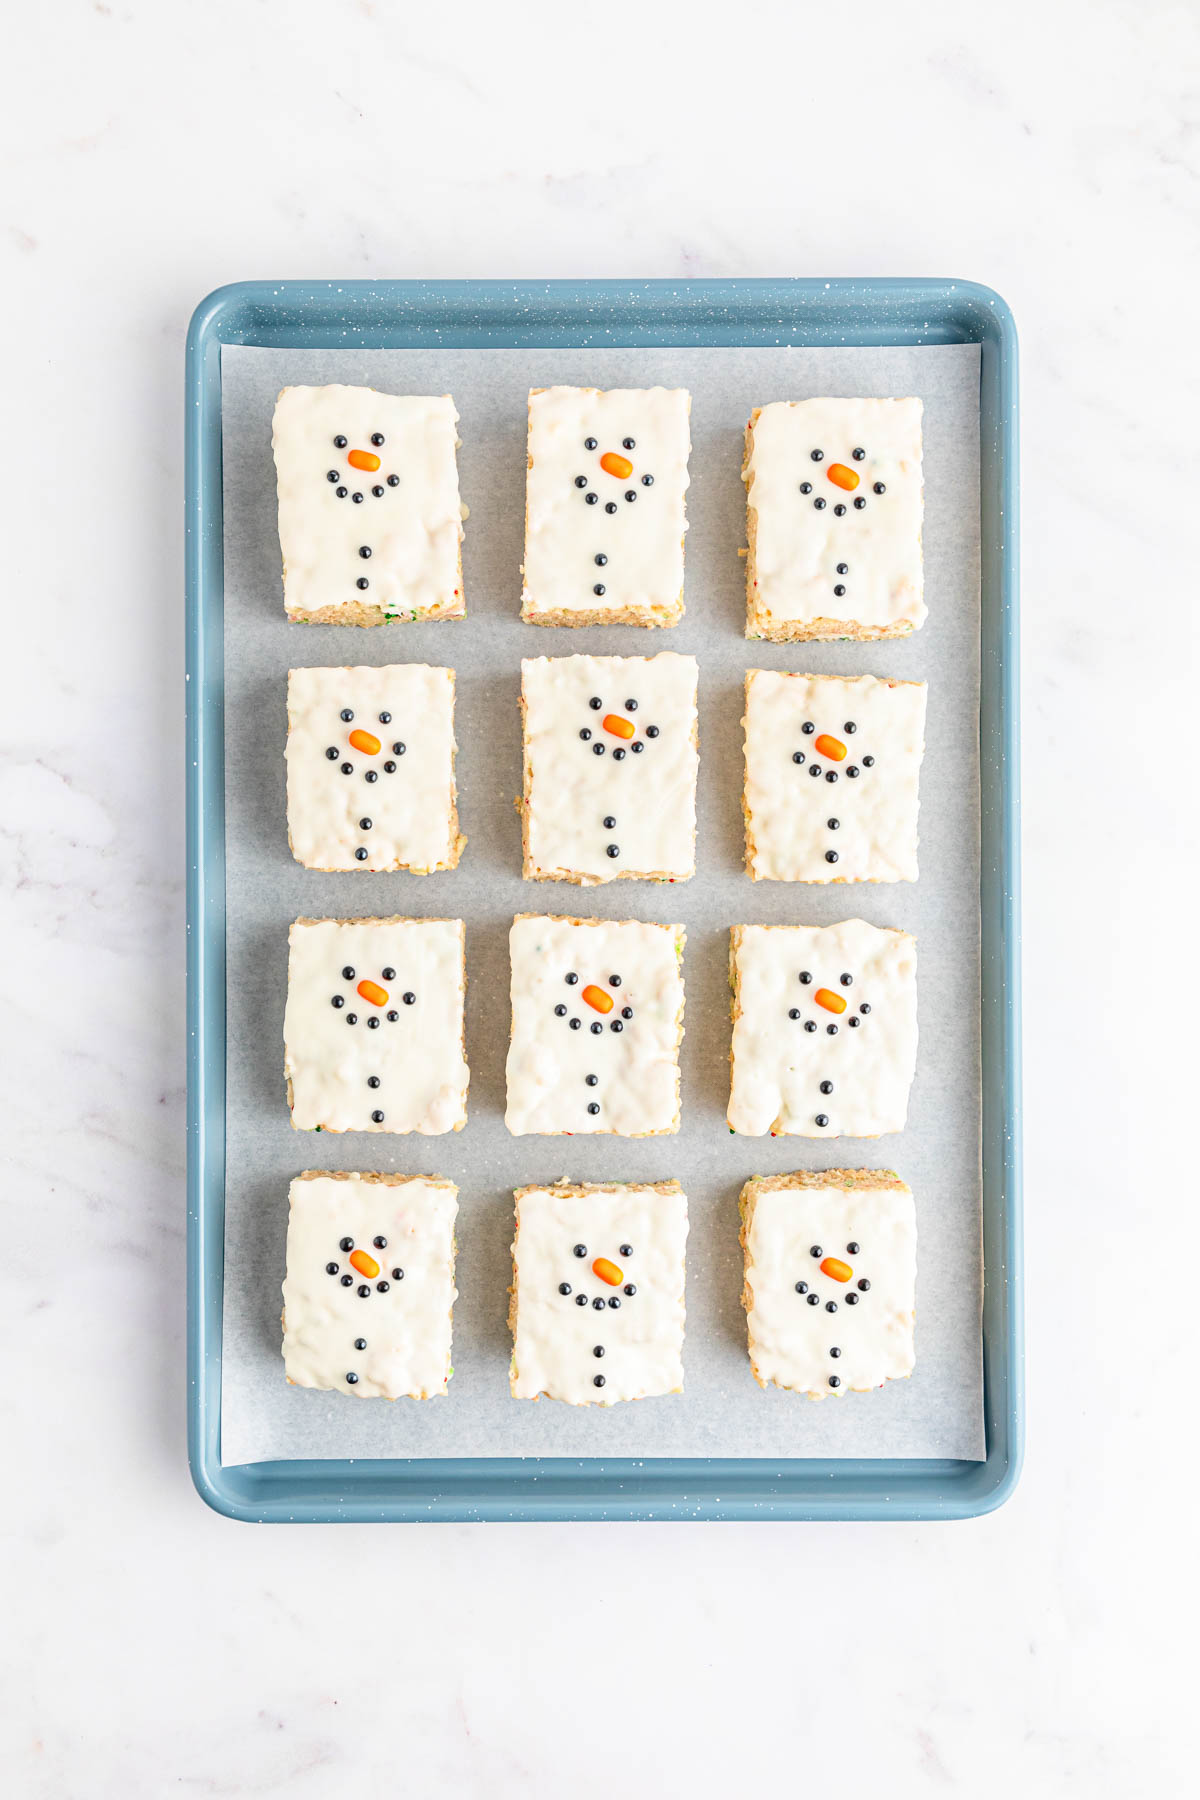
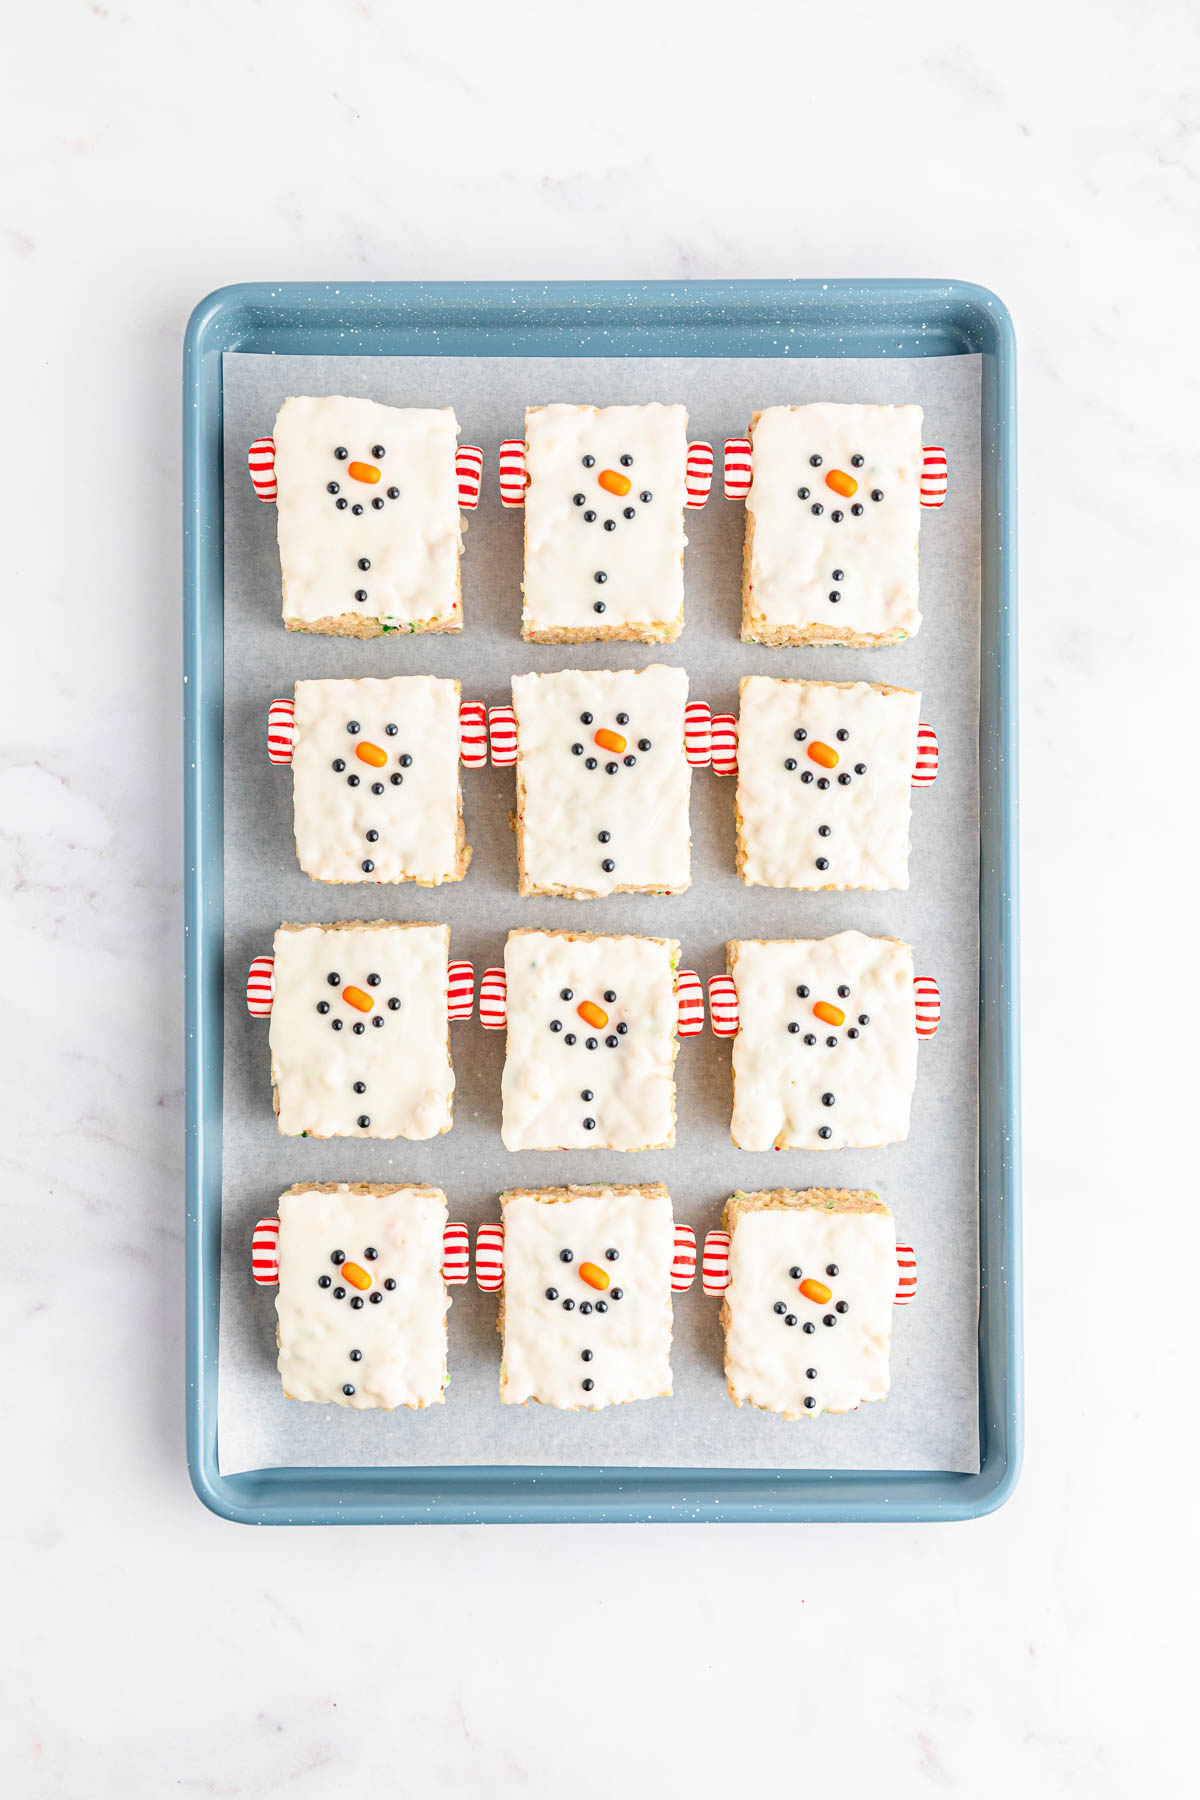
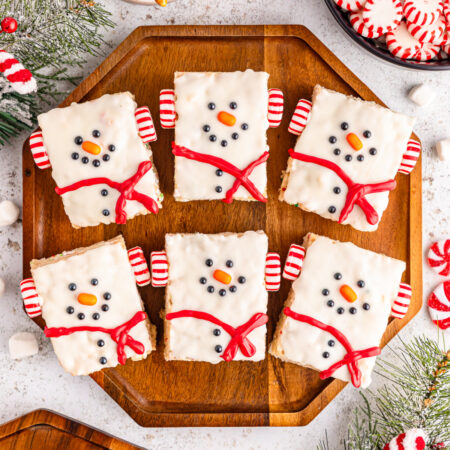
Step 3. Immediately decorate your snowman by adding two black sugar pearls for the eyes on the upper half of the snowman. You can use a toothpick to help push them into place.
Step 4. Add an orange tic tac below that for the nose.
Step 5. Quickly add more sugar pearls below for the mouth. Add a few extra black sugar pearls on the bottom half for the buttons, leaving enough space to draw a scarf between the buttons and the face.
Step 6. Use the melted candy melts to attach a peppermint candy onto the snowman’s head on each side to create earmuffs.
Step 7. Repeat to make the rest of the Rice Krispie snowmen.
Tip: You’ll want to make the snowmen one at a time, so the chocolate is still melted enough for the decorations to stick.
Step 8. Melt 1/3 cup of red candy melts in a piping bag. Twist it shut and microwave on a low or defrost setting for 30 second intervals until smooth and completely melted. Massage the bag each time to ensure it is heating evenly.
Step 9. Once melted, allow it to cool down for a few minutes before cutting a small piece of the tip off the piping bag. Then pipe on the scarves between the face and the buttons.

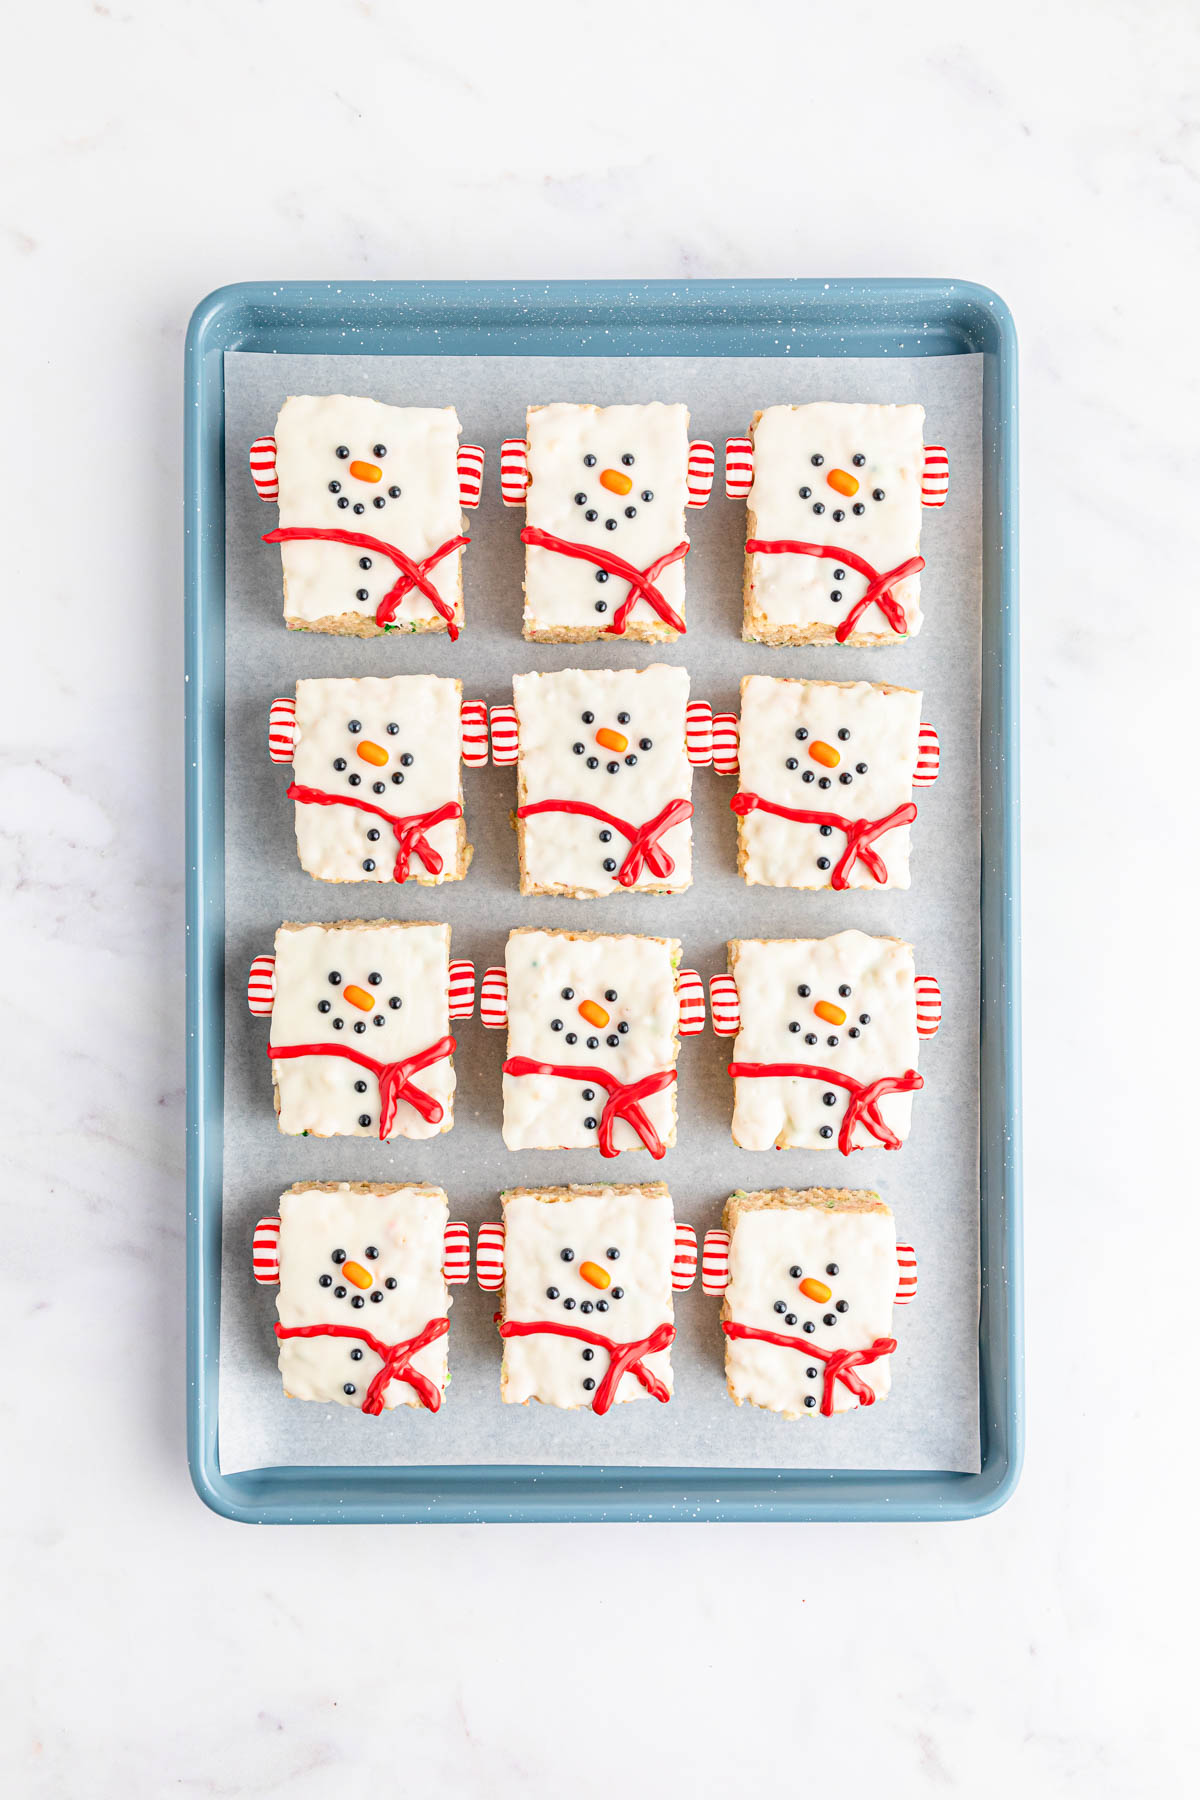
Step 10. Allow to set completely for 15 minutes or until the melts harden before serving. Enjoy!
Storage Instructions
You can store these holiday treats in an airtight container at room temperature for up to 2 weeks. It’s best not to refrigerate them.
Fun Christmas Rice Krispie Treat Variations
- Rice krispie add-ins: These treats taste great plain or you can add in mini M&M candy, mini chocolate chips or chopped pretzels. Just remember to try to keep the top as flat as possible.
- Ear muffs: Instead of peppermint candies for the ear muffs, you can use life saver gummies or another candy similar in shape and size.
- Nose: If you can’t find Tik Tacs, try using mini orange M&M’s for the nose. You can also draw them on with orange decoration icing or a little bit of melted orange candy melts.
- Black pearls: Black sugar pearls work great for the eyes, mouth, and buttons but you can also opt to use black icing gel or melted black candy melts.
- Scarf: Get creative and change the color of the scarves by using different candy melt colors. You can also add edible glitter or sanding sugar to the scarf if desired. Another option is to add Pull N Peel Twizzlers as the scarf. You’ll just want to add it while the white chocolate is still wet so it will stay in place.
- Optional hat: If you want to add a hat, dip the top end of the treat into melted dark chocolate candy melts.
Snowman Rice Krispies Treat FAQS
You can make this recipe up to a week or so in advance. The Rice Krispies are crispier the first few days after making, but they’ll still taste great for a couple of weeks.
Rice krispie treats can become hard if they’re overcooked. To prevent this, be sure to remove the mixture from the heat as soon as the marshmallows are fully melted.
The reason this happens is because the mixture was not pressed firmly into the pan and cooled before cutting.
More Christmas Treat Ideas
If you enjoyed making snowman Rice Krispie treats, you’ll want to check out these fun holiday recipes too!
- Oreo Snowman Balls
- Grinch Oreo Balls
- Grinch Chocolate Covered Oreos
- Christmas Sugar Cookies
- Christmas Dessert Lasagna
Snowman Rice Krispie Treats
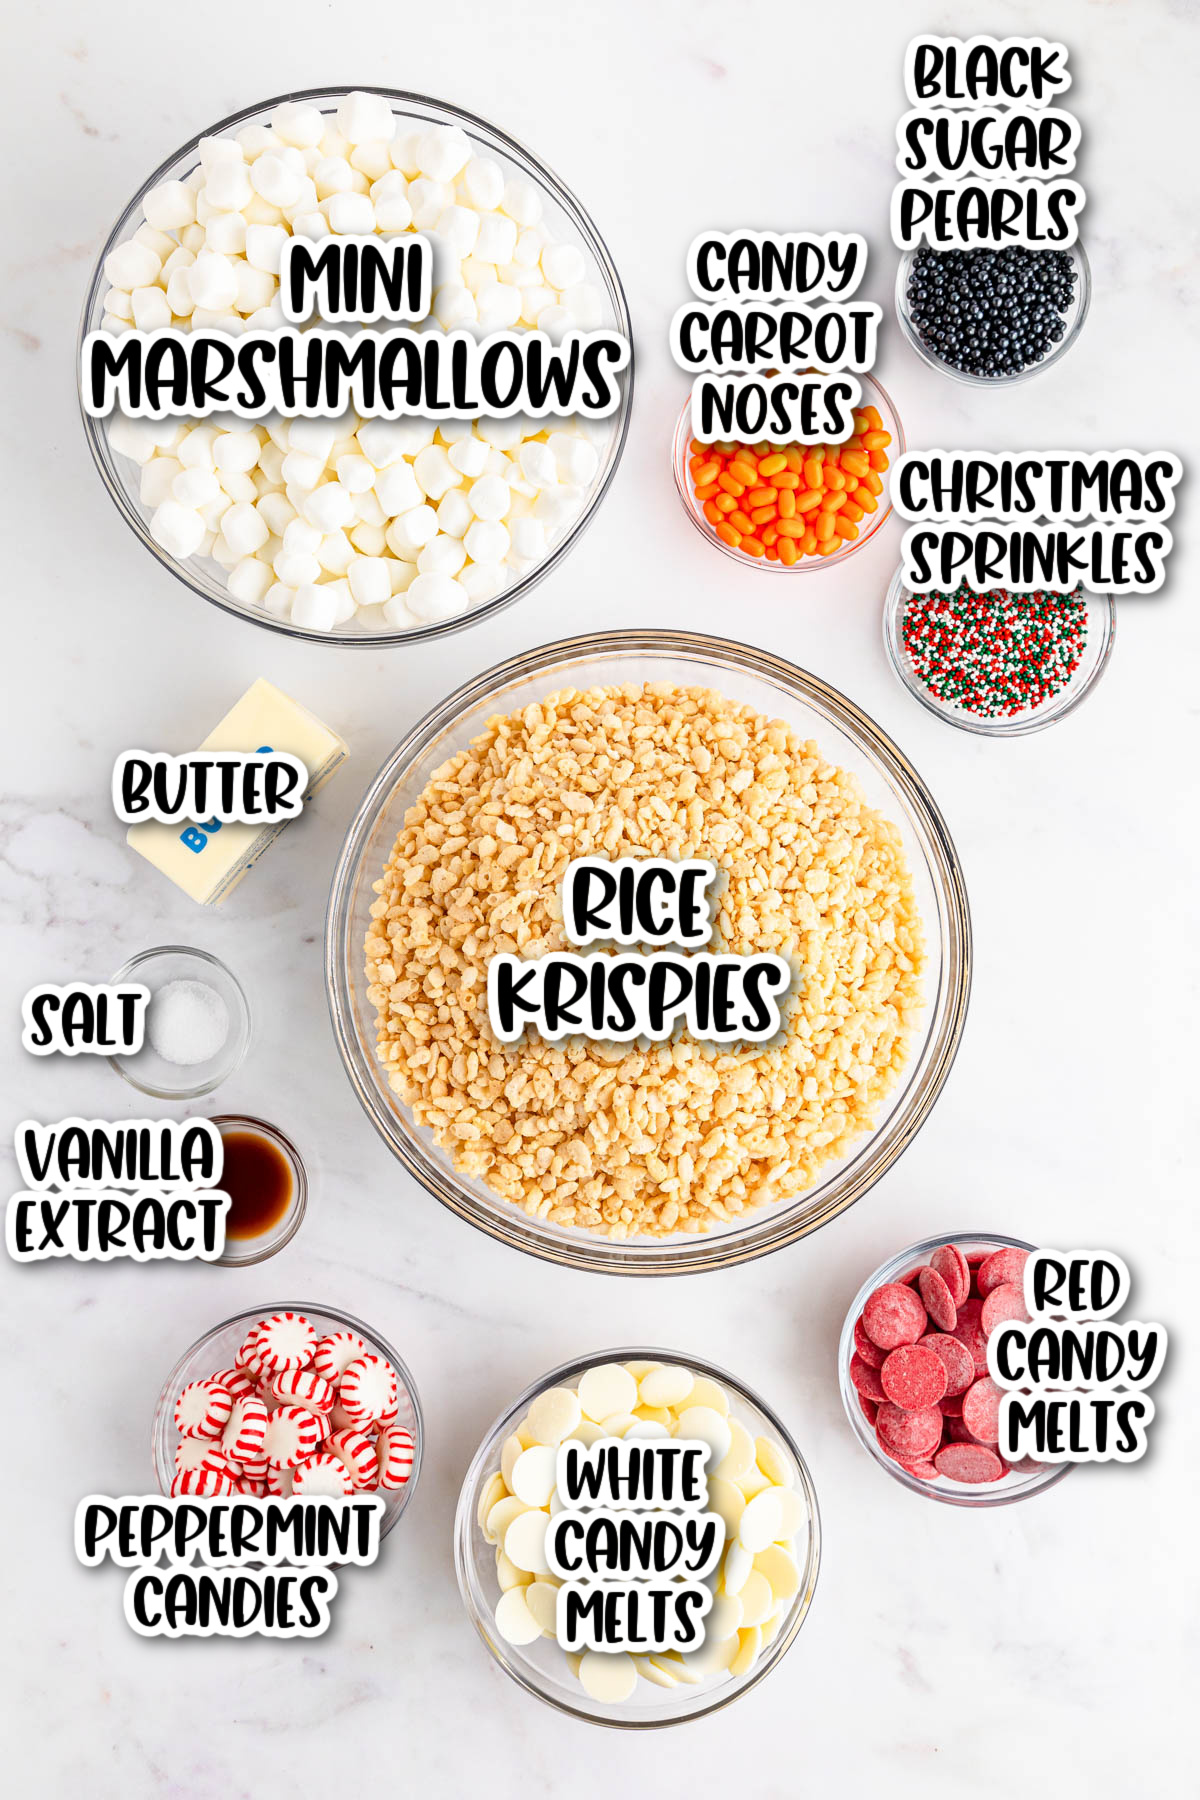
Ingredients
- 1/2 cup unsalted butter
- 16 ounces mini marshmallows divided
- 1 teaspoon pure vanilla extract
- ¼ teaspoon salt
- 8 cups Rice Krispies cereal
- ¼ cup Christmas themed nonpareils
- 10 ounces Ghirardelli white melting wafers (one package)
- 30 Black sugar pearls for the eyes
- 15 Orange Tic Tacs for the nose
- 30 Peppermint candies for the ear muffs
- Red candy melts for the scarf
Instructions
Making The Rice Krispie Treat Bars
- Line a 13 x 9 baking tray with parchment paper and set it aside.
- Melt the butter in a large pot over low heat.
- Measure 2 cups of mini marshmallows and set them aside. Add the remaining marshmallows to the pot and melt in the melted butter. Stir the butter and marshmallows occasionally until smooth.
- As soon as the marshmallows have melted, remove from the heat. Stir in the vanilla extract and salt until incorporated.
- Add the Rice Krispies cereal and fold it into the melted marshmallows.
- Add the 2 cups of set aside marshmallows and nonpareil sprinkles. Fold together again until evenly distributed and coated. You'll want to work quickly with this step because the marshmallows may start to melt and the color from the sprinkles will bleed.
- Spread the prepared rice krispies treats mixture into an even layer in the baking sheet and evenly press it in. If needed, you can use a rubber spatula or lay wax paper over the top to help smooth them out. Allow to cool on the counter for 30 minutes to 45 minutes.
- Using a sharp knife, cut it into bars, about 3 inches long and 2 ½” inches wide.
Decorating The Rice Krispie Treats
- Using a candy melting pot or double boiler over low heat, melt the white melting wafers until smooth.
- Dip one Rice Krispie treat bar into the melts, just enough to coat the top. Then place onto the lined baking tray with the dipped side up.
- Immediately decorate your snowman by adding two black sugar pearls for the eyes on the upper half of the snowman. You can use a toothpick to help push them into place.
- Add an orange tic tac below that for the nose.
- Quickly add more sugar pearls below for the mouth. Add a few extra black sugar pearls on the bottom half for the buttons, leaving enough space to draw a scarf between the buttons and the face. Do this one at a time, so the chocolate is still melted enough for the decorations to stick.
- Use the melted candy melts to attach peppermint candies on each side of the snowman's head, making little earmuffs.
- Repeat with the rest of the snowmen.
- Melt 1/3 cup of red candy melts in a piping bag. Twist it shut and microwave on a low or defrost setting for 30 second intervals until smooth and completely melted. Massage the bag each time to ensure it is heating evenly.
- Once melted, allow it to cool down for a few minutes before cutting a small piece of the tip off the piping bag. Then pipe on the scarves between the face and the buttons.
- Allow to set completely for 15 minutes or until the melts harden before serving. Enjoy!
Notes
Nutrition
Did You Make This Recipe?
Share it with me on Instagram @funmoneymom and follow on Pinterest @funmoneymom for more!
Let’s be friends!
Did you love this post? Make sure to comment below and let me know your thoughts! And don’t forget to follow on your favorite social network below!

About Lisa O’Driscoll
Lisa O’Driscoll is a lifestyle and parenting expert, cookbook author, and the creative force behind Fun Money Mom, a popular blog she’s run since 2014. She’s the author of the children’s cookbook Roll It, Slice It, Mash It, Dice It, designed to get kids excited about cooking. With multiple TV appearances under her belt, she loves sharing her expertise on family-friendly recipes, creative DIYs, and party planning and is always on a mission to inspire and entertain!