Easy DIY Wall Art
This post may contain affiliate links. As an Amazon Associate, I earn from qualifying purchases.
Looking for a great gift idea or just want a new way to display your favorite photos? This DIY Wall Art is easy to make and looks beautiful on any wall.

When I was asked recently to be on Sarasota’s Suncoast View, my first order of business was to decide what to make. I had to come up with a crafty idea that was both budget friendly and easy.
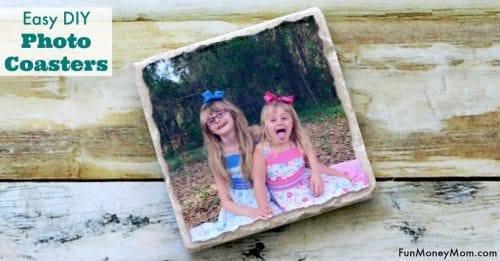
Since I love making photo crafts, I came up with several ideas. I wanted to make photo coasters because I’d always had so much fun making them with my Kindergarteners. I also loved the photo cubes that I’d made in the HP Printly Suite at the Blogher conference. I’d always wanted to try making a wood photo transfer.
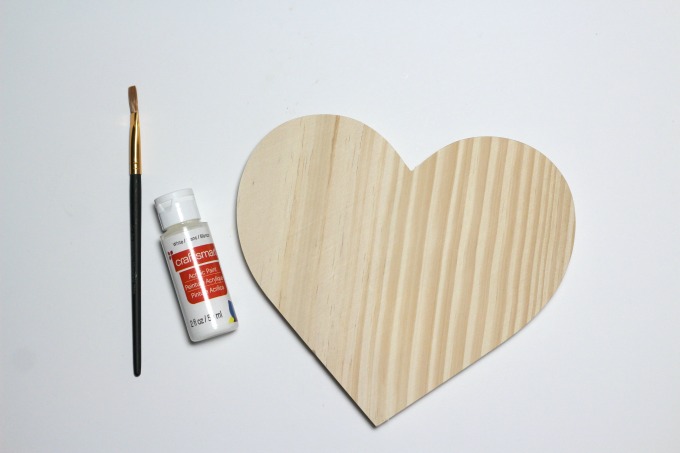
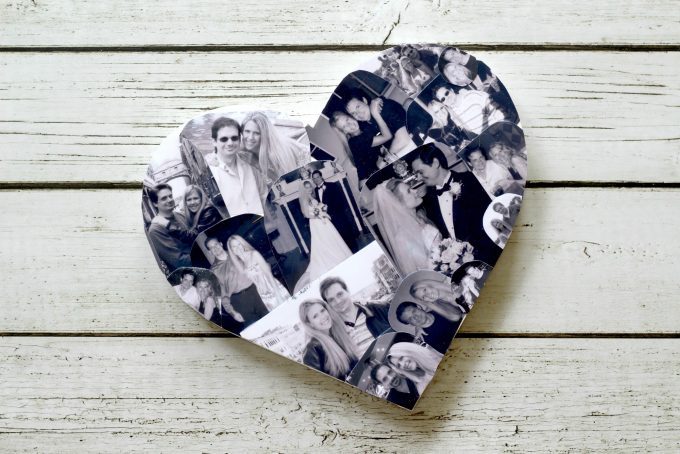
As I was picking up a few last minute supplies at the craft store, I came across a wooden heart and and couldn’t pass it by. I knew I could use it for yet another crafty photo project. Once I took it home, my idea began to take shape. I wanted to make a beautiful piece of wall art using black and white pictures from trips my husband and I had taken.
I started by painting the heart with a white acrylic paint. Most of the heart gets covered up but it’s good to have the white background for the few slivers that peek through.
Next I printed off a couple wedding photos, then added photos from our travels. I printed them all in black in white…it just seemed more romantic that way.
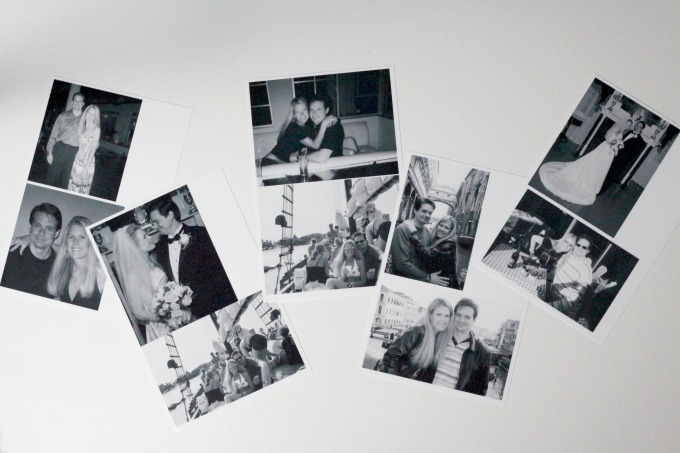
The next step was to crop the photos and cut off any unnecessary background. A photo of us on a boat included a lady bending over behind us. Not really want I want to have on my romantic keepsake.

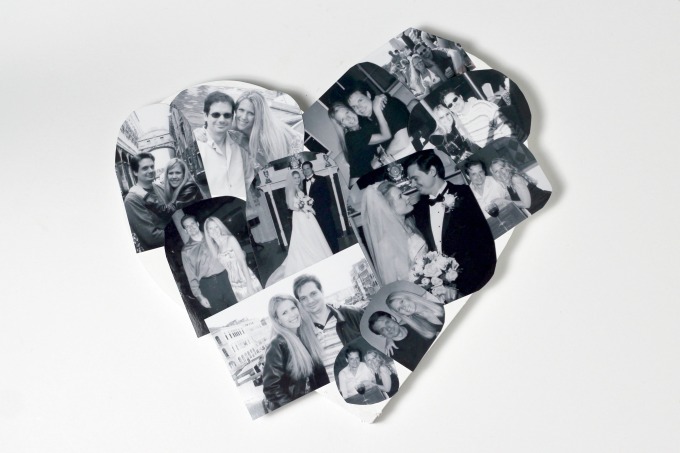
This part was the hardest for me, probably because I’m not very good at puzzles. It was trickier than I expected to arrange the pictures so that they fit on the heart like I wanted. Once I had a good idea of how it would look, I took the pictures off and used Mod Podge to glue them on one by one. I just spread a little glue in the middle and started with those pictures. Then I added the Mod Podge a little at a time and glued the rest of the pictures to the heart. I set it aside to dry for about an hour.
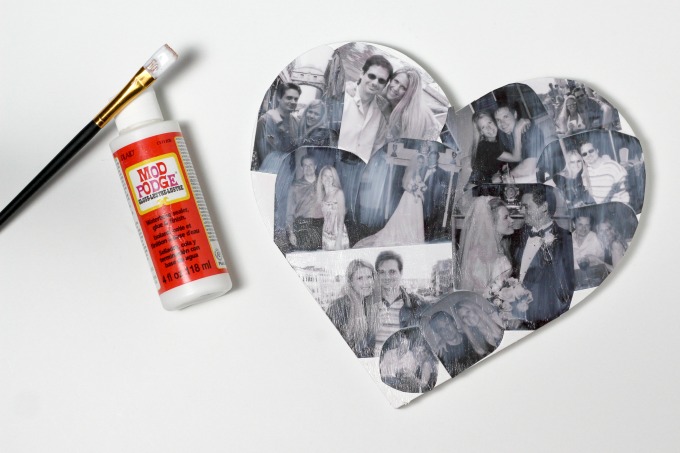
Once the glue dried, I trimmed around the edge of the heart with a pair of scissors. To protect the surface of the photos, I added a layer of Mod Podge over the top. Here’s one thing I learned though. When I’ve used Mod Podge over color photos, it doesn’t change the tone. However, using it over black and white photos does change the look a little. It gives it a tinge of sepia so if you like the crisp look of black and white, don’t paint the extra layer of Mod Podge. Your photos won’t be as protected but if you’re hanging this on the wall, it should be fine.
If you’re not sure, take an extra black and white photo, paint it with the Mod Podge and let it dry. You’ll see what it looks like and can make a decision on whether you like it better or not. I actually like both looks but wanted the extra protection so it would last longer.
You may notice that I have extra space around the edge. Originally I was going to take a white piece of rope and glue it around the edge of the heart. However, once the glue dried on the photos, I liked it as is and didn’t want to add anything. I ended up printing out a few very small photos and filling up most of those empty spaces. I painted Mod Podge over those to match and my project was complete.
I’m so happy with how my last minute project turned out! This makes a perfect gift for an anniversary, Valentine’s Day or even a wedding gift. You could also make it for someone who just had a baby, filling it up with all those adorable baby pictures.
Check out this project, along with the other photo crafts that we made on Sarasota’s Suncoast View
Want more fun photo crafts?
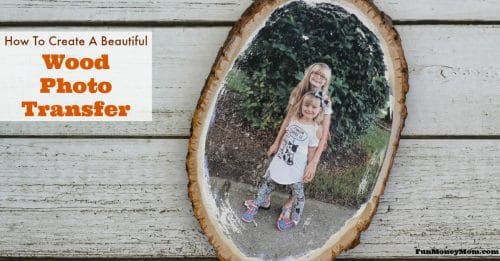
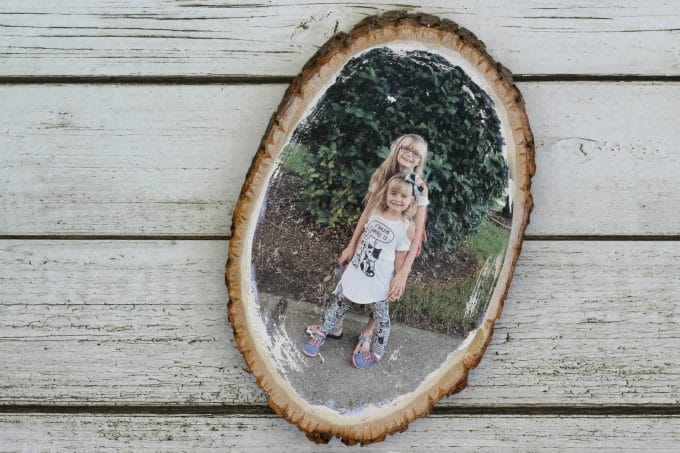
How To Create A Beautiful Wood Photo Transfer

Let’s be friends!
Did you love this post? Make sure to comment below and let me know your thoughts! And don’t forget to follow on your favorite social network below!

About Lisa O’Driscoll
Lisa O’Driscoll is a lifestyle and parenting expert, cookbook author, and the creative force behind Fun Money Mom, a popular blog she’s run since 2014. She’s the author of the children’s cookbook Roll It, Slice It, Mash It, Dice It, designed to get kids excited about cooking. With multiple TV appearances under her belt, she loves sharing her expertise on family-friendly recipes, creative DIYs, and party planning and is always on a mission to inspire and entertain!