Easy Halloween Pumpkin Diorama
This post may contain affiliate links. As an Amazon Associate, I earn from qualifying purchases.
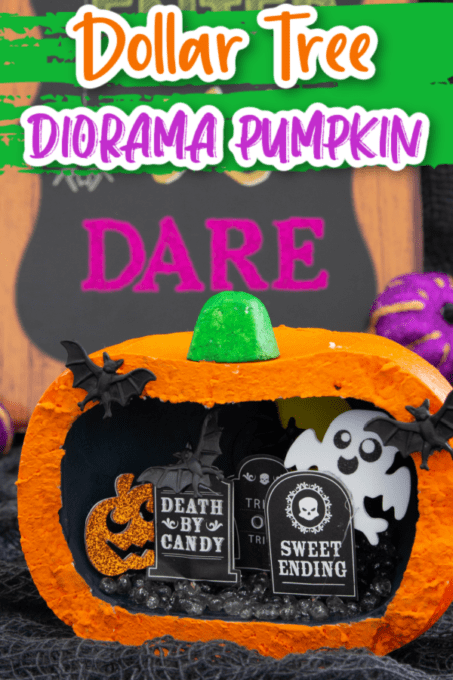
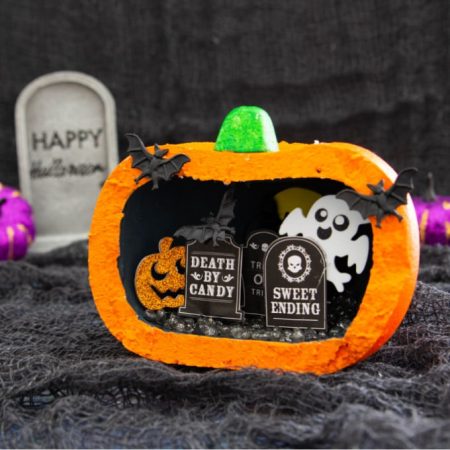
A pumpkin diorama is an easy Halloween craft for both kids and the adults! It’s a new way of pumpkin decorating that everyone will have a blast with!
Halloween is just around the corner! It’s such fun holiday and there’s lots to get excited about, from baking Halloween cookies to picking out the perfect couples costume.
What I get most excited about is coming up with new pumpkin decorating ideas! I’ve made everything from a Frankenstein pumpkin to a flowery unicorn pumpkin and I’ve got even more up my sleeve, starting with this easy DIY pumpkin diorama idea! Not only is it fun but it makes a great Halloween decoration too!
Why We Love This Halloween Pumpkin Diorama
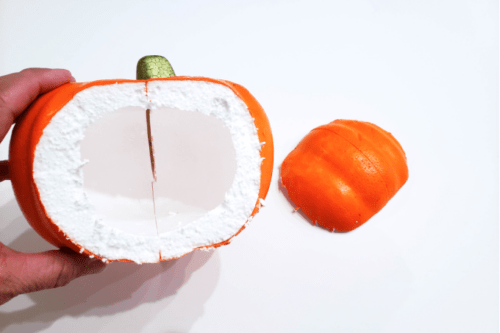
It’s Easy – There’s no right or wrong way to make a diorama pumpkin. Just cut open a pumpkin, paint the inside and add whatever fun things you want to the inside of the pumpkin. Let your creativity run free.
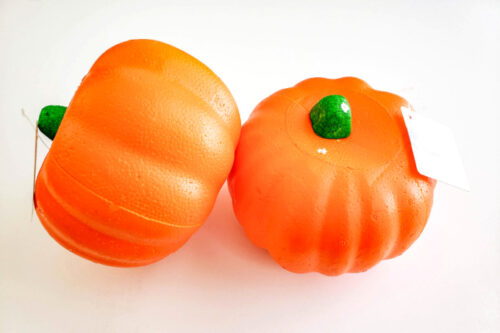
Mess Free – Since we like to use a foam pumpkins from Dollar Tree, we avoid all the mess that comes with using a real pumpkin. You could also buy larger craft pumpkins from Michaels if you want to get a little fancier.
Budget Friendly – You don’t need a lot of craft supplies to make one. We picked up styrofoam pumpkins at Dollar Tree, then whatever miniature items we could find to put inside. Tombstone cupcake toppers turned this into a graveyard diorama and we cut the backs off cheap plastic rings to make flying bats.
Great For Parties – This is a great Halloween party craft for kids! It’s so simple and fun to make. As long as they’re old enough to use a hot glue gun, they’re good to go.
Ready to get crafty? Let’s get started…
Easy Pumpkin Diorama
Equipment
- Glue gun (or regular glue for younger kids)
- Mod Podge
Materials
- Styrofoam pumpkin this link is for Amazon but you can get these pumpkins for $1 each at Dollar Tree
- Halloween stickers/die cuts etc
- Black acrylic paint
- Orange acrylic paint
- Glass pebbles optional
Instructions
- I love using these styrofoam pumpkins for my Halloween pumpkin crafts! They’re only $1 at Dollar Tree so even if you mess it up, it was only $1! (You can also get them on Amazon, you’ll just pay a little more).

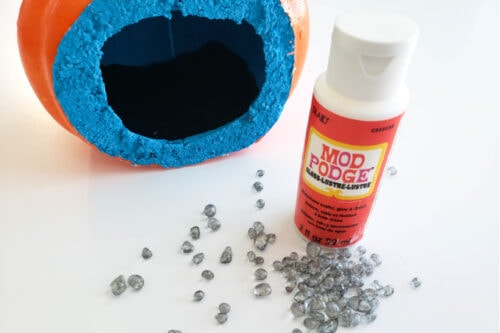
- Start by cutting off the front of the styrofoam pumpkin. Don’t cut it exactly in half because you want to be sure you have plenty of room inside to work with, but cut it far enough back so that you have a good sized opening to work with.
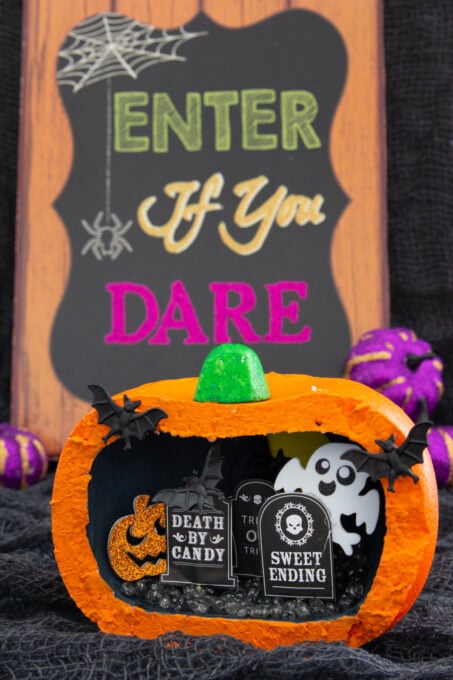
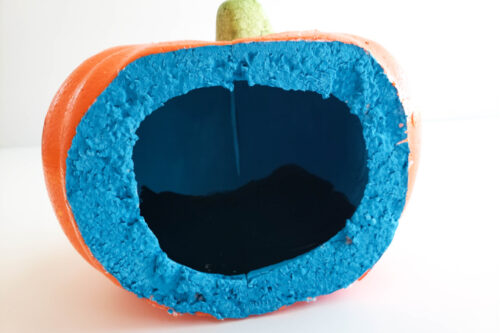
- Paint the entire inside of the pumpkin black, including the stick that hangs down from the stem. Paint the outside part where you made the cut with orange paint. Note: The colors are different in this image because this was the first pumpkin I made. I then made a second, where the inside was black and the outer edge orange and it looked even better. Set aside until dry.
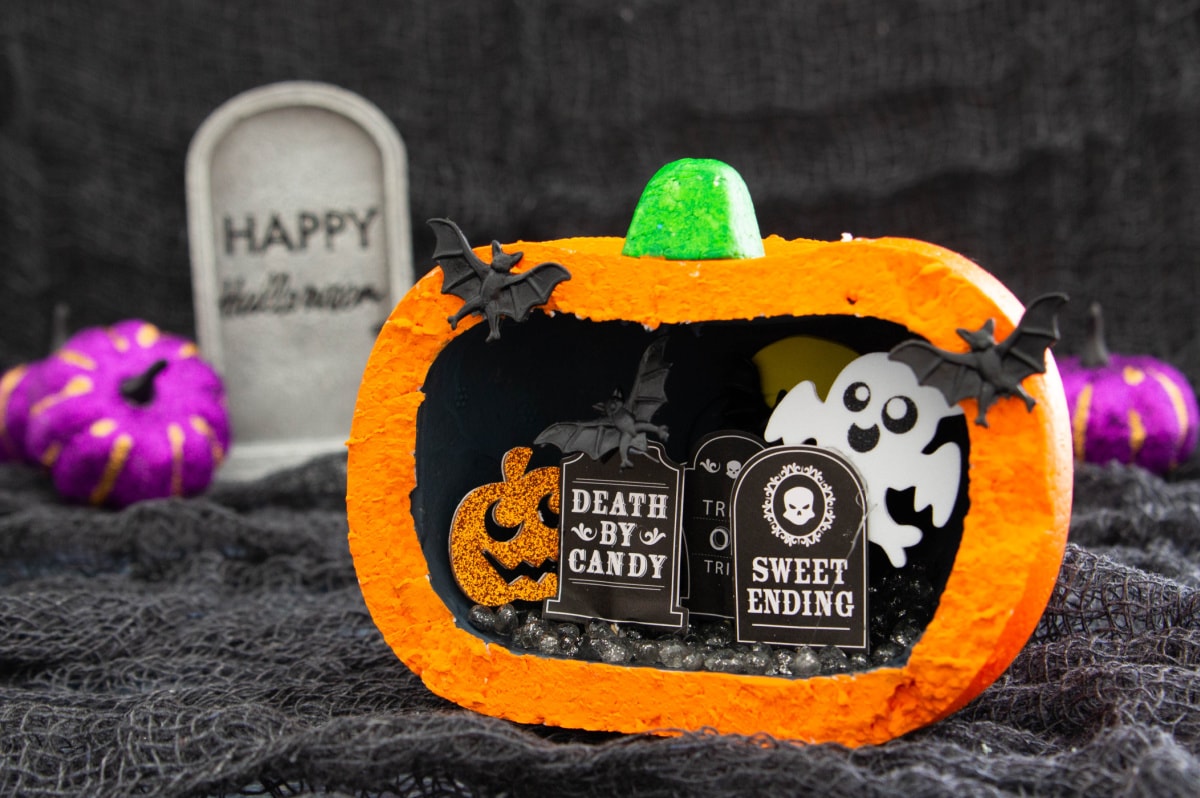
- Once the paint dries, paint the inside bottom of the pumpkin with Mod Podge and sprinkle with glass pebbles.
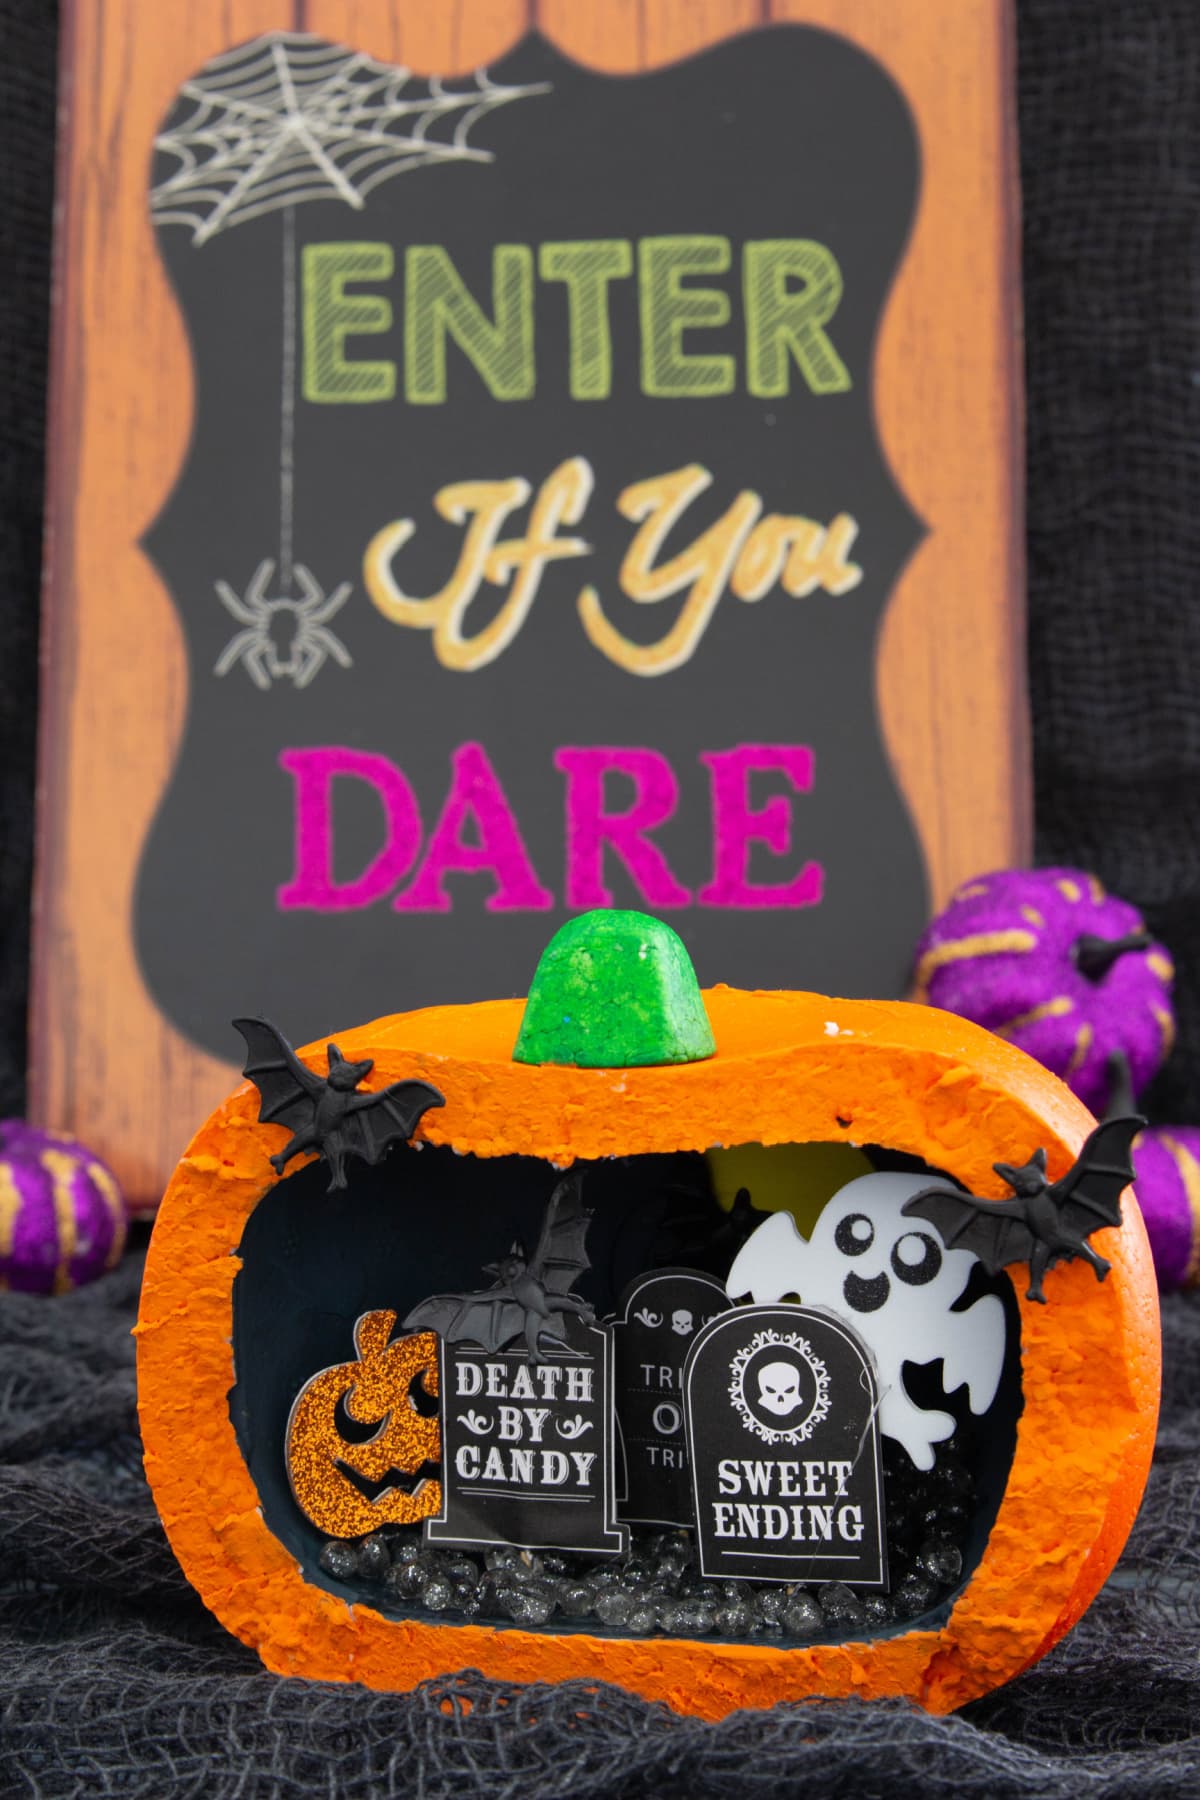
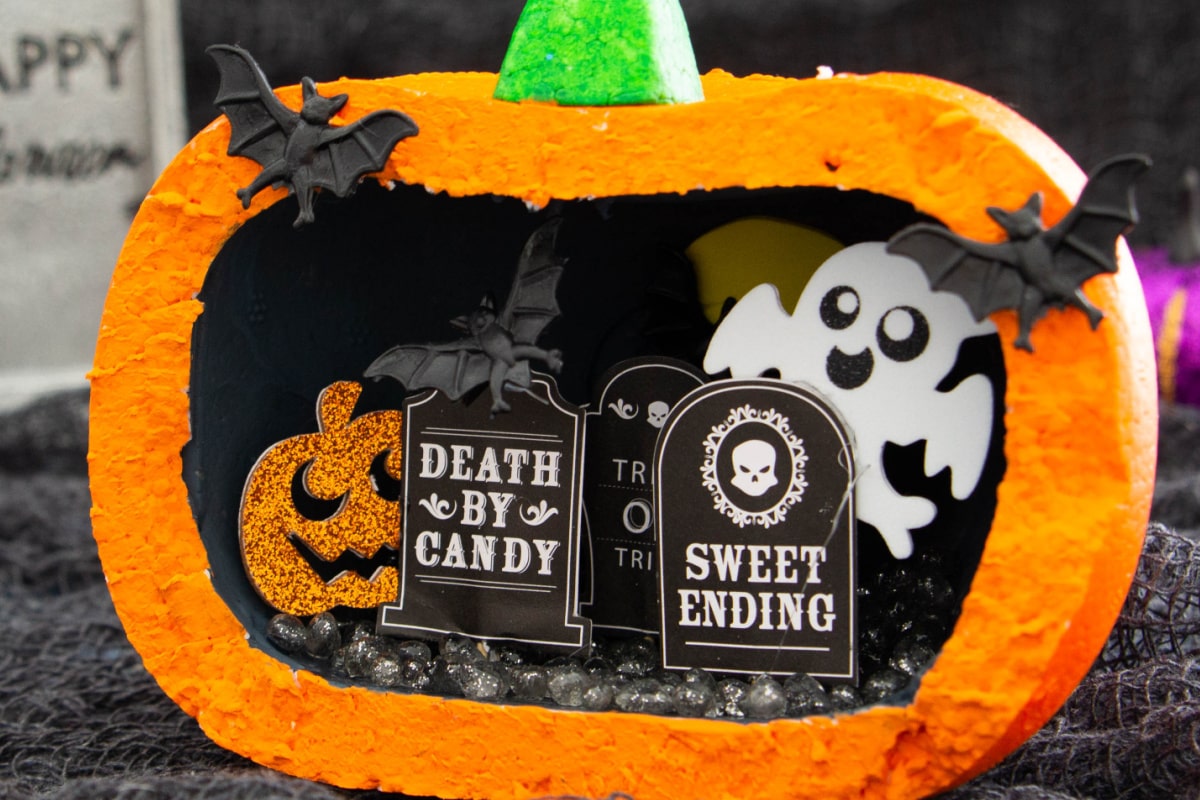
- Now you can decorate! I love the stick hanging down from the middle because it’s the perfect place to attach flying bats or ghosts. I actually used plastic bat rings and cut off the backing so I just had the bat to work with. I also used styrofoam stickers and the tombstones were cupcake toppers. You can use whatever Halloween craft supplies you have on hand.

Notes
Did You Make This Project?
Share it with me on Instagram @funmoneymom and follow on Pinterest @funmoneymom for more!
As you can see in the tutorial, the first pumpkin diorama has blue paint around the edges (for sky…not sure what I was thinking). I thought I’d try another one with orange and loved it so much more. How cute is this?
The beauty of these is that you can decorate them however you like! You can add plastic skeletons, have a witch making her brew or create a cute pumpkin patch…just use your imagination!
Or you can just do what I did and use whatever you can find at the dollar store! Either way, this spooky pumpkin diorama will be lots of fun to create and makes the perfect Halloween decor.
More Halloween Ideas
Halloween Food Ideas
Let’s be friends!
Did you love this post? Make sure to comment below and let me know your thoughts! And don’t forget to follow on your favorite social network below!

About Lisa O’Driscoll
Lisa O’Driscoll is a lifestyle and parenting expert, cookbook author, and the creative force behind Fun Money Mom, a popular blog she’s run since 2014. She’s the author of the children’s cookbook Roll It, Slice It, Mash It, Dice It, designed to get kids excited about cooking. With multiple TV appearances under her belt, she loves sharing her expertise on family-friendly recipes, creative DIYs, and party planning and is always on a mission to inspire and entertain!