Root Beer Float Pie
This post may contain affiliate links. As an Amazon Associate, I earn from qualifying purchases.
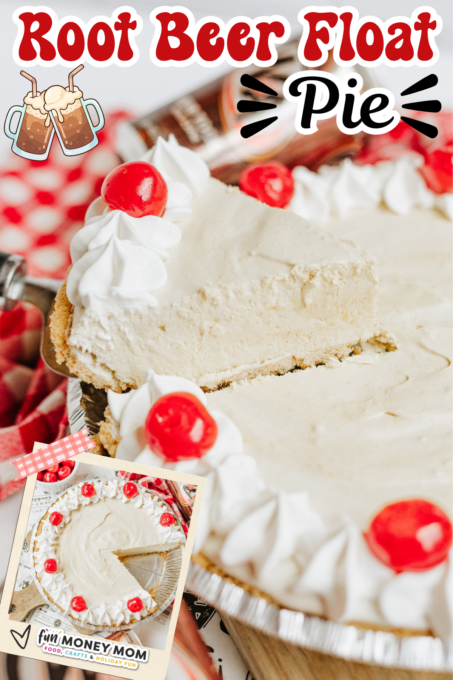
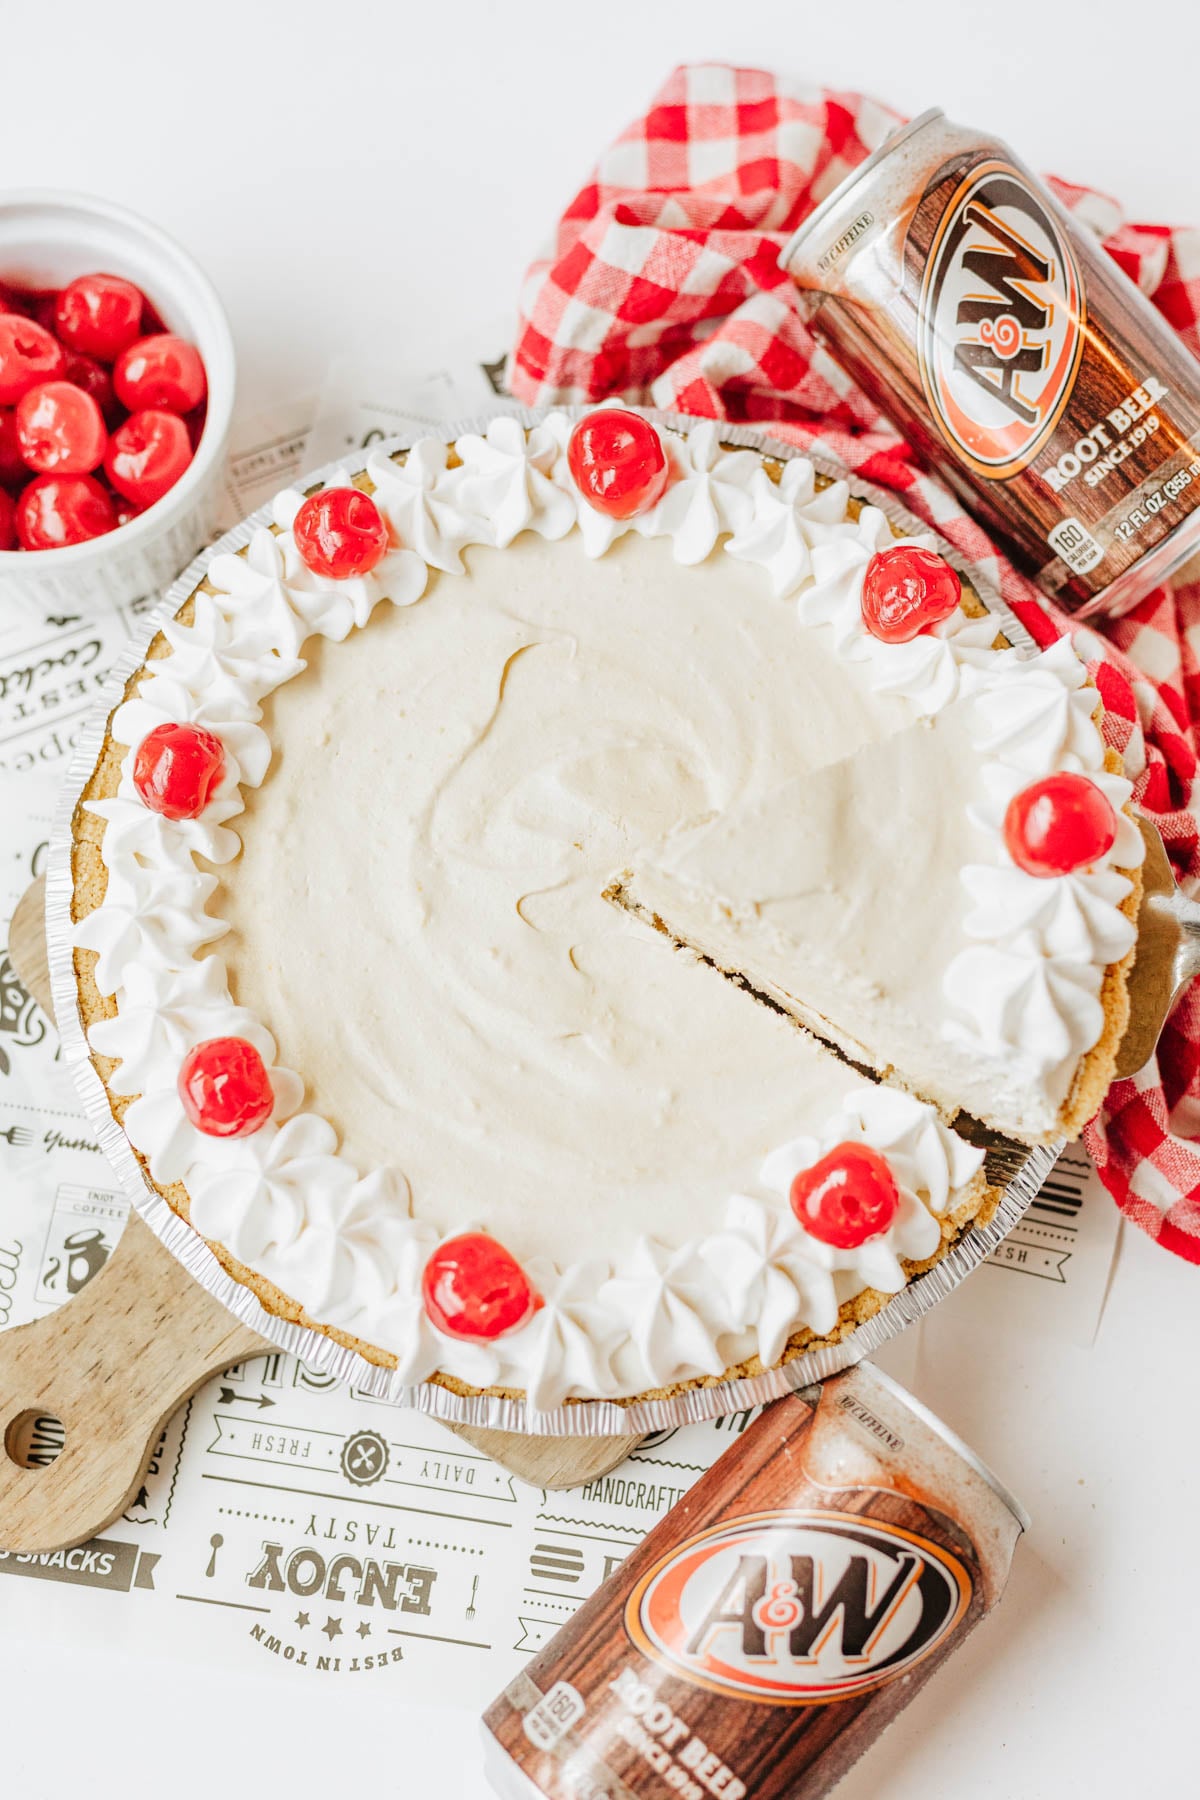
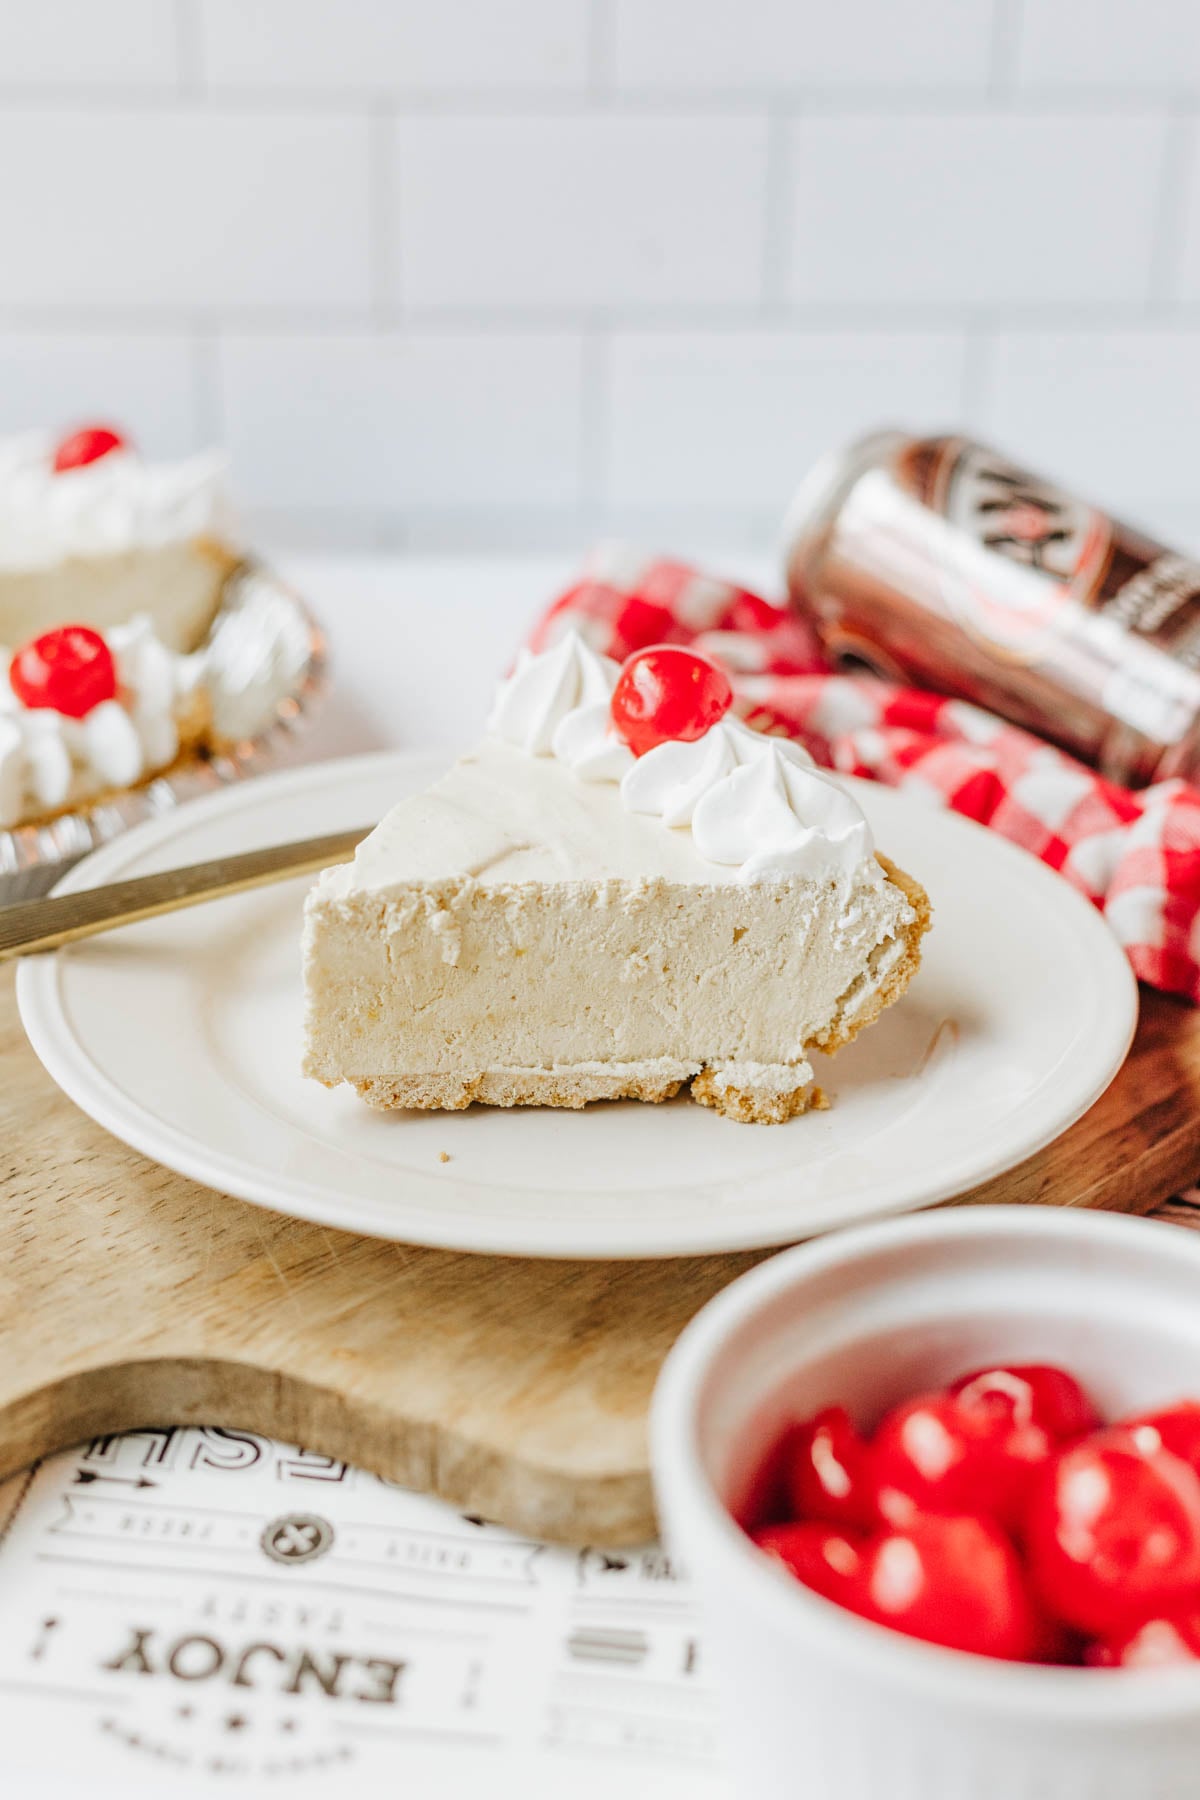
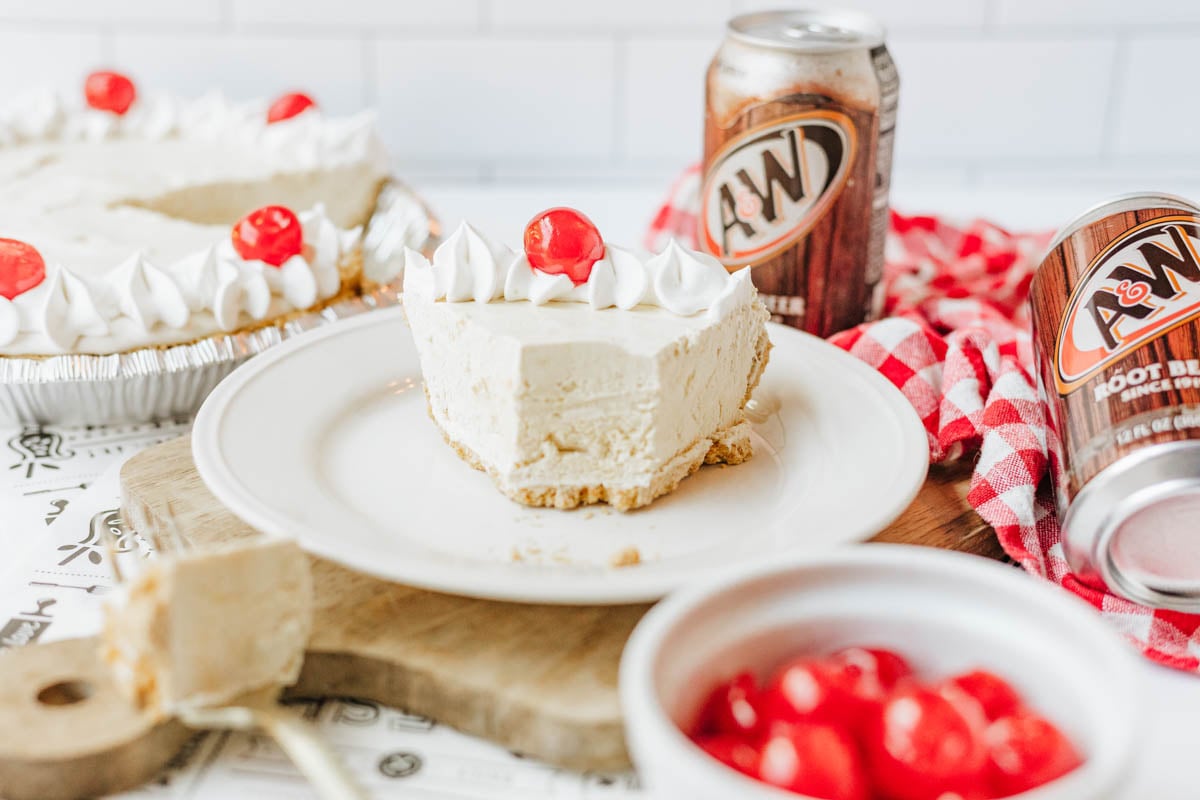
This easy Root Beer Float Pie tastes exactly like your favorite soda fountain treat, only chilled, sliced, and served on a plate. It takes just a few minutes to whip up and turns into a pie so creamy, you’ll want seconds before you even finish your first slice!
Root Beer Float Pie Recipe
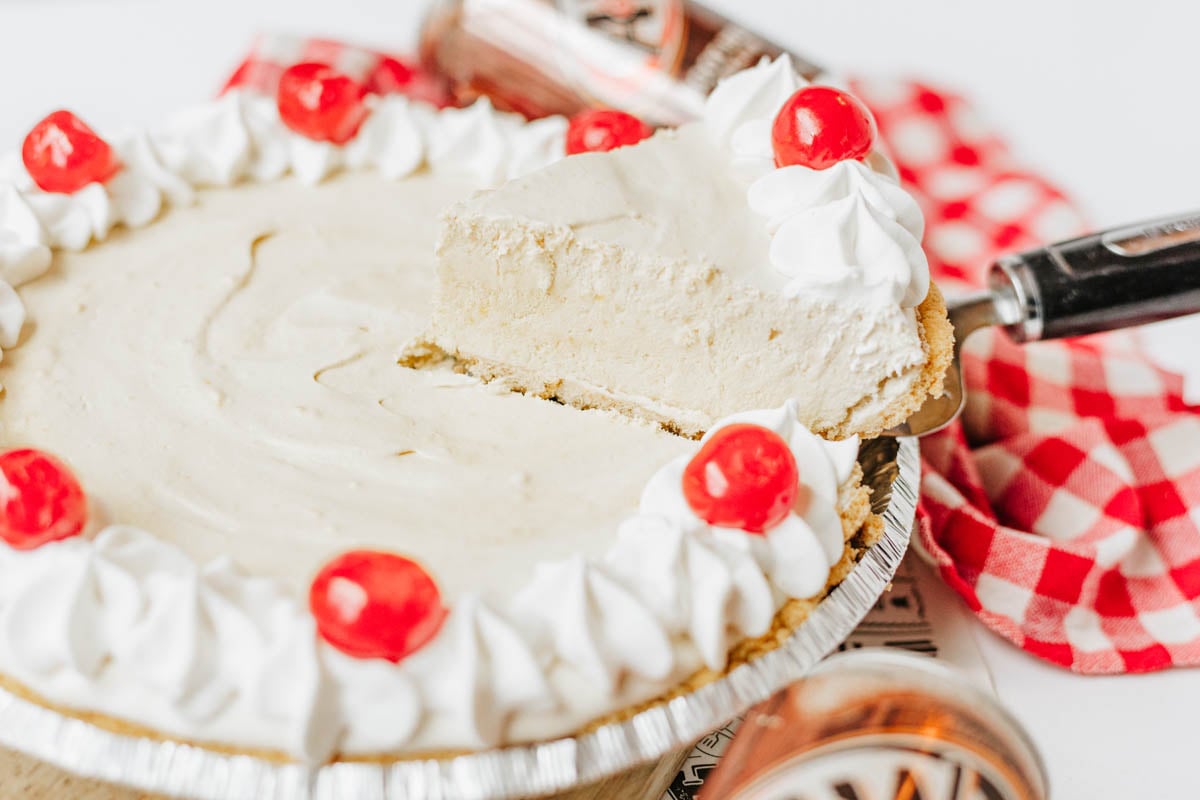
I’ve been seeing versions of this Root Beer Float Pie on TikTok lately, and I knew I had to try it. I love root beer, so there was absolutely no way I was scrolling past it. It doesn’t disappoint…the filling is cold, creamy, and full of that familiar root beer and vanilla flavor you get from old fashioned floats.
Cool Whip, root beer, and vanilla pudding mix come together in minutes with no baking required. After a few hours in the freezer, the filling sets into a fluffy frozen texture that slices beautifully. Topped with whipped cream and cherries, you’ve got a no bake dessert that tastes like a yummy root beer float.
Want to give this pie a little homemade touch? Try it with my Homemade Graham Cracker Crust. The buttery graham cracker flavor is SO good with the creamy root beer filling.
Why We Love This Recipe
- It really tastes like a root beer float: The combination of root beer, vanilla pudding, and creamy whipped topping gives the filling that unmistakable vanilla and root beer flavor.
- There’s no baking involved: It goes straight from the mixing bowl to the freezer, so you never even have to turn on the oven.
- The ingredient list is simple: A graham cracker crust and a few easy grocery store ingredients are all you need to make it.
Ingredients
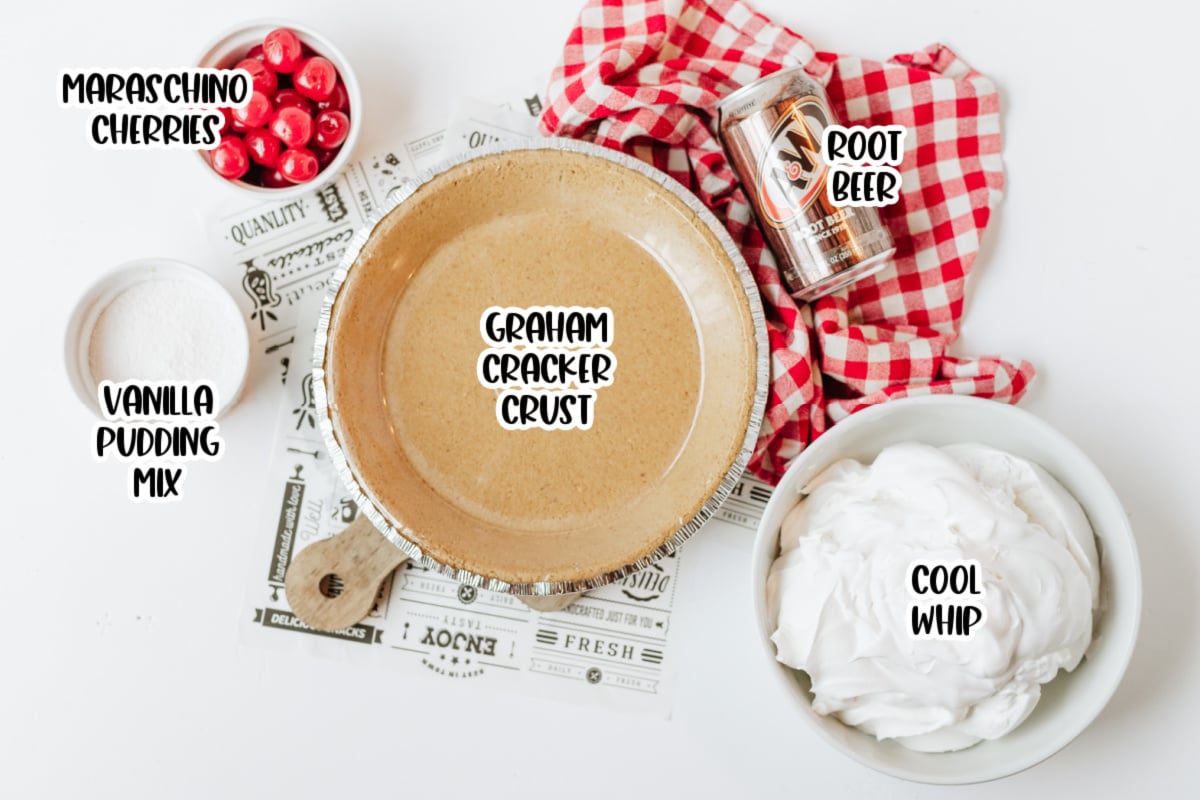
- Graham cracker crust: You can use a store-bought 9-inch pie crust or make my homemade graham cracker crust.
- Cool Whip: This creates the light, creamy texture and keeps the frozen filling from becoming too hard.
- Root beer: This is where all that familiar root beer flavor comes from.
- Instant vanilla pudding mix: Be sure to grab instant pudding. The vanilla flavor gives the pie that creamy ice cream taste you expect from a root beer float.
- Maraschino cherries: A cherry on top makes each slice look just like the classic drink.
- Additional Cool Whip: Add a fluffy spoonful or swirl to each slice before serving.
Find the full printable recipe with measurements and directions in the recipe card below.
How To Make Root Beer Pie
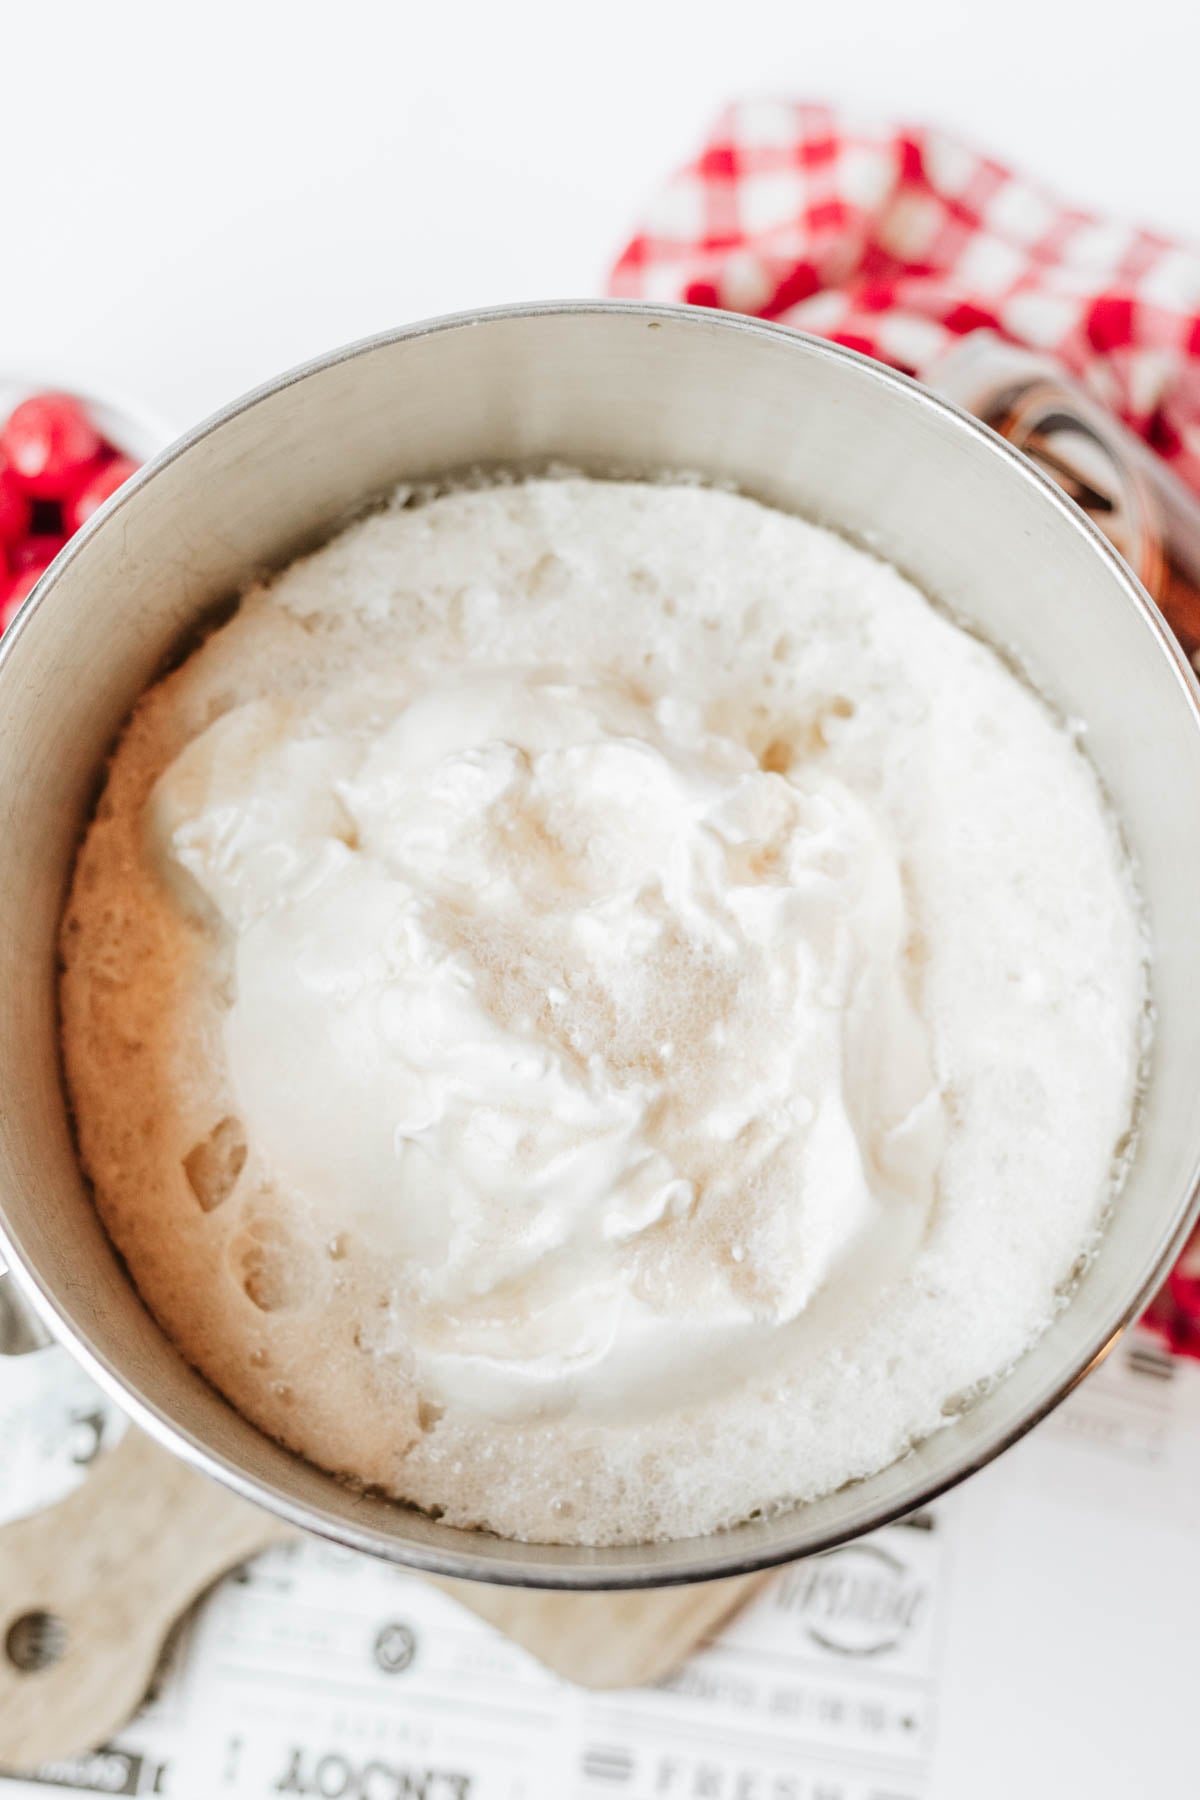
Step 1. Add the 16 ounces of Cool Whip and the can of root beer to a large bowl. Mix until the root beer is evenly incorporated into the whipped topping.
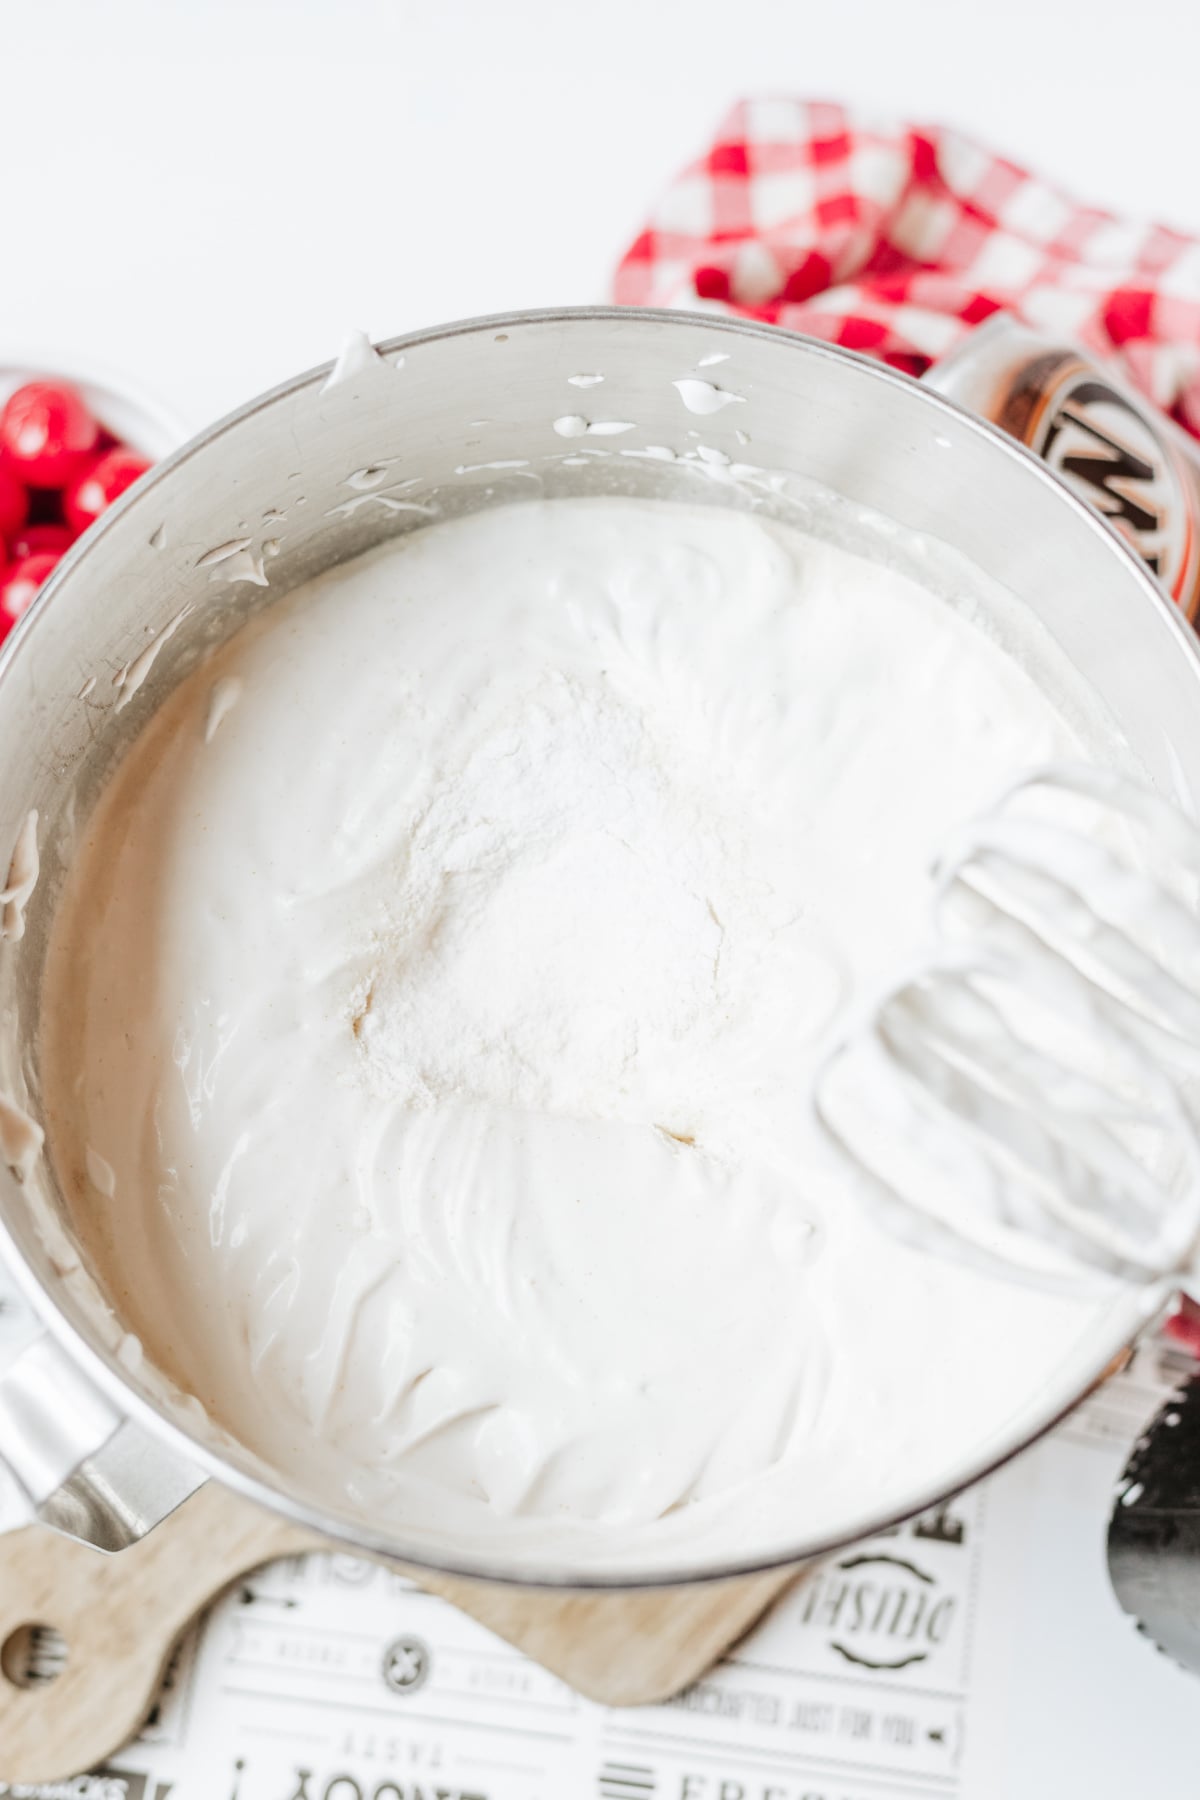
Step 2. Add the vanilla instant pudding mix. Beat until the filling is smooth, creamy, and evenly combined.
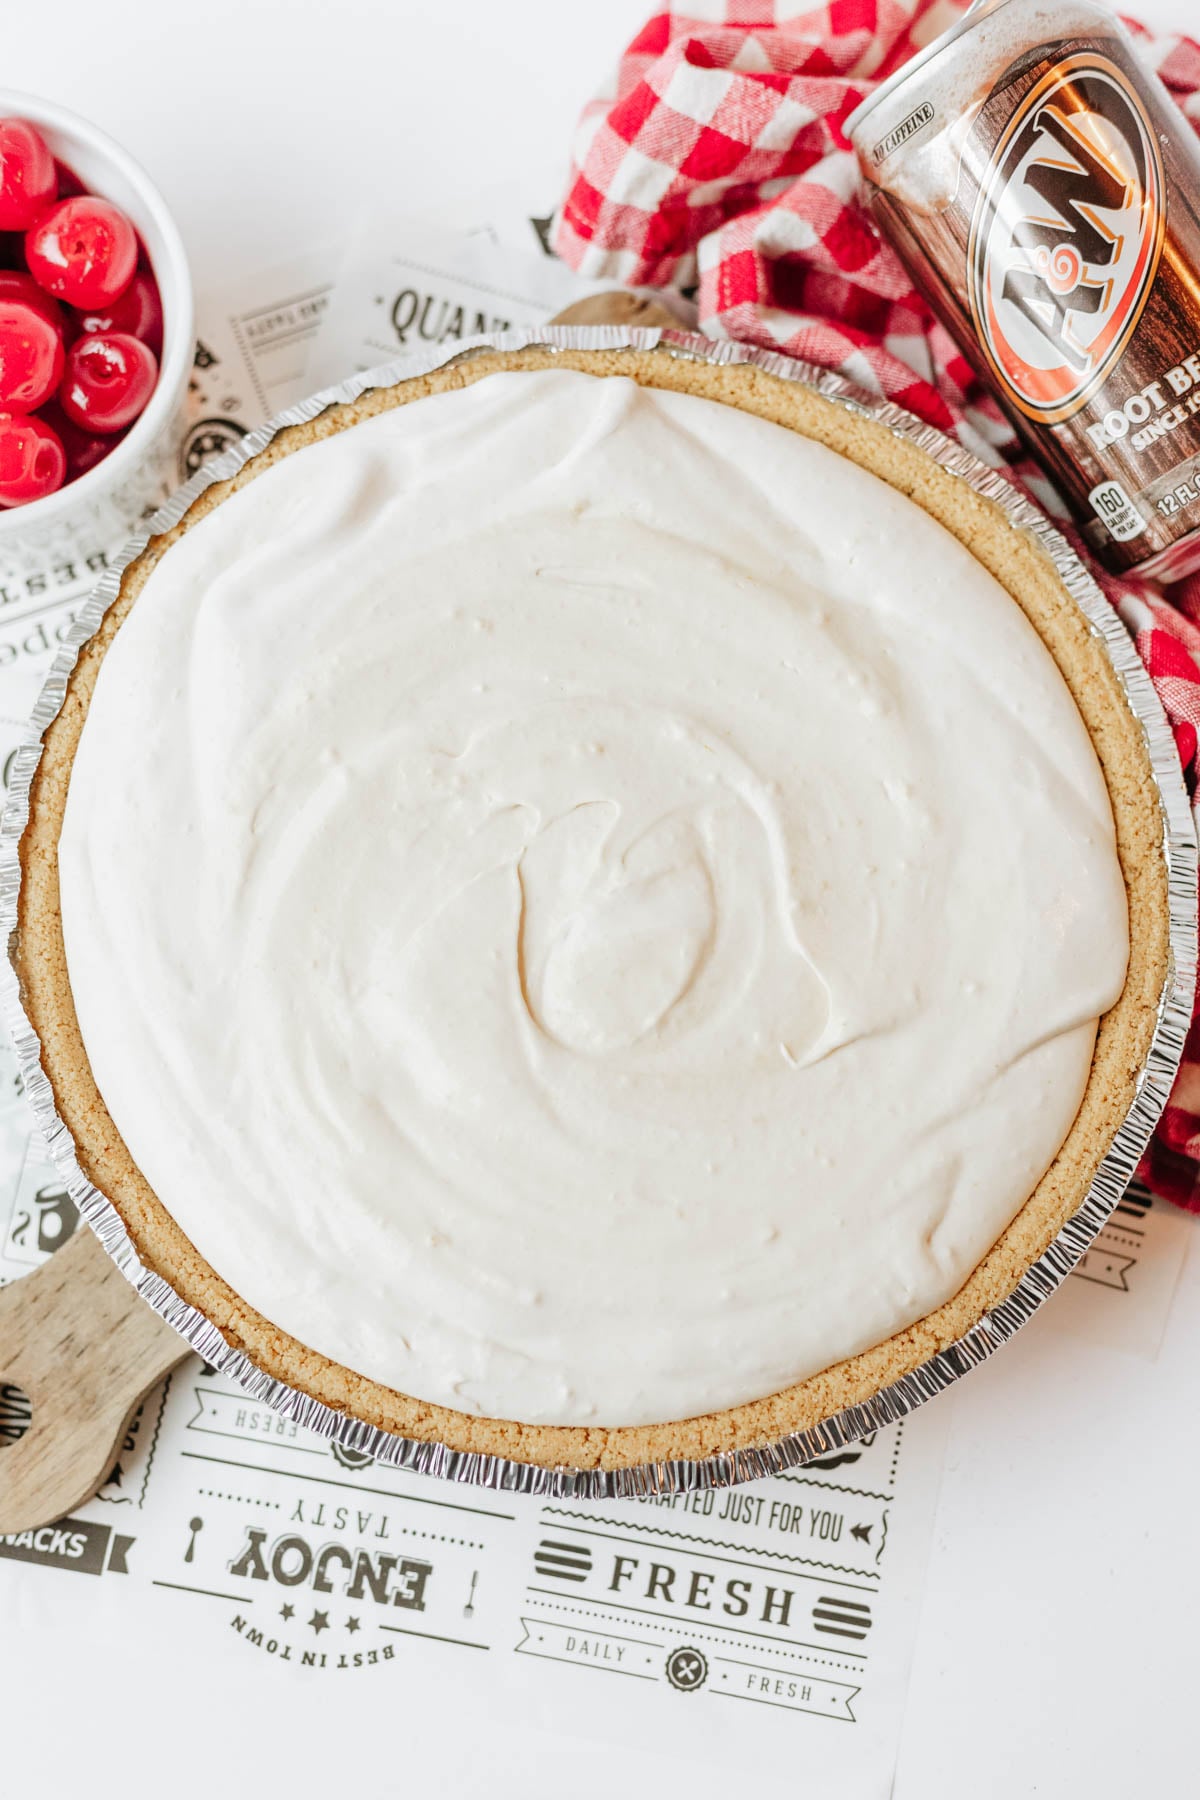
Step 3. Spoon the filling into the prepared graham cracker crust. Use a spatula to spread it evenly all the way to the edges.
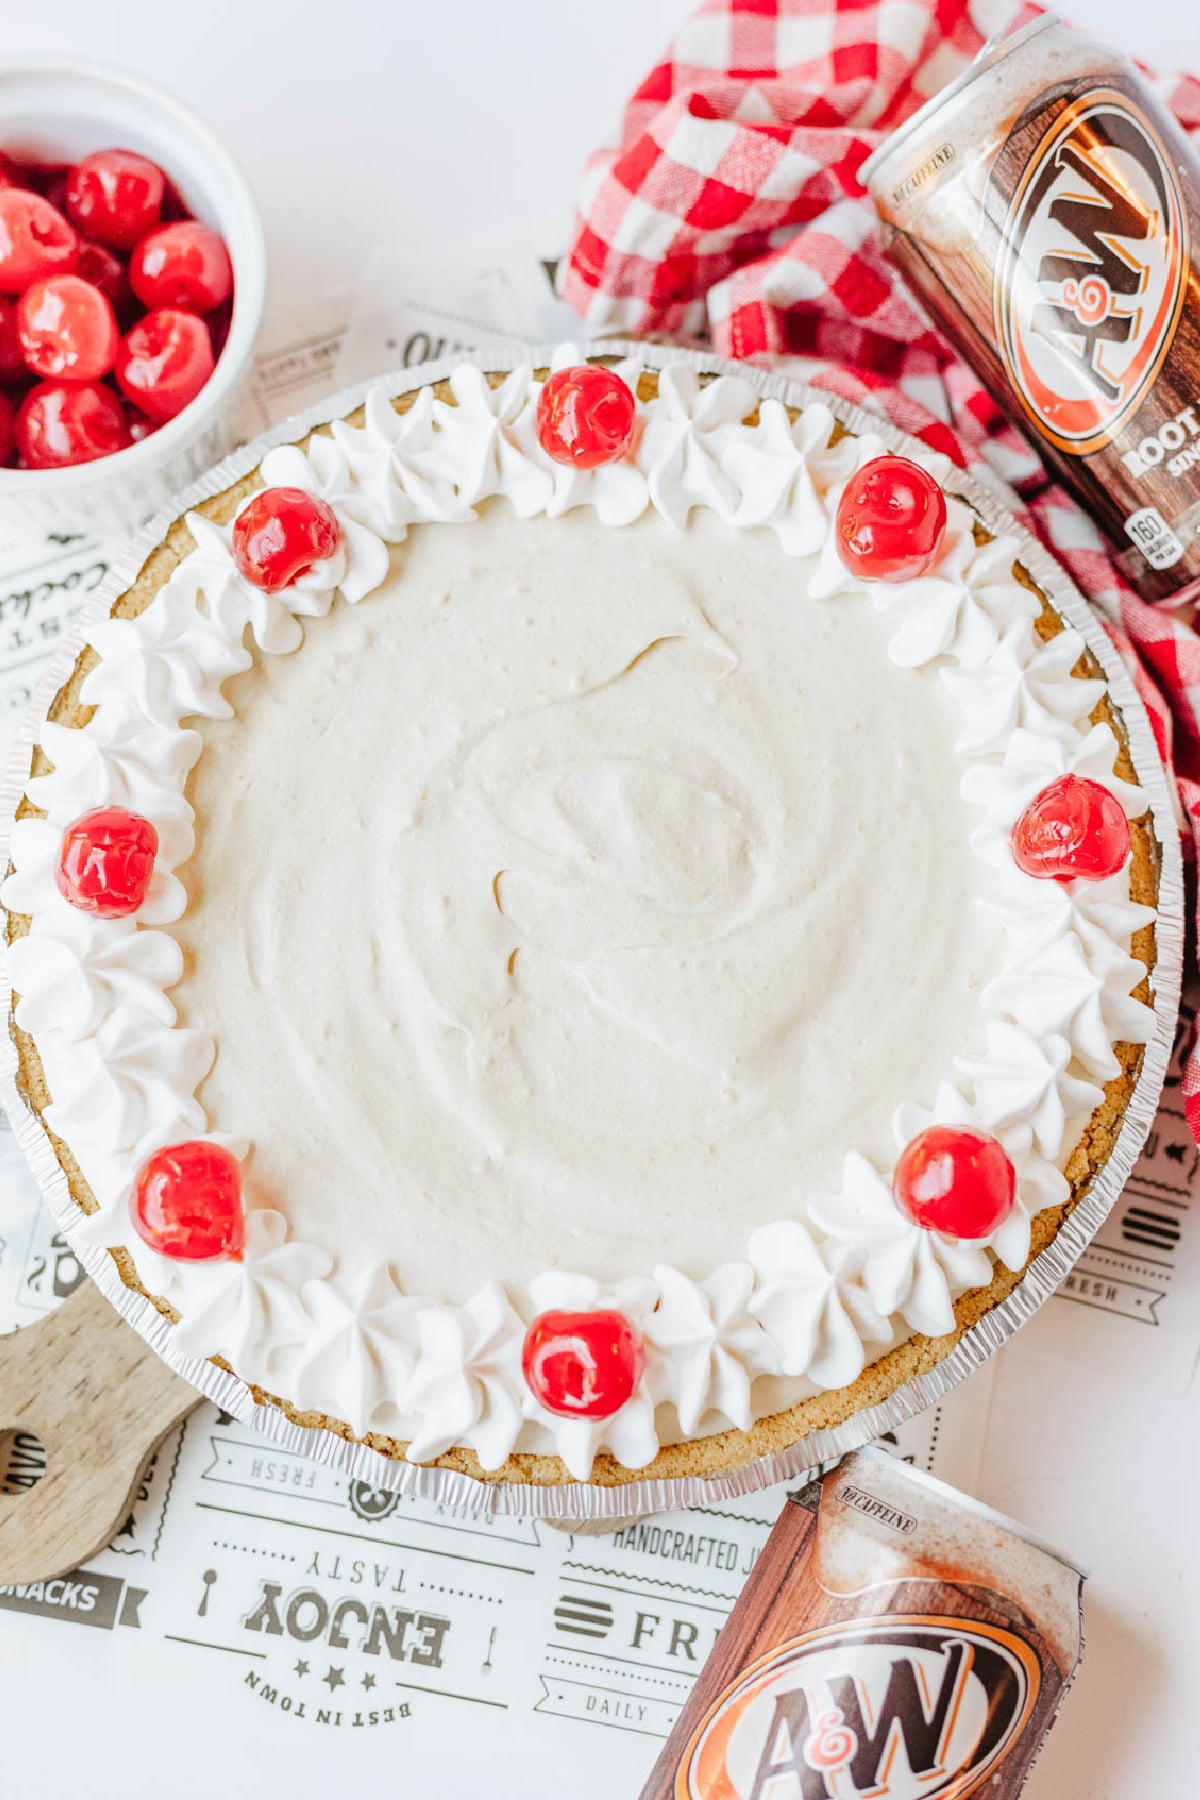
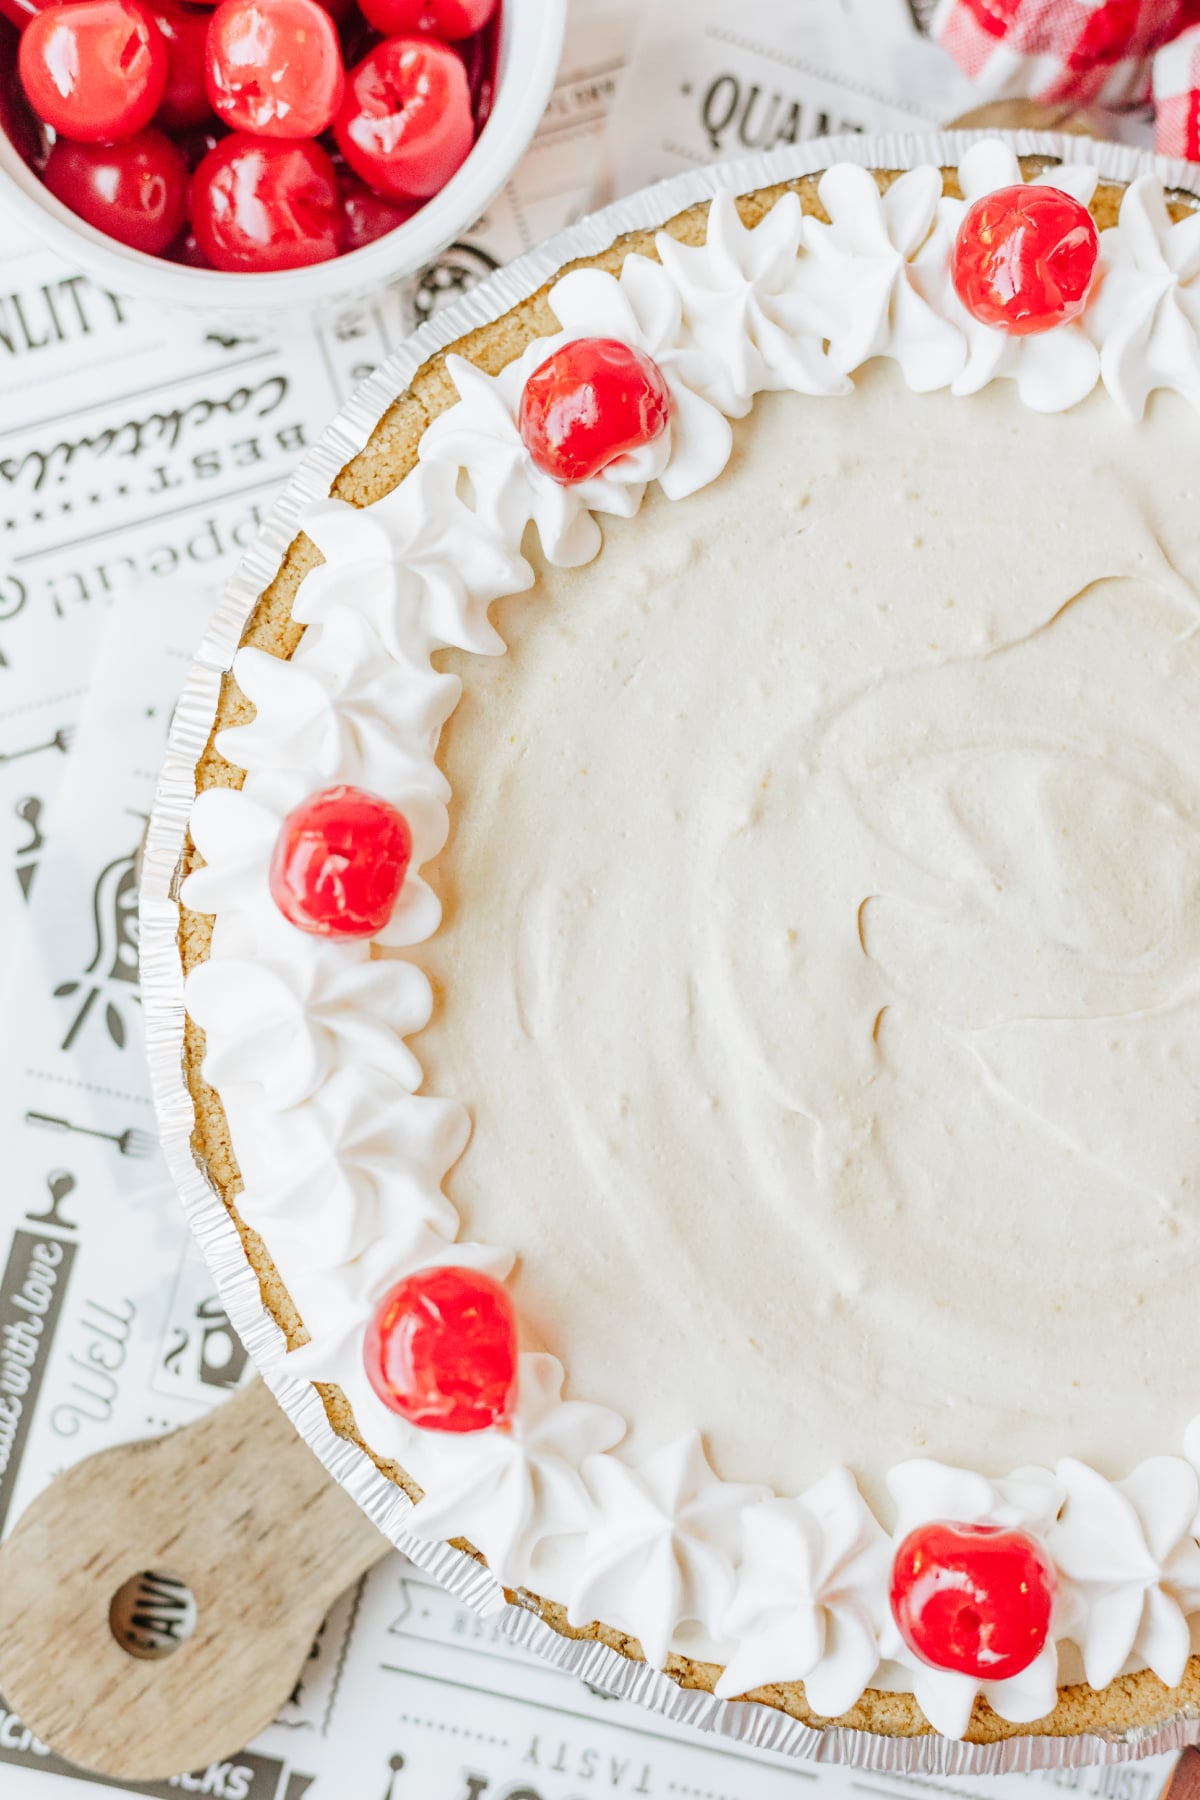
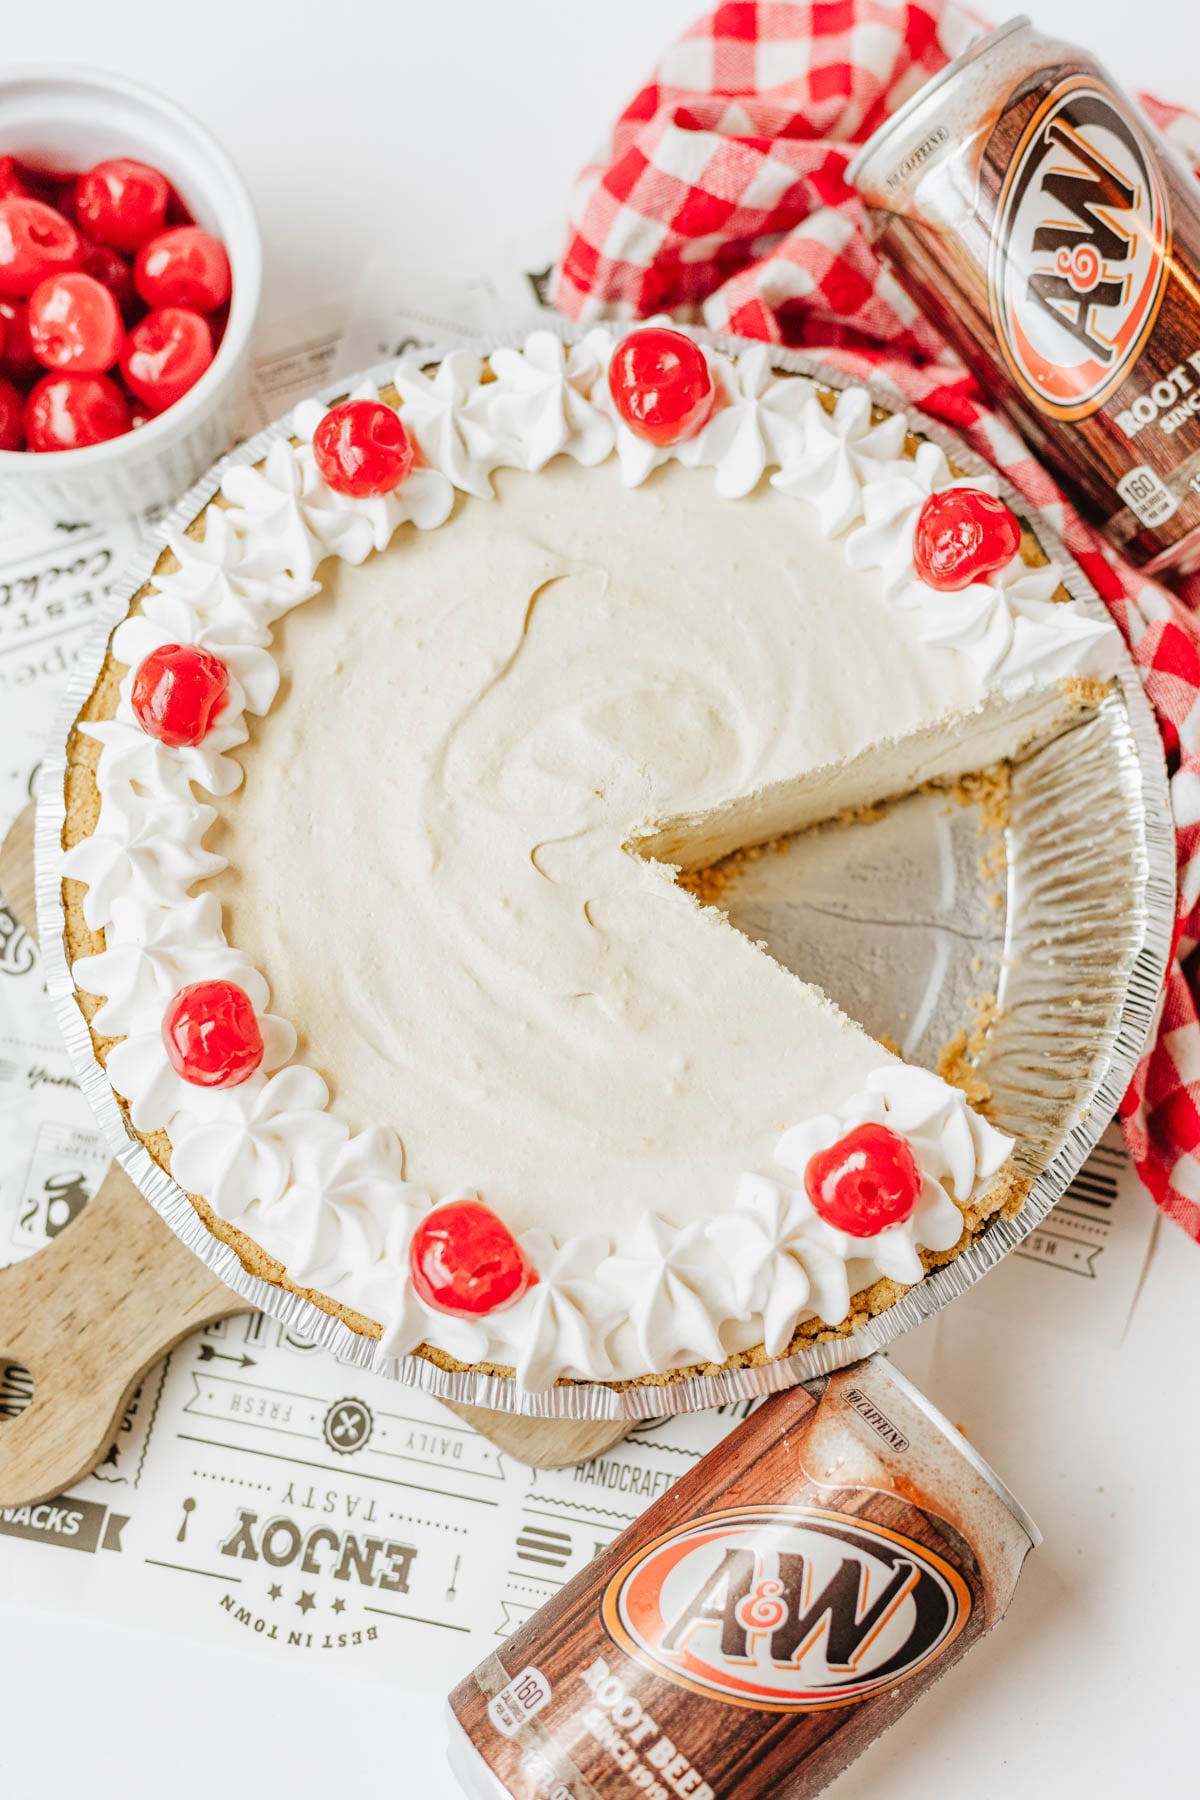
Step 4. Place the pie in the freezer for 4 to 6 hours, or until the center is firm enough to slice. Top the pie with additional Cool Whip and maraschino cherries just before serving. Cut into slices and serve while cold.
Storage Instructions
- Refrigerator: Root beer float pie can be refrigerated for about 1 day, but the filling will become much softer. For a firm, frozen root beer float texture, freezer storage is recommended.
- Freezer: Cover the pie tightly and keep it in the freezer for up to 1 month. For the creamiest texture, enjoy it within the first couple of weeks.
Tips And Tricks
This pie is super simple, but a few little details can make the filling smoother and the slices prettier. Keep these easy tips in mind before you get started.
- Thaw the Cool Whip before mixing: Frozen or partially frozen whipped topping will not blend smoothly with the root beer and can leave little lumps throughout the filling.
- Pour the soda slowly: Root beer can foam quickly, so adding it gradually helps keep it from bubbling over the sides of your large bowl.
- Add the pudding gradually: Sprinkling in the instant vanilla pudding mix instead of dumping it into one spot makes it easier to get a silky filling without dry pockets.
- Avoid overmixing: Once everything is combined, stop mixing. Extra beating can knock some of the fluffiness out of the whipped topping.
- Warm your knife for cleaner slices: Run a sharp knife under warm water, wipe it dry, and cut the pie. Repeat between slices if needed.
Variations And Add-ins
Want to switch things up a little? These easy variations let you play with the soda, pudding, and toppings while keeping the same creamy frozen pie idea.
- Extract: Add a small amount of root beer extract to the filling if you prefer a more noticeable root beer taste. Start with just a little since extracts can be strong.
- Cream soda pie: Replace the root beer soda with cream soda for an extra vanilla-flavored frozen dessert.
- Orange float version: Swap the root beer for orange soda and add a tiny splash of orange extract for a frozen creamsicle-style pie.
- Chocolate pudding: Chocolate pudding creates a chocolate root beer pie with a richer flavor while keeping the same easy preparation.
- Homemade whipped cream: Make my stabilized whipped cream or whip heavy cream with powdered sugar until stiff peaks form, then gently fold it into the filling in place of whipped topping. Keep in mind that homemade whipped cream can freeze a little differently than Cool Whip.
- Toppings: Add whipped cream and cherries, crushed root beer candies, graham cracker crumbs, or even a drizzle of chocolate syrup right before serving.
- Individual pies: Pour the filling into mini graham cracker crusts for individual, grab-and-go root beer float pies.
FAQs
It does soften just slightly in the freezer, so using a strong root beer or adding a touch of root beer extract helps the flavor really come through.
Yes, this is a great make ahead dessert since it needs to freeze for hours anyway. Prepare it a day or two before you need it and you’re good to go.
Using diet root beer and a sugar free pudding mix are both easy swaps that keep the same texture while cutting down on sugar.
More Delicious Pie Recipes
- Strawberry Pie
- Butterbeer Pie
- Impossible Pie
- Homemade Blueberry Pie
- Easy Coconut Cream Pie
- No Bake Pineapple Pie
- Key Lime Pie
Root Beer Float Pie
Ingredients
- 1 graham cracker crust prepared
- 16 ounces Cool Whip
- 12 ounces root beer
- 5.1 ounces vanilla pudding mix family size box
- maraschino cherries for topping
- additional Cool Whip for topping
Instructions
- Start by combining your 16 oz. of Cool Whip and can of root beer. Mix until well combined.16 ounces Cool Whip, 12 ounces root beer
- Add in your box of vanilla pudding mix. Beat until smooth and well combined.5.1 ounces vanilla pudding mix
- Pour into your prepared graham cracker crust and smooth out evenly.1 graham cracker crust
- Place in the freezer for 4 to 6 hours.
- Top with cherries and additional cool whip. Serve and enjoy! It tastes just like a root beer float.maraschino cherries, additional Cool Whip
Notes
- Refrigerator: Root beer float pie can be refrigerated for about 1 day, but the filling will become much softer. For a firm, frozen root beer float texture, freezer storage is recommended.
- Freezer: Cover the pie tightly and keep it in the freezer for up to 1 month. For the creamiest texture, enjoy it within the first couple of weeks.
- Thaw the Cool Whip before mixing: Frozen or partially frozen whipped topping will not blend smoothly with the root beer and can leave little lumps throughout the filling.
- Pour the soda slowly: Root beer can foam quickly, so adding it gradually helps keep it from bubbling over the sides of your large bowl.
- Add the pudding gradually: Sprinkling in the instant vanilla pudding mix instead of dumping it into one spot makes it easier to get a silky filling without dry pockets.
- Avoid overmixing: Once everything is combined, stop mixing. Extra beating can knock some of the fluffiness out of the whipped topping.
- Warm your knife for cleaner slices: Run a sharp knife under warm water, wipe it dry, and cut the pie. Repeat between slices if needed.
Nutrition
Did You Make This Recipe?
Share it with me on Instagram @funmoneymom and follow on Pinterest @funmoneymom for more!
Let’s be friends!
Did you love this post? Make sure to comment below and let me know your thoughts! And don’t forget to follow on your favorite social network below!

About Lisa O’Driscoll
Lisa O’Driscoll is a lifestyle and parenting expert, cookbook author, and the creative force behind Fun Money Mom, a popular blog she’s run since 2014. She’s the author of the children’s cookbook Roll It, Slice It, Mash It, Dice It, designed to get kids excited about cooking. With multiple TV appearances under her belt, she loves sharing her expertise on family-friendly recipes, creative DIYs, and party planning and is always on a mission to inspire and entertain!