Clothespin Snowman Craft
This post may contain affiliate links. As an Amazon Associate, I earn from qualifying purchases.
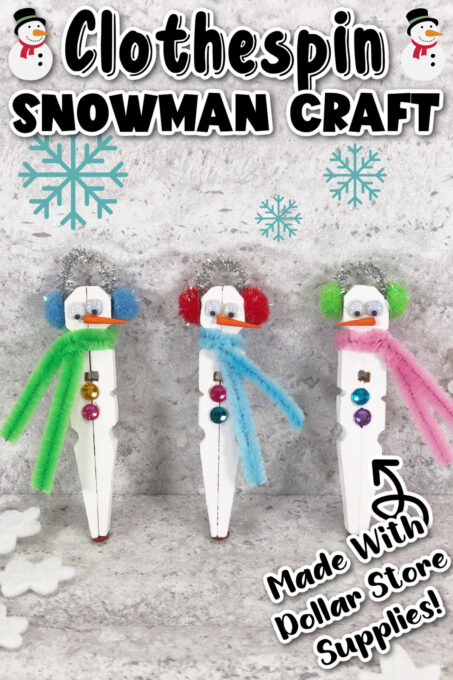
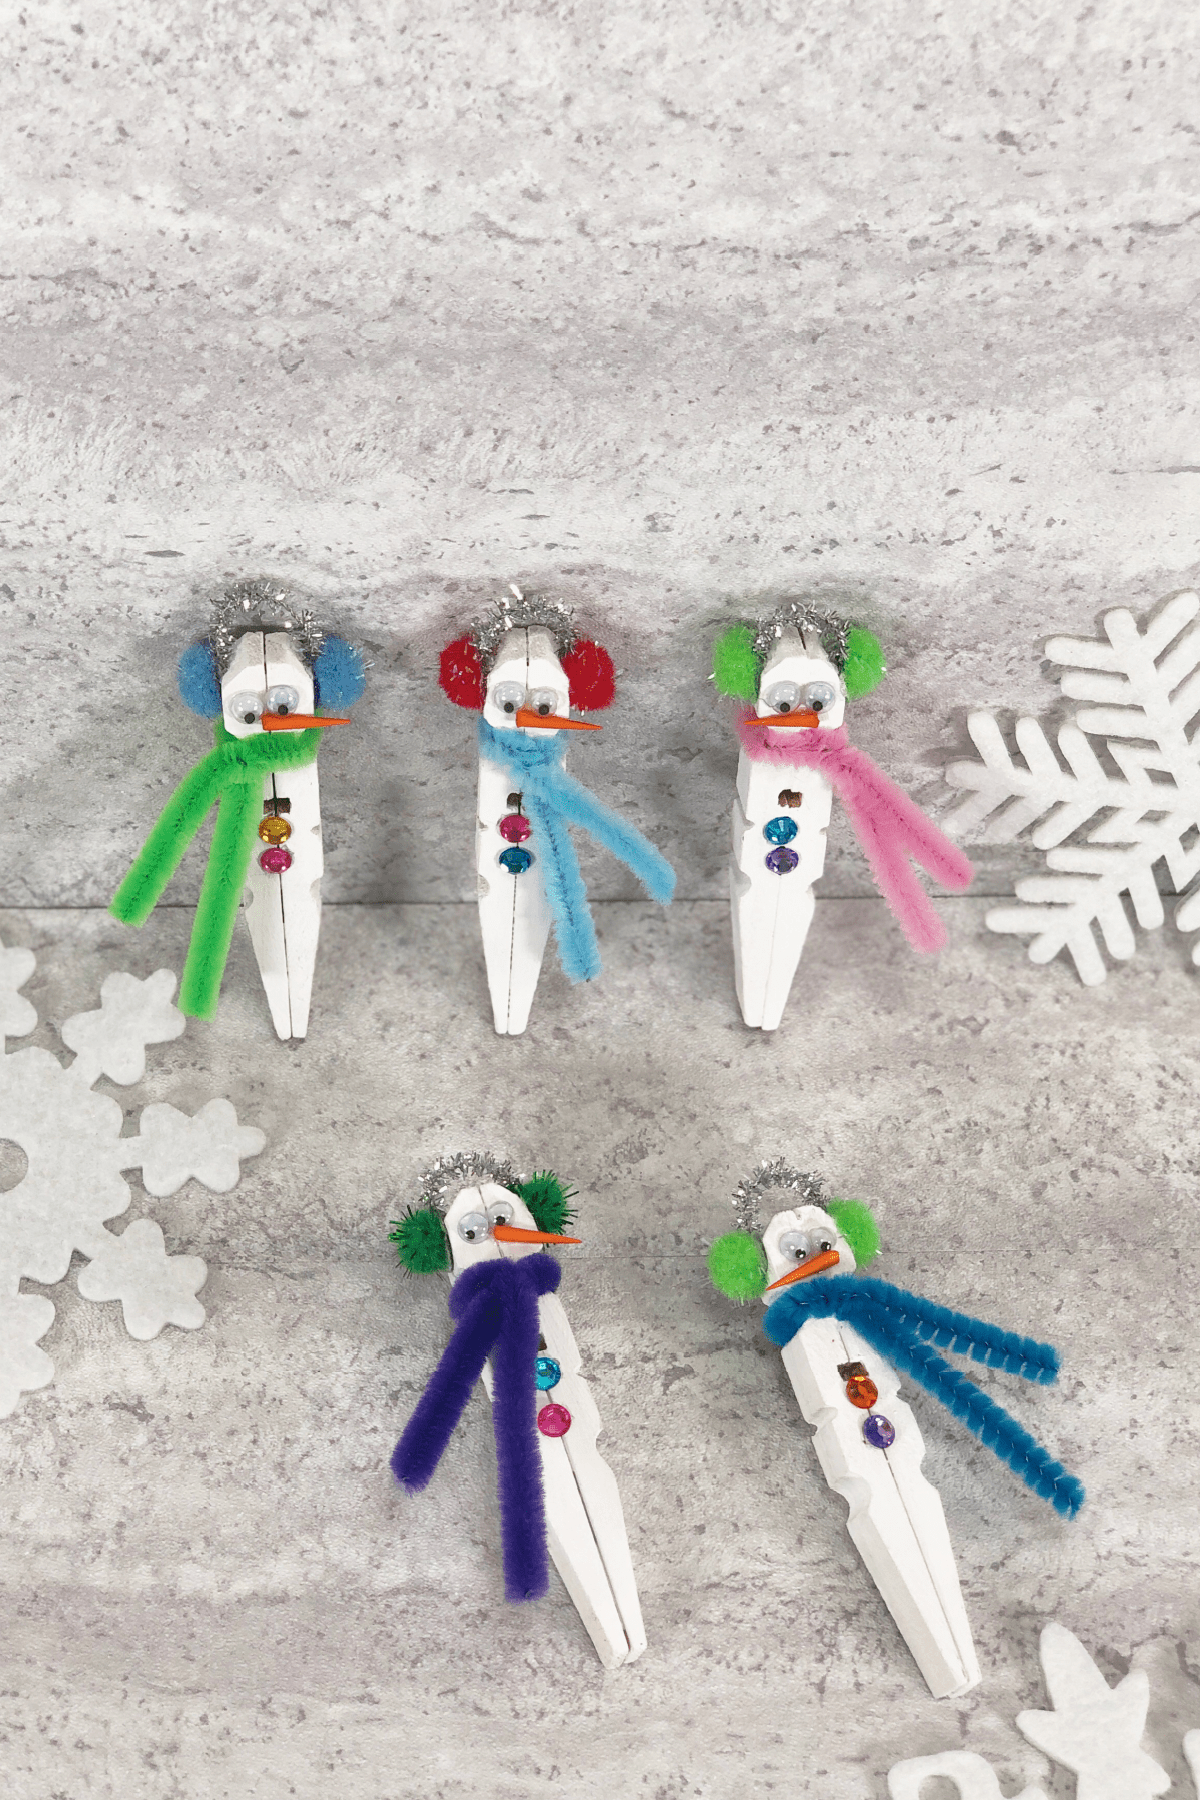
This adorable Clothespin Snowman Craft is the perfect activity for the holidays! With just a few simple items found at your local dollar store, kids will have so much fun making this cute craft to display for Christmas.
We’ve always loved crafting, especially when it comes to fun crafts for the holiday season. When the craft is budget-friendly too, it’s a win/win!
That’s why clothespin crafts are so perfect for the holidays and we’ve made everything from a Clothespin Christmas Tree to Clothespin Reindeer and even a Clothespin Santa Hat. Not only are they super fun and easy for the kids but you can usually find many of your supplies at your local dollar store.
This Clothespin Snowman Craft is no exception! It’s the perfect craft idea for class parties but also a fun family project when the kids are home during winter break. Just pull out your craft supplies and you’re good to go.
What You’ll Need
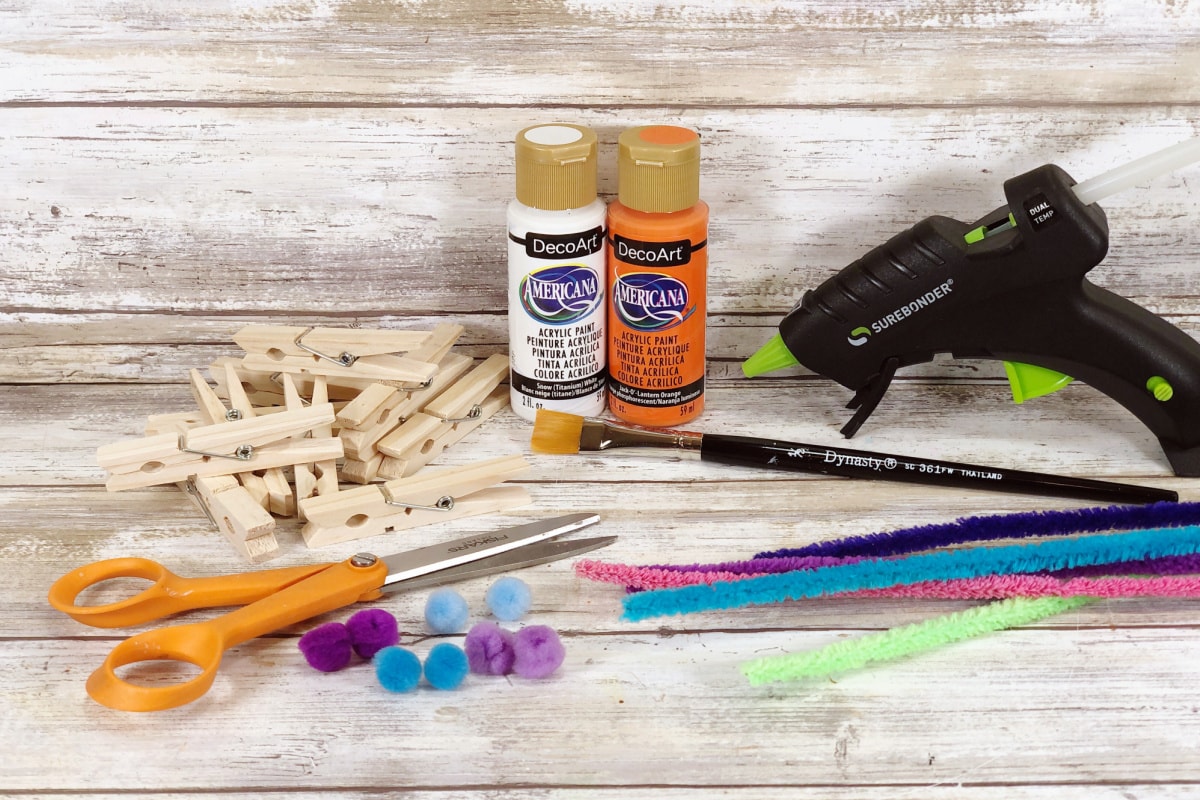
Equipment
- Hot Glue Gun
- Glue Sticks
- Liquid Craft Glue with Fine Tip Applicator (optional)
- Paintbrush
- Scissors
- Ruler
Materials
- Wooden Clothespins, Spring-Style *
- White Craft Paint
- Orange Craft Paint
- Chenille Stems, Assorted Colors *
- Pom Poms, Assorted Colors *
- Wiggle Eyes *
- Wooden Toothpicks * (or orange craft foam)
- Rhinestones, Assorted Colors *
*Can usually be found at Dollar Tree
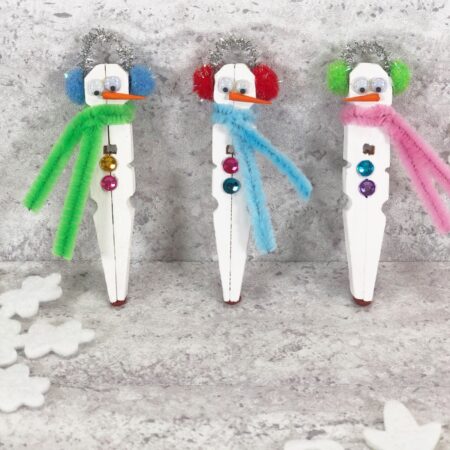
Clothespin Snowman Craft
Equipment
Materials
- 4 Wooden Clothespins Spring-Style
- White Acrylic Paint
- Orange Acrylic Paint
- Chenille Stems Assorted Colors
- Pom Poms Assorted Colors
- Googly Eyes
- Wooden Toothpicks
- Rhinestones Assorted Colors
Instructions
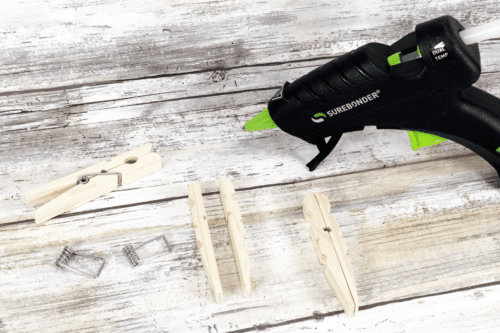
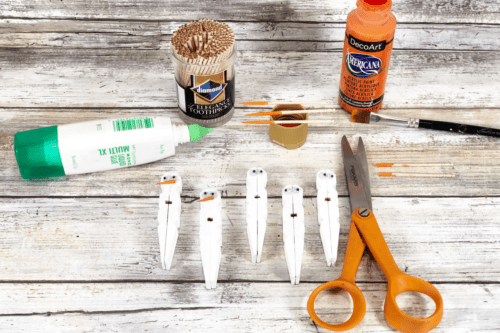
- Remove the metal spring from between each wooden clothespin. Flip the clothespins and line them up in the opposite direction, so the flat sides are back to back. Use the glue gun to glue them together.

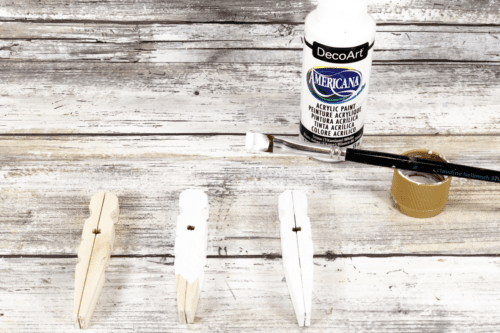
- Paint the clothespin front and back with white paint. Let dry and paint a second coat if needed.
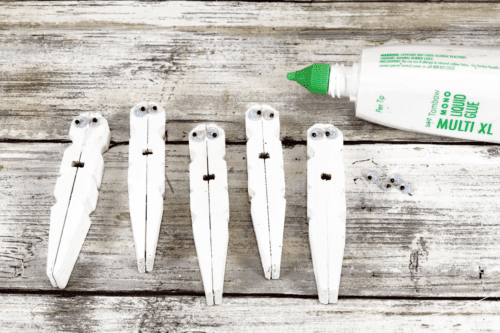
- Using liquid glue with a fine tip applicator (or hot glue), attach two mini googly eyes near the top of the clothespin. Set aside to dry.
- For the carrot nose, paint the ends of toothpicks with orange paint and let dry. Cut about ½” of the orange end off with scissors and use white glue to attach it to your snowman's face.
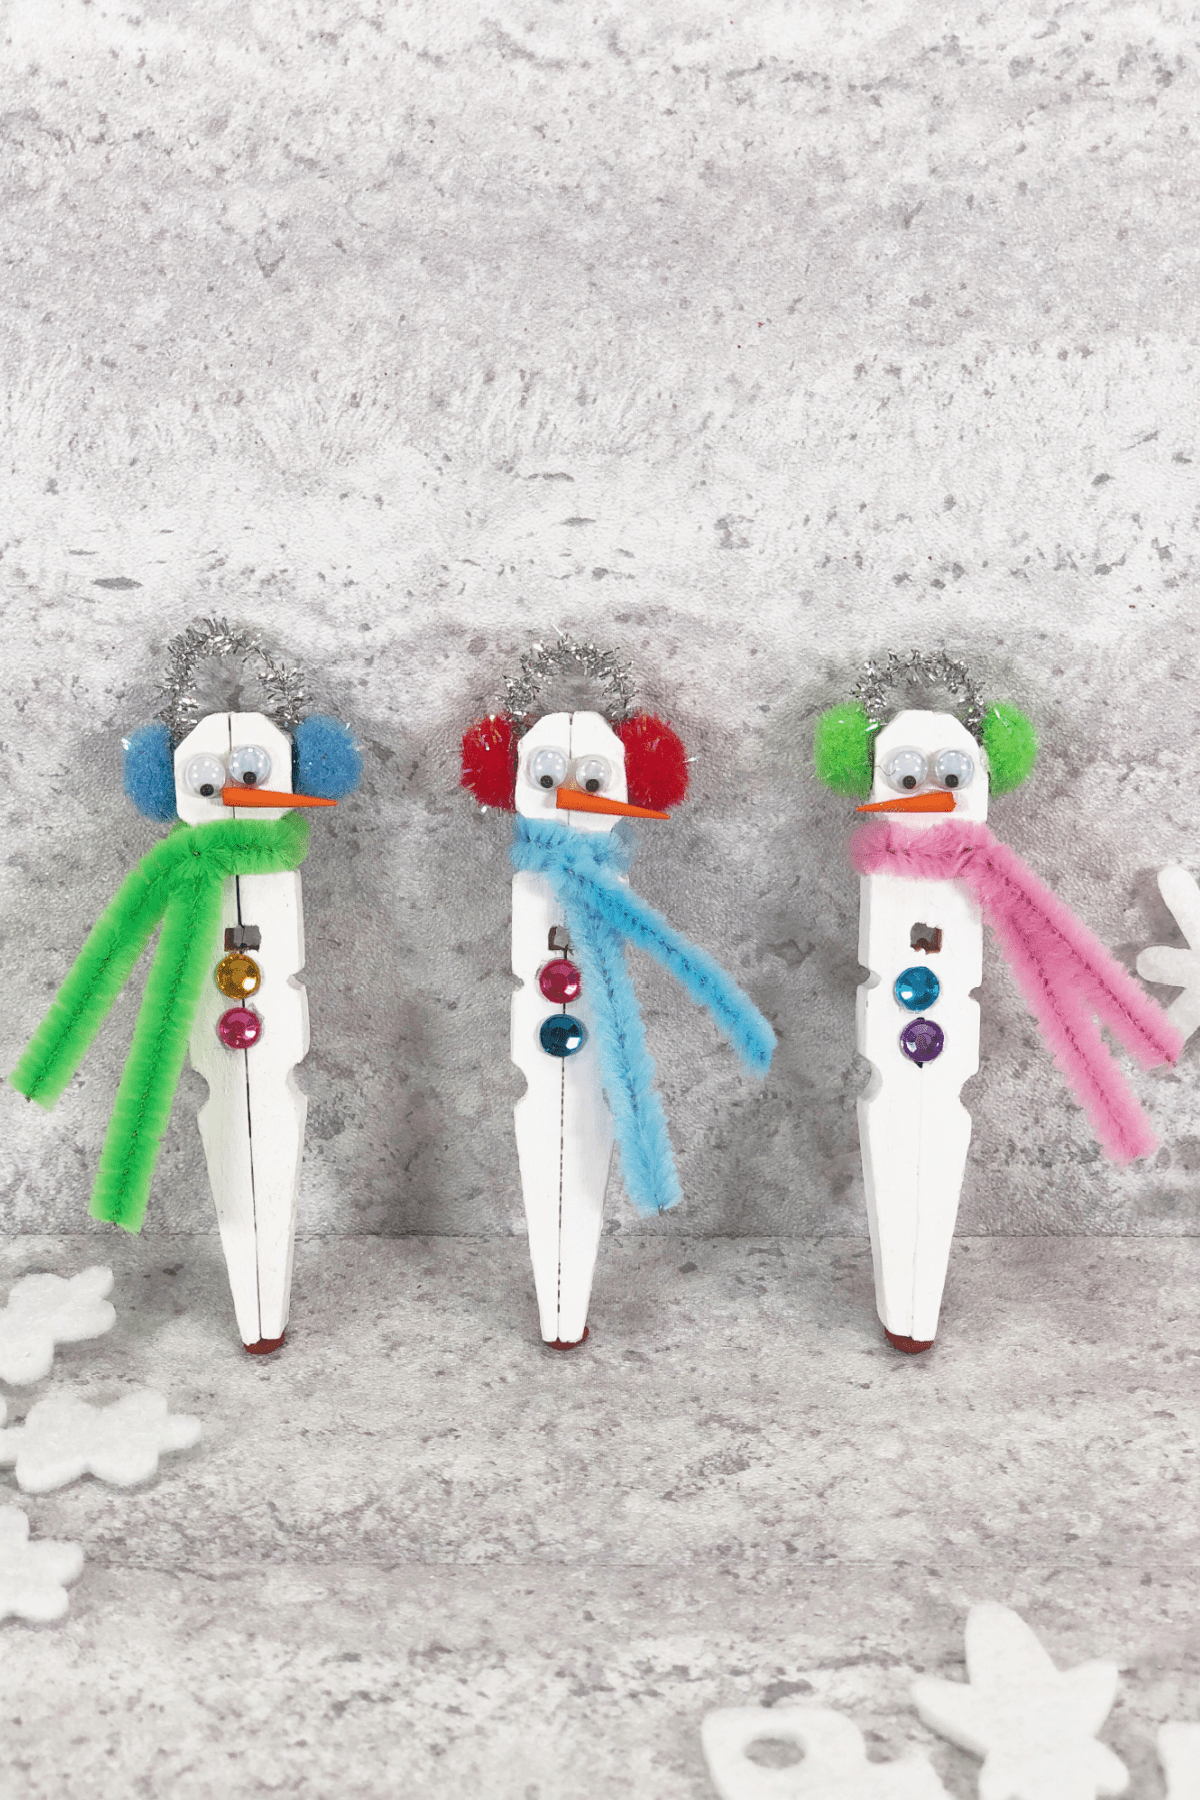
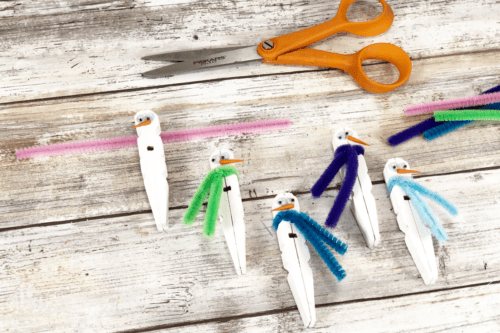
- To make the scarves, cut chenille stems into 4” lengths. Twist them around the neck of each snowman, then position the ends to the left or the right.
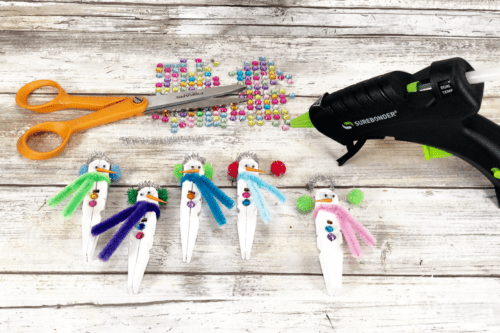
- To make earmuffs, cut a piece of silver tinsel chenille about 1” long. Bend chenille into a “U” shape and glue to each side of the snowman's head. Glue pom poms over the end of each stem using a glue gun and glue sticks.
- Finally, add 2-3 self-adhesive rhinestone "buttons" to the snowman body.
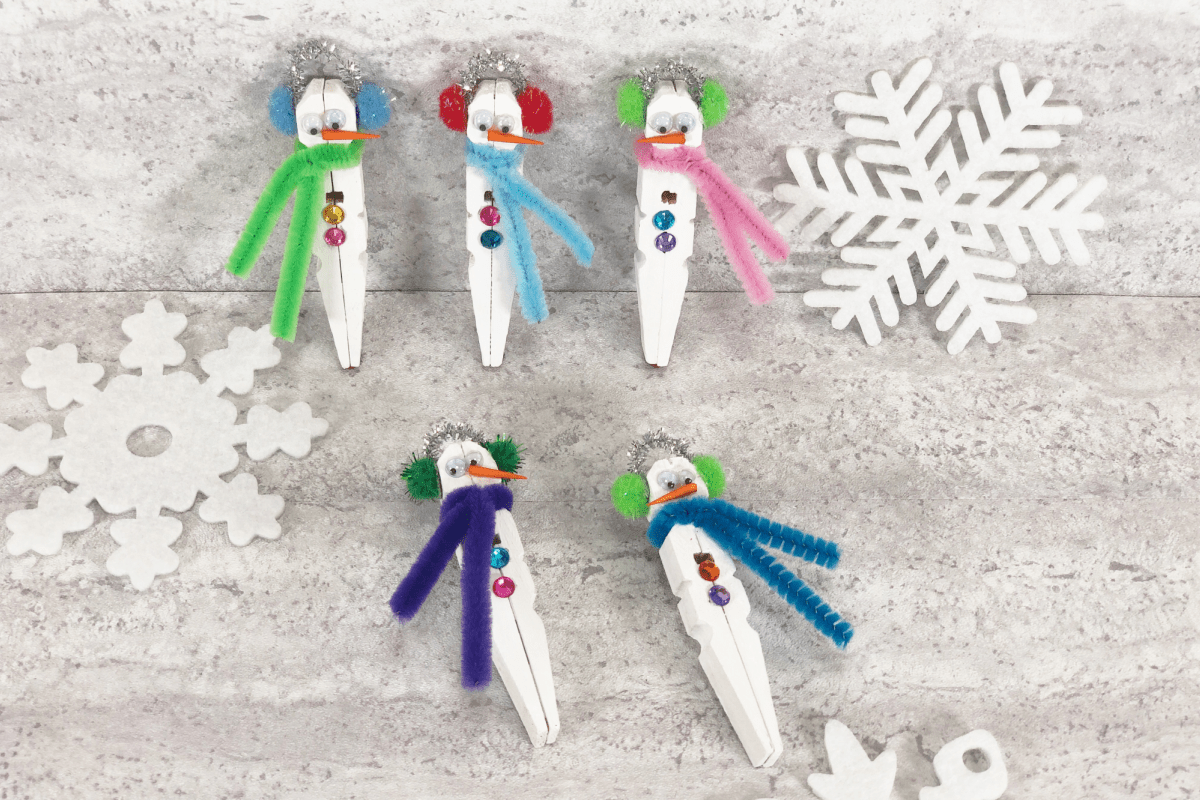
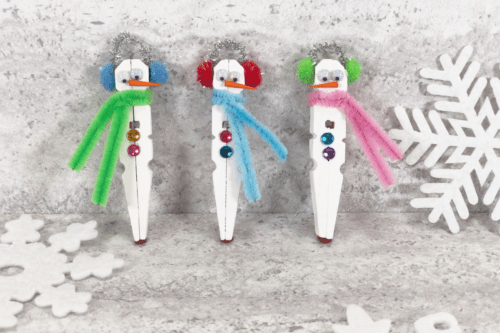
- Use these adorable snowman clothespins as fun holiday decor, attach them to gifts or add a string to the back and hang from the Christmas tree!
Notes
- If working with younger kids, you may want to use liquid glue instead of hot glue. You’ll just have to wait a little longer for it to dry.
- While you can use the hot glue for the entire project, it’s sometimes easier to use liquid craft glue for the smaller pieces.
- Don’t have rhinestones? You can use black paint to make small black buttons instead. You can also do the same if you don’t have googly eyes…just make black eyes with a little dot of paint.
- You can also substitute orange craft foam or felt in place of toothpicks for the nose.
Did You Make This Project?
Share it with me on Instagram @funmoneymom and follow on Pinterest @funmoneymom for more!
Not only do these clothespin snowmen make a fun craft but the bonus is that making them helps your kids with their fine motor skills too! Even more reason to love this simple snowman craft, right?
More Holiday Crafts & Games
Let’s be friends!
Did you love this post? Make sure to comment below and let me know your thoughts! And don’t forget to follow on your favorite social network below!

About Lisa O’Driscoll
Lisa O’Driscoll is a lifestyle and parenting expert, cookbook author, and the creative force behind Fun Money Mom, a popular blog she’s run since 2014. She’s the author of the children’s cookbook Roll It, Slice It, Mash It, Dice It, designed to get kids excited about cooking. With multiple TV appearances under her belt, she loves sharing her expertise on family-friendly recipes, creative DIYs, and party planning and is always on a mission to inspire and entertain!