Easy Rainbow Popsicles
This post may contain affiliate links. As an Amazon Associate, I earn from qualifying purchases.

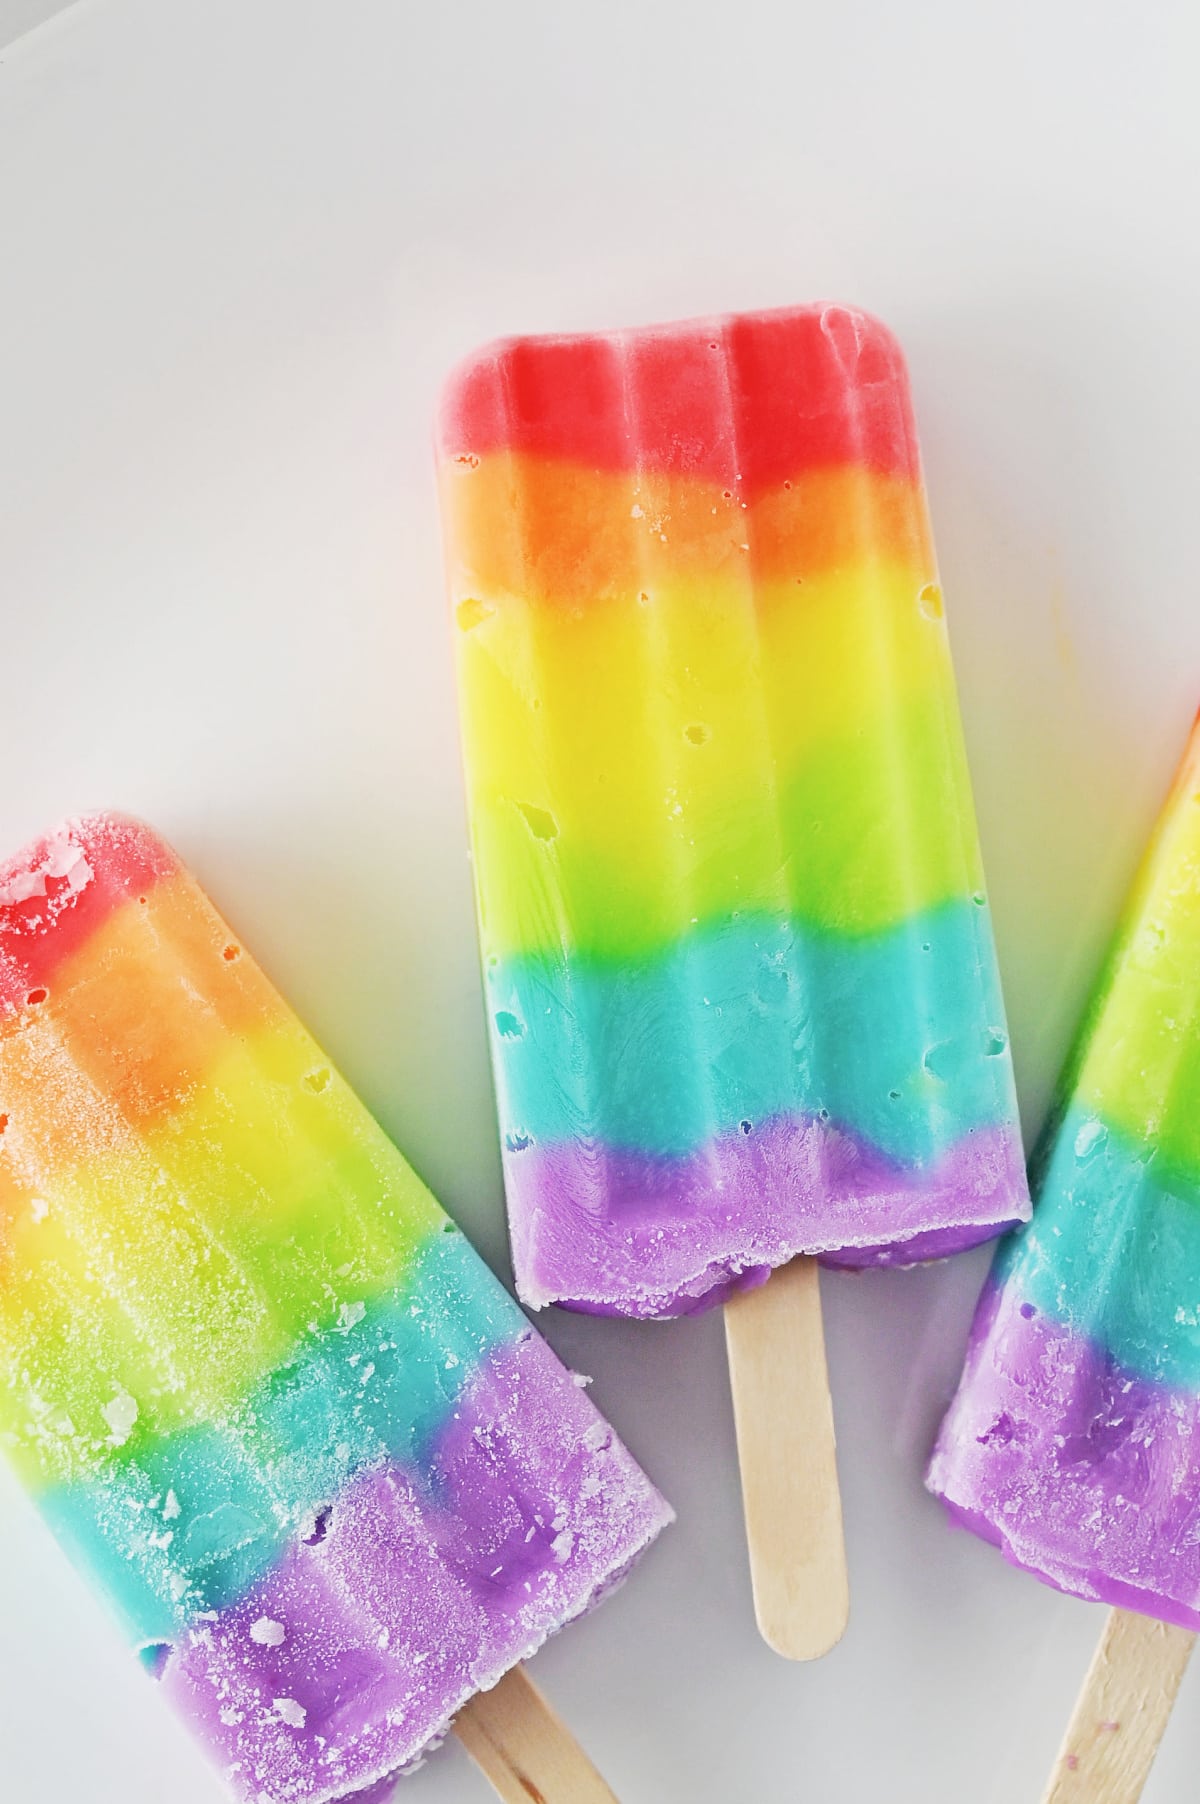
These easy Rainbow Popsicles are a refreshing treat that’s sure to be a big hit with both the kids and the adults! Super easy to make with just three ingredients, these popsicles are a colorful and delicious way to cool off on a hot summer day.
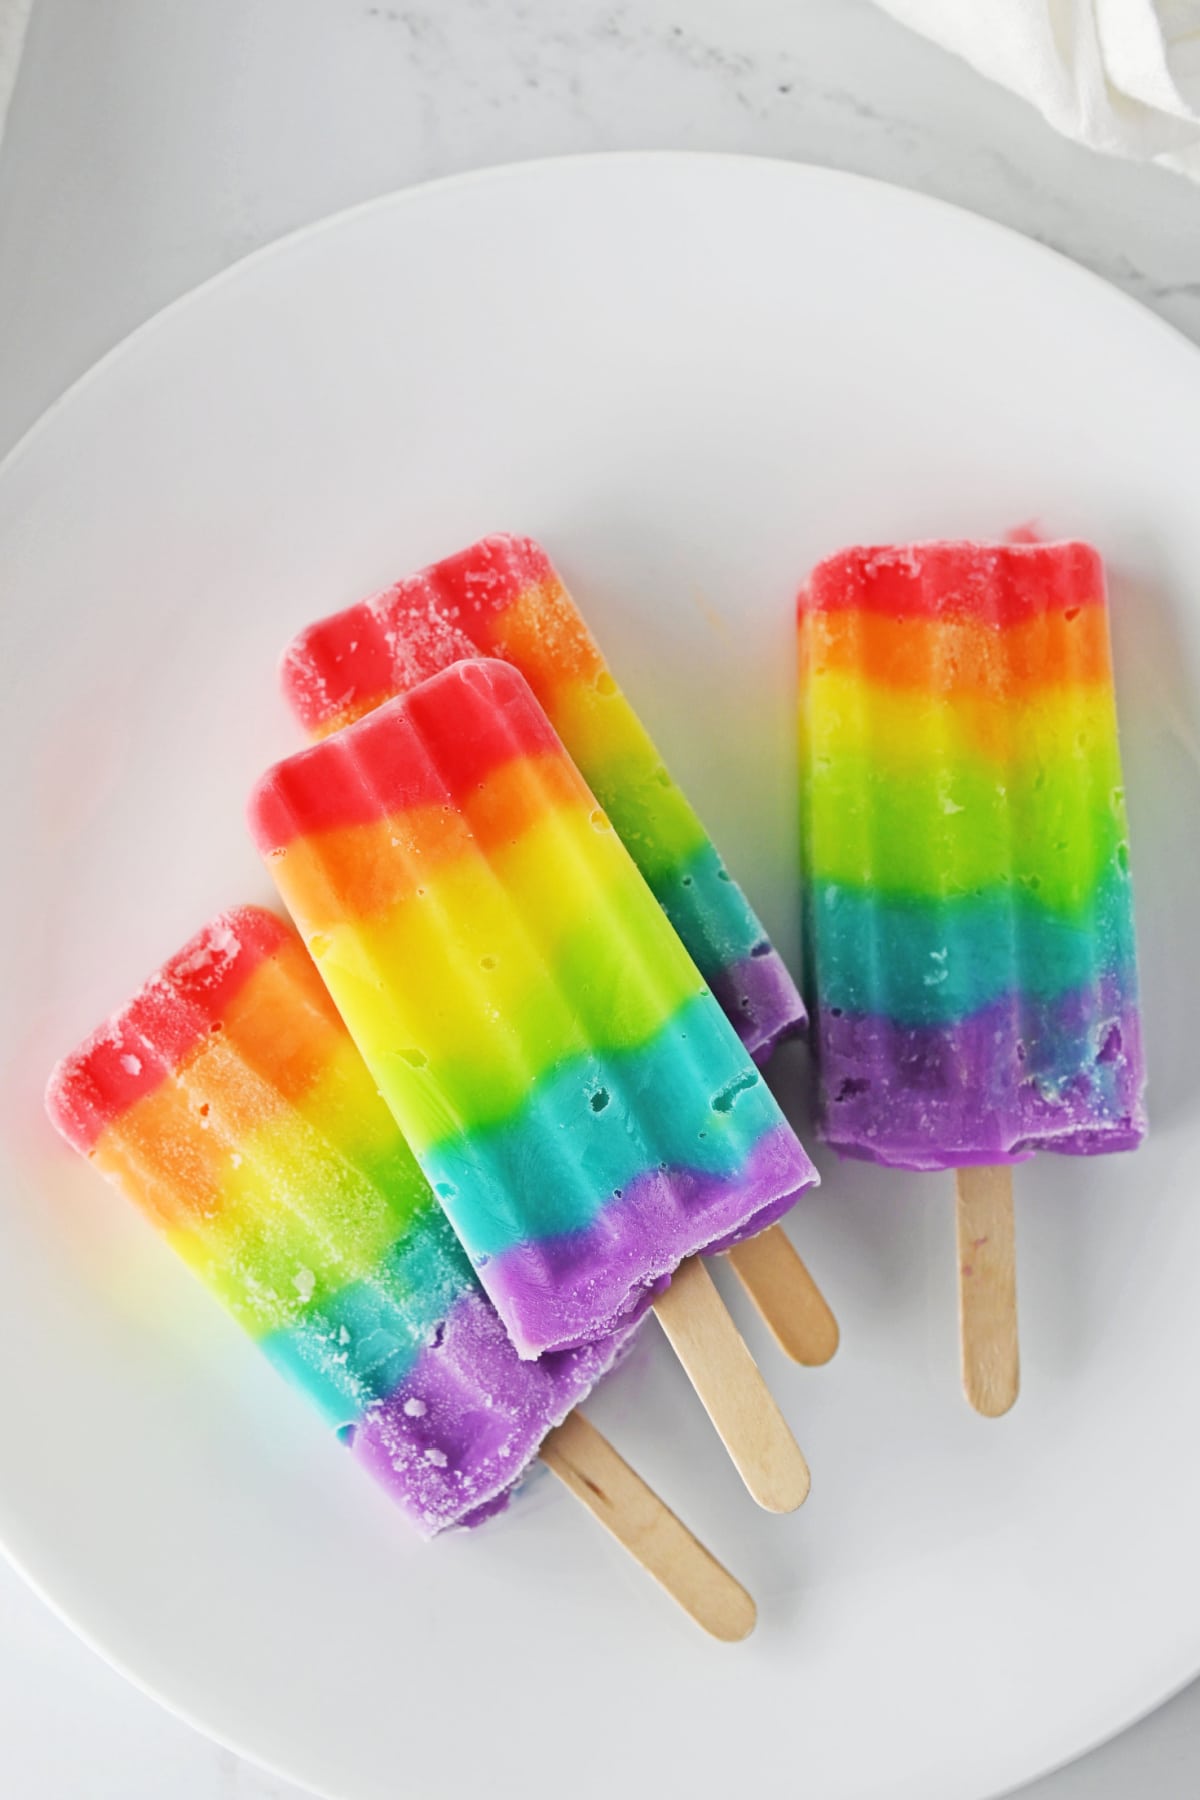
If your family loves frozen treats as much as mine, they’ll go crazy for this bright and colorful rainbow popsicles recipe. Creamy cheesecake flavored pudding is colored and layered in popsicle molds to create a beautiful rainbow effect that makes these treats as pretty as they are delicious.
Just like our fruit popsicles, these are super easy and inexpensive to make. There’s no need to spend money on store-bought treats or make a trip to the ice cream shop when you can make these fun homemade popsicles at home! They’re the perfect easy summer treat for the whole family.
Why We Love This Popsicle Recipe
Great for Summer – These frosty treats are a fun way to cool off on hot days, and they’re prettier and more fun than anything you can buy at the store.
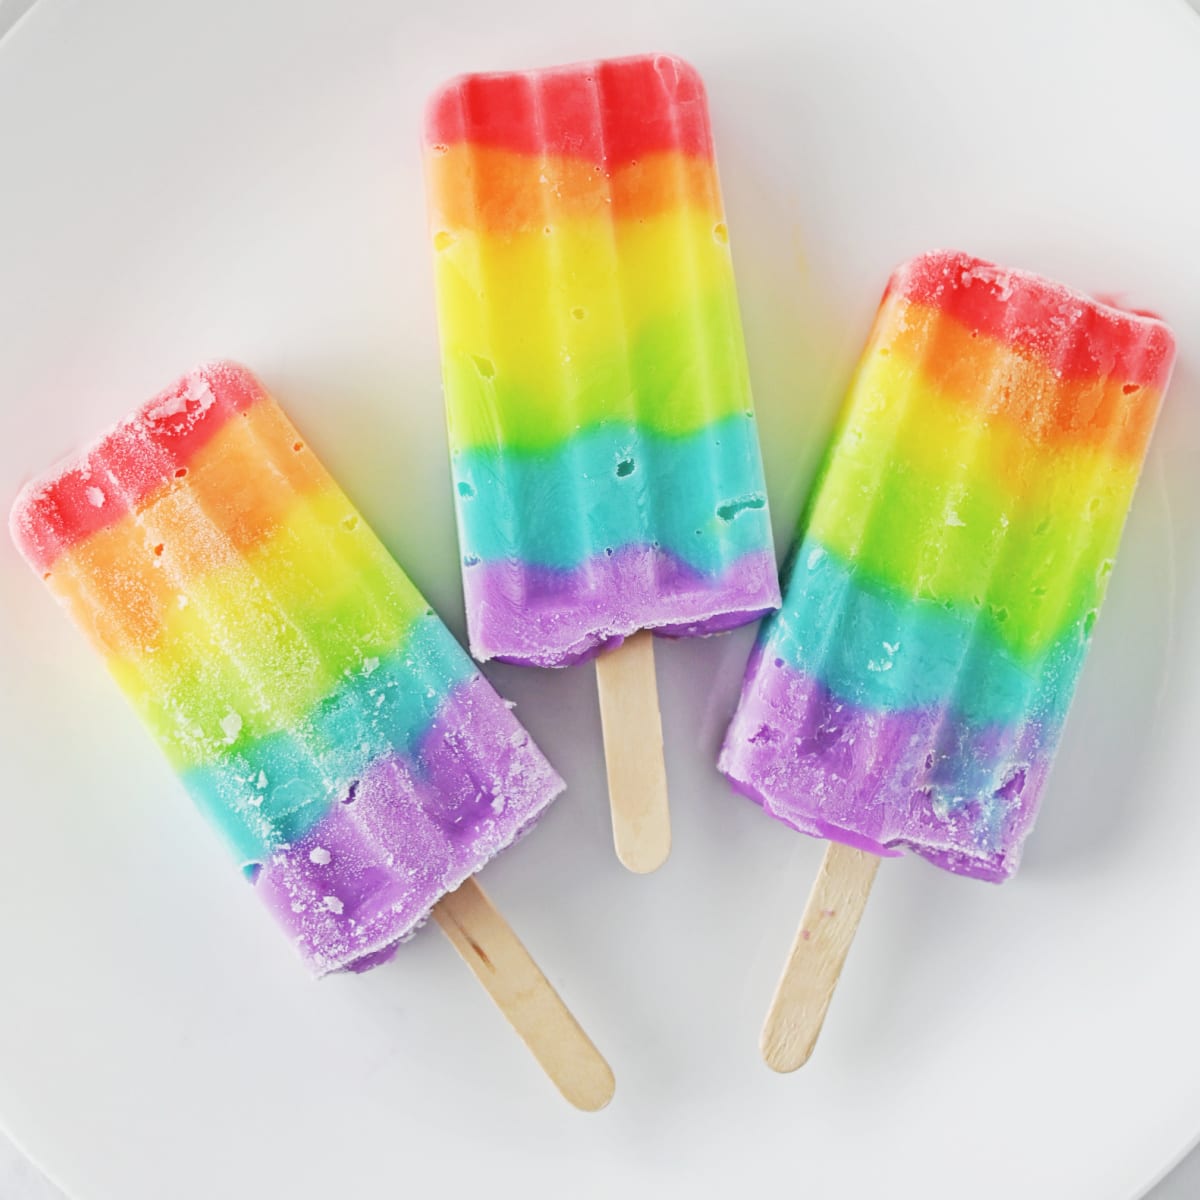
Kid-friendly – The kids will love the the bright rainbow layers and these fun popsicles are the perfect summer snack. Hand them out after a sports game, by the pool, or anytime at all!
Budget Friendly – Milk, pudding mix, and food coloring are the only ingredients in this easy treat. It’s a great inexpensive dessert or snack that you can keep on hand all summer long.
Ingredients
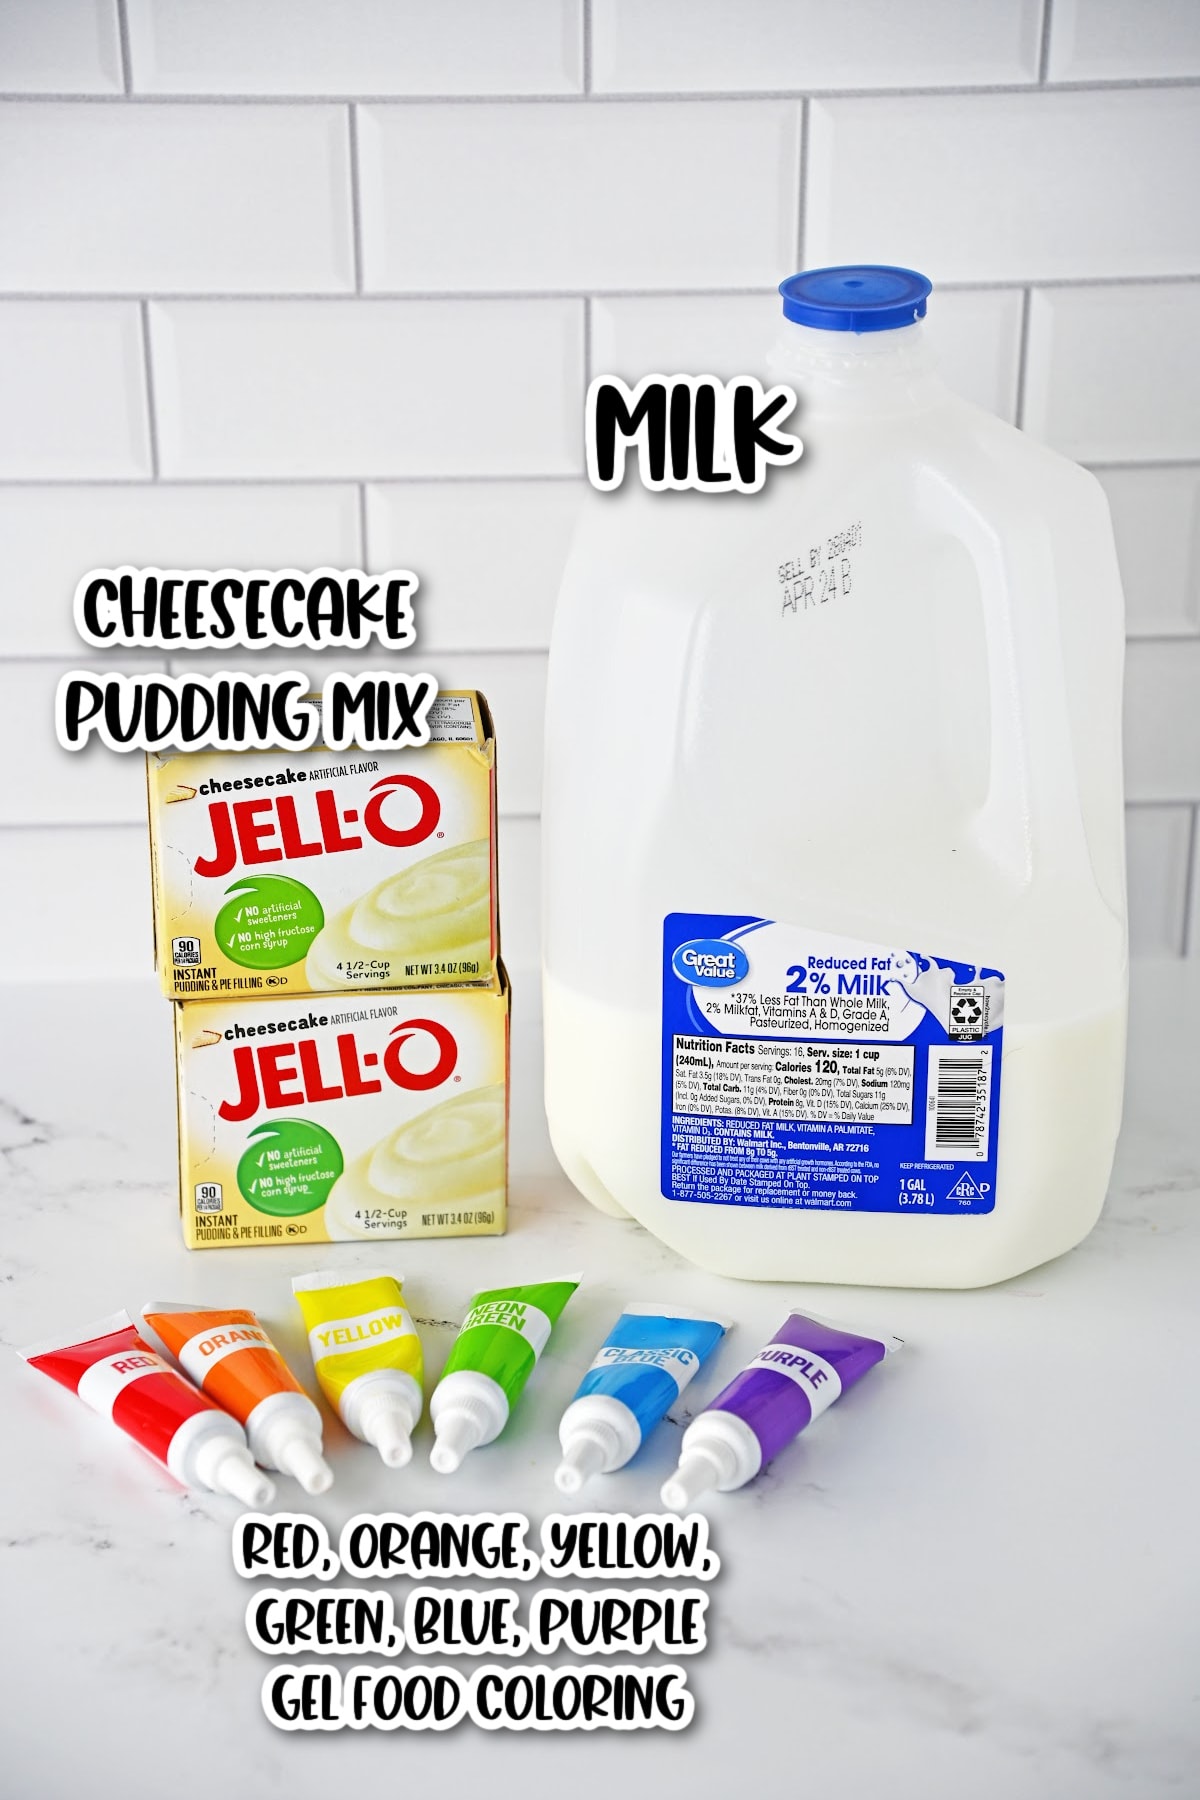
- Cheesecake pudding mix
- Milk
- Gel food coloring in red, orange, yellow, green, blue, and purple
How to Make Rainbow Popsicles
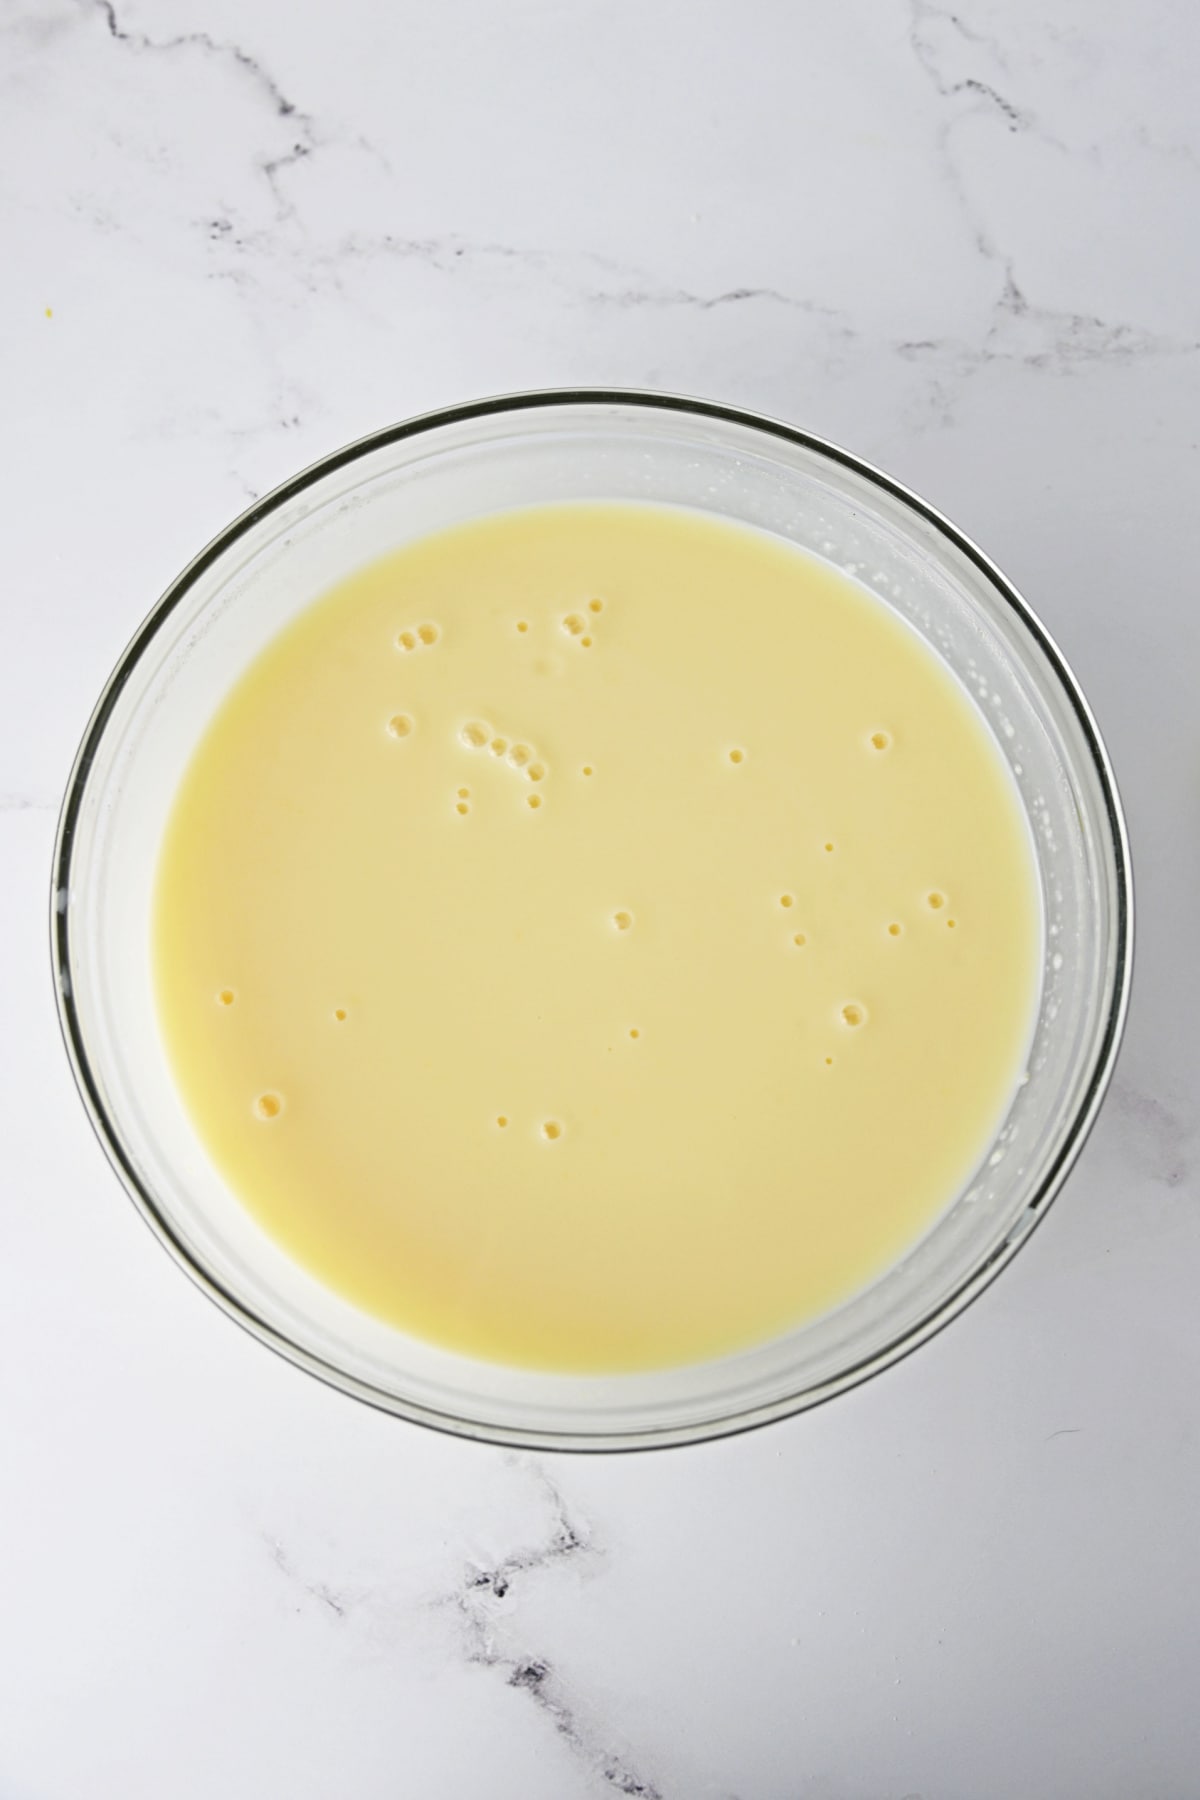
Step 1: Combine milk and pudding mix in a large bowl. Whisk for about 2 minutes.
Step 2: Divide the pudding evenly between 6 small mixing bowls.
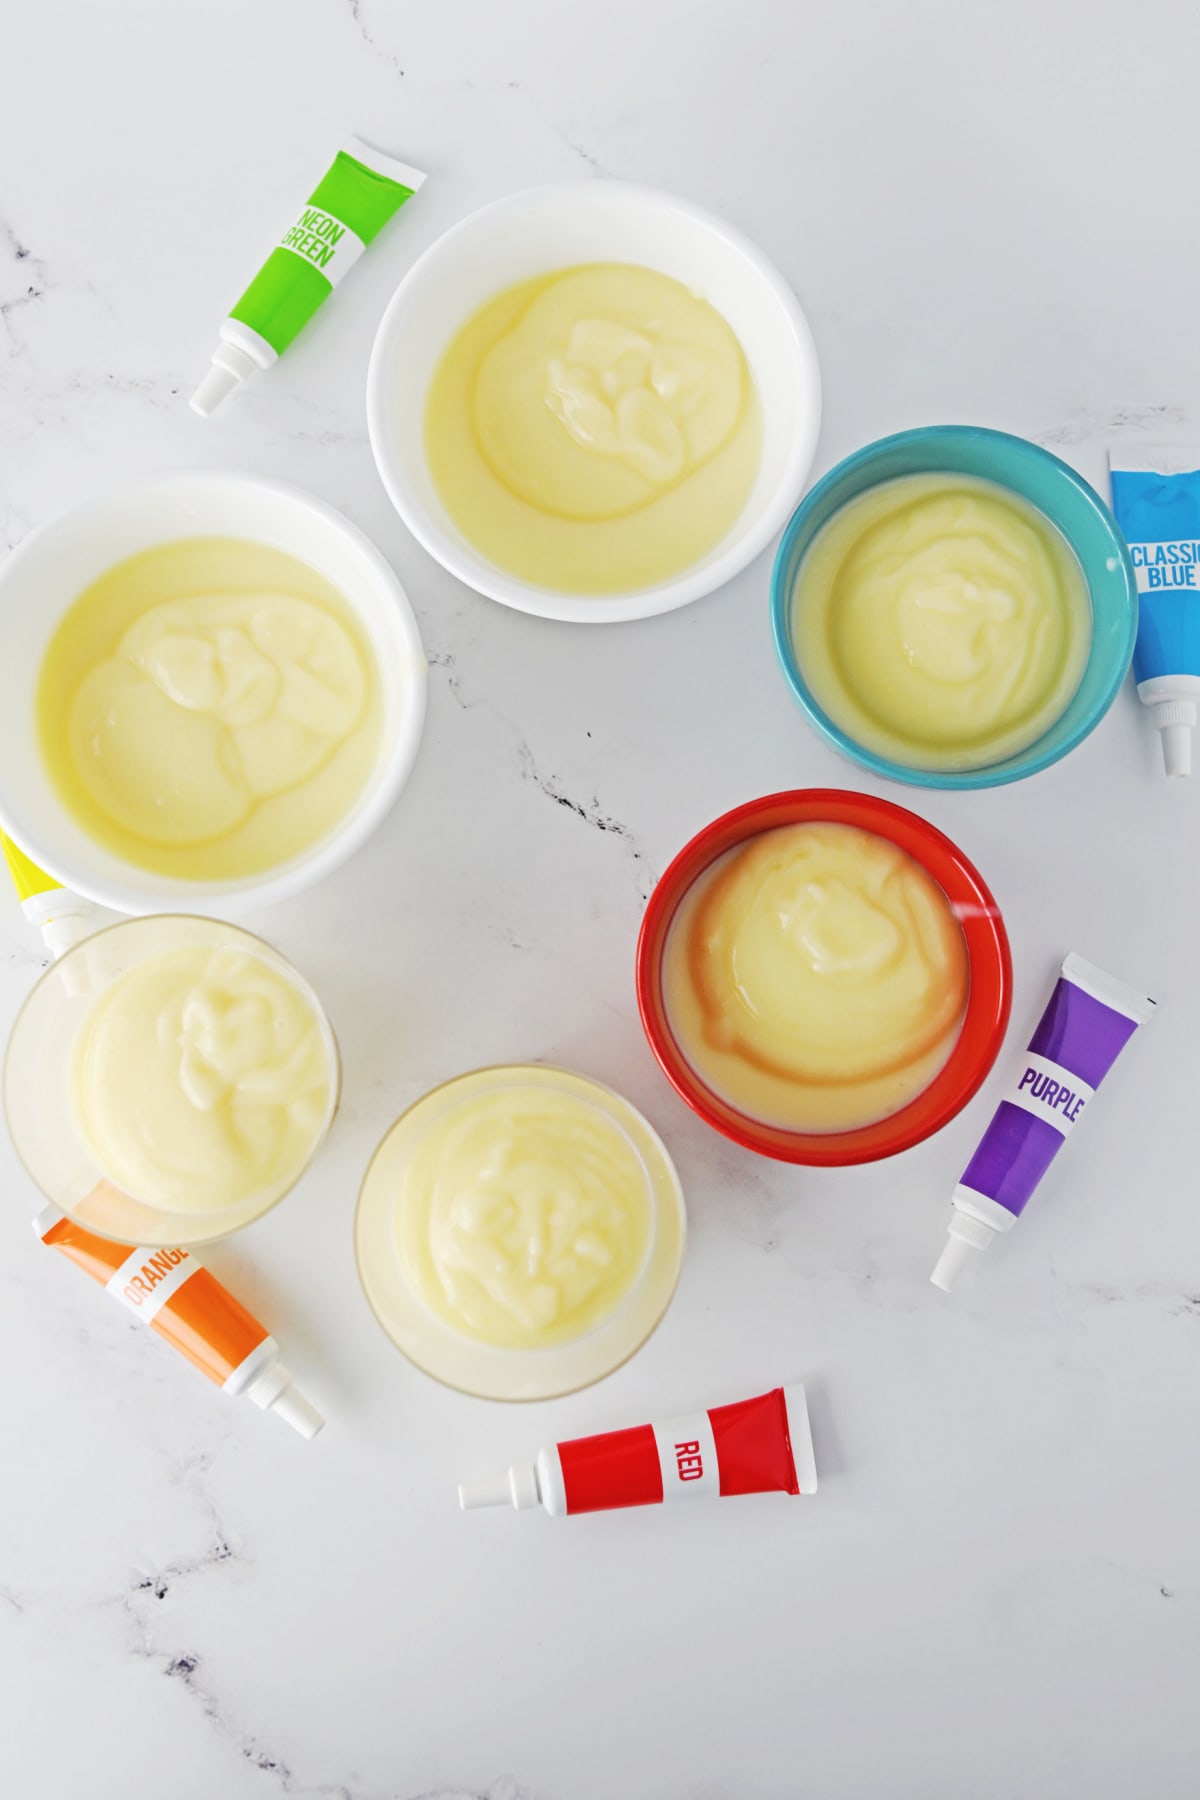
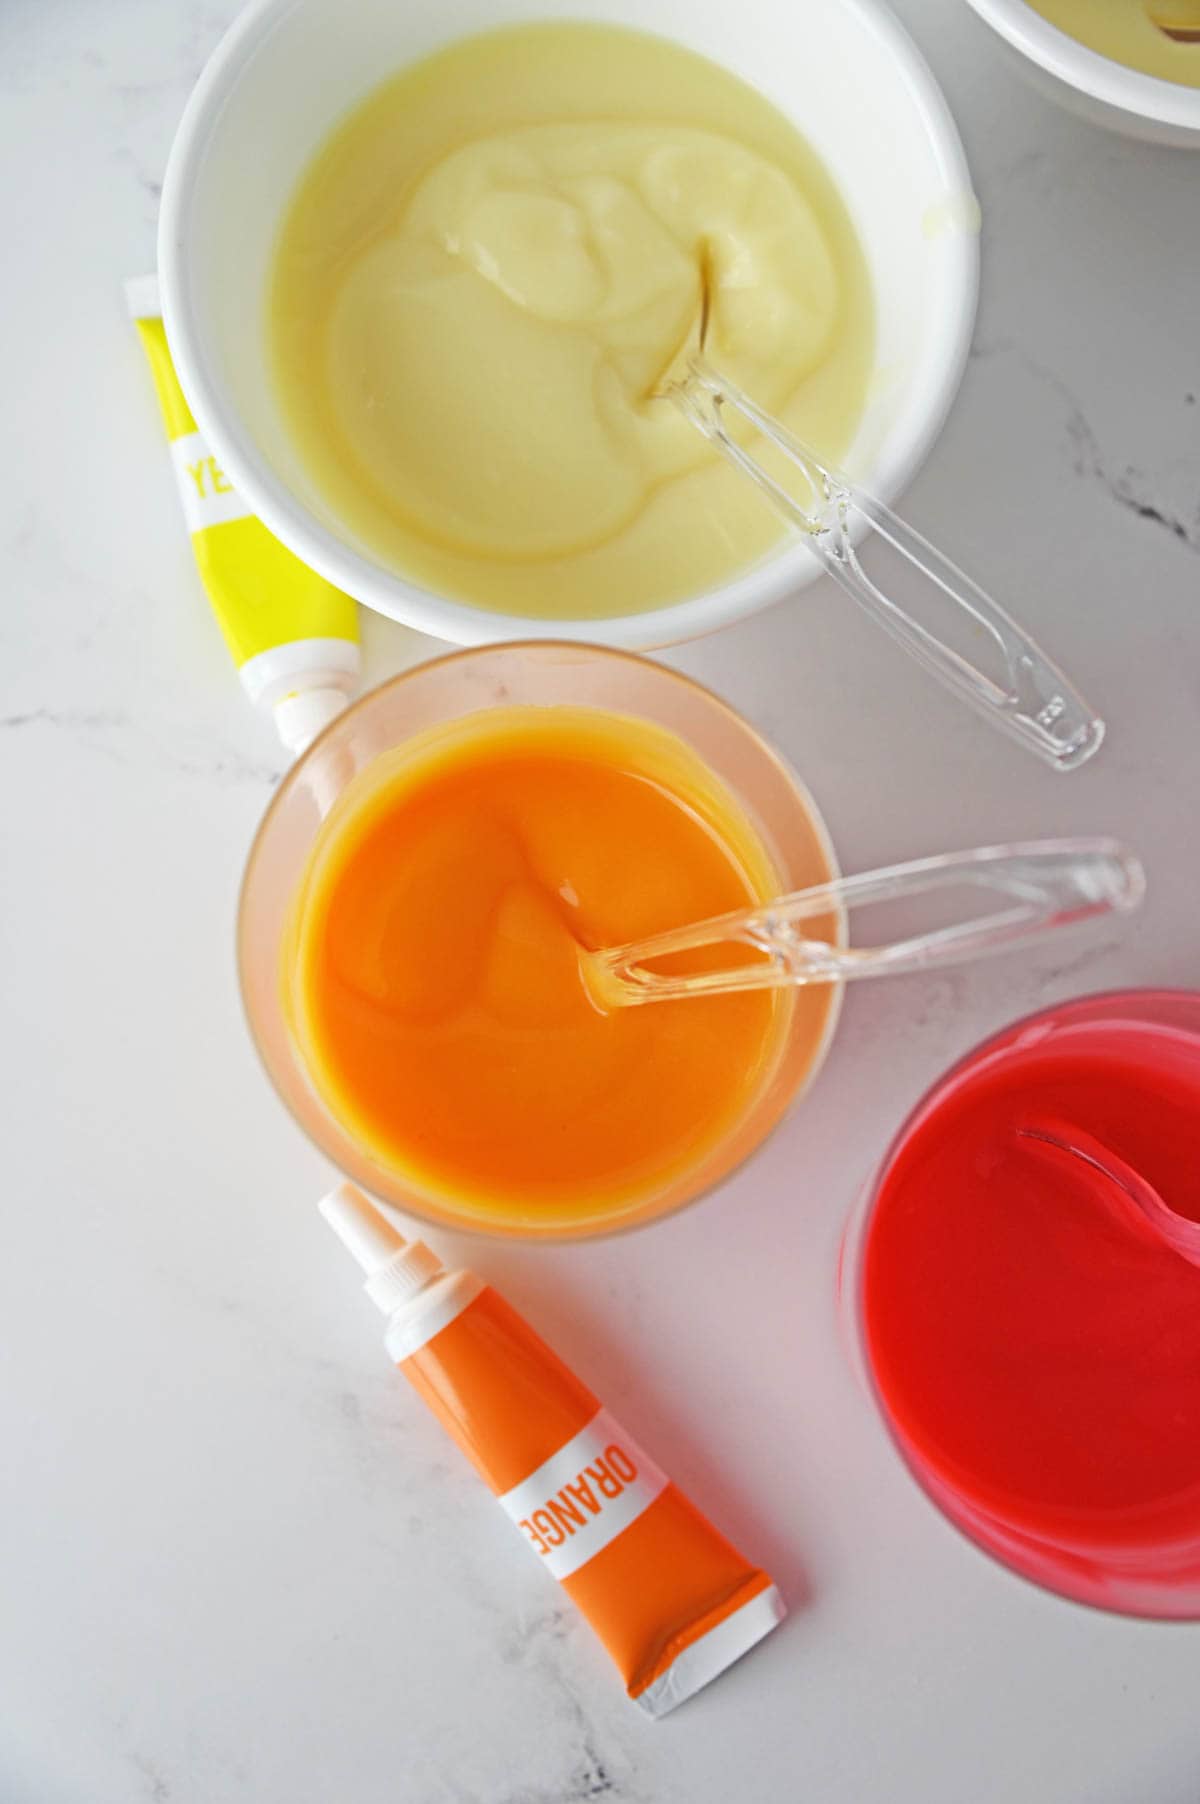
Step 3: Add 2 drops of a different color of the gel food coloring to each of the bowls. Stir well to color all the pudding mix evenly.
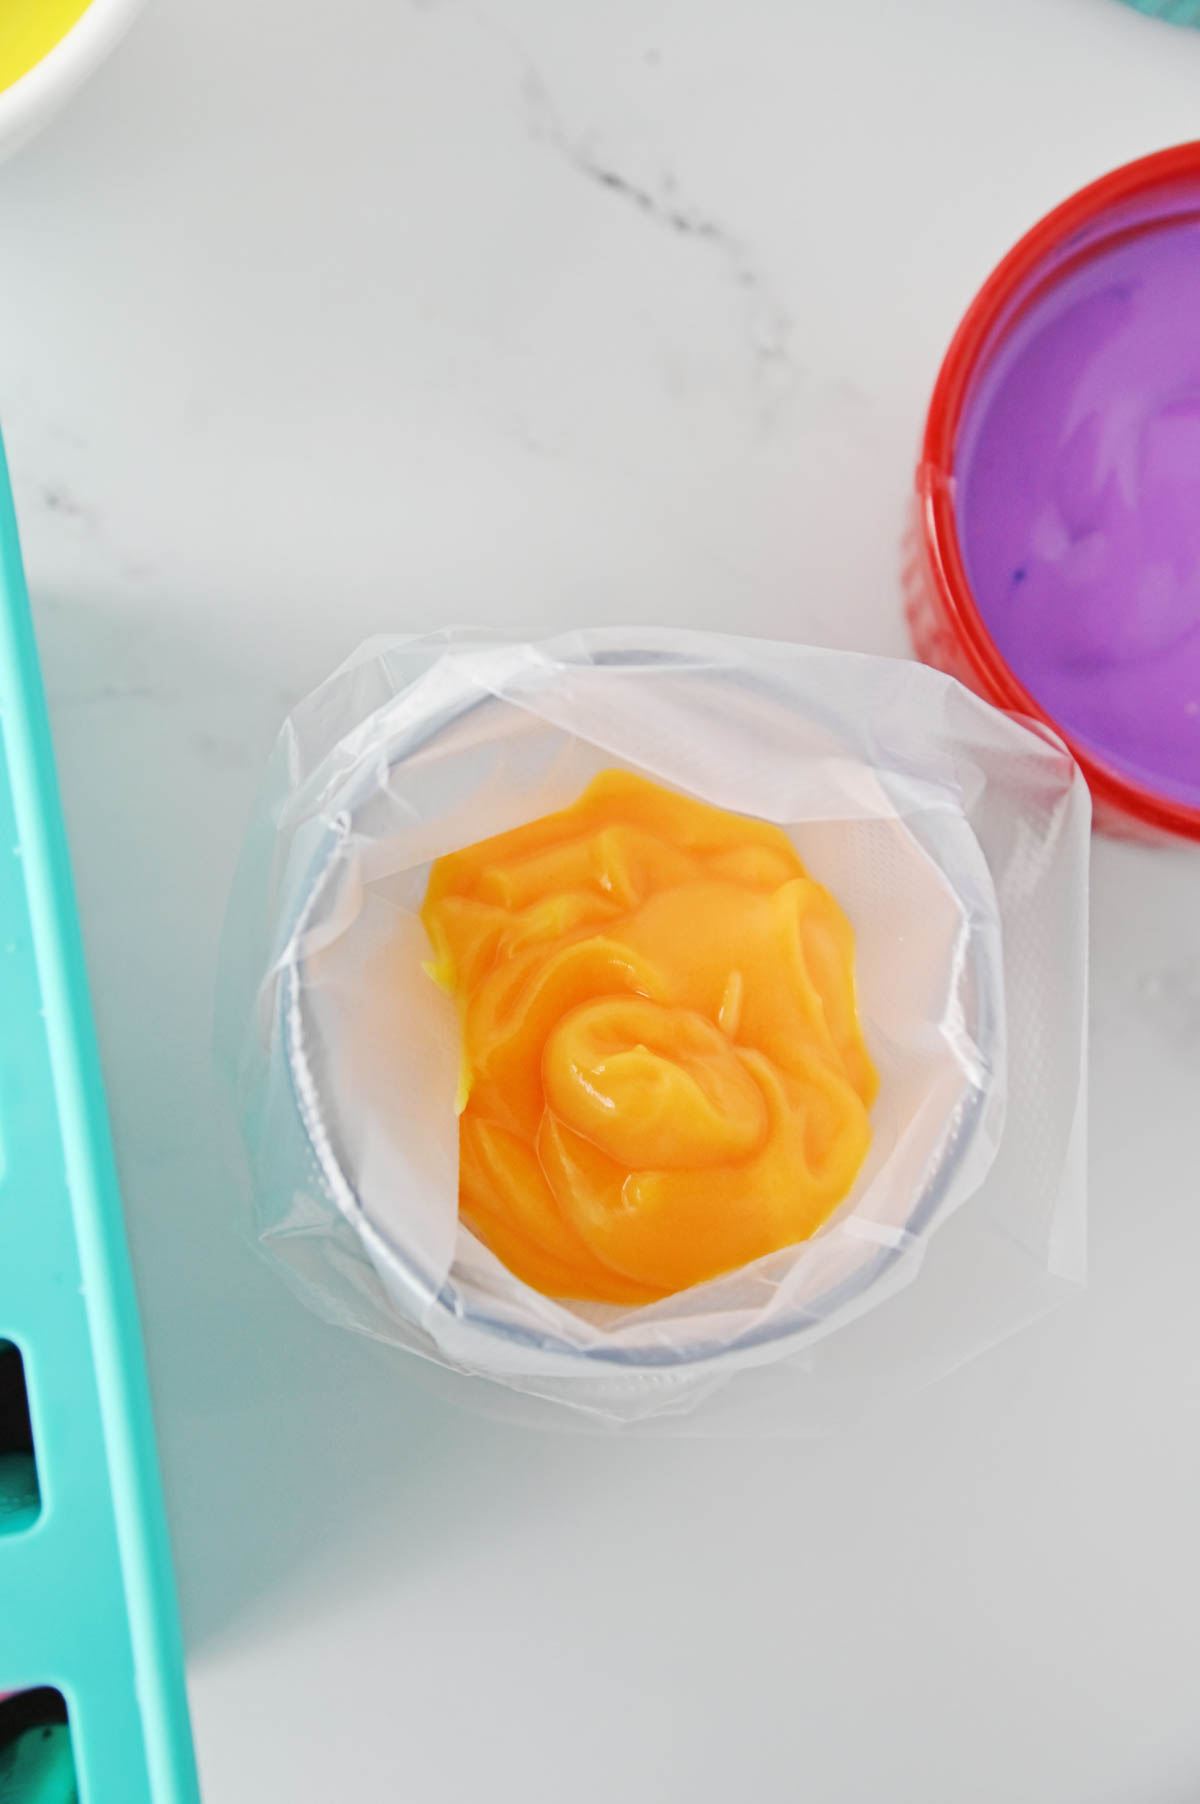
Step 4: Pour each color of pudding into a separate frosting piping bag. (This is the easiest way to keep the colors from mixing in the mold.))
Step 5: Snip off the tips of the piping bags and divide the pudding between the 8 molds, starting with a red layer, then adding orange, yellow, green, blue, and purple. Each popsicle will need about 4-5 teaspoons of each color. You may have a little extra of each color left over.
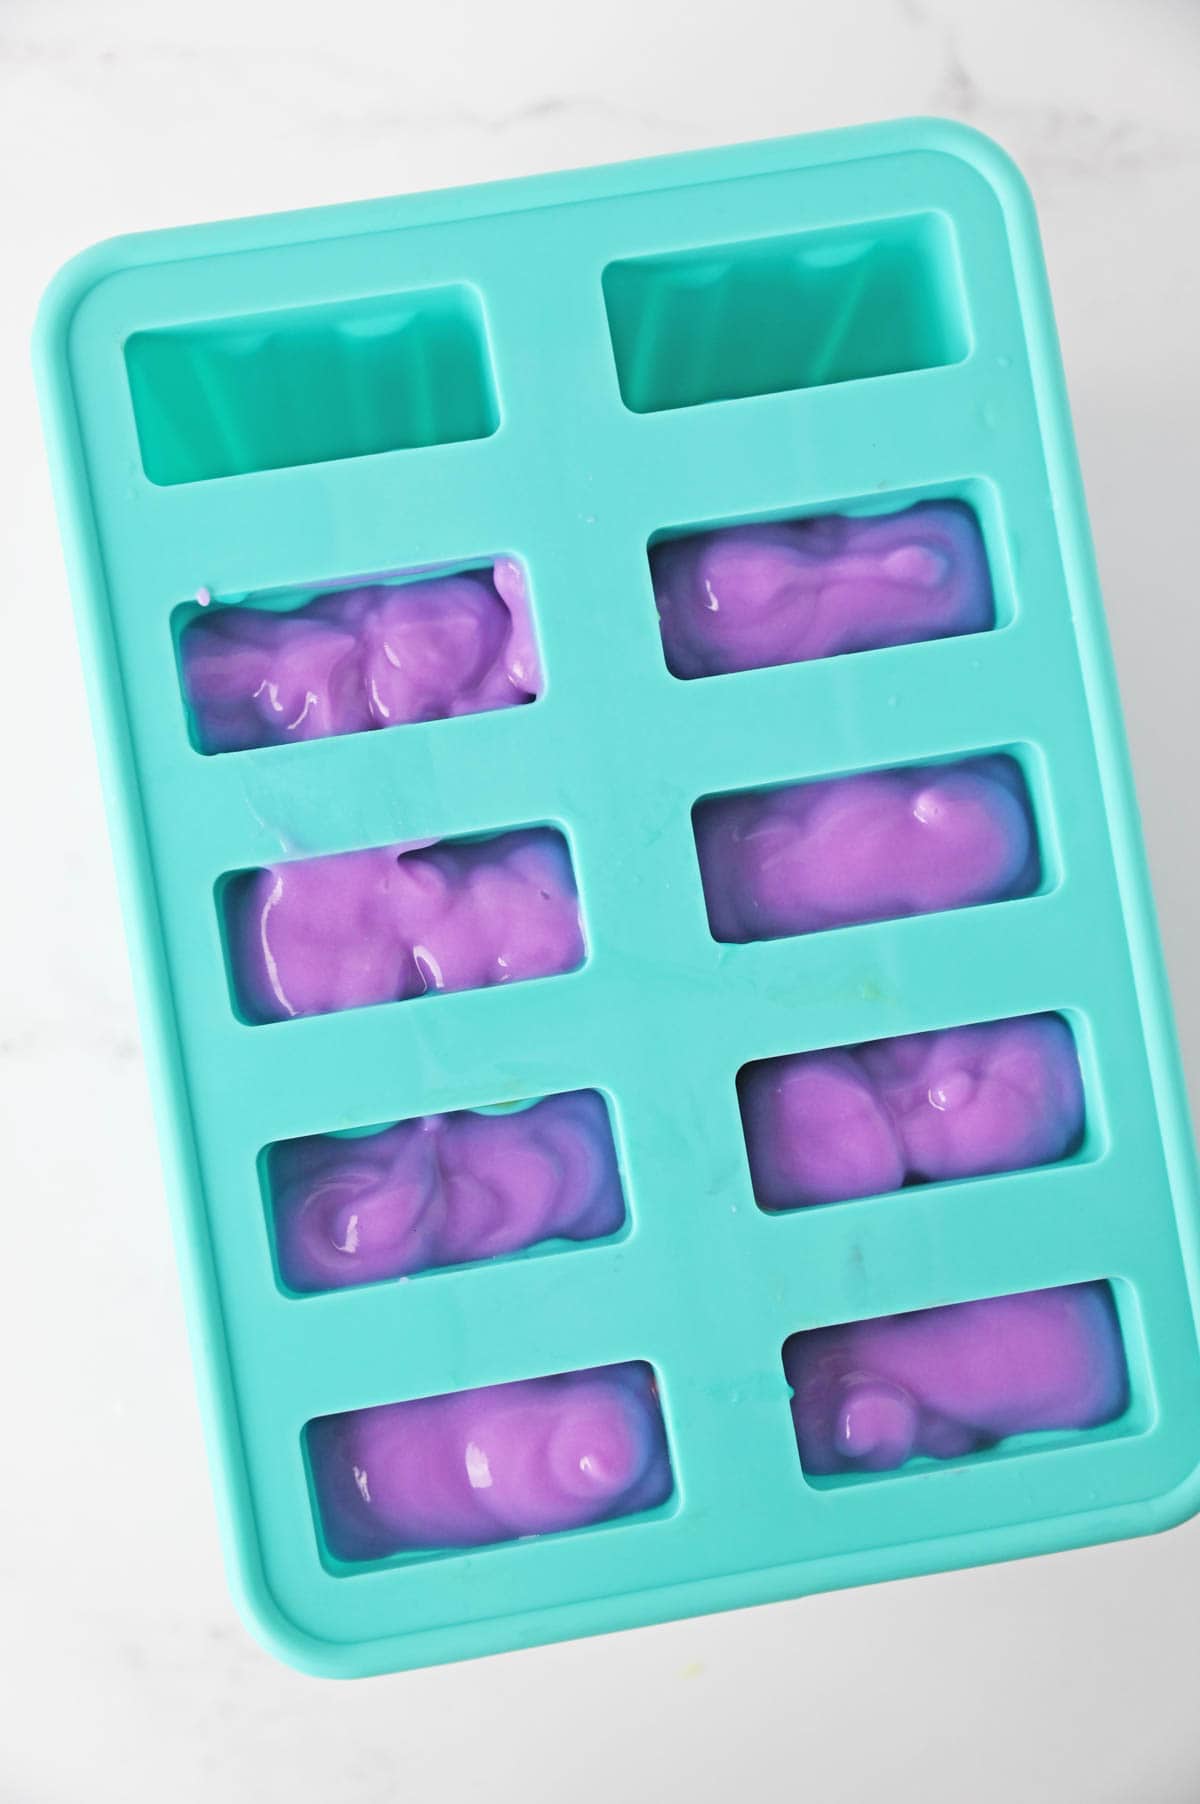
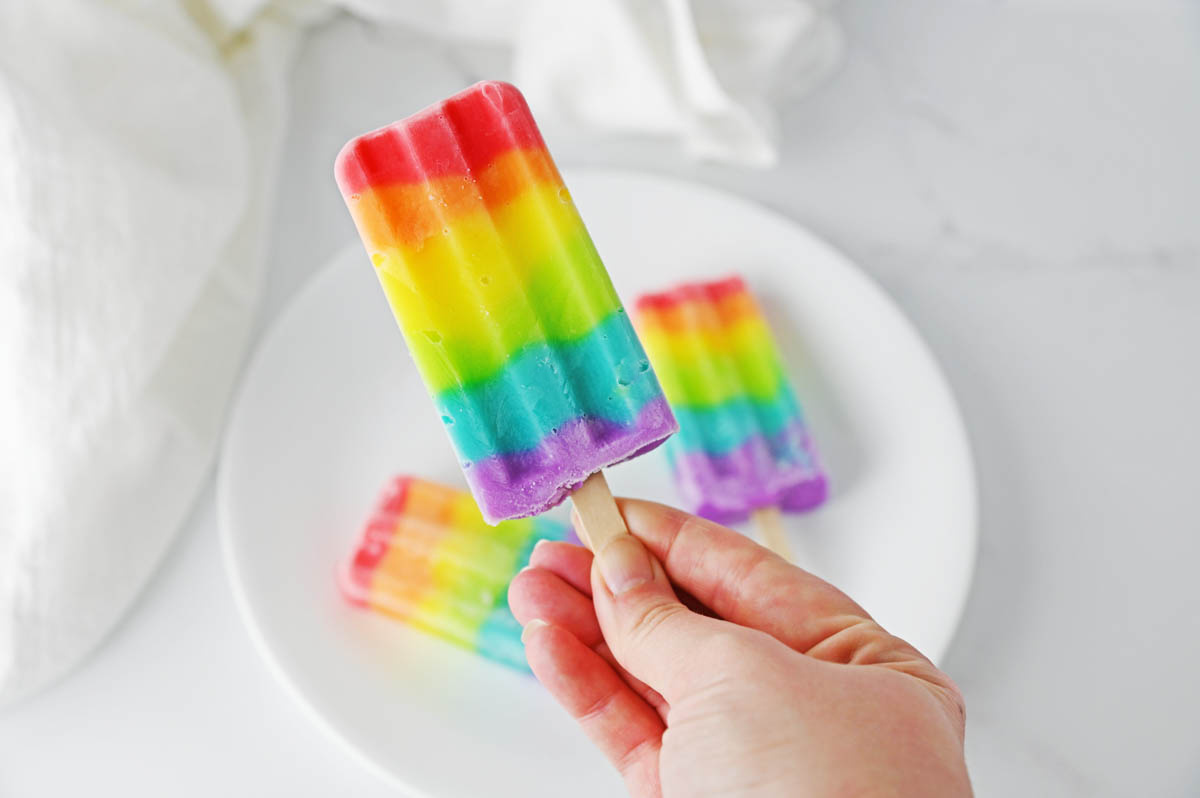
Step 6: Once you’ve added all of the layers, insert popsicle sticks in the center. Finally, place the mold in the freezer and freeze the popsicles overnight or until ready to serve.
Tips For Making This Recipe
- If you have trouble getting the popsicles out of the mold, run the mold under hot water for just a few seconds (but be careful not to get the actual popsicles wet).
- If you don’t want to do all six colors, feel free to take a short cut and just make a few larger layers. Try out different colors and choose your favorite color combination.
- Add some mix-ins to your pudding to give your popsicles a fun surprise inside. You can add sprinkles, cookie pieces, or chocolate chips.
- You can also add chunks of fresh fruit and make homemade rainbow fruit popsicles. Strawberry, blueberry, pineapple, raspberry, kiwi and mango work great for this. You could even try watermelon or banana. While we love fresh, frozen fruit will work too. Add them whole or pop them in a blender, then add each layer the popsicle mold one at a time.
- For perfectly straight lines, add the first layer to the popsicle mold, making sure not to get any on the sides of the mold. Freeze for an hour, then add the next layer. Continue to fill, then freeze, until every single layer is done.
If you’re going to eat them within a day or two, you can keep the popsicles in the molds. If you’re planning to store them for longer, I’d recommend removing the popsicles and wrapping them individually in plastic wrap or wax paper, then storing them in an airtight freezer bag.
In a pinch, you can use muffin tins or Dixie cups. However, since they’re they’re a little more shallow than regular popsicle molds, you may not be able to fit as many layers.
More Frozen Treats
- No Churn Oreo Ice Cream
- Brownie Ice Cream Cake
- Easy Cookie Ice Cream Sandwich
- Easy Fruit Popsicles
- Cotton Candy Ice Cream

Rainbow Popsicle Recipe
Equipment
- Piping bag or plastic storage bag
Ingredients
- 2 boxes cheesecake pudding mix 3.4 ounce size
- 4 cups milk
- Gel food coloring: red, orange, yellow, green, blue, and purple
Instructions
- Whisk together the pudding mix and milk in a large bowl for about 2 minutes.2 boxes cheesecake pudding mix, 4 cups milk
- Divide the pudding evenly between 6 small mixing bowls.
- Add 2 drops of a different color of the gel food coloring to each of the bowls and stir to color the pudding mix.Gel food coloring: red, orange, yellow, green, blue, and purple
- Pour each color of pudding into a separate frosting piping bag. (This is the easiest way to get the colors in the molds without blurring them too much.)
- Snip off the tips of the piping bags and divide the pudding between the 8 molds, starting with a red layer, then adding orange, yellow, green, blue, and purple. Each popsicle will need about 4-5 teaspoons of each color. You may have a little extra of each color left over.
- Once you’ve added all of the layers, insert popsicle sticks and freeze the popsicles overnight.
Notes
Nutrition
Did You Make This Recipe?
Share it with me on Instagram @funmoneymom and follow on Pinterest @funmoneymom for more!
Let’s be friends!
Did you love this post? Make sure to comment below and let me know your thoughts! And don’t forget to follow on your favorite social network below!

About Lisa O’Driscoll
Lisa O’Driscoll is a lifestyle and parenting expert, cookbook author, and the creative force behind Fun Money Mom, a popular blog she’s run since 2014. She’s the author of the children’s cookbook Roll It, Slice It, Mash It, Dice It, designed to get kids excited about cooking. With multiple TV appearances under her belt, she loves sharing her expertise on family-friendly recipes, creative DIYs, and party planning and is always on a mission to inspire and entertain!