Bluey Pumpkin (Cute Painted Pumpkin Idea)
This post may contain affiliate links. As an Amazon Associate, I earn from qualifying purchases.
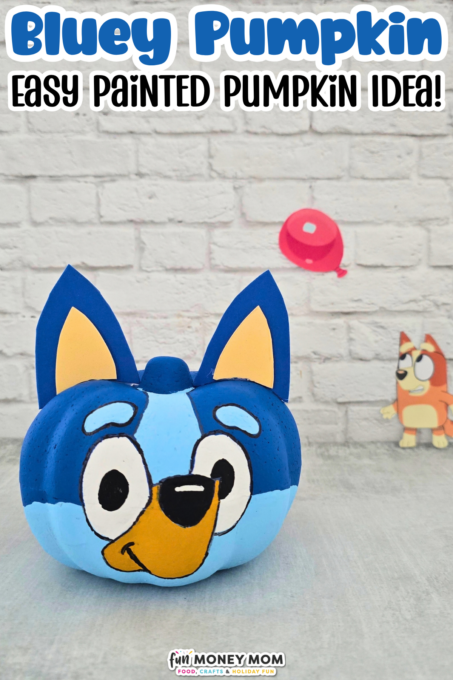
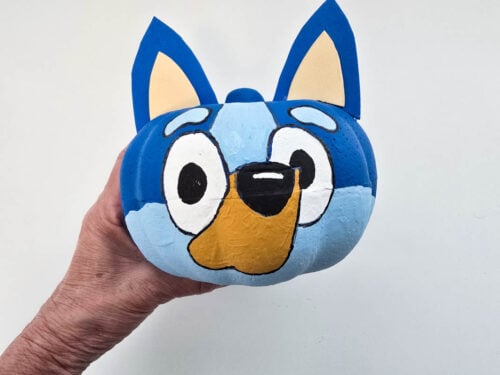
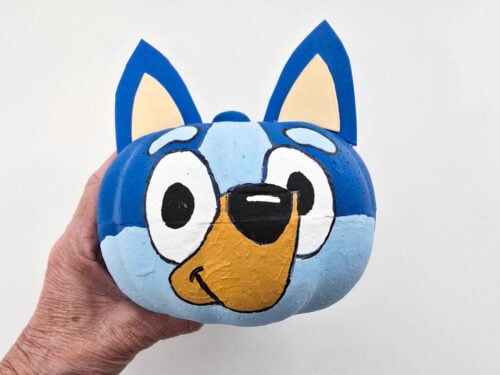
This Bluey Pumpkin is going to be the cutest on the block! It’s a no-carve Halloween craft, which means no knives and no pumpkin guts…just lots of happy little Bluey fans.
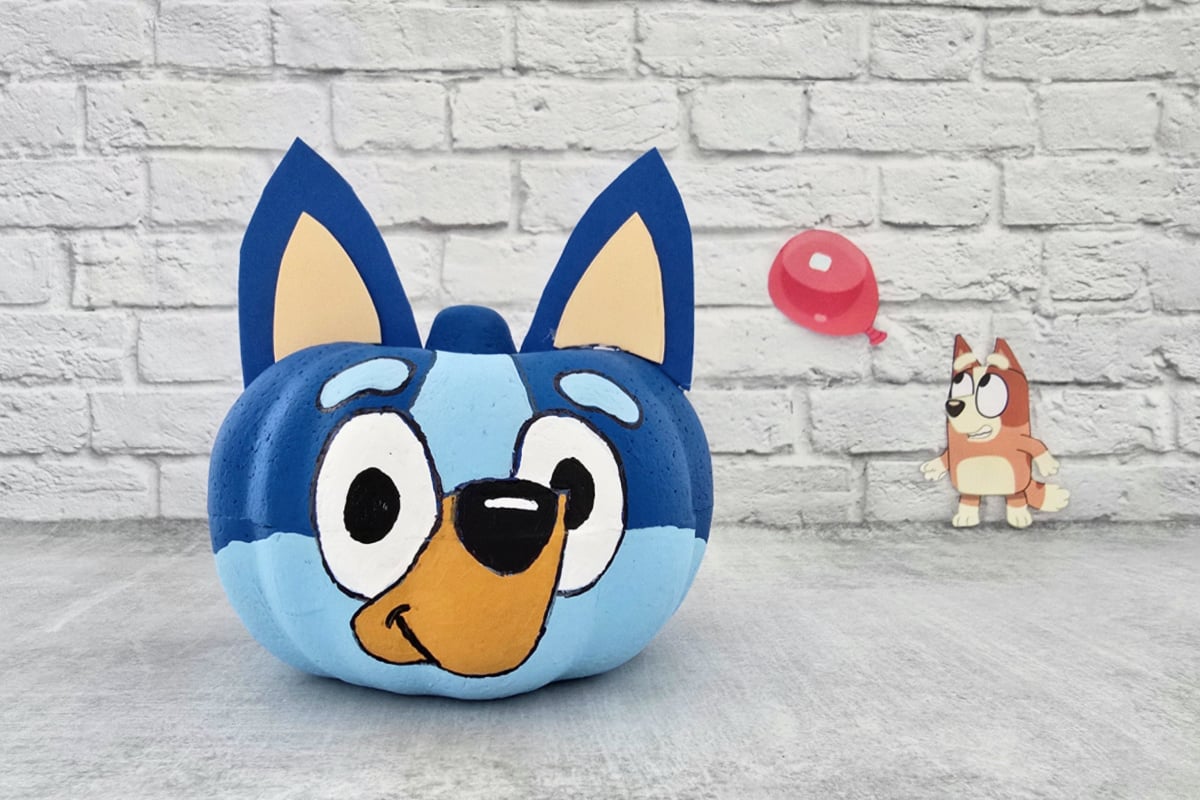
Bluey Painted Pumpkin
Nine years ago, I was invited to appear on Sarasota’s Suncoast View to make a fun Halloween craft. It’s been one of my favorite fall traditions ever since. It all started with a unicorn pumpkin and the lineup keeps growing every year. My favorites are always the pop culture pumpkins, like my Spider-Man Pumpkin and Harry Potter Pumpkin. While brainstorming ideas for my segment this year, I realized a Bluey pumpkin was long overdue.
The best part is my printable cut and trace templates, which help make this Bluey pumpkin easy for all ages. All you need is a craft pumpkin, a marker and your paints. Then just cut, trace and paint, and you’ve got the cutest pumpkin in the neighborhood!
Why We Love This Craft
- It’s Easy – There’s no carving and no pumpkin mess involved, so it’s a stress-free project for both the kids and their parents.
- It’s Budget Friendly – The supplies cost next to nothing (I get mine from Dollar Tree and Walmart), and you might already have most of them at home.
- It’s Fun – Most important of all, Little Bluey fans will be so proud to show off the cute Halloween pumpkin they made.
Supplies
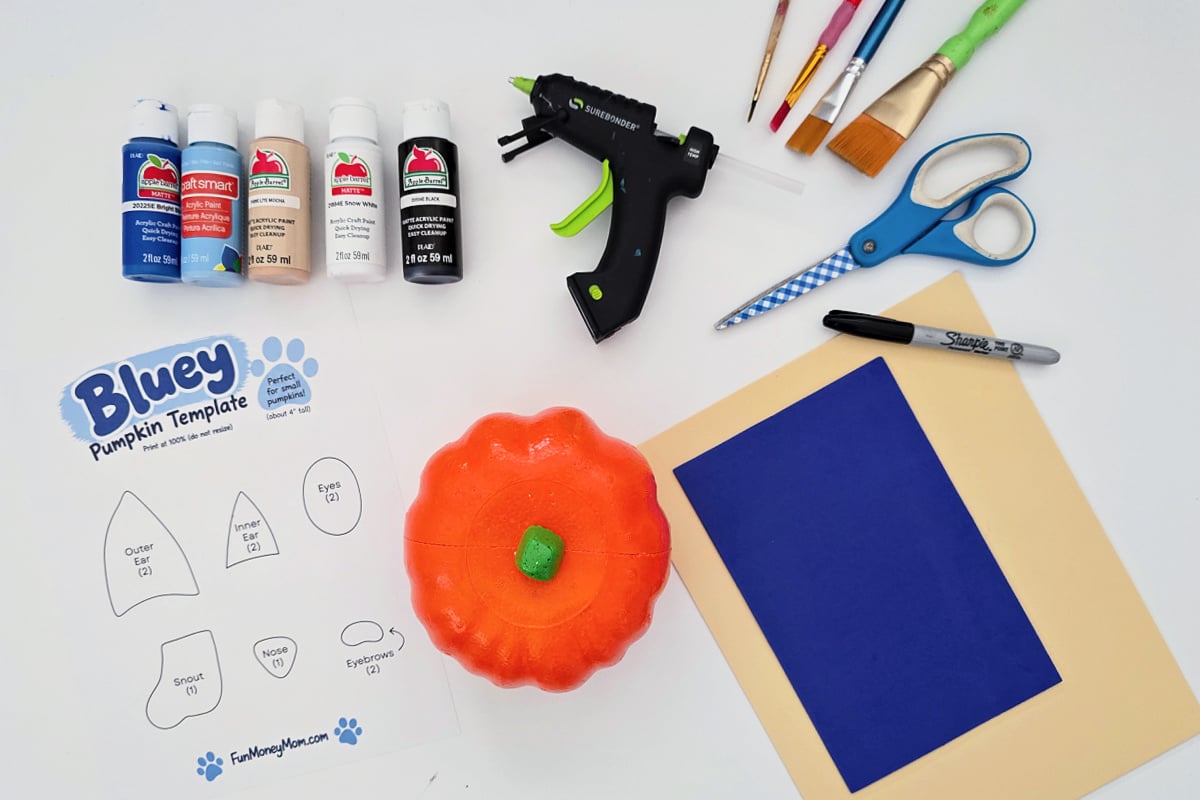
- Cut & Trace Template (free printable below) – There’s no guessing on how big or small to make the face shapes…just cut and trace the template
- Foam Craft Pumpkin – I get mine at Dollar Tree but you can also find them on Amazon
- Bright blue acrylic craft paint – I used “Bright Blue” Apple Barrel brand
- Light blue acrylic craft paint – I used “Pale Blue” Craft Smart brand
- Light brown or beige acrylic craft paint – I used “Light Mocha” Apple Barrel brand
- White acrylic craft paint – For the eyes and nose accent
- Black acrylic craft paint – For the nose and pupils
- Bright blue craft foam – Try to match the blue paint color you’re using for the top of the pumpkin
- Light brown/beige craft foam – Try to match the paint on the snout, though it’s okay if you can’t (mine doesn’t match exactly)
- Sharpie – For tracing the templates
- Pencil (optional) – If you’d prefer to start with something less permanent, you can trace the templates with a pencil first, then go over them with a Sharpie.
- Glue – I love a good hot glue gun but I’d use a white craft glue like Elmers with younger kids.
Don’t worry if you can’t find the paints I used. Any similar brands and colors will work.
How To Get Your Free Printable Template
- Fill out the form below with your first name and email address
- Check your inbox. Your printable should arrive within minutes!
- Click the download link in your email to save the files to your device
- Print and let the fun begin!
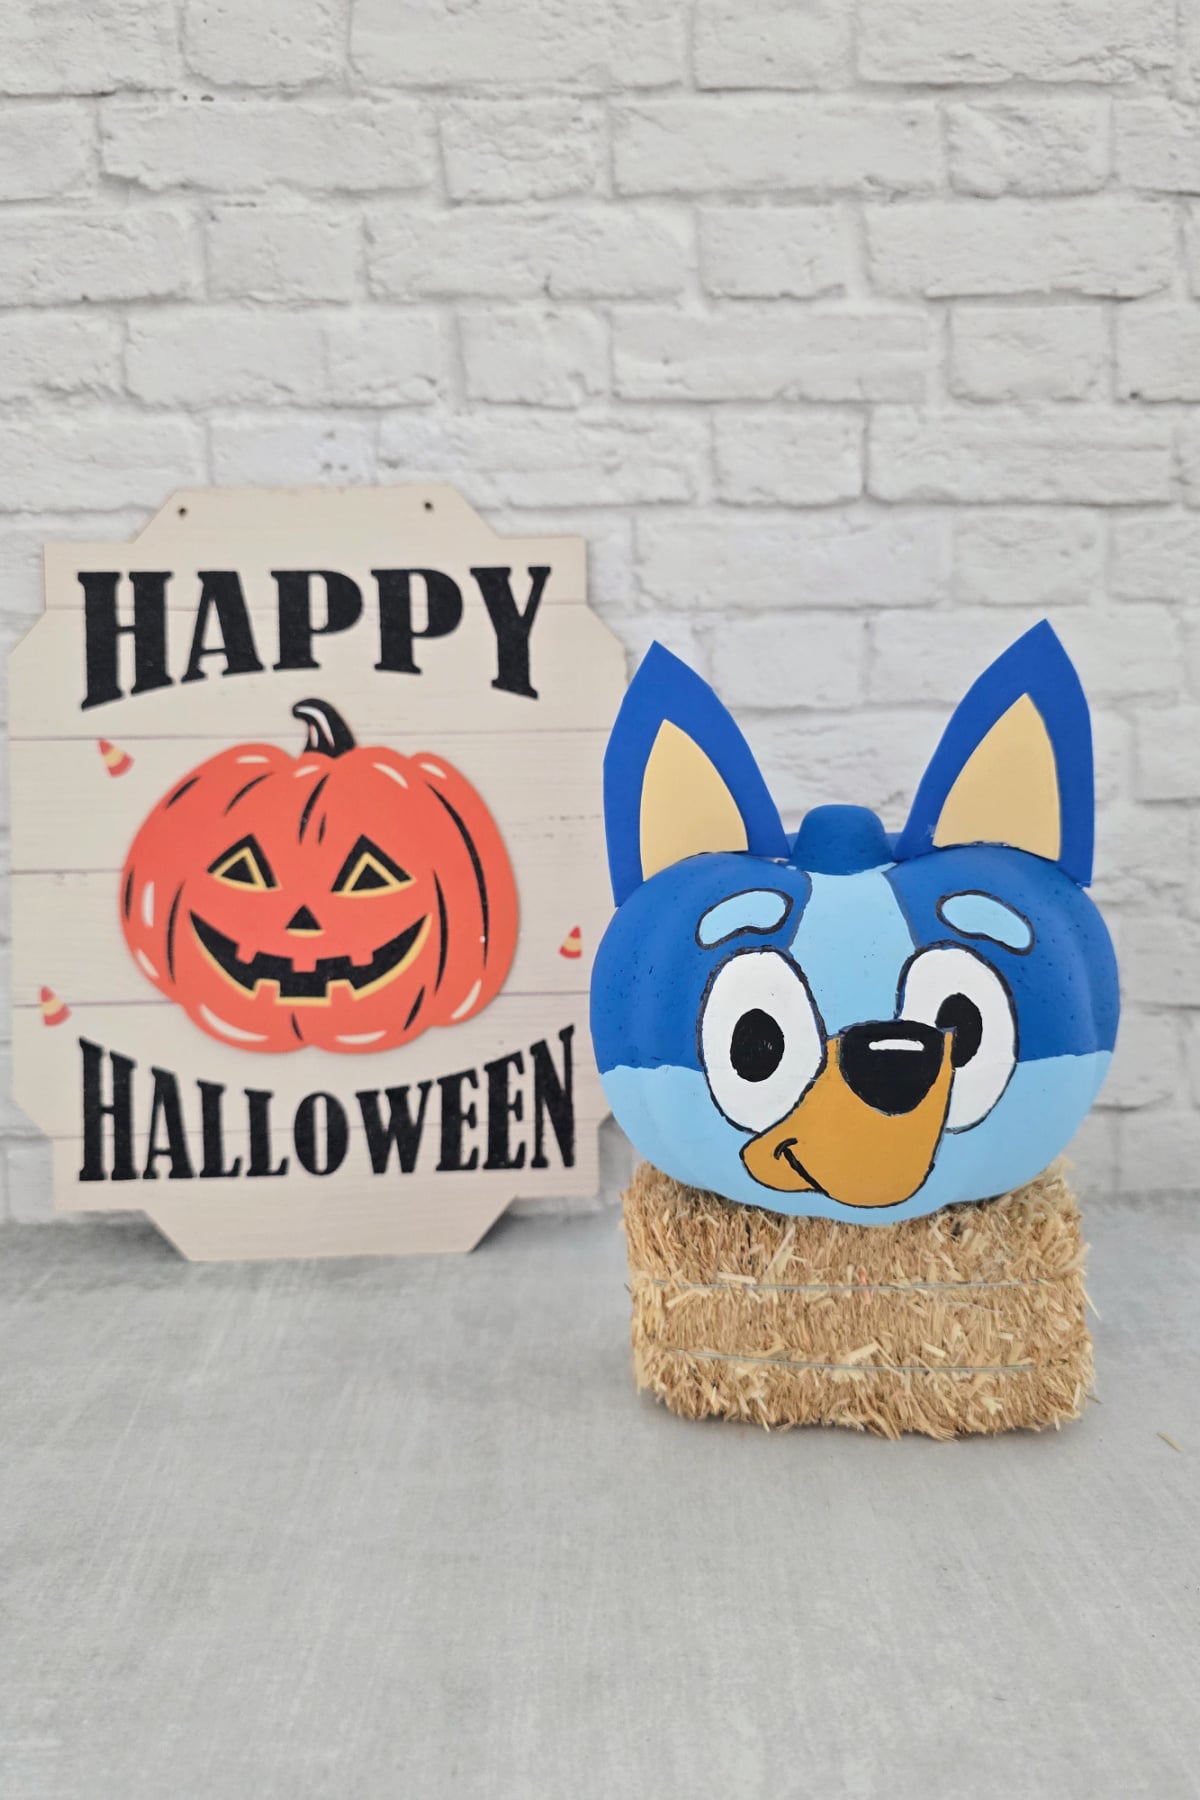
More Fun Painted Pumpkins
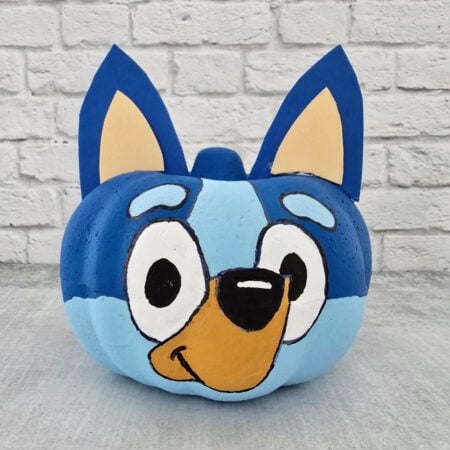
Bluey Pumpkin
Equipment
- Sharpie marker
- Glue gun or craft glue hot glue guns for older kids or white craft glue for younger ones
Materials
- 1 Printable template see post above to download and print
- 1 Foam Craft Pumpkin
- Bright blue acrylic craft paint
- Light blue acrylic craft paint
- Light brown or beige acrylic craft paint
- White acrylic craft paint
- Black acrylic craft paint
- 1 sheet Bright blue craft foam
- 1 sheet Light brown/beige craft foam
- 1 Sharpie
- 1 Pencil optional
Instructions
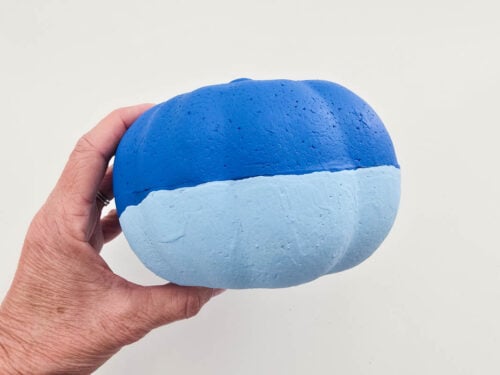
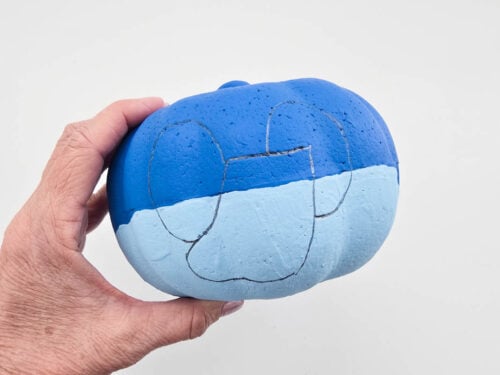
- Paint your craft pumpkin with the darker blue color. When it dries, start at the front and paint the bottom half with the light blue paint, sloping down on each side.

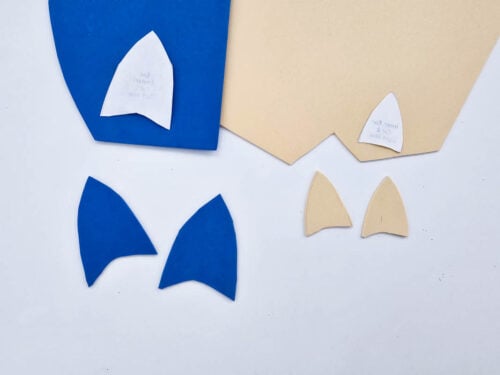
- Cut out your tracers. Trace the two large ear pieces on blue craft foam and the two smaller ear pieces on beige craft foam.
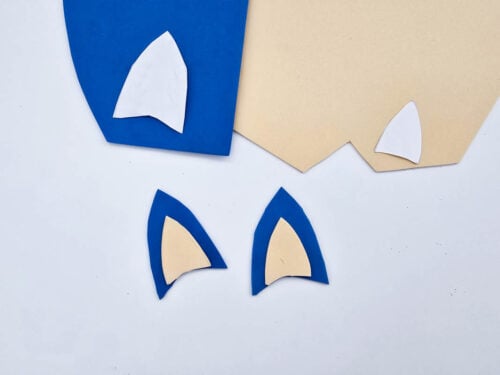
- Glue the beige ear pieces on top of the blue ones, lining them up so that they are flush at the bottom (you may have to trim them a little).
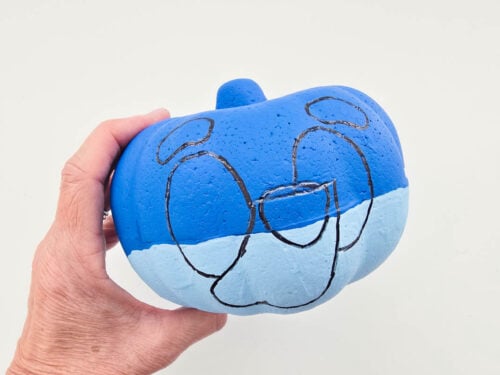
- Use a pencil to trace the outside of the eyes and the snout.
- Next, trace the nose and the eyebrows with the pencil, then go over everything with a black marker.
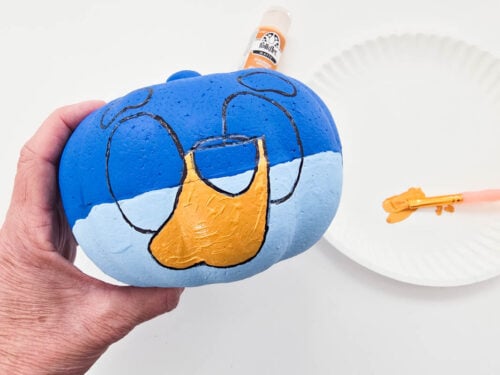
- Paint the snout light brown.
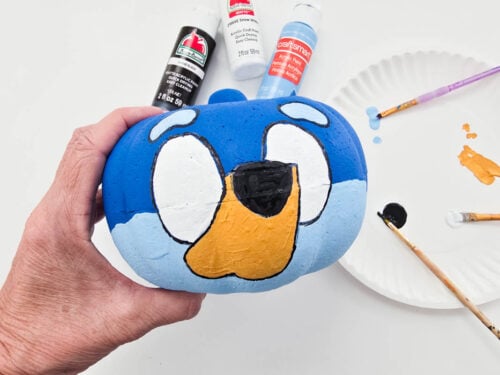
- Next, paint the eyes white and the eyebrows light blue. Once the snout is dry, add Bluey's nose.
- Once all the paint is dry, add Bluey's pupils and the white accent across the top of his nose. You can glue the ears on now as well. You may need to trim the bottom of the ears slightly so that they sit flush on the pumpkin.
- Finally, Use a black marker to give Bluey his cute smile.
Notes
- You may need to add an extra layer of paint to the pumpkin if you see any orange peeking through.
- Try to match the blue foam on the ears to the darker blue paint if possible.
- It may be easier to trace with pencil, then go back over it with the Sharpie.
Did You Make This Project?
Share it with me on Instagram @funmoneymom and follow on Pinterest @funmoneymom for more!
Let’s be friends!
Did you love this post? Make sure to comment below and let me know your thoughts! And don’t forget to follow on your favorite social network below!

About Lisa O’Driscoll
Lisa O’Driscoll is a lifestyle and parenting expert, cookbook author, and the creative force behind Fun Money Mom, a popular blog she’s run since 2014. She’s the author of the children’s cookbook Roll It, Slice It, Mash It, Dice It, designed to get kids excited about cooking. With multiple TV appearances under her belt, she loves sharing her expertise on family-friendly recipes, creative DIYs, and party planning and is always on a mission to inspire and entertain!