Harry Potter Cornish Pixie Jar
This post may contain affiliate links. As an Amazon Associate, I earn from qualifying purchases.
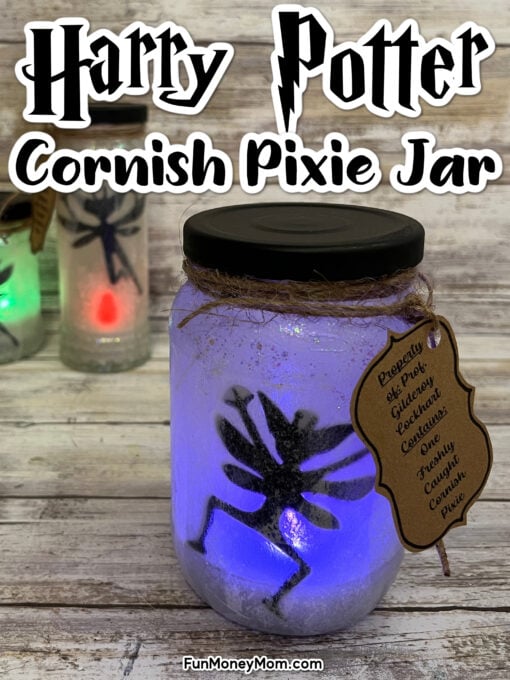
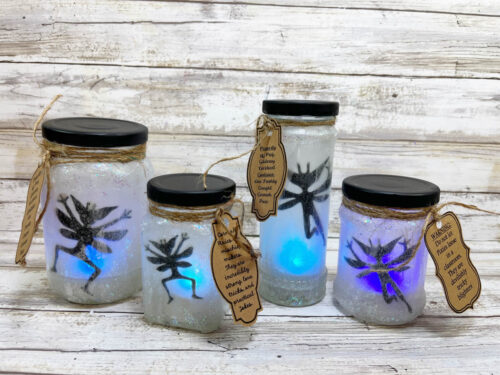
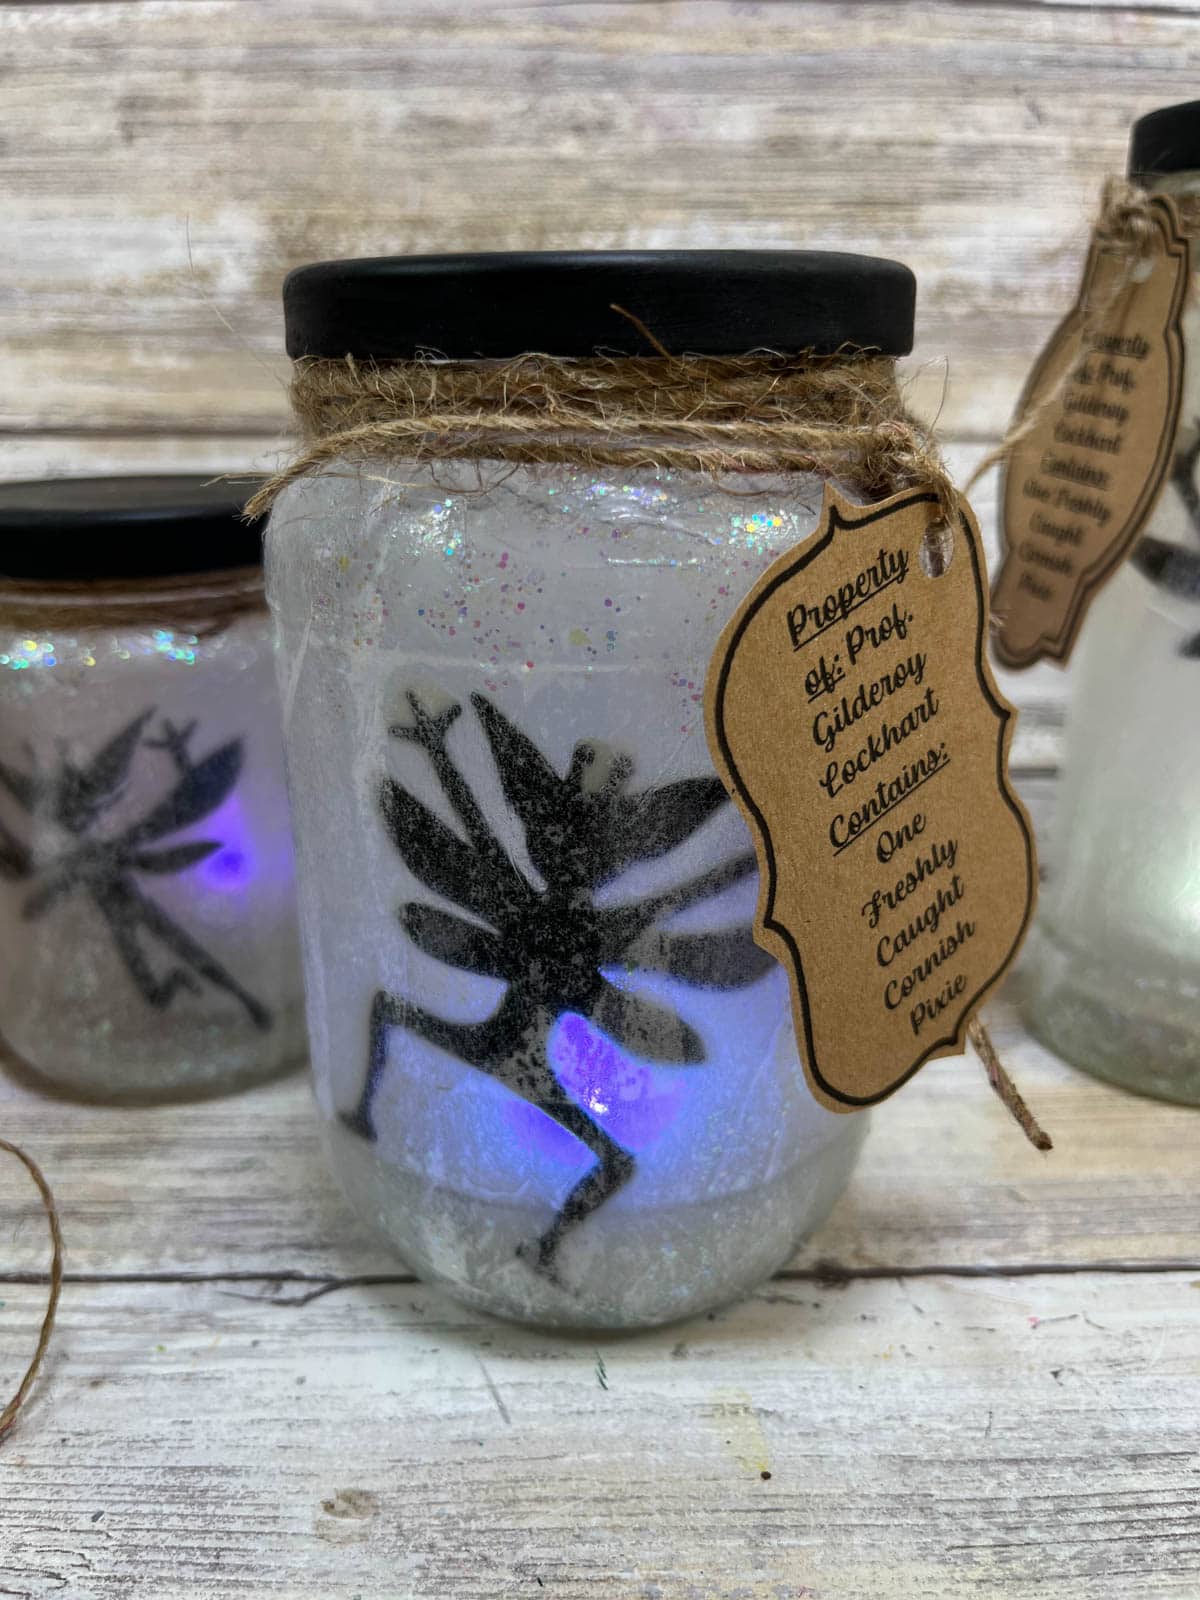
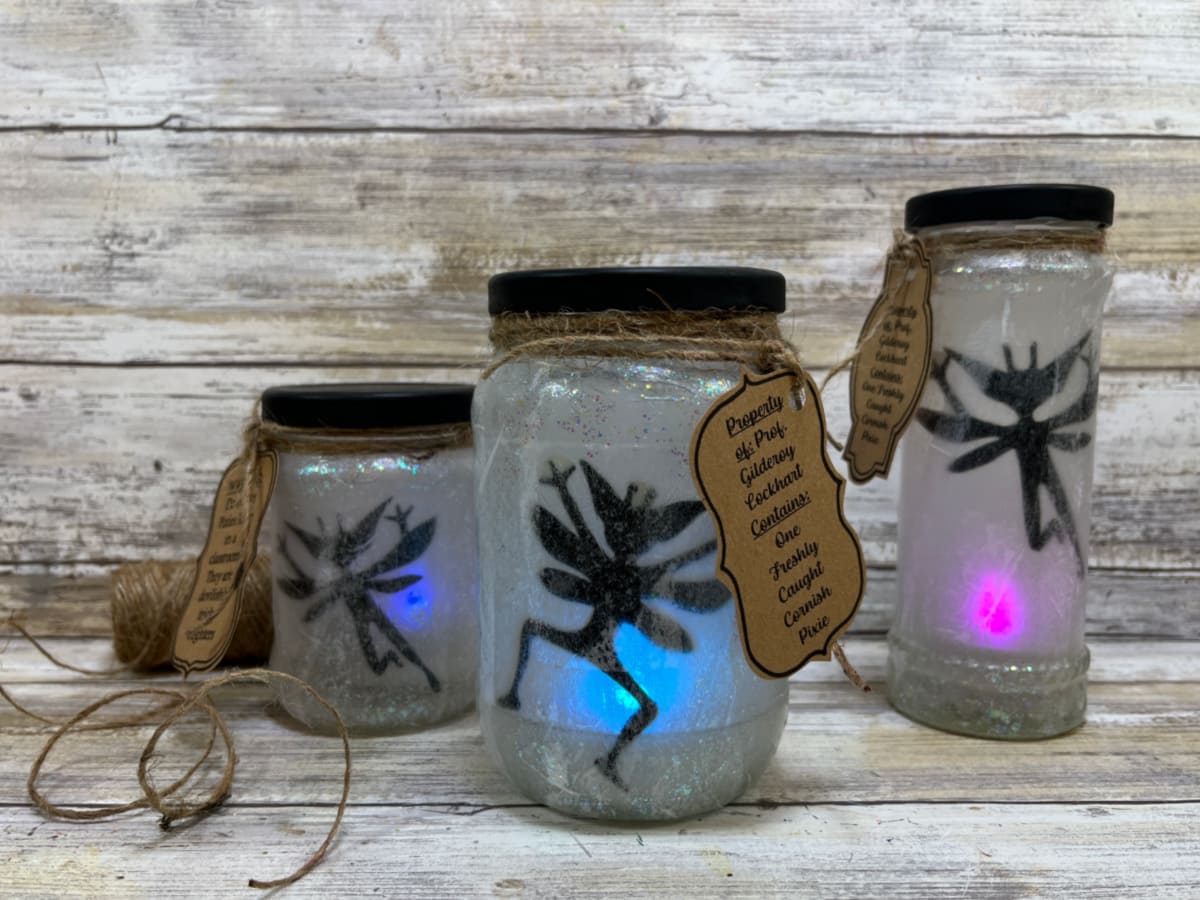
This Harry Potter Cornish Pixie Jar is the perfect way for little Hogwarts fans to capture their very own cornish pixie. Use them as a nightlight, Harry Potter party decor or even give them out as a goodie bag gift. Just don’t let them escape or they’ll wreak havoc!
We’re big fans of the wizarding world in my house and love everything from making Harry Potter recipes like the classic butterbeer to fun crafts like this DIY Harry Potter wand.
Now we have an all new craft to love and it’s a fun one! Easy enough for all ages to enjoy, kids can catch their very own cornish pixie, in a jar complete with color changing lights.
What Is A Cornish Pixie
If you’ve seen the movie Harry Potter And The Chamber Of Secrets, you’ll remember how these mischievous flying creatures created nothing but chaos when they got loose in Professor Lockhart’s class. Harry and his friends learned the hard that these tiny, bright blue pixies can be extremely difficult to catch if they escape their cage.
Luckily Hermione was able to save the day by using a freezing charm spell to get them back under control.
Why We Love This Craft
Easy – Though smaller children may need help cutting out the pixies and tags, it’s easy enough that most children can make this on their own.
Budget friendly – This craft takes just a few simple supplies that can be found at any craft stores. Some of these items can be found at dollar stores as well.
Materials Needed
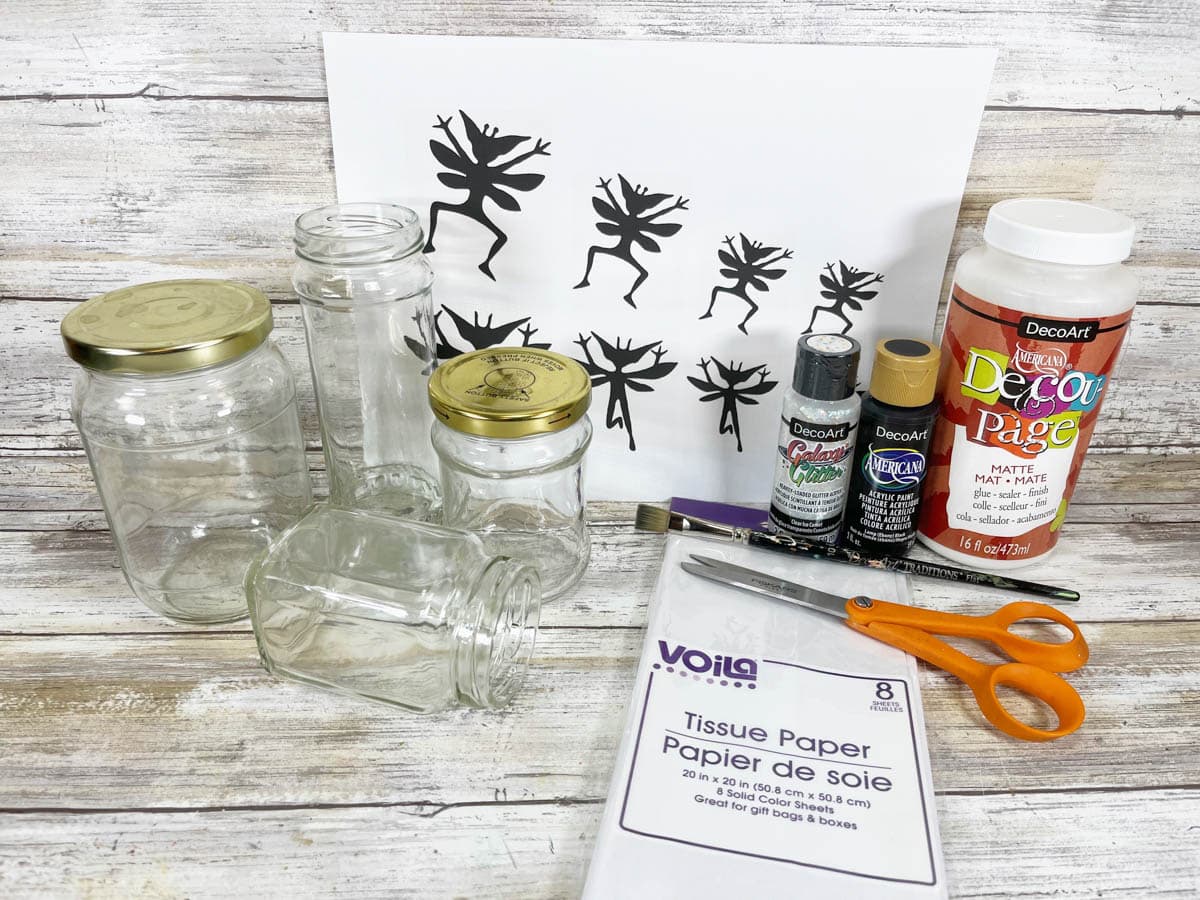
If you choose to order these online, you can find links to most of these items in the how-to card below.
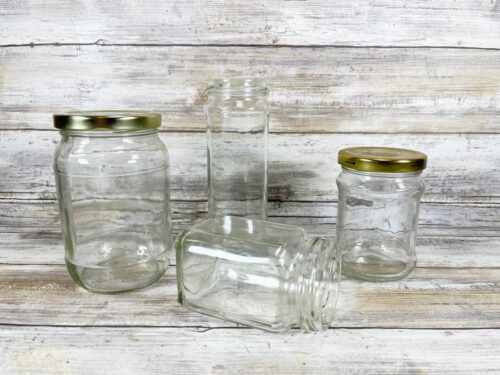
- Recycled Glass or Plastic Jars with Metal Lids
- Tissue Paper, White – Dollar Store
- Acrylic Craft Paint – Black, Holographic Glitter
- Decoupage Medium
- Natural Jute Twine – Dollar Store
- Battery Operated Tea Lights – Dollar Store
- Brown Cardstock (can also use white)
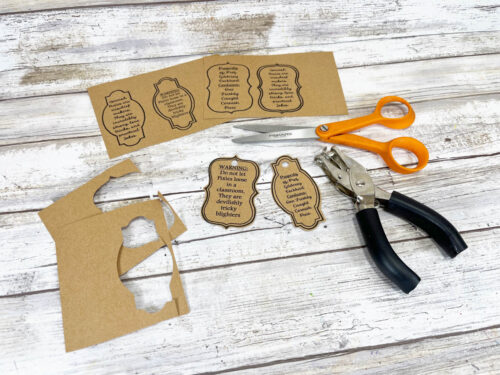
- Scissors
- Paintbrush
- Hole Punch
- CORNISH PIXIE PATTERN SHEET
- CORNISH PIXIE TAGS PATTERN SHEET
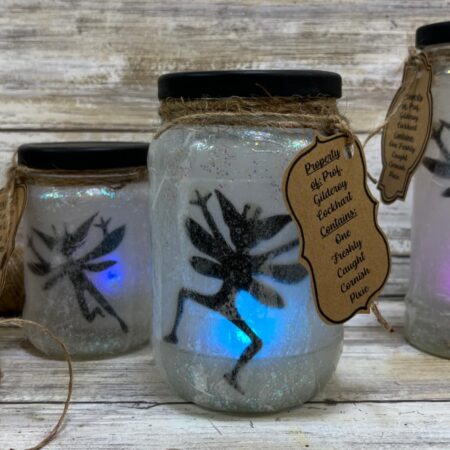
Harry Potter Cornish Pixie Jars
Equipment
Materials
- CORNISH PIXIE PATTERN SHEET
- CORNISH PIXIE TAGS PATTERN SHEET
- 4 Recycled Glass or Plastic Jars with Metal Lids
- 1 sheet White Tissue Paper
- Acrylic Craft Paint – Black Holographic Glitter
- Decoupage Medium
- Holographic Glitter
- Natural Jute Twine
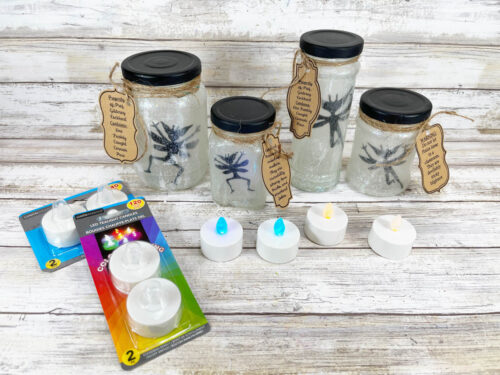
- Battery Operated Tea Lights
- Cardstock (brown or white)
Instructions
- Wash and dry all the jars and metal lids, and then peel all labels. You can use any type or size jar as long as it's clear with a screw on lid.

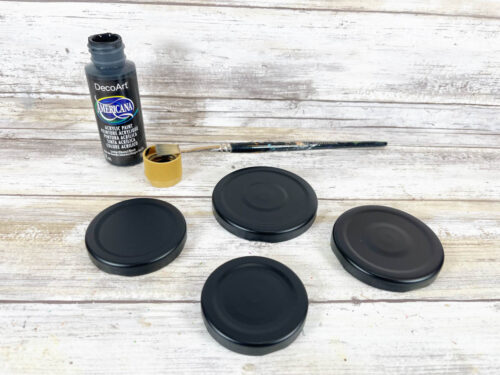
- Use black acrylic paint to paint a basecoat on the metal lids. Let dry and add a second coat, if needed.

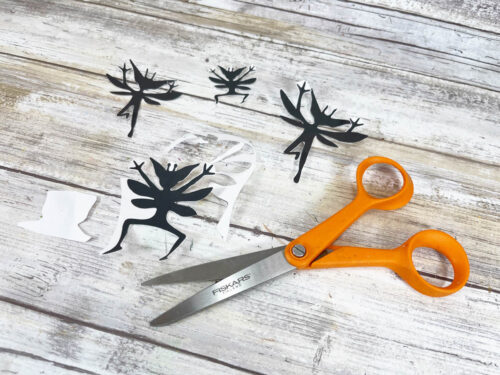
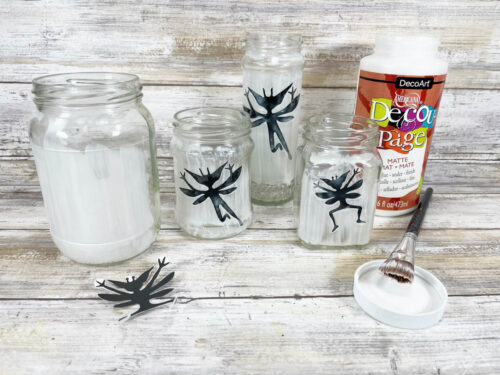
- Download and print the CORNISH PIXIE PATTERN SHEET on regular printer paper. Select the Cornish Pixie size that fits your jars best, then carefully cut them out.

- Use decoupage medium and a paintbrush to coat the inside front of each jar. Place the Cornish Pixie inside, with the black ink side facing out. Use your paintbrush to press it gently into the decoupage medium. Add another coat of decoupage medium to cover the back of the Cornish Pixie.

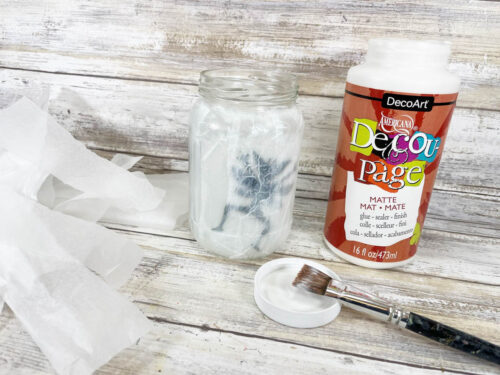
- Tear tissue paper into pieces, then coat the outside of the jars with decoupage medium. Lay the pieces of tissue paper over the medium, then add a second coat of decoupage medium on the top of the tissue paper.

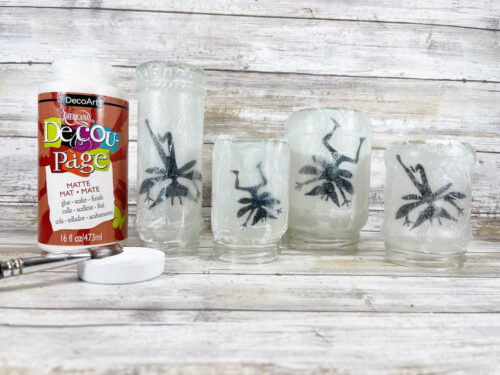
- Turn the jars upside down and let dry overnight.

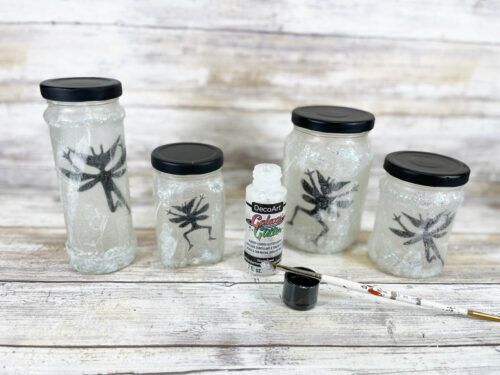
- Screw the lids back onto the jars. Using your paintbrush and a dabbing motion, paint some of the holographic glitter paint around the edges of the Cornish Pixies.

- Download and print the CORNISH PIXIE TAGS on brown cardstock. Choose the tags that are the appropriate size for each jar, then cut out with scissors and punch a hole in the top of each one.

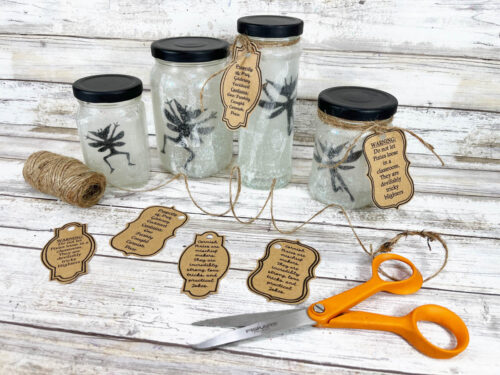
- Wrap twine around the neck of each jar, then thread the tag onto the twine. Tie in a know, then use scissors to trip the ends of the twine.

- Take the tea lights out of their packaging, then pull the tab out from the battery cavity to light them up. These tea lights are color changing, which the little ones always love!

- Once you've turned the tea lights on, place one in each jar and attach the lid.

Did You Make This Project?
Share it with me on Instagram @funmoneymom and follow on Pinterest @funmoneymom for more!
Easy, peasy, right? How fun are these, especially for a Harry Potter themed party! The kids loved how the candles changed colors, making these jars truly “magical”.
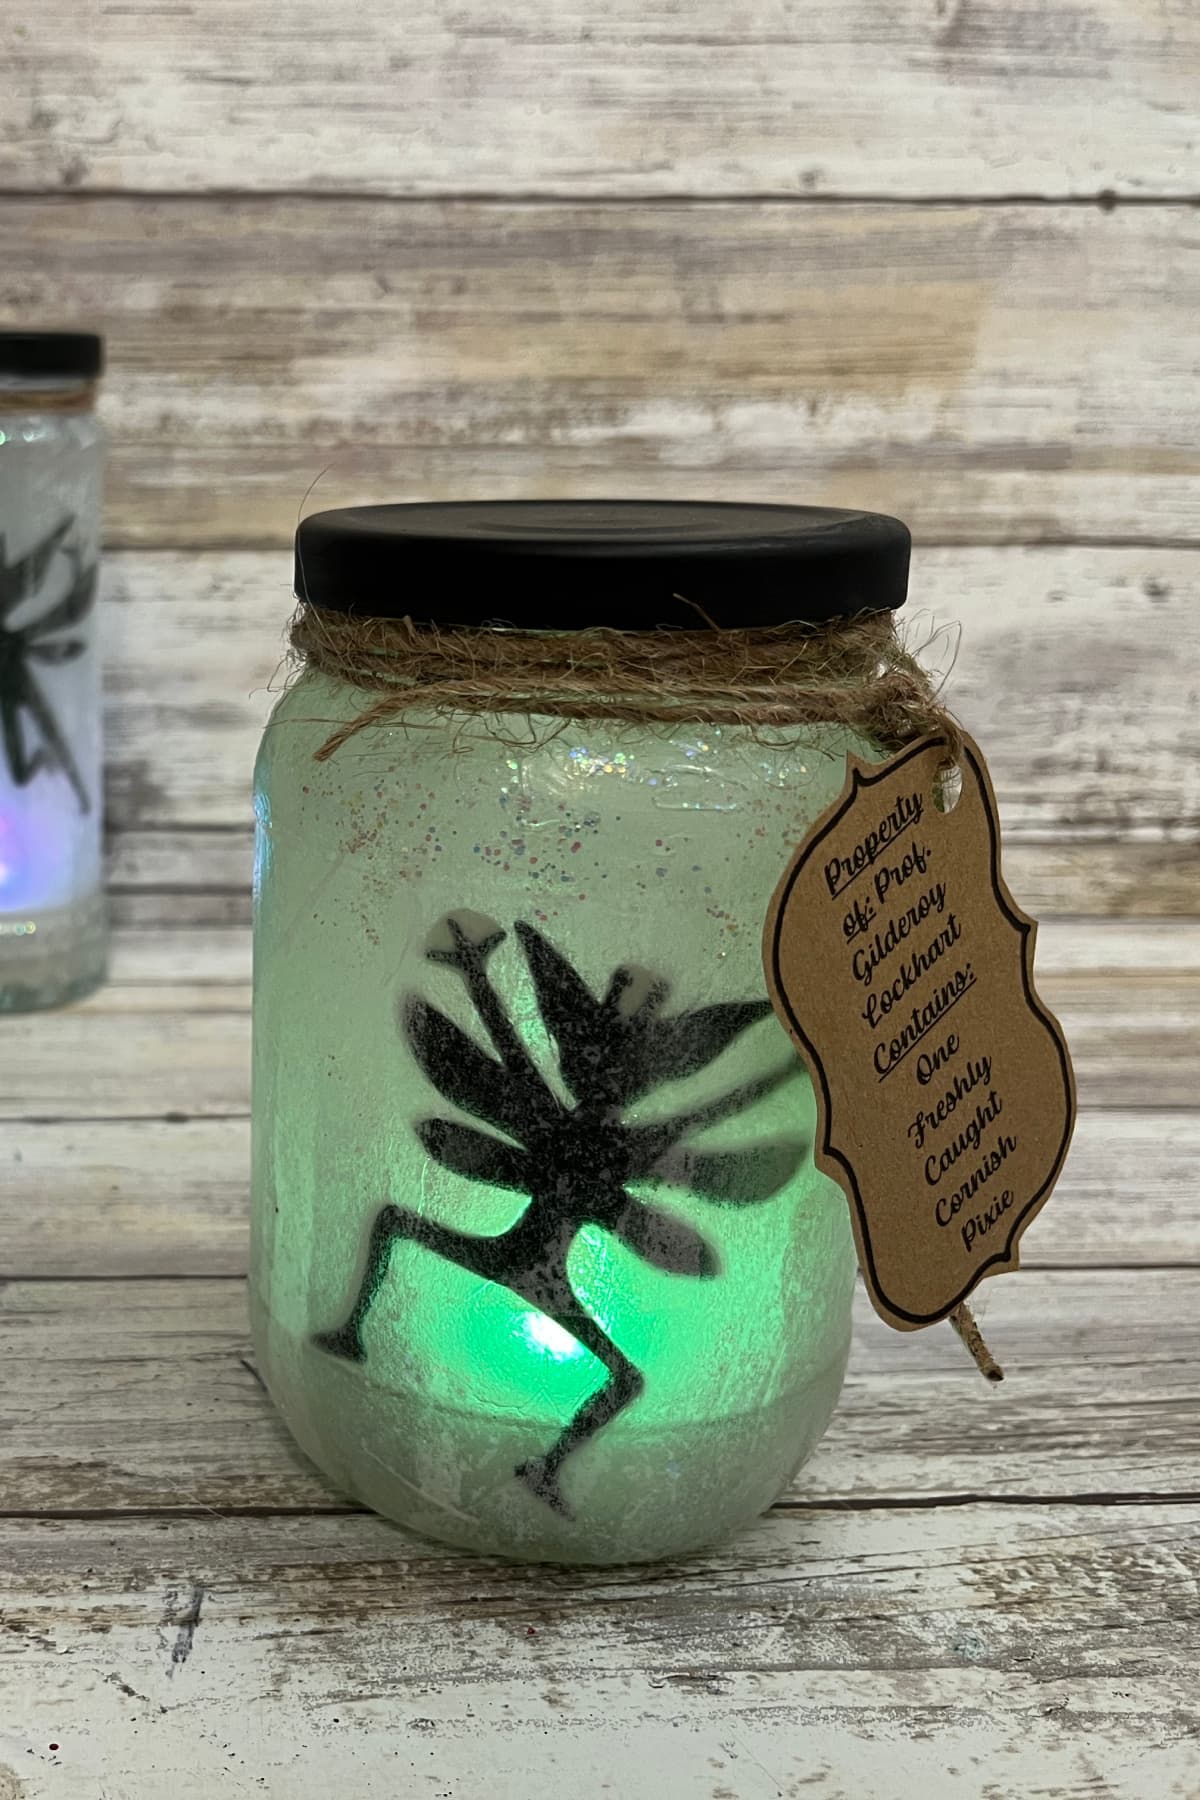
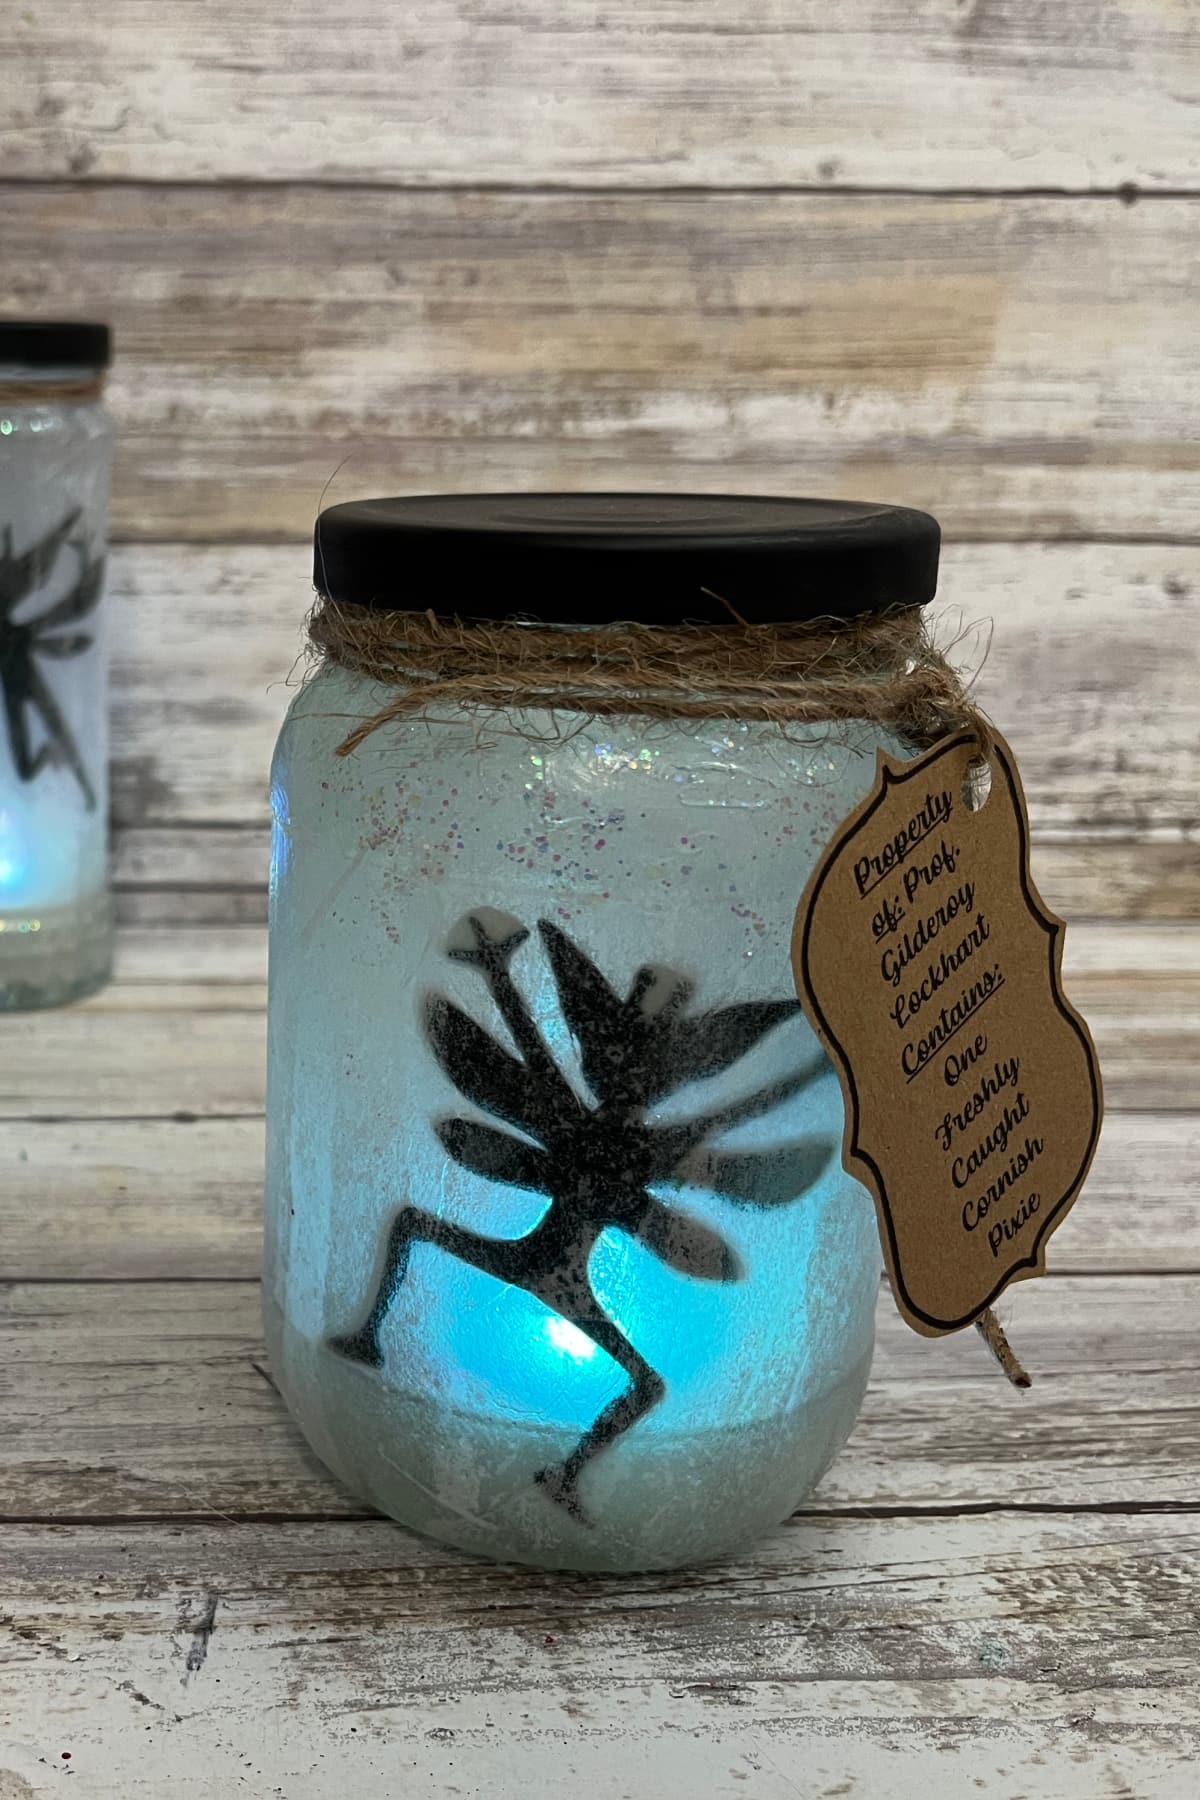
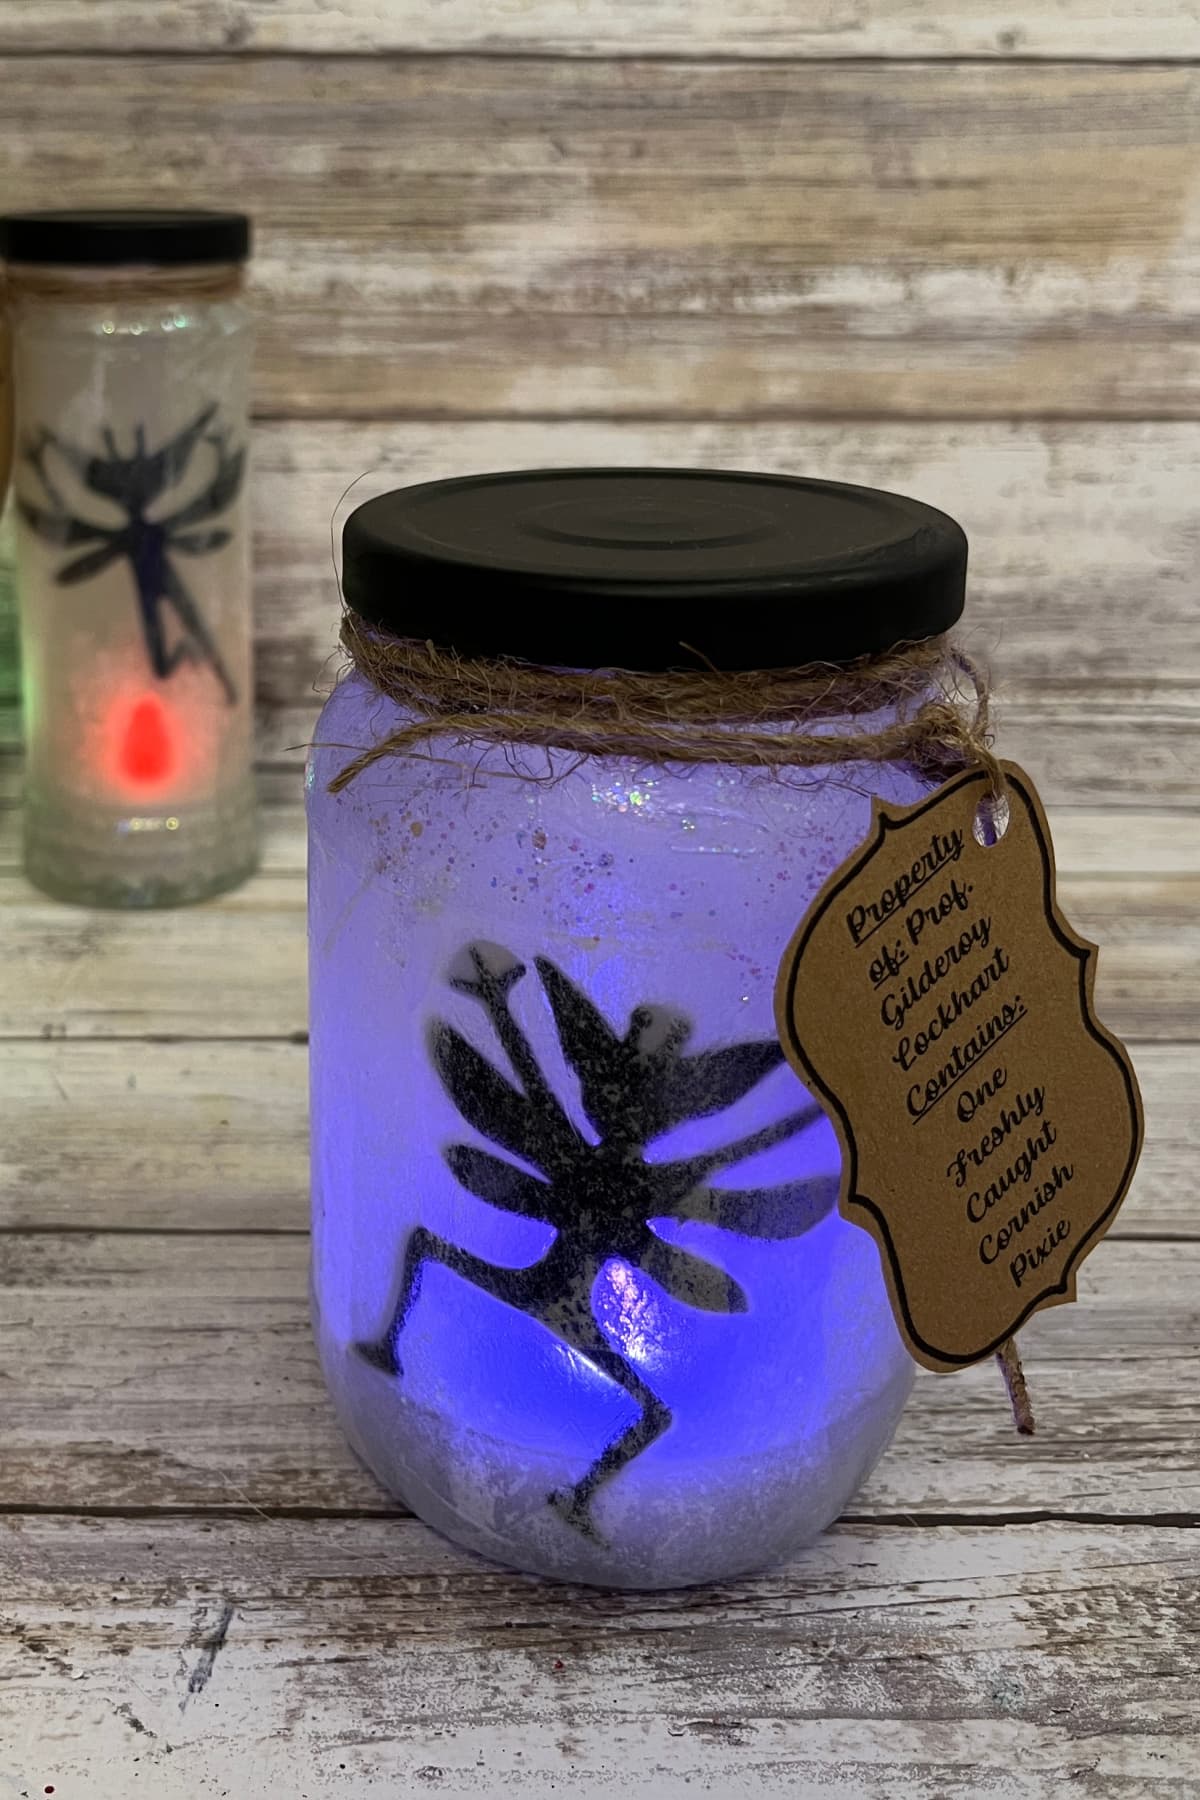
You could even use them to light your outside walkway for a Harry Potter party. Or just display them inside for fun party decor. Everyone will be so impressed that you were actually able to catch one of those elusive cornish pixies!
More Fun Harry Potter Ideas
Let’s be friends!
Did you love this post? Make sure to comment below and let me know your thoughts! And don’t forget to follow on your favorite social network below!
