
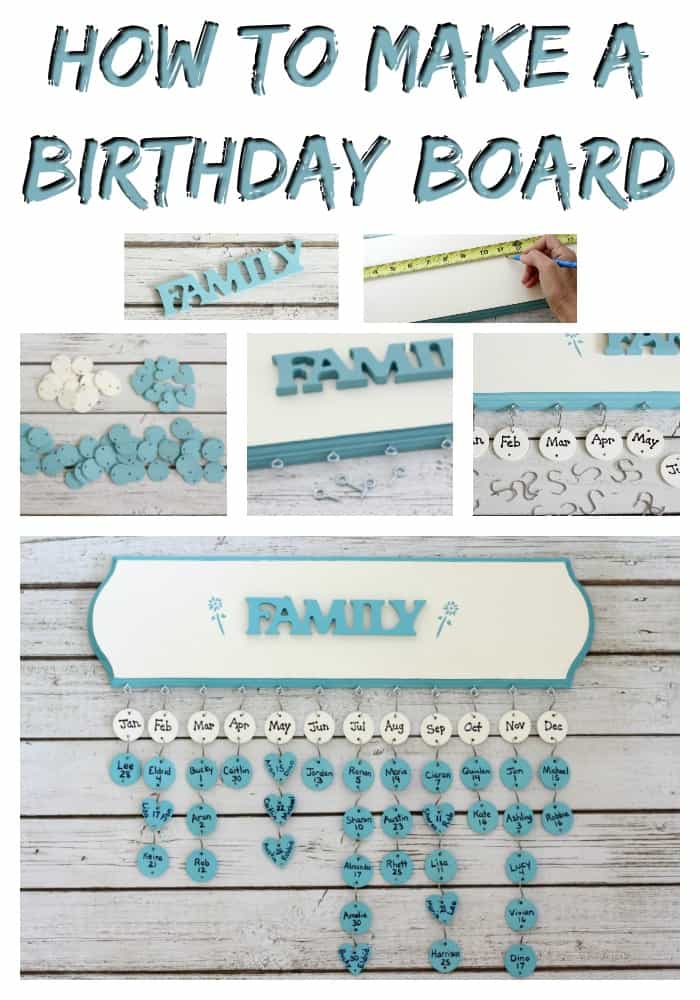
How To Make A Birthday Board
This post may contain affiliate links. As an Amazon Associate, I earn from qualifying purchases.

Looking for the perfect DIY gift? This birthday board makes the perfect Mother’s Day gift or gift for Grandparents. You can even make one for yourself so that you never forget another birthday!
This post contains affiliate links to help you find the supplies you’ll need for this project
We were having a hard time deciding what to get my mother-in-law for her big birthday celebration. She’s the kind of person who already has everything and if she needs something, she usually just goes out and buys it herself. While we’ve given gift cards to her favorite bookstore in the past, we’d just found out that she actually doesn’t like getting gift cards…oops!
We still weren’t sure what we were doing about a gift until a visit to my aunt and uncle’s house last month. My cousin Terry had given them a birthday board and when I saw it, I immediately knew that it would be the perfect gift (plus, it looked like fun to make)! I love that it’s useful too because it’s basically a decorative birthday cheat sheet doubling as wall decor!
When I asked Terry about it, she said that there were tons of birthday board ideas on Pinterest. I guess I’m way behind because I’d never seen one (shocking when you consider how much time I spend on Pinterest every day). However, since her family birthday board was the one that inspired me, I’m giving her all the credit!
How To Make A Birthday Board
First, here’s everything you’ll need:
- Birthday Board Pack (includes circles, hearts and S hooks)
- Wooden Board
- French Teal Chalky Acrylic Paint (the picture on the site looks really light but this is the color I used here)
- Parchment Chalky Acrylic Paint
- Wooden Words
- Mini Screw Eyes
- Paint Brushes
- Glue Gun with Glue Sticks
- Sharpie Marker
- Drill with small drill bit
- Ribbon, fasteners or other hardware for hanging the birthday board
- Optional: Stencils
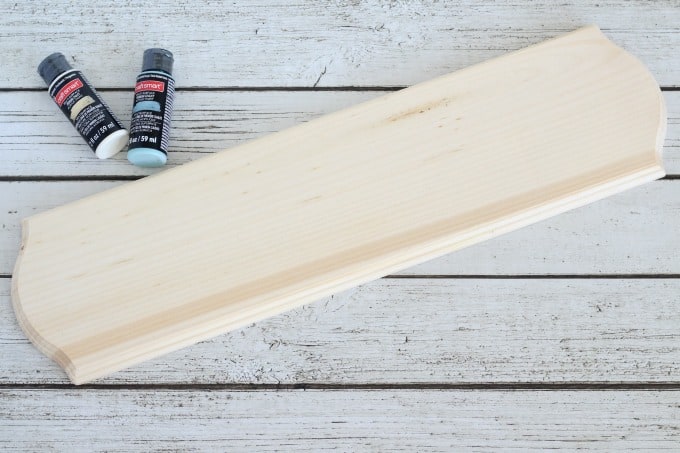
While there are plenty of birthday boards on Pinterest that are super colorful and even frilly, I was giving this as a gift and had to keep the recipient in mind. My mother-in-law is not the frilly type so I wanted to keep it relatively simple. I started by picking up a wooden board and some craft paint.
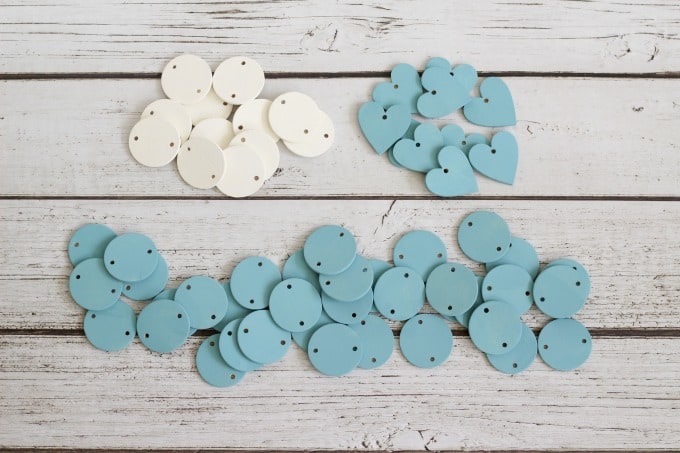
Originally, I’d also bought the birthday circles at the craft store but they were out of the hearts. I made a mental note to order them online when I got home, but stopped along the way at Home Depot to pick up the hardware.
Little did I know, I could have saved a lot of time. When I went online to order the hearts, I actually found a kit that’s made just for this type of project. It came with all the circles, hearts and S-hooks to string them together. Even better, the wooden pieces already had the holes drilled in them…one less thing for me to do.

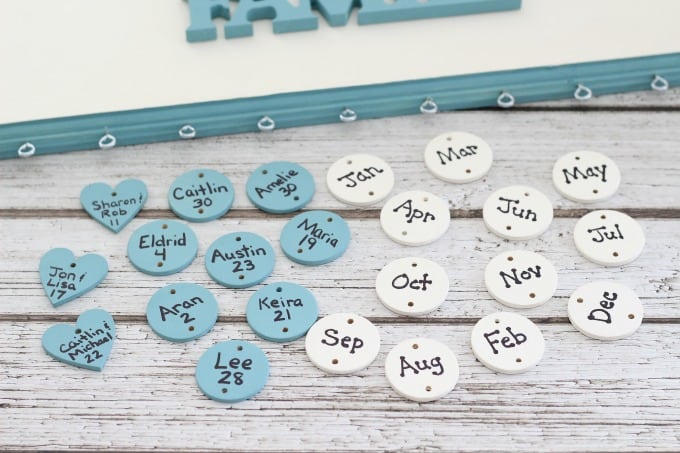
I painted twelve circles white, for the months.Then I painted all the circles and hearts I’d need to represent birthdays and anniversaries. I also painted extras for any new marriages or babies that might come along.
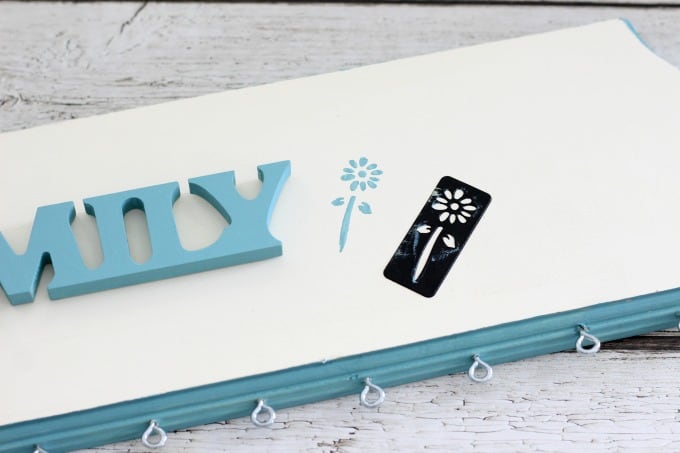
This wooden piece was perfect for the front of the board and painted it blue to match.
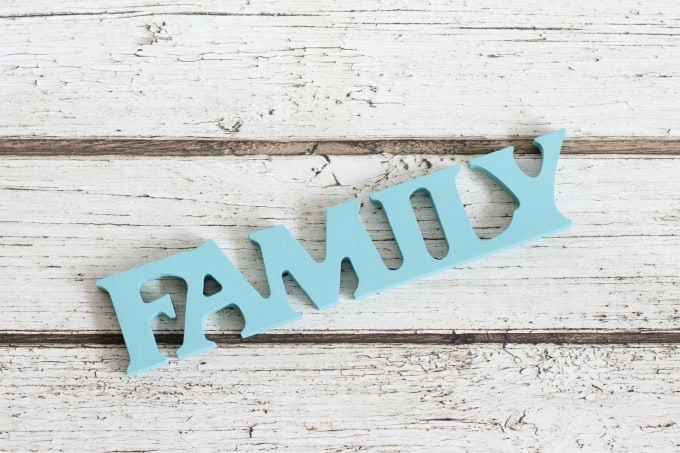
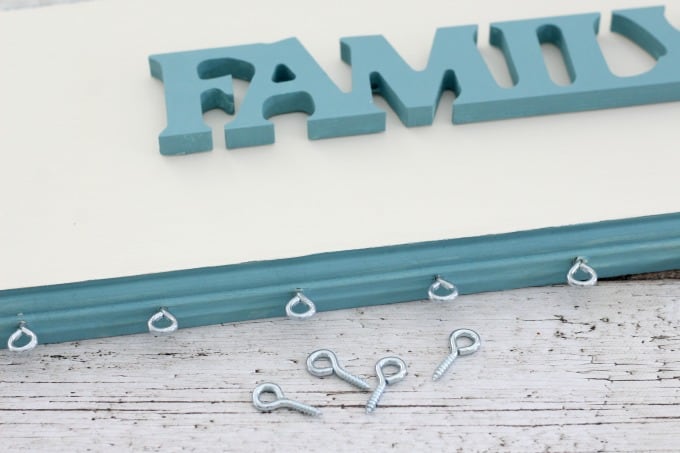
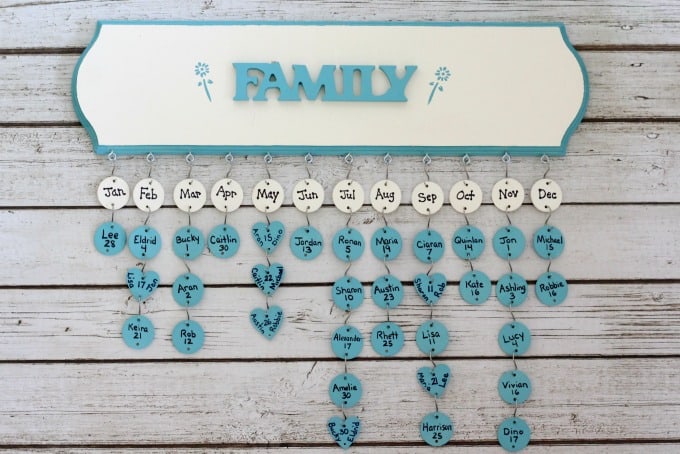
After painting the front of the birthday board white and the edges blue, I measured out just where I wanted to hot glue the word. I had to get it right the first time because it’s not easy correcting mistakes made with hot glue!
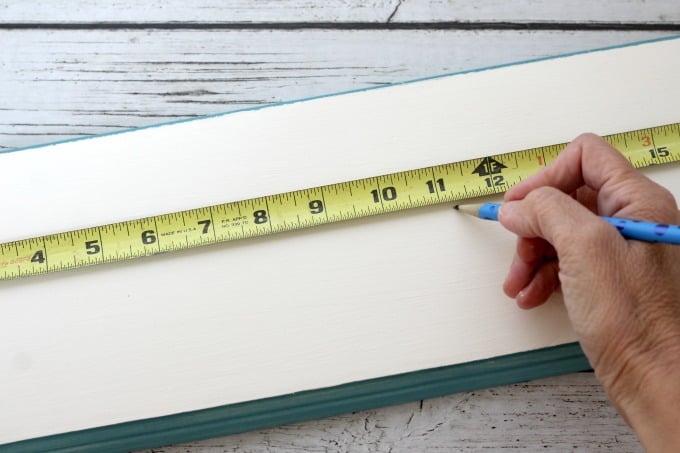
I glued the word to the front, using a pencil to make 12 dots evenly across the bottom of the board. Don’t worry if you mess up on spacing because once you get it right you can erase or paint over the marks. Next add the mini screw eyes along the bottom.
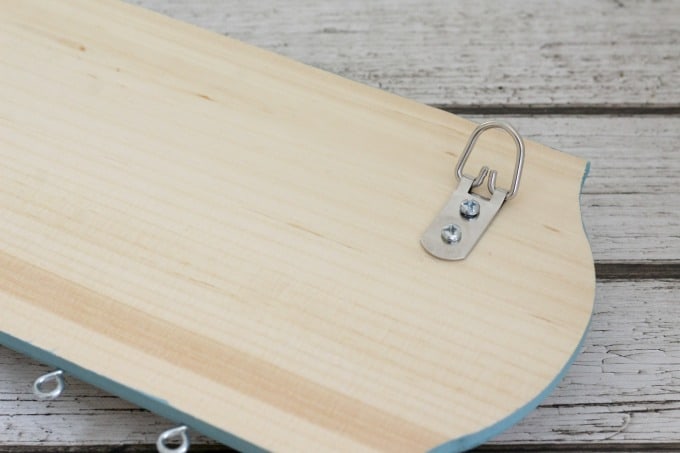
While the family birthday board at my uncles house was hung by a ribbon, I felt like my MIL would prefer to have it attach right to the wall. I dug through my hubby’s box of picture hanging hardware and found a couple of these.
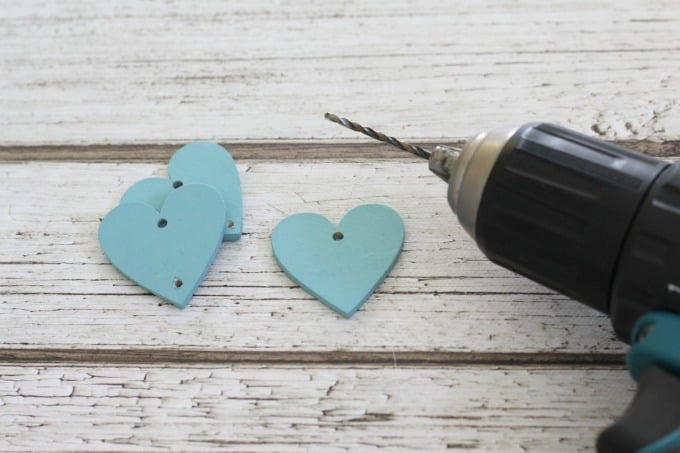
One thing I hadn’t noticed right away is that while the hearts had holes in the top, there were no holes on bottom. I took one of the smallest drill bits I could find and drilled holes at the bottom of each one.
Next I took the 12 white pieces and wrote the months (abbreviated) in black sharpie. I did the same with the birthday and anniversary pieces.
I didn’t want to add too much but felt like the birthday board needed a little something else. After going through my stencils, I chose these cute flowers for either side.

After letting the paint dry (it didn’t take long), I added all the pieces along the bottom, starting with the months.
I really love the way this turned out! It’s definitely something that my mother-in-law didn’t already have. Plus, now she has a birthday “cheat sheet” whenever she needs it!
Feel free to make your own birthday board for a gift. You can easily customize it fit the style of the person you’re giving it to. Use different colors, add more words…there are loads of possibilities!
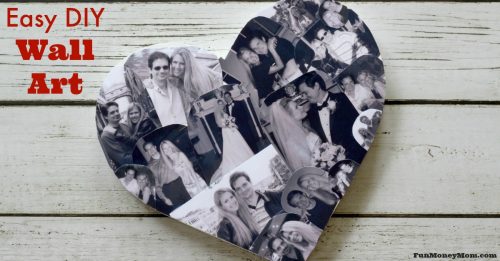
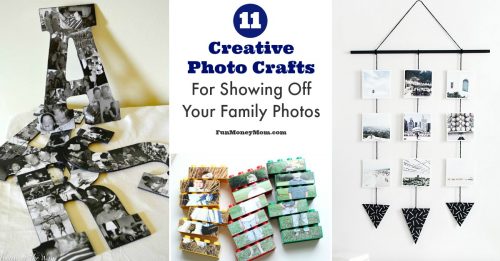
If you like making your own gifts for friends and family, you might also like these DIY gift ideas…
Easy Photo Coasters (even the kids can help)
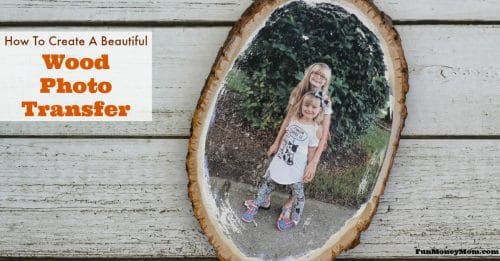
How To Create A Beautiful Wood Photo Transfer
Let’s be friends!
Did you love this post? Make sure to comment below and let me know your thoughts! And don’t forget to follow on your favorite social network below!

About Lisa O’Driscoll
Lisa O’Driscoll is a lifestyle and parenting expert, cookbook author, and the creative force behind Fun Money Mom, a popular blog she’s run since 2014. She’s the author of the children’s cookbook Roll It, Slice It, Mash It, Dice It, designed to get kids excited about cooking. With multiple TV appearances under her belt, she loves sharing her expertise on family-friendly recipes, creative DIYs, and party planning and is always on a mission to inspire and entertain!


WOW!!!! IT IS SO BEAUTIFUL THING, AND IT IS CREATIVE THING TO DO FOR CHILDREN AND FOR ADULTS.
I LOVE IT A LOT.
Thank you! It was a lot of fun to make and made a great gift 🙂