Cherry Chocolate Brownies
This post may contain affiliate links. As an Amazon Associate, I earn from qualifying purchases.
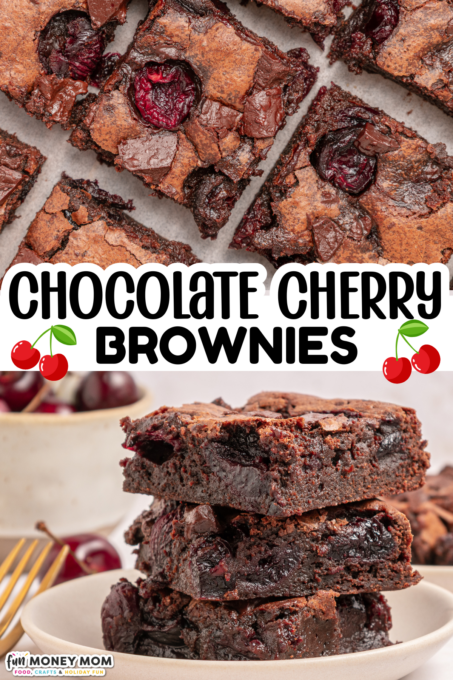
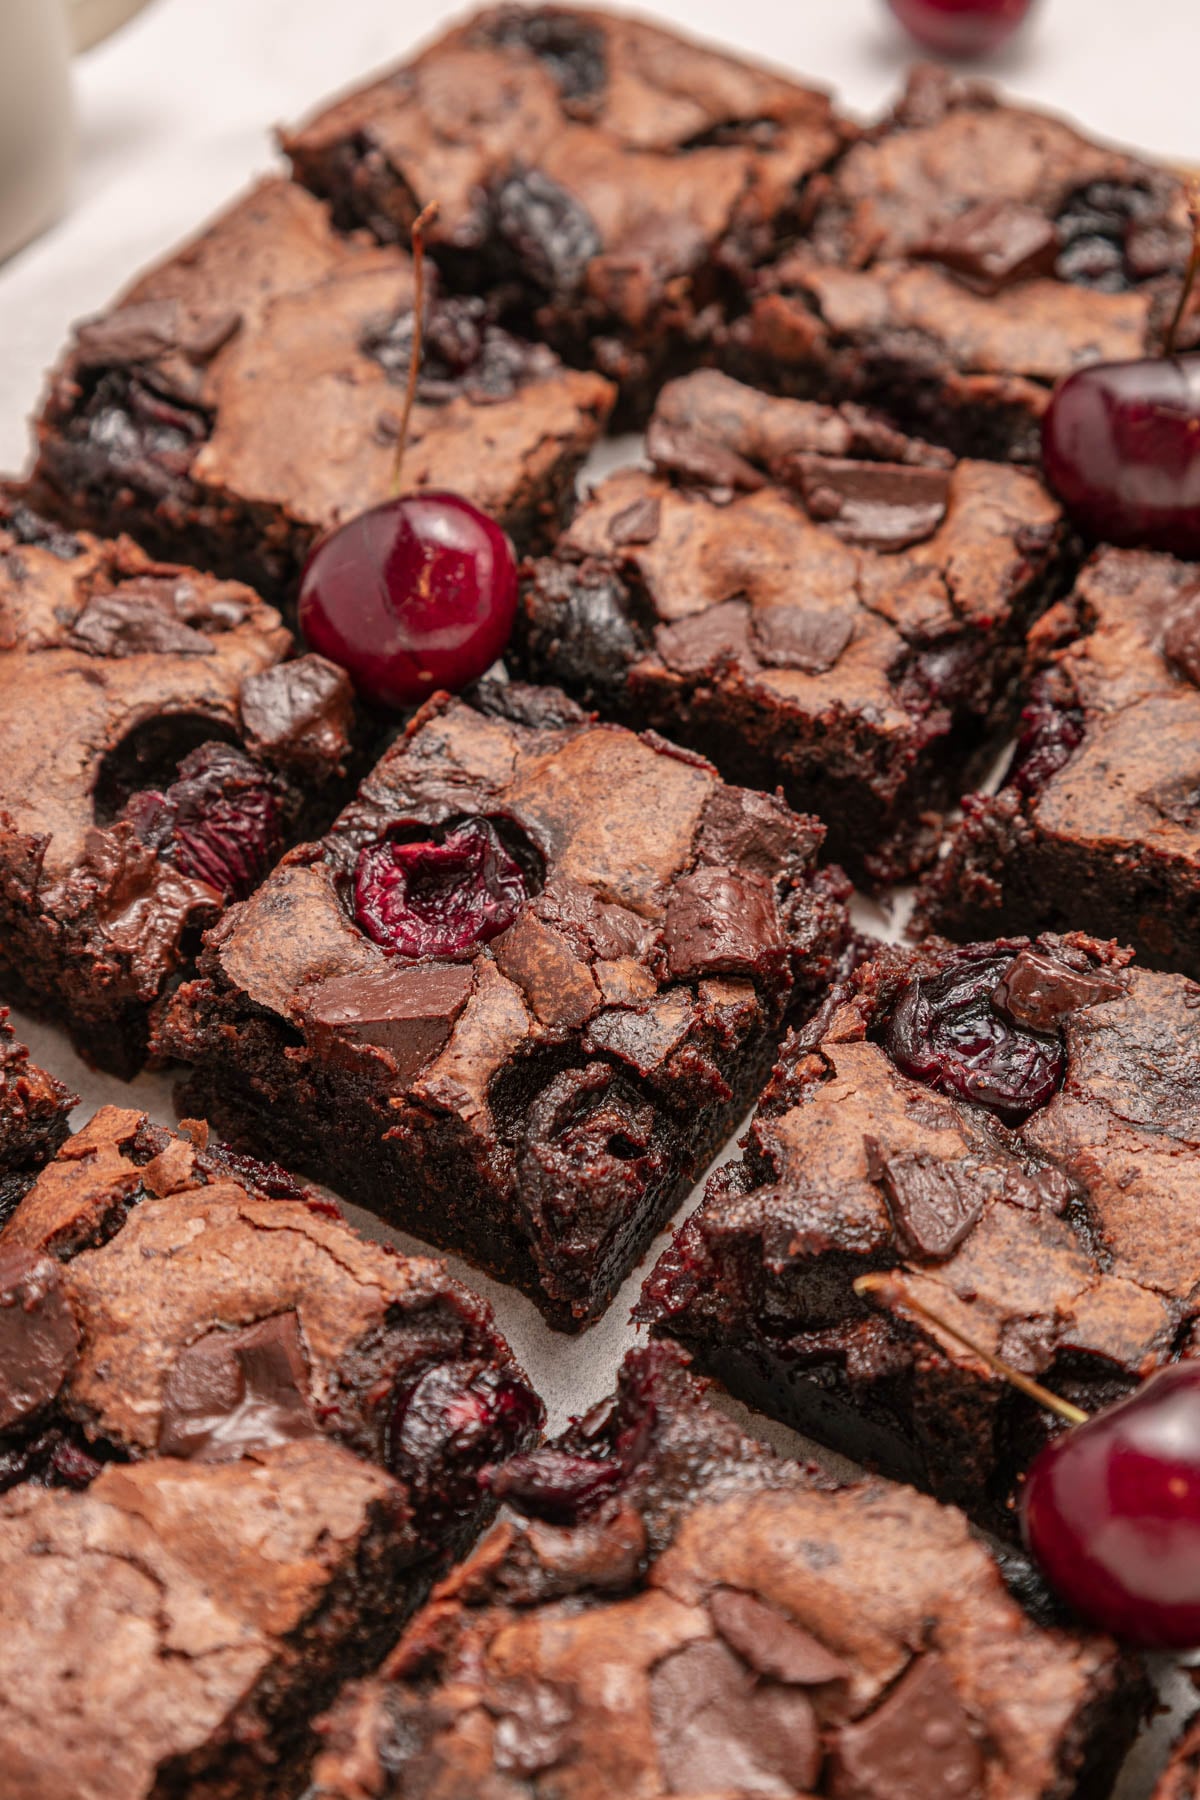
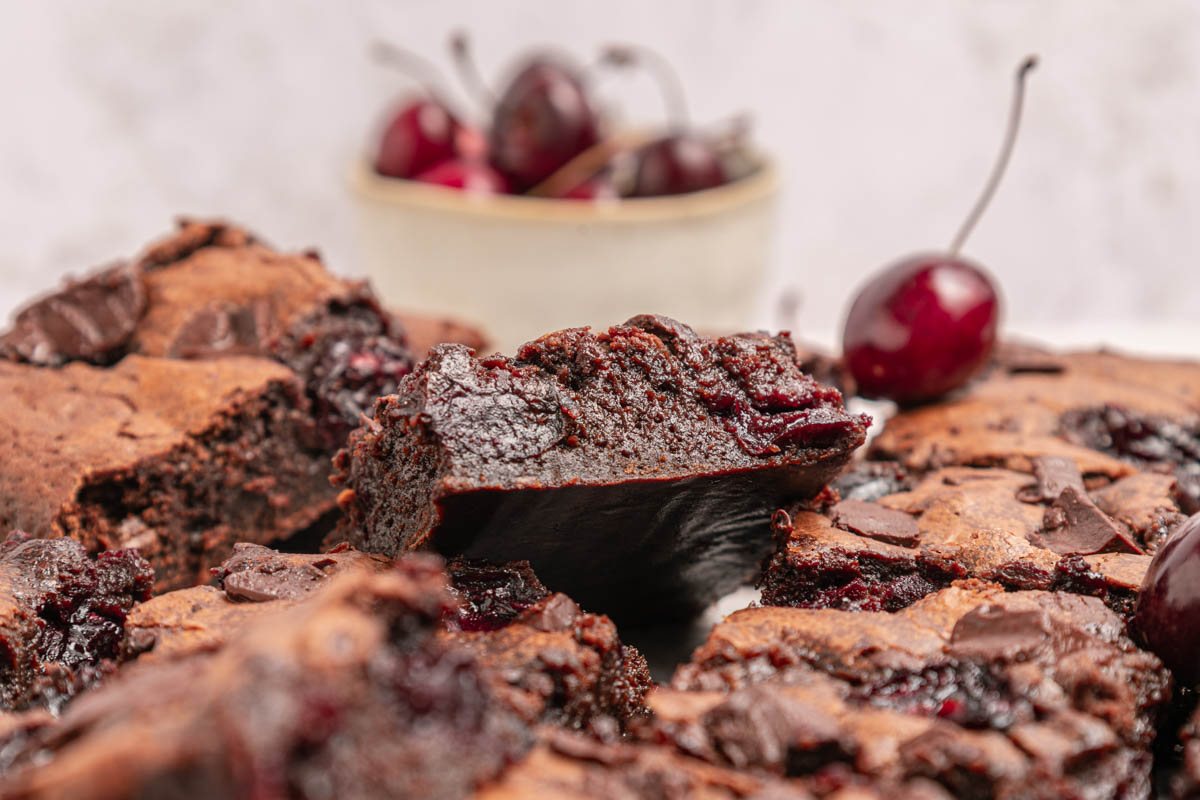
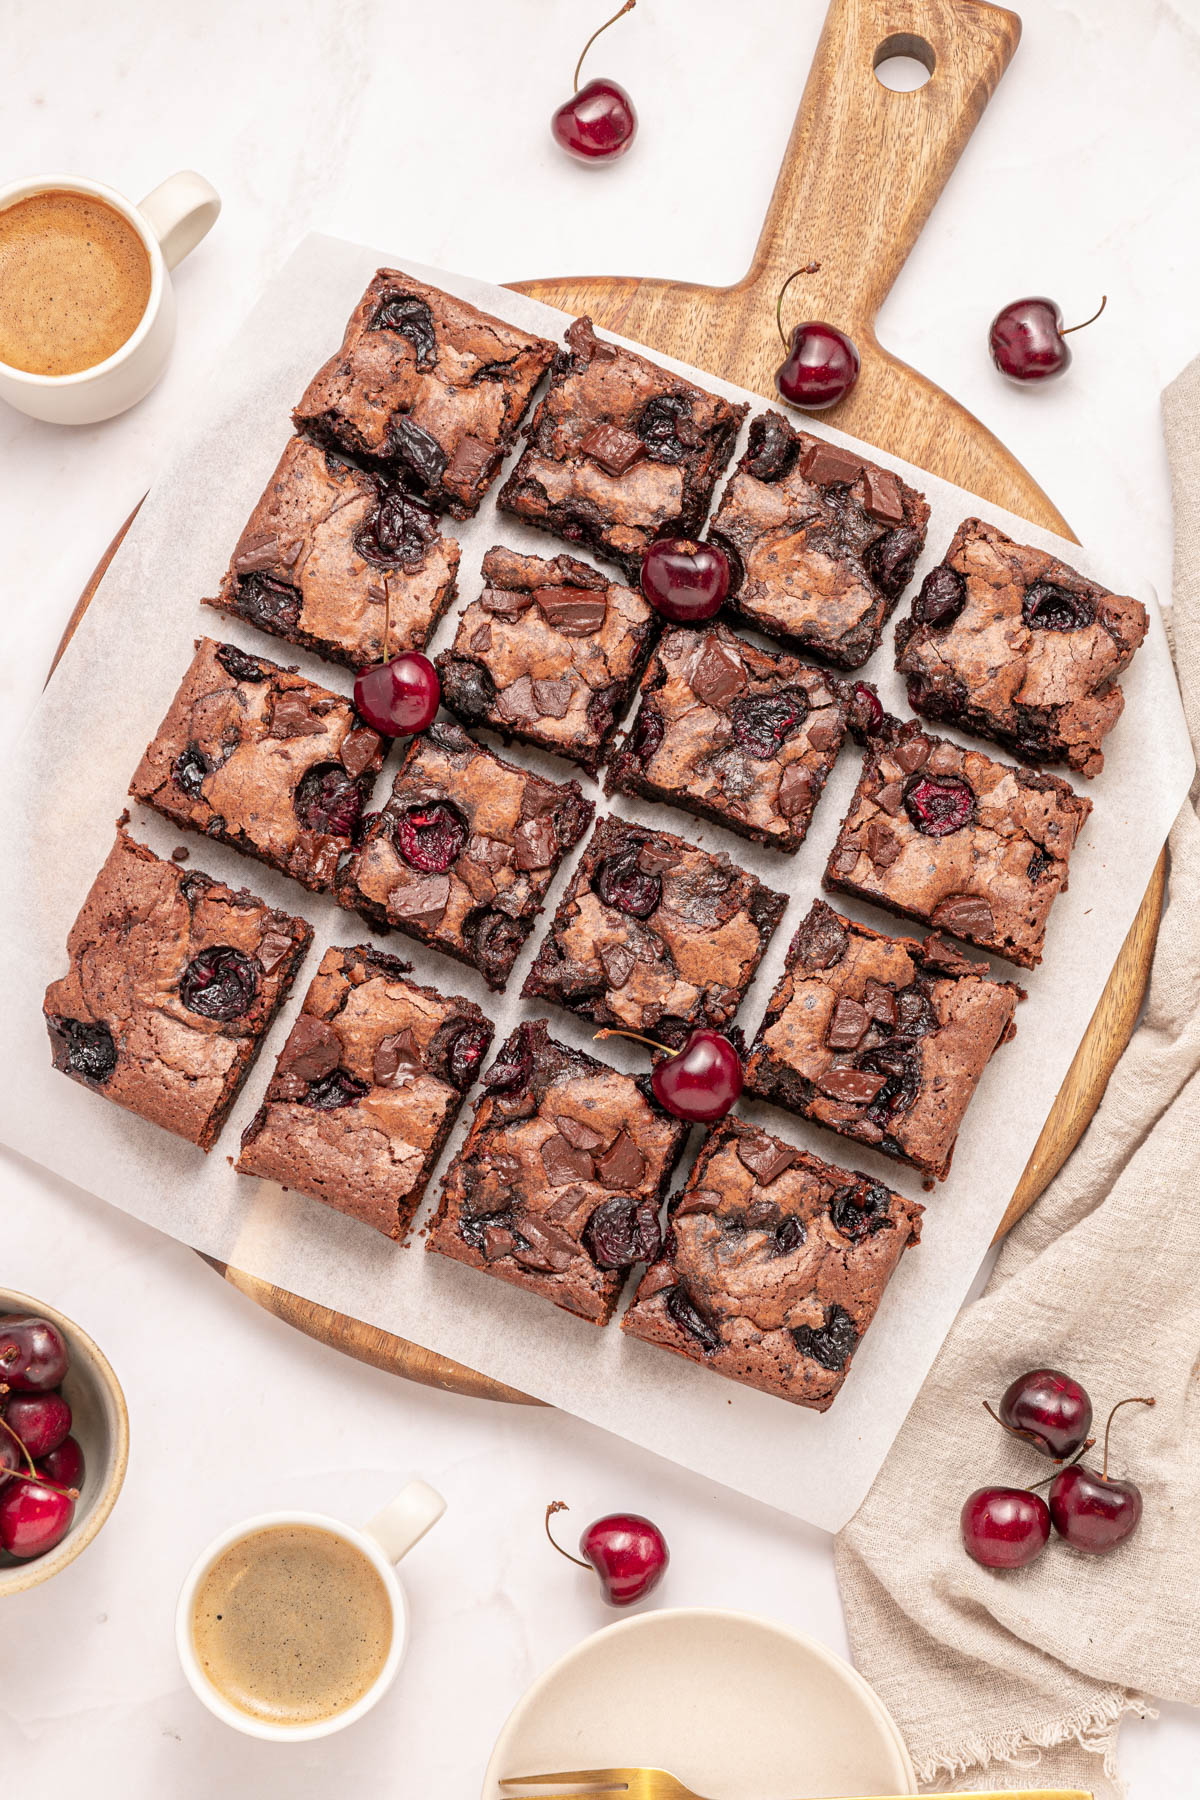
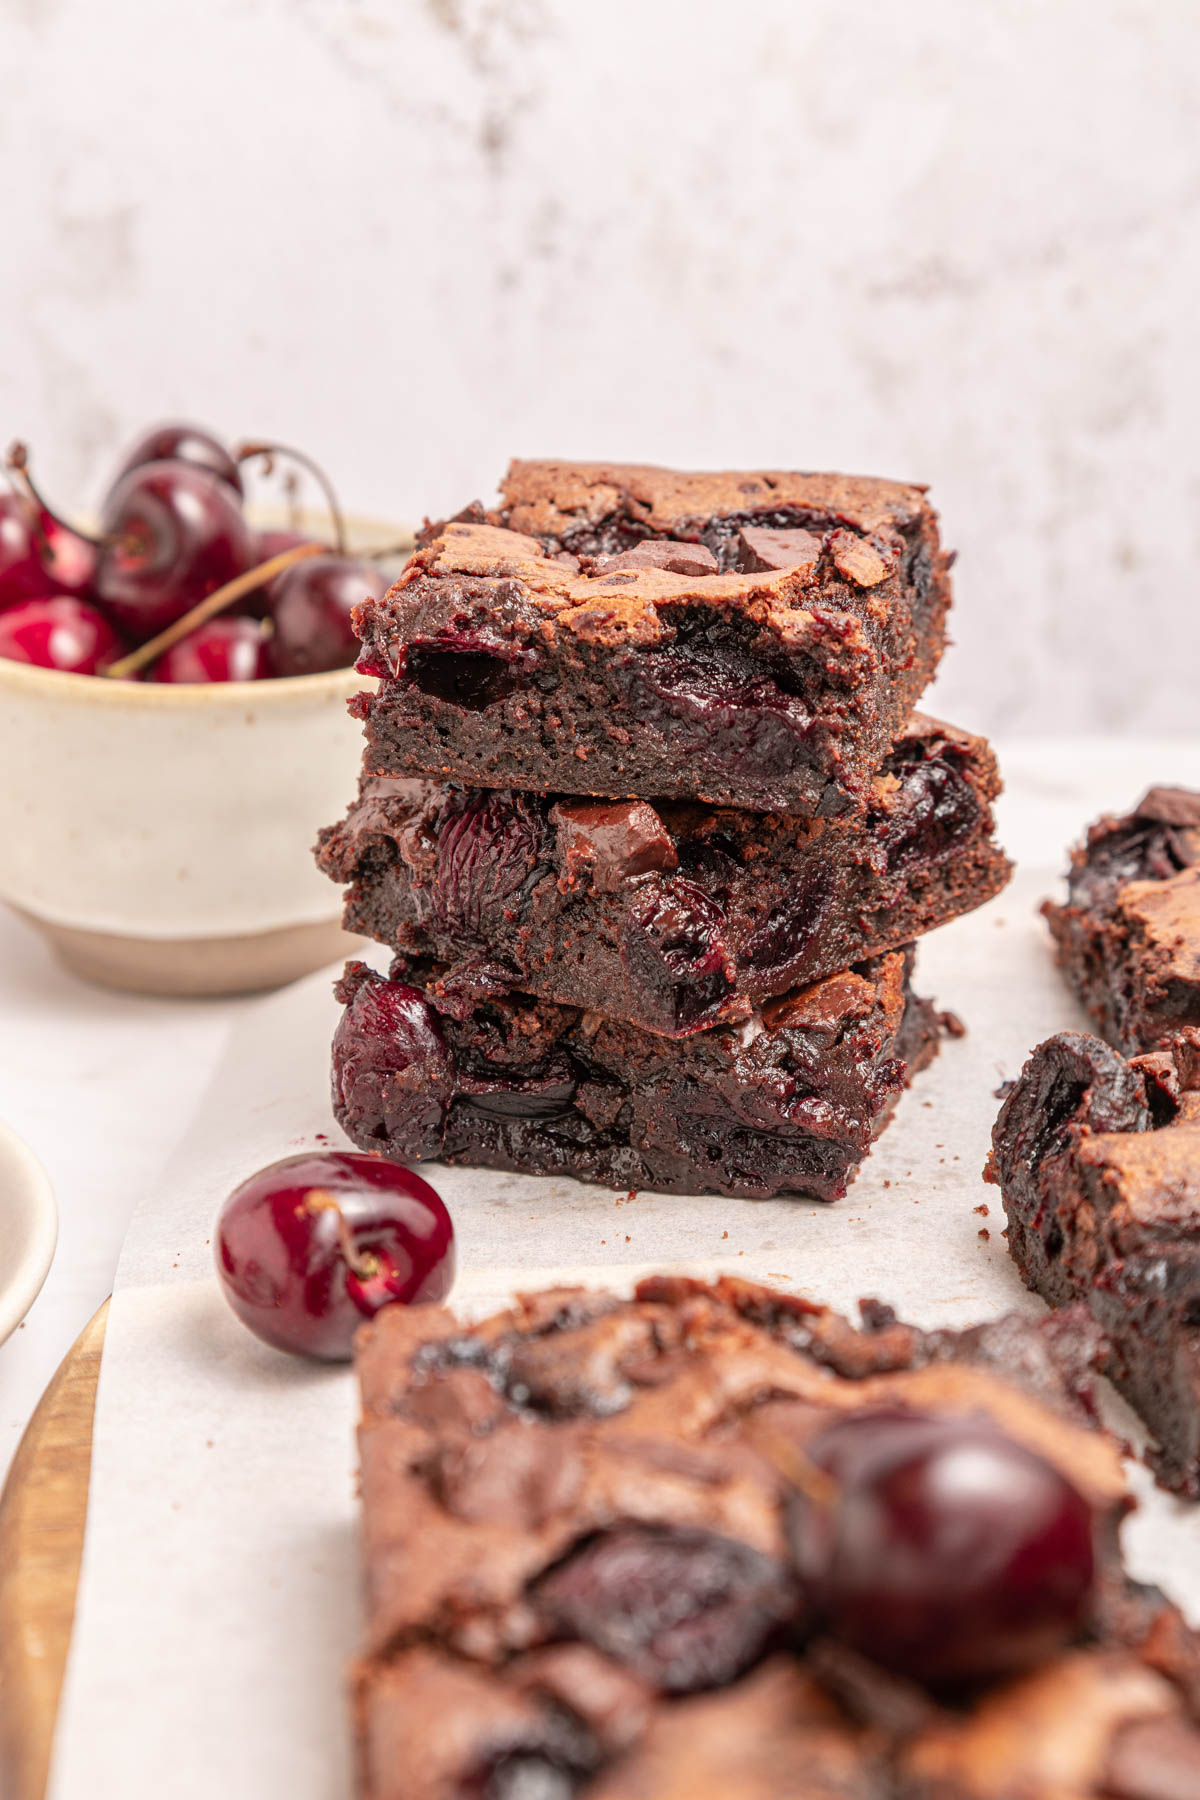
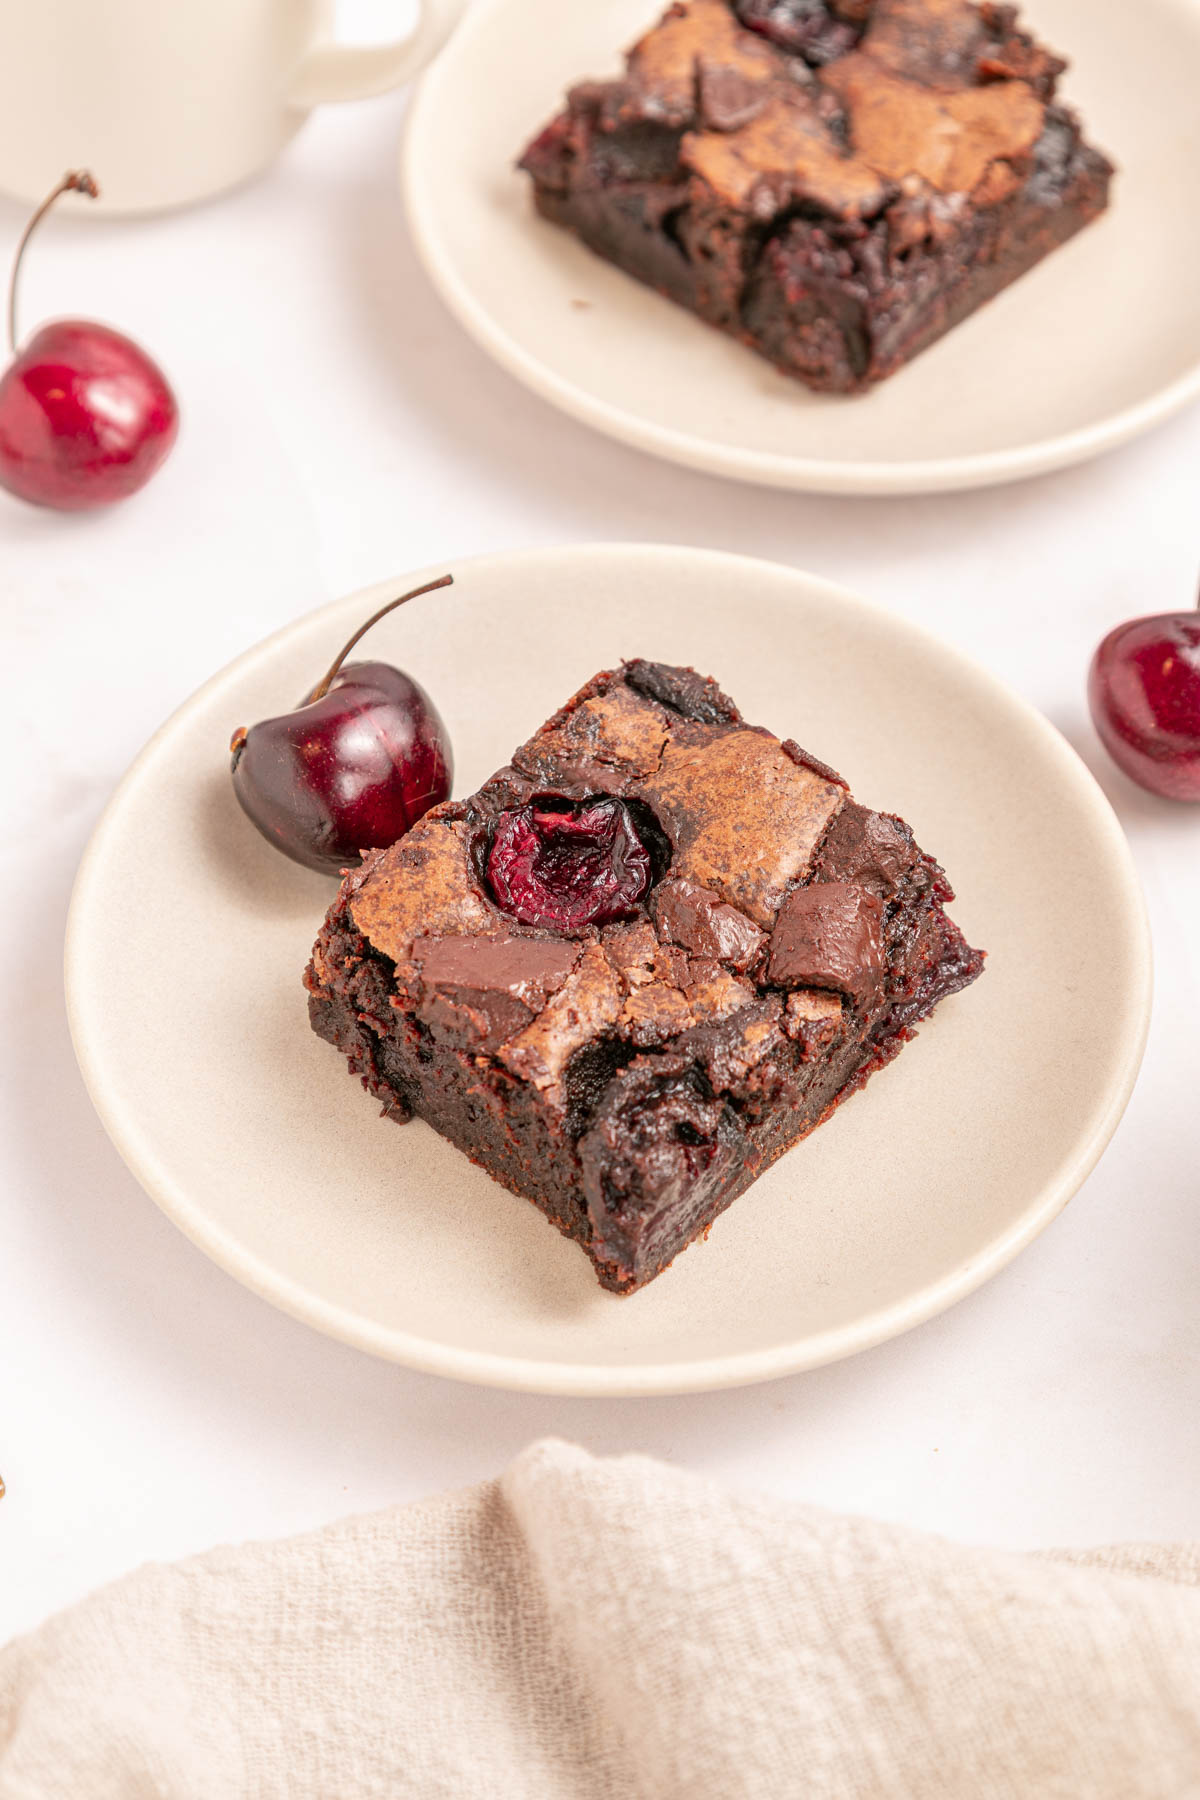
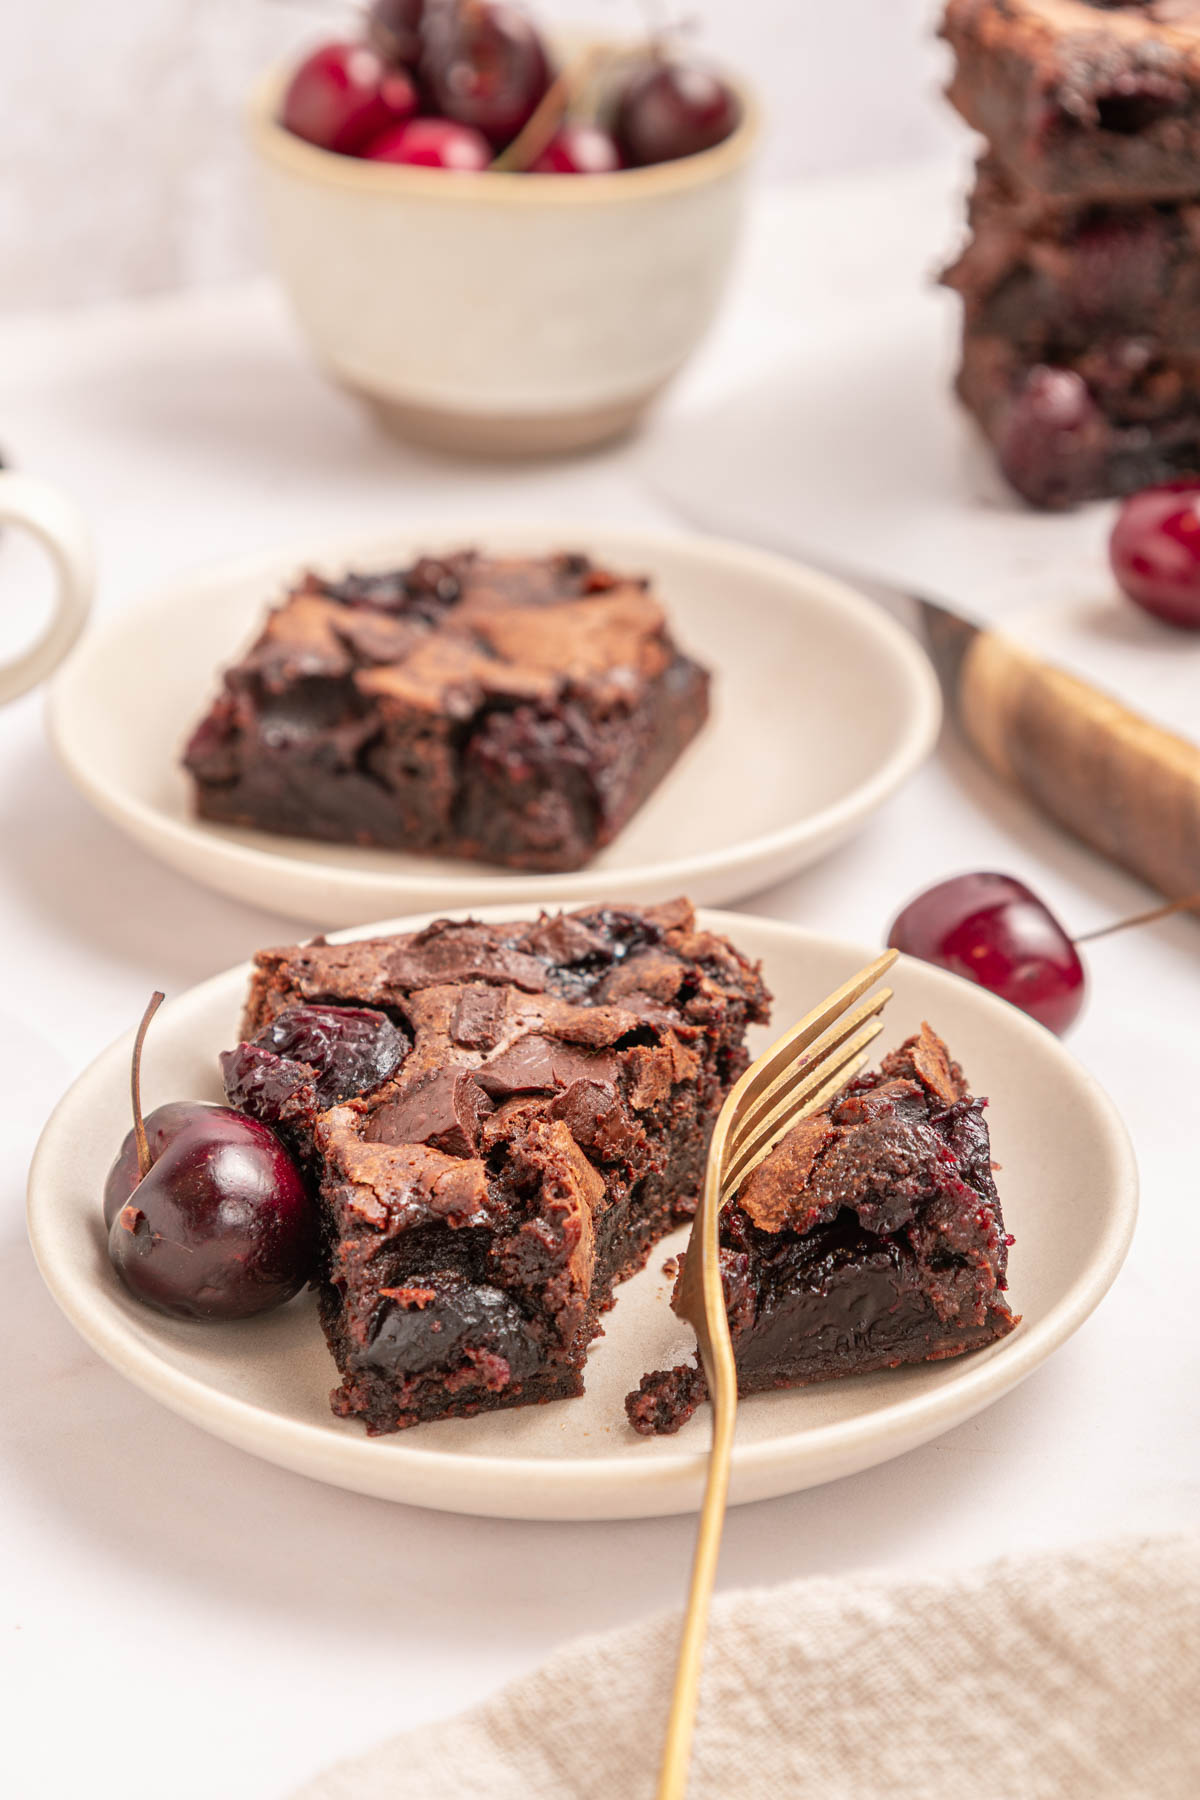
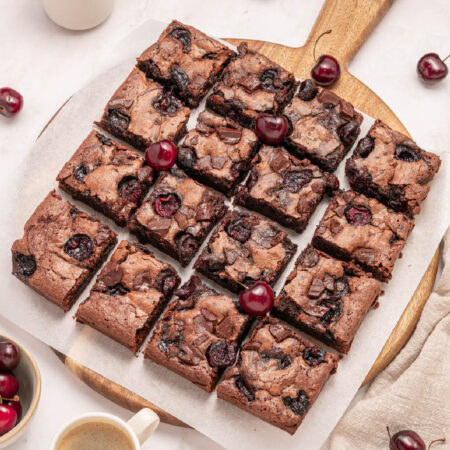
These Cherry Chocolate Brownies are rich and fudgy with thin crackly tops and sweet juicy cherries in every slice. They’re quick and easy to make and perfect for any occasion, though you may want to keep a few just for yourself.
Chocolate Cherry Brownies
I came up with these Cherry Chocolate Brownies when I was craving chocolate covered cherries but needed an easier dessert. The batter is loaded with both cocoa and chocolate chunks because you can never have too much chocolate. But it’s those juicy bits of fresh cherries that bake right into that fudgy batter that make them so hard to resist.
I never need an excuse to bake brownies, but these are perfect for parties or whenever I want something a bit more special. They freeze well too, so I like to make a double batch and stash a few squares for later. It’s great having them on hand for those times when you need a quick chocolate fix.
If you love loaded brownies, you’ll definitely want to check out my Reese’s Peanut Butter Cup Brownies recipe.
Why We Love This Recipe
- Ultra fudgy texture: These are decadent chocolate cherry brownies with a rich and slightly gooey center that’s impossible to resist.
- Real cherry flavor: Fresh or frozen, the cherries bake into the brownie batter for a little cherry flavor in every bite.
- Simple homemade brownie recipe: No boxed brownie mix needed, just cherries and classic pantry ingredients.
Ingredients
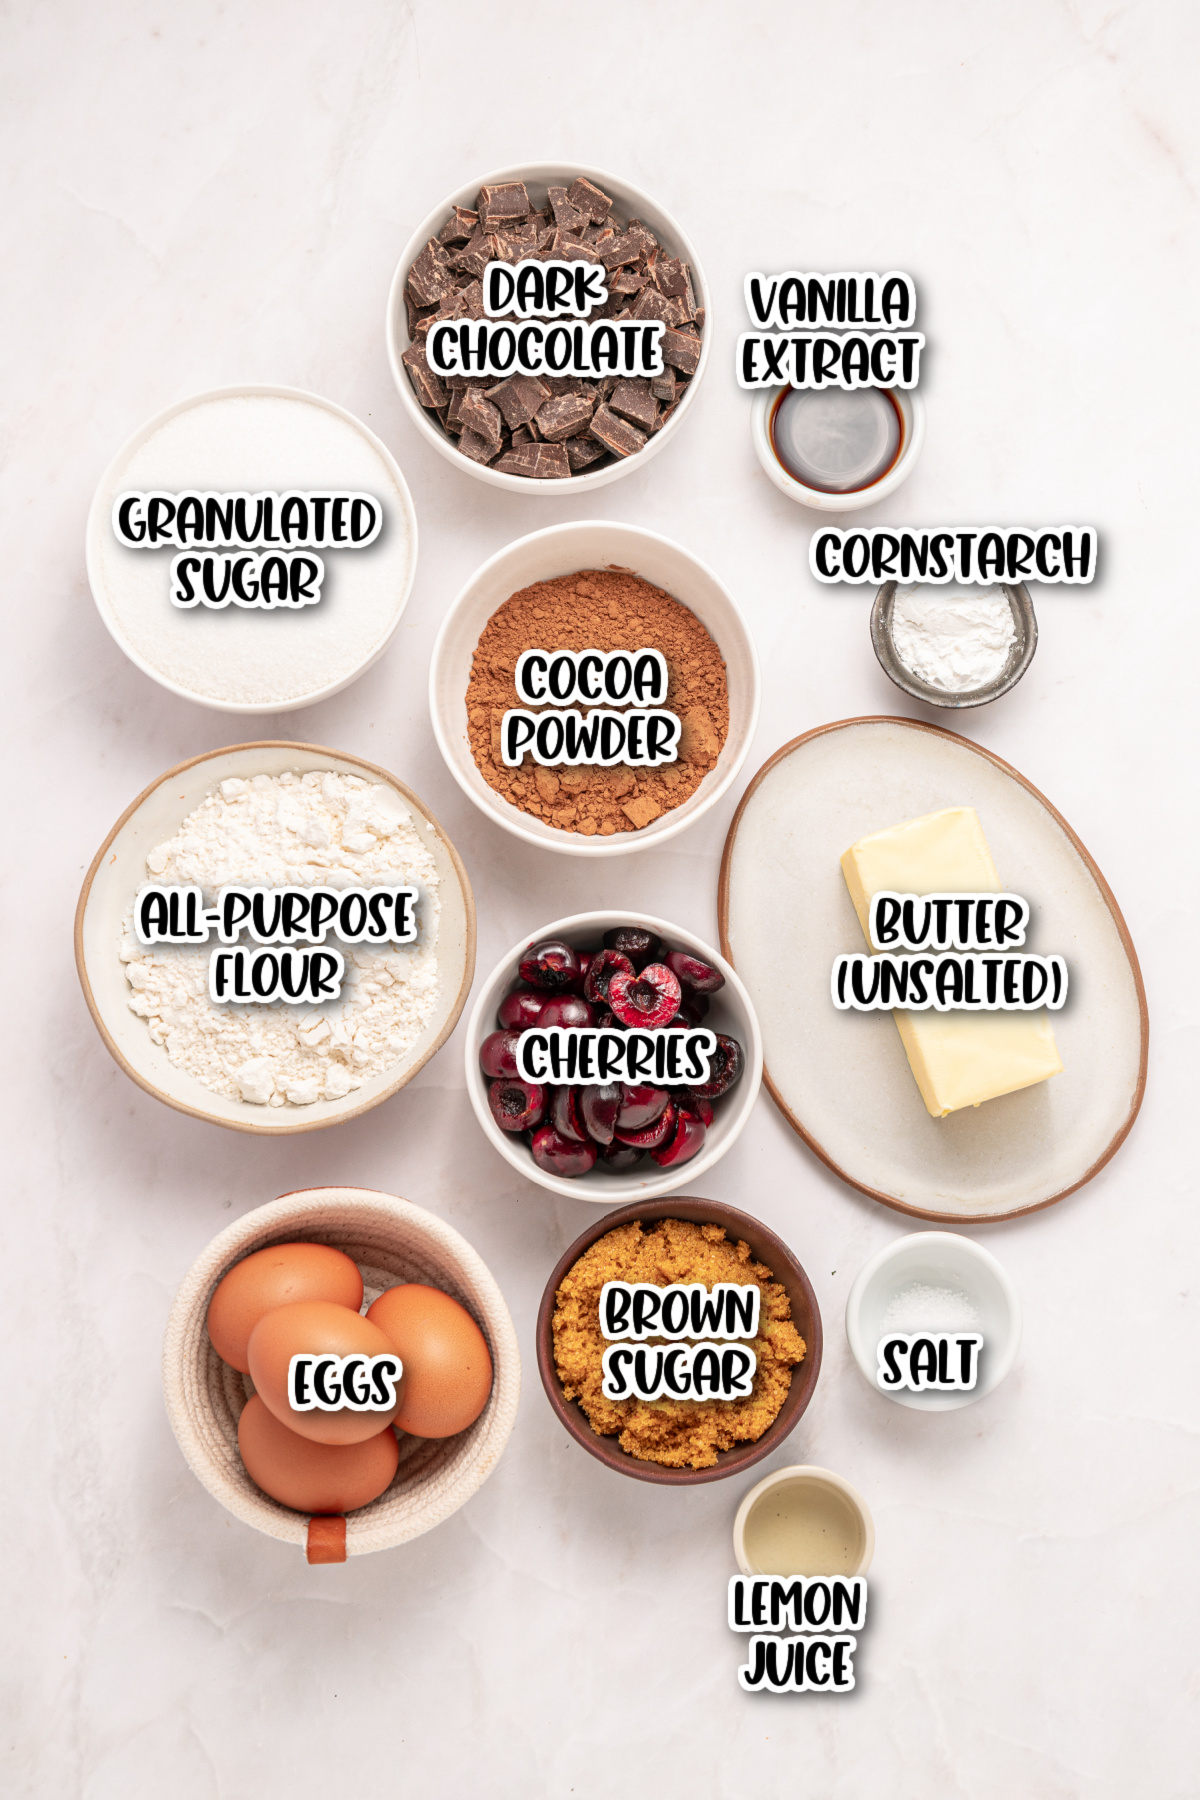
Brownie Batter
- Unsalted butter: Adds richness and helps create that soft, fudgy brownie texture.
- Dark chocolate, chopped: Adds deep chocolate flavor.
- Granulated sugar: Sweetens the batter and helps form the classic shiny brownie top.
- Light brown sugar: Adds moisture and a subtle caramel note that pairs well with cherry.
- Eggs: Bind everything together and create the chewy brownie crumb.
- Vanilla extract: Rounds out the chocolate flavor with gentle warmth.
- All-purpose flour: Gives the brownies structure while keeping them tender.
- Unsweetened cocoa powder: Boosts the overall chocolate intensity.
- Salt: Balances sweetness and enhances the chocolate flavor.
Cherry Layer
- Cherries: Add bright fruit flavor and juicy texture throughout the brownies.
- Granulated sugar: Lightly sweetens the fruit and helps it soften as it bakes.
- Cornstarch: Thickens the cherry mixture so it sets gently inside the brownies.
- Lemon juice: Brightens the cherry flavor and balances the sweetness.
- Vanilla extract: Adds a subtle warming flavor.
- Dark chocolate chunks: Add even more chocolate goodness.
Find the full printable recipe with measurements and directions in the recipe card below.
How To Make Homemade Chocolate Cherry Brownies
Step 1. Preheat oven to 350°F. Line a 9×13-inch pan with parchment paper, leaving overhang on the long sides.
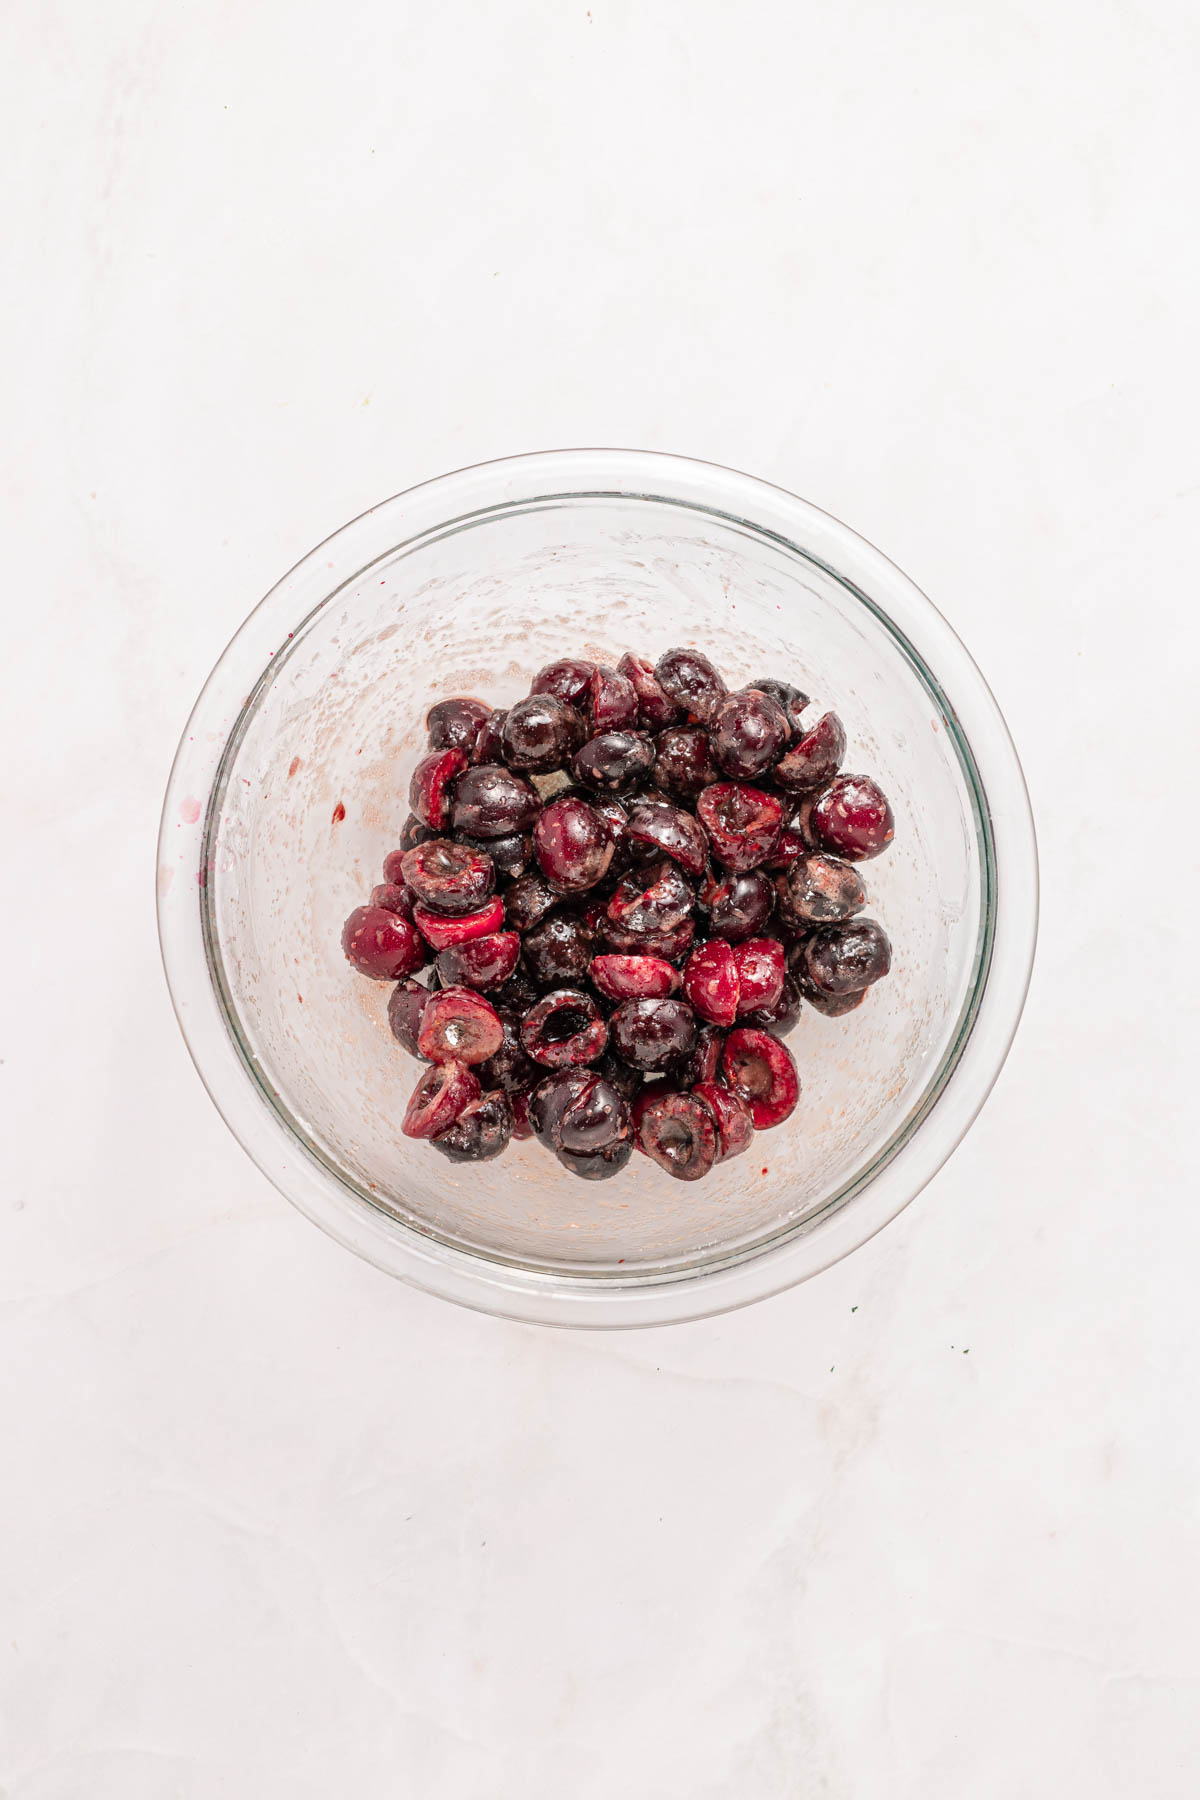
Step 2. In a bowl, toss cherries with sugar, cornstarch, lemon juice, and vanilla until evenly coated. Set aside while you make the brownie batter.
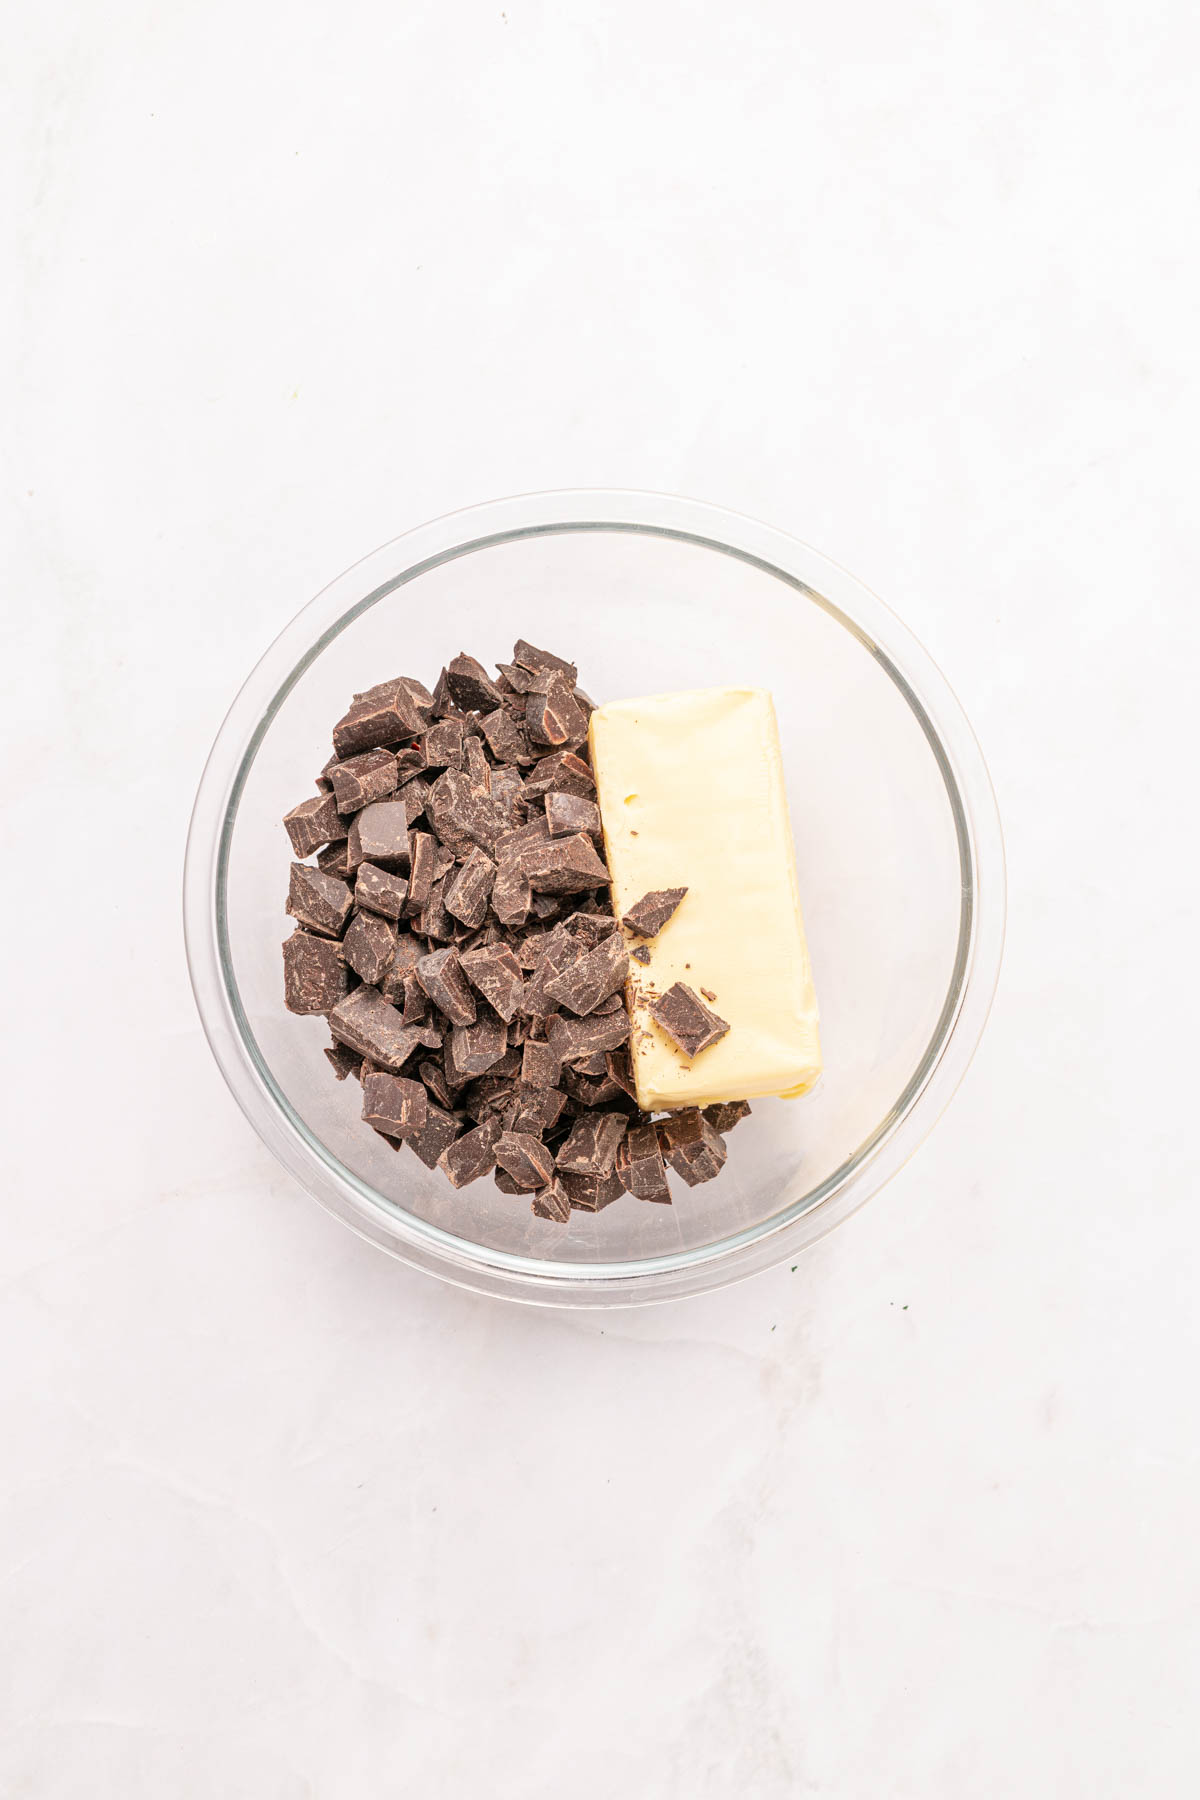
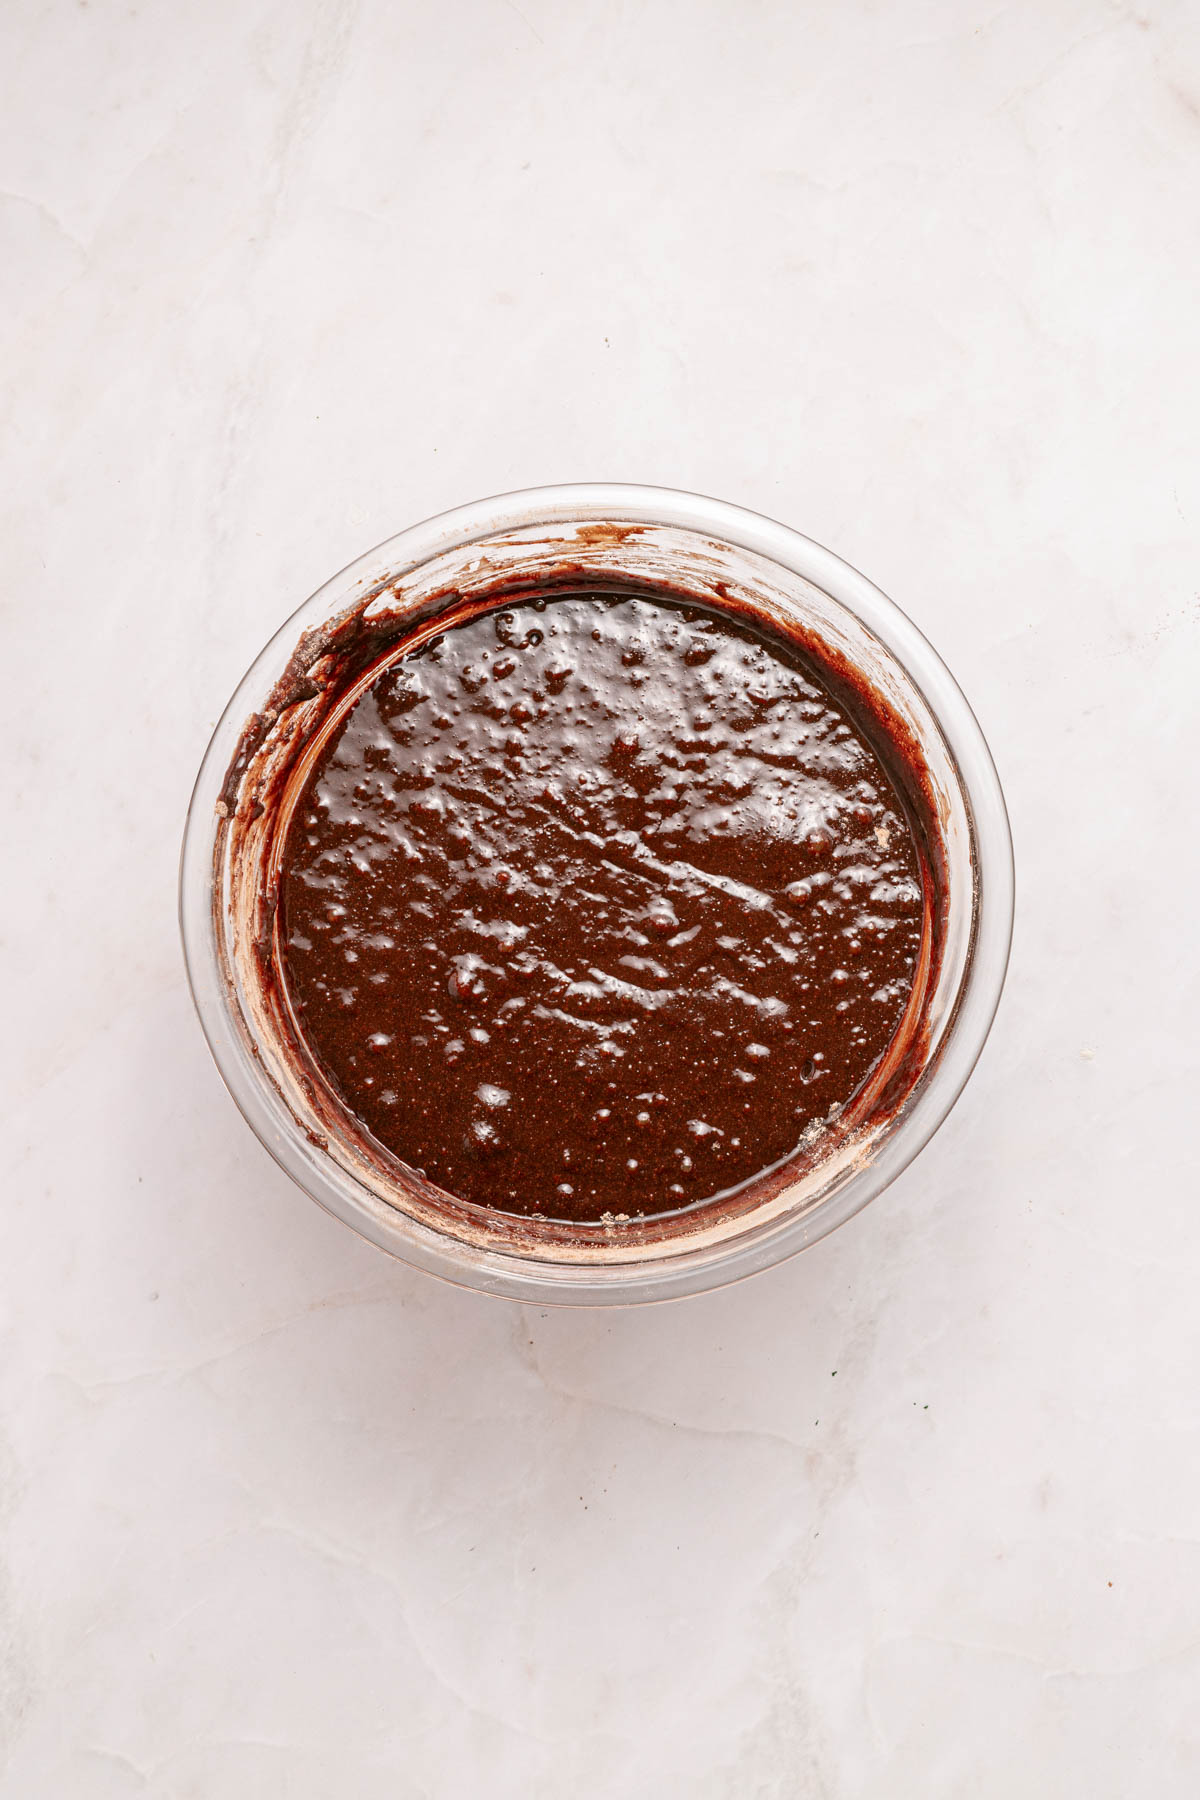
Step 3. In a heatproof bowl, melt the butter and 10 ounces of chopped chocolate together (microwave in 30-second bursts or over a double boiler). Stir until smooth and glossy. Let cool slightly.
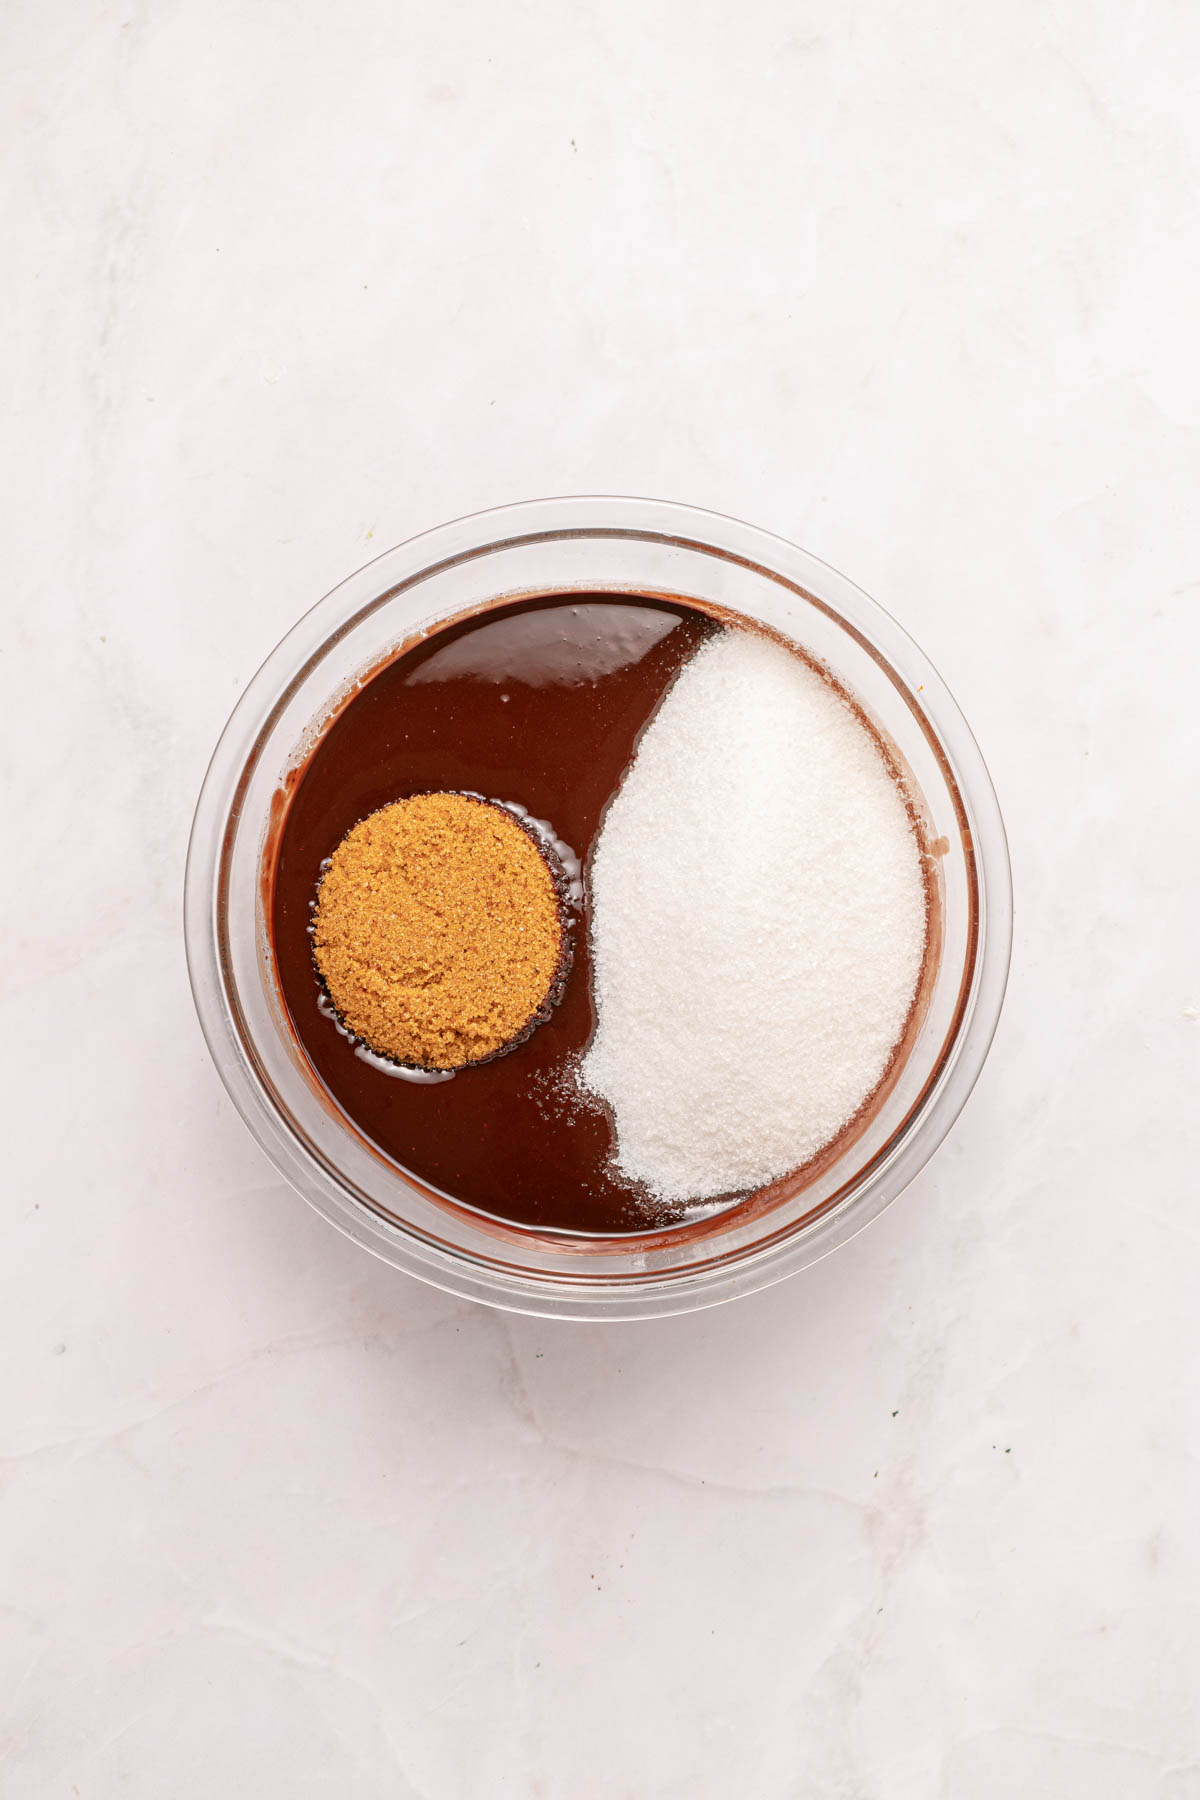
Step 4. Whisk granulated sugar and brown sugar into the chocolate mixture.
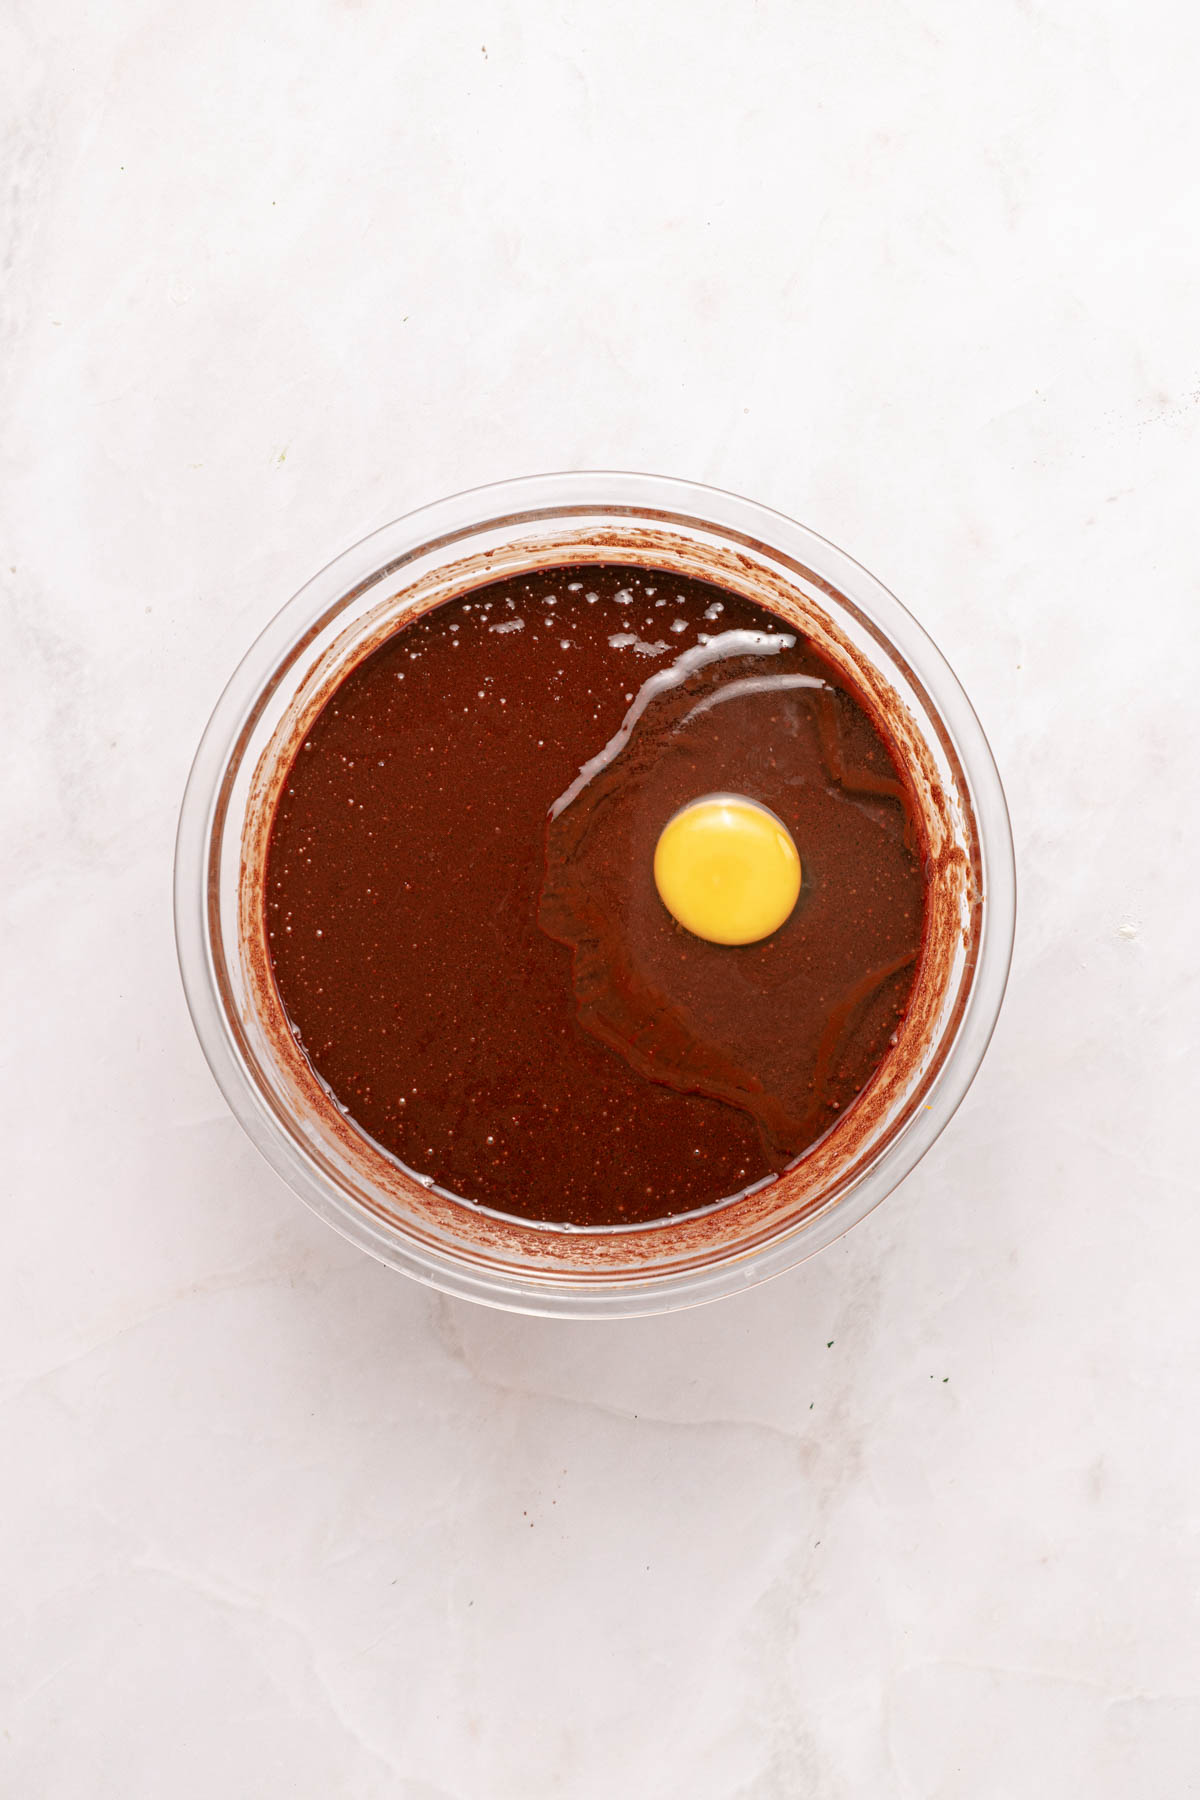
Step 5. Add eggs one at a time, whisking well after each. Whisk in vanilla.
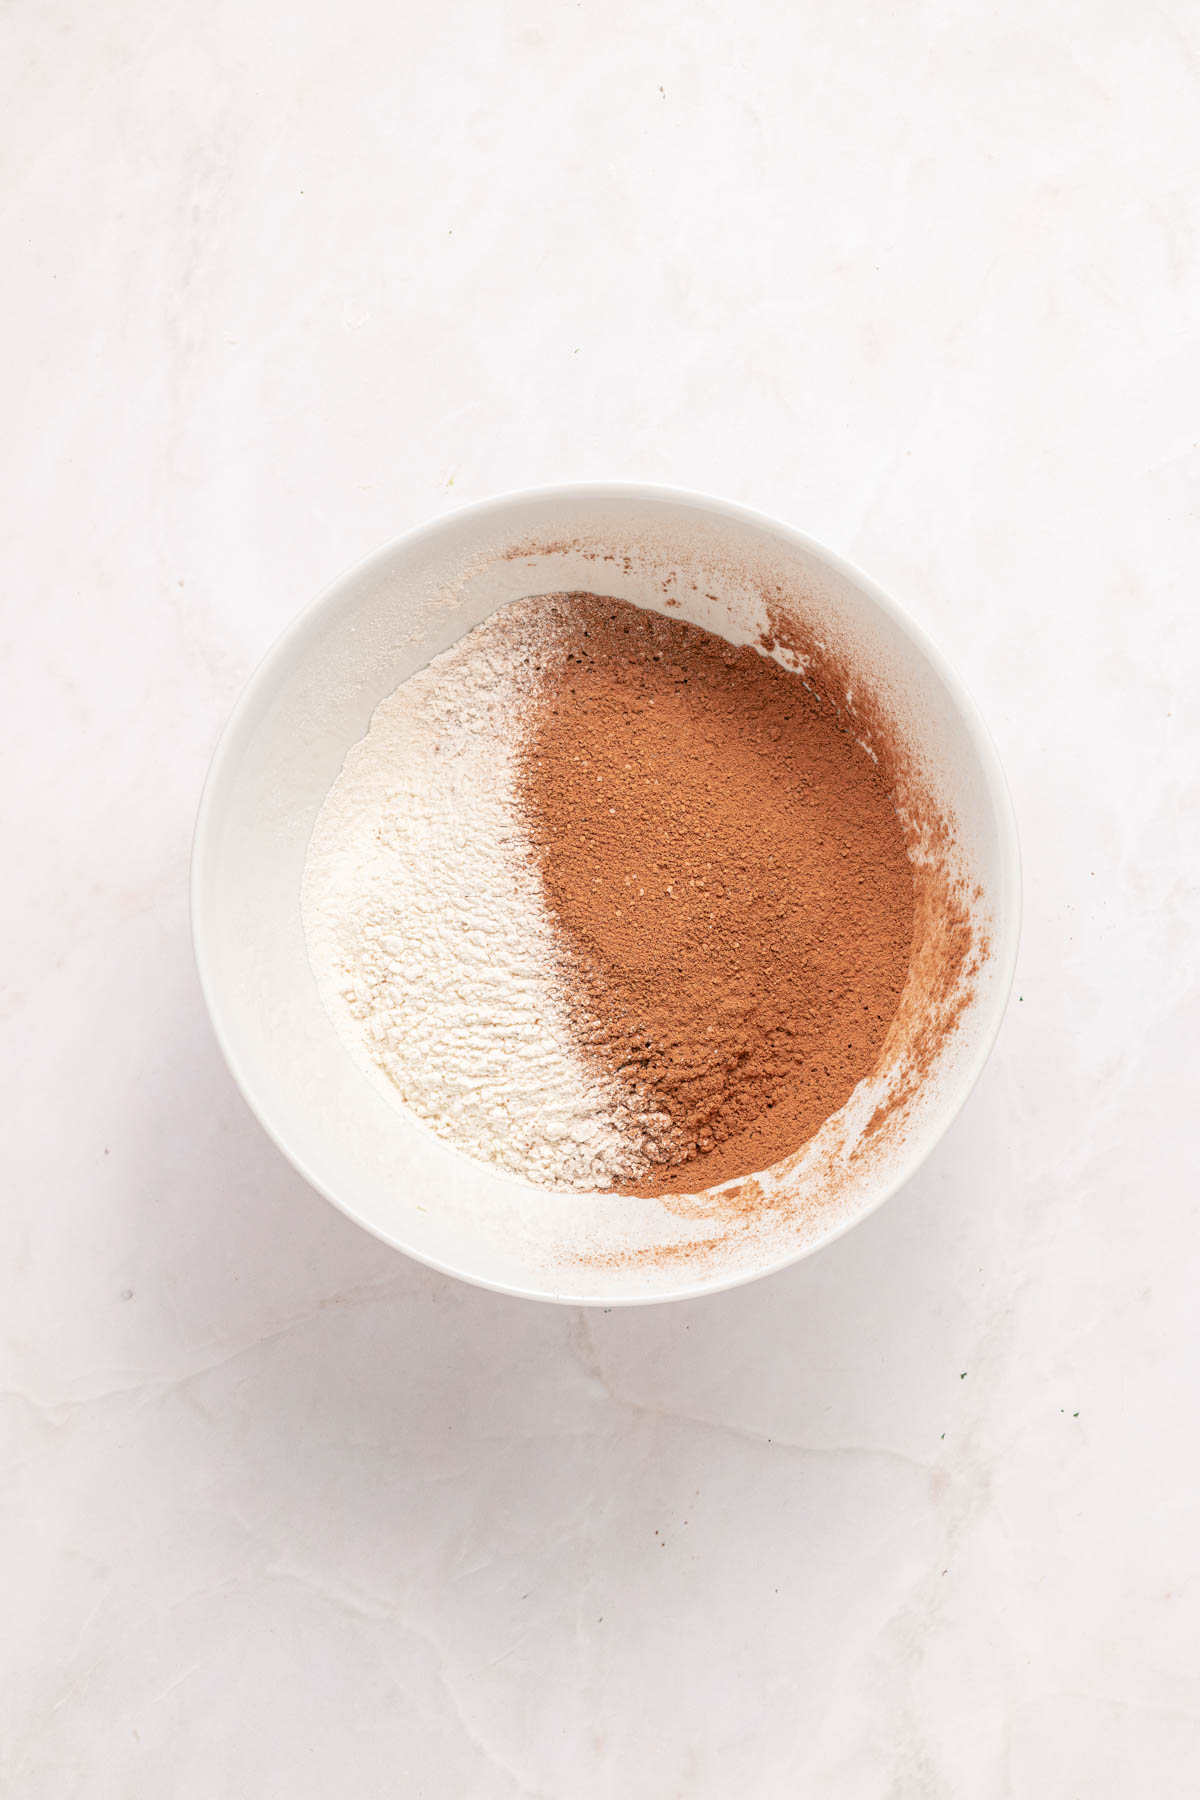
Step 6. Sift together flour, cocoa powder, and salt.
Step 7. Fold into the batter gently, just until no dry streaks remain. Fold in 1/2 cup chocolate chunks.
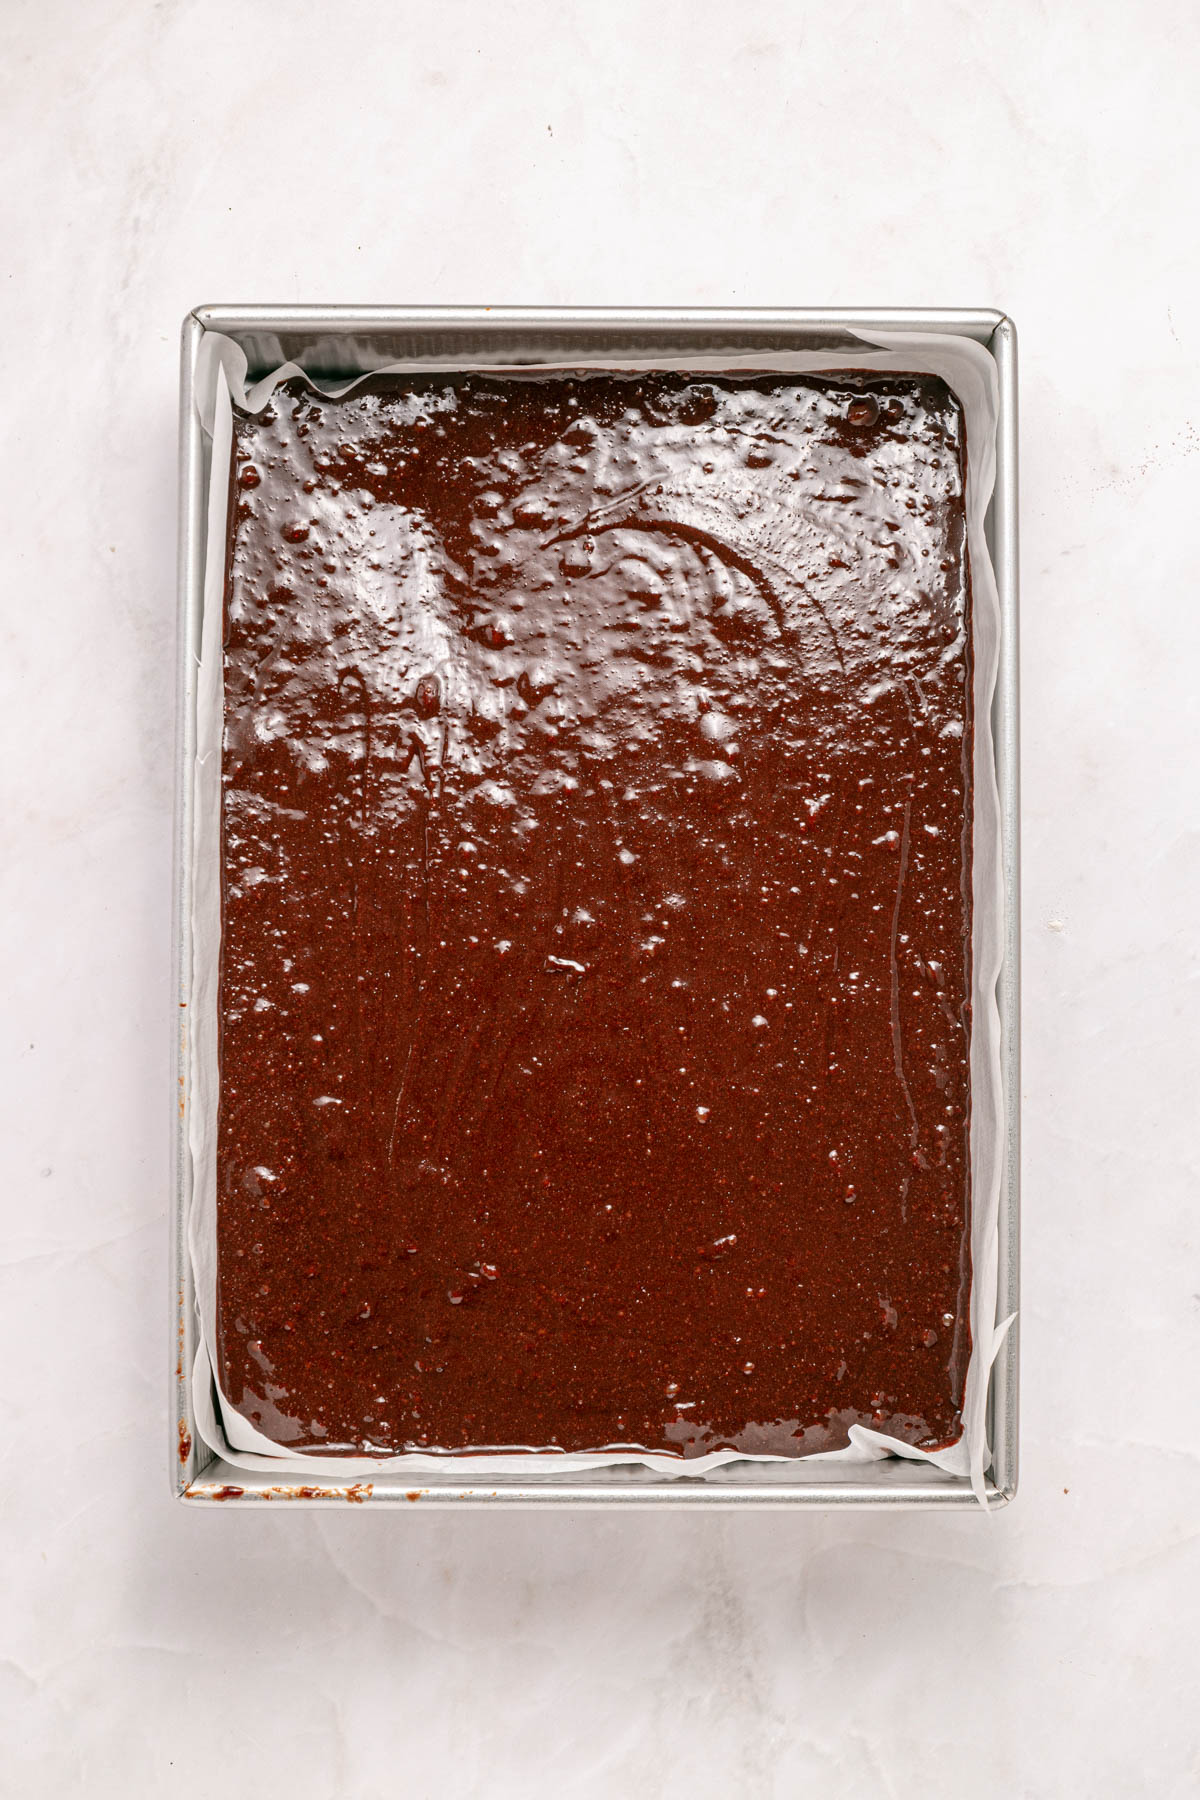
Step 8. Spread about ⅔ of the brownie batter evenly into the prepared pan.
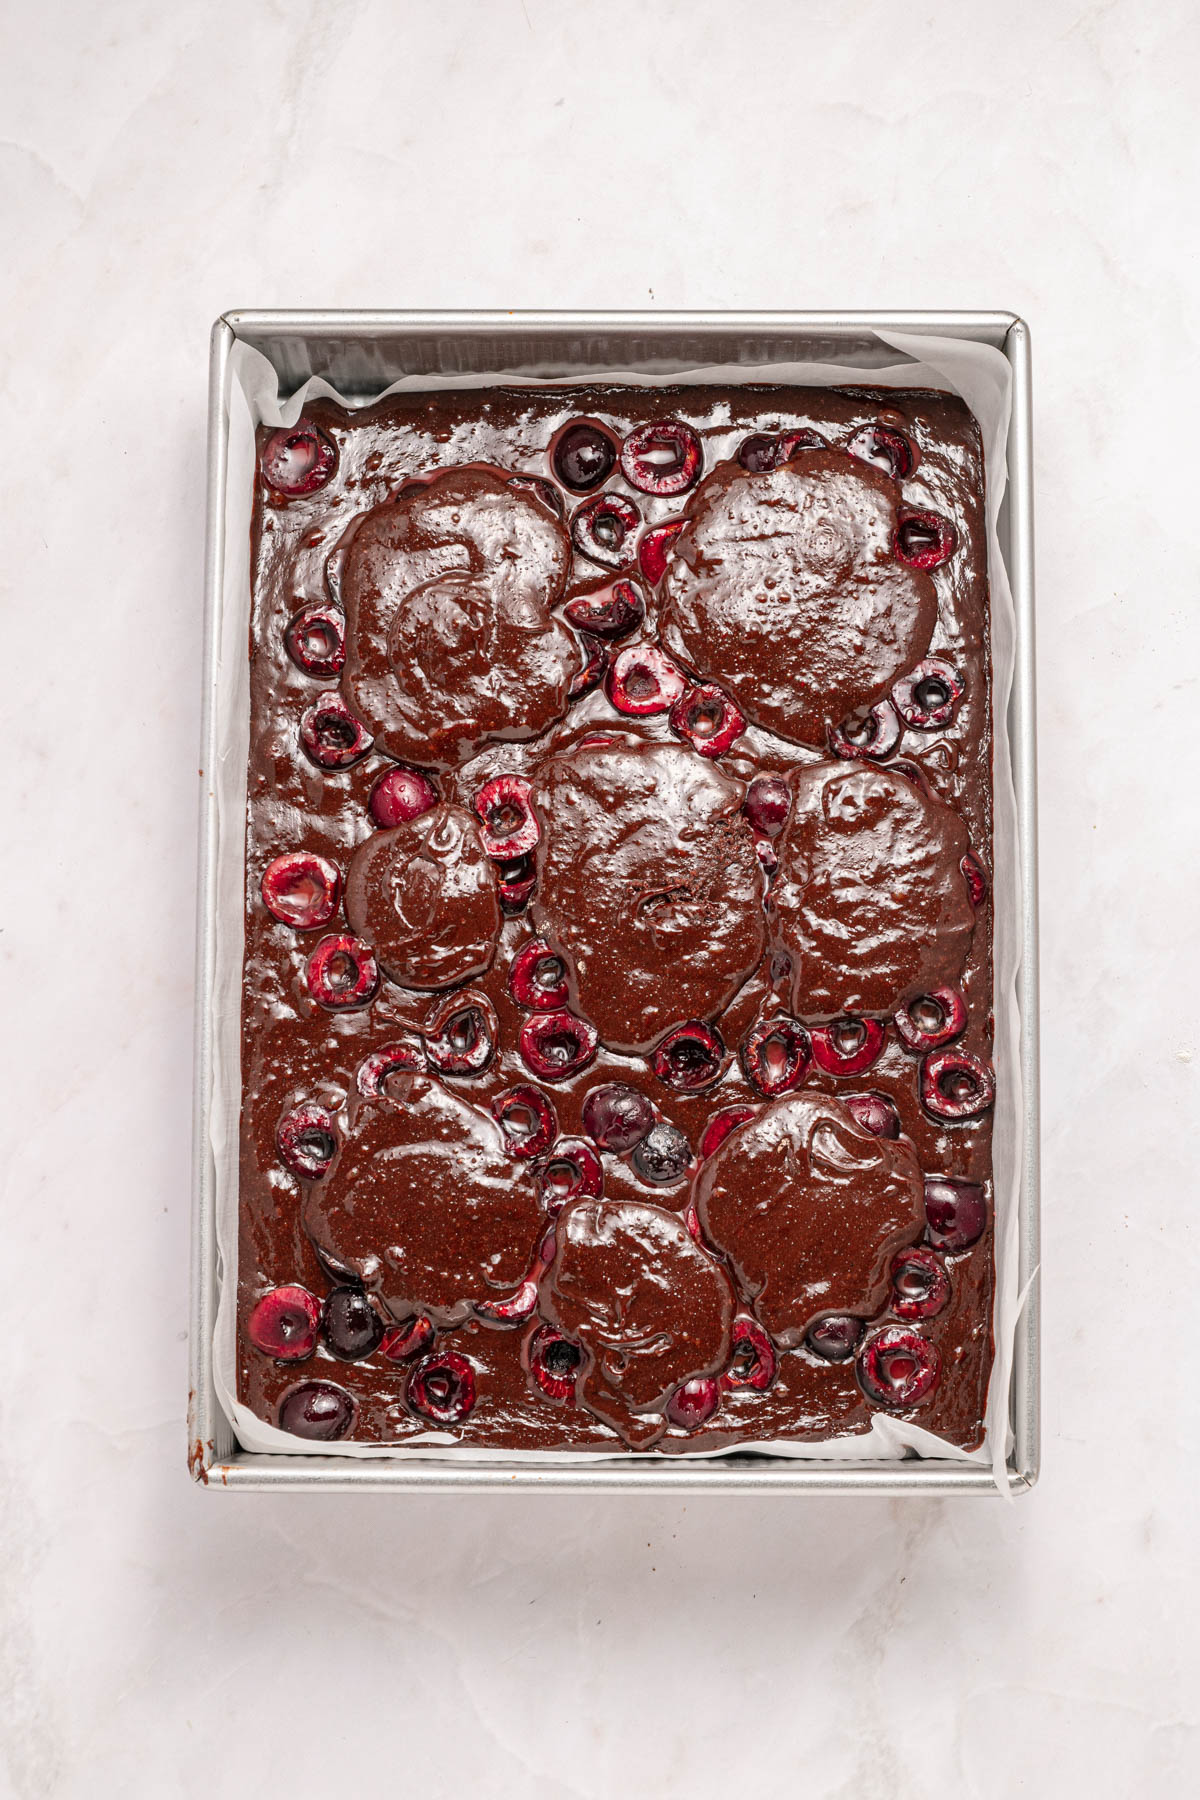
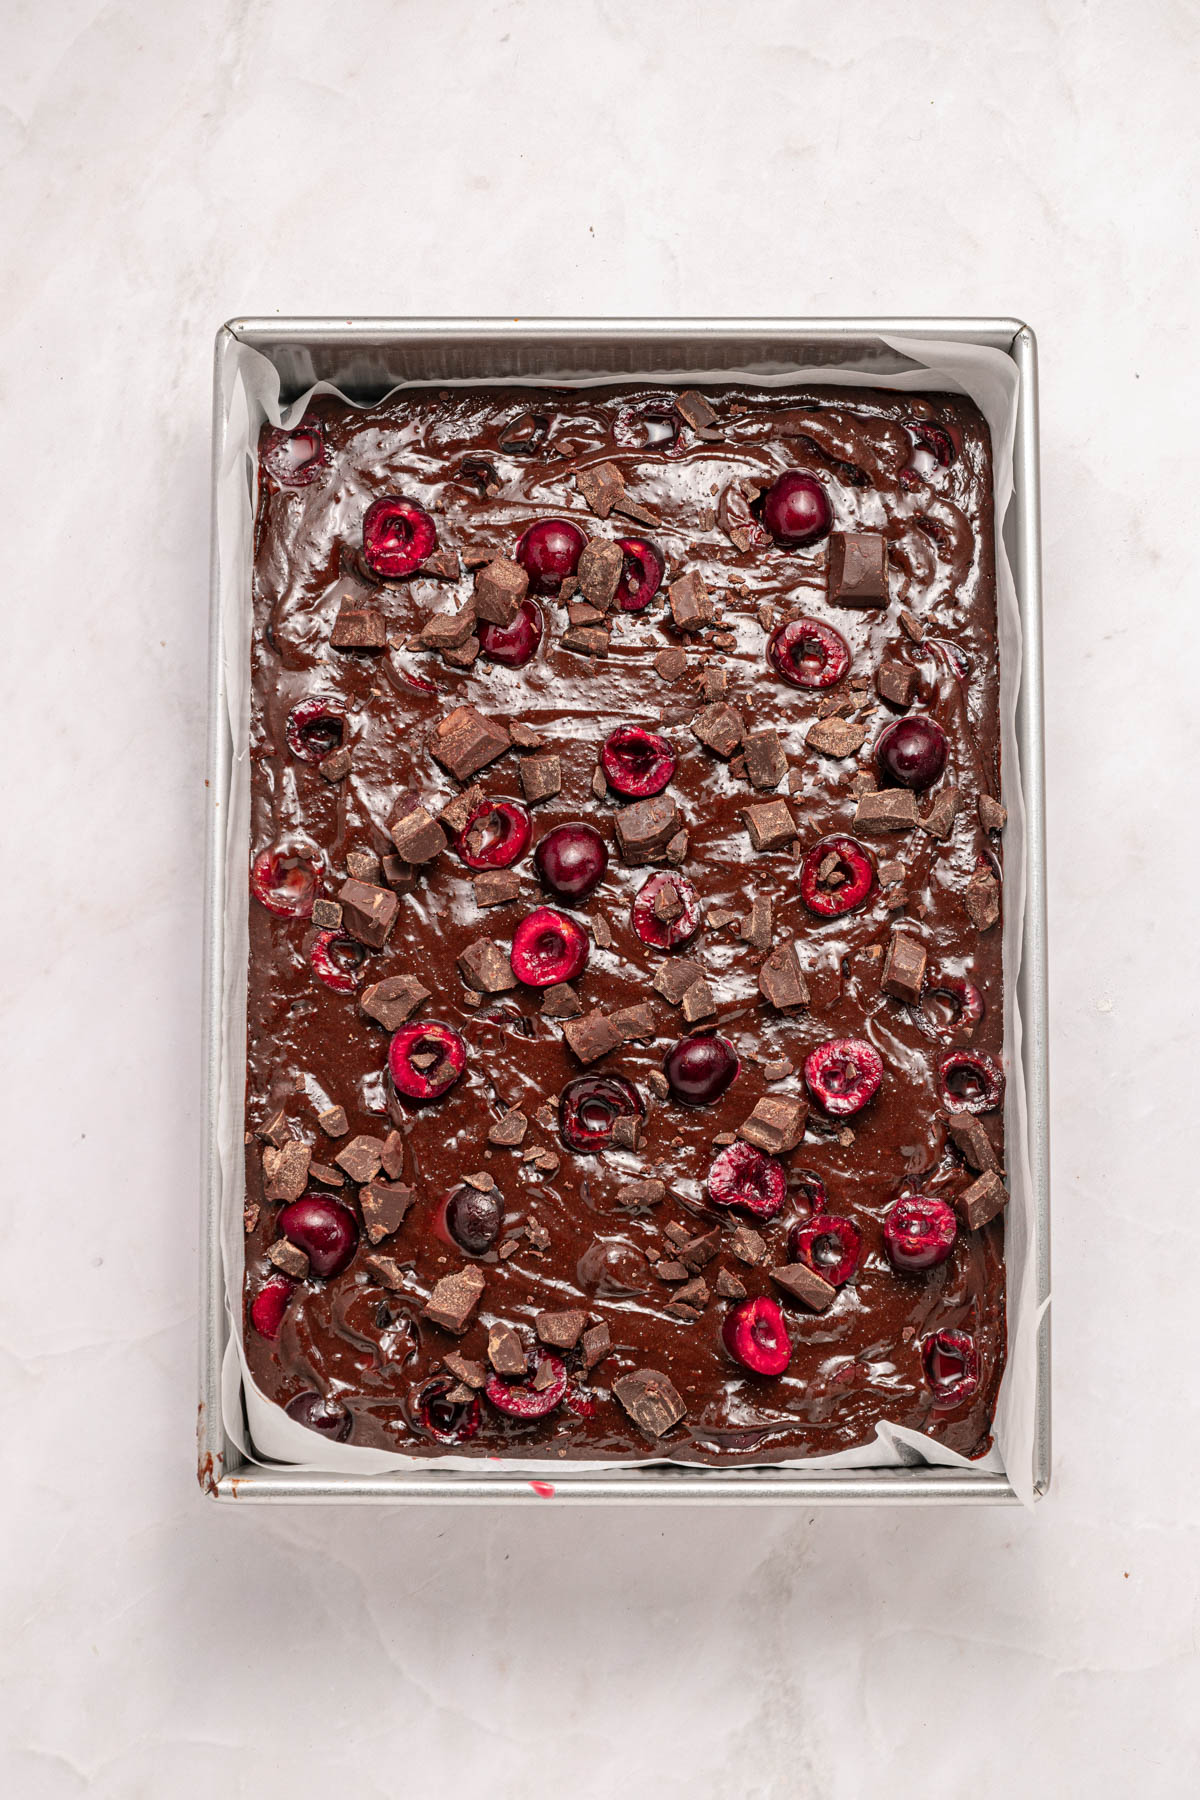
Step 9. Spoon the cherry mixture evenly over the batter (avoid pooling liquid). Dollop the remaining brownie batter on top and gently swirl with a knife. Add some extra pitted cherries on top if desired.
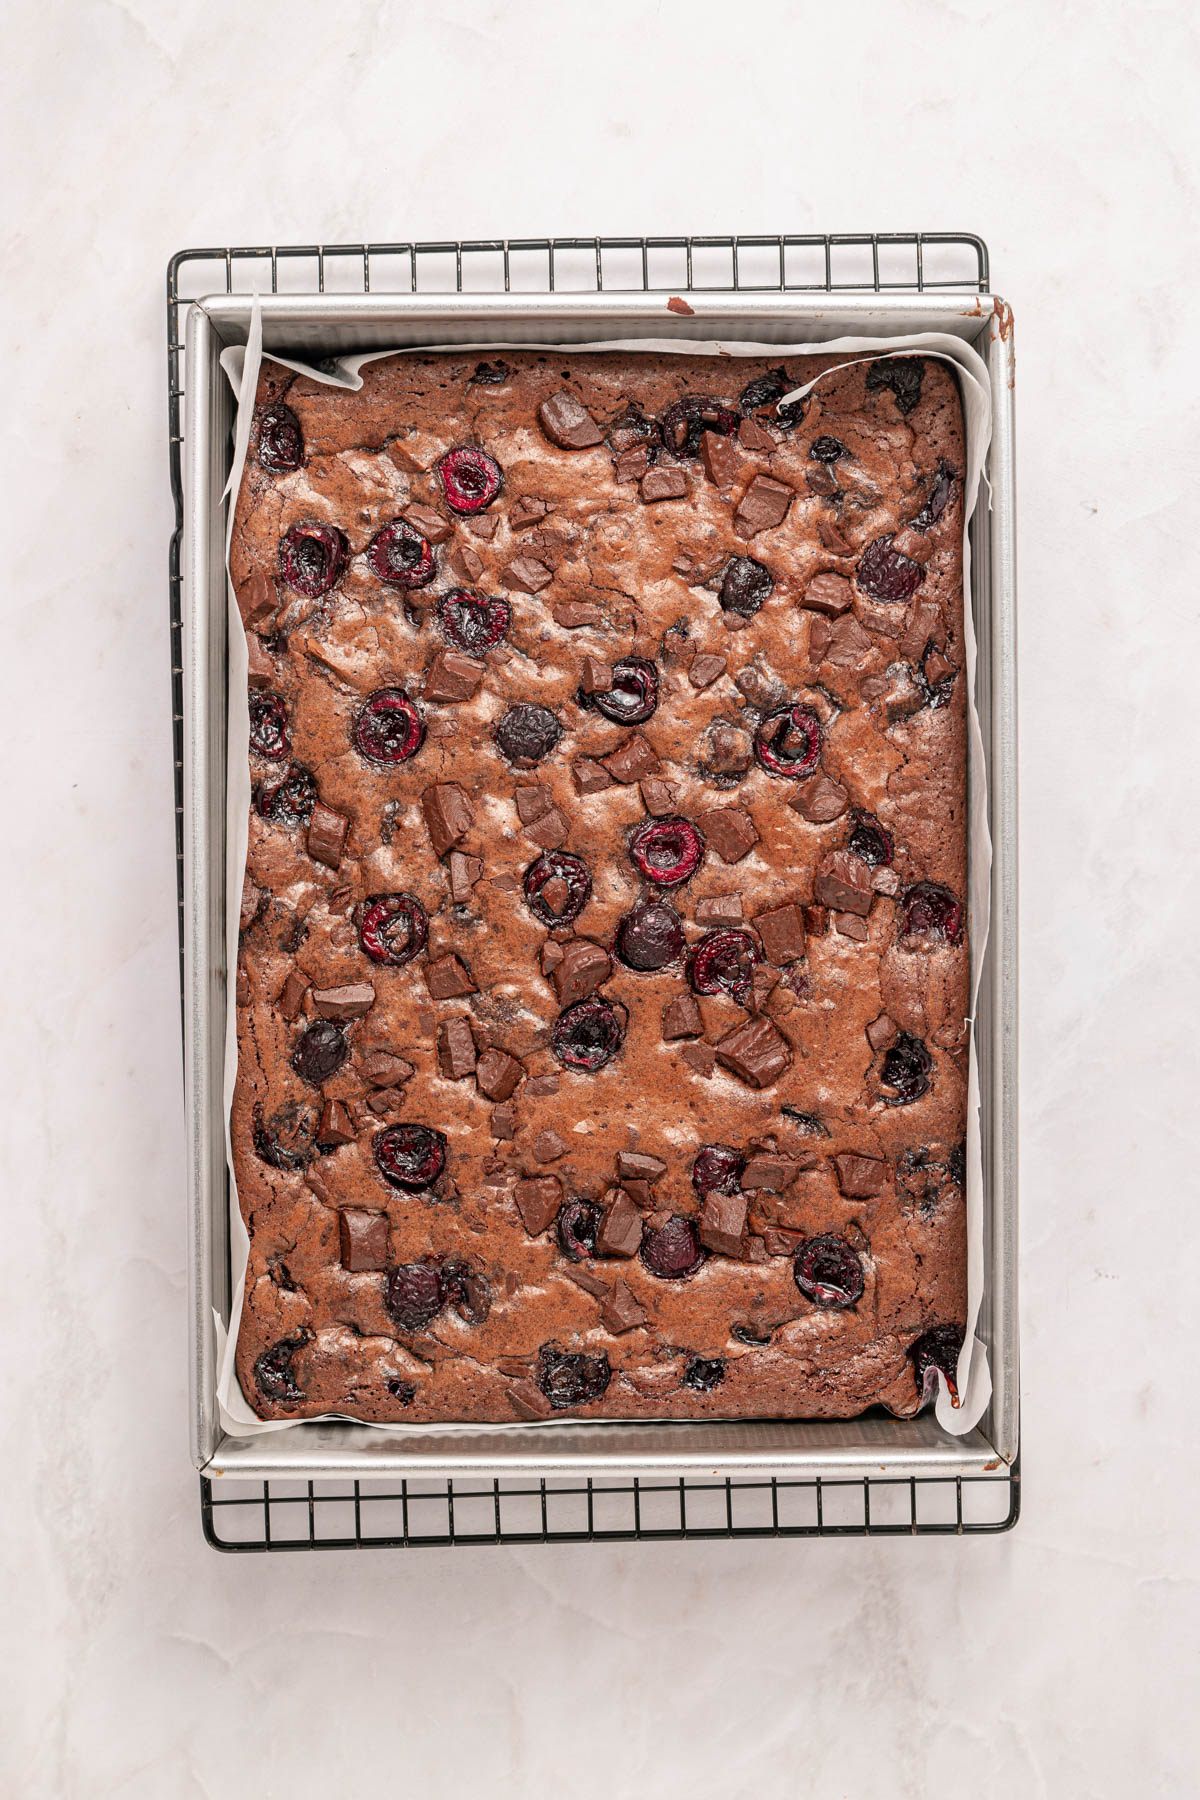
Step 10. Bake for 35 to 40 minutes, until the edges are set and the center looks just set. This will give you fudgy brownies. If you’d like a cakier texture, bake it for 5 to 10 more minutes or until a toothpick inserted in the middle comes out clean.
Step 11. Cool completely in the pan before slicing (this is key for clean cuts).
Storage Instructions
Refrigerator: Store brownies in an airtight container for up to five days. You’ll want to set them out and bring them to room temperature before serving for the best fudgy texture.
Freezer: Freeze the brownies tightly wrapped in plastic wrap for up to three months. Thaw overnight in the refrigerator, then let sit at room temperature before serving.
Tips And Tricks
- Use room temperature eggs so the batter blends smoothly with the melted chocolate.
- Let the butter and chocolate cool slightly before adding eggs to prevent scrambling.
- Drain thawed frozen cherries very well to avoid excess cherry juice in the batter.
- Fold the dry ingredients gently to keep the brownies tender instead of dense.
- Watch for set edges and a just set center to get a truly fudgy brownie texture.
- Use a sharp knife wiped clean between cuts for neat brownie squares.
Variations And Add-ins
- Chocolate: Swap dark chocolate for semi-sweet chocolate or milk chocolate for a softer chocolate flavor.
- Maraschino cherries: Try maraschino cherries when fresh cherries are not available.
- Cocoa topping: Add a light dusting of cocoa powder or powdered sugar after cooling.
- Frosting: Spread stabilized whipped cream frosting or buttercream on cooled brownies for a black forest cake spin.
- Almonds: Include toasted almonds for a little crunch.
FAQs
Look for set edges and a center that appears just set. A toothpick should have moist crumbs, not wet batter. Brownies will continue to firm up as they cool, which is why cooling completely is important.
Yes. Just thaw and drain them thoroughly so extra moisture doesn’t affect the texture.
Absolutely. The flavor deepens after a day, and they store well in the refrigerator.
More Mouthwatering Brownie Recipes
- Easy Buckeye Brownies
- Caramel Brownies
- Easy Strawberry Brownies
- S’mores Brownies
- Red Velvet Brownies
Cherry Chocolate Brownies
Equipment
Ingredients
For The Batter
- 1 cup unsalted butter
- 10 ounces dark chocolate 60 – 70%, chopped
- 1 1/2 cups granulated sugar
- 1/2 cup light brown sugar
- 4 large eggs room temperature
- 1 tablespoon vanilla extract
- 1 cup all-purpose flour
- 3/4 cup unsweetened cocoa powder
- 1 teaspoon salt
For The Cherry Layer
- 2 cups cherries fresh, pitted and halved, or frozen, thawed and very well drained
- 2 tablespoon granulated sugar
- 1 tablespoon cornstarch
- 1 teaspoon lemon juice
- 1/2 teaspoon vanilla extract
- 1/2 cup dark chocolate chunks
Instructions
- Preheat oven to 350°F. Line a 9×13-inch pan with parchment paper, leaving overhang on the long sides.
- In a bowl, toss cherries with sugar, cornstarch, lemon juice, and vanilla until evenly coated. Set aside while you make the brownie batter.2 cups cherries, 1 tablespoon cornstarch, 1 teaspoon lemon juice, 1/2 teaspoon vanilla extract, 2 tablespoon granulated sugar
- In a heatproof bowl, melt the butter and 10 ounces of chopped chocolate together (microwave in 30-second bursts or over a double boiler). Stir until smooth and glossy. Let cool slightly.10 ounces dark chocolate, 1 cup unsalted butter
- Whisk granulated sugar and brown sugar into the chocolate mixture.1 1/2 cups granulated sugar, 1/2 cup light brown sugar
- Add eggs one at a time, whisking well after each. Whisk in vanilla.4 large eggs, 1 tablespoon vanilla extract
- Sift together flour, cocoa powder, and salt.1 cup all-purpose flour, 3/4 cup unsweetened cocoa powder, 1 teaspoon salt
- Fold into the batter gently, just until no dry streaks remain. Fold in 1/2 cup chocolate chunks.1/2 cup dark chocolate chunks
- Spread about ⅔ of the brownie batter evenly into the prepared pan.
- Spoon the cherry mixture evenly over the batter (avoid pooling liquid). Dollop the remaining brownie batter on top and gently swirl with a knife. Add some extra pitted cherries on top if desired.
- Bake for 35 to 40 minutes, until the edges are set and the center looks just set. This will ensure fudgy brownies. If you’d like a cakier texture, bake it for 5 to 10 more minutes or until an inserted toothpick comes out clean.
- Cool completely in the pan before slicing (this is key for clean cuts).
Notes
- Store brownies in an airtight container for up to five days. You’ll want to set them out and bring to room temperature before serving for the best fudgy texture.
- Freeze the brownies tightly wrapped in plastic wrap for up to three months. Thaw overnight in the refrigerator, then let sit at room temperature before serving.
- Use room temperature eggs so the batter blends smoothly with the melted chocolate.
- Let the butter and chocolate cool slightly before adding eggs to prevent scrambling.
- Drain thawed frozen cherries very well to avoid excess cherry juice in the batter.
- Fold the dry ingredients gently to keep the brownies tender instead of dense.
- Watch for set edges and a just set center to get a truly fudgy brownie texture.
- Use a sharp knife wiped clean between cuts for neat brownie squares.
Nutrition
Did You Make This Recipe?
Share it with me on Instagram @funmoneymom and follow on Pinterest @funmoneymom for more!
Find More On Pinterest!

Let’s be friends!
Did you love this post? Make sure to comment below and let me know your thoughts! And don’t forget to follow on your favorite social network below!

About Lisa O’Driscoll
Lisa O’Driscoll is a lifestyle and parenting expert, cookbook author, and the creative force behind Fun Money Mom, a popular blog she’s run since 2014. She’s the author of the children’s cookbook Roll It, Slice It, Mash It, Dice It, designed to get kids excited about cooking. With multiple TV appearances under her belt, she loves sharing her expertise on family-friendly recipes, creative DIYs, and party planning and is always on a mission to inspire and entertain!