
Hocus Pocus Spellbook Brownies
This post may contain affiliate links. As an Amazon Associate, I earn from qualifying purchases.
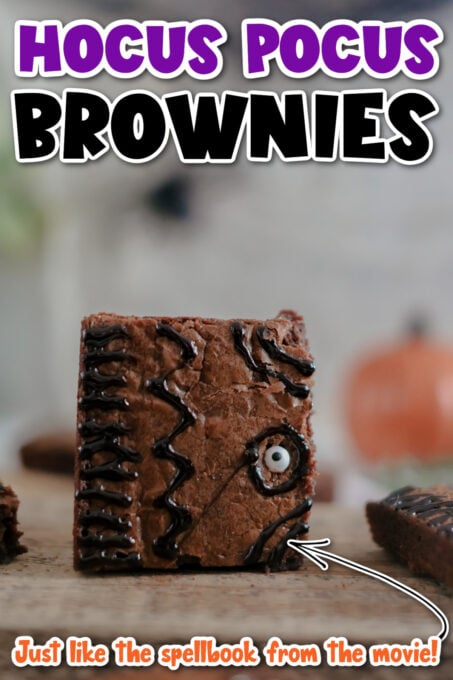
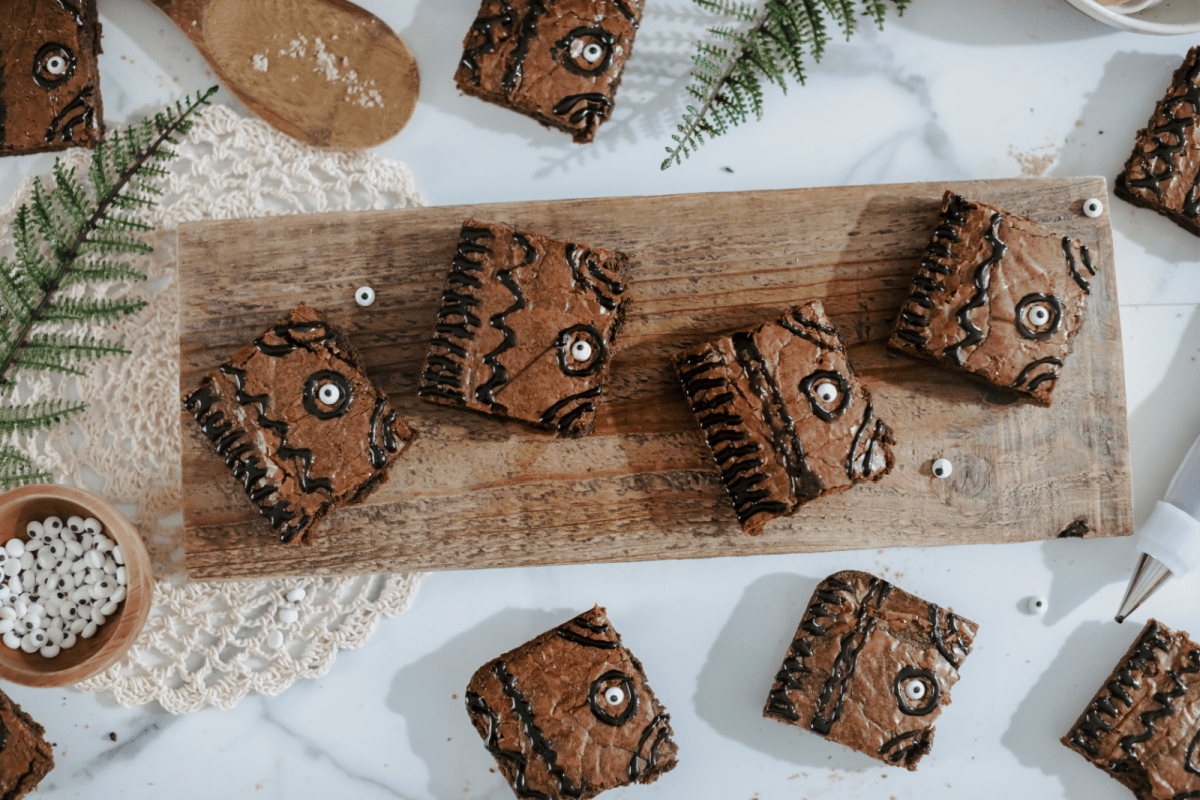
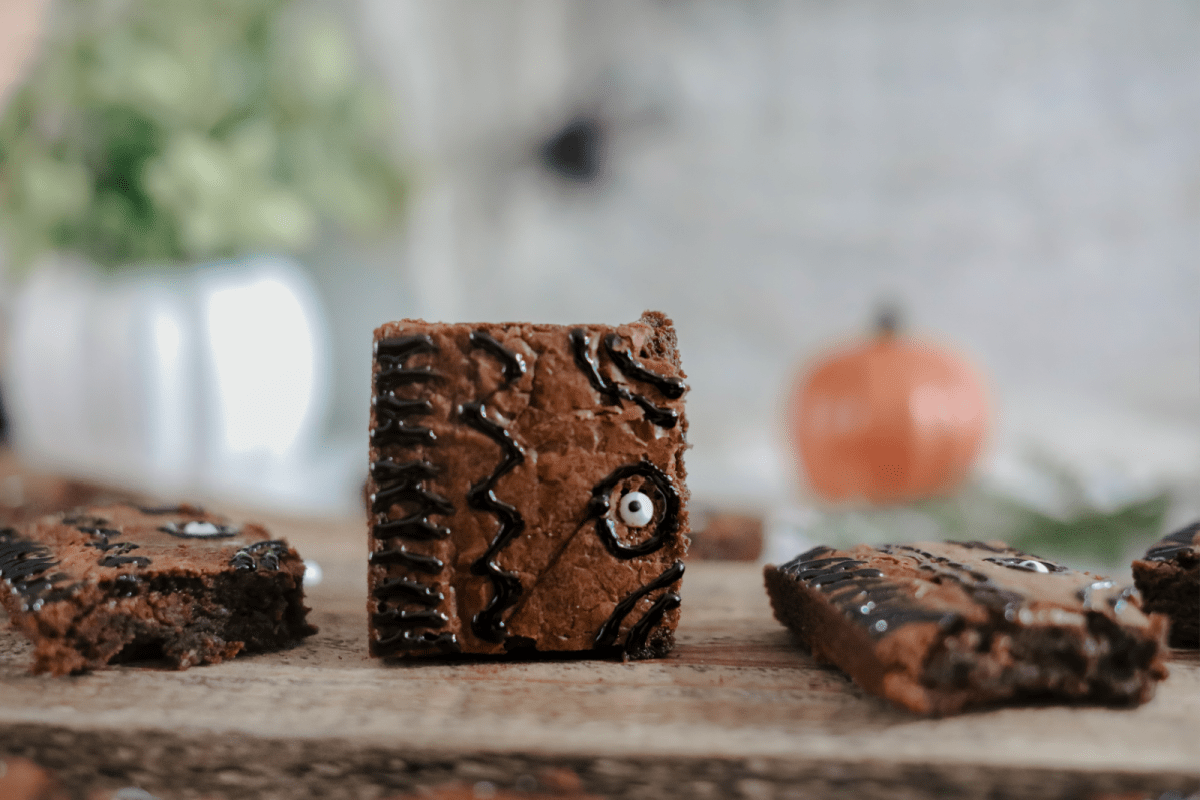
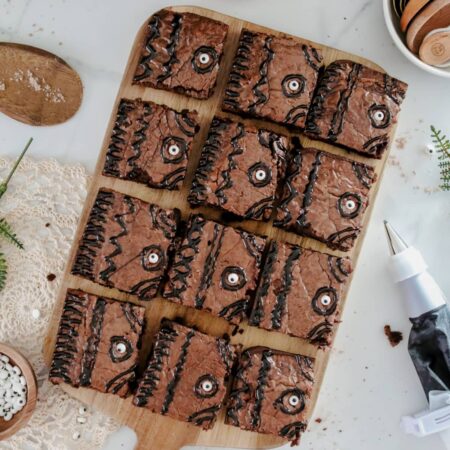
These sweet and fudgy Hocus Pocus Brownies will cast a spell on everyone at your Halloween party. Just a few swirls of your magic wand and they’ll look just like Winifred Sanderson’s spell book!
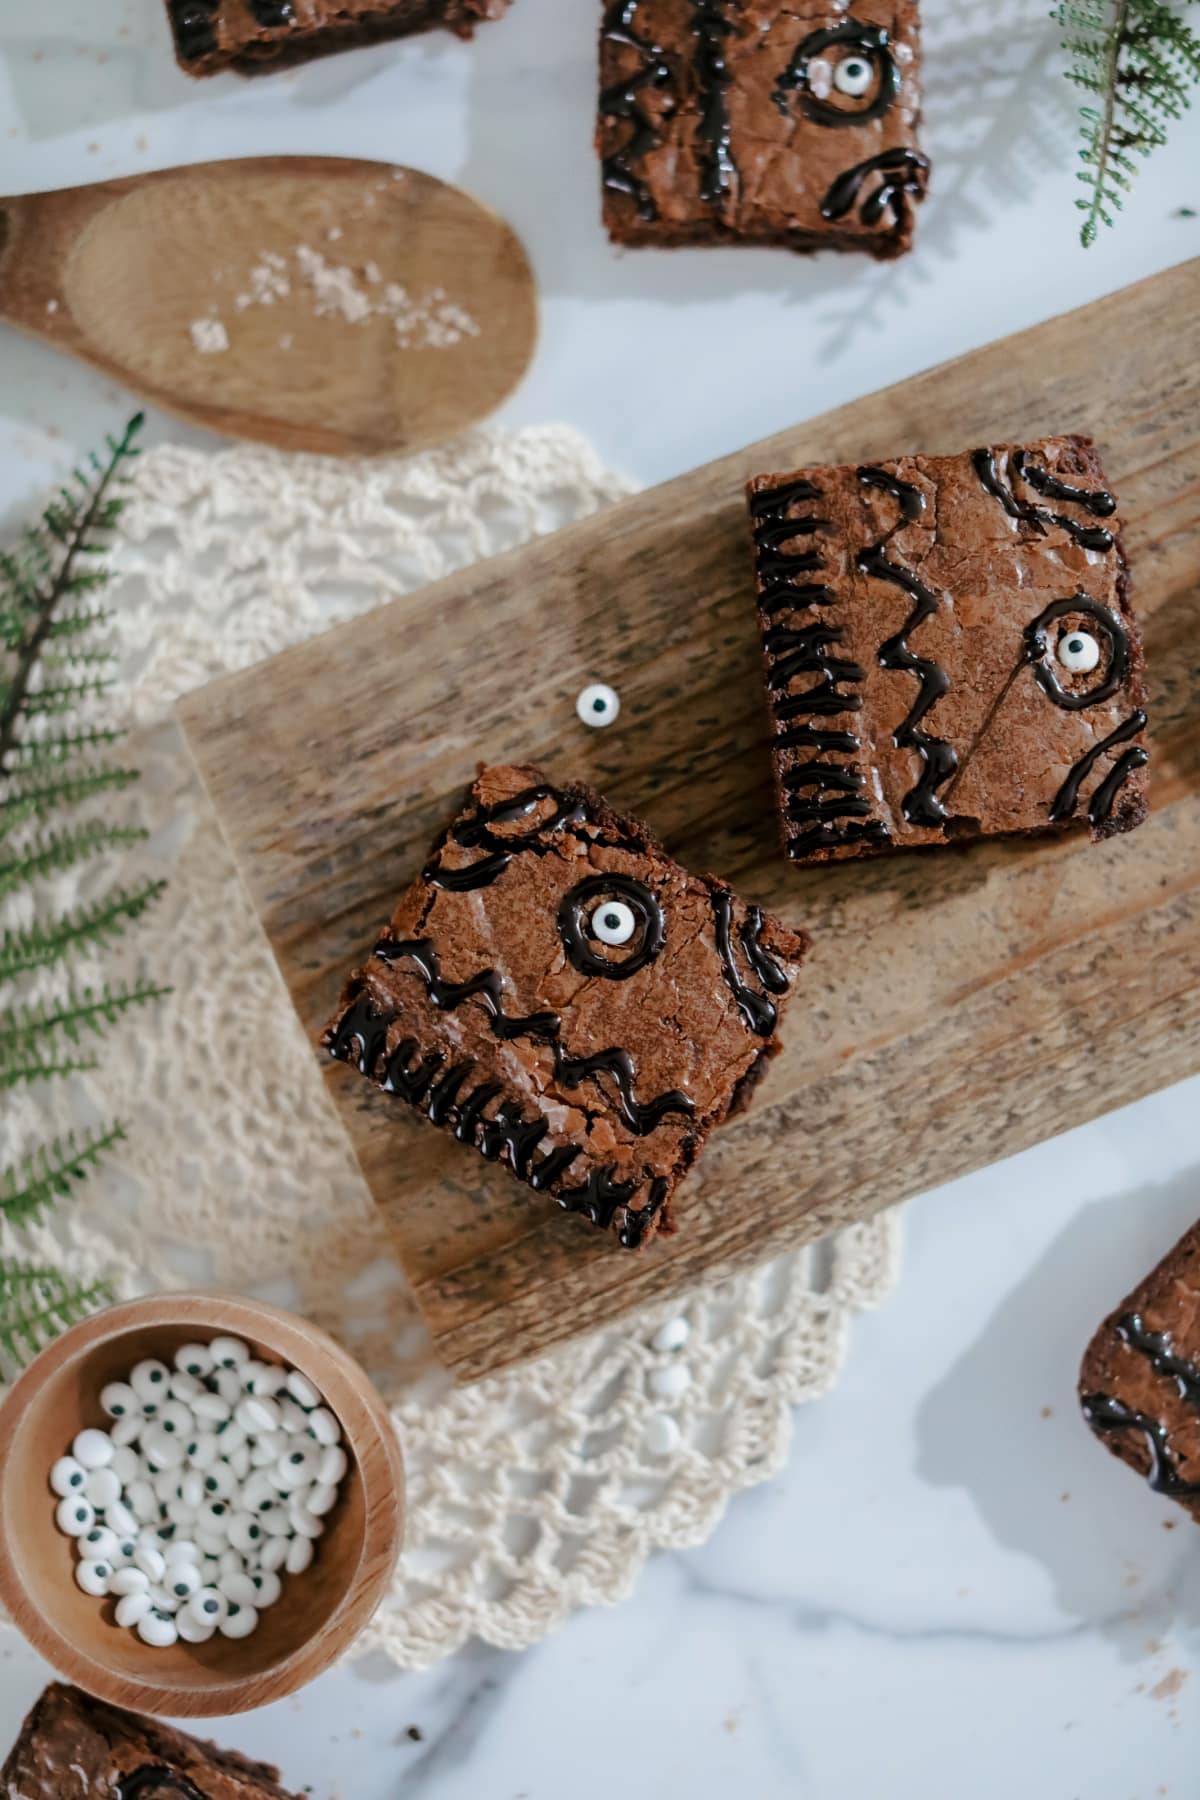
Hocus Pocus Spellbook Brownies
If you’re looking for a spooktacular Halloween treat to make with your kids, these Hocus Pocus Spell Book brownies are it!
The name says it all…it’s one of our favorite Halloween movies and every year we set aside a night to watch the Sanderson sisters cause chaos. This year we’ve got the perfect treat to go with it.
Back when I taught kindergarten, treats like this were my go-to for classroom parties too. Bake everything ahead of time, then let the kids do all the decorating. It was always the best part of the party, and no two spellbooks were the same. Now I get to do the same thing at home with my own girls.
These brownies taste so good served with this fun non-alcoholic Halloween punch! And if you want more spooky and fun Halloween treats, you can never go wrong with my fun Witch Hat Cookies or these creepy Halloween Dirt Pudding Cups!
Why We Love This Recipe
- It only takes three simple ingredients (plus the ingredients to make the brownies) to make the perfect festive Halloween dessert.
- Brownies are always a hit, and kids love helping create their own custom spooky Hocus Pocus themed treat.
- Super fun treat to enjoy both while watching scary movies or for serving at your next Halloween party.
Recommended Tools:
- 9×13 baking pan
- Whisk
- Medium bowl
- Sharp knife
- Cooling rack
Ingredients
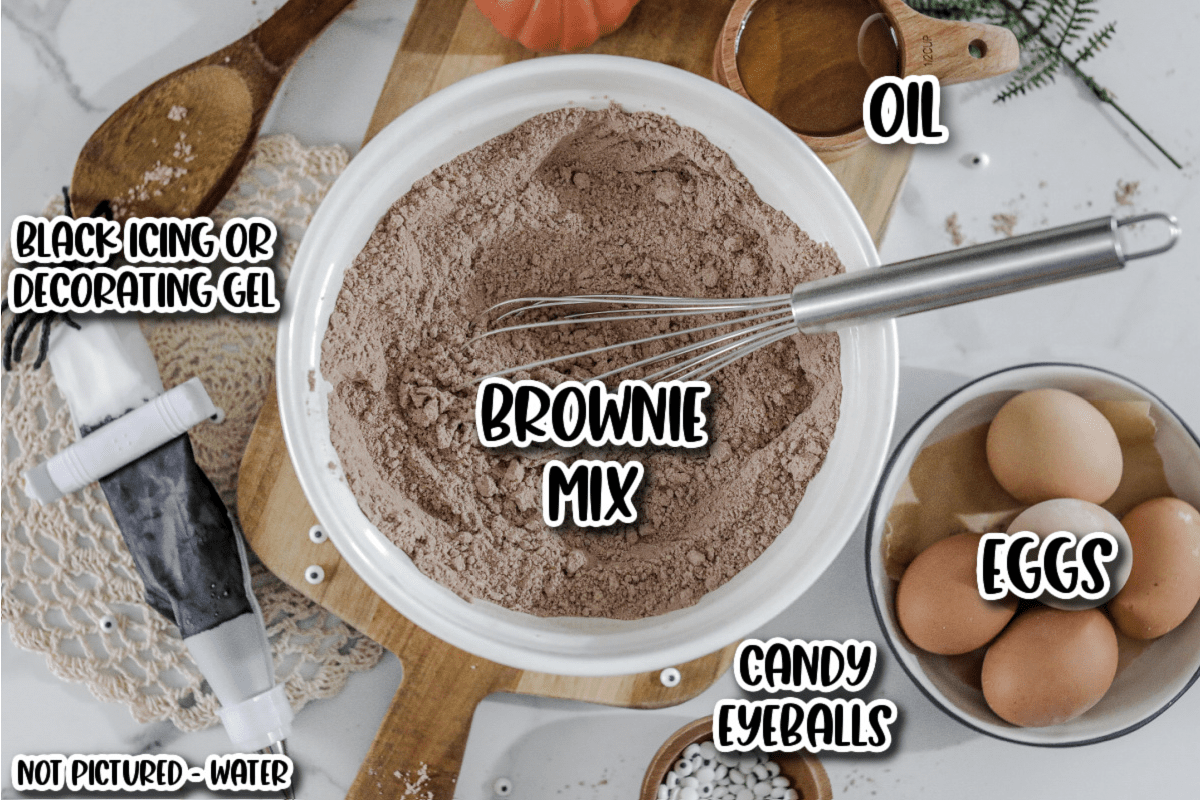
- Boxed brownie mix (plus the listed ingredients that it takes to make them)
- Black decorating icing/gel (or black cookie icing)
- 12 candy eyeballs, small
Note: Make sure to use the ingredients (and measurements) listed on the brownie mix. Usually, it’s just water, oil, and eggs.
How to Make Delicious Hocus Pocus Brownies
Pre-heat oven to temperature indicated on brownie batter box.
Step 1. Added the brownie mix and listed ingredients to a mixing bowl.
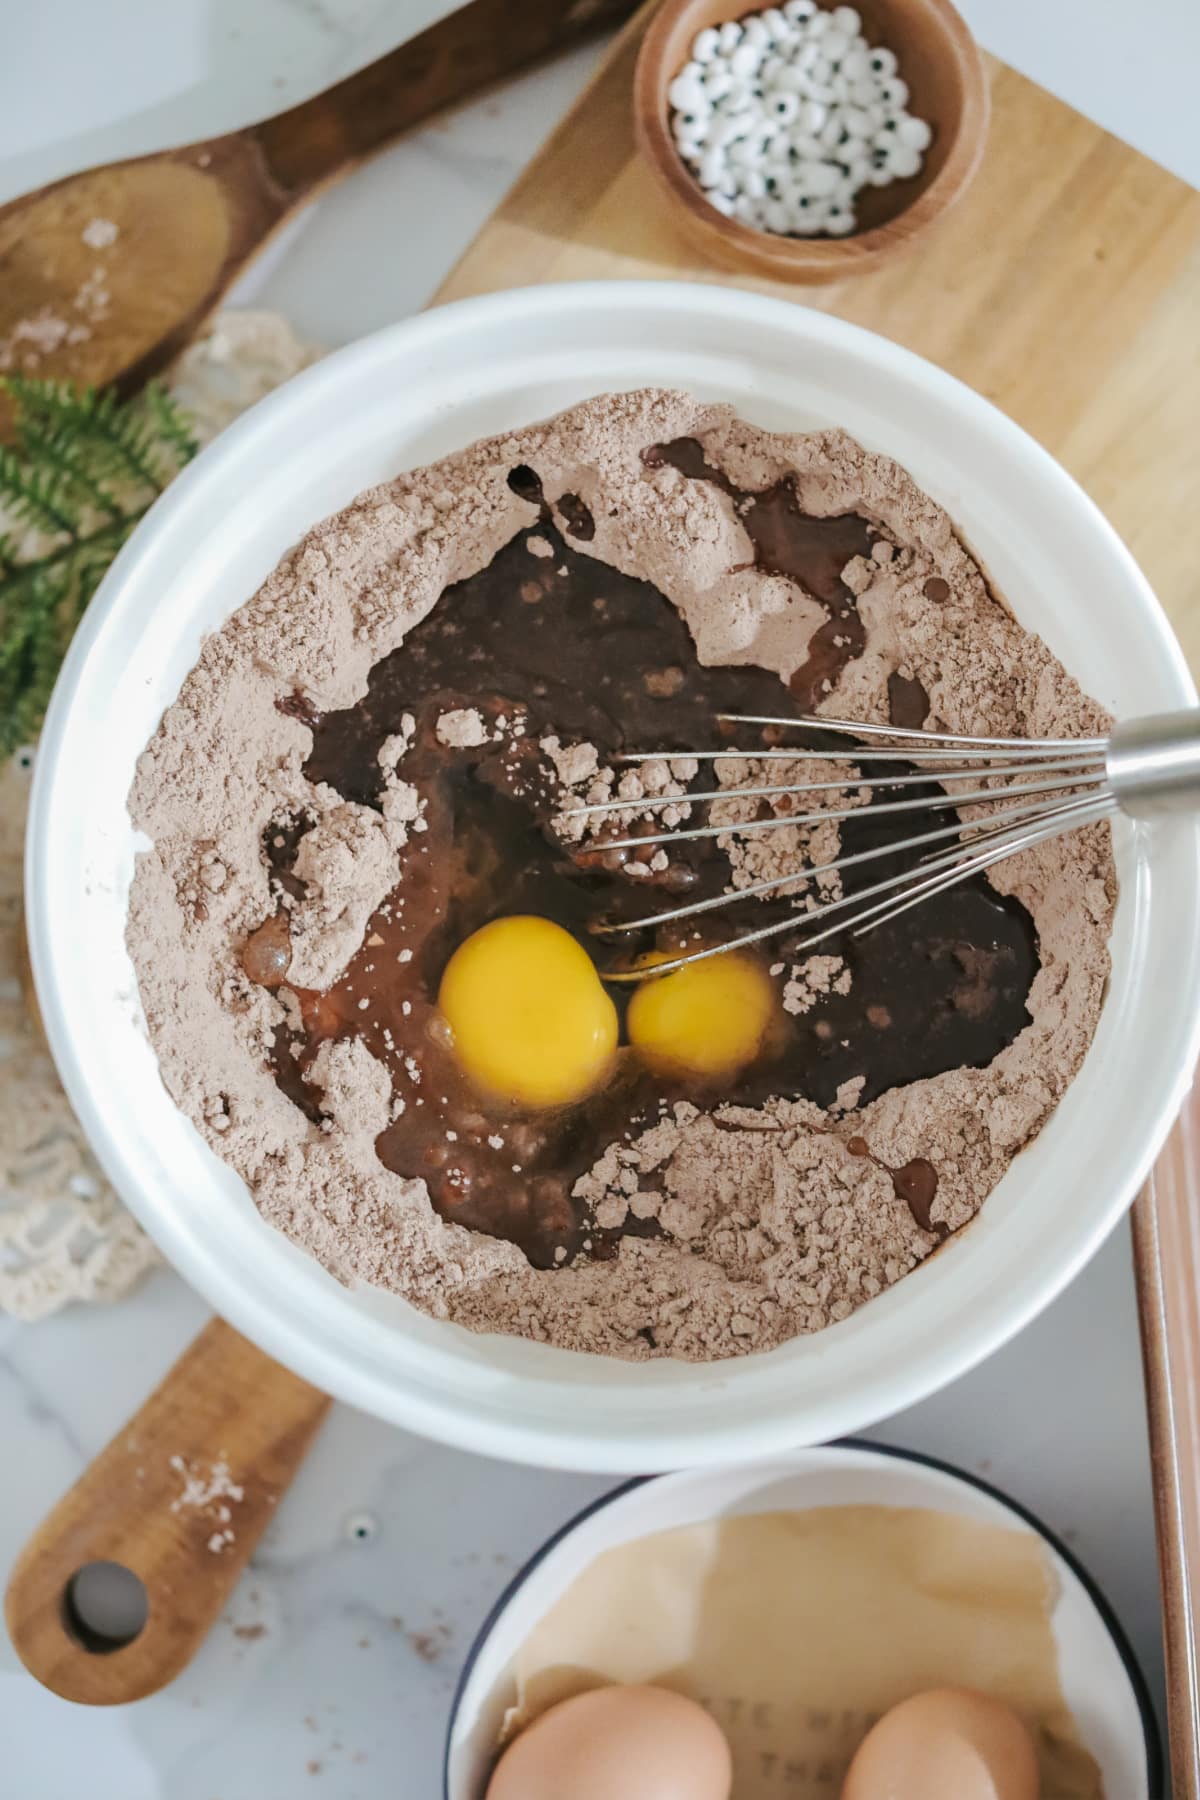
Step 2. Whisk just until all the dry mix is well incorporated with the wet ingredients. The batter will still have smalls lumps and that’s okay.
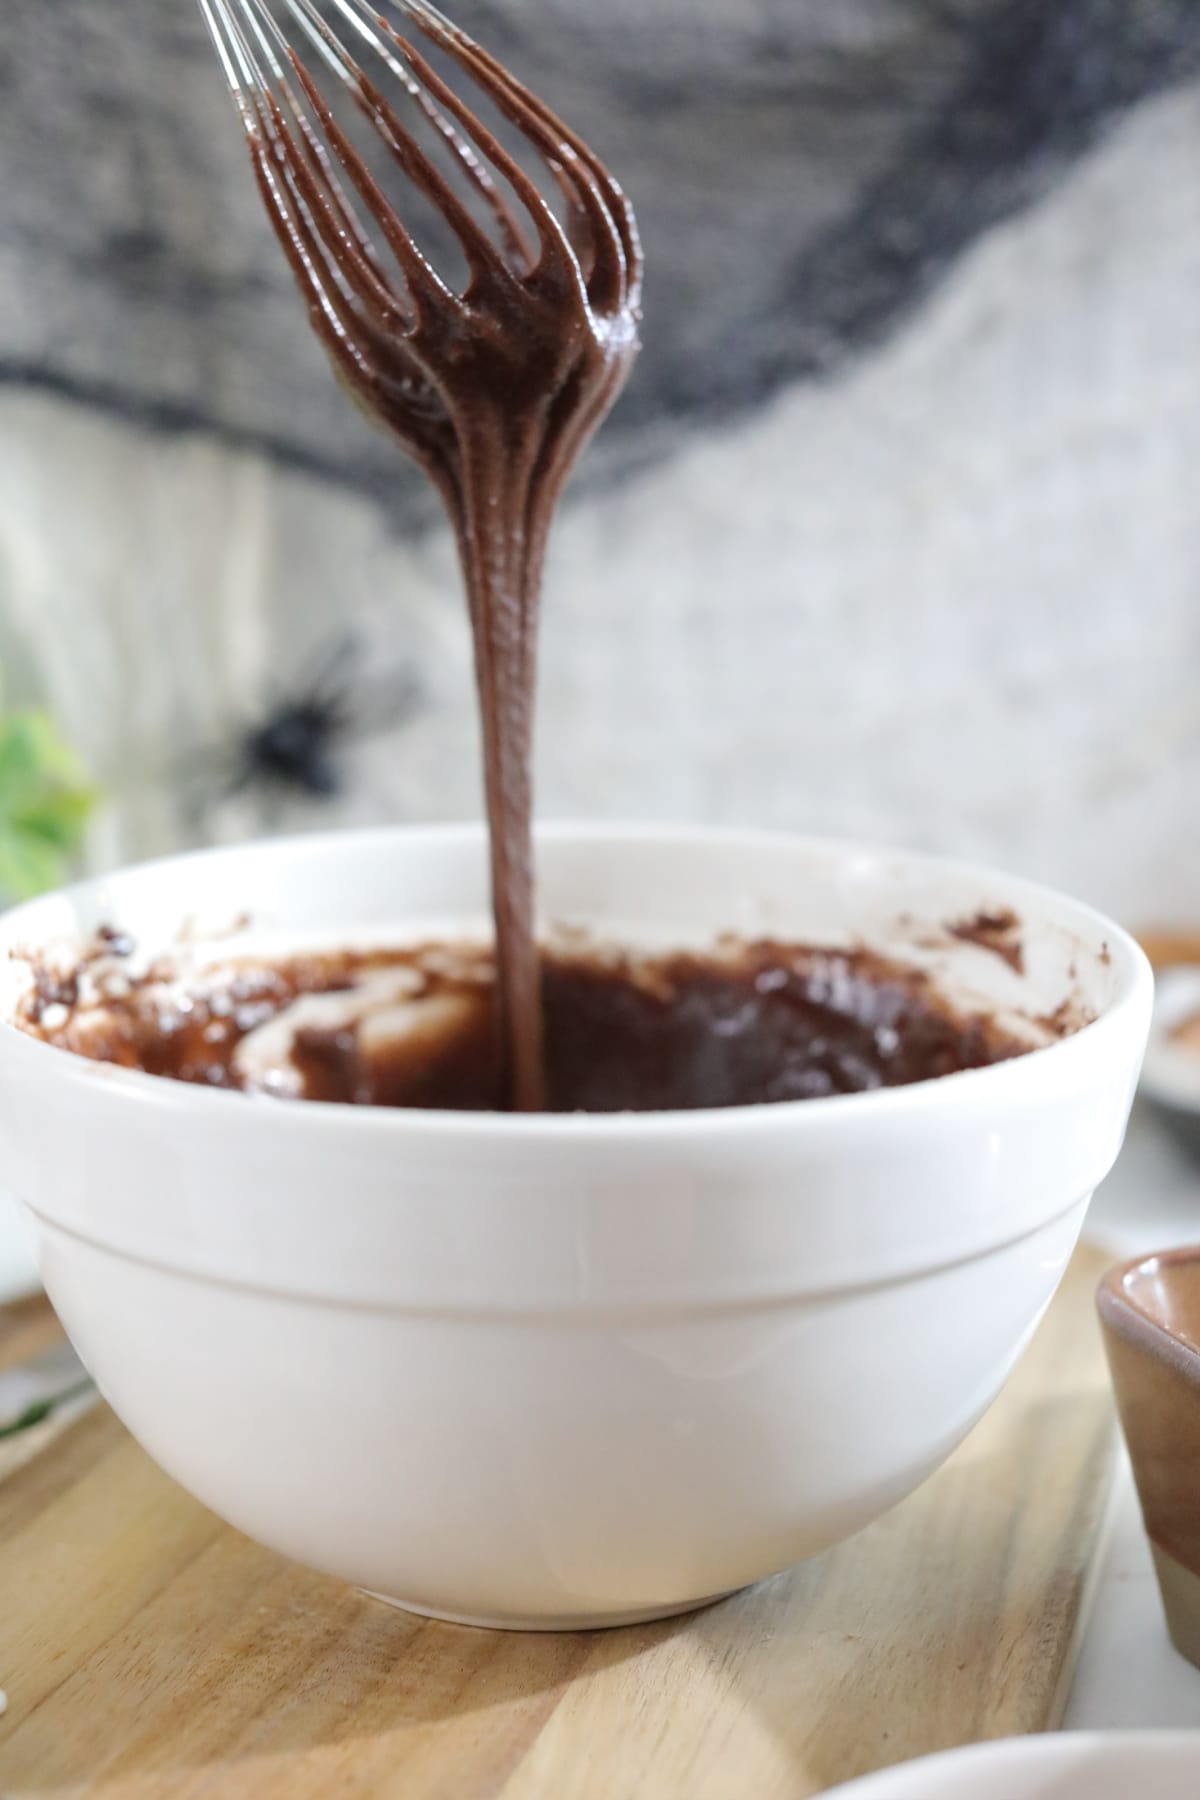
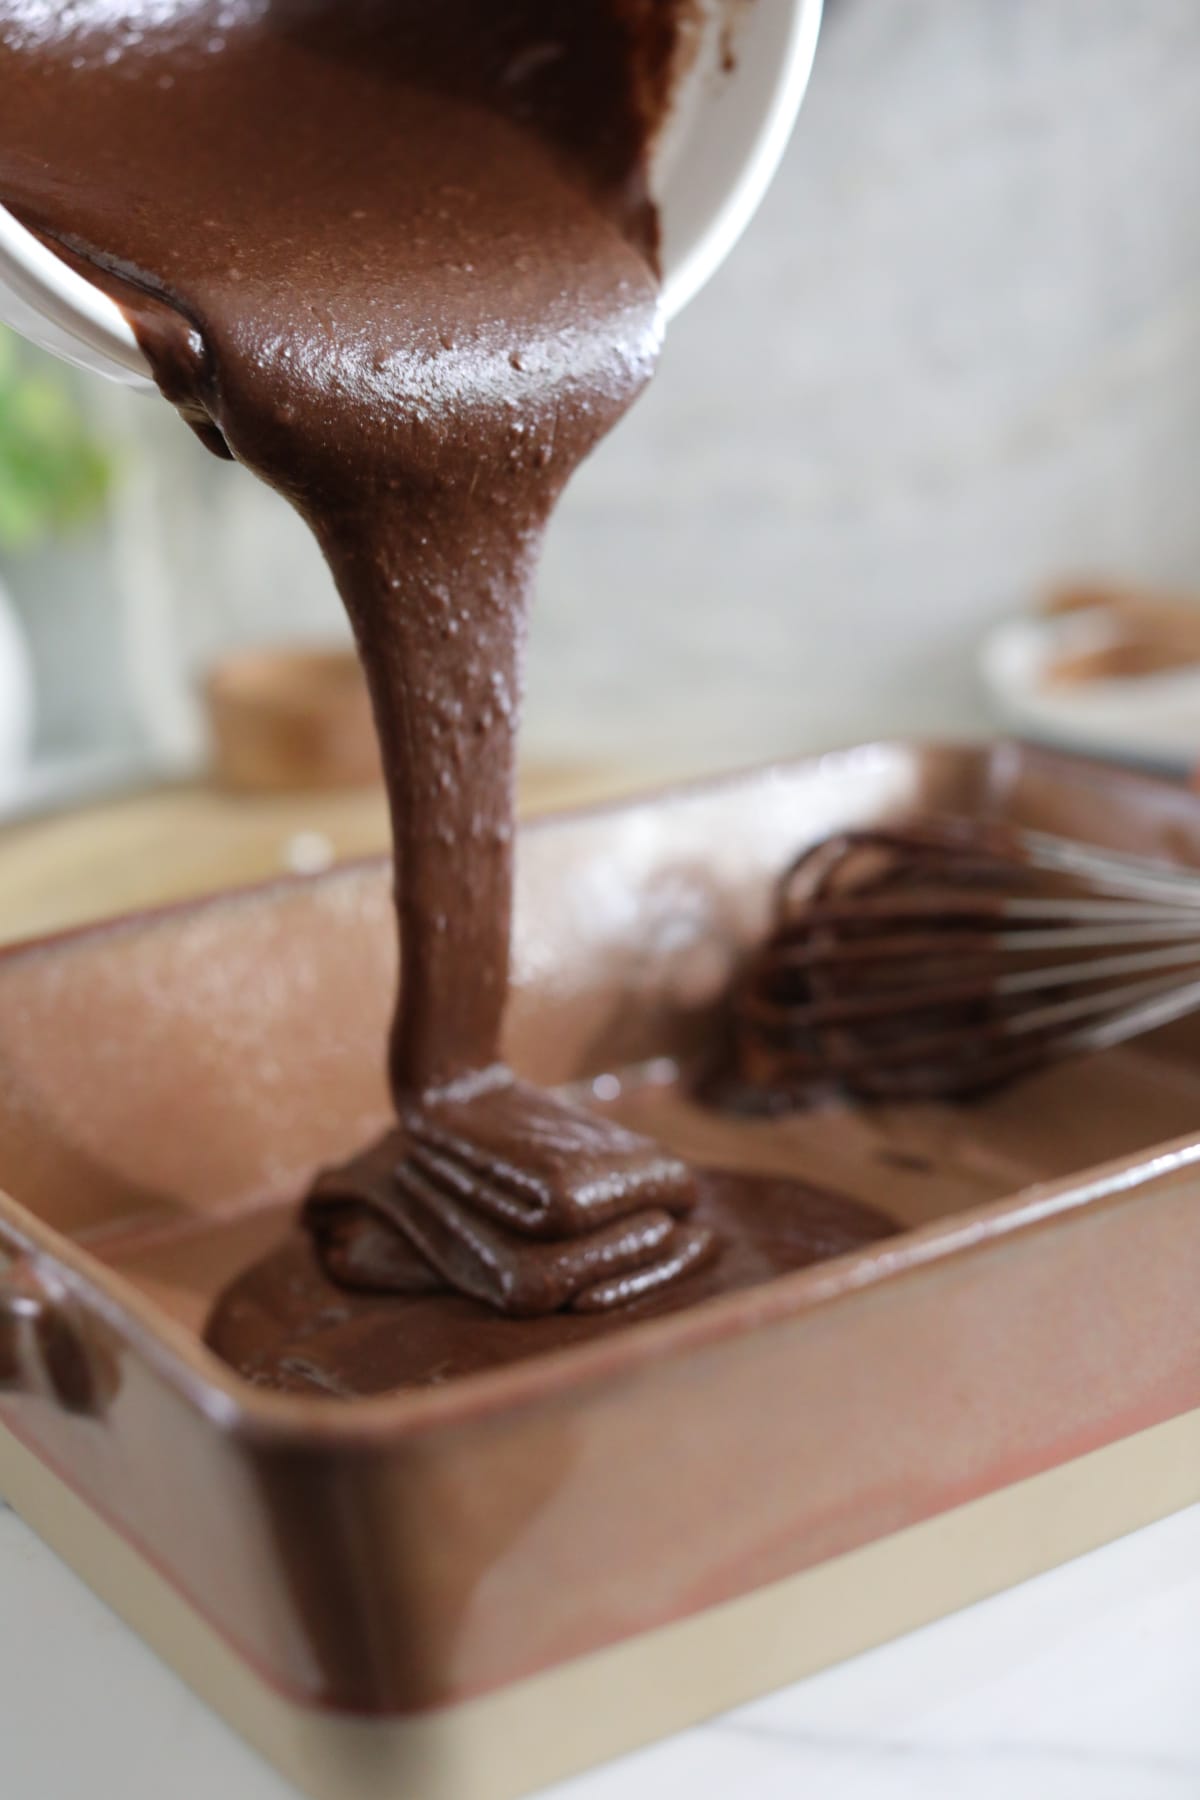
Step 3: Lightly coat a 9×13″ metal baking pan with the non-stick cooking spray or lined with parchment paper. Pour brownie batter into the prepared pan.
Step 4. Bake according to box directions or until the center appears firm. You and also stick a toothpick in the center of the brownies to check. If it comes out mostly clean, the brownies are done. Remove the brownies from the oven and allow them to cool completely before cutting.
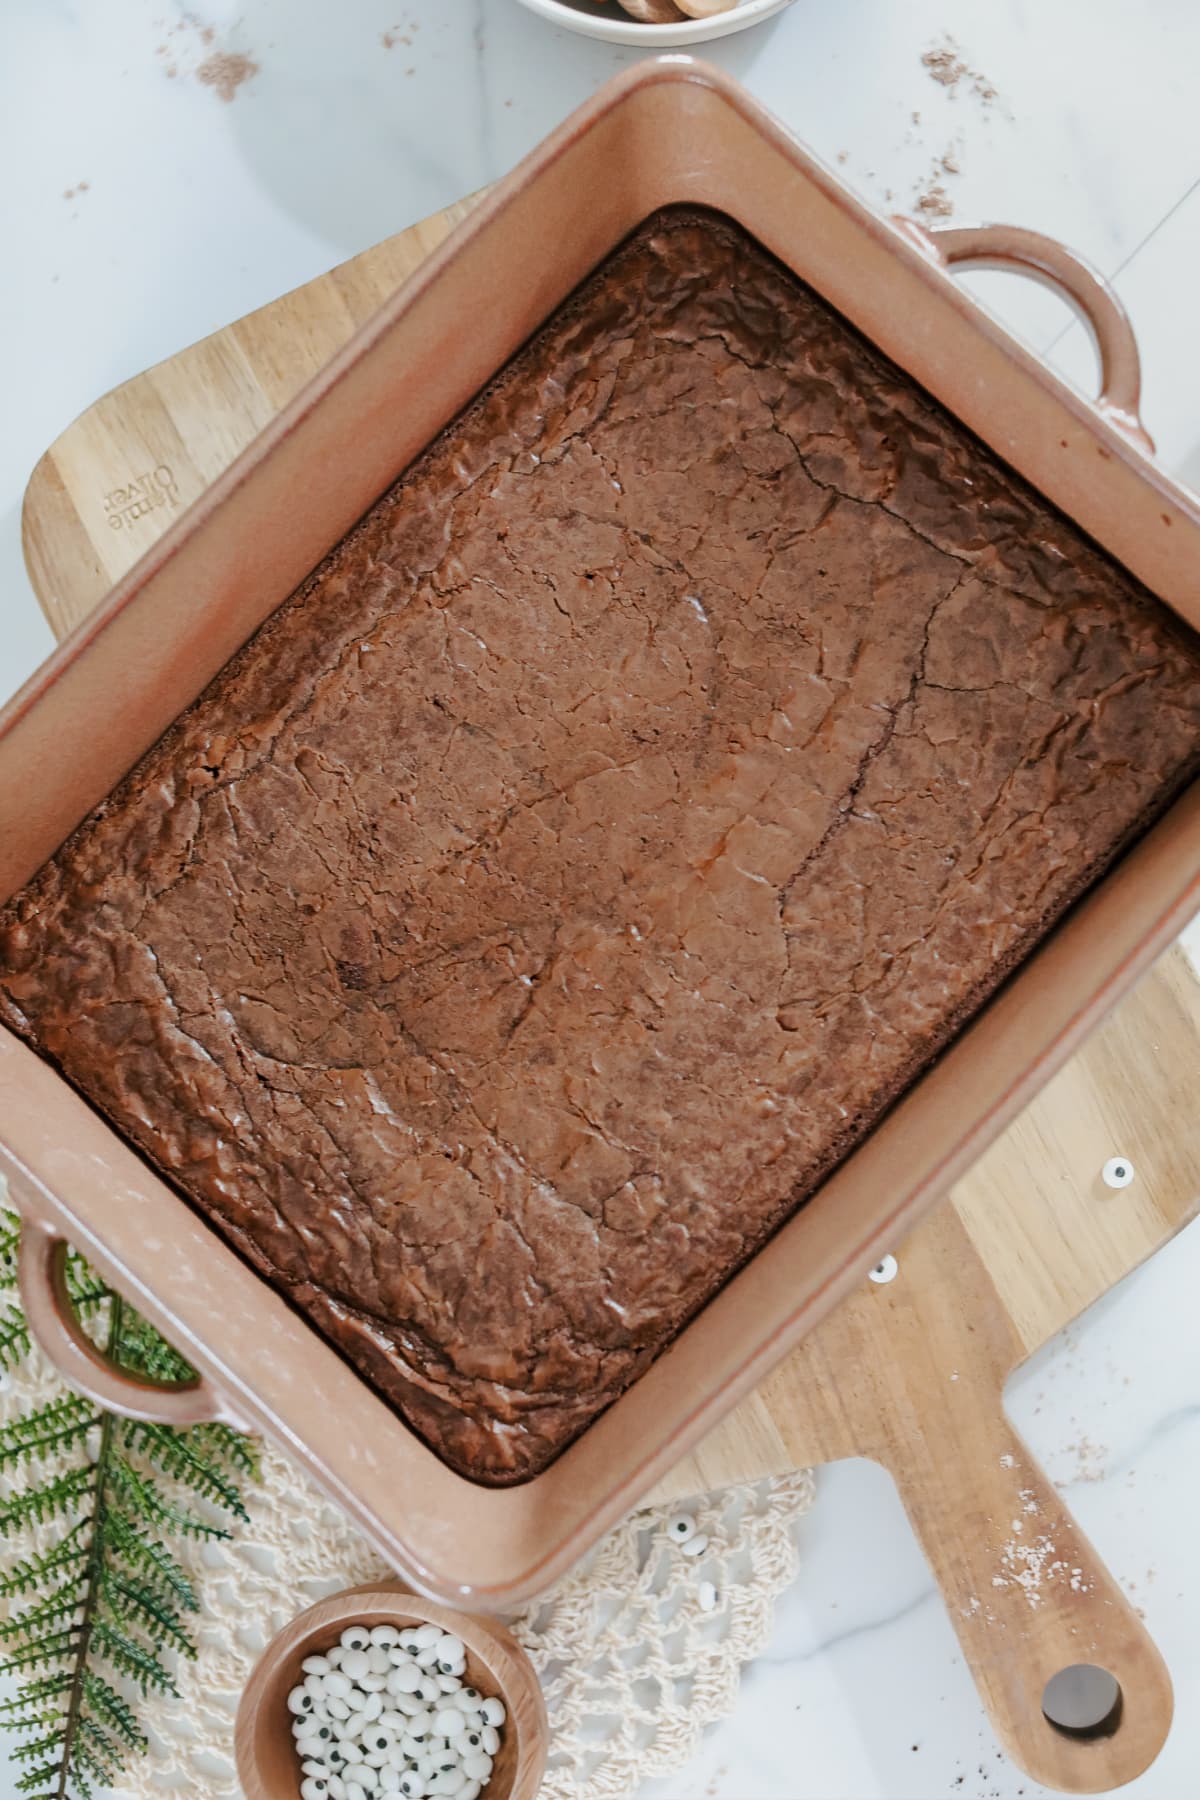
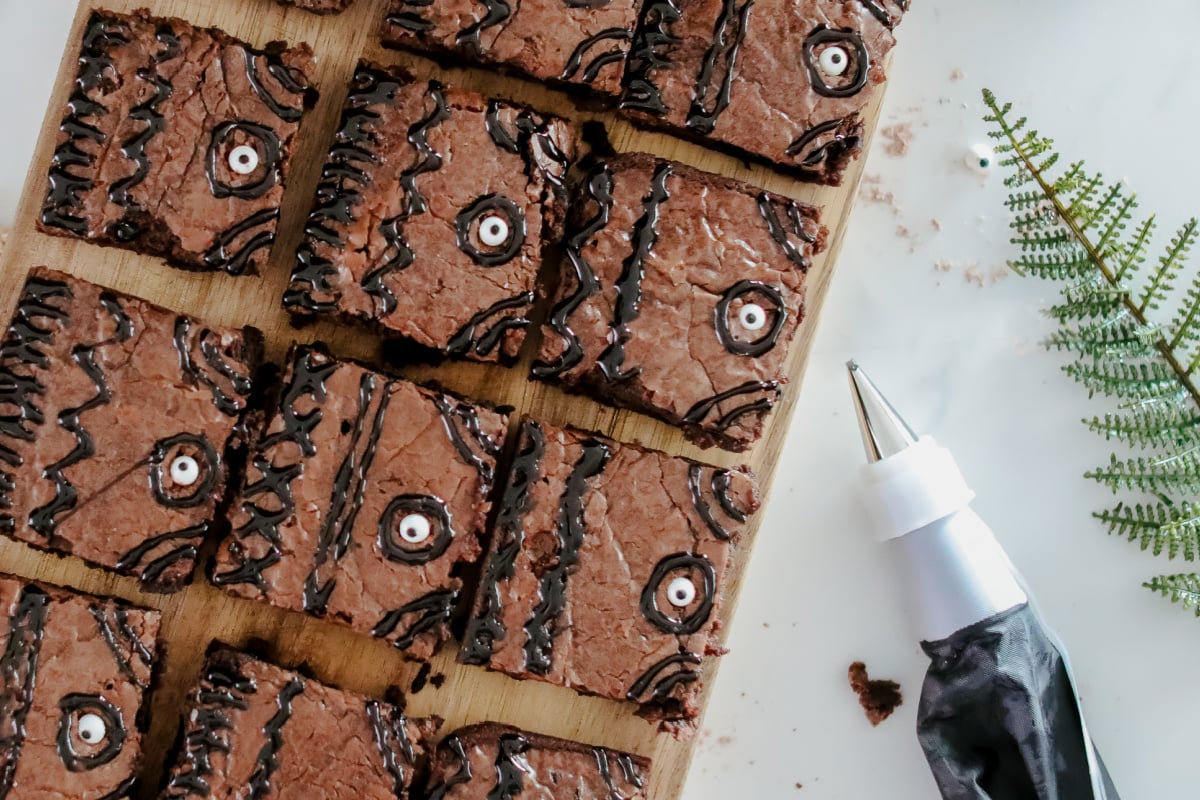
Step 5. Once cooled, cut the brownies into 12 equal sized rectangles (4 x 3).
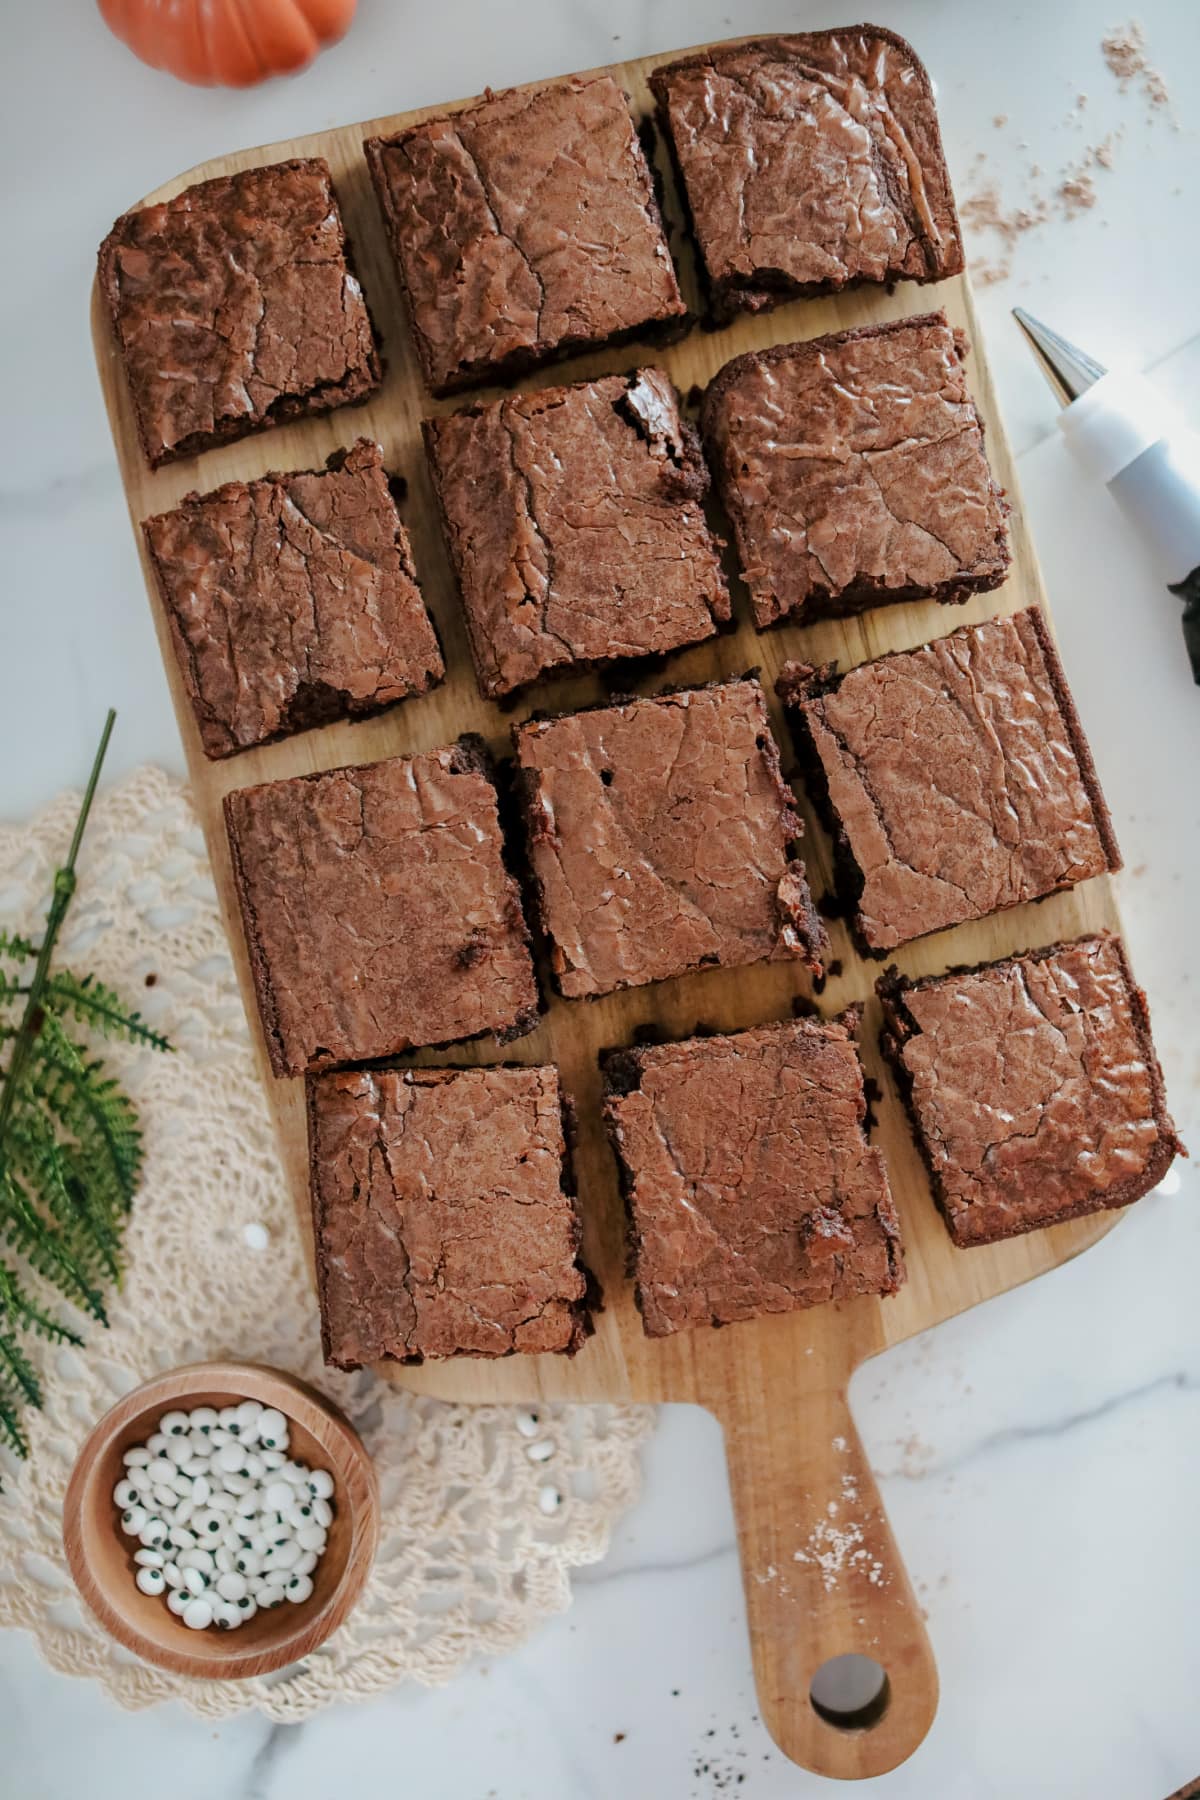
Step 6. Carefully press one candy eye into each brownie on the right side about halfway down, be certain to leave enough space by edges to draw a circle around each eye.
Step7. Using the black icing gel, draw a circle around the eyes. If you use regular frosting, you’ll want to put it in a piping bag first.
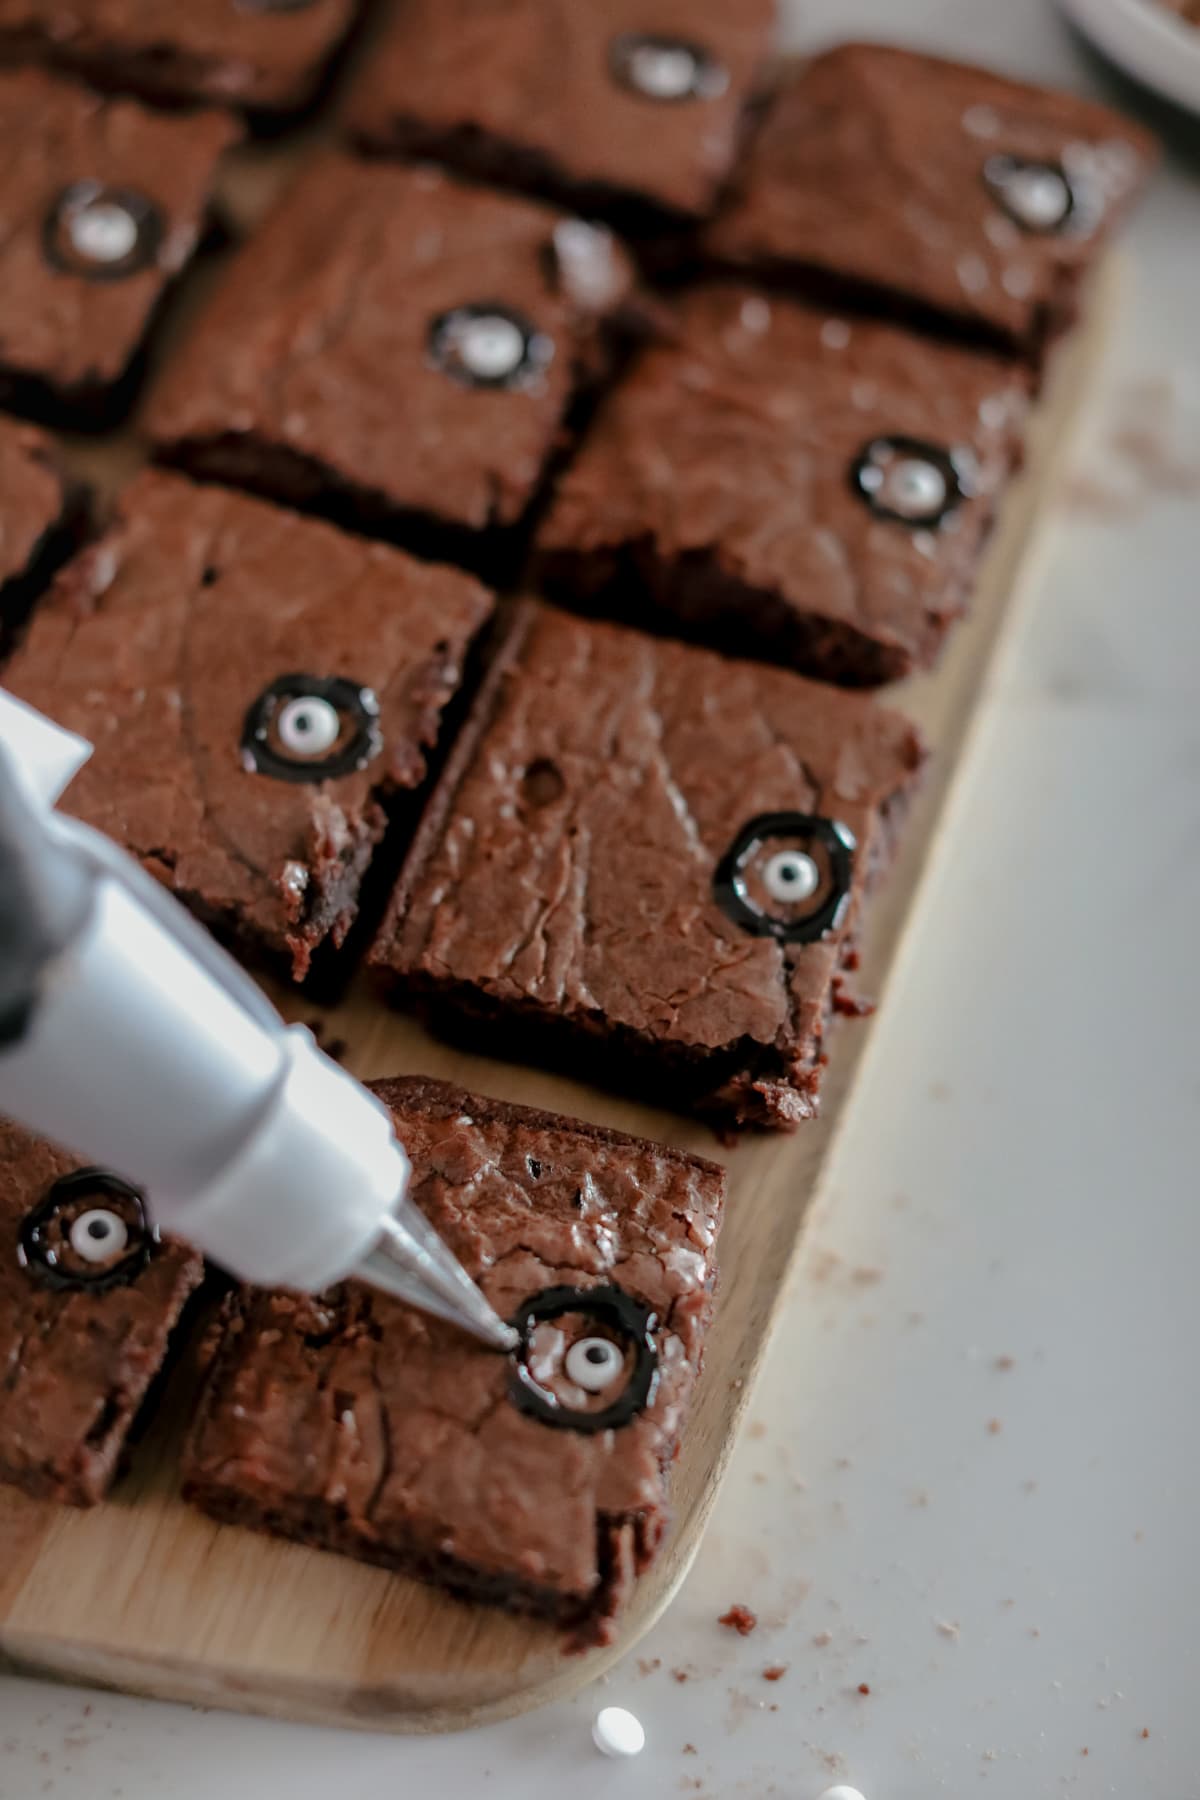
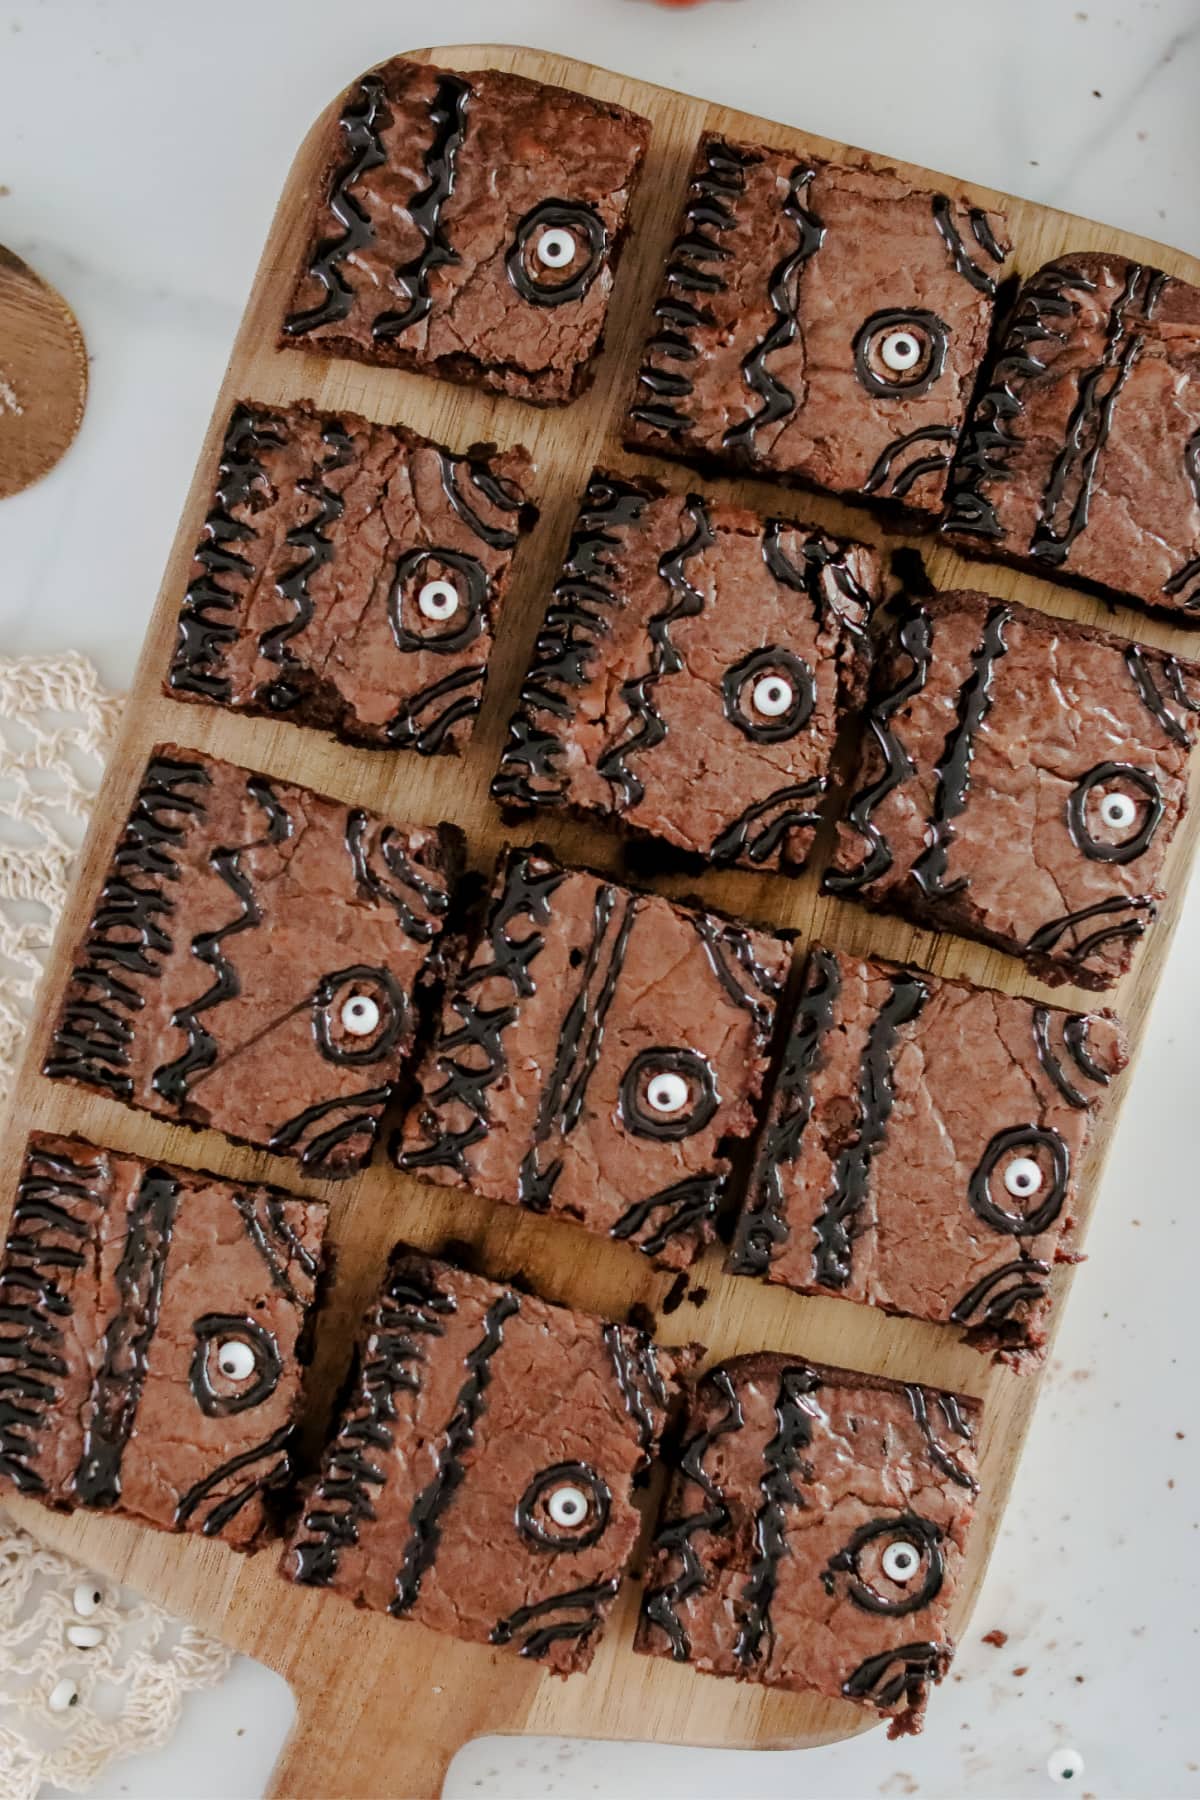
Step 8. Draw marks along the left side from top to bottom to resemble the book seams.
Step 9. Slightly further in on the brownie create lines vertically or in swirls (your choice) to add character to each brownie spell book. Continue decorating the remaining brownies. Finally, add half circles to the corners above and below the eye and you’re done!
Serve and enjoy!
Variations and Add-ins for Spellbook Brownies
- Frosted brownies: If you want to add frosting, you can use store bought chocolate frosting from the grocery store or make your own with powdered sugar, unsweetened cocoa powder and some melted butter.
- Chocolate covered brownies: If you really want to go all out, freeze individual brownies for about an hour. Melt semi-sweet or milk chocolate chips in a microwave-safe bowl on medium power for 30 second intervals until smooth but not hot. Then dip the frozen brownie into the melted chocolate and place them on a wire rack on a cookie sheet so the excess chocolate drips off. Finally, add the decorations.
- Nutty Halloween brownies: You can always add chopped pecan or walnuts to the brownie batter for a little bit of crunch.
- Extra chocolatey: Take your box brownies further by adding white or milk chocolate chips to the batter! You could even add some chocolate toffee bit to the batter.
- Homemade recipe: Box mix brownies are really delicious, but you if you have your own recipe you’d like to use, it will work just as well.
How Do I Store Decorated Brownies?
Store brownies at room temperature in a cool place up to 4-5 days by wrapping them tightly in plastic wrap or foil or by placing them in an airtight container. Just make sure the decorating icing is nice and dry before wrapping.
Can I Freeze These Brownies?
Absolutely! Slip the brownies into a freezer safe or in an airtight container and place them in the freezer for up to several months. To thaw, you can just place them on a plate on the kitchen counter until they’re room temperature.
Want More Fun Halloween Treats?
If you liked this easy fudge brownie recipe, you’ll want to check these out too! They’ll make the perfect addition to any Halloween dessert table!
- 25 Halloween Cocktails
- Halloween Candy Corn Bark
- Candy Corn Fudge
- Harry Potter Pumpkin Pasties
- Candy Corn Inspired Halloween Cookies
- No Bake Pumpkin Lasagna
- Candy Corn Cookie Bars
- Pumpkin Whoopie Pies
Hocus Pocus Spellbook Brownies
Equipment
- 1 whisk
Ingredients
- 1 box brownie mix
- 2 eggs
- 1/2 cup vegetable oil
- 3 tbsp water
- 12 candy eyeballs small
- Black decorating icing
- non-stick cooking spray
Instructions
- Added the brownie mix and listed ingredients to a mixing bowl. (Be sure to default to the ingredient amounts listed on box)1 box brownie mix, 2 eggs, 1/2 cup vegetable oil, 3 tbsp water
- Whisk just until all the dry mix is well incorporated with the wet ingredients. The batter will still have smalls lumps and that’s okay.
- Lightly coat a 9×13" metal baking pan with the non-stick cooking spray or lined with parchment paper. Pour brownie batter into the prepared pan.non-stick cooking spray
- Bake according to box directions or until the center of the brownies appear firm. Once they have finished baking allow them to cool completely.
- Once cooled, cut the brownies into 12 equal sized rectangles (4 x 3)
- Carefully press one candy eye into each brownie on the right side about halfway down, be certain to leave enough space by edges to draw a circle around each eye.12 candy eyeballs
- Using the black icing gel, draw a circle around each of the large candy eyes.Black decorating icing
- Draw marks along the left side from top to bottom to resemble the book seams.Black decorating icing
- Slightly further in on the brownie create lines vertically or in swirls (your choice) to add character to each brownie spell book. Continue decorating the remaining brownies. Finally, add half circles to the corners above and below the eye and you’re done!Black decorating icing
Notes
- Be sure to check your brownie mix box and adjust your water, eggs and oil if necessary. You should follow the instructions on the box for best results.
- Add nuts, chocolate chips or even top with frosting to make this dessert even more decadent.
Nutrition
Did You Make This Recipe?
Share it with me on Instagram @funmoneymom and follow on Pinterest @funmoneymom for more!
Let’s be friends!
Did you love this post? Make sure to comment below and let me know your thoughts! And don’t forget to follow on your favorite social network below!

About Lisa O’Driscoll
Lisa O’Driscoll is a lifestyle and parenting expert, cookbook author, and the creative force behind Fun Money Mom, a popular blog she’s run since 2014. She’s the author of the children’s cookbook Roll It, Slice It, Mash It, Dice It, designed to get kids excited about cooking. With multiple TV appearances under her belt, she loves sharing her expertise on family-friendly recipes, creative DIYs, and party planning and is always on a mission to inspire and entertain!









the picture of your glass pan does not look like an 8×8
You are absolutely right! That was a typo on my part…thanks SO much for pointing it out. I just corrected it.