
Mini Banana Pudding Bites Recipe
This post may contain affiliate links. As an Amazon Associate, I earn from qualifying purchases.
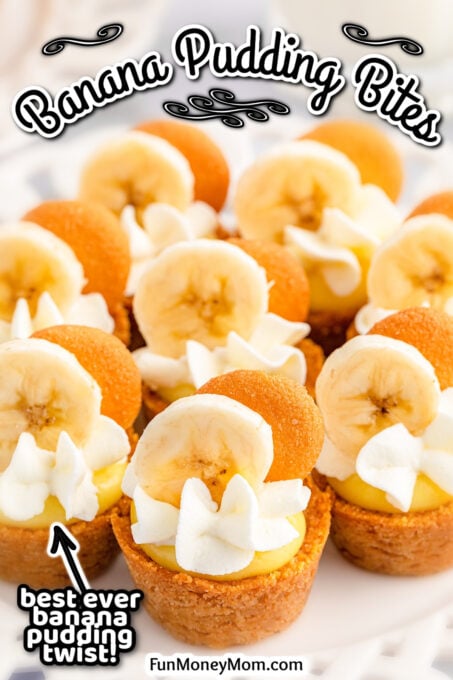
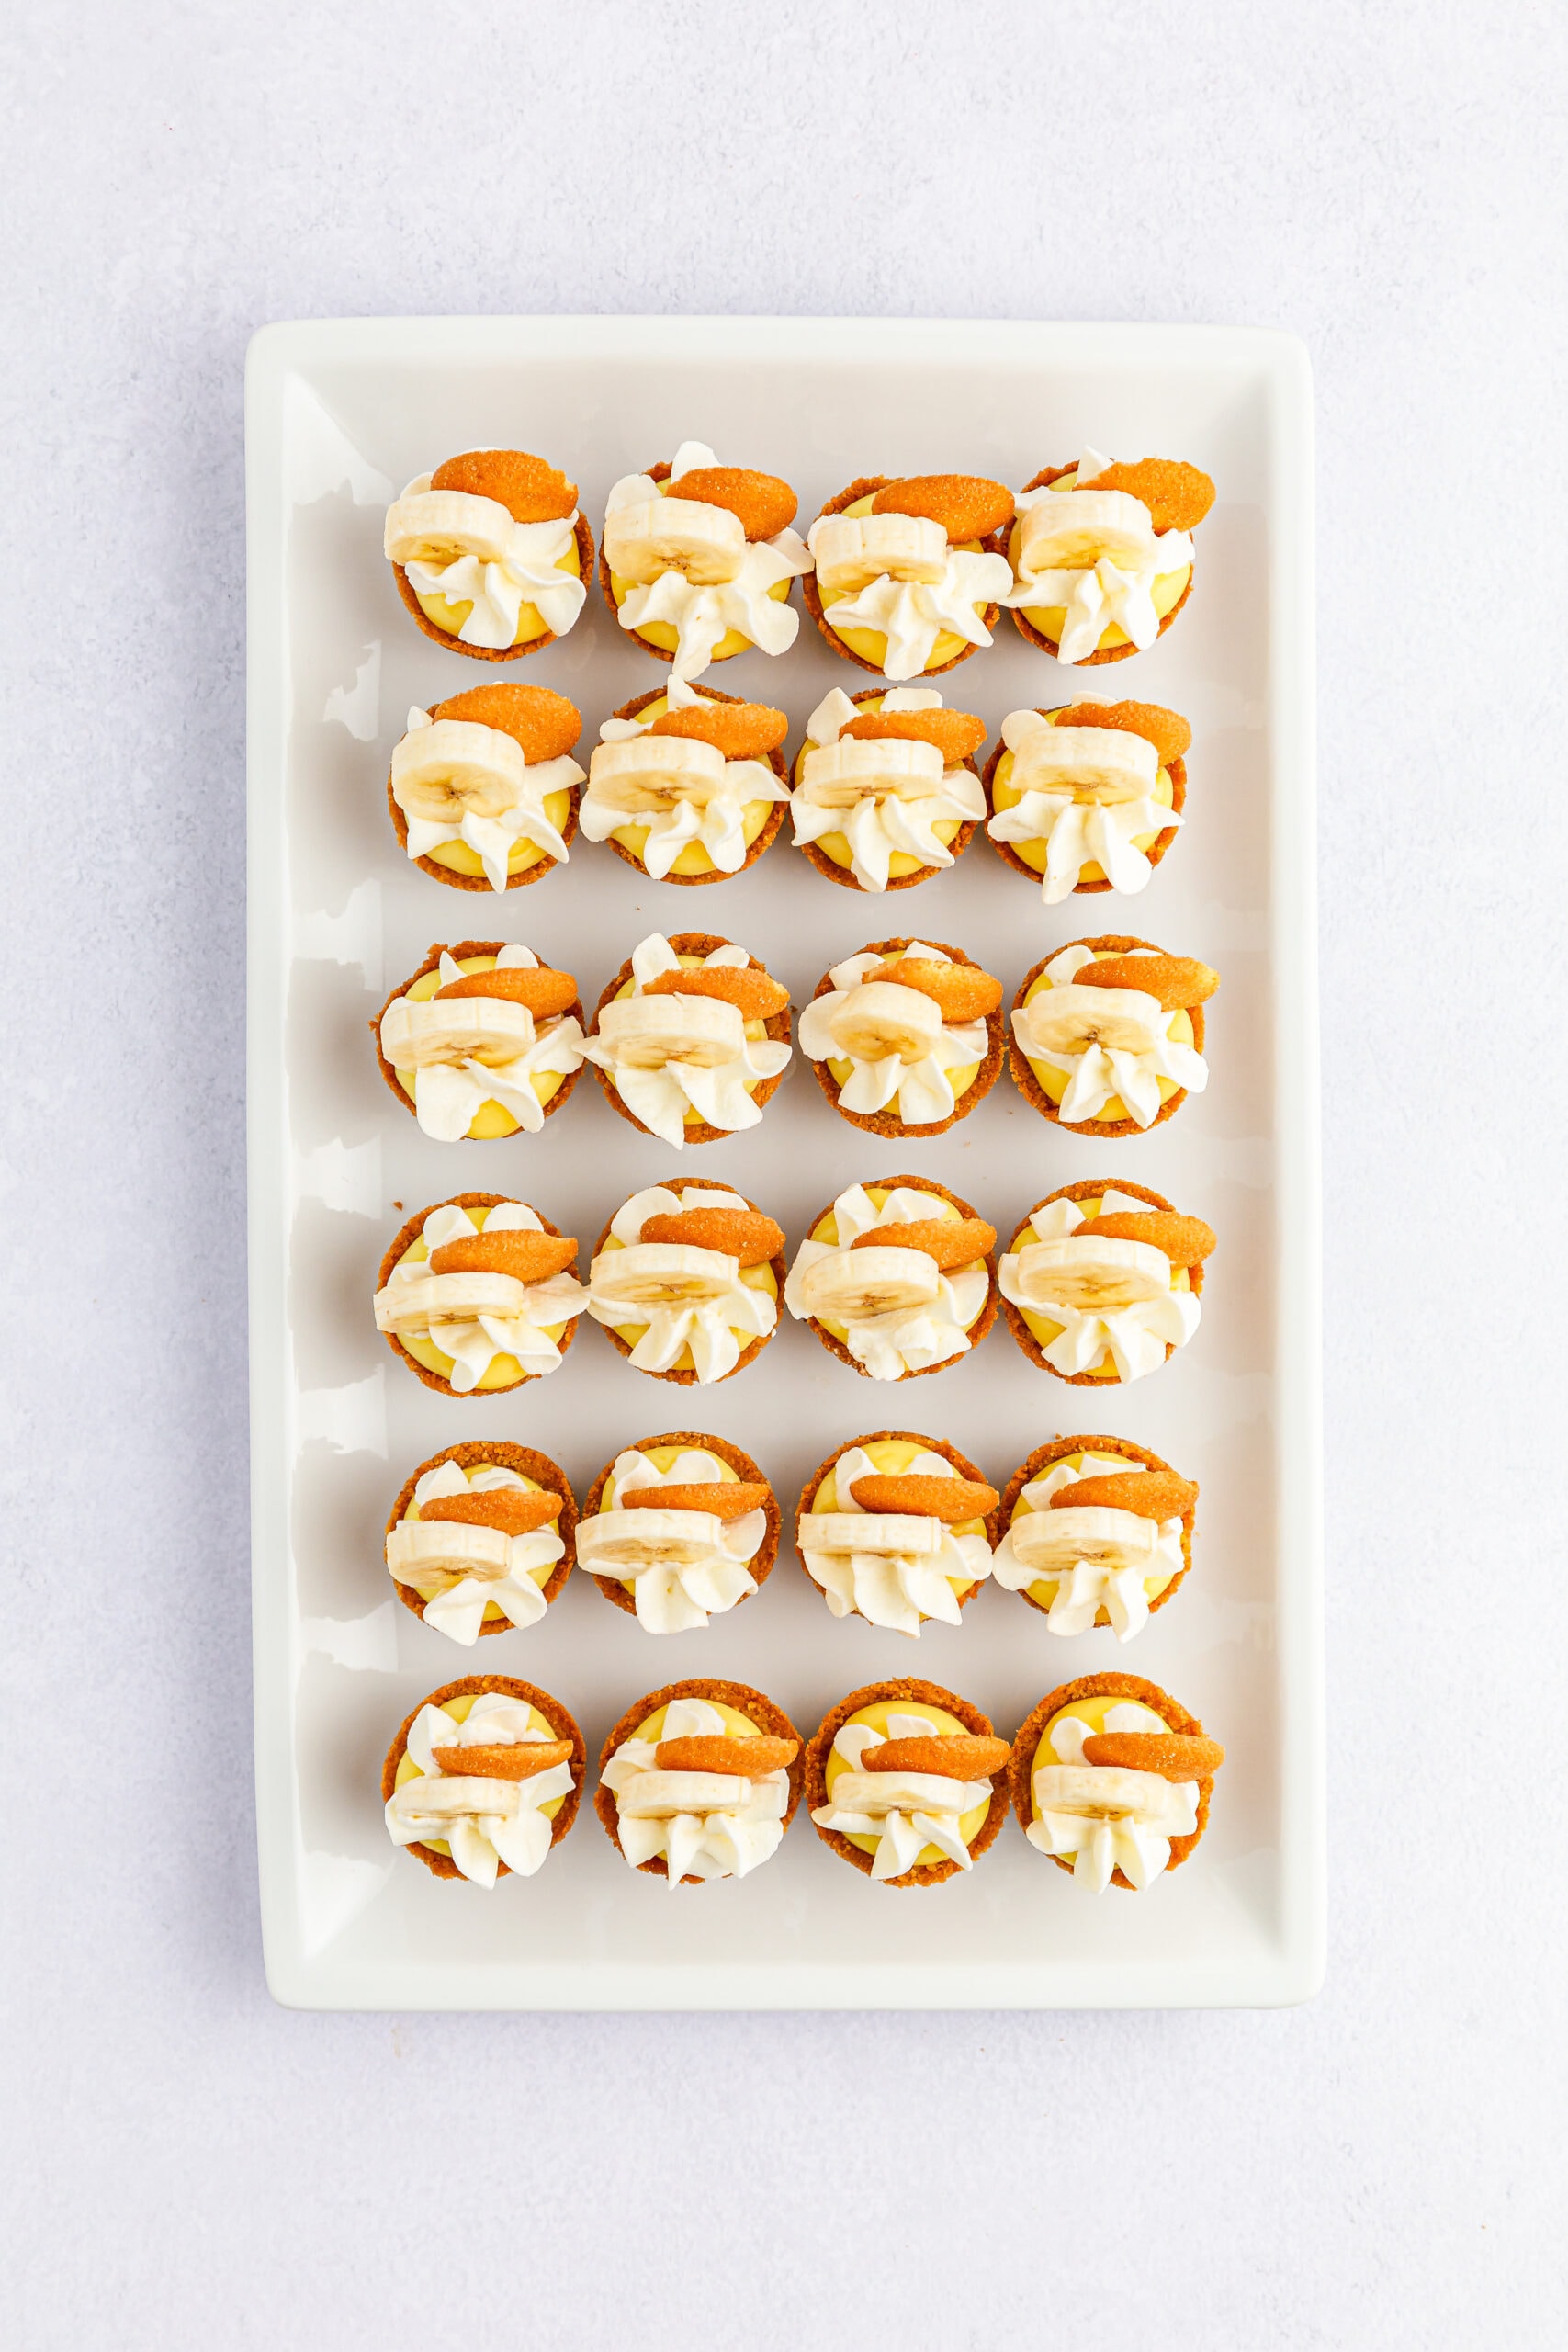
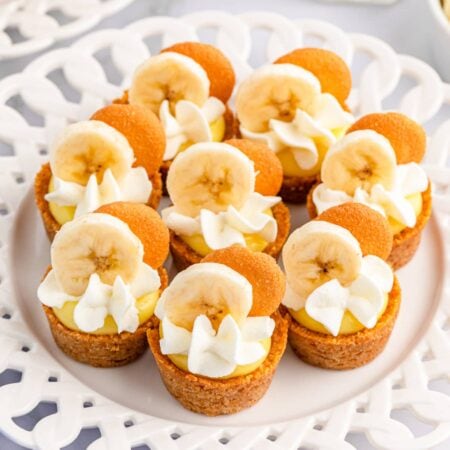
These fun Mini Banana Pudding Bites give you the delicious taste of banana pudding in a cute bite size serving. The perfect treat for your next party, these sweet mini desserts are guaranteed to be a big hit!
If you’re looking for a new favorite party dessert and love the taste of a classic southern banana pudding, these banana pudding bites will be your new favorite treat. Quick and easy to make, they’ll look adorable on your party table.
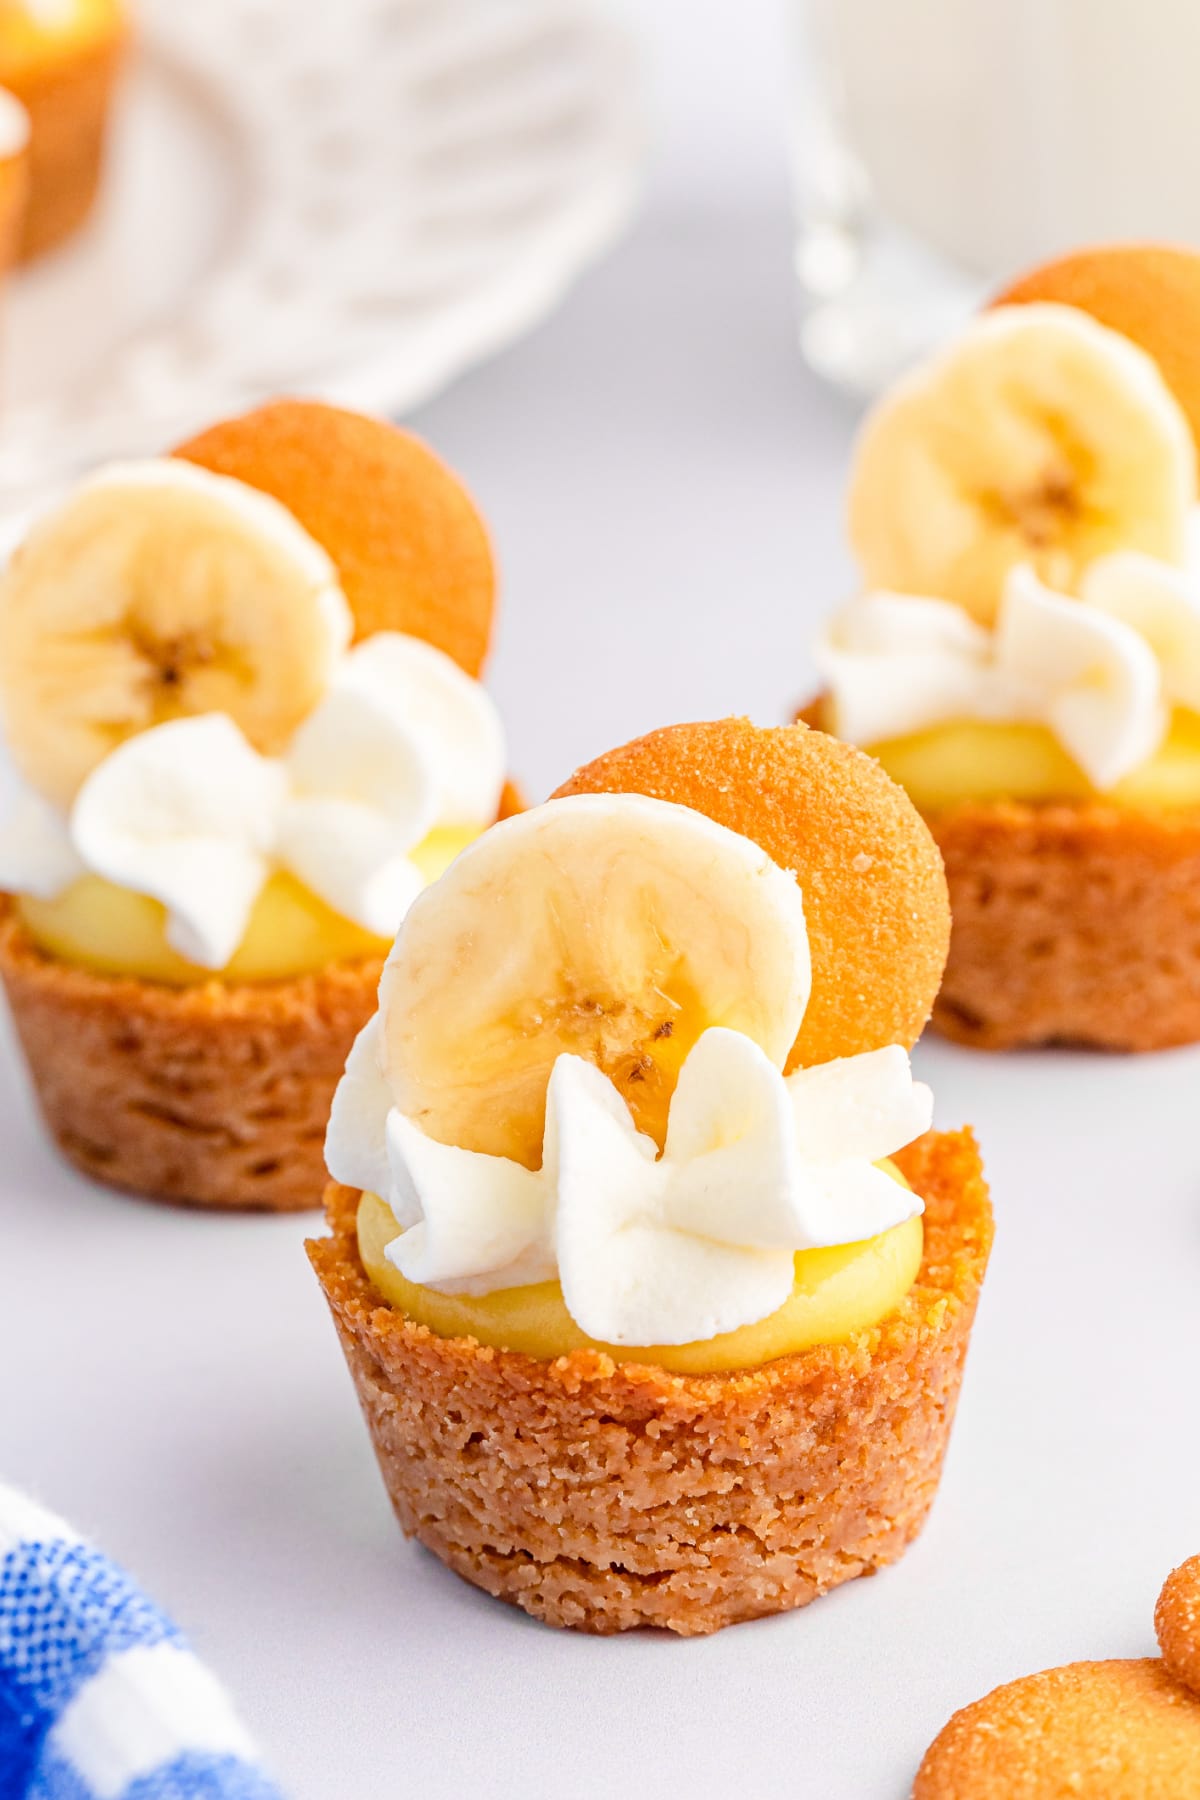
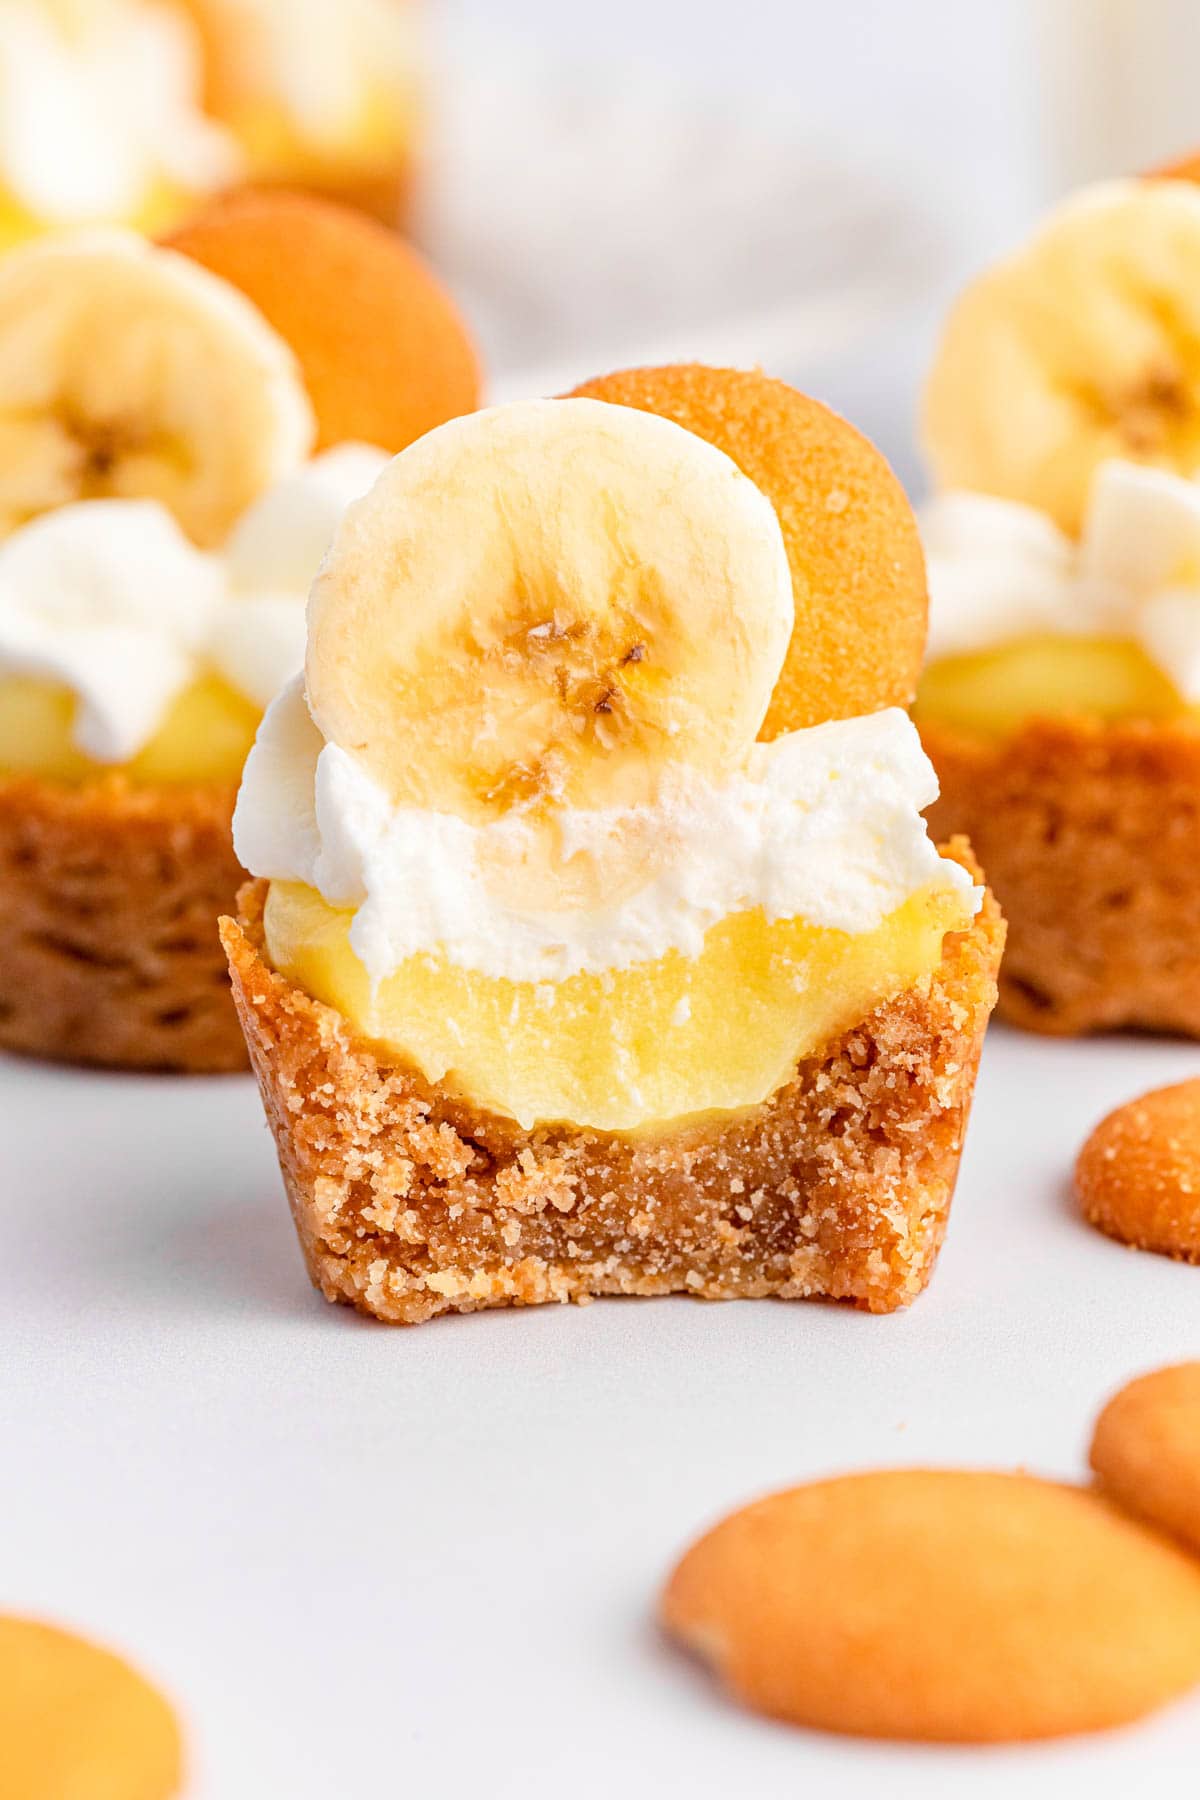
Crushed vanilla wafer cookies form the cutest mini crusts for these bites, which are then filled with creamy banana pudding, whipped cream, and fresh banana slices. They’re bursting with fresh banana flavor and look like tiny banana pudding pies!
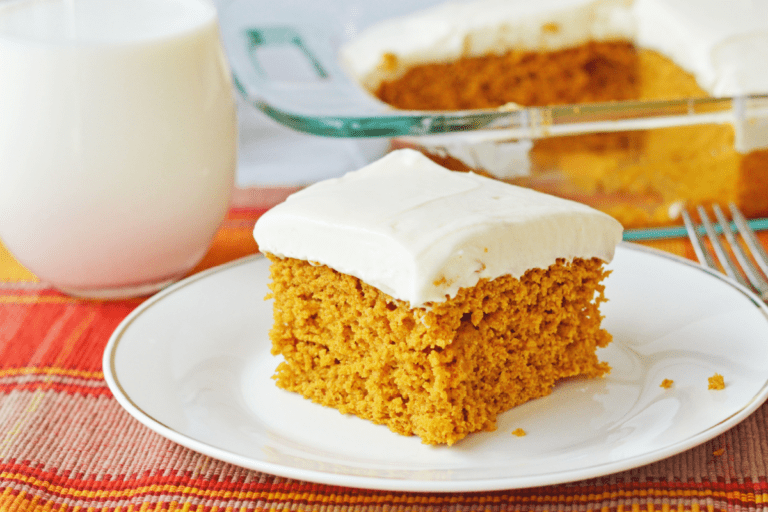
Like this Banana Pudding Poke Cake, they’re easy to make and perfect for your spring and summer barbecues and cookouts. Bring some to your next event and watch them disappear in a hurry!
Why We Love This Recipe
It’s Easy – This recipe turns an instant pudding into a special occasion worthy treat. It’s impressive looking, yet super easy to make.
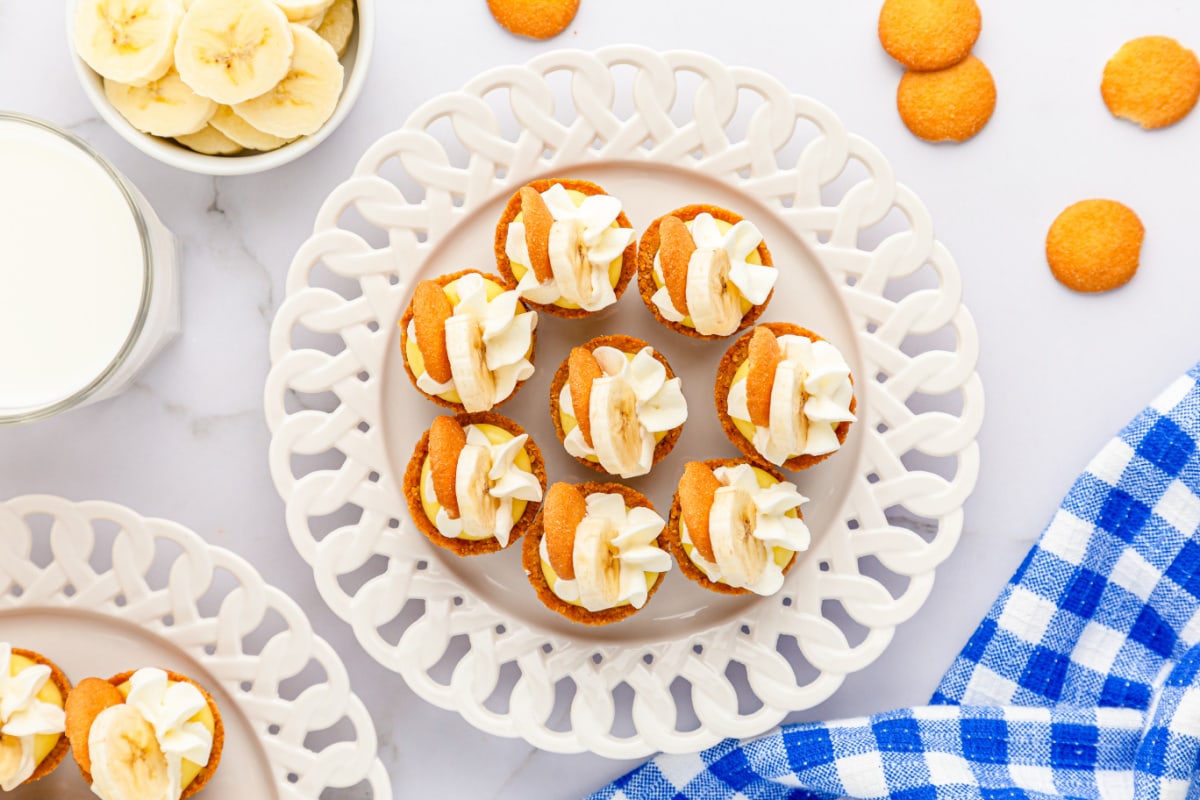
Great for Parties – These cute mini treats are the perfect size for a party, and they’ll look great on your dessert table.
Budget Friendly – With just a few inexpensive ingredients, this is a great recipe for feeding a crowd on a budget.
Ingredients Needed:
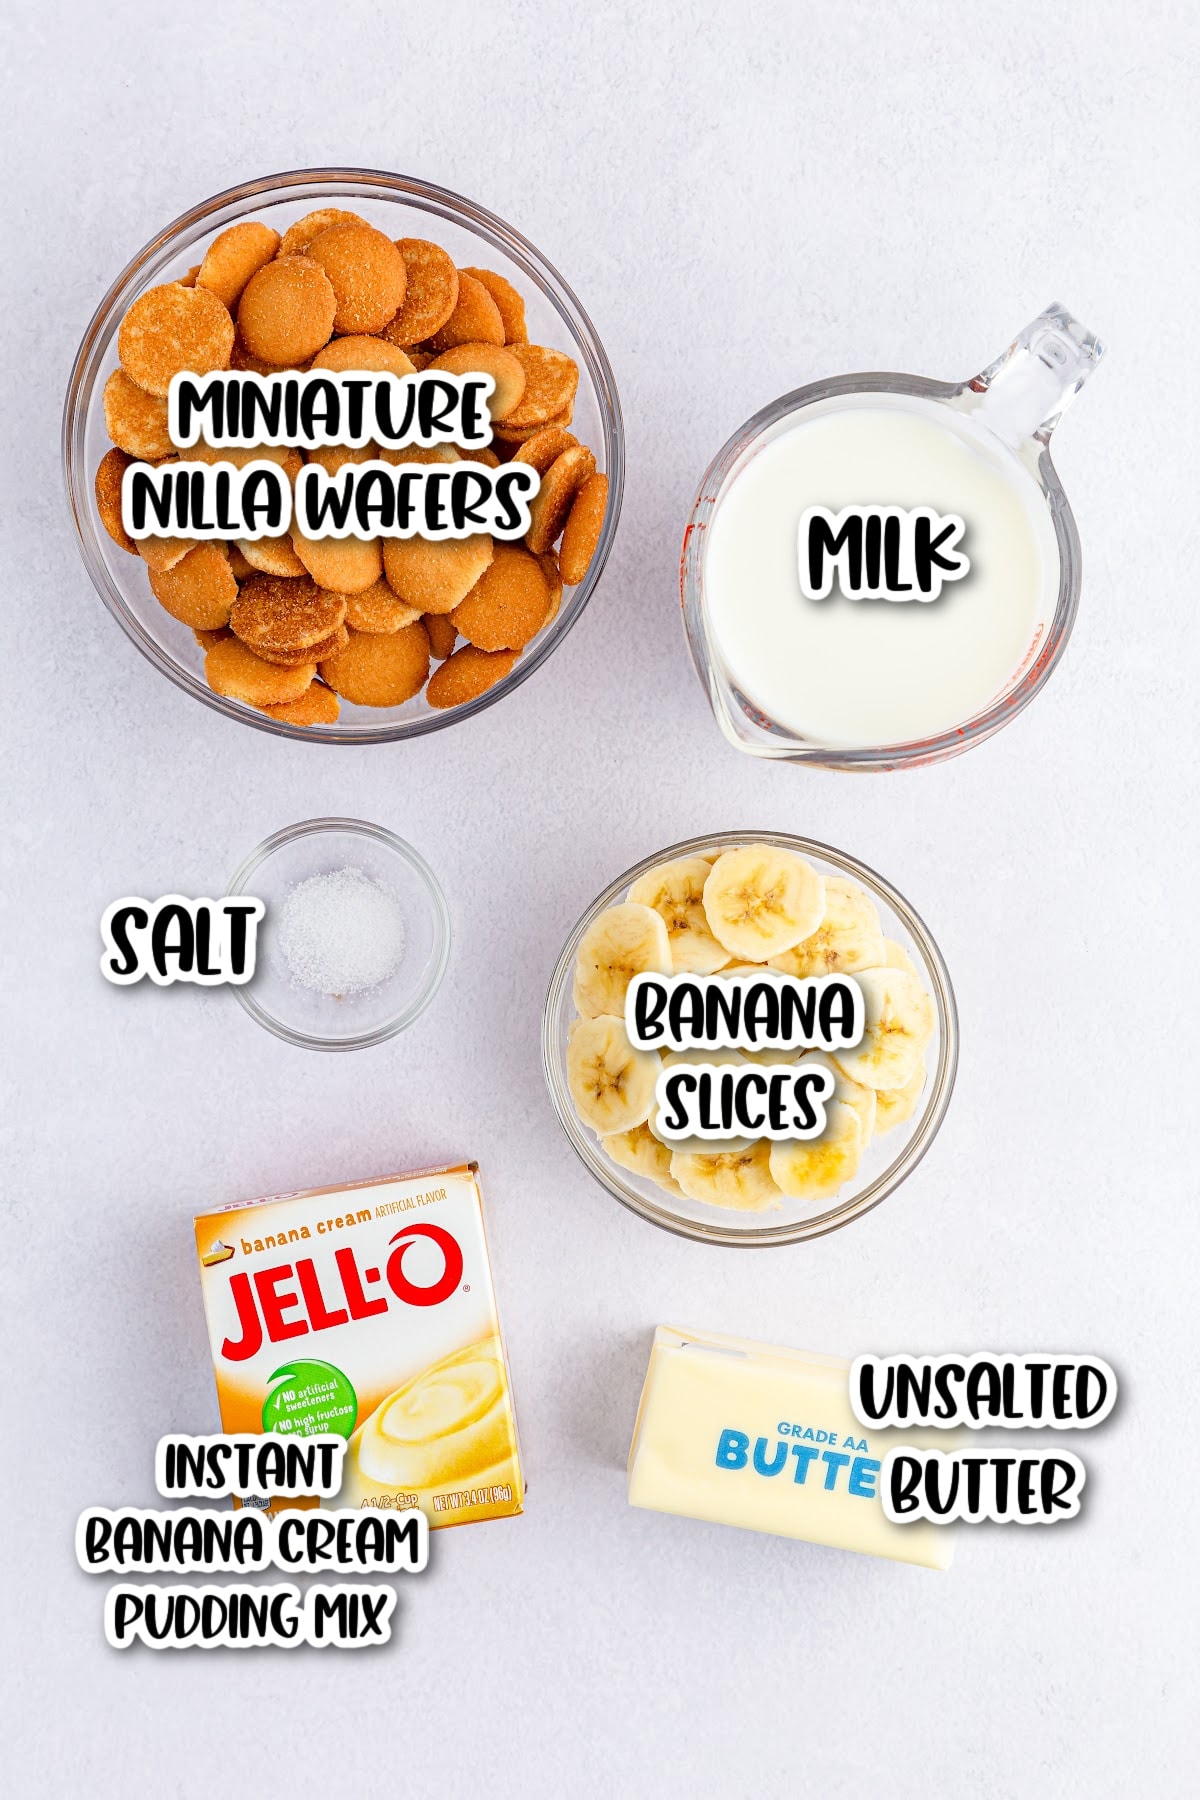
- Mini Nilla wafers
- Unsalted butter, melted
- Salt, optional
- Banana cream instant pudding mix
- Cold milk
- Cool Whip or whipped cream for topping
- Banana slices for topping
- Mini Nilla wafers for topping
How to Make Banana Pudding Bites
Step 1: Preheat the oven to 350 F. Grease a 24-cup mini muffin pan lightly with non-stick cooking spray and set aside.
Step 2: Pulse the Nilla wafers into fine crumbs with a food processor or blender.
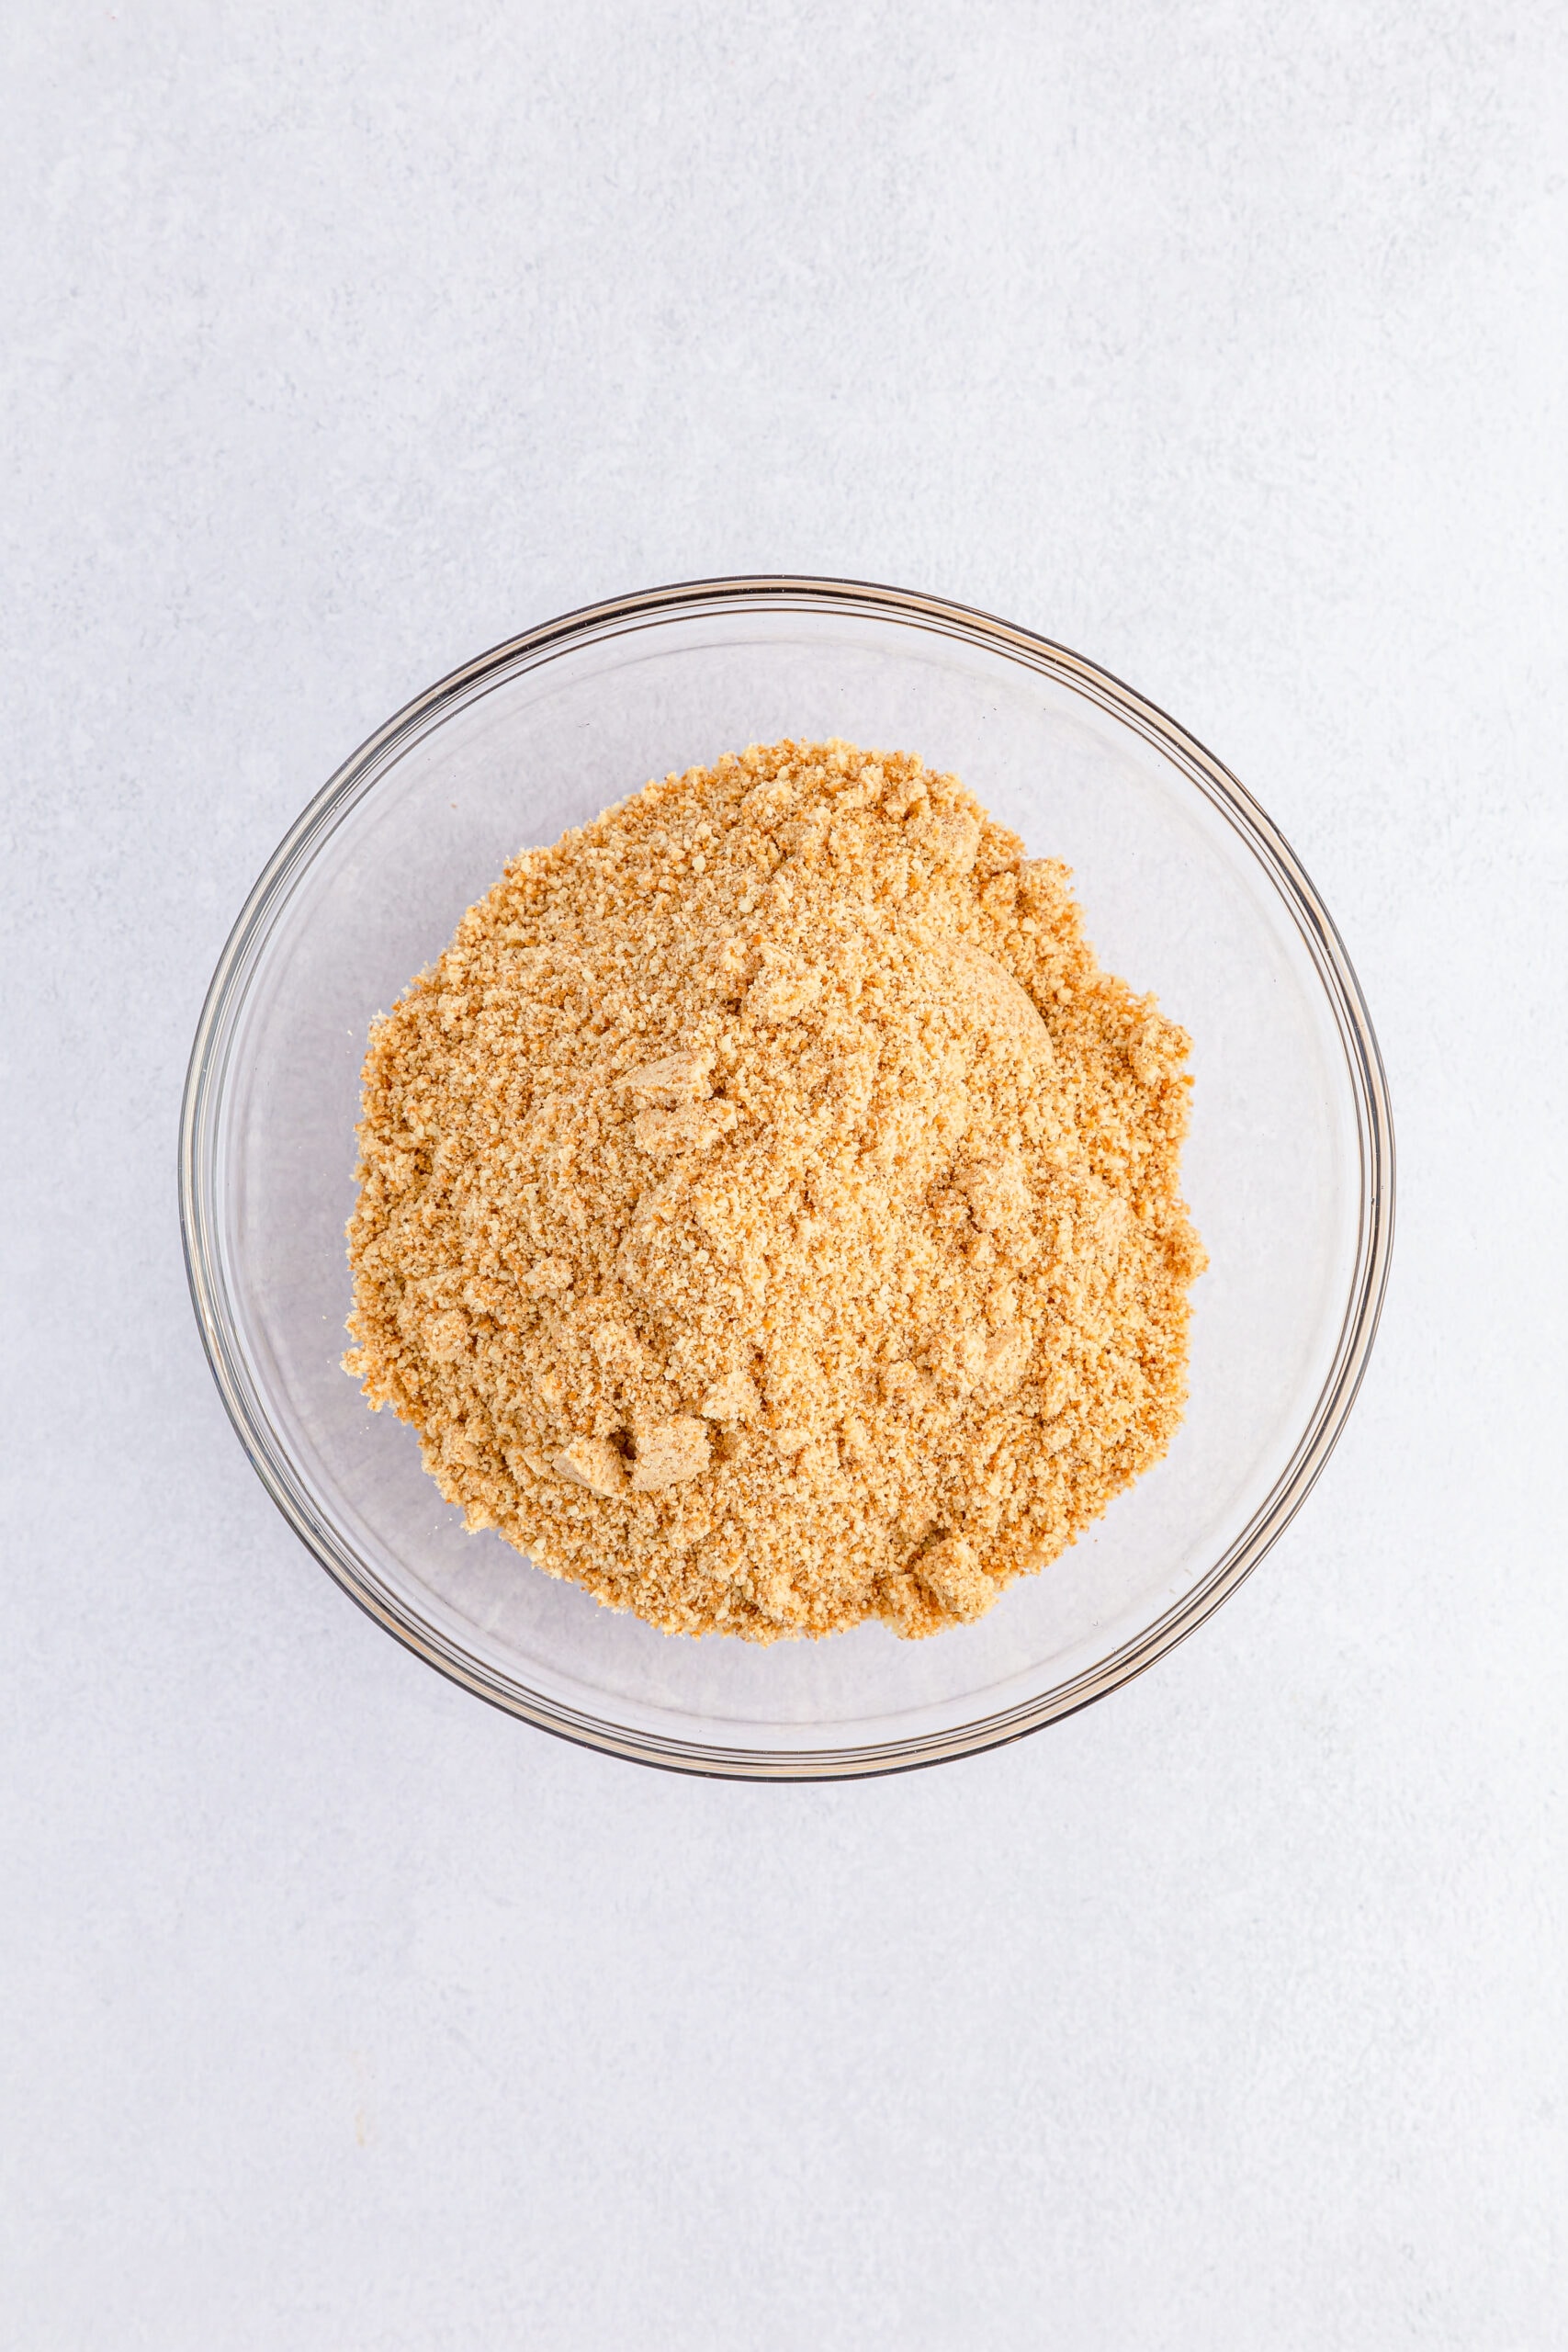
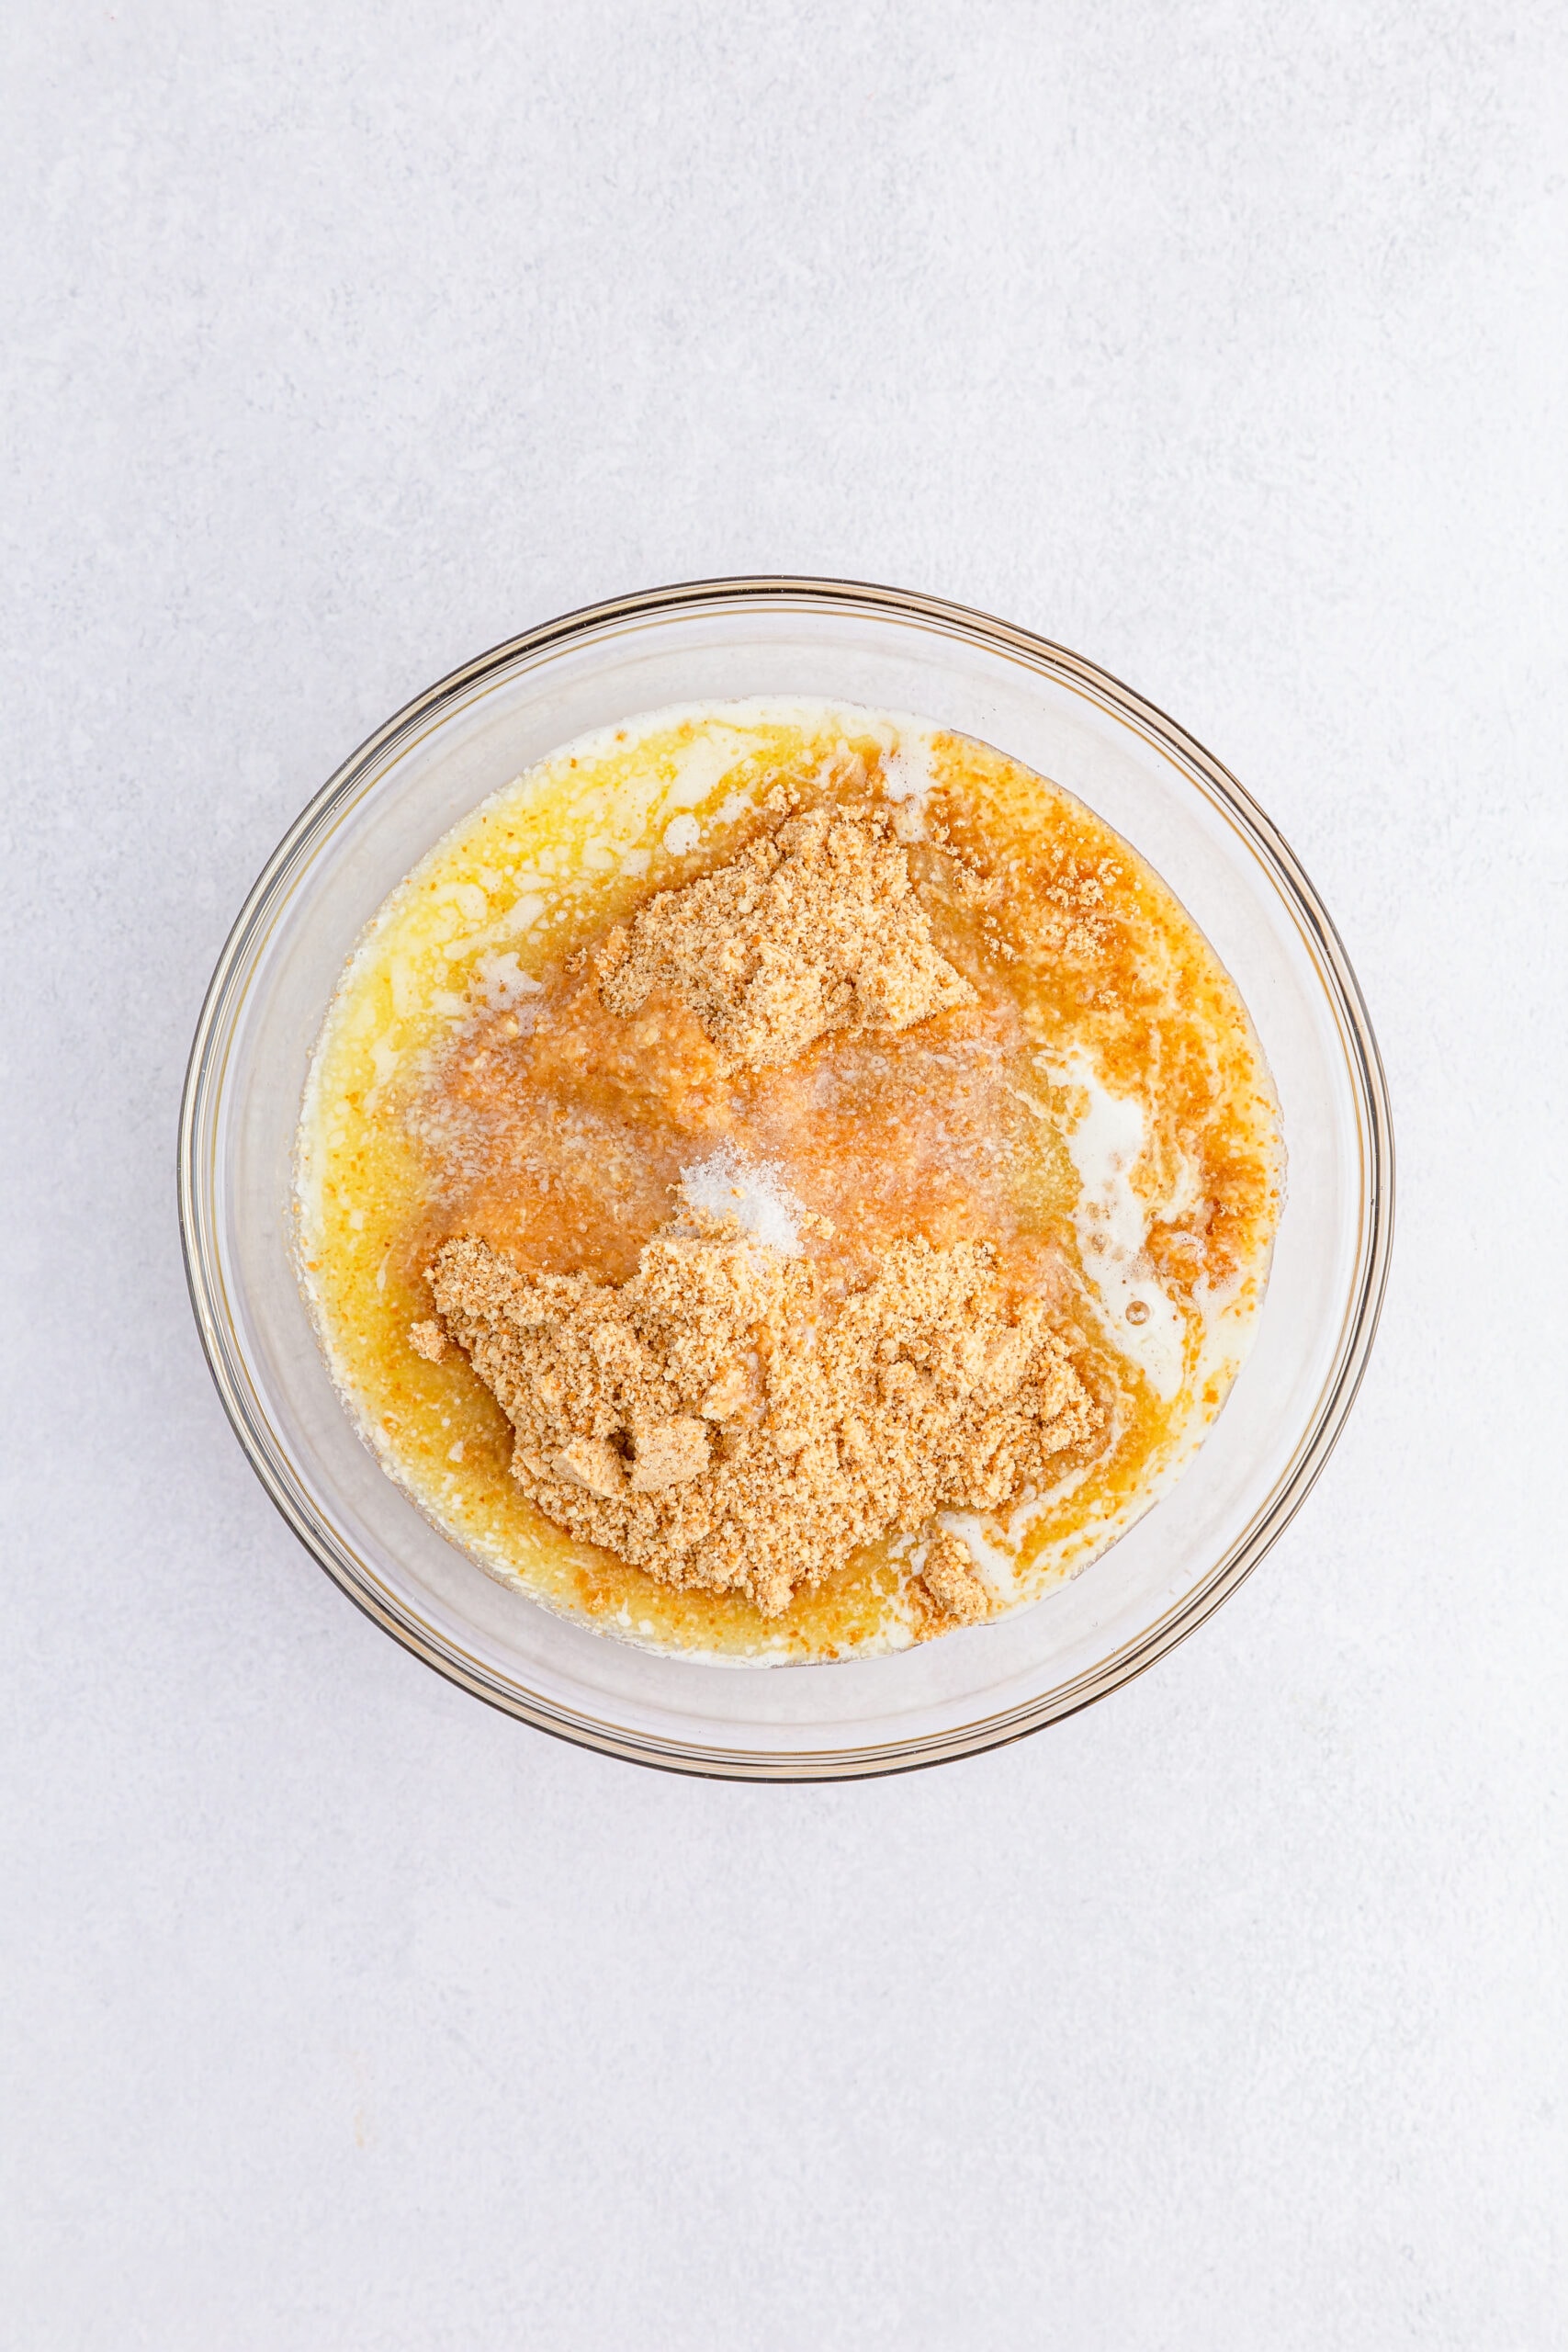
Step 3: In a medium mixing bowl, combine the Nilla wafer crumbs, salt, and melted butter. Mix all the ingredients together with a spoon.
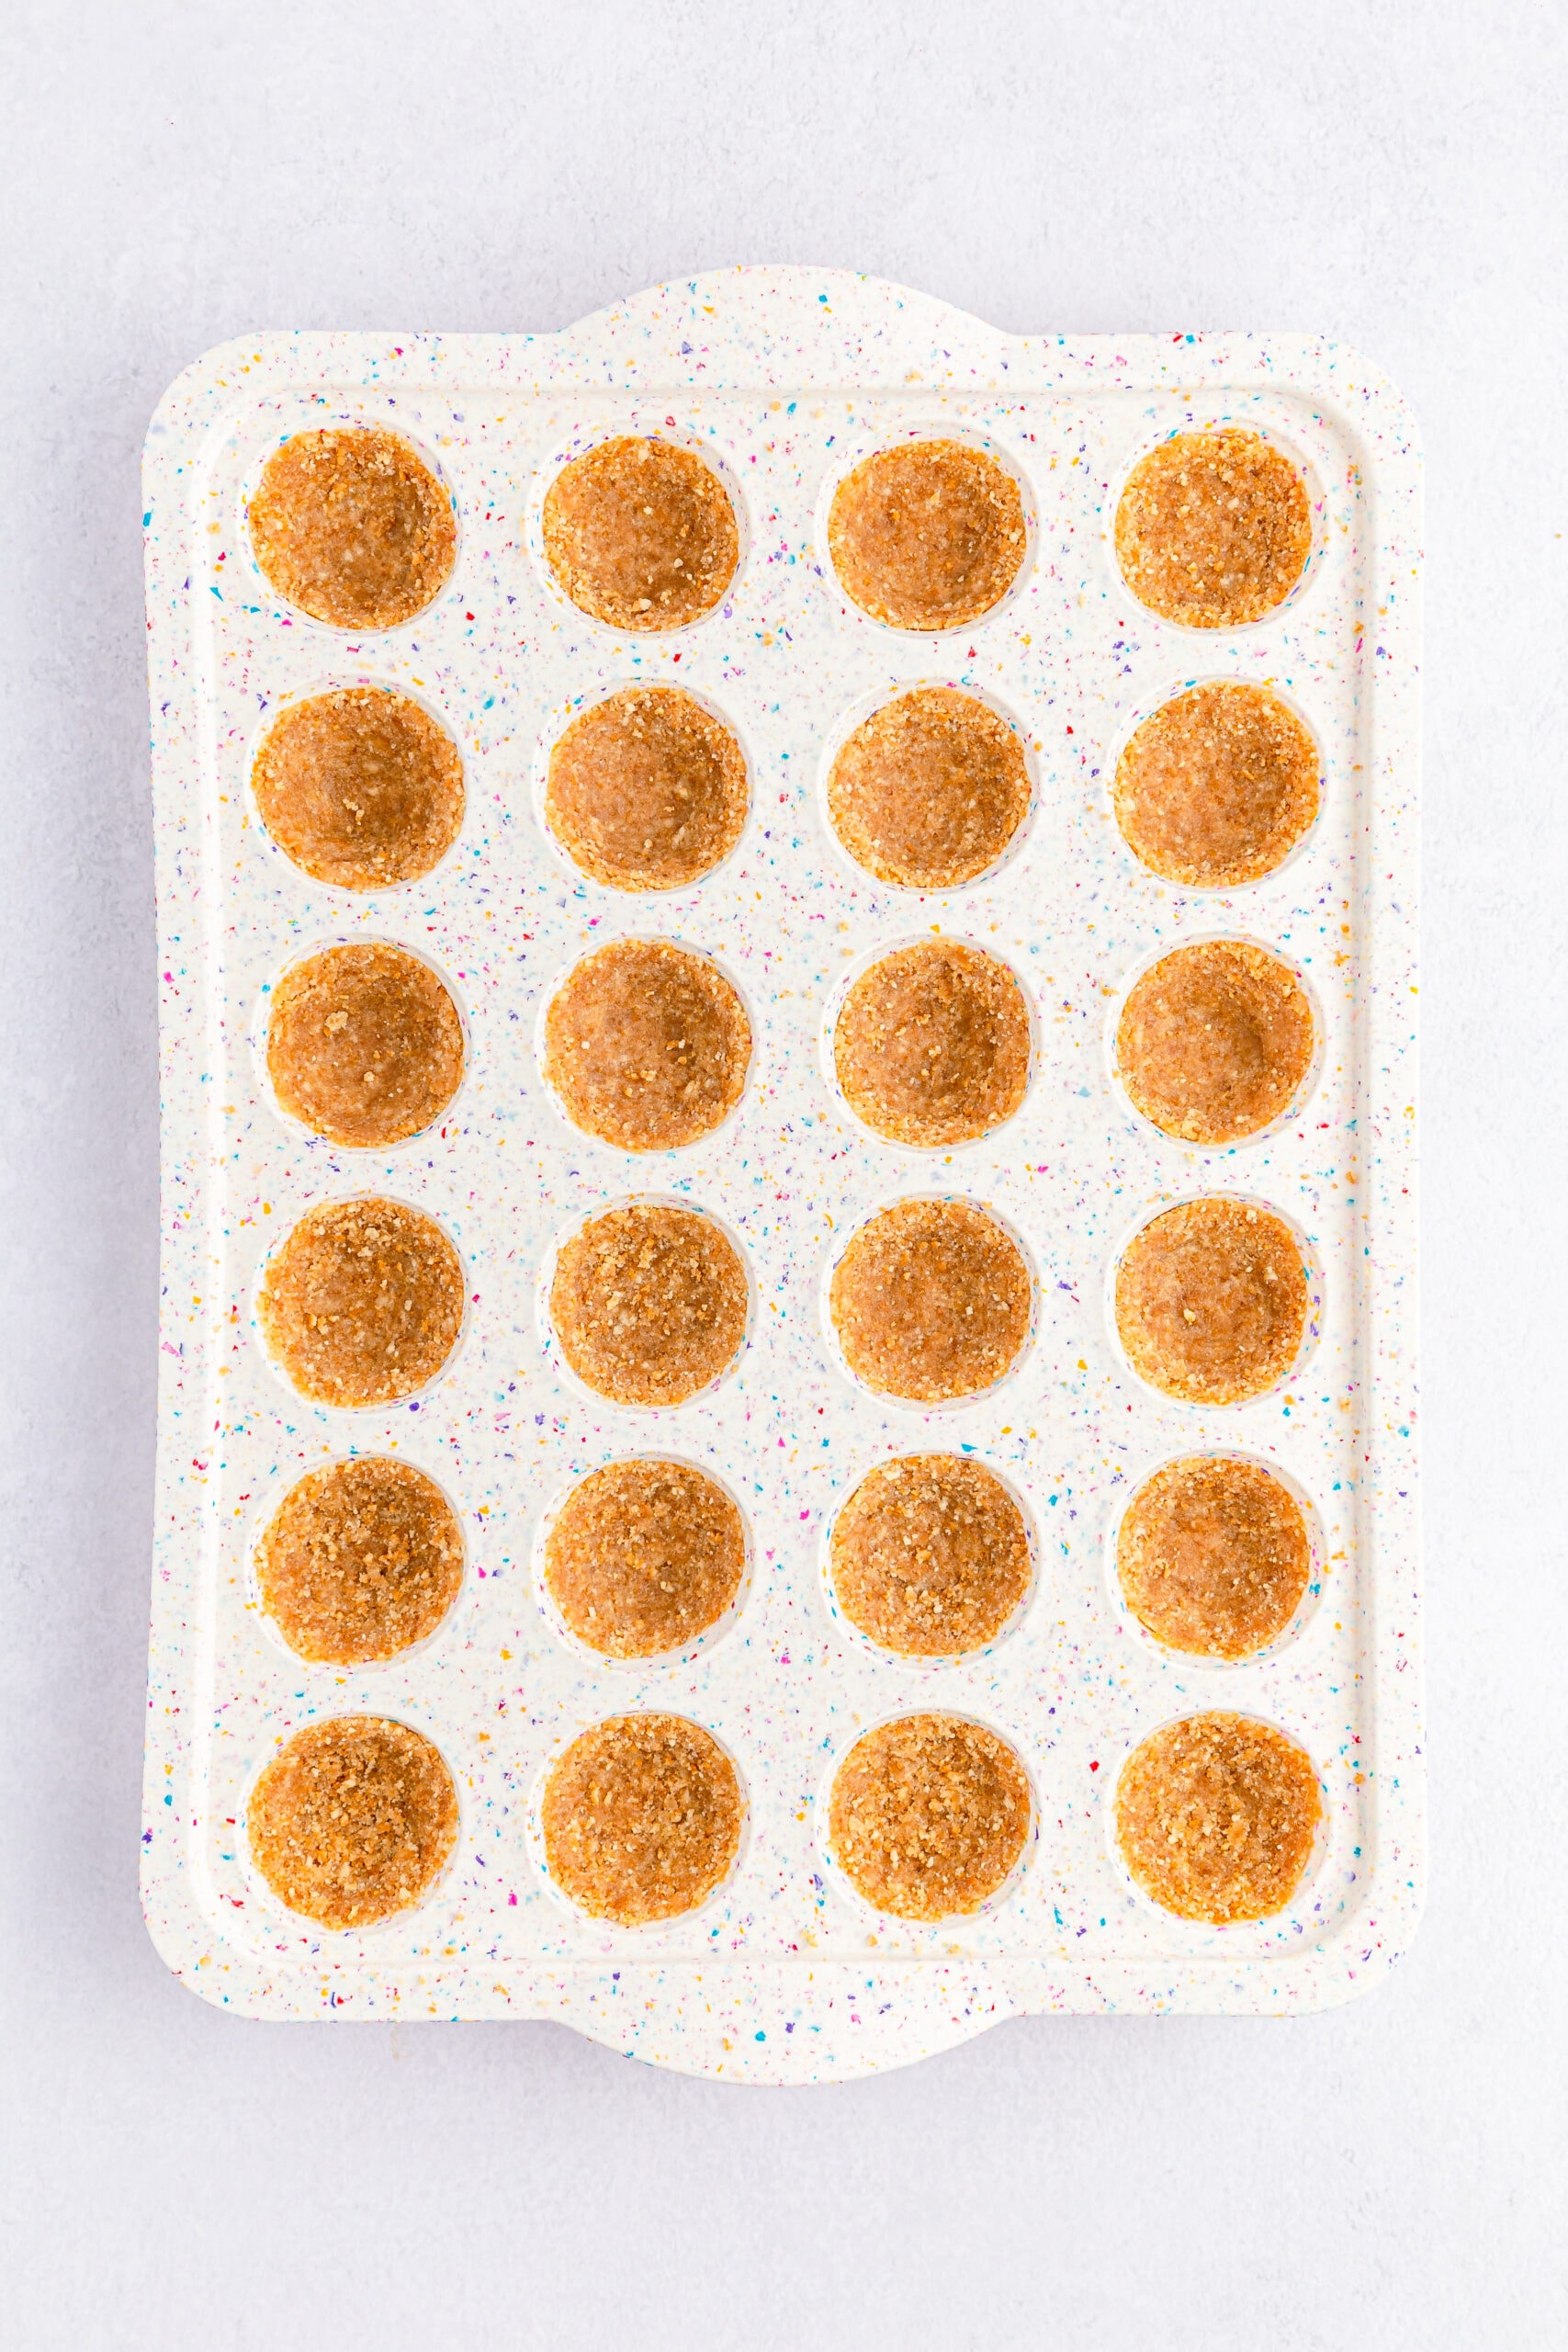
Step 4: Put 1½ tablespoons of the cookie mixture into each of the mini muffin cups. Use your fingers to press the crust mixture into the bottoms and up the sides of the cups. (Note: Be sure to pack it together tightly so it doesn’t break apart.)
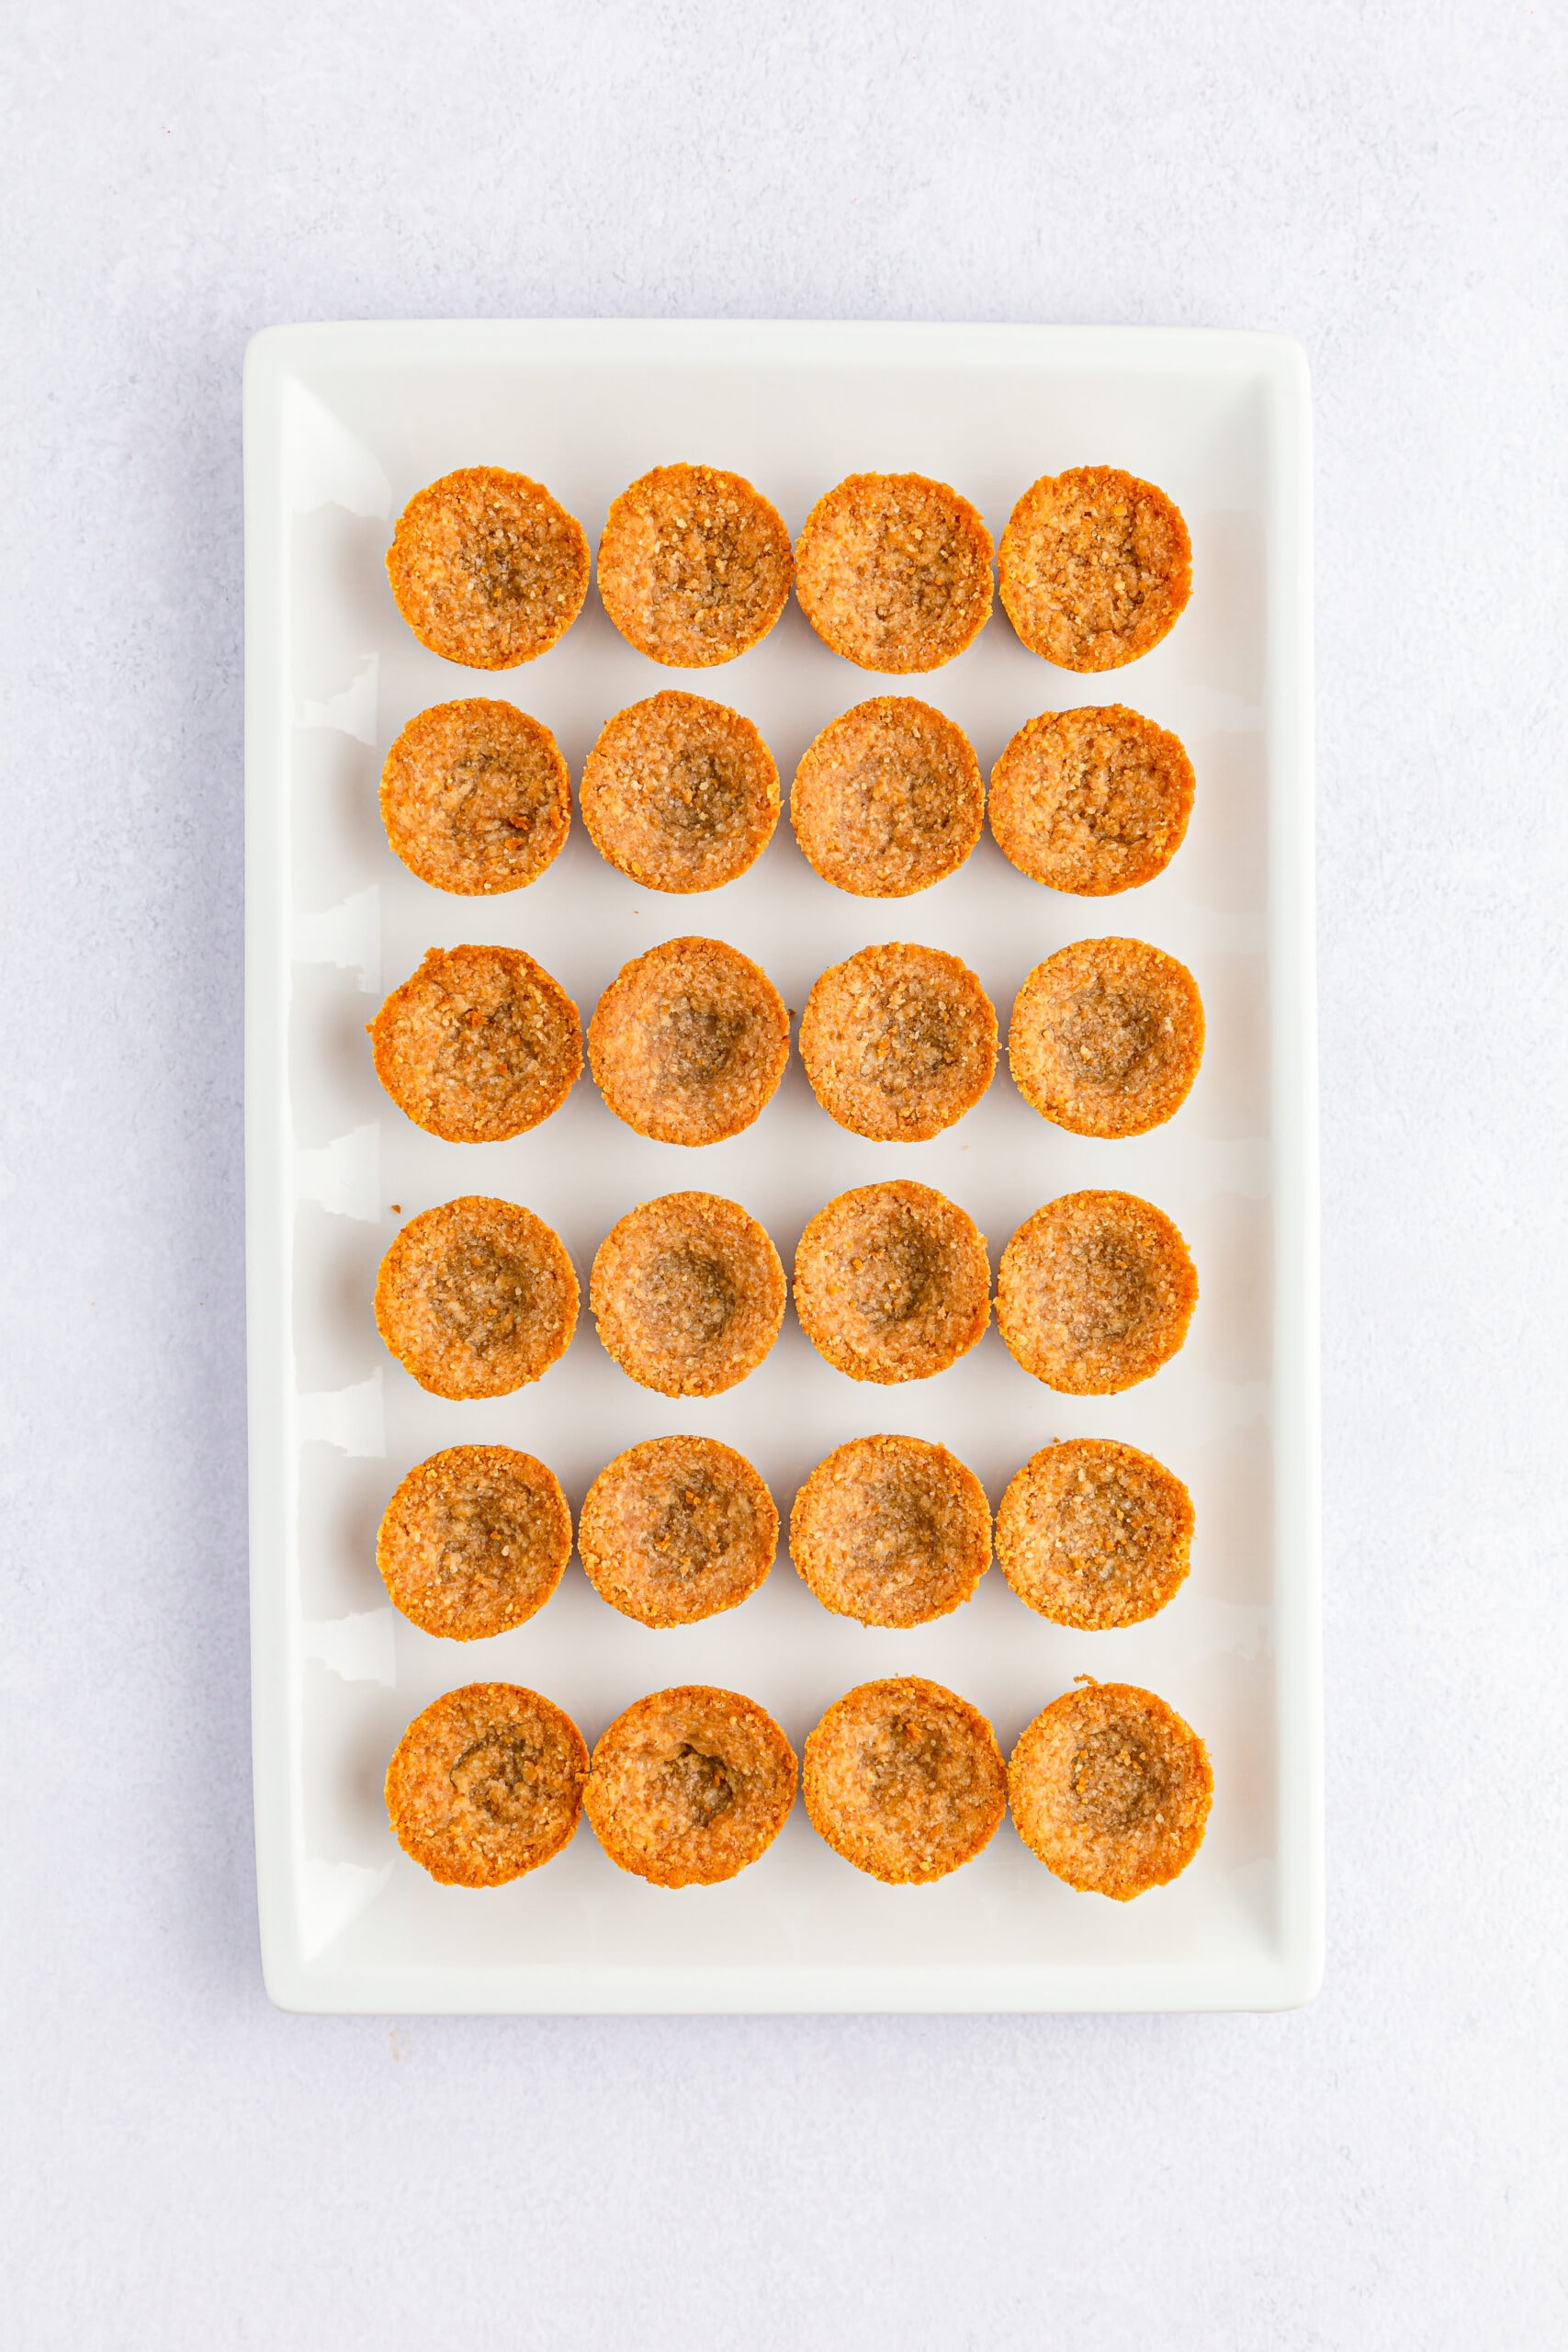
Step 5: Bake at 350 F for 10 minutes, until golden brown. Allow the cookie cups to cool completely before adding the filling.
Step 6: In a large bowl, combine the instant banana pudding mix and 1¼ cups cold milk.
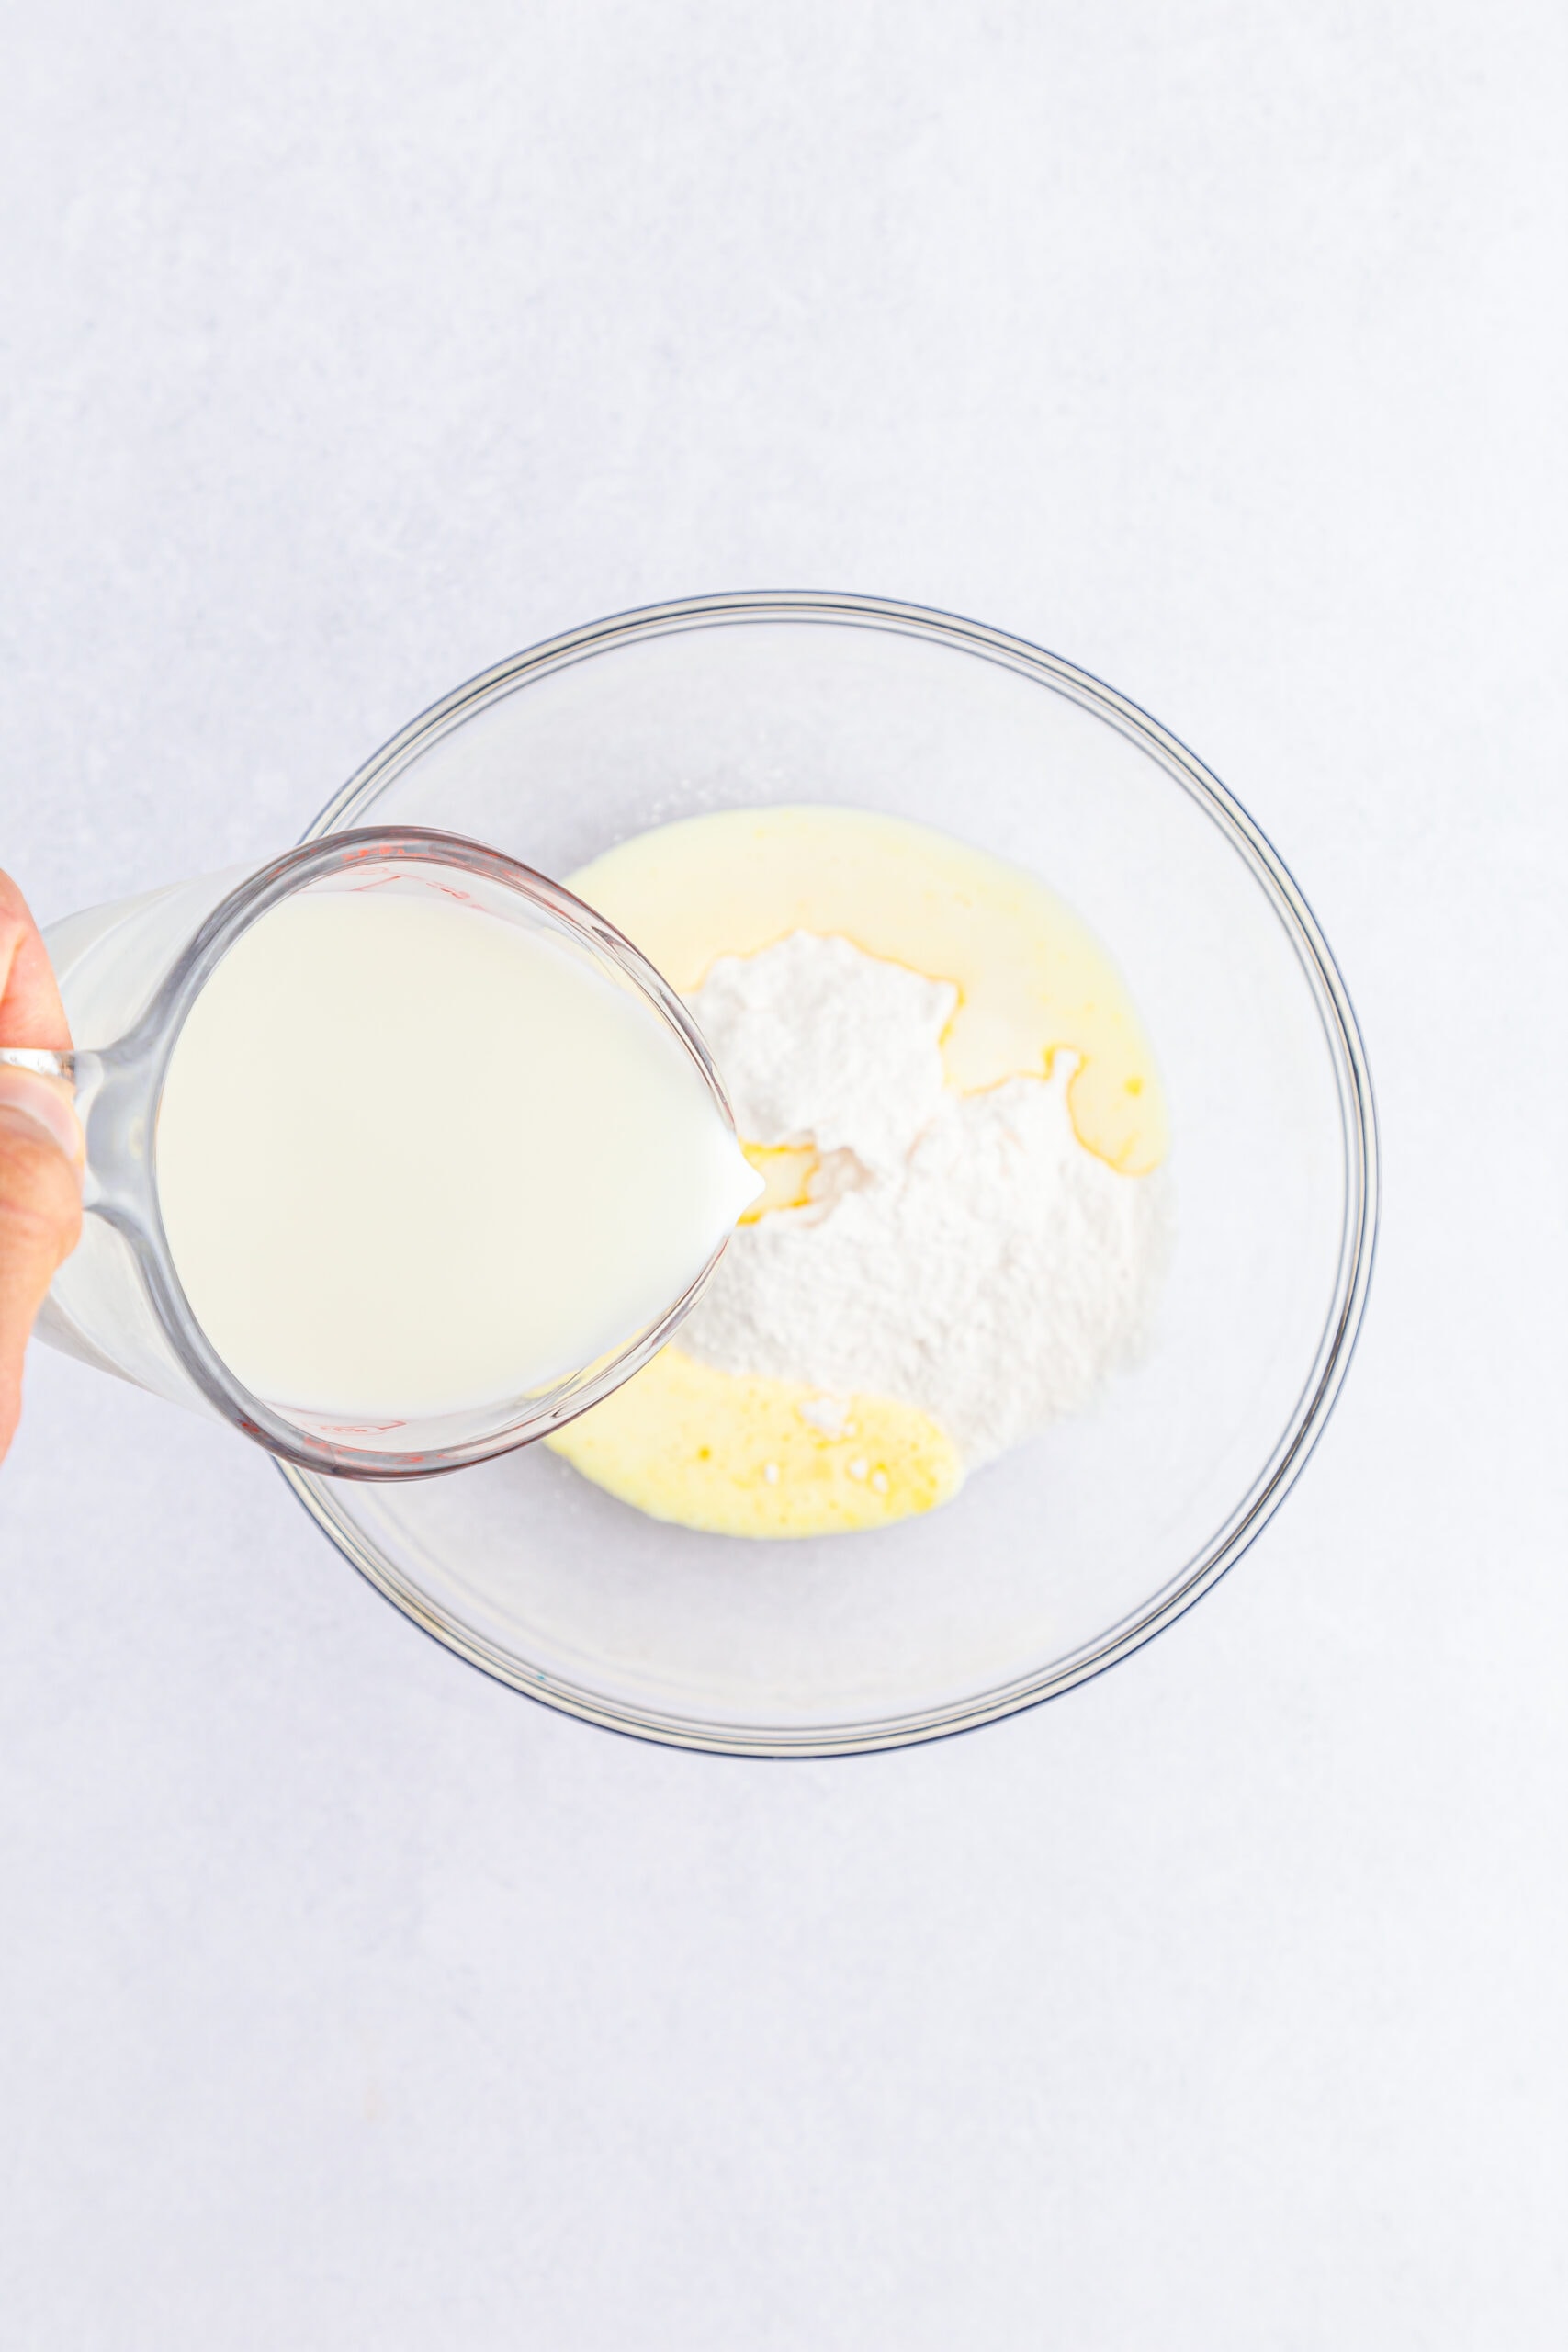
Step 7: Whisk the pudding mixture together until it begins to thicken. (Note: The pudding package calls for more milk, but we’re using less so that it results in a thicker and more flavorful pudding.
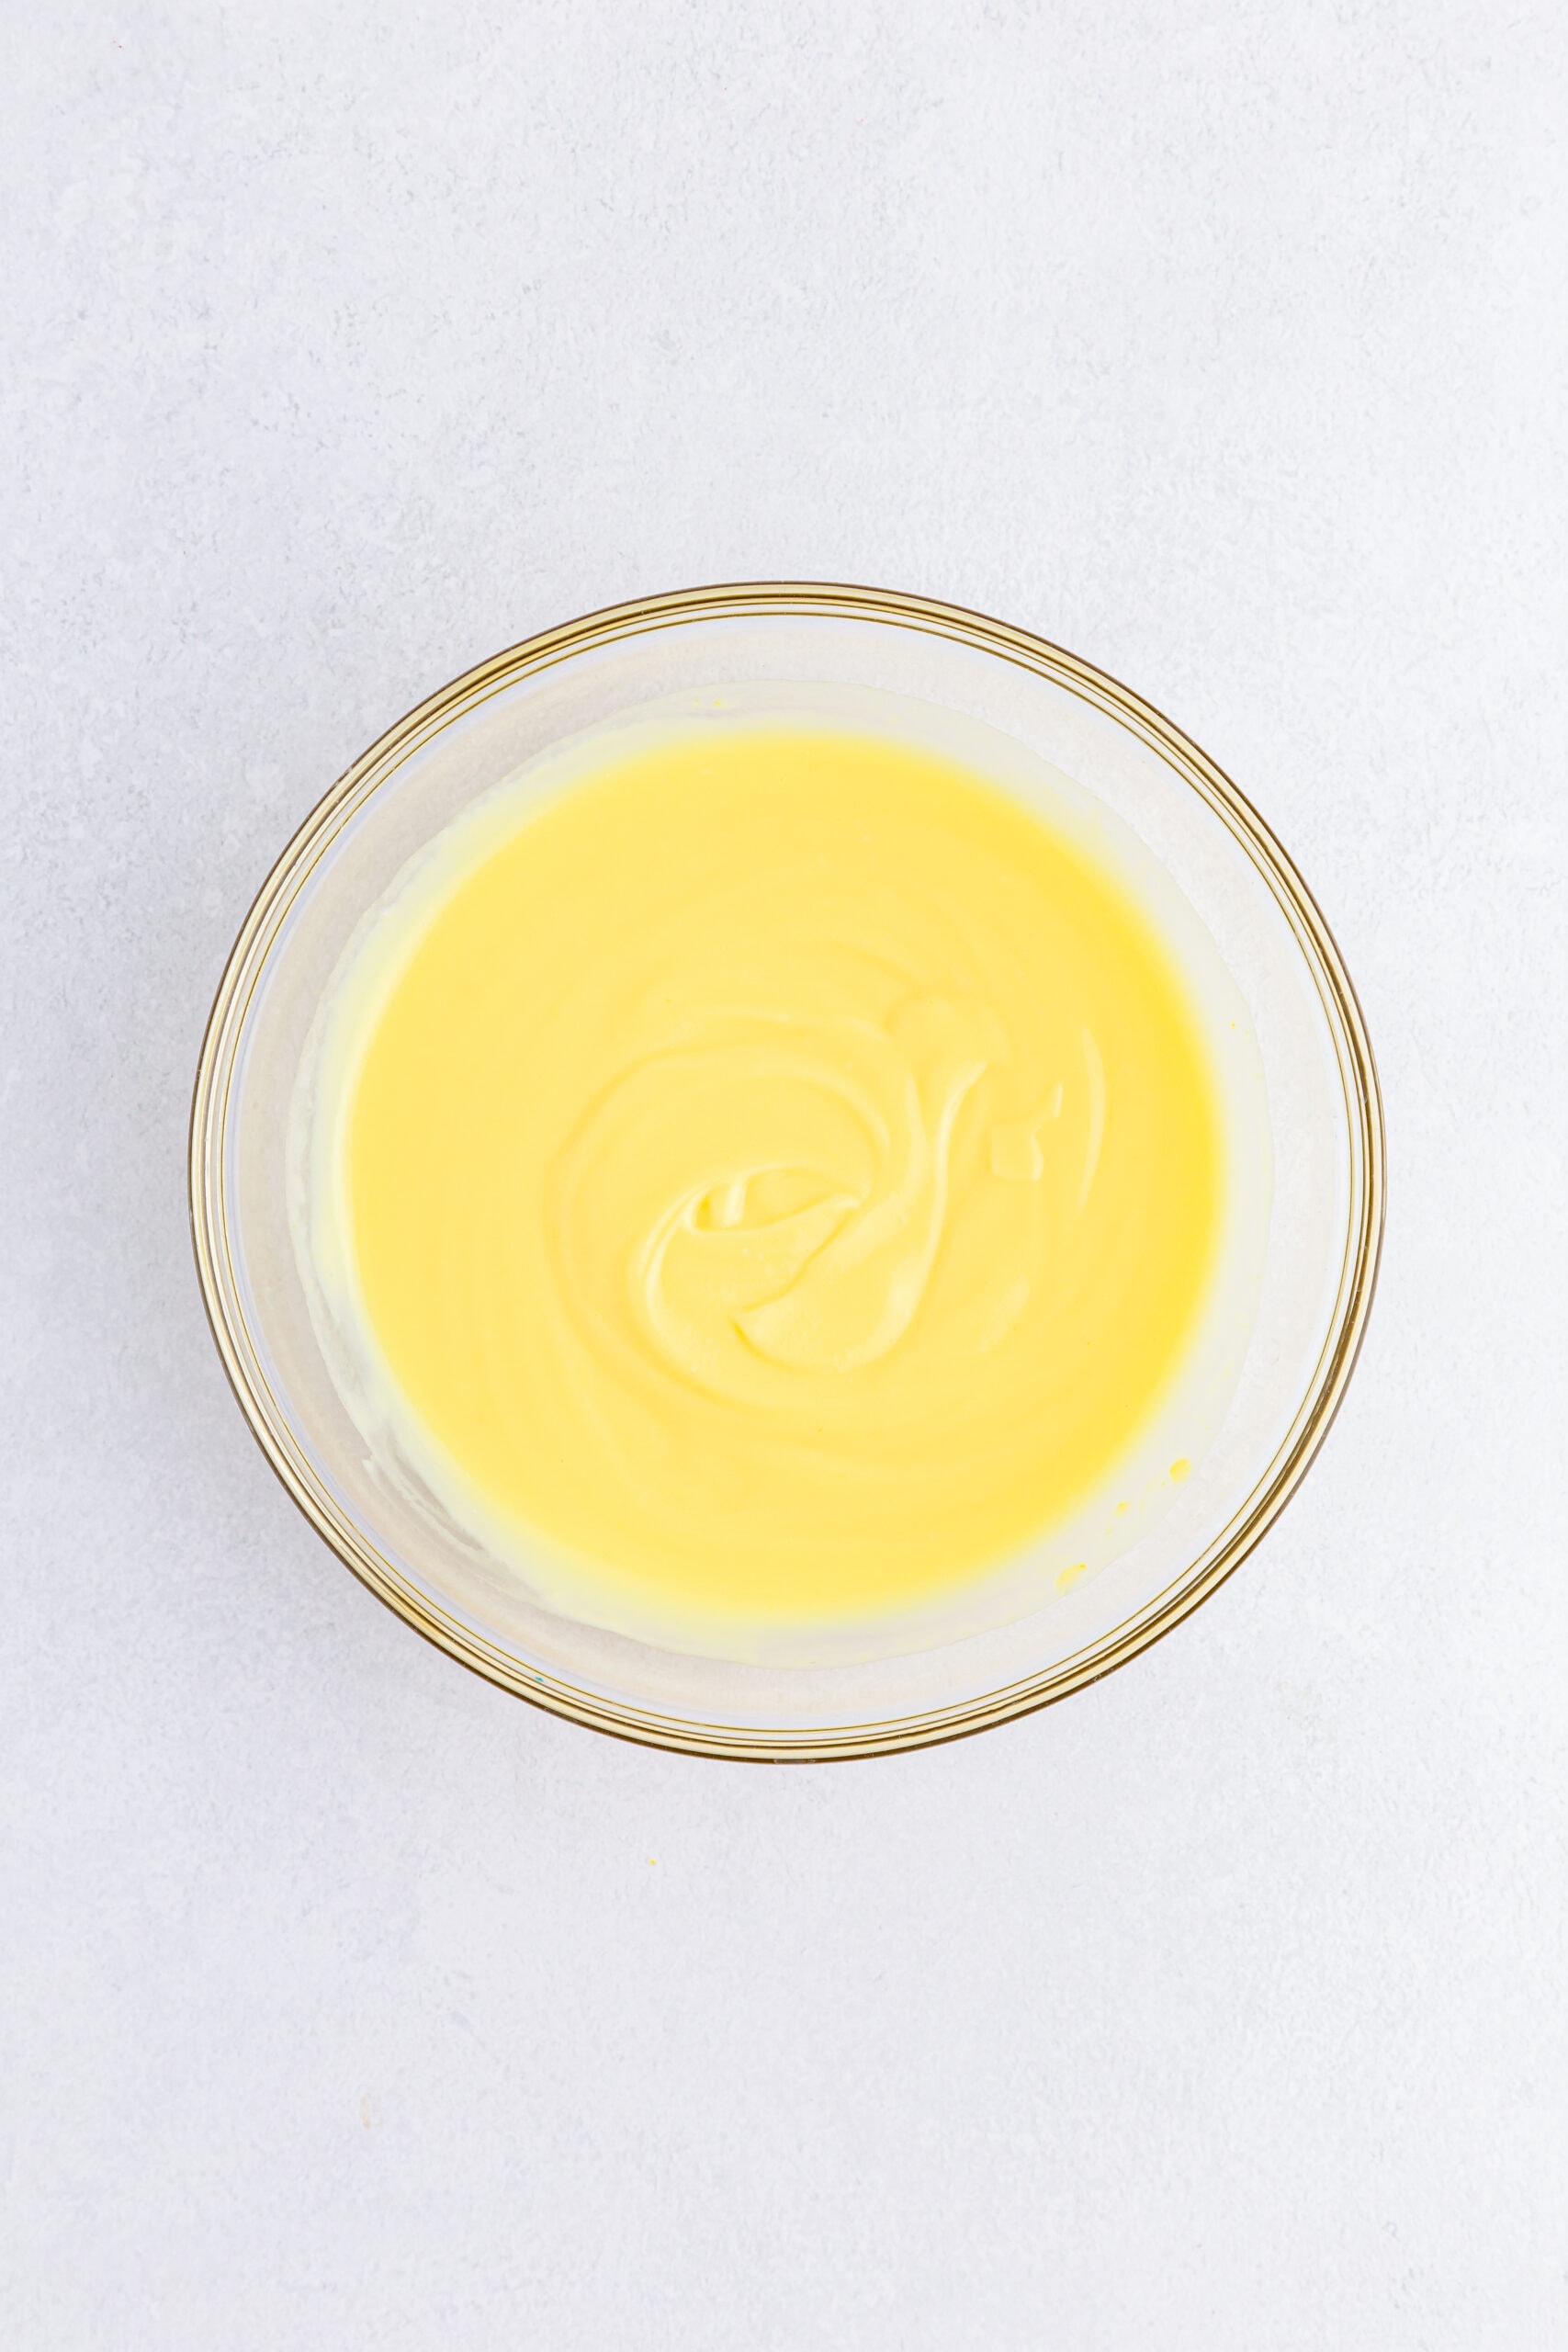
Step 8: Once the pudding has reached the desired consistency, add a tablespoon to each of the cups.
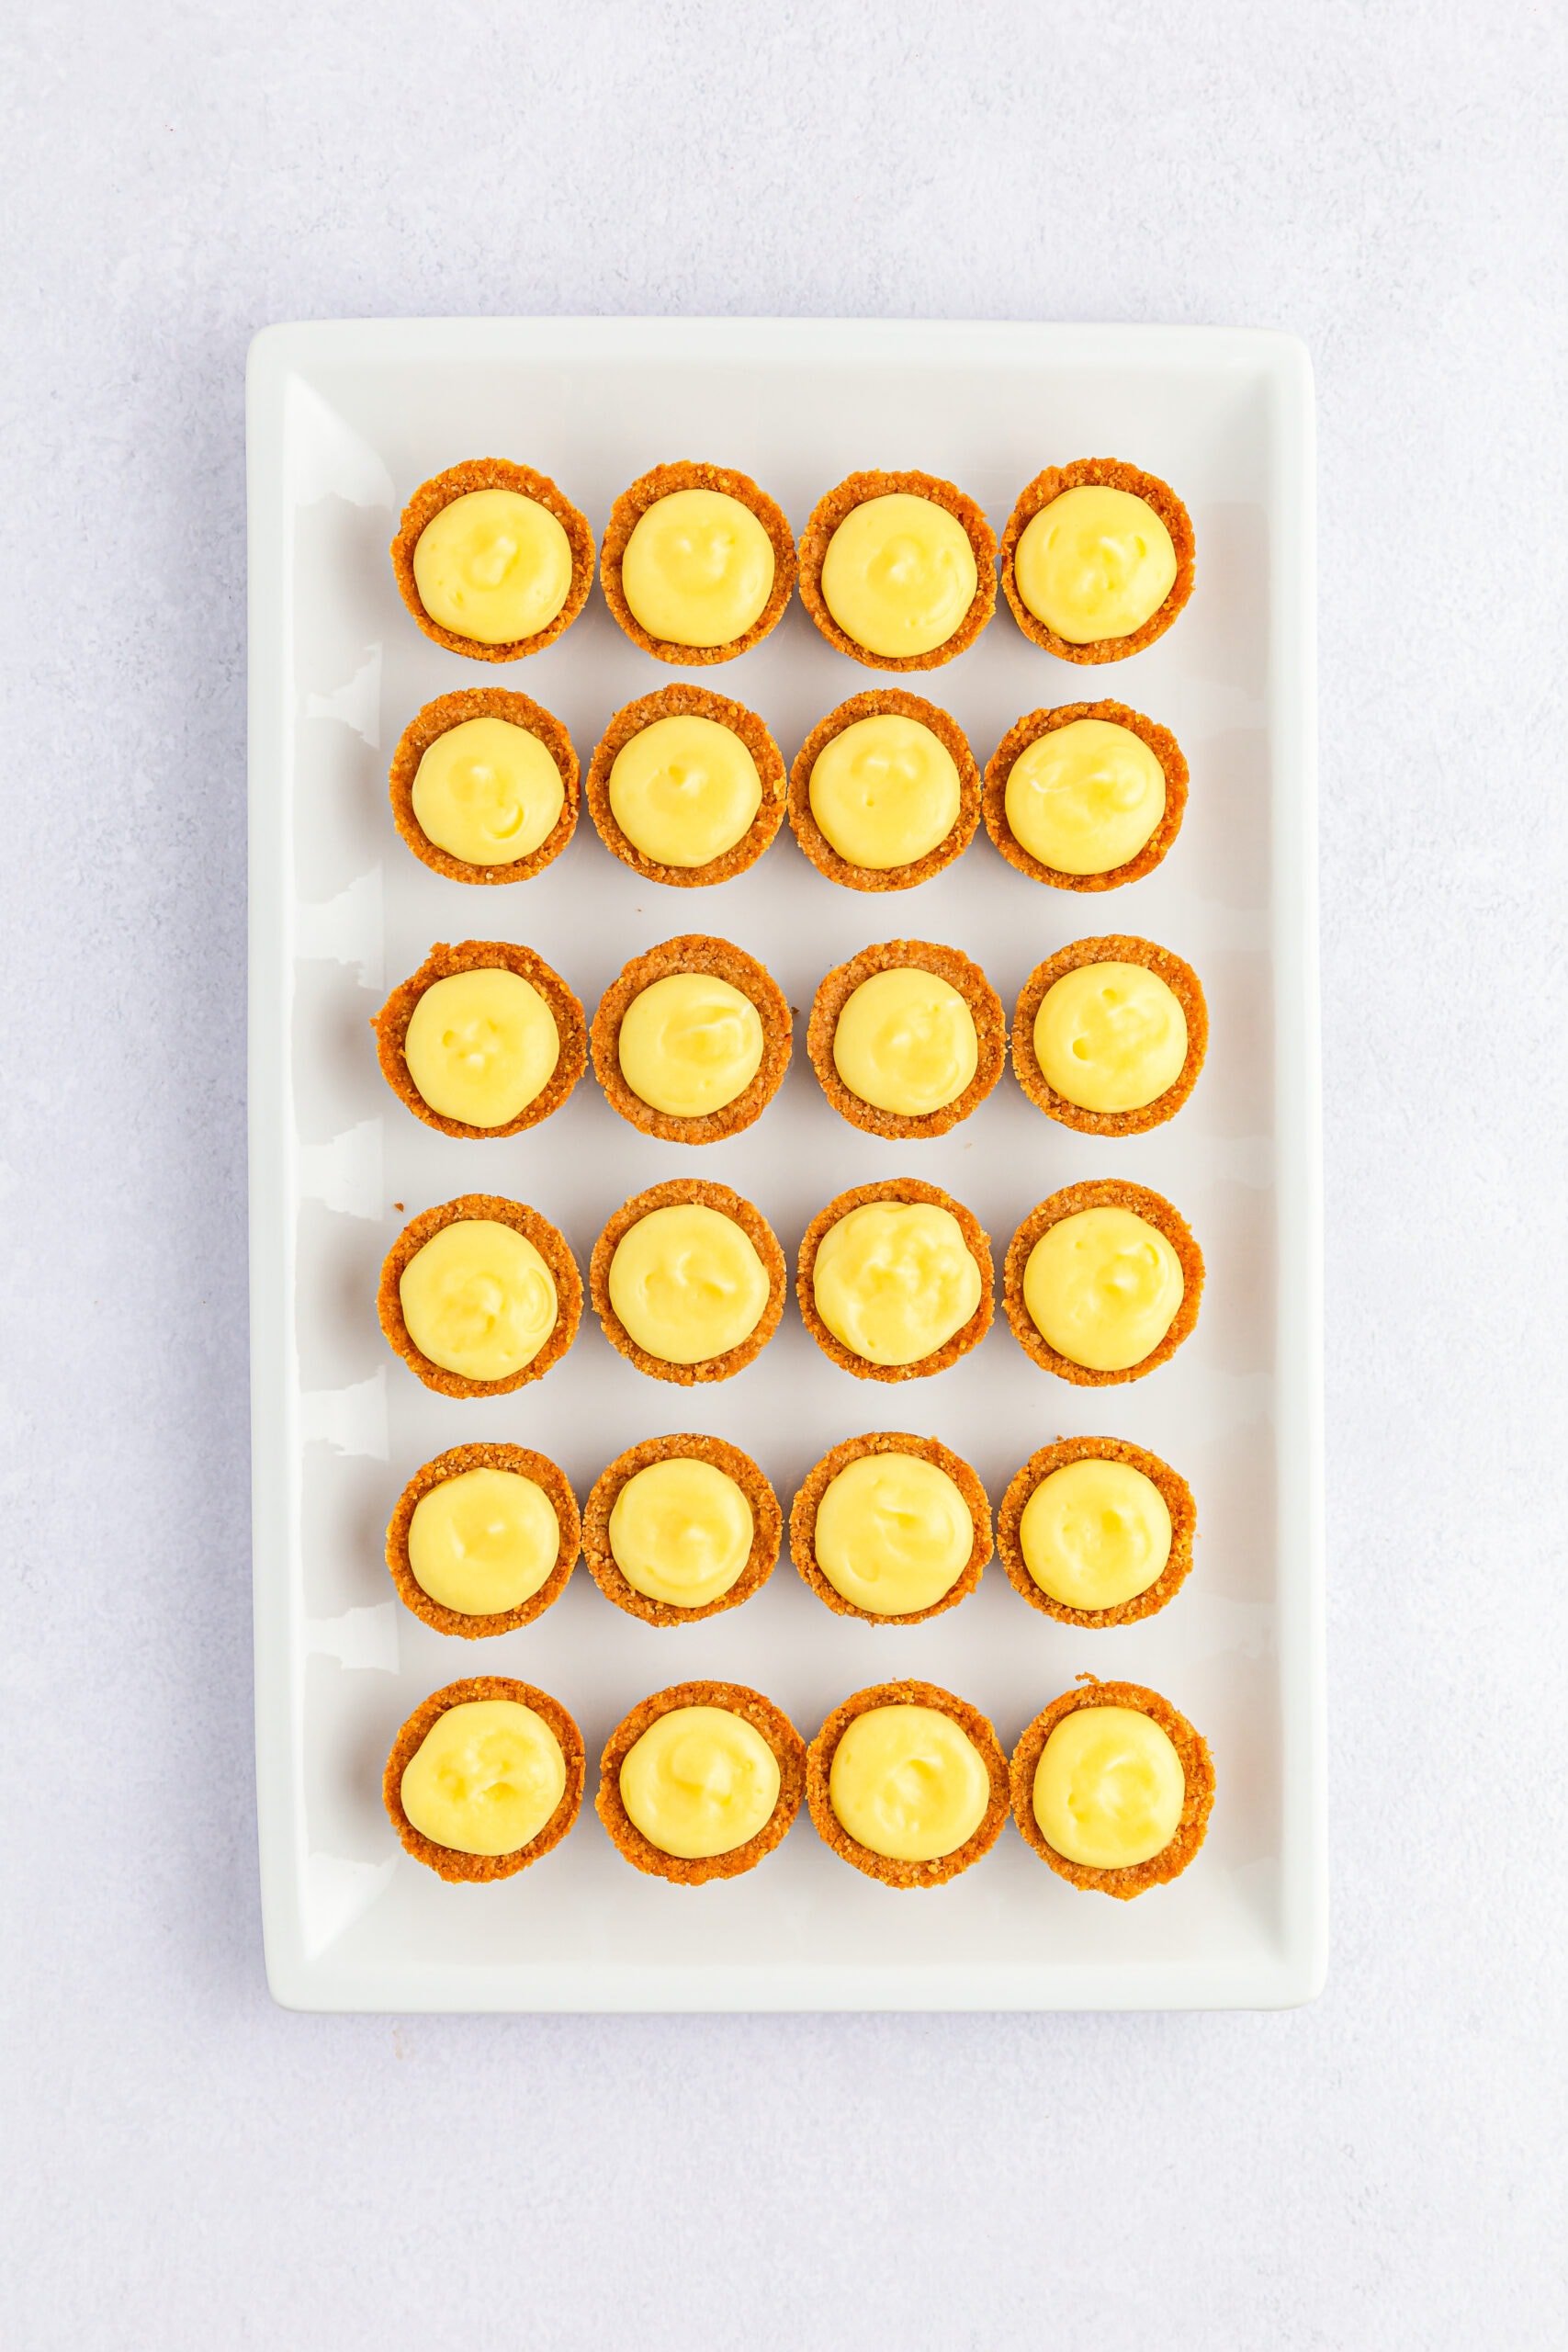
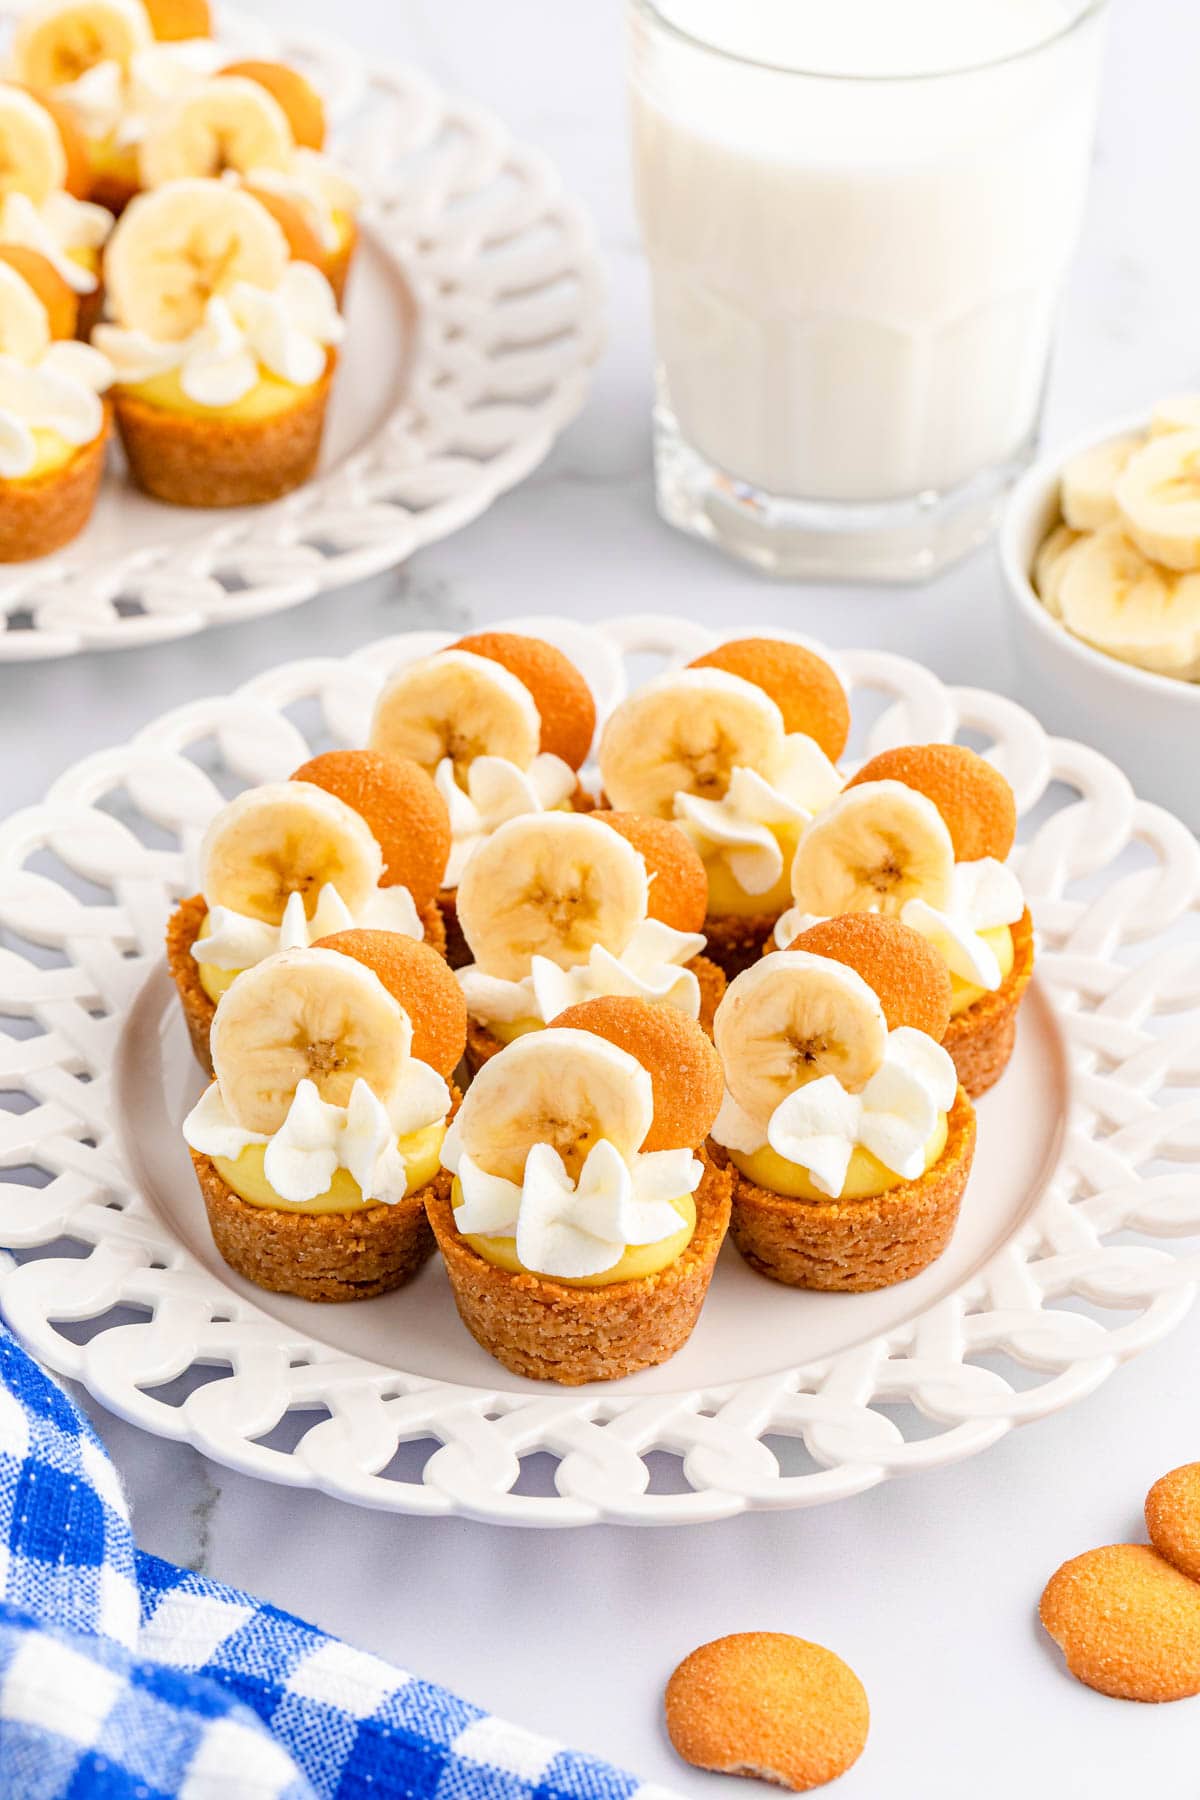
Step 9: Top each of the pudding bites with a little bit of Cool Whip or whipped cream. I prefer Cool Whip because it lasts longer without starting to melt.
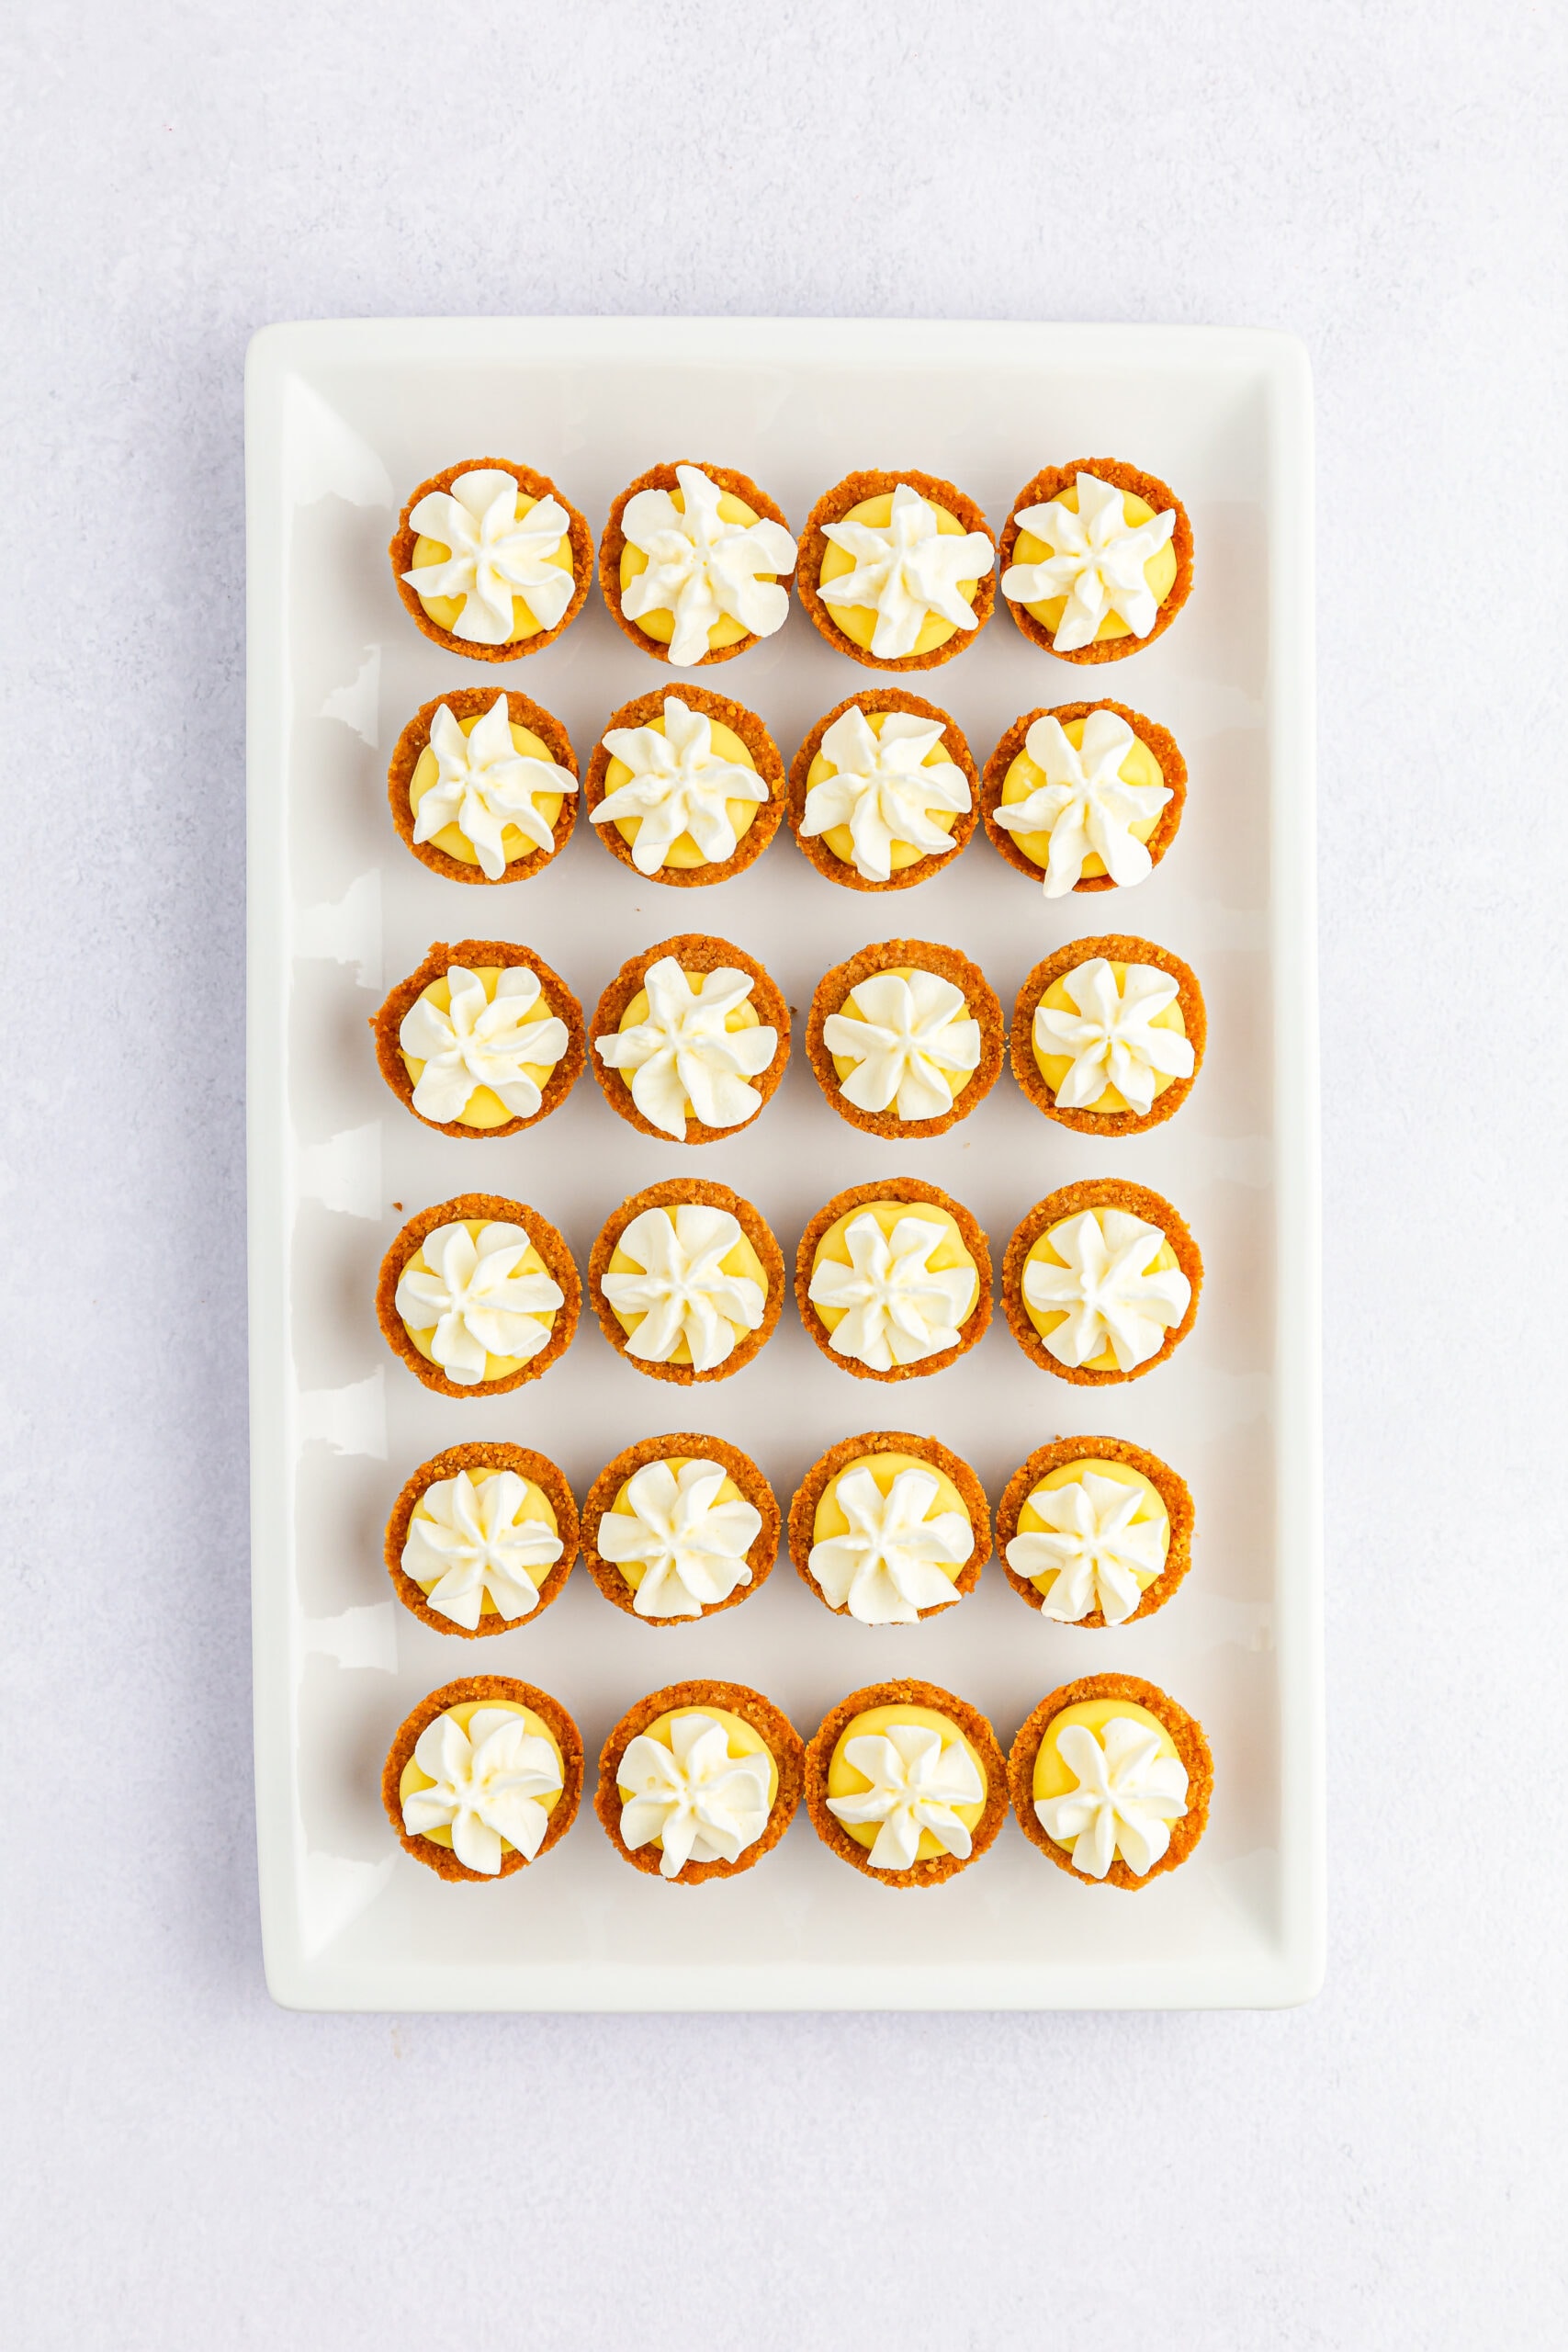
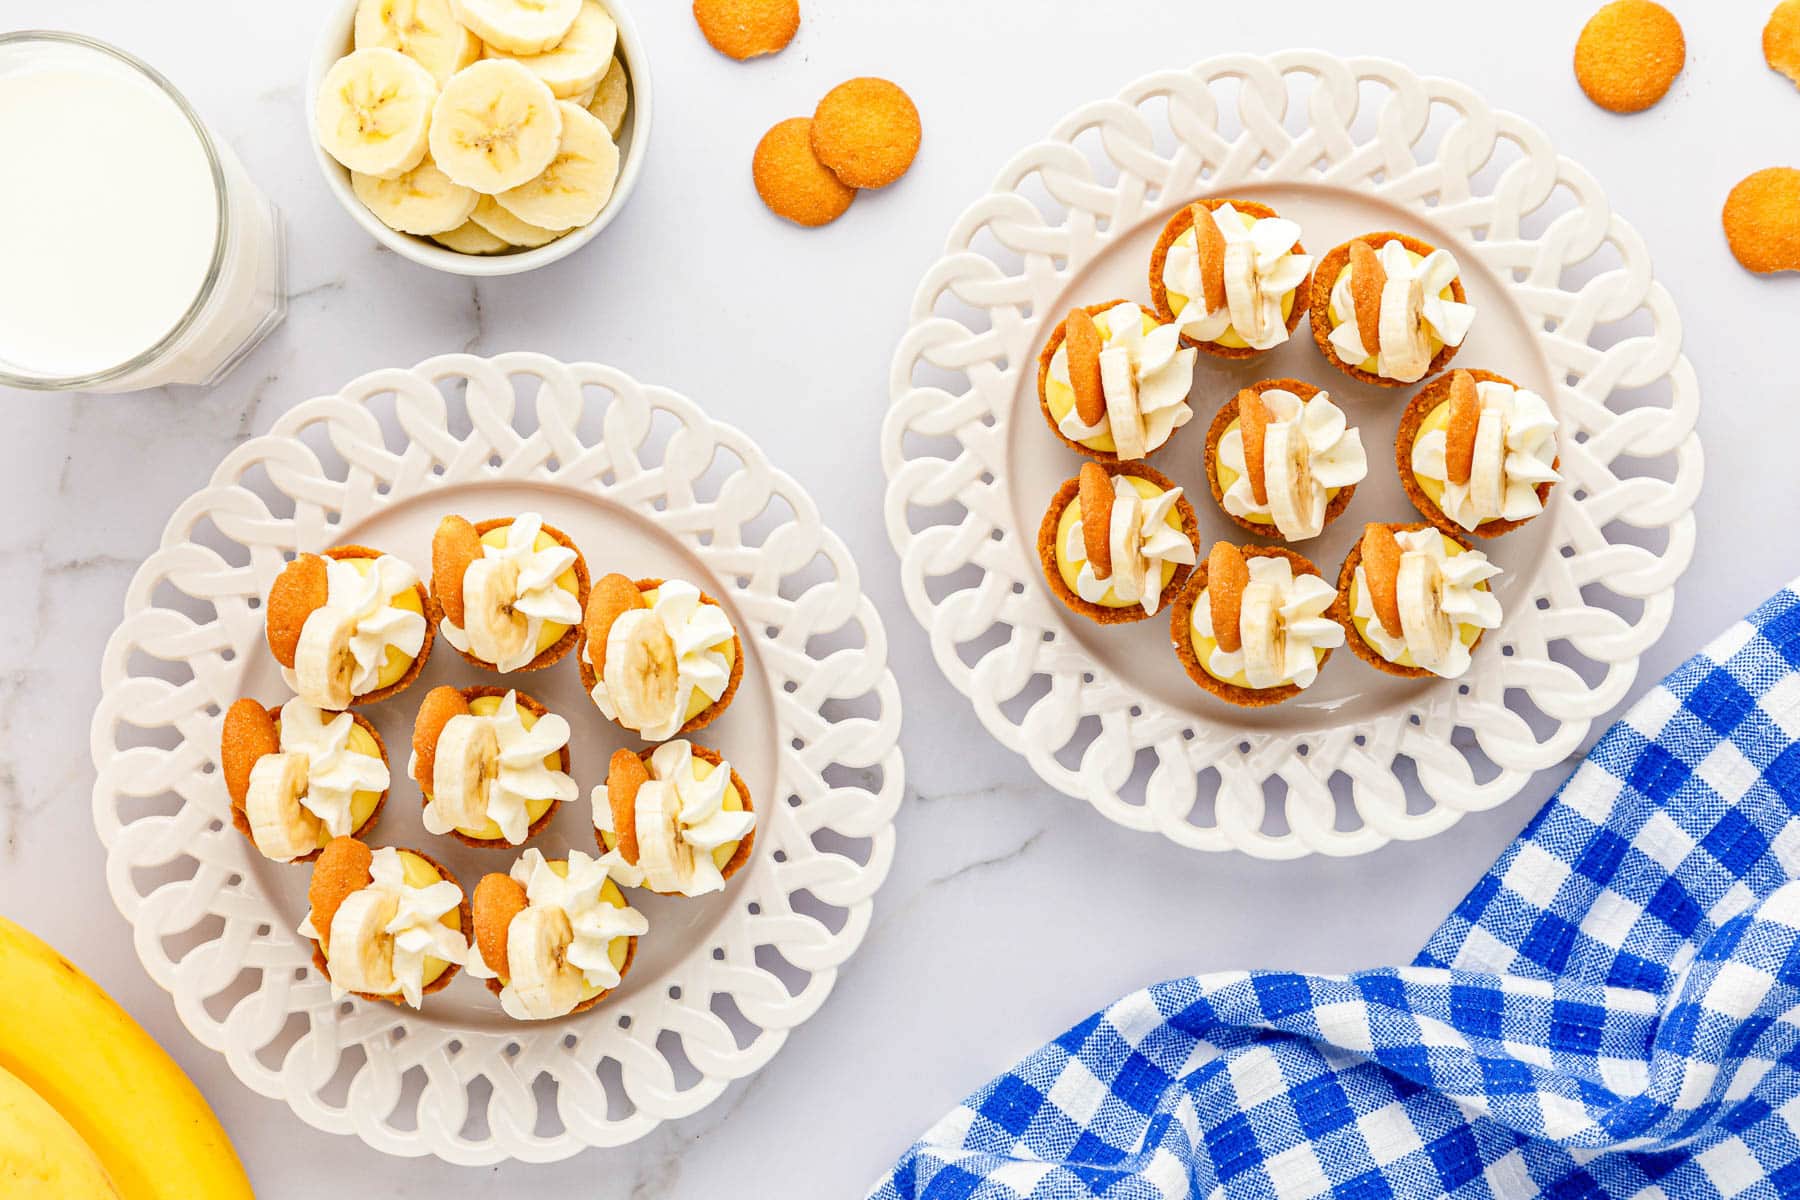
Step 10: Place a fresh slice of banana and a Nilla wafer on top of the pudding. Enjoy!
Tips & Tricks
- You can use a silicone muffin pan for easier removal of the crusts, but a metal pan will also work. If using metal, remember that the crusts may brown faster, so you may have to take it out of the oven 1-2 minutes earlier.
- If making in these in advance, wait until just before serving to fill the cookie cups. Otherwise the cups may start to soften. Then just top with whipped cream, bananas, and vanilla wafers and you’re good to go.
- Using less milk with the banana cream pudding mix makes the filling thicker, so it doesn’t require any chilling time to set. However, if you prefer it chilled, you can refrigerate it for 10 minutes before serving.
This recipe is best made and served the same day, but you can store any leftovers in an airtight container or covered with plastic wrap in the refrigerator. They’ll keep for up to 3 days, though the cookie cups may soften a little.
Sure – Both cheesecake and vanilla pudding will work with the fresh bananas. Or you can skip the bananas and make any flavor of pudding bites that you like!
More Delicious Desserts
- No Bake Cheesecake Bites
- Pecan Pie Bites
- Easy Lemon Cake Balls
- Lemon Cheesecake Parfait
- Oreo Cheesecake Balls
- Mini Fruit Tarts
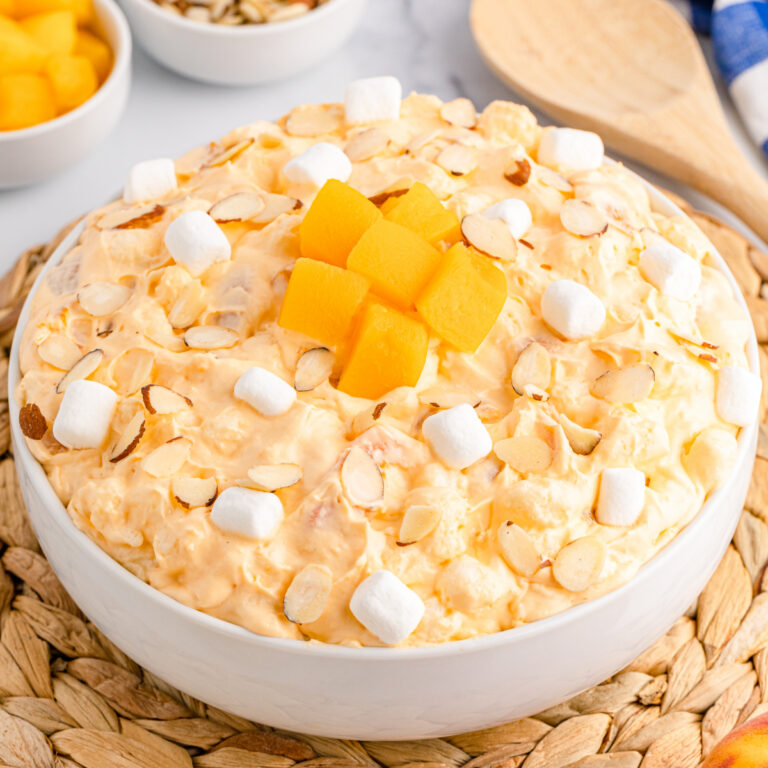
- Banana Pudding Fluff Salad
Banana Pudding Bites
Equipment
Ingredients
- 2 cups Mini Nilla wafer crumbs
- 8 tbsp unsalted butter melted
- ⅛ teaspoon salt optional to balance out sweetness
- 1 box instant banana cream pudding mix (3.4 ounce size)
- 1 ¼ cup cold milk
- Cool Whip or whipped cream
- 24 Banana slices
- 24 Mini Nilla wafers
Instructions
- Preheat the oven to 350 F. Grease a 24-cup mini muffin pan lightly with non-stick cooking spray and set aside.
- Pulse the Nilla wafers into fine crumbs with a food processor or blender.2 cups Mini Nilla wafer crumbs
- In a medium mixing bowl, combine the Nilla wafer crumbs, melted butter and salt. Mix everything together with a spoon.8 tbsp unsalted butter, ⅛ teaspoon salt
- Put 1½ tablespoons of the Nilla wafer mixture into each of the muffin cups. Use your fingers to press the crust mixture into the bottoms and up the sides of the cups. (Note: Be sure to pack it together tightly so it doesn’t break apart.)
- Bake at 350 F for 10 minutes, until golden brown. Set the pan on a wire rack and allow the cookie cups to cool completely before adding the filling.
- In a large bowl, combine the instant banana pudding mix and 1¼ cups cold milk.1 box instant banana cream pudding mix (3.4 ounce size), 1 ¼ cup cold milk
- Whisk the pudding mixture together until it begins to thicken. (Note: The pudding package calls for more milk, but we used less so that it results in a thicker and more flavorful pudding.
- Once the pudding has reached the desired consistency, add a tablespoon to each of the cups.
- Top each pudding bite with a dollop of Cool Whip or whipped cream.Cool Whip or whipped cream
- Add a fresh banana slice and a Nilla wafer and enjoy!24 Banana slices, 24 Mini Nilla wafers
Notes
- Be sure to measure the two cups of Nilla Wafers as crumbs, not whole cookies.
- You can make this ahead of time but you should wait to fill the cookie cups until just before serving so the crust doesn’t get soggy.
Nutrition
Did You Make This Recipe?
Share it with me on Instagram @funmoneymom and follow on Pinterest @funmoneymom for more!
Let’s be friends!
Did you love this post? Make sure to comment below and let me know your thoughts! And don’t forget to follow on your favorite social network below!

About Lisa O’Driscoll
Lisa O’Driscoll is a lifestyle and parenting expert, cookbook author, and the creative force behind Fun Money Mom, a popular blog she’s run since 2014. She’s the author of the children’s cookbook Roll It, Slice It, Mash It, Dice It, designed to get kids excited about cooking. With multiple TV appearances under her belt, she loves sharing her expertise on family-friendly recipes, creative DIYs, and party planning and is always on a mission to inspire and entertain!


Good evening I would love to try your recipe but I am confused with steps 4 and 5
Hi Natalie, For step 4, you are making the cookie cups. You’ll add the cookie mixture to a mini muffin tin, then compact them to form a cup shape with a hollow center (which is where you’ll add the pudding later). Then in step 5, you’ll bake it so that the cookie cup will stay together when you fill it. I hope that helps but please let me know if you have more questions.
Four stars because I’m not finished with the recipe…Oddly, I couldn’t find nilla wafers so I used a combination of fancy butter cookies and pecan sandies. When I put them in the oven to bake they puffed up in the middle leaving no space to put any filling. So I used a spoon to tap them down down and make a dent in the middle of each one. I haven’t finished the recipe or tasted the bites, but I wanted to get this down before I forget. I’ll update when I’m done.
Any suggestions for getting the cookie part out of the pan?
Hi Kerch! Be sure to spray the pan with non-stick spray and once they cool, turn the tray upside down on a baking rack and gently tap the bottom (not too hard though…you don’t want them to break). If that doesn’t work, I would run a knife or a very thin spatula around the edges and that should loosen the cups. Hope that helps!
Do not try to substitute butter cookies and pecan sandies for the nilla wafers!
They puff up in the oven, I pushed them back down to make room for the pudding.. and couldn’t get them out of the pan. Rats! I was looking forward to these
Thanks for sharing! I’m sorry that didn’t work out for you but hopefully you’ve saved someone else from making the same mistake!